
Introduction
Every Drupal website has a front door. The question is: do you control who walks through it? For organizations managing partner intranets, customer portals, or internal tools on Drupal, network-level access control is no longer optional. Credential stuffing, brute force attacks, and bot traffic have made it necessary for organizations to restrict access at the IP layer. This is where the Drupal IP Restriction Module comes into the picture. This blog covers everything you need to know: how IP restriction works in Drupal, the different types of IP restrictions, and the best practices for the Drupal IP restriction module. You’ll also get a walkthrough of IP restriction use cases.
If you’re looking for solutions to uplift your security stack, this is the resource to bookmark.
What is Drupal IP Restriction?
The Drupal IP Restriction Module enforces IP-based access control at the routing level of your Drupal site. When a request hits your server, the module checks the visitor’s IP address against a pre-configured list of rules before Drupal processes anything else. If the IP matches a blocked entry or fails to match an allowed one, the request is stopped cold with a 403 response.
This early-stage interception is a significant advantage. Because the module operates before page rendering or database queries begin, it reduces server load from unwanted traffic and eliminates the risk of malicious inputs ever reaching your app layer.
For enterprises handling sensitive data, regulated content, and audit trails, upstream protection is exactly what compliance frameworks like ISO 27001 and SOC 2 expect to see.
Furthermore, unlike Drupal’s built-in ban list (which only handles manually entered IPs via the admin UI), the IP restriction Module supports Classless Inter-Domain Routing (CIDR) range notation. It also supports role-based access, per-path rules, and integration with third-party security tools, making it the right choice for serious environments.
Understanding Your IP Restriction Options in Drupal
Not all IP restriction strategies work the same way. Choosing the right approach depends on your user base, risk tolerance, and traffic patterns. Here is a breakdown of the three primary methods:
IP Whitelisting
Whitelisting follows a default-deny model. Here, only the IP addresses and the CIDR that you explicitly list are allowed in, and everything else is rejected. Whitelisting is the strictest and most secure approach. IP whitelisting works best when your user base is bounded and predictable.
IP Blacklisting
Well, it injects SharePoint into Drupal. Plain and Simple.
But going down the rabbit hole, we find there are a lot of features that make your life easier when marrying Drupal and SharePoint.
With Public Document Access you can directly display available documents from Sharepoint within your Drupal website, even for anonymous users. If PDA is not your thing, then we’ve got Role-Based Folder Restriction, by the virtue of which only users with a certain role on the Drupal site will be able to access sensitive information stored in SharePoint.
IP blacklisting is the inverse of whitelisting. Here, you specify which addresses should be blocked, and everyone else gets through by default. This is a more permissive approach and is better suited for public-facing sites that need accessibility, while filtering out known threat entities.
The one thing to keep in mind is that blacklisting is reactive by nature; it only stops threats you have already spotted. If a new attacker comes from a fresh IP address, they will get through until you manually identify and block them.
Blacklisting works best when paired with active log monitoring or an automated threat-detection tool that flags suspicious IPs for you.
Blocking IP Ranges
Individual IP blocking works well when you’re dealing with a single threat entity. However, in real life, attacks rarely come from just one address. Botnets, brute force tools, and automated scrapers cycle through thousands of IP addresses, usually within the same network block. Blocking them one by one is like plugging a leaking dam with your fingers.
This is where IP range blocking comes in. Instead of adding individual addresses, you block an entire range of IPs in one shot. This is useful for recurring attacks that keep switching IPs, but stay within the same network block.
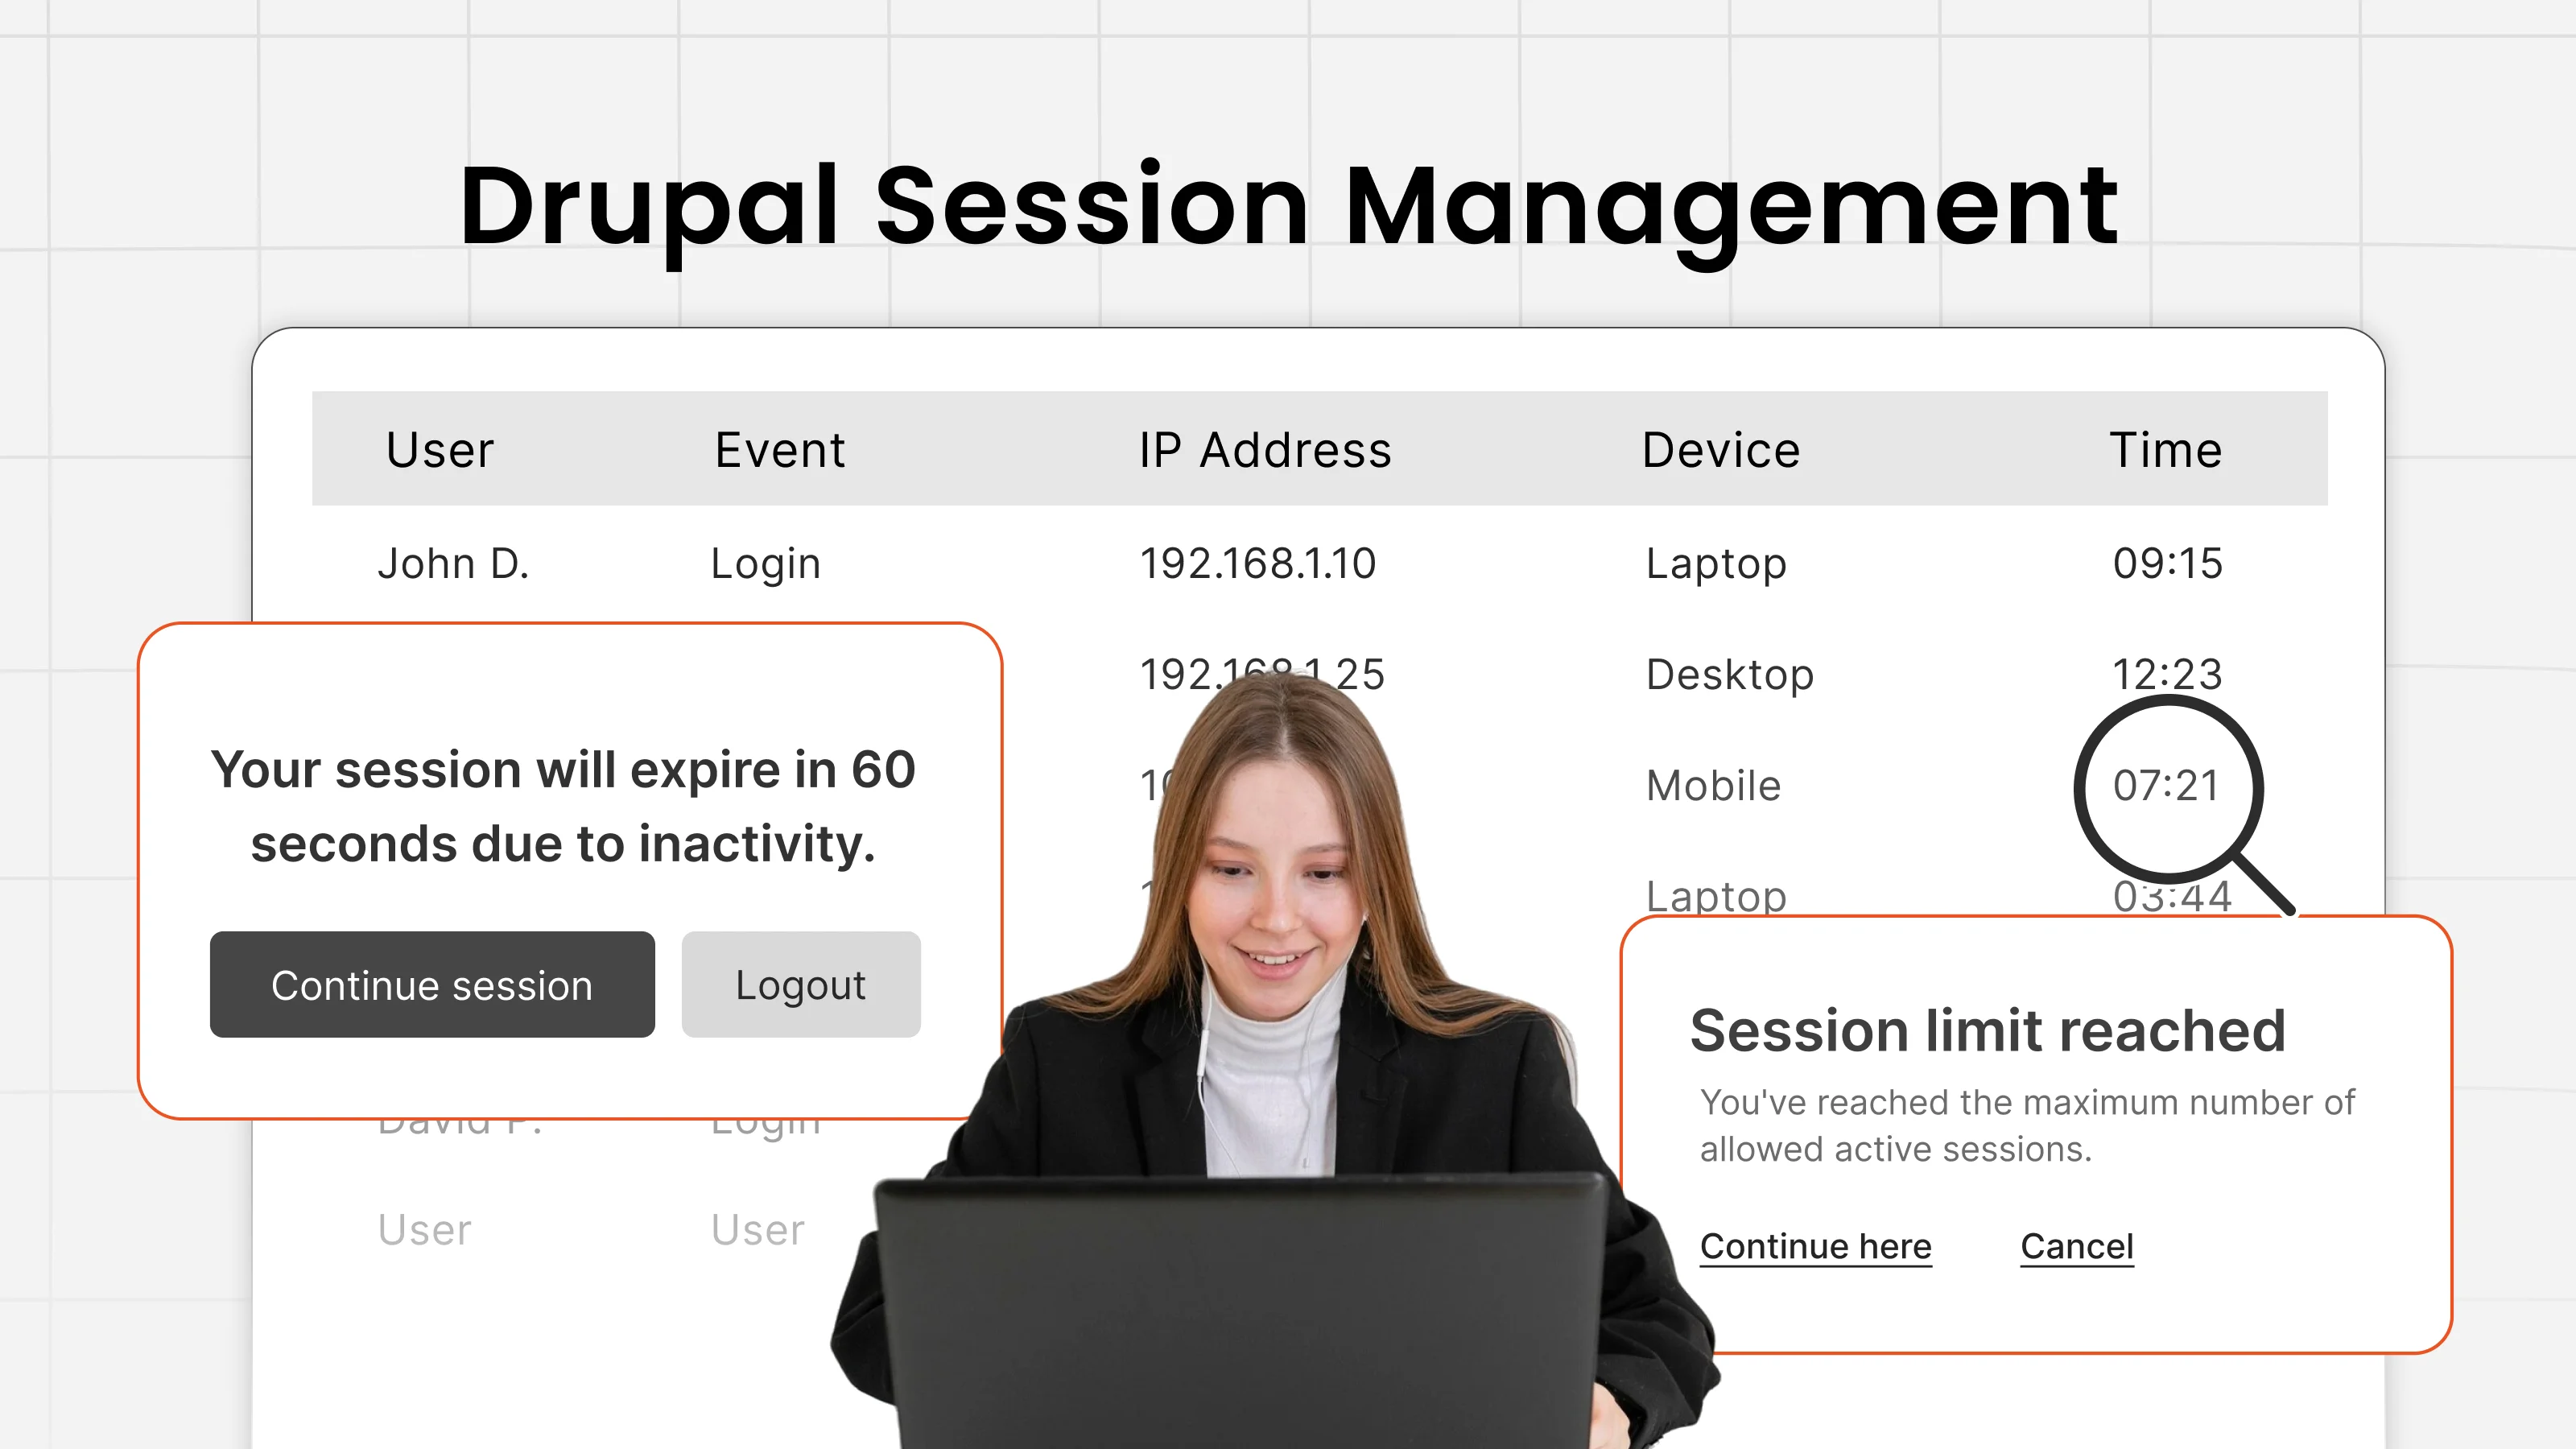
How to Implement IP Restriction in Drupal: A Step-by-Step Setup Guide
The miniOrange Session Management module makes it easy to enforce IP-based restrictions, so only the trusted users can access the site. Here is the complete walkthrough on how to implement the Drupal IP Restriction Module in your system.
- Download the Module: Get the Session Management module from the official drupal.org page. The download link is available in the module’s documentation. Install it via Composer or by placing it manually in your directory.
- Enable the Module: Now, in the Drupal admin panel, locate the Session Management module, and click on “install.”
- Configuration: From the admin panel, go to the configuration tab and select session management from the options.
- Activate the miniOrange Account: Log in or register with your miniOrange credentials. This step is essential before accessing the IP restriction feature.
- Enable IP-Based Restriction: Locate the IP-based restriction and toggle it ‘On.”
- Enter the Allowed IPs or Ranges: Type in the IP addresses or CIDR ranges that should be permitted to log in.
- Customize the Error Message: Configure the message that unauthorized users see when their login attempt is blocked. For example, “Access Denied.”
- Save the Configuration: Save all your changes. The module goes live immediately.
- Test Beforehand: Use a VPN or a device on a non-whitelisted network to confirm that the block is working as expected. Also, verify that the allowed IP addresses receive normal login access and the blocked ones see the custom error message that you set.
After following these steps, your IP Restriction module is ready to block unwanted users.
Smart Security Habits: Best Practices that Make IP Restriction Actually Work
A misconfigured rule or a stale whitelist can either leave gaps in your security or lock out legitimate users at the worst possible time. The following practices separate teams that get this right from those that don’t.
Combine IP Restrictions with MFA and SSO
So, IP restriction controls where users are located, but it says nothing about who they are. Pairing it with Multi-Factor Authentication (MFA) and Single Sign-On (SSO) assures that even if a device on an approved network is compromised, an attacker still cannot access your Drupal backend without the second factor.
This layered approach is what most compliance frameworks describe as “defense in depth,” and it is the standard for any organization handling sensitive data.
Always Maintain a Lockout Safety Net
One of the common mistakes admins make is accidentally blocking their own IPs while editing rules. To prevent this from happening and turning into a crisis, always maintain a high-priority “emergency allow” rule for a secondary admin IP, such as a static line at your IT team’s office or a secured bastion host.
Plan for Dynamic IPs Before They Become a Problem
Remote employees, SaaS integration, and cloud-based CI/CD pipelines change IPs constantly. If your whitelist doesn’t account for this, you’ll spend an unreasonable amount of time fielding “I can’t log in” tickets.
The practical fix is to route all critical access through a VPN that presents a consistent egress IP, then whitelist that VPN’s address range.
Alternatively, a lightweight Drush script can pull updated IP ranges from your VPN provider’s API and refresh the module’s configuration automatically.
Version-Control Your Rules
Treat IP restriction configuration the same way you treat application code. Export rules to YAML Ain’t Markup Language (YAML) and commit them to your repository.
This process creates a clean audit trail, enables peer review for rule changes, and makes rollbacks trivial if a bad rule slips through production.
Audit Your Ruleset Every Quarter
Security rules become stale faster than most teams expect. Old vendors still have their IPs whitelisted, departed partners retain access, and obsolete backlist entries clutter the rule list without providing real protection.
A quarterly audit that cross-references current business relationships against the rule list is a low-effort habit that keeps your access control lean and trustworthy.
Taking Drupal IP Restriction Further: Advanced Use Cases Worth Knowing
The core value proposition of IP restriction goes well beyond basic filtering. Here’s where it can be used:
Restrict Admin Access
The admin paths are the most targeted endpoints on any Drupal site. By applying a whitelist rule for these paths, you can keep the public-facing site open while making the backend invisible to the open internet.
An attacker scanning your site will receive a 404 rather than a 403 on the admin path, revealing nothing about the underlying structure. This eliminates the vast majority of credential-stuffing attempts.
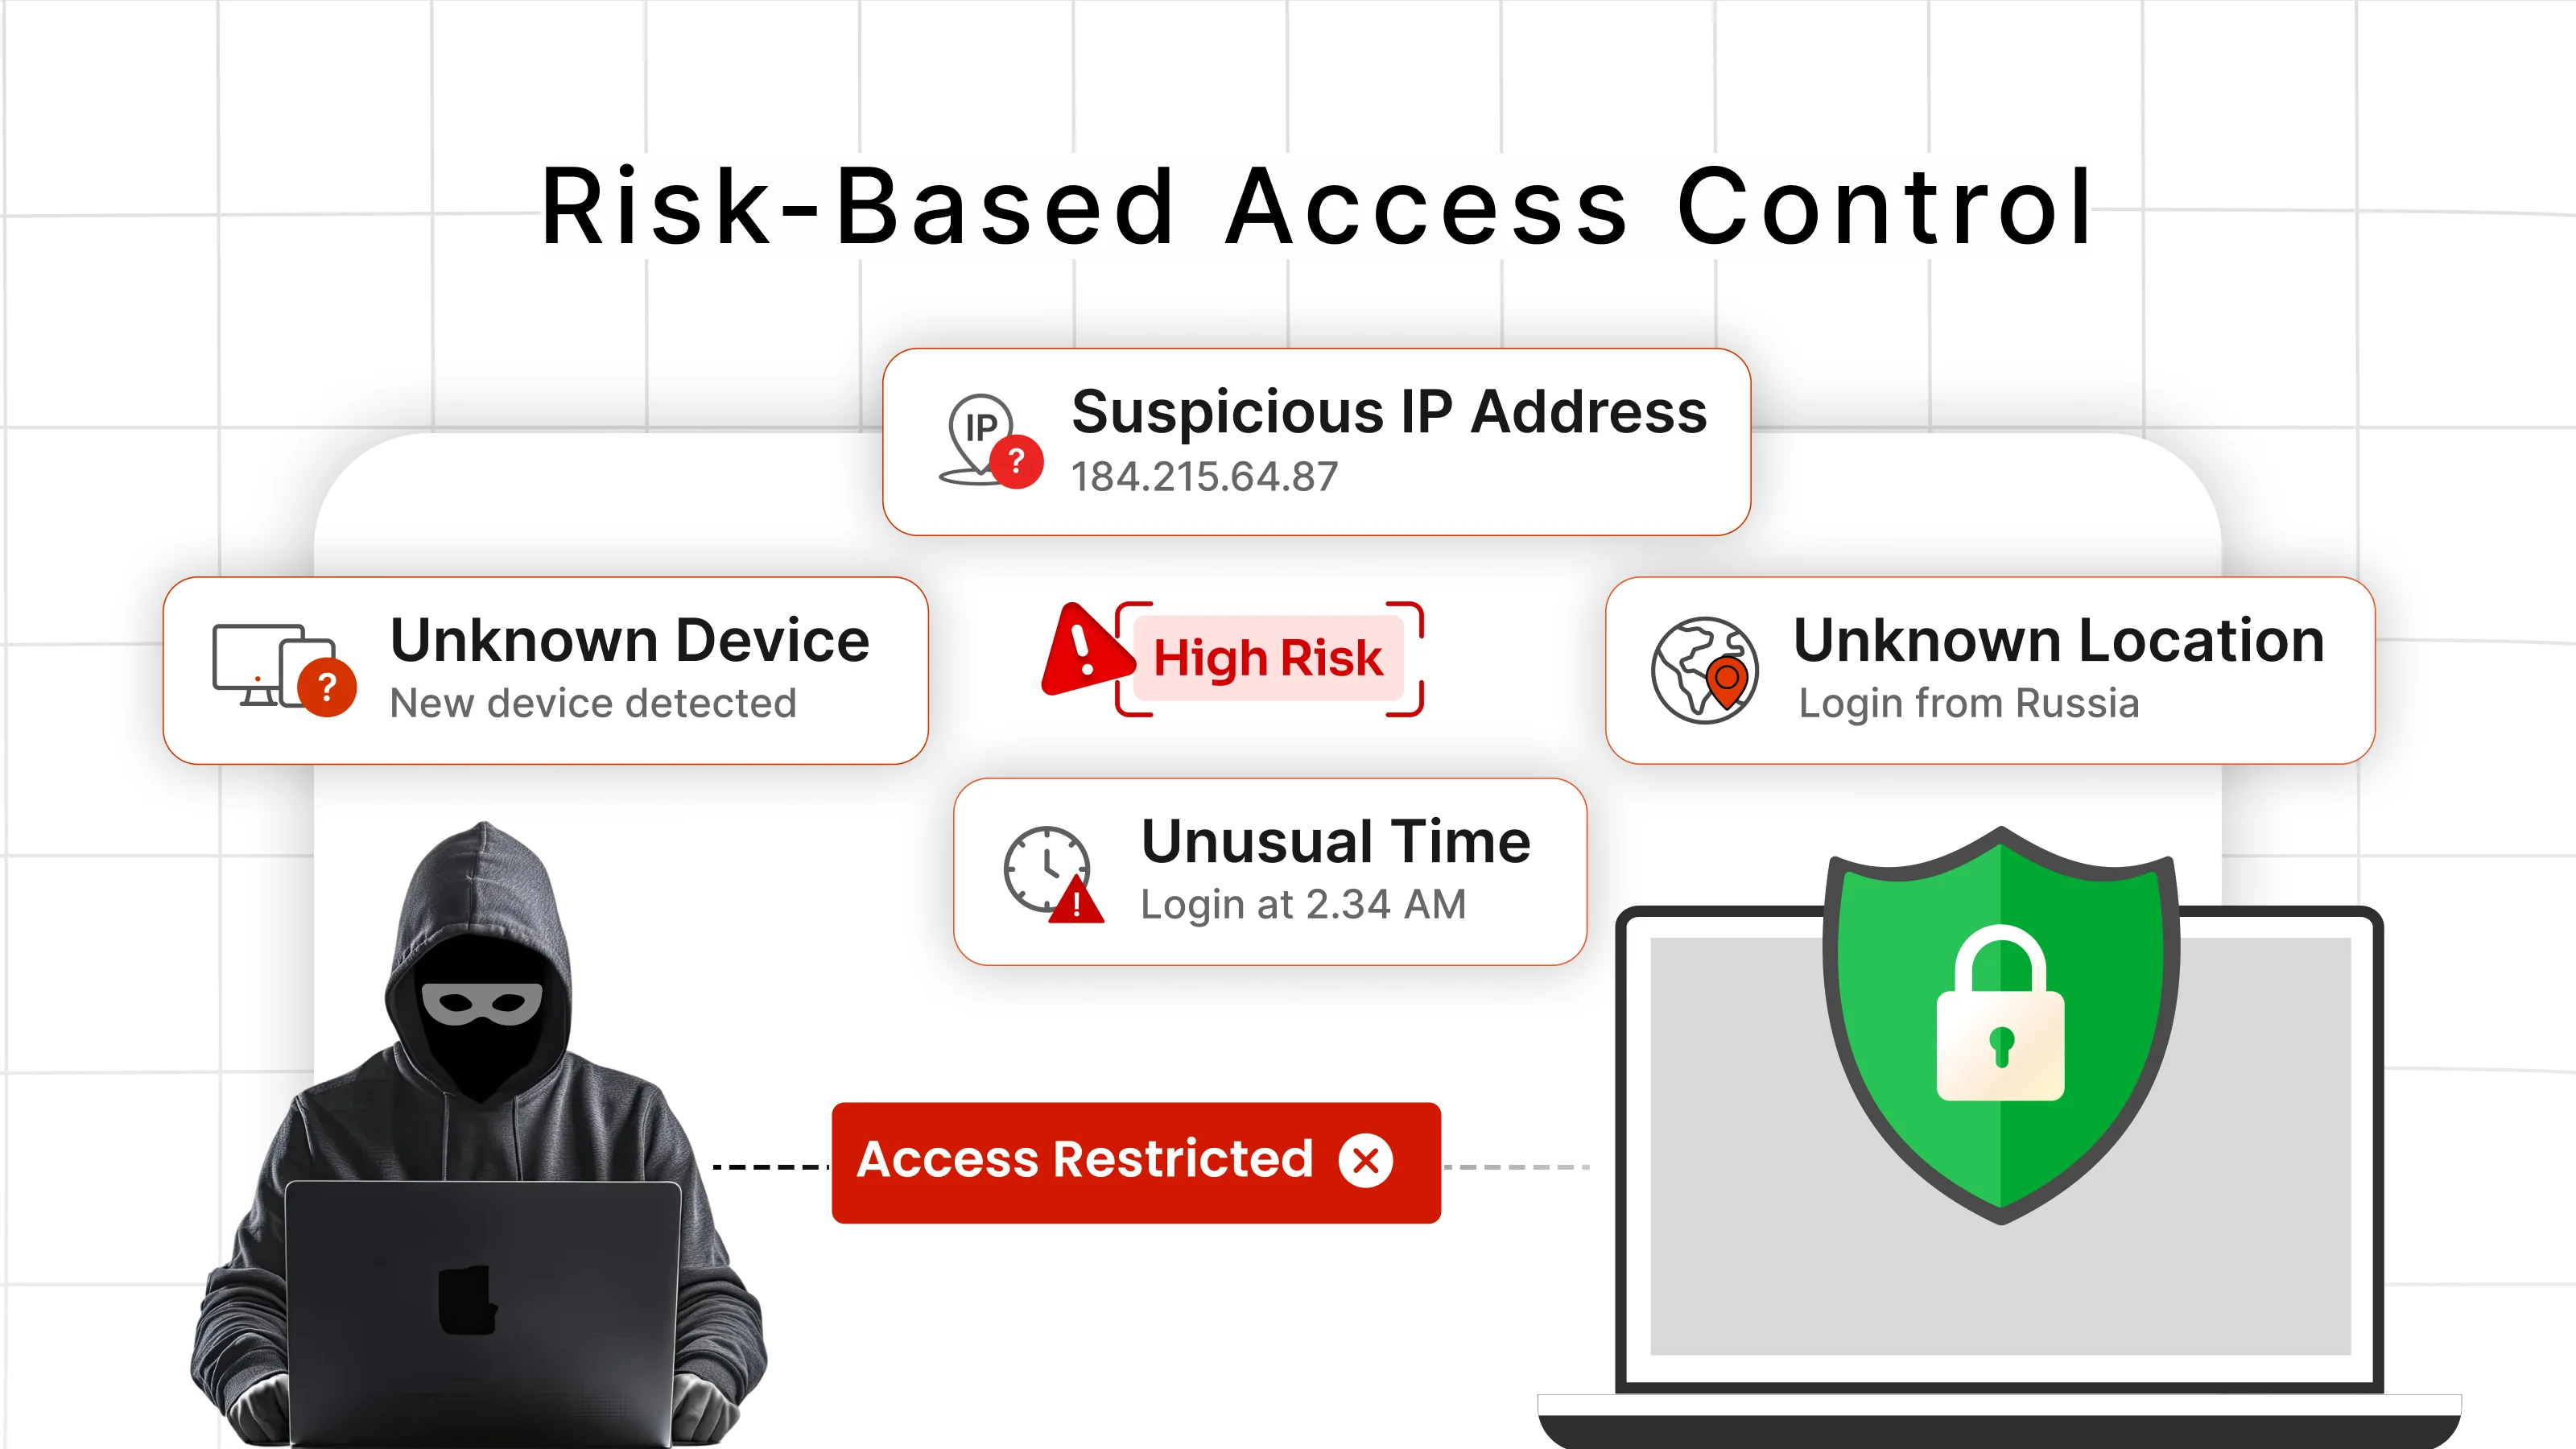
Respond to Suspicious Traffic in Real Time
When your monitoring tools flag a surge in requests from a specific IP range, you need to act fast. Add a denial rule without logging into the admin UI, which is particularly useful when the site is under active attack, and you need to make changes from the command line.
You can pair this with an intrusion detection system that writes new block rules automatically, and you have a self-defending setup that doesn’t require a human to be online at 2 AM.
Geo-Blocking for Compliance and Risk Reduction
If your business operates only in specific countries, then there’s no good reason to accept traffic from regions where you have no customers and no partners. This will help to reduce the chances of cyber attacks.
Geo-blocking maps IP ranges to countries and lets you reject requests from entire regions with a batch import of CIDR blocks.
Why Choose miniOrange’s Drupal IP Restriction Solution
miniOrange has built a reputation for delivering enterprise-grade security modules that are easy to deploy, tightly supported, and continuously updated to meet emerging threats.
Our Drupal IP Restriction Module builds on the core value-added features:
- Whitelist and Blacklist Management: Easily add, edit, reorder, and test rules without touching the code.
- Geo-Blocking: Ensure country-based IP blocking.
- Compliance-Ready: Exportable logs show every block, hit, and allow event, which helps in aligning with regulatory compliance.
- Dedicated Support: Our technical team offers 24/7 assistance, with guaranteed response times for critical issues, so your security posture never lapses.
By opting for miniOrange, you gain not just a module, but a partnership focused on keeping your Drupal environment resilient, audit-ready, and secure.
Start Locking Down Your Drupal Site Today
IP restriction is one of those security models that feels simple on the surface. A well-maintained whitelist can eliminate an entire category of cyber attacks before they reach your app.
A properly structured blacklist keeps known threat entities from repeatedly probing your website. Further, range-based blocking neutralizes whole networks of automated threats in a single rule.
The Drupal IP Restriction Module gives your team the features to implement all of this without heavyweight infrastructure or lengthy procurement cycles. Whether you’re starting with a basic whitelist for your admin panel or building a full geo-blocking system, the path from configuration to protection is direct and well-documented.
For teams that want best-in-class features, compliance-aligned, and dedicated support, miniOrange’s Drupal IP Restriction Module is the way forward.
Get in touch with our experts to schedule a demo and see how the full solution fits into your existing security architecture.

Leave a Comment