
Android devices are designed for flexibility. Employees can check notifications, adjust connectivity, open settings, and move between apps with a few taps. That flexibility works well for personal use, but it can introduce distractions, security gaps, and usability issues when a device is dedicated to business tasks.
For organizations that deploy Android tablets, smartphones, rugged devices, point-of-sale systems, or digital signage, the ability to hide the Android status bar and disable access to the notification bar is often essential. It helps keep users inside approved workflows while preventing access to sensitive settings, notifications, and unrelated applications.
In most enterprise environments, the safest way to control these elements is through Android kiosk mode and a Mobile Device Management (MDM) solution. This approach allows IT teams to apply policies remotely, manage devices at scale, and maintain consistent restrictions across corporate-owned Android endpoints.
What Is a Status Bar and a Notification Bar on Android Devices?
Here’s what you should know about the status and the notification bars on Android devices:
1. Status Bar
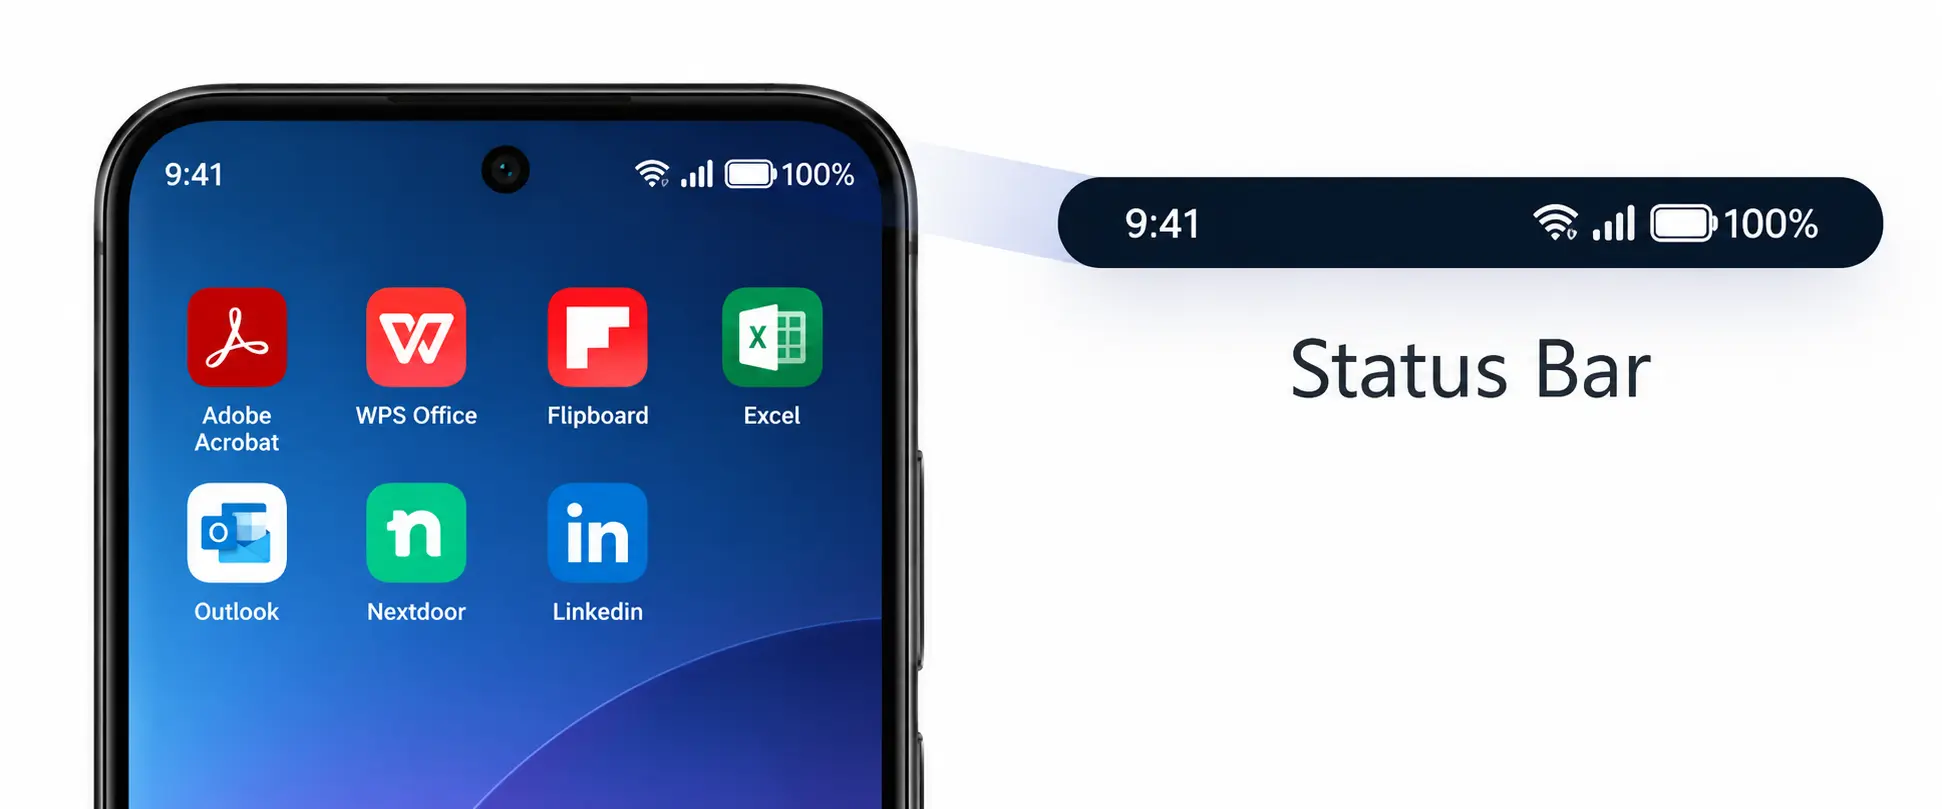
The status bar is the narrow strip at the top of an Android screen. It displays system-level information, such as time, battery percentage, Wi-Fi or cellular connectivity, Bluetooth status, alarms, and other device indicators.
2. Notification Bar
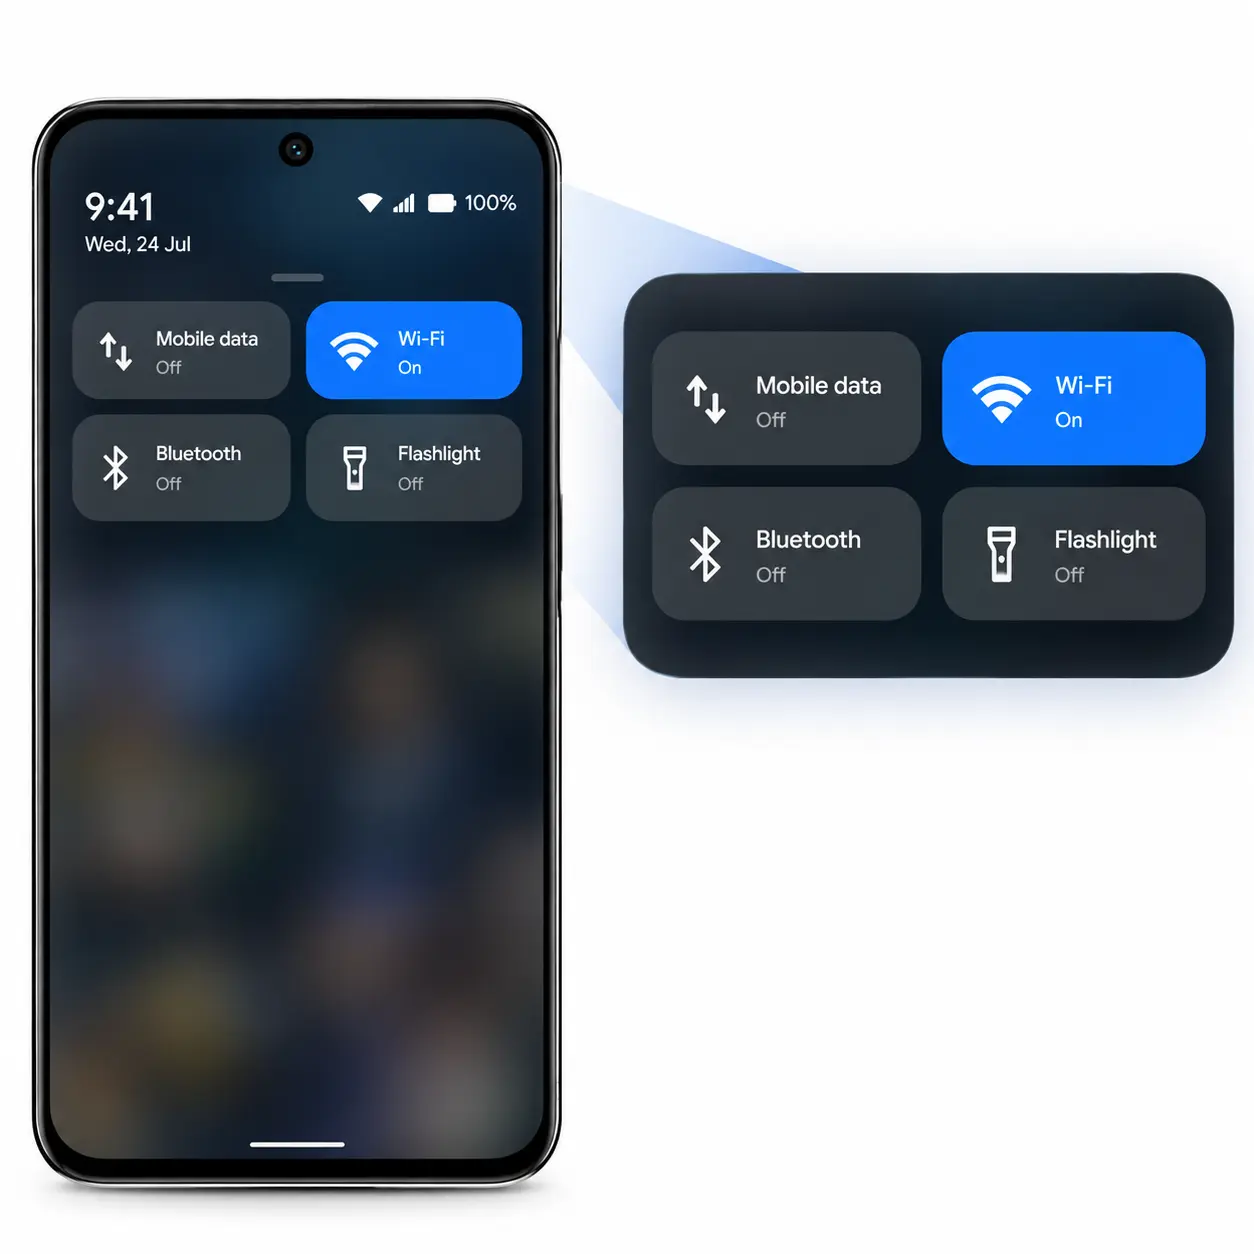
The notification bar, often called the notification shade or notification panel, appears when a user swipes down from the top of the screen. It provides access to app alerts, messages, system notifications, and quick settings such as Wi-Fi, Bluetooth, flashlight, airplane mode, screen brightness, and location controls.
In some Android versions and device configurations, users may swipe down once to view notifications and swipe again to open the complete Quick Settings panel. From an enterprise security perspective, this can expose settings that employees, customers, contractors, or temporary users should not be able to change.
For example, a user on a shared warehouse scanner could disable Wi-Fi, turn on airplane mode, change brightness settings, access personal notifications, or exit a dedicated business app. These actions can interrupt operations and increase support requests.
Why Is There a Need to Hide the Status and Notification Bars?
When a device is assigned to a single business purpose, unrestricted access to the top bar can work against that purpose. Organizations may choose to hide the status bar on Android devices to reduce distractions, restrict unauthorized settings changes, and create a simpler user experience.
Hiding these elements is particularly useful for company-owned, fully managed devices that are used by frontline employees, customers, vendors, or contractors.
1. Prevent Distractions During Workflows
Notifications can disrupt time-sensitive tasks. A delivery driver using a route application, a retail associate operating a POS terminal, or a technician completing a field-service form may lose focus when unrelated alerts appear on screen.
When businesses hide the notification bar on Android devices, they can keep users focused on the assigned application. This is especially helpful for task-based deployments where each device has a clearly defined purpose.
2. Protect Sensitive Information
Notifications can reveal confidential data, even when the device is locked or an app is running in the foreground. A preview may display customer names, verification codes, internal messages, appointment details, or security alerts.
For shared-use devices, showing notification previews can create unnecessary privacy risks. Restricting the notification panel helps reduce exposure to information that the current device user does not need to see.
3. Block Unauthorized Connectivity Changes
Quick Settings gives users direct access to important device controls. They may turn off Wi-Fi, disable Bluetooth, enable airplane mode, activate a hotspot, or alter location settings.
These changes can disrupt business applications that depend on network connectivity, location tracking, peripheral devices, or centralized management.
An Android MDM platform can disable status bar access and prevent users from making unapproved changes to device connectivity.
4. Improve Kiosk Mode Security
Kiosk mode turns an Android device into a dedicated business device. In single-app kiosk mode, users can access only one approved application. In multi-app kiosk mode, users can use a limited set of approved apps.
However, a kiosk configuration may be incomplete if users can still pull down the notification shade and access settings. Hiding the top bar on Android devices strengthens kiosk mode by reducing potential escape routes from the restricted experience.
For example, a self-service kiosk should not allow customers to access device settings, view notification alerts, or switch network configurations. A locked-down interface helps the organization deliver a more reliable customer experience.
5. Reduce IT Support Requests
Unrestricted device settings can lead to accidental misconfigurations. Employees may unintentionally disconnect a device from Wi-Fi, lower brightness until a screen becomes difficult to read, or change settings that interfere with app performance.
By controlling the notification bar and Quick Settings panel, IT teams can limit avoidable configuration changes. This creates a more consistent device environment and reduces the number of help desk tickets related to user-driven device issues.
How to Hide the Status Bar and the Notification Bar Using an Android MDM Solution?
The most practical way to hide the status bar or disable the notification bar in Android at scale is to use an Android MDM solution. MDM gives administrators centralized control over device settings, app access, security policies, and kiosk configurations.
The exact workflow can differ by MDM provider, Android version, device manufacturer, and enrollment type. Still, the general process follows the same pattern.
Step 1: Create a Kiosk Mode Policy
Create a kiosk mode policy within the MDM console. Choose the type of device experience that matches the deployment.
- Single-app kiosk mode: Locks the device to one approved application, such as a POS app, check-in app, learning app, or field-service app.
- Multi-app kiosk mode: Restricts access to an approved list of business applications.
Kiosk mode ensures users cannot freely navigate the device, open unrelated apps, or modify settings outside the approved workflow.
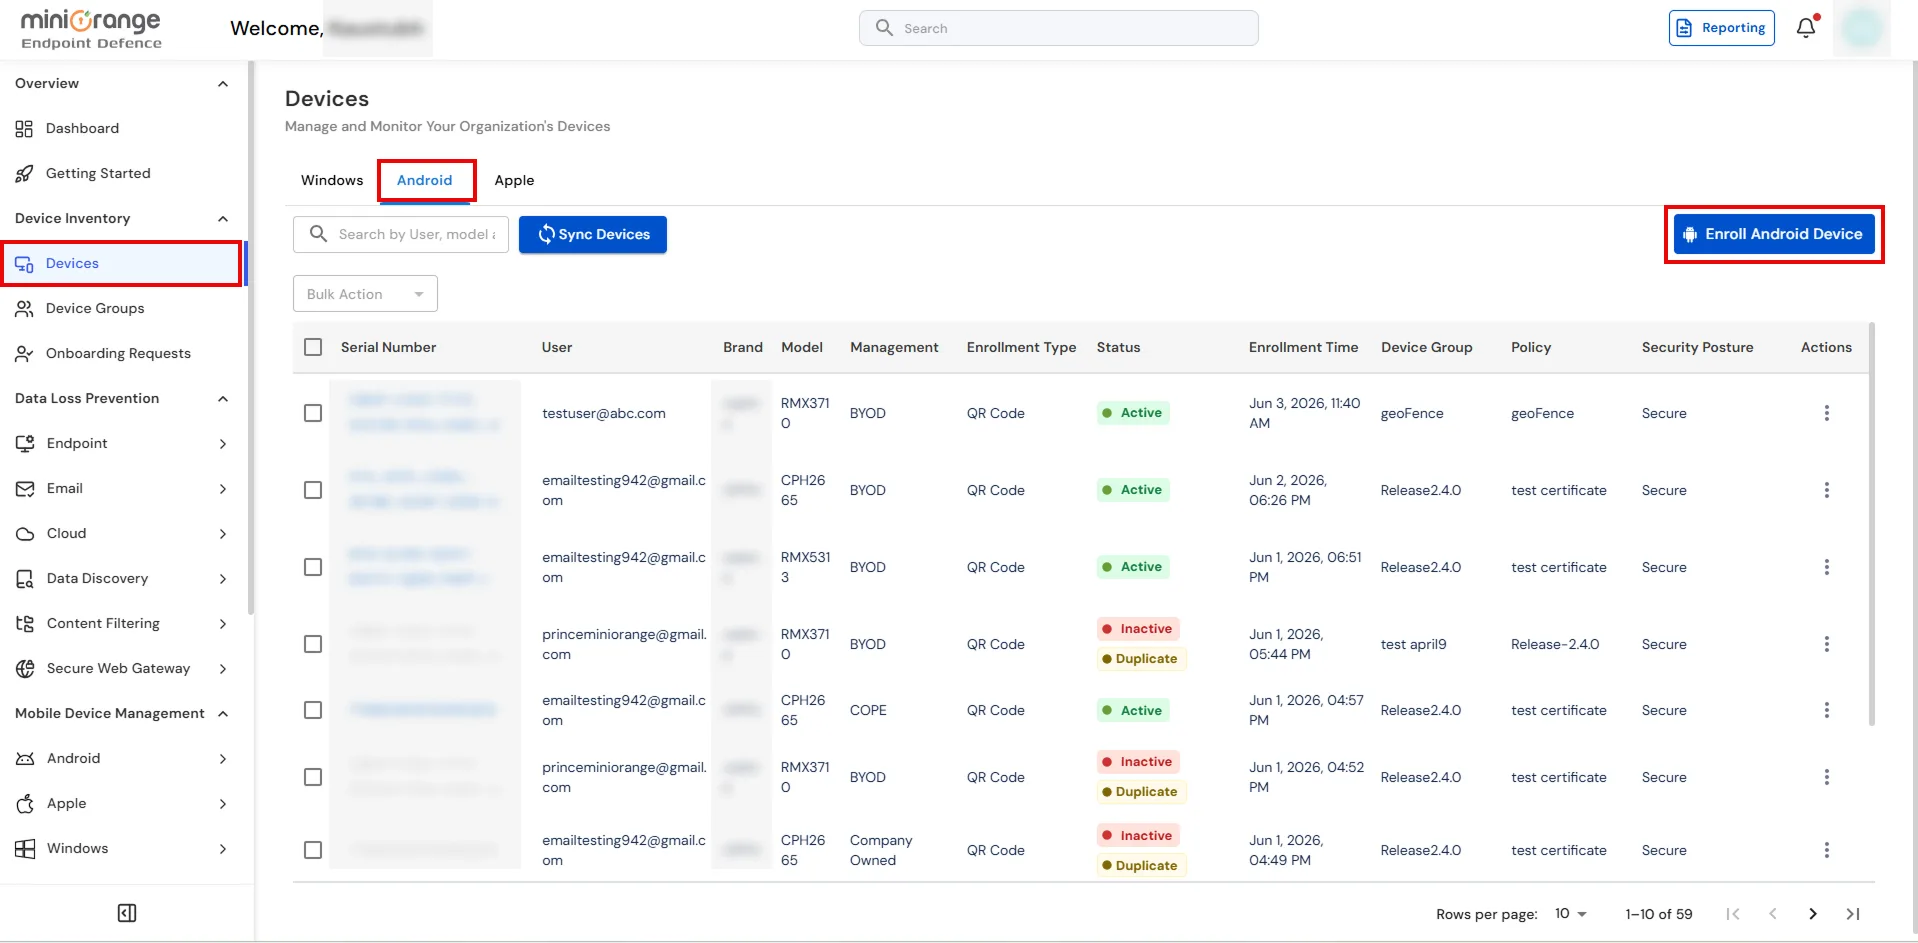
Step 2: Enroll Devices as Corporate-Owned Devices
Enroll Android devices into the MDM platform as corporate-owned devices. For stronger controls, organizations typically use fully managed device mode through Android Enterprise.
Corporate-owned enrollment provides IT administrators with broader management capabilities than a basic work profile on an employee-owned device. It is generally the appropriate model for devices used as kiosks, shared tablets, warehouse scanners, digital signage players, and field-service devices.
Before applying restrictions, confirm that the device ownership mode supports kiosk and system UI controls. Some policies may vary based on Android Enterprise configuration, OEM support, and OS version.
Step 3: Configure Status Bar Restrictions
Within the kiosk or device restriction policy, look for settings related to the system UI, status bar, notification shade, or Quick Settings.
Depending on the MDM platform, the policy labels may include:
- Hide status bar
- Disable status bar
- Disable notification bar
- Block notification shade
- Disable system UI
- Disable Quick Settings
- Prevent status bar expansion
- Restrict system settings
- Hide top bar Android
Enable the relevant restriction to prevent users from swiping down and opening the notification panel. Some solutions allow administrators to hide status bar icons entirely, while others may only block expansion of the notification shade.
Step 4: Restrict Device Settings and System Apps
Hiding the status bar alone may not fully secure a device. A user could still access settings through other paths if the device is not properly restricted.
To create a more complete policy, consider restricting:
- Android Settings app access
- Wi-Fi and mobile network changes
- Bluetooth configuration
- USB file transfer
- Factory reset options
- Developer options
- App installation from unknown sources
- Recent apps button access
- Home button access, where supported
- Screen capture and screen recording
- Notification previews on the lock screen
The right configuration depends on the use case. A shared employee tablet may require selected connectivity controls, while a public kiosk may need stricter restrictions.
Step 5: Publish and Apply the Policy
Once the policy is configured, assign it to the relevant device group. Groups may be based on department, location, device type, operating system, use case, or ownership model.
After publishing the policy, sync the managed Android devices. Most MDM platforms apply policies remotely when the device is online. Verify that the status bar and notification panel behave as expected before deploying the configuration broadly.
Step 6: Test the User Experience
Testing is a critical step before enforcing restrictions across hundreds or thousands of endpoints.
Test the device under real operating conditions. A warehouse device may need Bluetooth enabled for a scanner, while a field-service device may require controlled access to cellular connectivity and location services.
The goal is not simply to hide the top bar. The goal is to preserve the business workflow while limiting unnecessary access to device controls.
How to Hide the Status Bar or Notification Bar Using the miniOrange Android MDM Solution?
Here is the exact sequence to hide the status bar and disable the notification bar using the miniOrange Android MDM solution.
Step 1: Complete the Android Enterprise Registration
Before configuring any Android policy, the console requires Android Enterprise registration. If you see the banner reading "Complete Android Enterprise registration to manage Android devices and policies," click Go to Enterprise Registration and link your Google Android Enterprise account first. Policies won't apply to devices until this step is done.
Step 2: Create the Policy
Go to Mobile Device Management > Android > Policies and click Add Policy. Enter a clear name, such as "Kiosk-StatusBar-Lockdown," so IT teams can identify its purpose later.
Step 3: Confirm the Device Ownership Requirement
Status bar and kiosk restrictions in miniOrange only apply to devices enrolled as Corporate-Owned. If your devices were enrolled as personal or BYOD, these controls won't be available.
Step 4: Open the Kiosk Tab
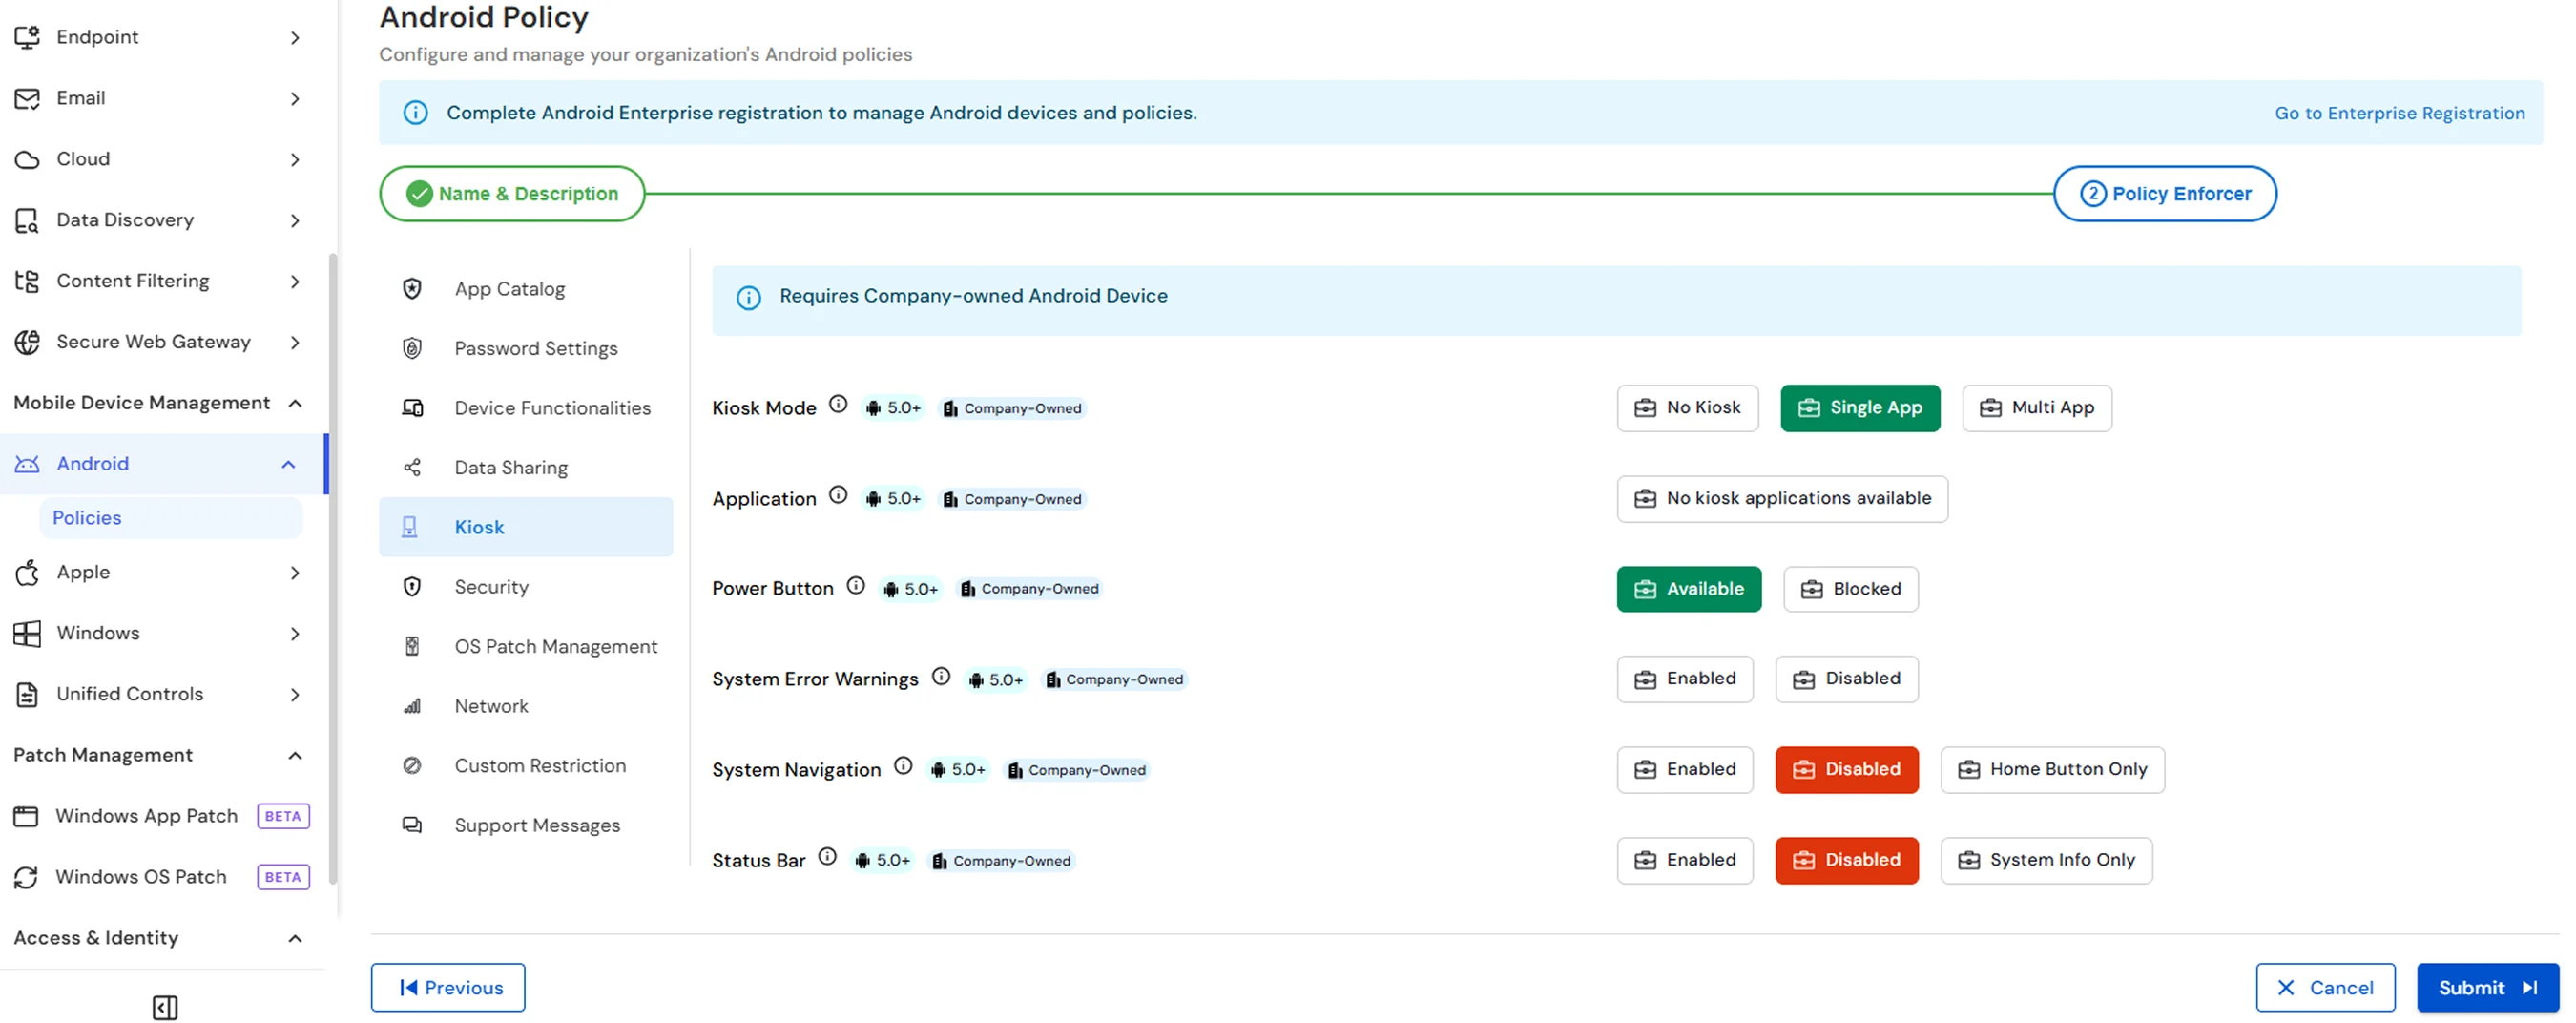
In the left panel of the policy builder, click Kiosk. This is where miniOrange consolidates all screen lockdown controls, including Kiosk Mode, Power Button, System Navigation, and Status Bar.
Step 5: Set Kiosk Mode
Choose between No Kiosk, Single App, or Multi App, based on your deployment.
Step 6: Assign the Kiosk Application
Under Application, select the app that should launch automatically and run exclusively. If the field shows "No kiosk applications available," go back to App Catalog, add the required app first, then return to the Kiosk tab to select it.
Step 7: Configure the Status Bar Settings
This is the key control for your use case. Under Status Bar, you'll see three options:
- Enabled: Leaves the status bar fully visible and interactive.
- Disabled: Hides the status bar completely, blocking swipe-down access to notifications and Quick Settings.
- System Info Only: Shows time, battery, and connectivity icons but blocks the swipe-down notification shade and Quick Settings panel.
Step 8: Submit and Test
After configuration, submit the policy. Apply the policy to one test device first. Confirm that swiping down produces no notification shade, and that the status bar icons behave as expected under your chosen setting.
Also, check that the kiosk app relaunches automatically after a reboot. Once verified, roll the policy out to the full device group.
Note: miniOrange applies these particular kiosk and status bar restrictions starting from Android 5.0 (Lollipop) and up, provided the device is enrolled as Company-Owned under Device Owner Mode.
Frequently Asked Questions
1. What is the difference between the status bar and the notification bar?
The status bar is the top section of the Android screen that displays device indicators, such as battery, time, and network status. The notification bar, also called the notification shade, is the expandable panel users open by swiping down from the top of the screen to view alerts and access Quick Settings.
2. Should I disable the status bar entirely or use “System Info Only”?
Choose "Disabled" for high-security, customer-facing kiosks where no distractions or settings access should be possible. Choose "System Info Only" for employee-facing devices where staff still need to check the time, battery level, or connectivity status during their shift.
3. Does this work on personal or BYOD Android devices?
No, in most MDM platforms, status bar and kiosk restrictions require the device to be enrolled as Company-Owned under Device Owner Mode. Personal or BYOD devices enrolled with a basic work profile typically don't support these system-level restrictions.
4. How to hide the notification bar on a shared Android device?
Enroll the device as Company-Owned in an MDM platform, then apply a kiosk mode policy with the status bar setting configured to "Disabled" or "System Info Only," depending on whether you want to fully hide it or keep basic indicators visible.
About the Author

Content Writer
With a background in Journalism and extensive experience in SaaS and cybersecurity content writing, Chaitali Avadhani has contributed to creating various forms of impactful content pieces across multiple verticals. At miniOrange, her role is to craft SEO-friendly and lead-generating content around Identity and Access Management (IAM) products and cybersecurity as a whole.
Leave a Comment