- Home
- CASB
- Setup Microsoft Entra ID (Azure AD) as IDP CASB as SP
Microsoft Entra ID (Azure AD) SAML Single Sign On (SSO) for CASB
SAML or Security Assertion Markup Language, is an authentication protocol where the user authentication information is shared between the Identity Provider (IDP) and the Service Provider (SP). In this guide, we will see how you can enable Microsoft Entra ID (Azure AD) SAML SSO Authentication with a CASB. So let's get started!
Step 1: Sign up with miniOrange CASB
Step 2: Configure SAML SSO and Groups Claim on Microsoft Entra ID (Azure AD)
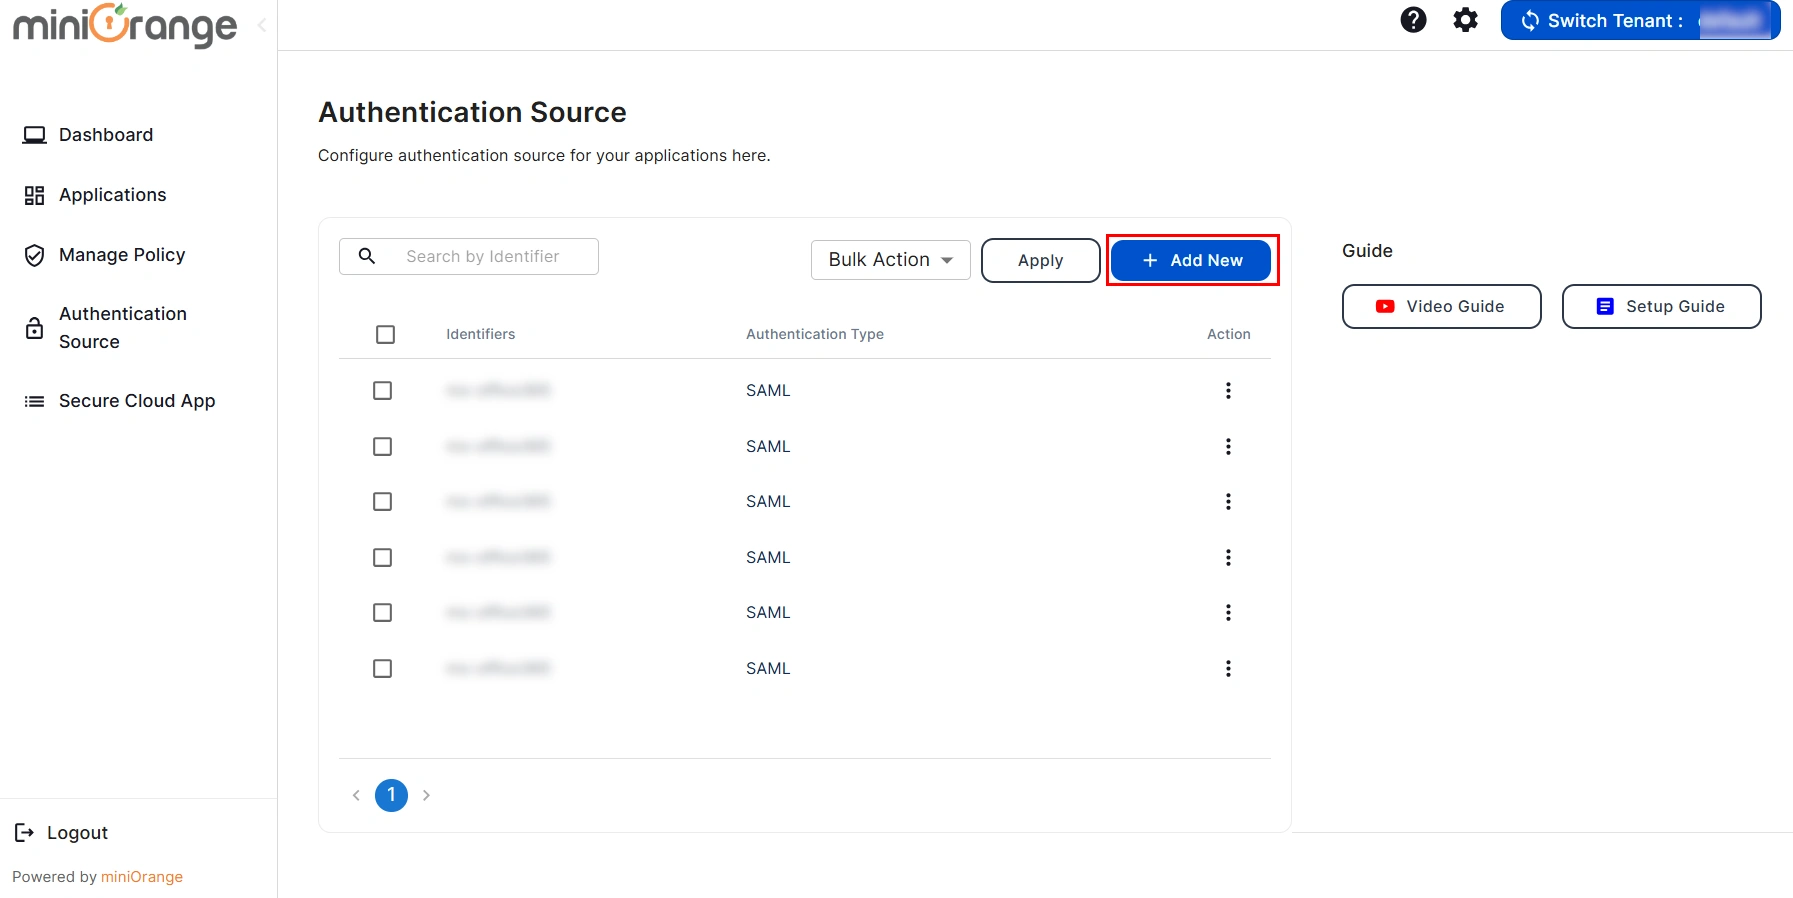
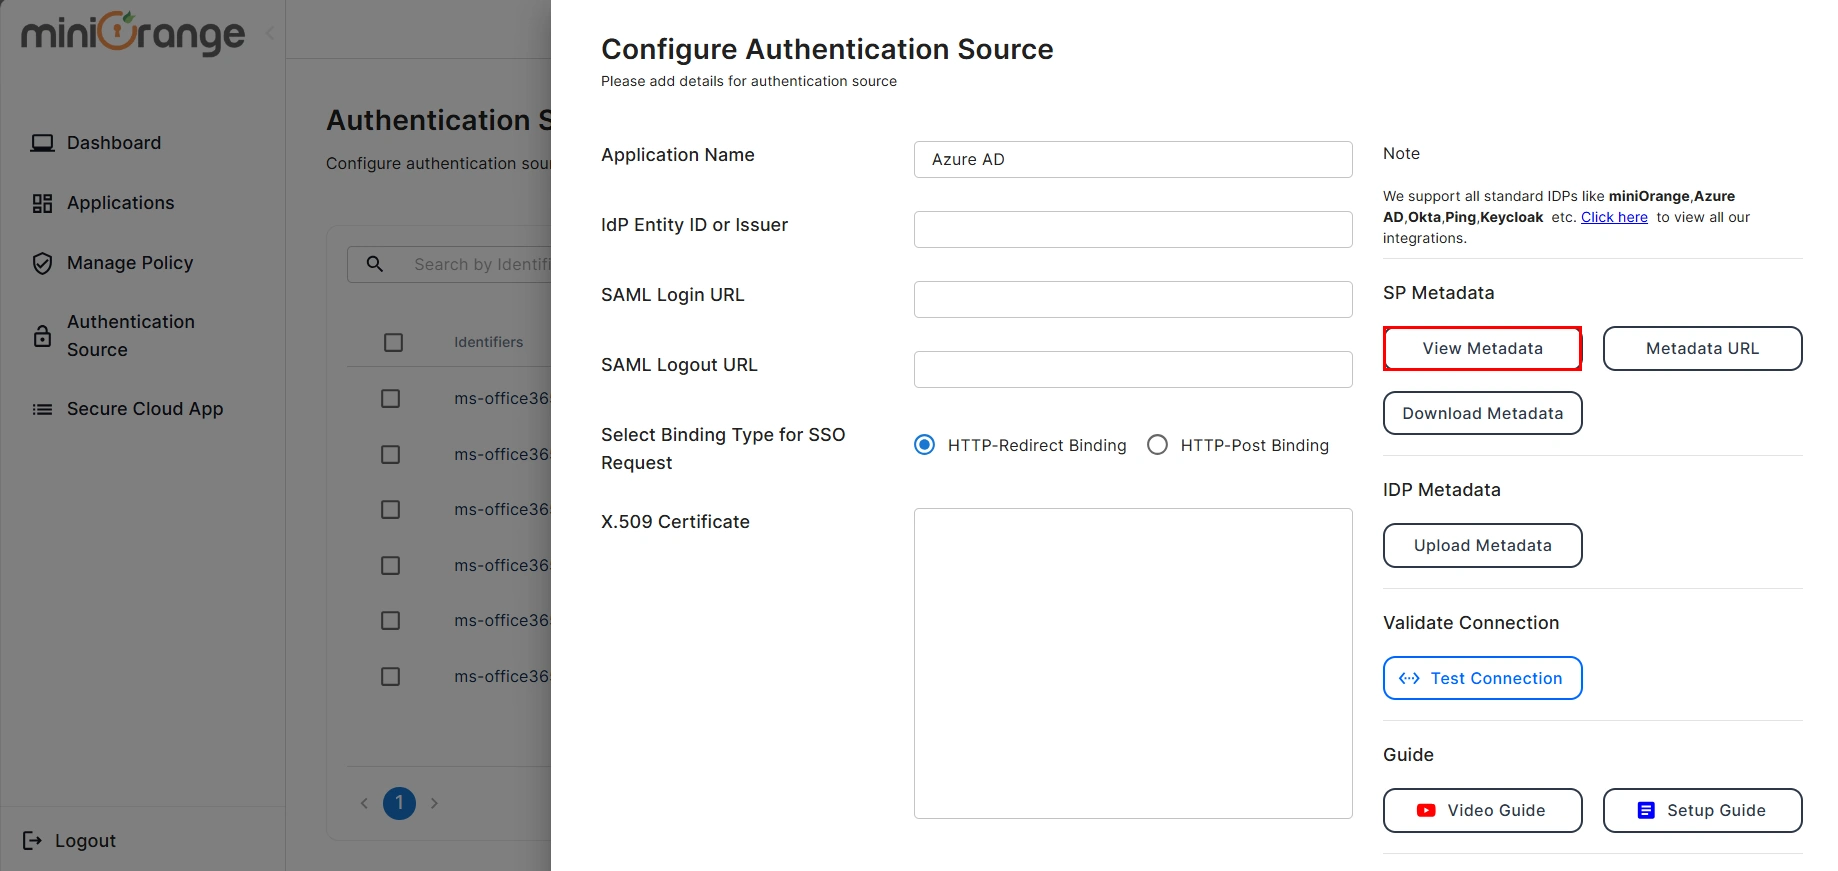
- Go to the miniOrange CASB Dashboard and click on the Authentication Source tab.

- Click on Add New Authentication Source button to add your authentication source.
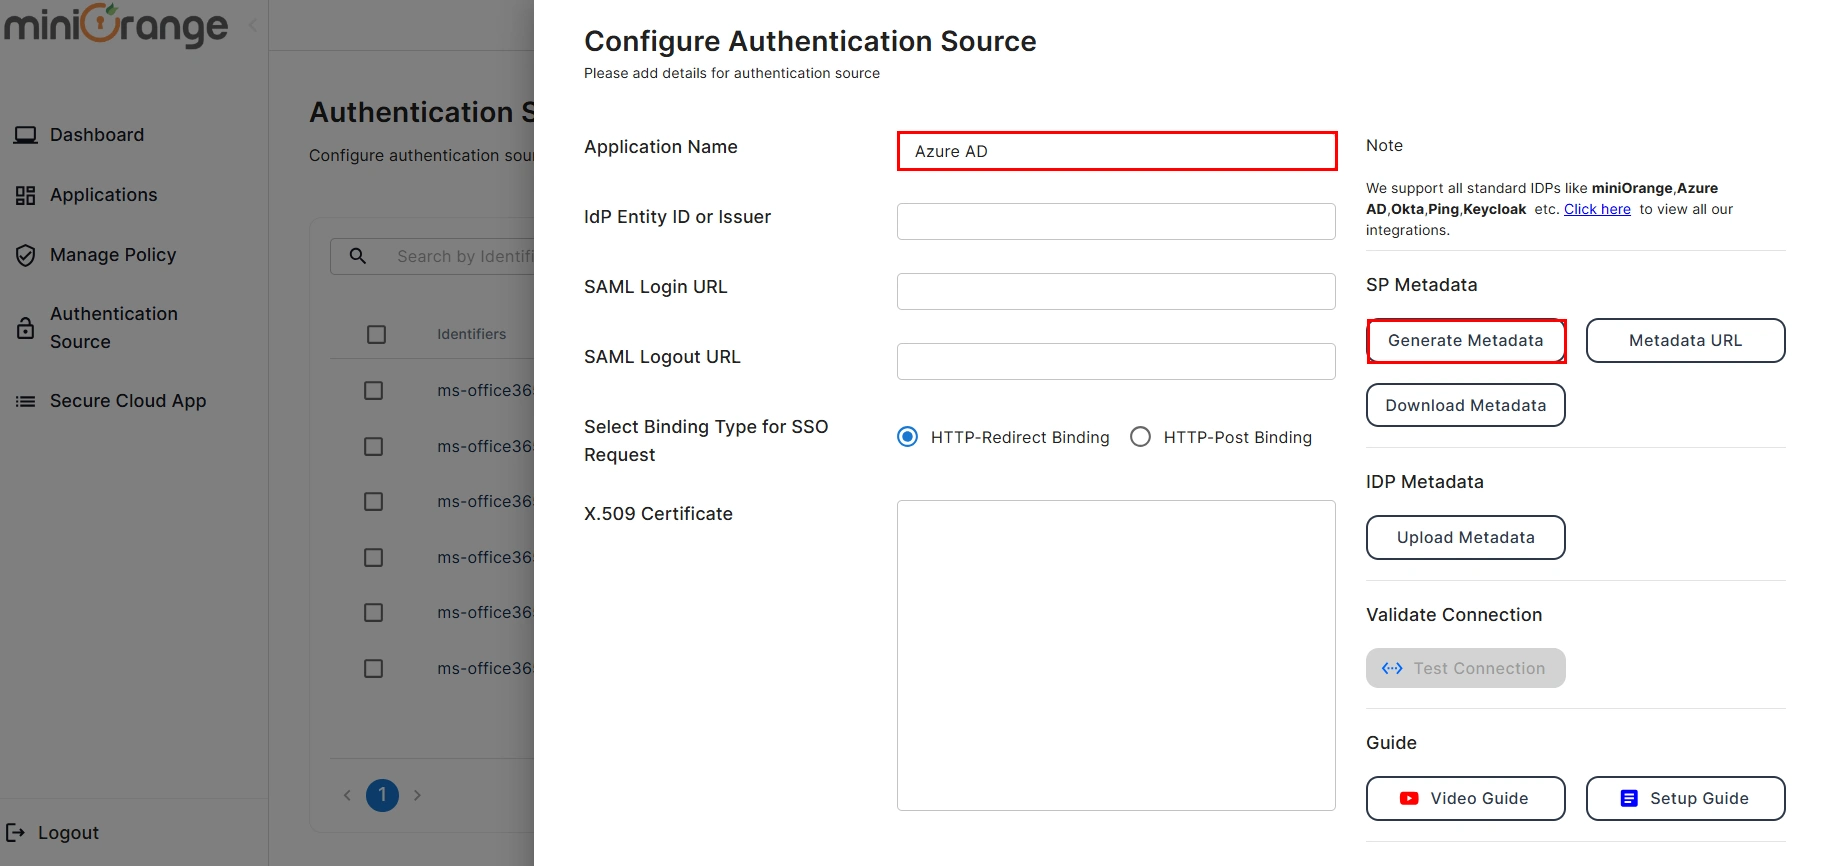
- Here, enter your Authentication Name to generate the Service Provider Metadata. Upon entering the authentication name, click on the Generate Metadata button to get the metadata of the Service Provider.
- Copy the Service Provider Metadata details and configure the respective fields in your Identity provider.
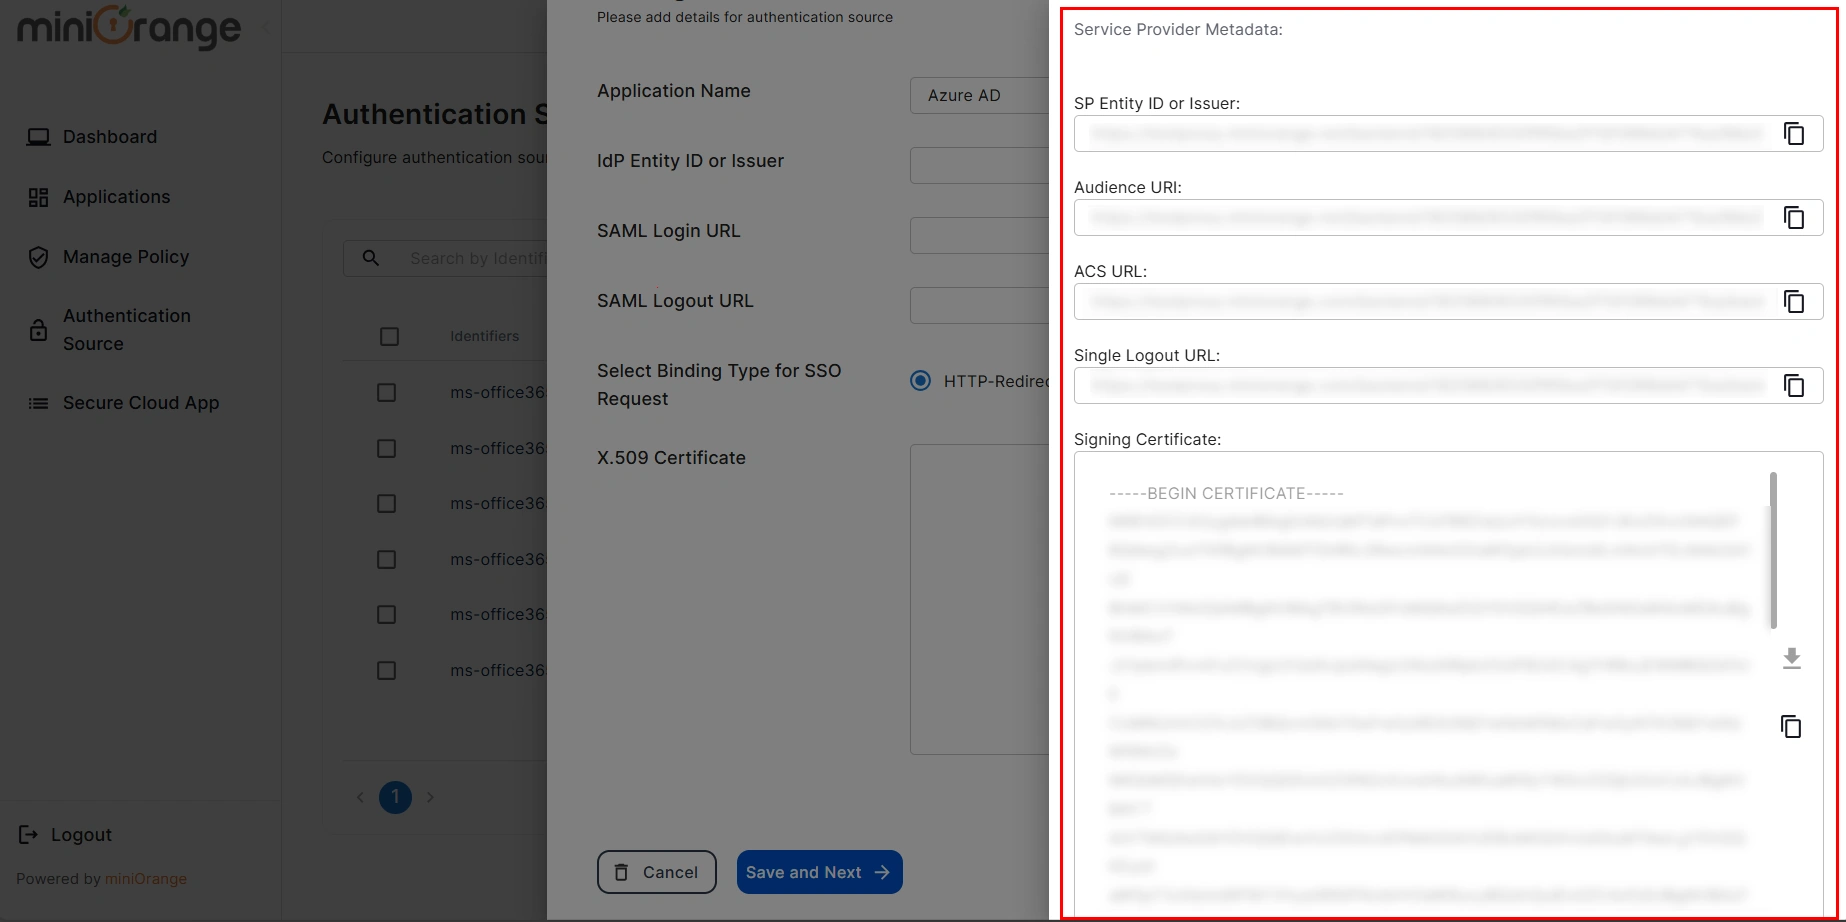
- If you would like to view the metadata details again, then you can click on the View Metadata button.
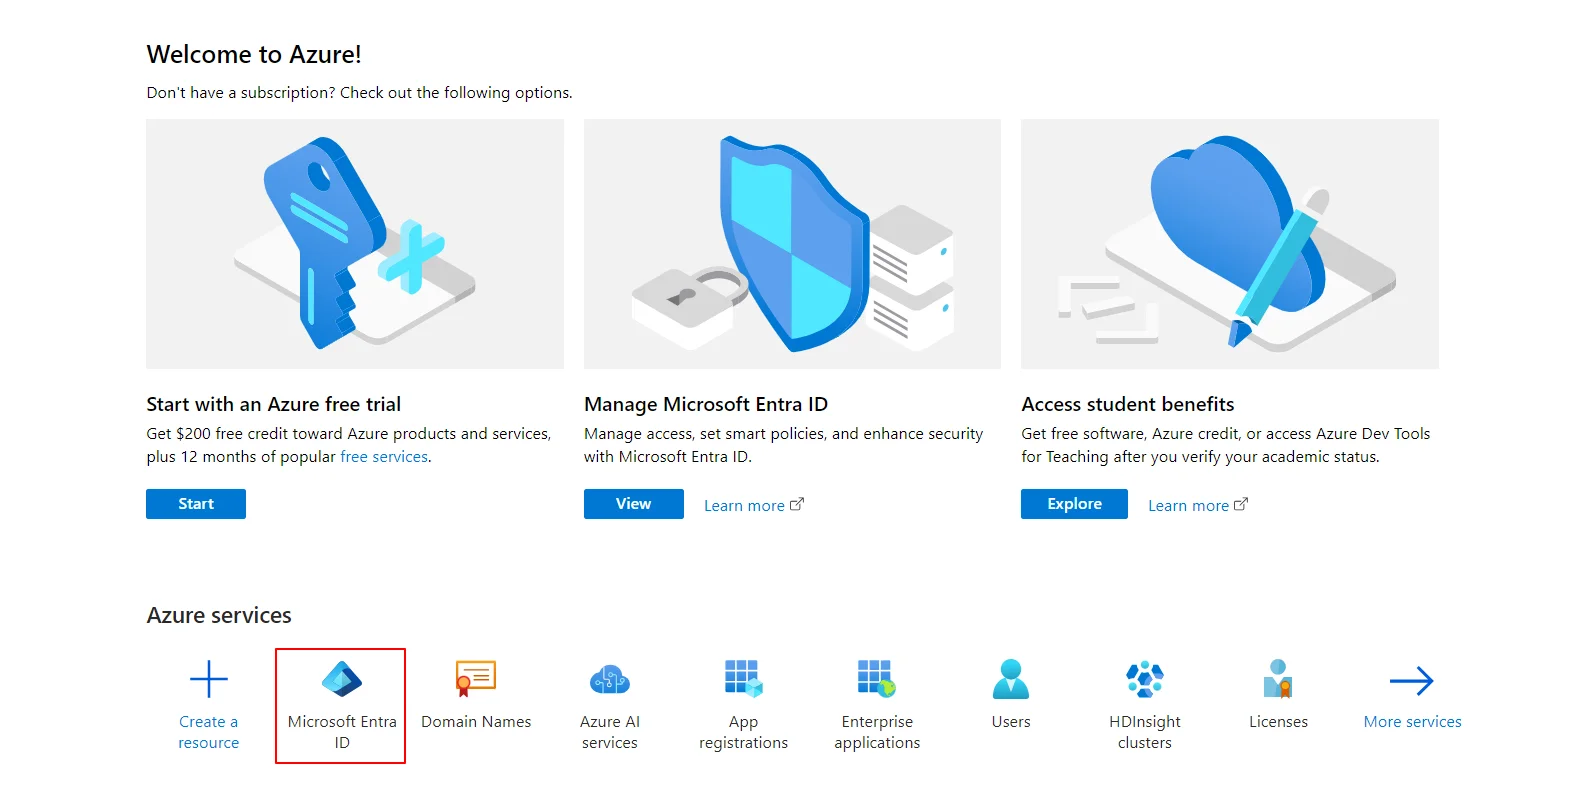
- Now Log in to Microsoft Entra ID (Azure AD) Portal
- Select Azure Active Directory (AAD).
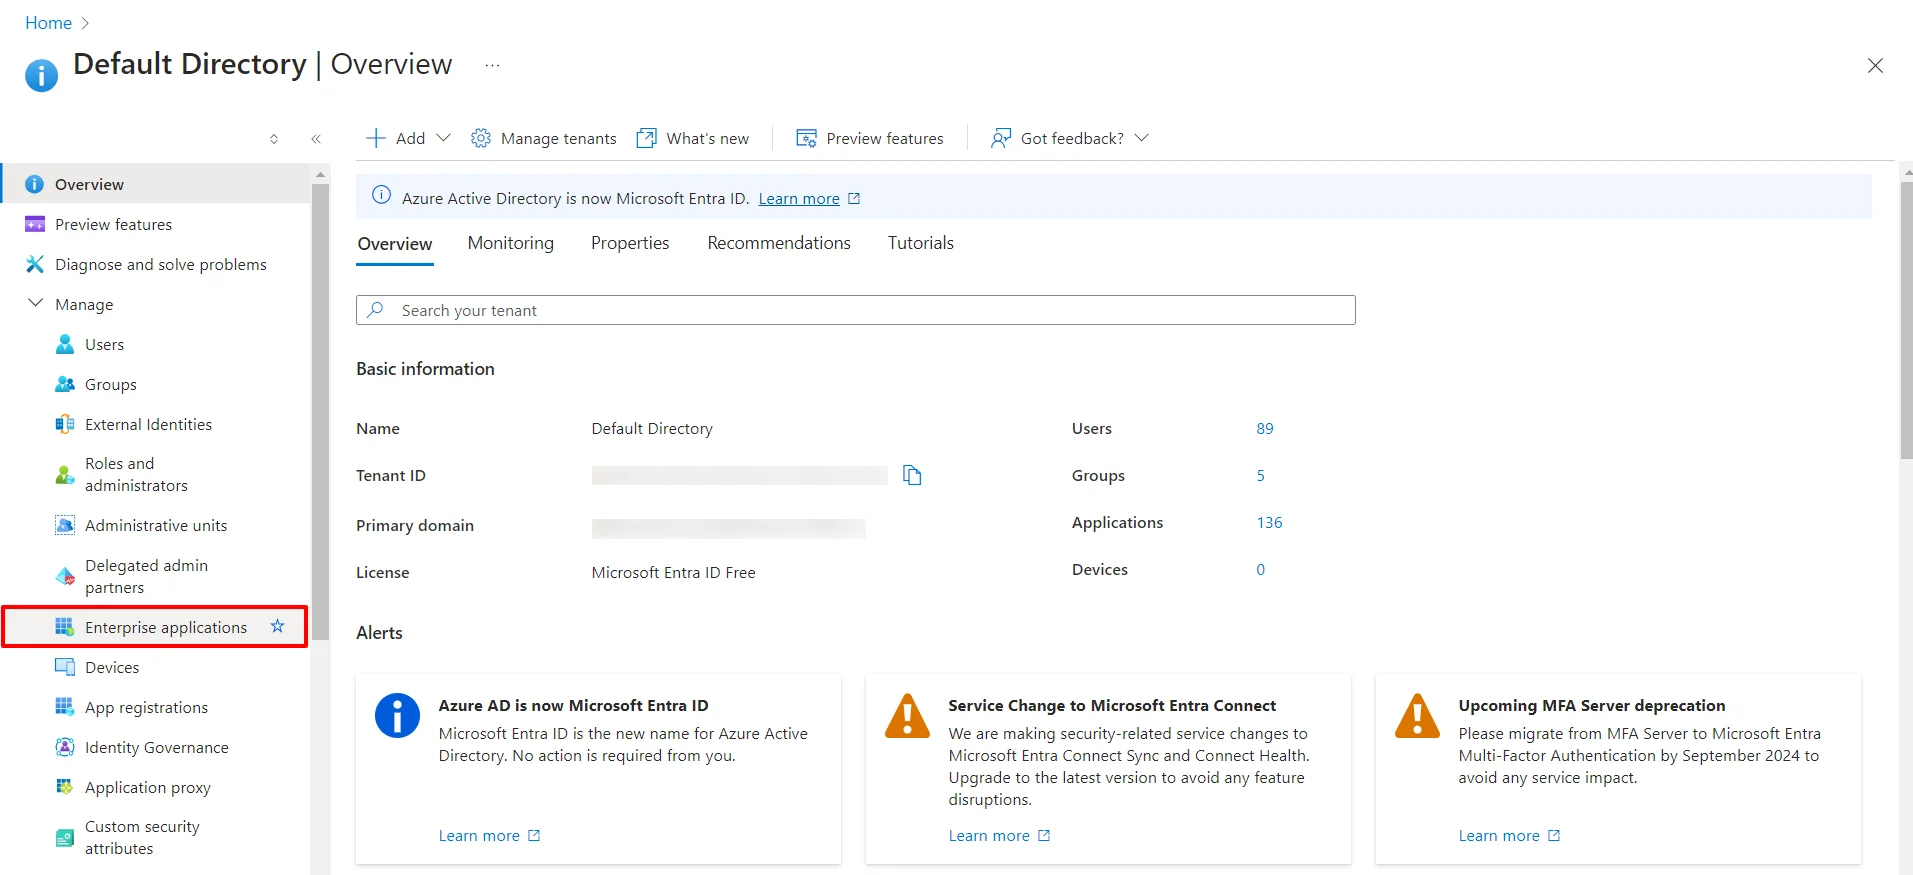
- Select Enterprise Application.
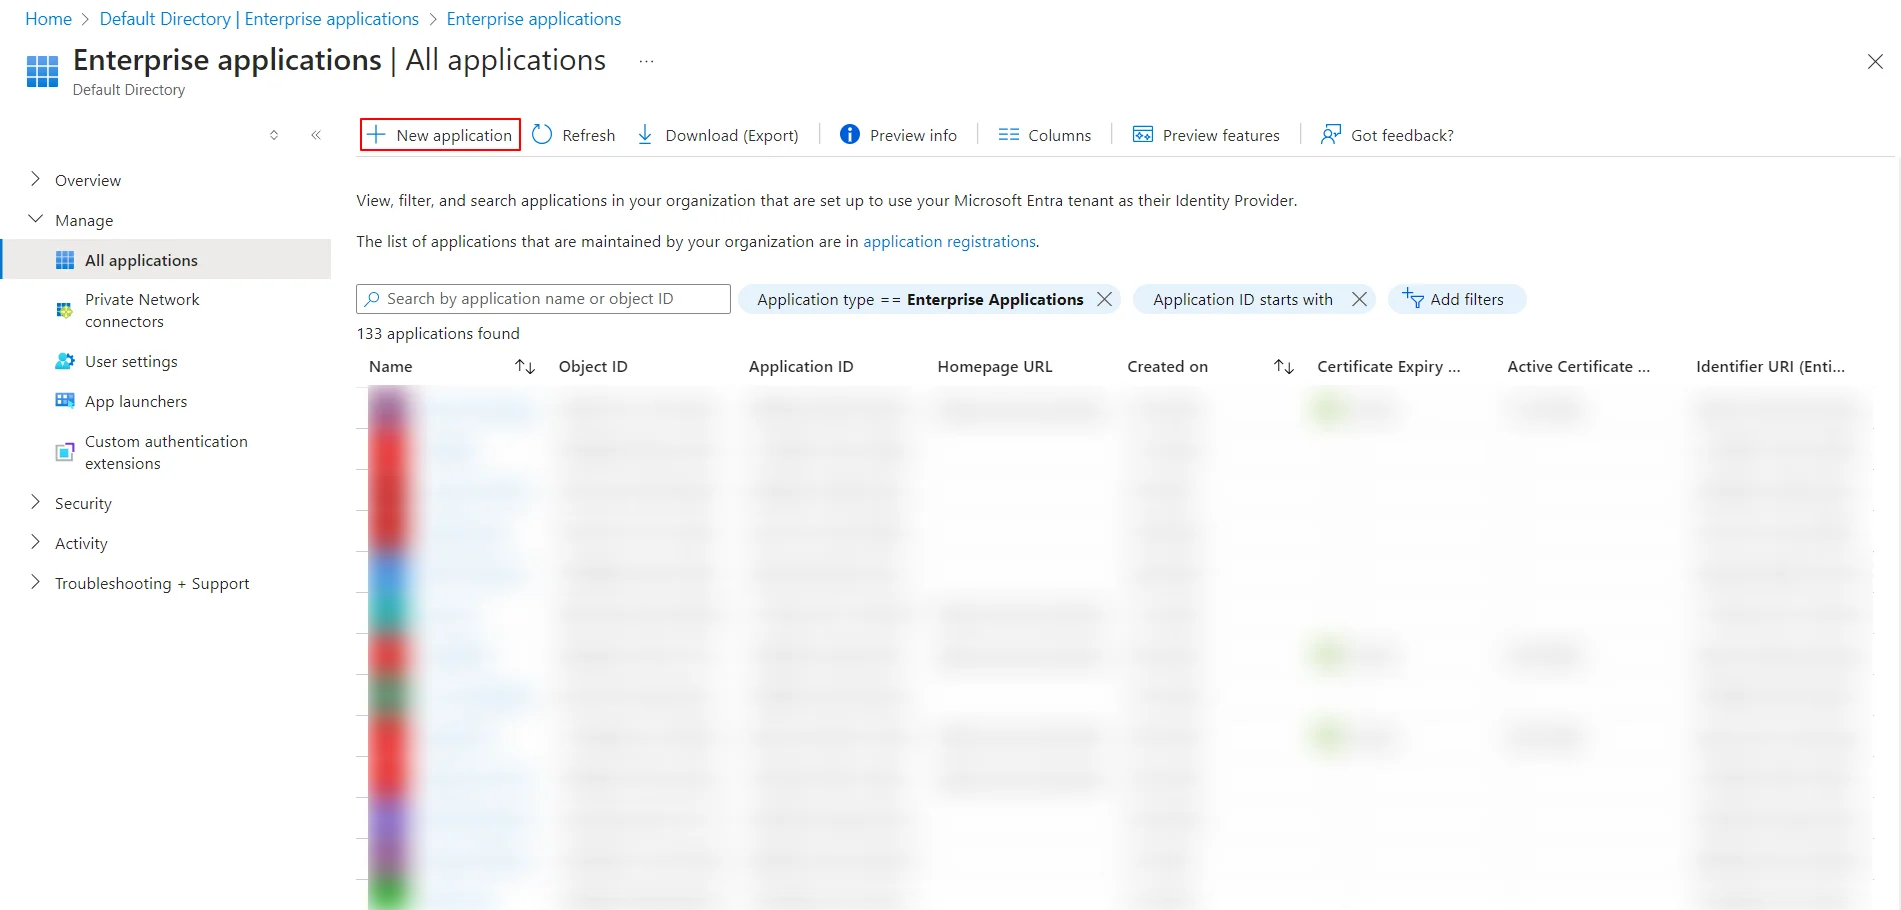
- Click on New Application.
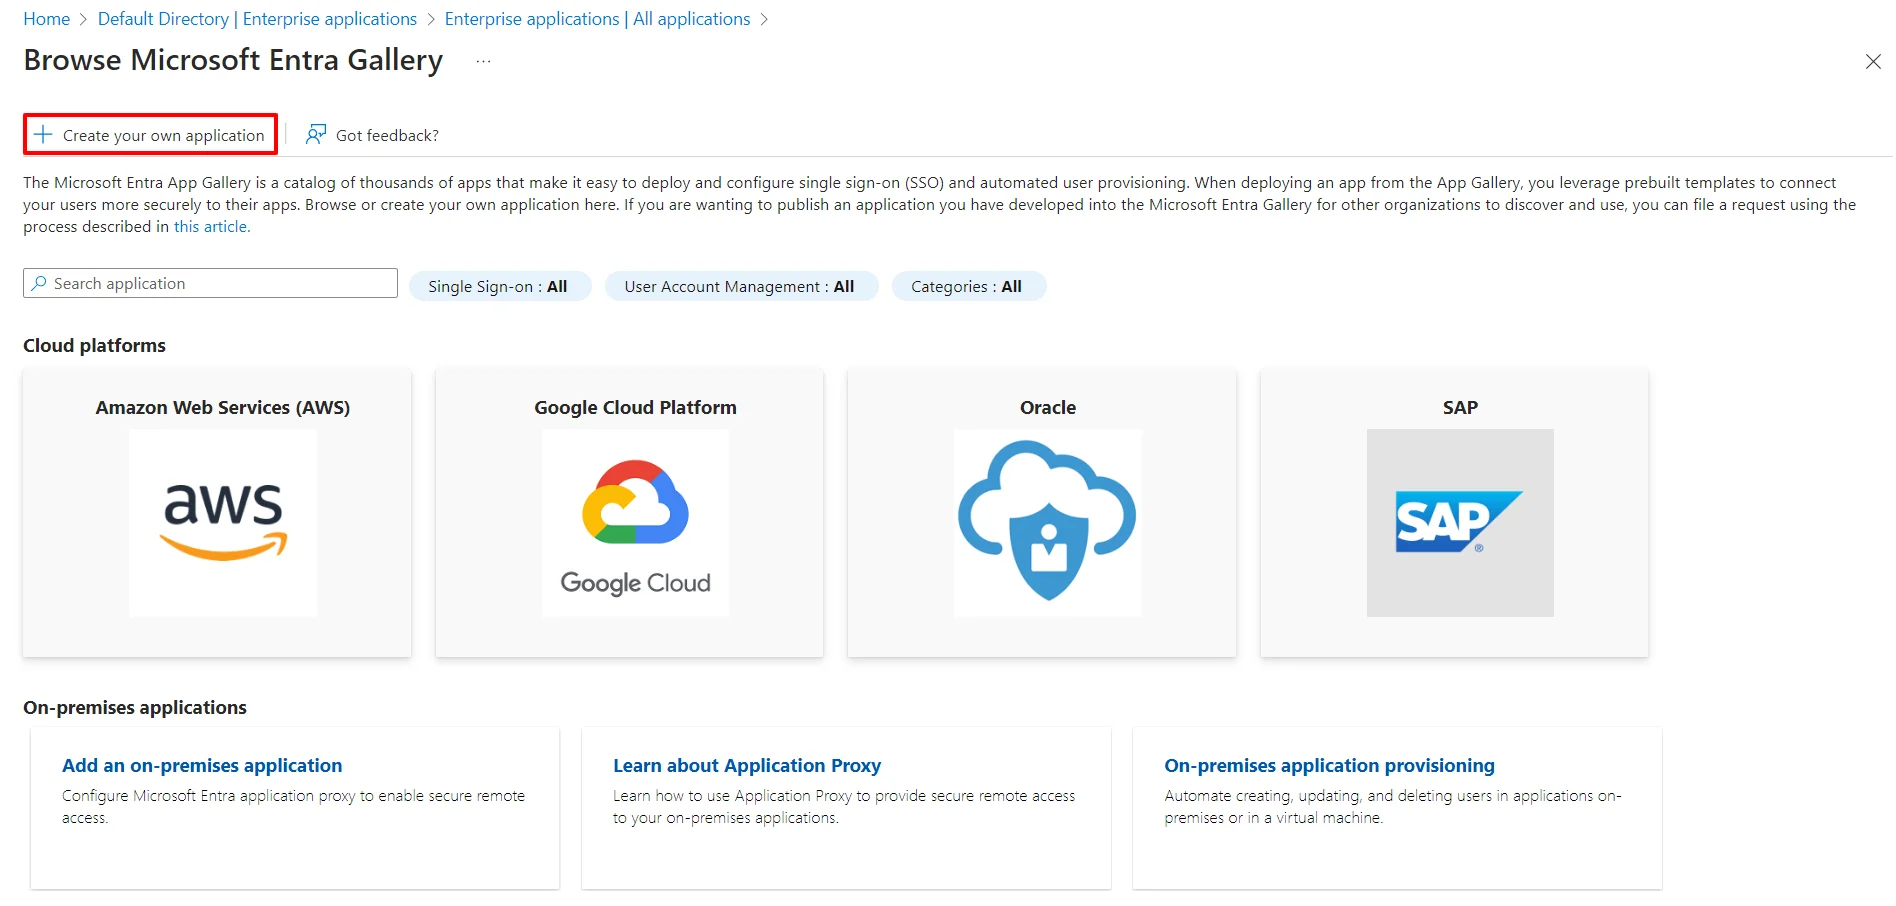
- Click on Create your own Application under Browse Microsoft Entra ID (Azure AD) Gallery.
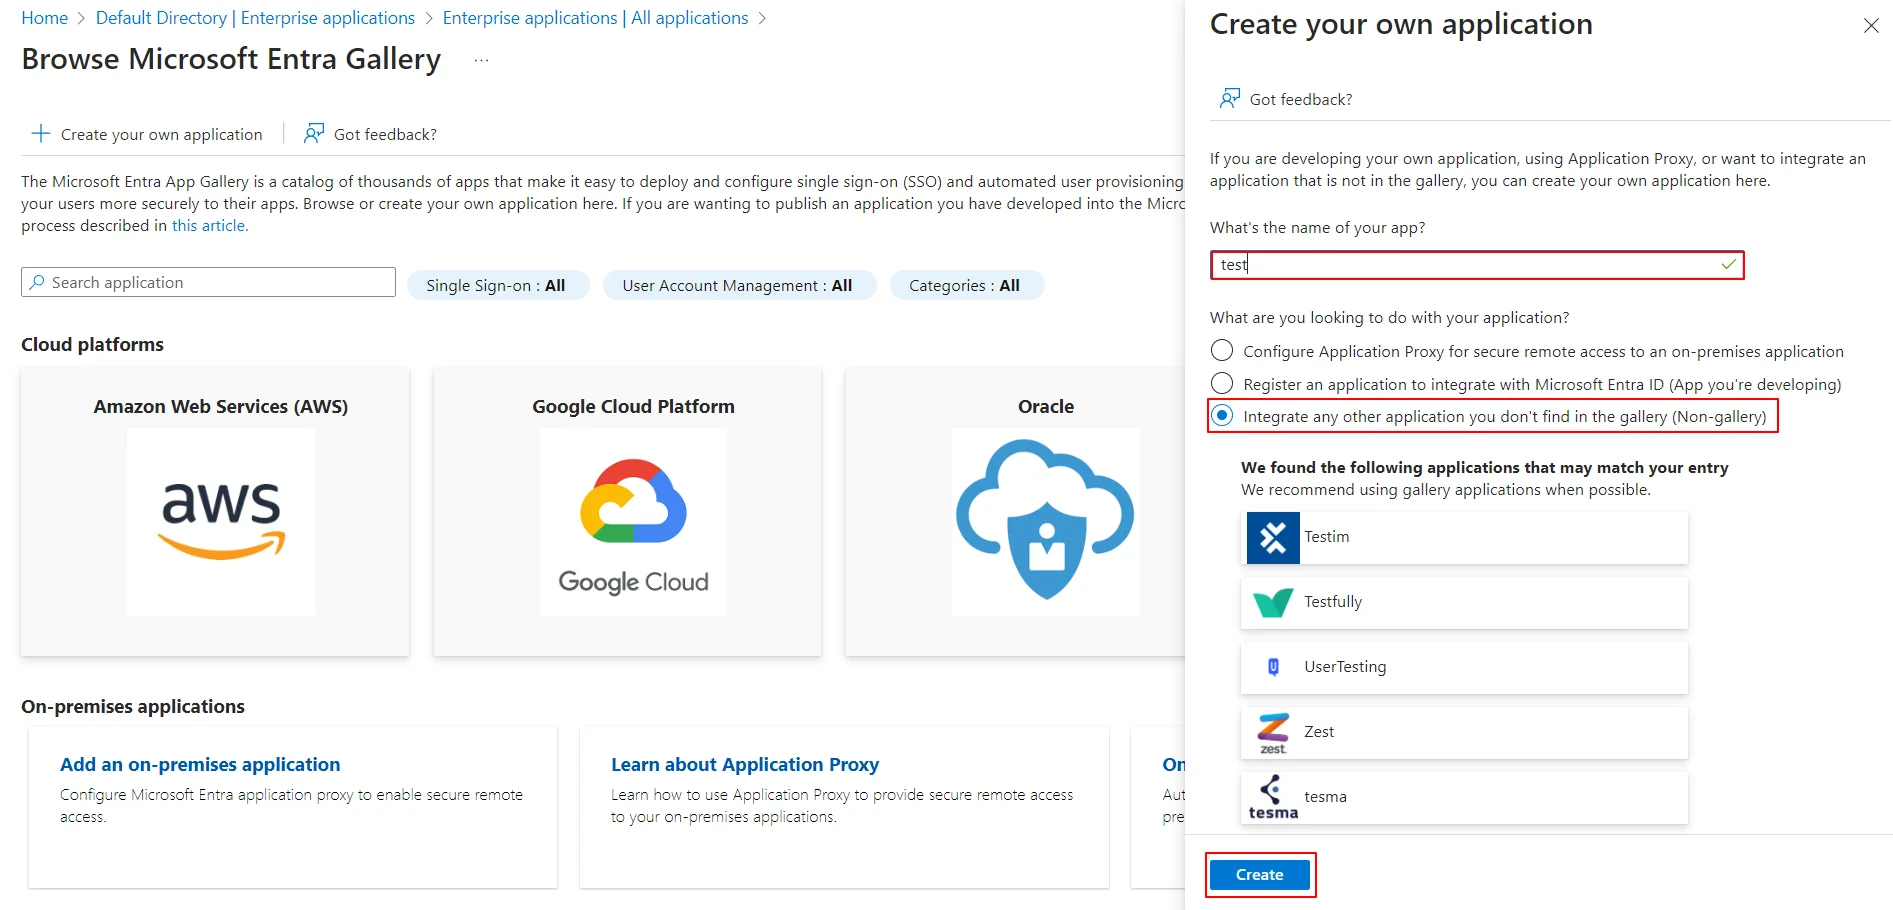
- Enter the name for your app, then select Non-gallery application section and click on Create button.
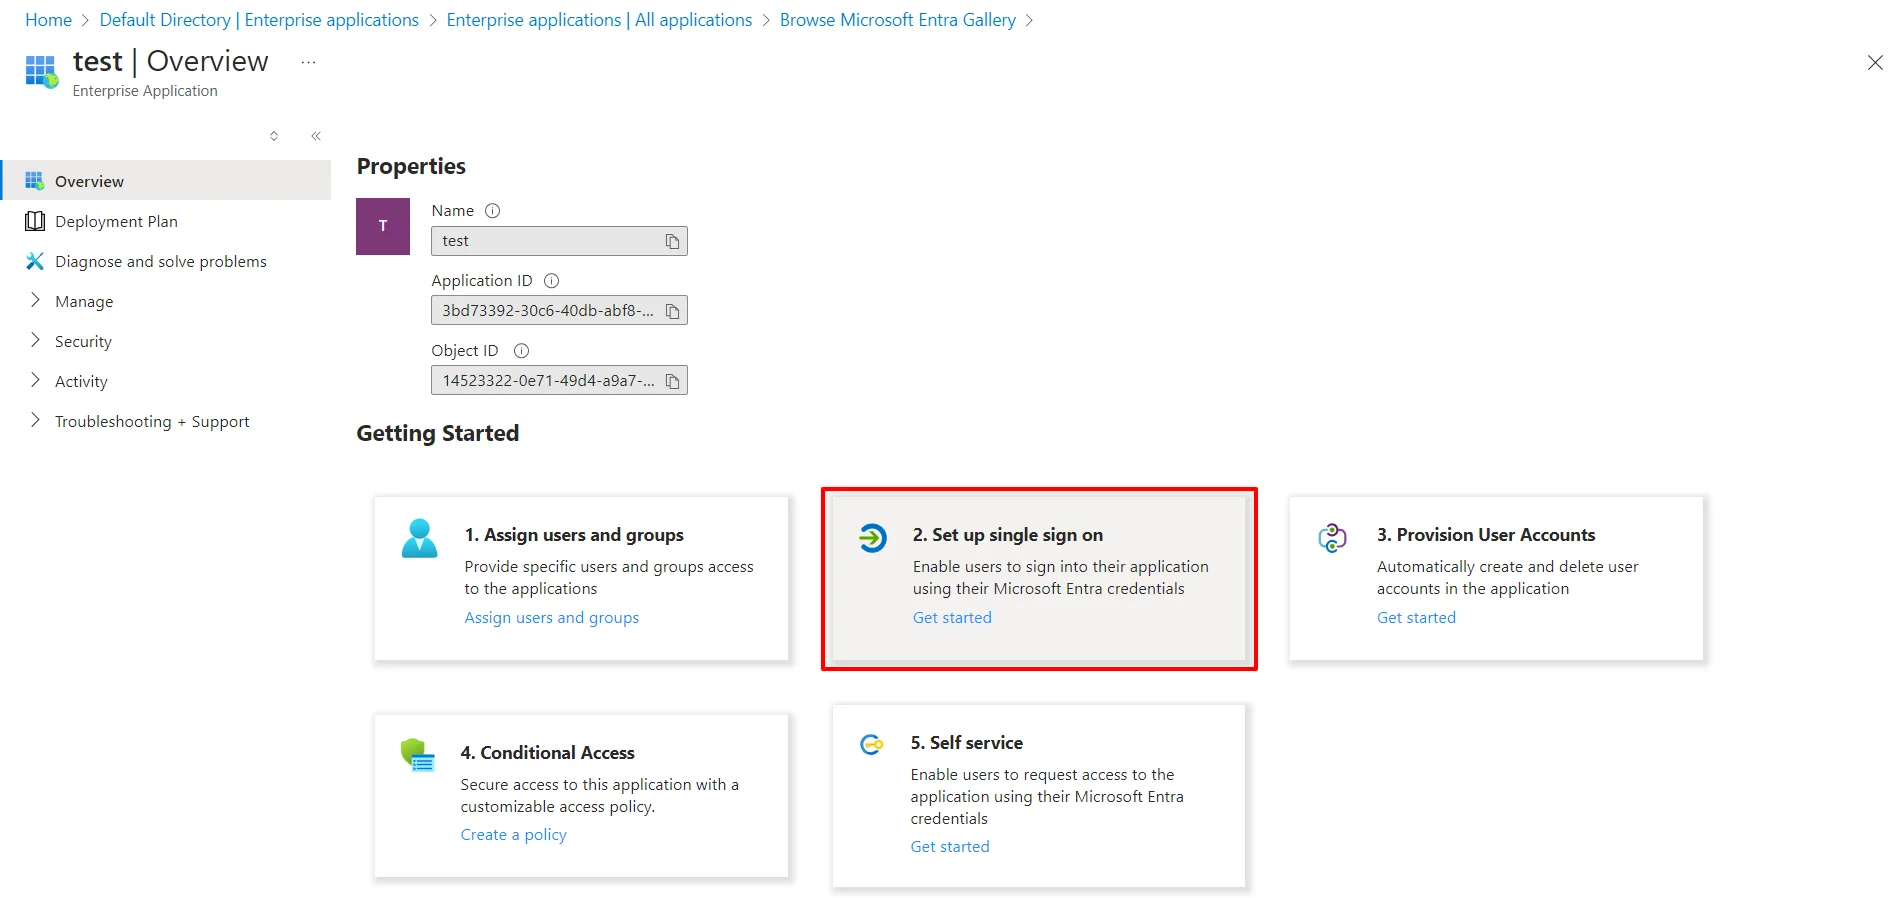
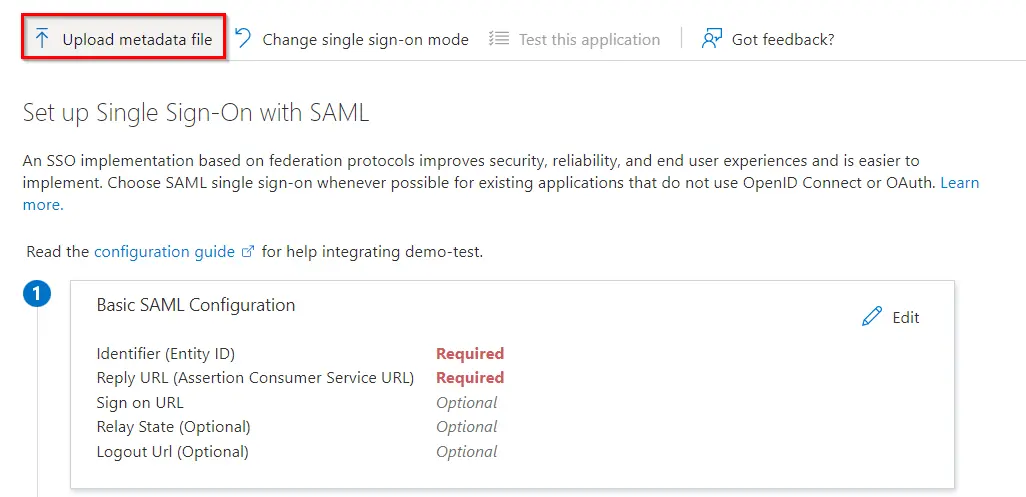
- Click on Setup Single Sign-On.
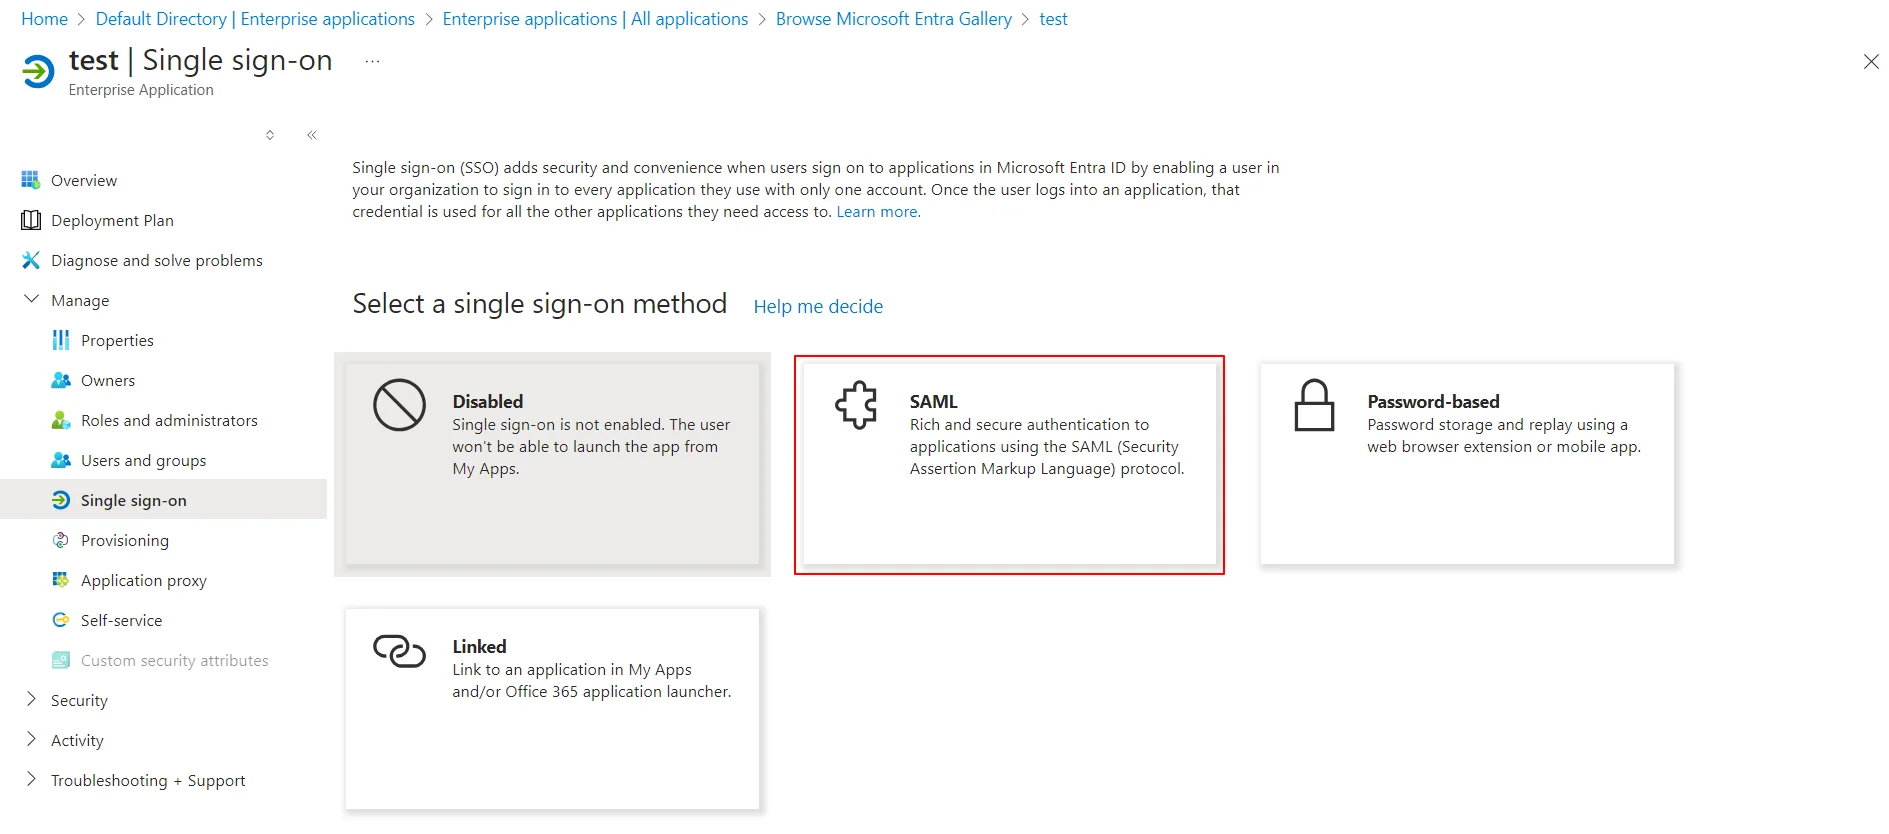
- Select the SAML tab.
- Upload the downloaded metadata file to get the Entity ID, ACS URL, and the Single Logout URL from miniOrange CASB
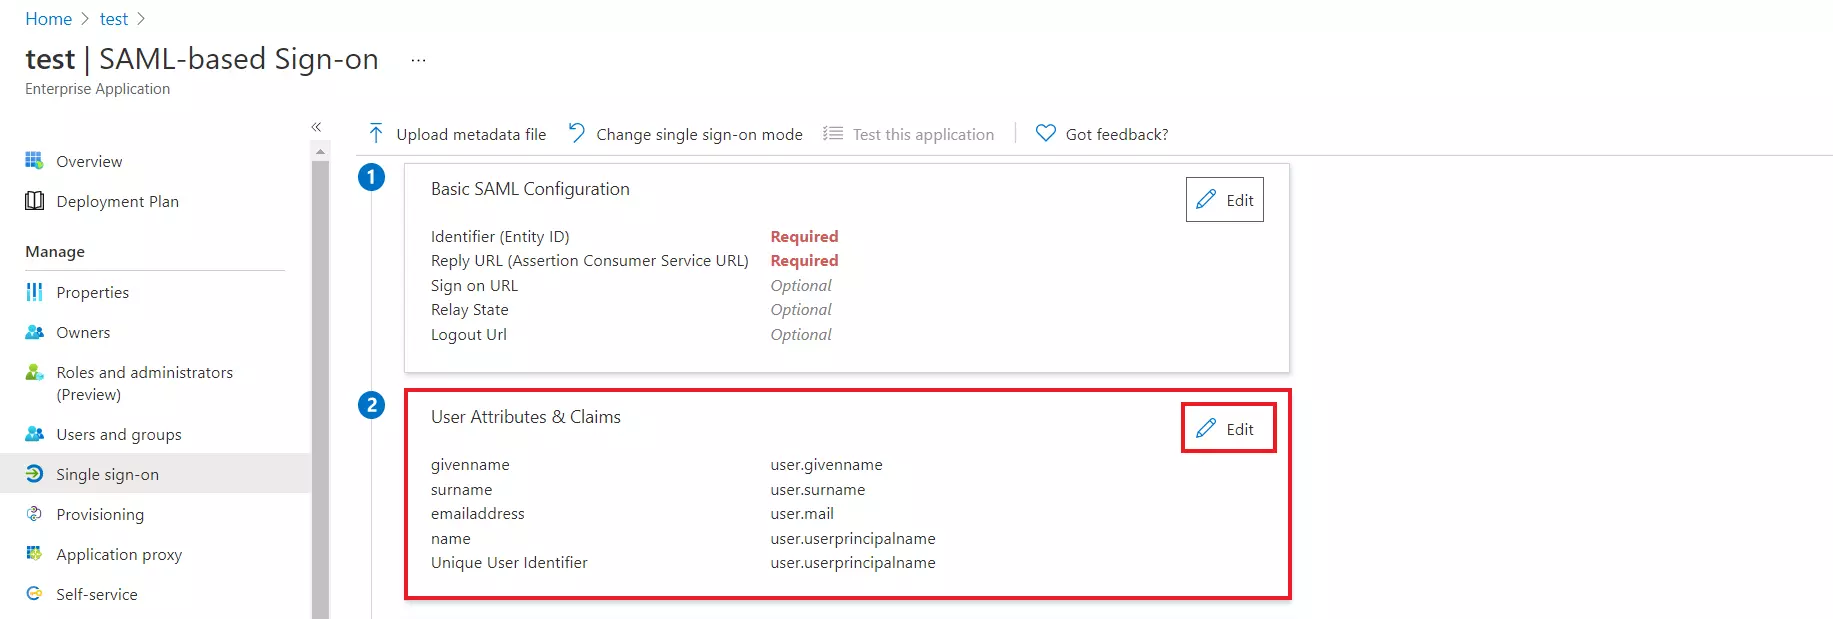
- By default, the following Attributes will be sent in the SAML response. You can view or edit the claims sent in the SAML response to the application under the Attributes tab.
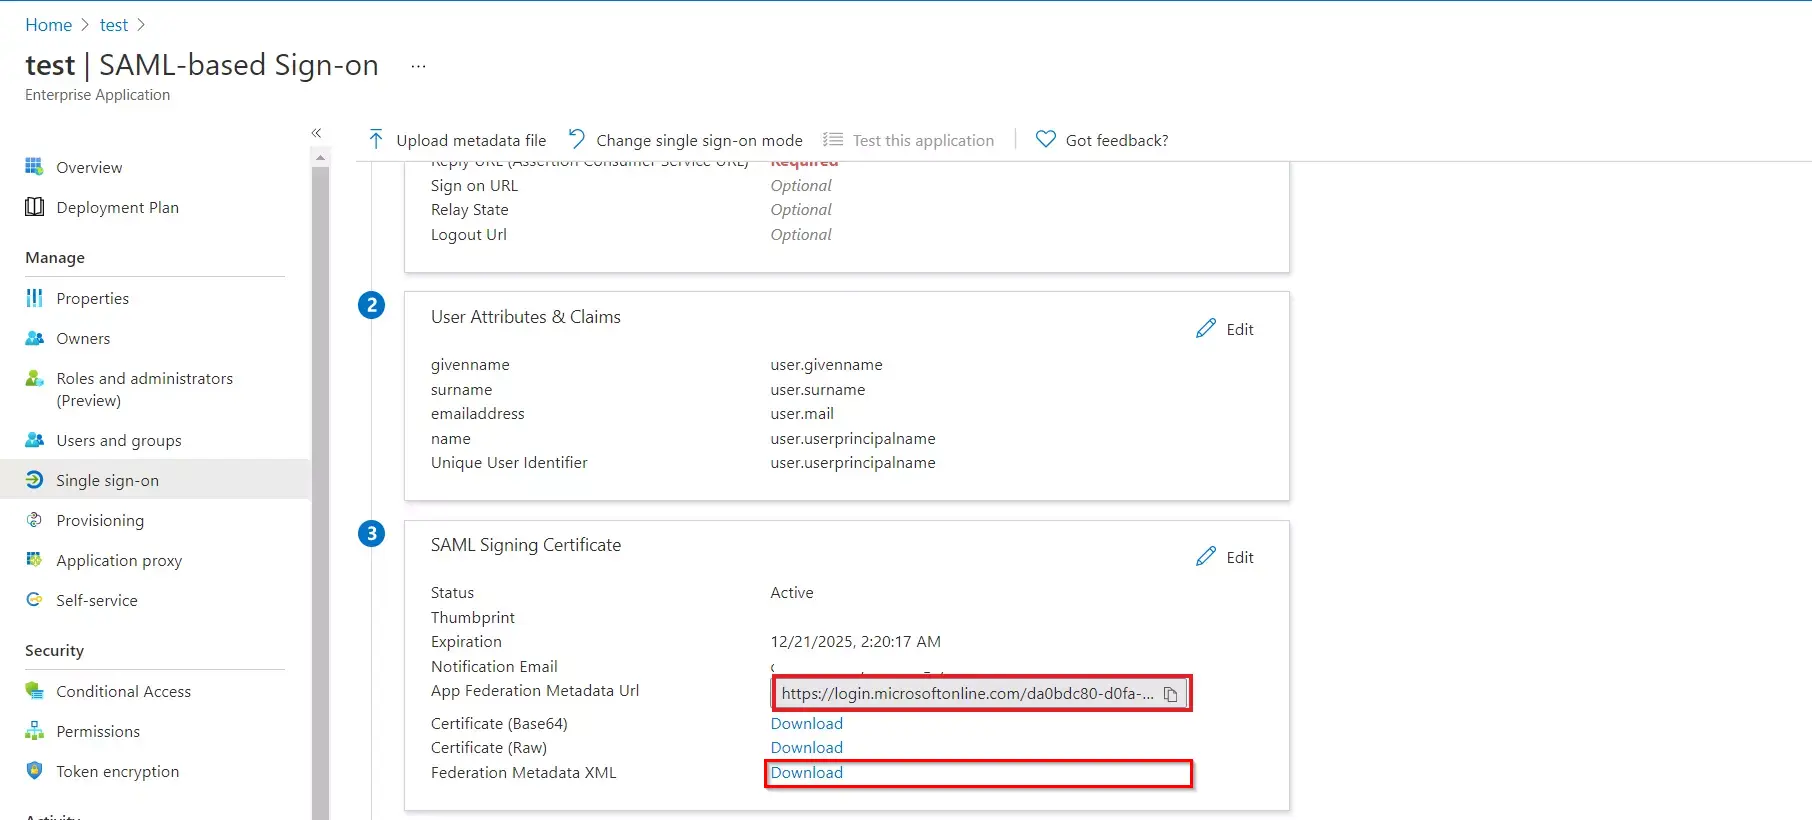
- Copy the App Federation Metadata Url or Download the Federation Metadata XML file to get the Endpoints required for configuring your Service Provider.
- Assign users and groups to your SAML application.
- As a security control, Microsoft Entra ID (Azure AD) will not issue a token allowing a user to sign in to the application unless Microsoft Entra ID (Azure AD) has granted access to the user. Users may be granted access directly, or through group membership.
- On the Active Directory page, select All Groups and then select New group.
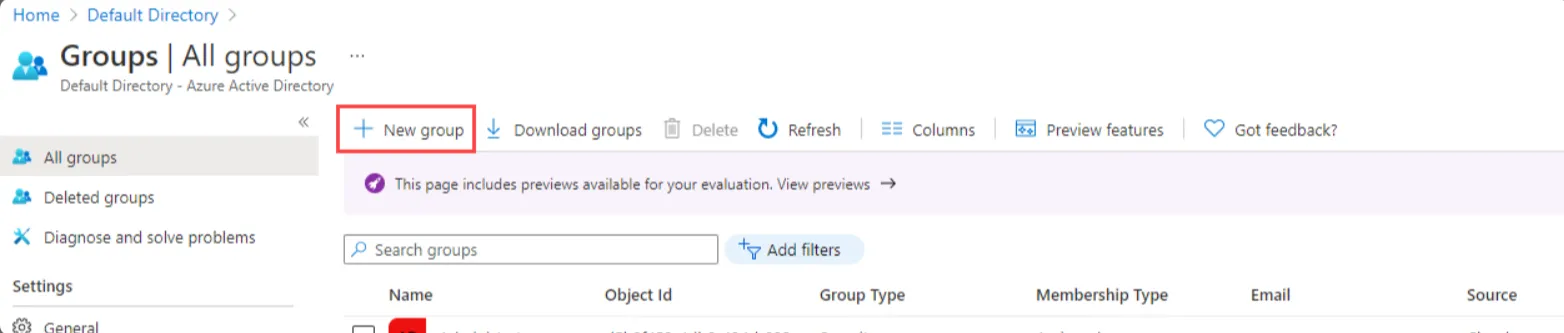
- The New Group pane will appear and you must fill out the required information.
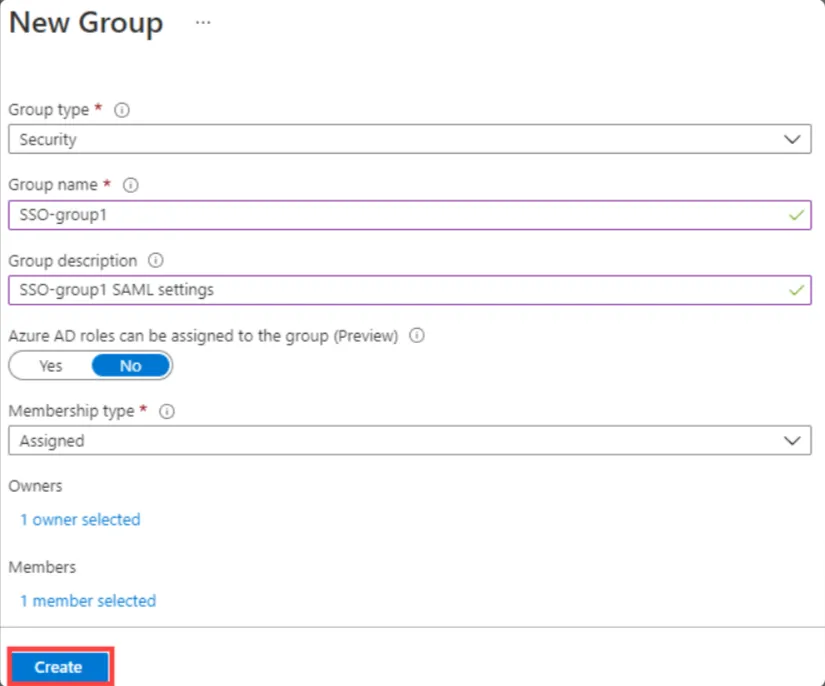
- Select the Group type as Security and Enter a Group name.
- Select Membership type as assigned.
- Select the Create button. Your group is created and ready for you to add members.
- Select the Members area from the Group page, Select Add members, and then begin searching for the members to add to your group.

- When you are done adding members, choose Select.
- You can also assign a role to your application under App roles section. Finally, click on Assign button to assign that user or group to the SAML application.
Step 3. Configure Microsoft Entra ID (Azure AD) as IDP in CASB
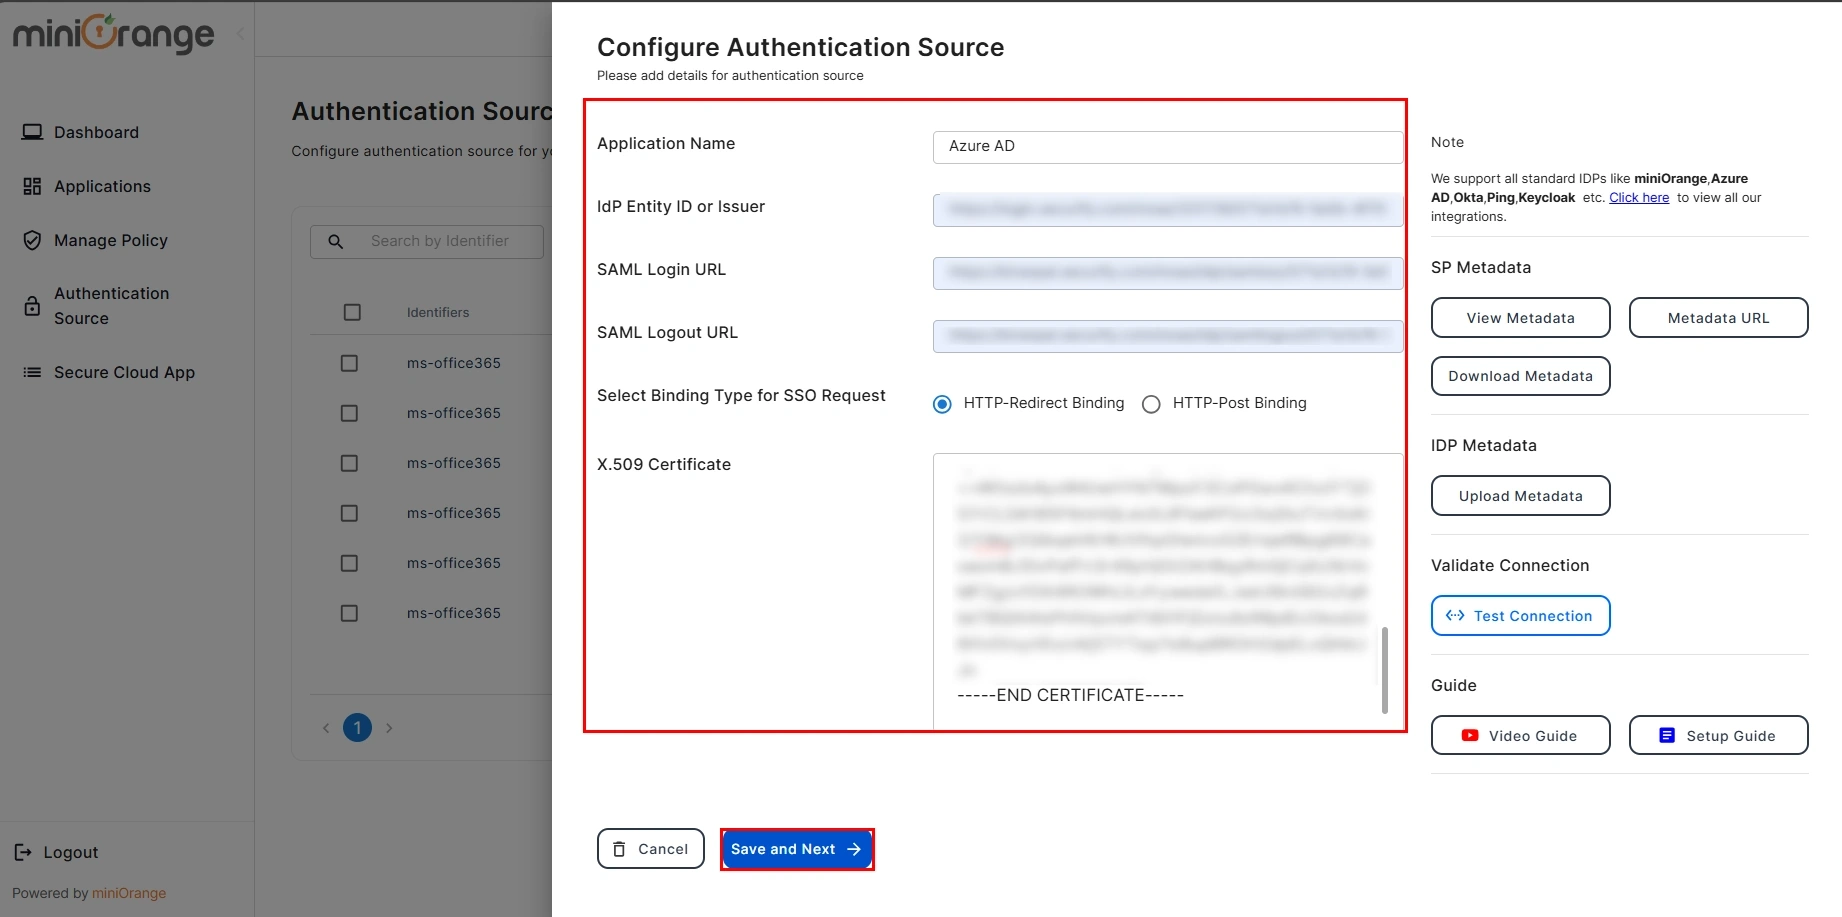
- Now, you will need to enter the required information like IDP Entity ID, SAML Login URL, SAML Logout URL and X509 Certificate which you will find in your Identity Provider metadata. Also, Select the Binding Type for SSO Request, you will get its details from the IDP metadata but if you are not sure then keep the HTTP-Redirect Binding selected for default configuration.
- Click the Save button once you have filled out all the details.
- You have successfully configured SAML Authentication with a Cloud Access Security Broker (CASB).

Not able to configure or test Microsoft Entra ID (Azure AD) SSO for CASB?
For this, you need to Contact us or email us at uemsupport@xecurify.com and we'll help you setting it up in no time.
External References
miniOrange CASB offers a wide variety of security features with flexible scalability, all available at the most affordable price to all types of businesses. Start by signing up now!