Step 1: Set Up AWS as Identity Provider
- Go to AWS, search for AWS Single Sign-On in AWS Services or click on this link.
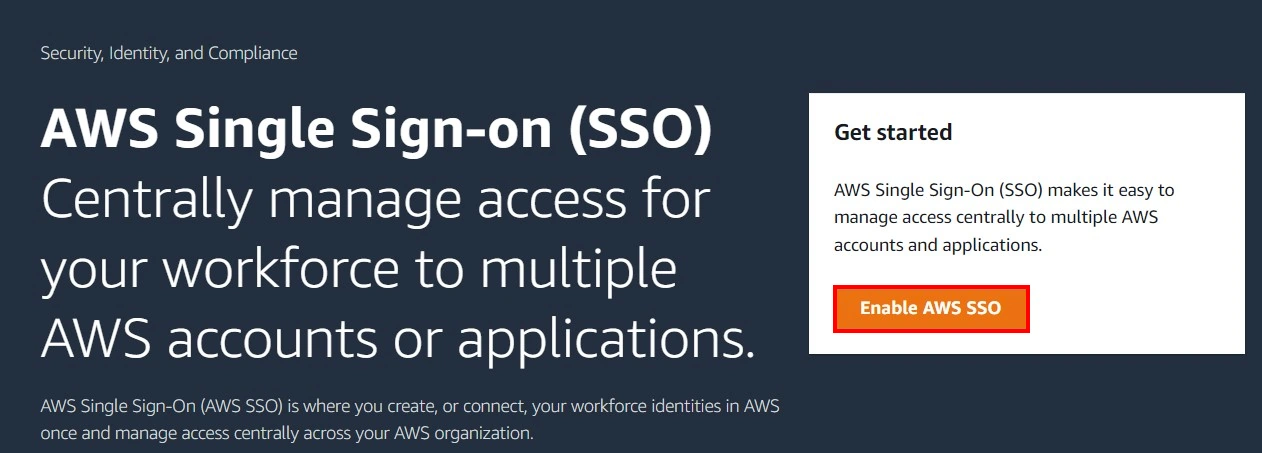
- After opening the AWS SSO Service, select Enable AWS SSO.
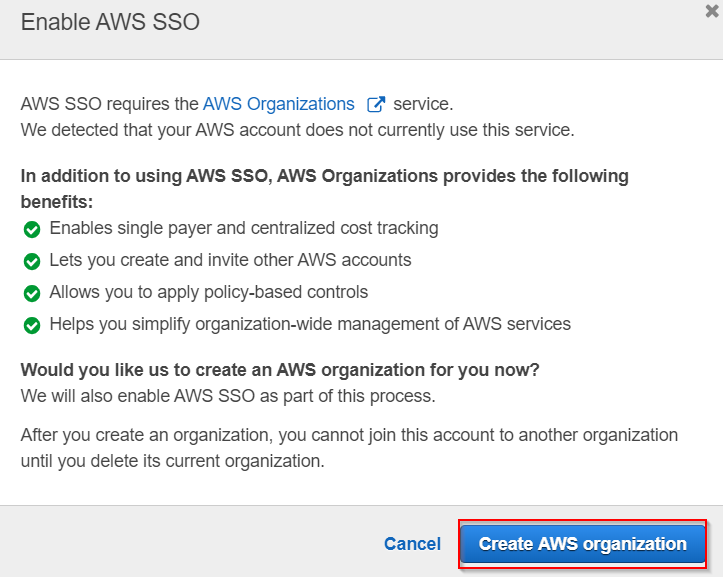
- Click on Create AWS Organisation .
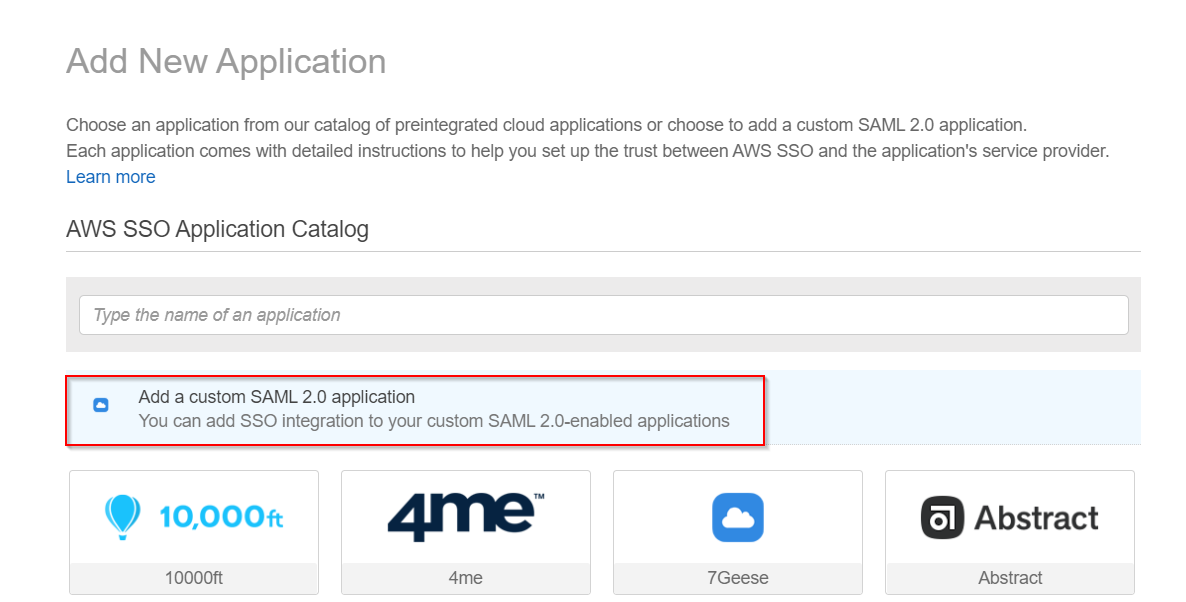
- Click on Applications → Add a new application.
- Select Add a custom SAML 2.0 application.
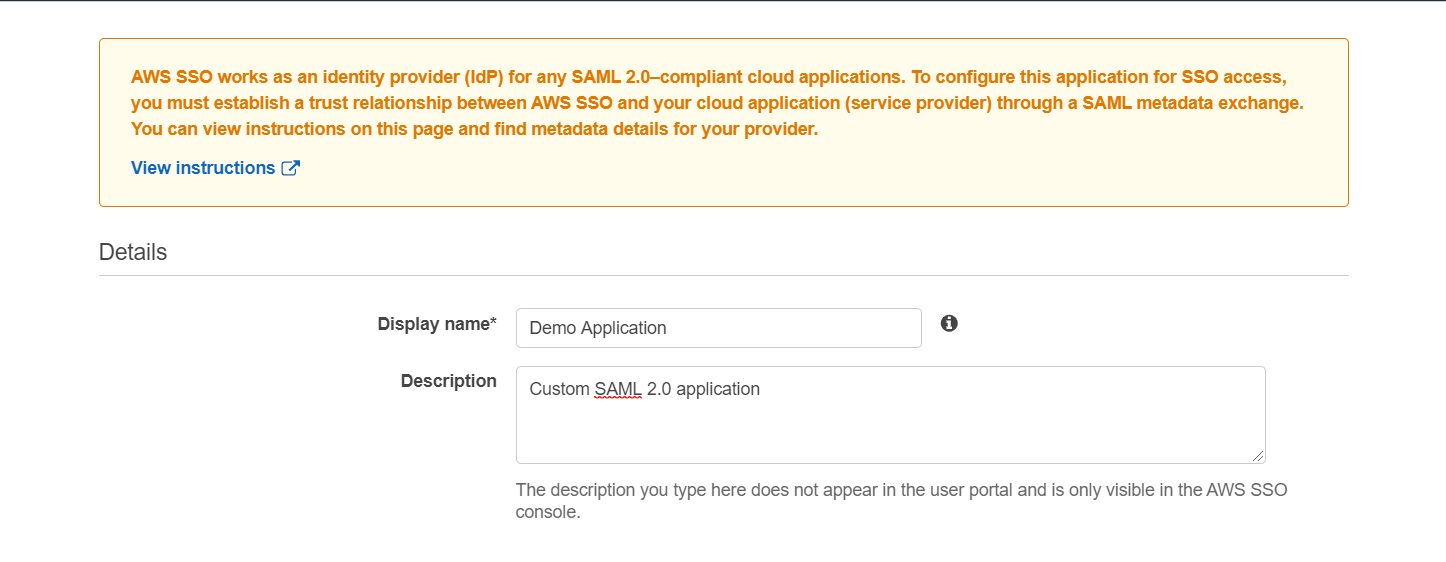
- Fill the Details of the application.
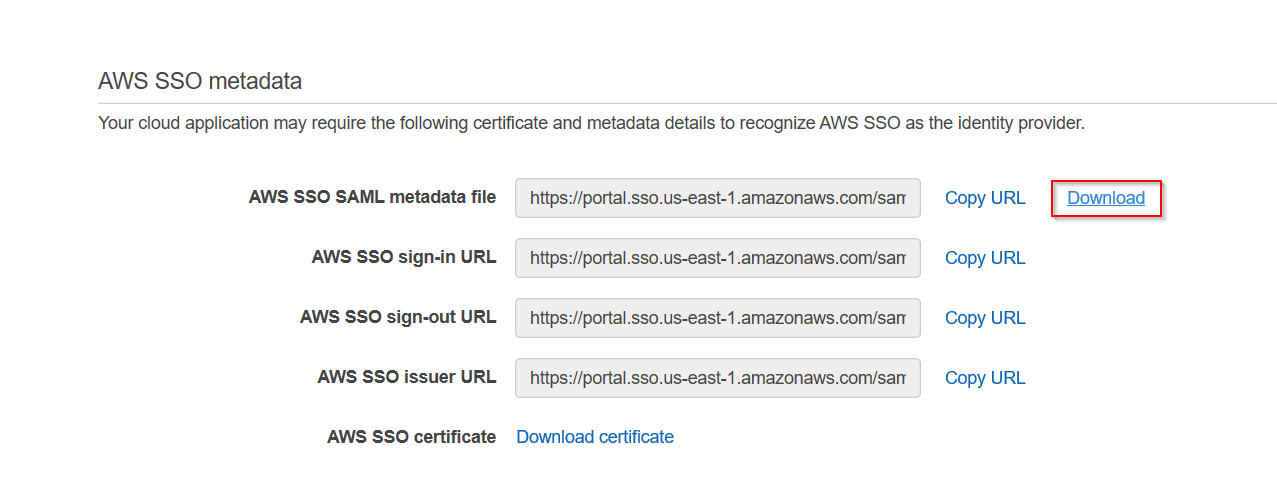
- Download AWS SSO SAML Metadata file as it will be required by Service Provider in step-2.
- Go to miniorange SAML Single Sign-On Plugin → Service Provider Info tab → Download Metadata and upload it to the AWS Application Metadata section or you can copy the SP Entity ID and ACS URL from the plugin and configure endpoints manually.
- Click on Save changes and your Demo Application has been configured.
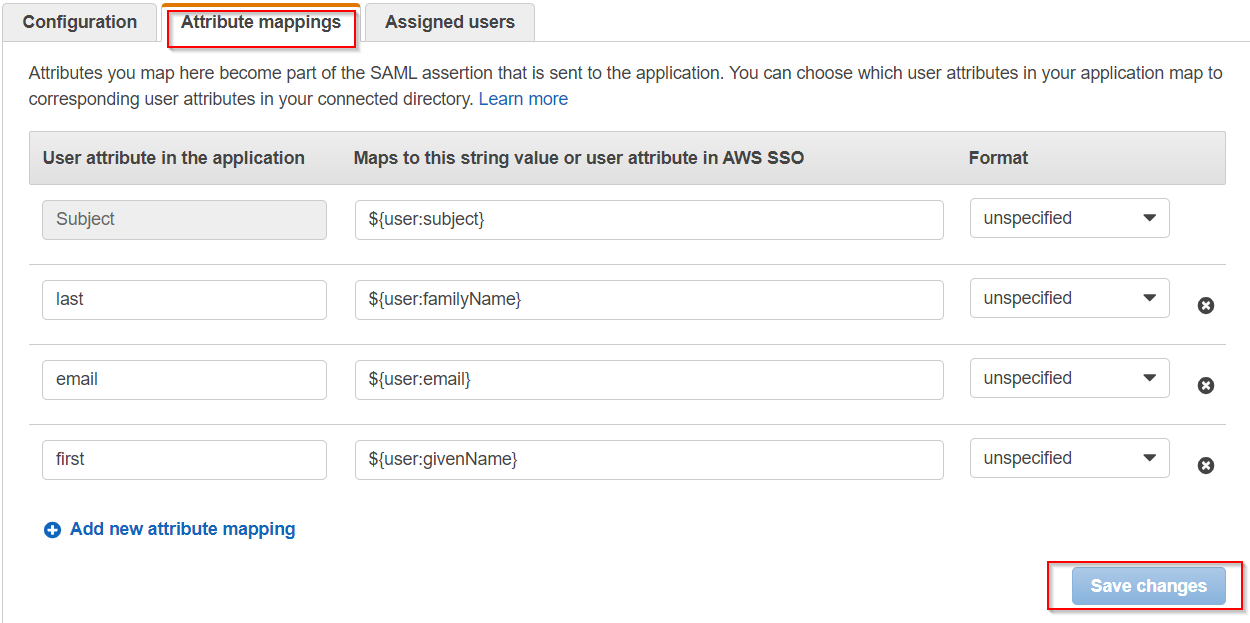
- Go to Attribute Mappings configure the various attributes (first name, last name and e-mail address) for the SAML response from the Attribute mappings tab as shown:
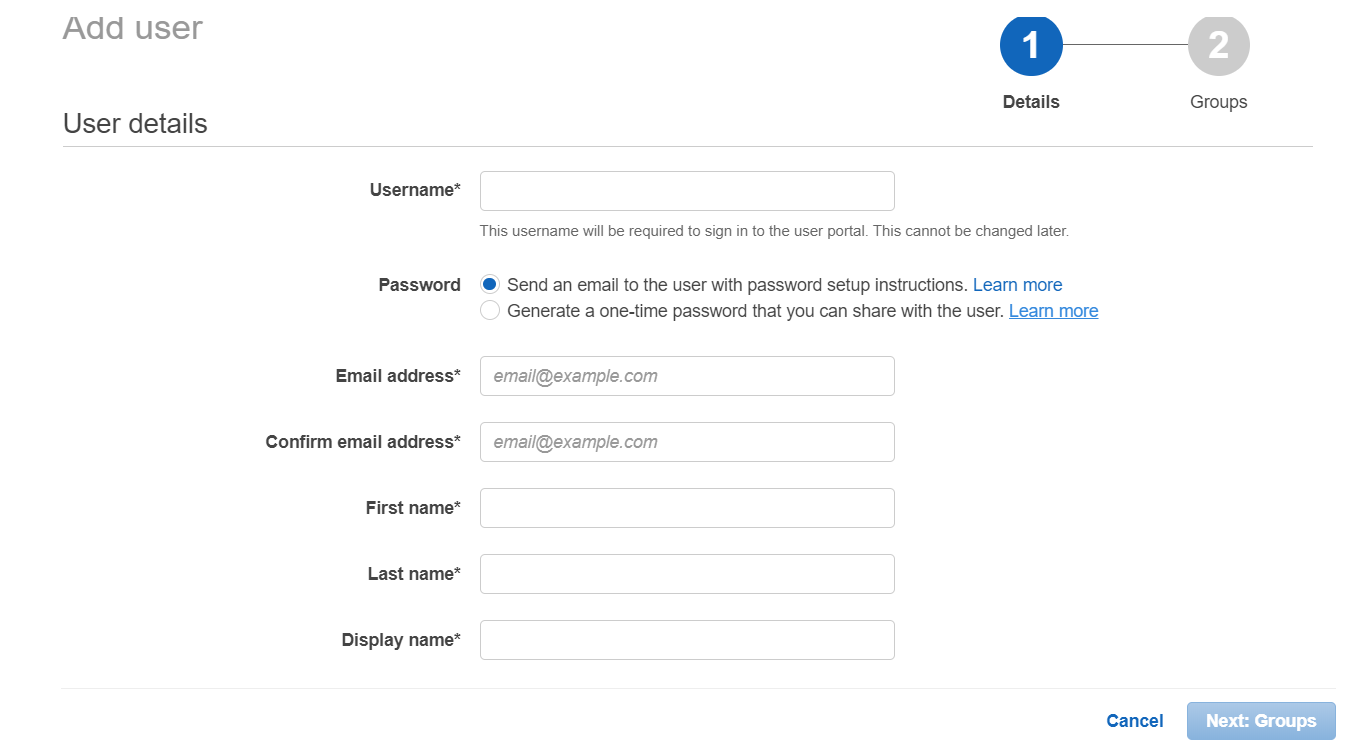
- Go to your configured Demo Application → Assigned users and add the users. If you want to assign new users you can navigate to the left section and go to Users→ Add User and Enter the User details and click on Next:Groups and assign group to users.
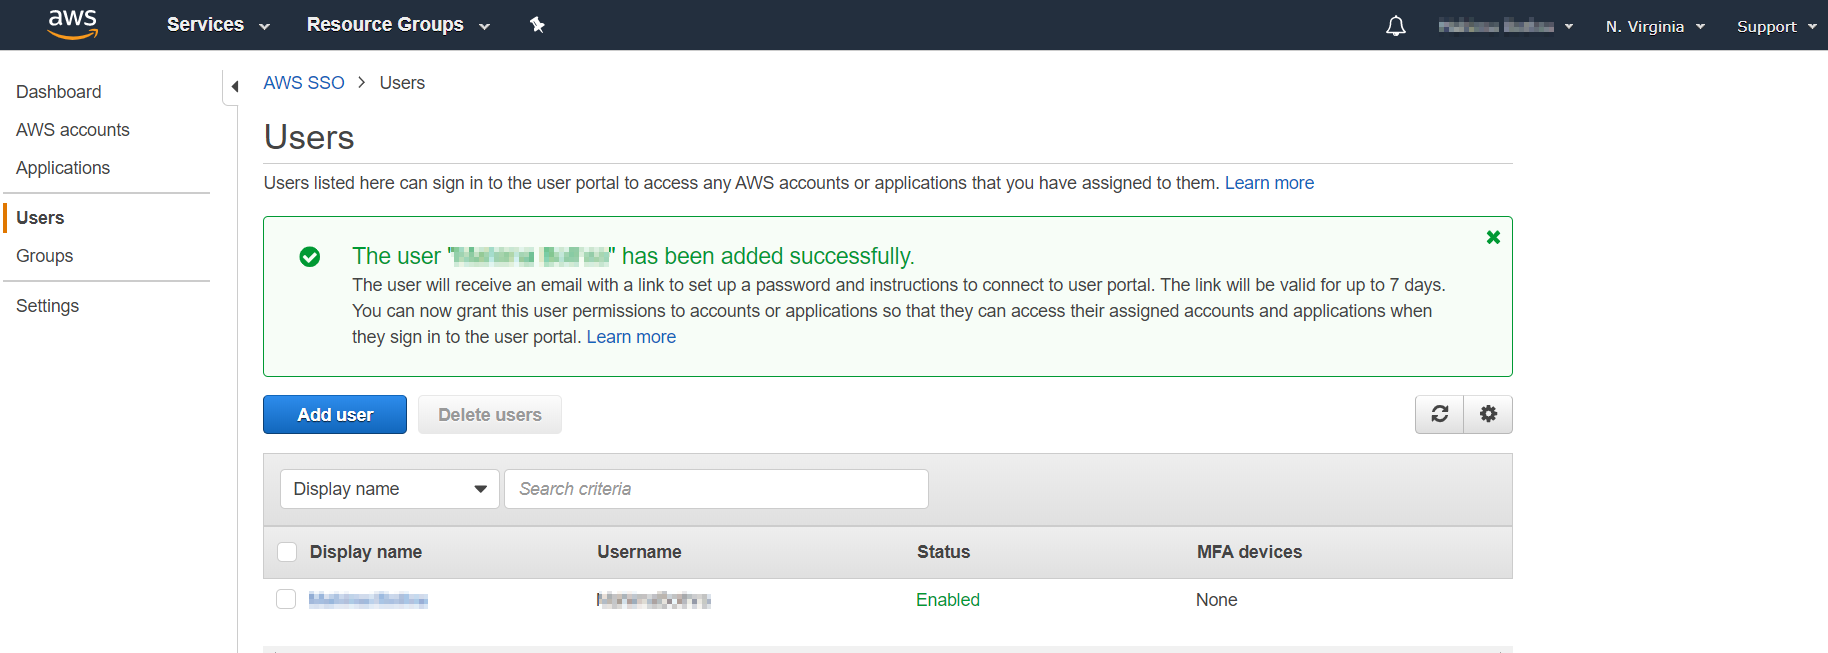
- Your user has been successfully added.