Step 1: Set Up Google Apps as Identity Provider
- Go to Google Admin Console and log in with your G Suite administrator account.
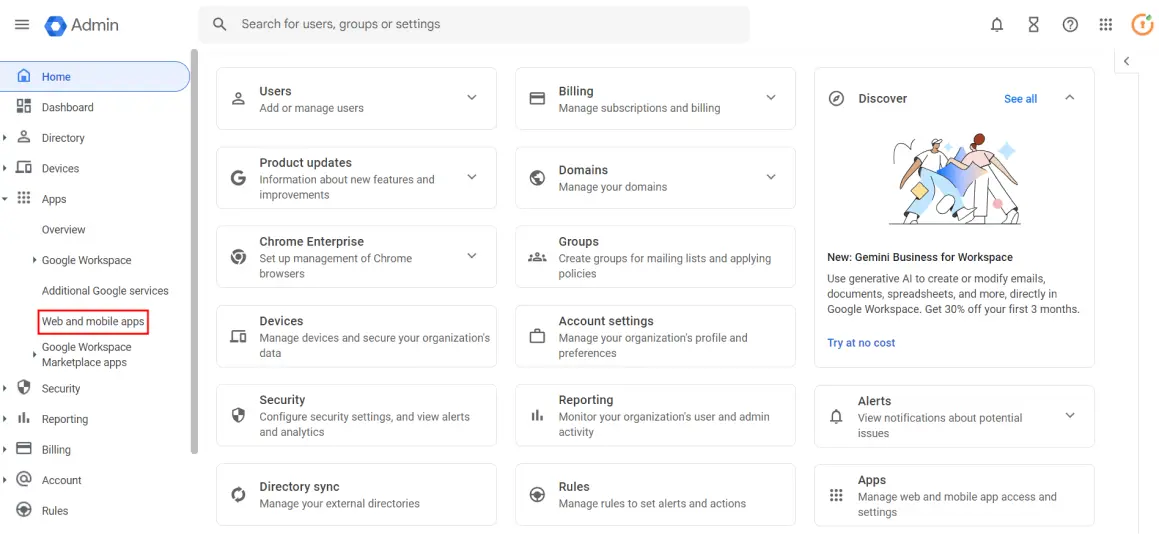
- Navigate to the Apps tab in the left menu and click on Web and mobile apps.
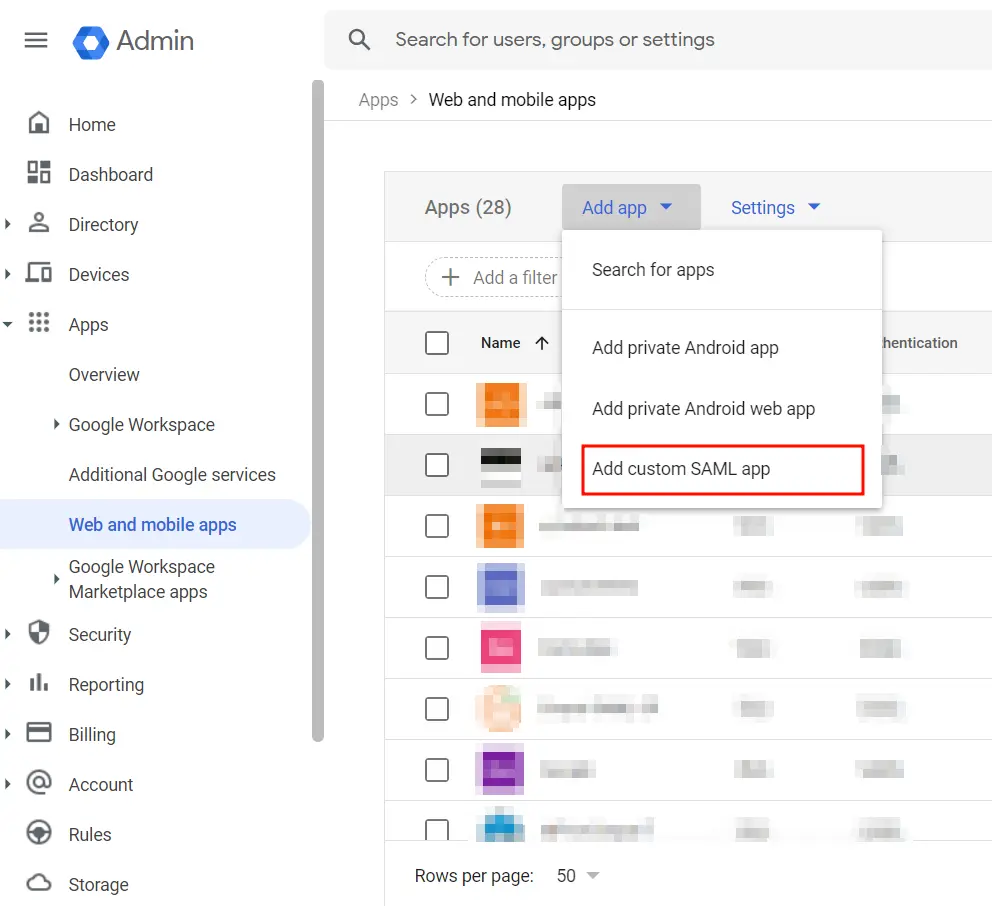
- Click on the Add App, then select Add Custom SAML app from the dropdown to create a new SAML app.
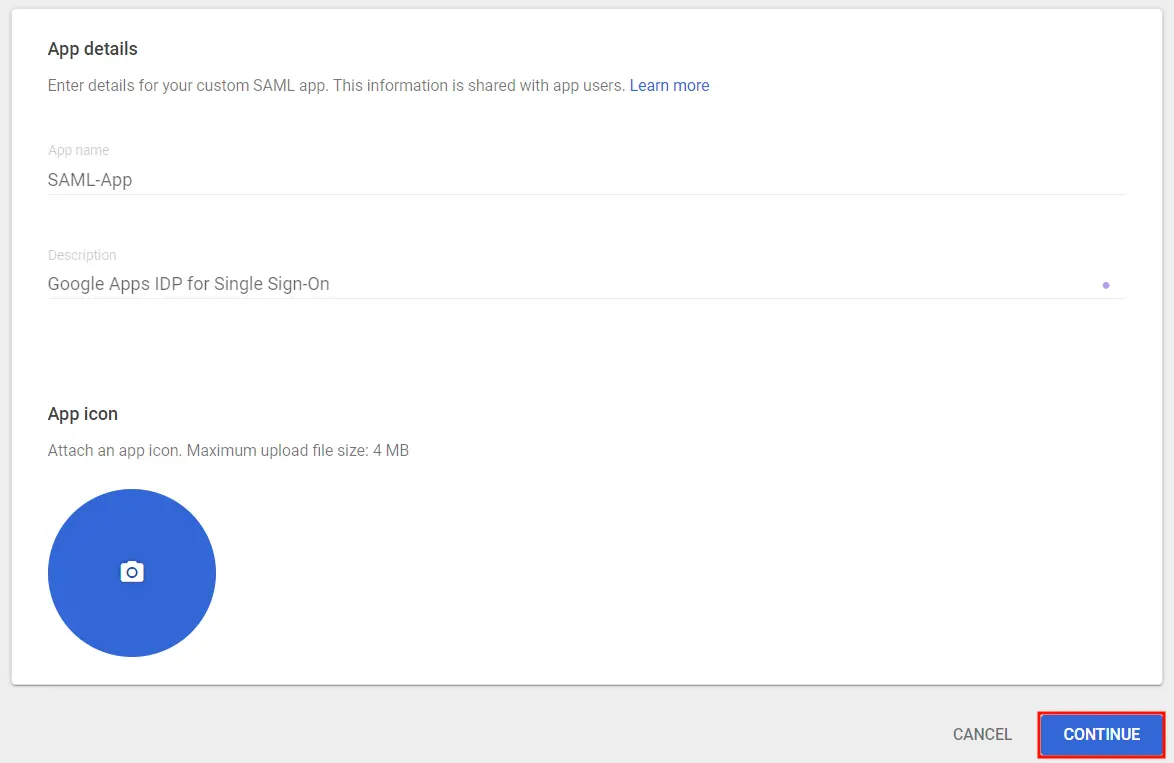
- Enter the details for your custom SAML app and click Continue.
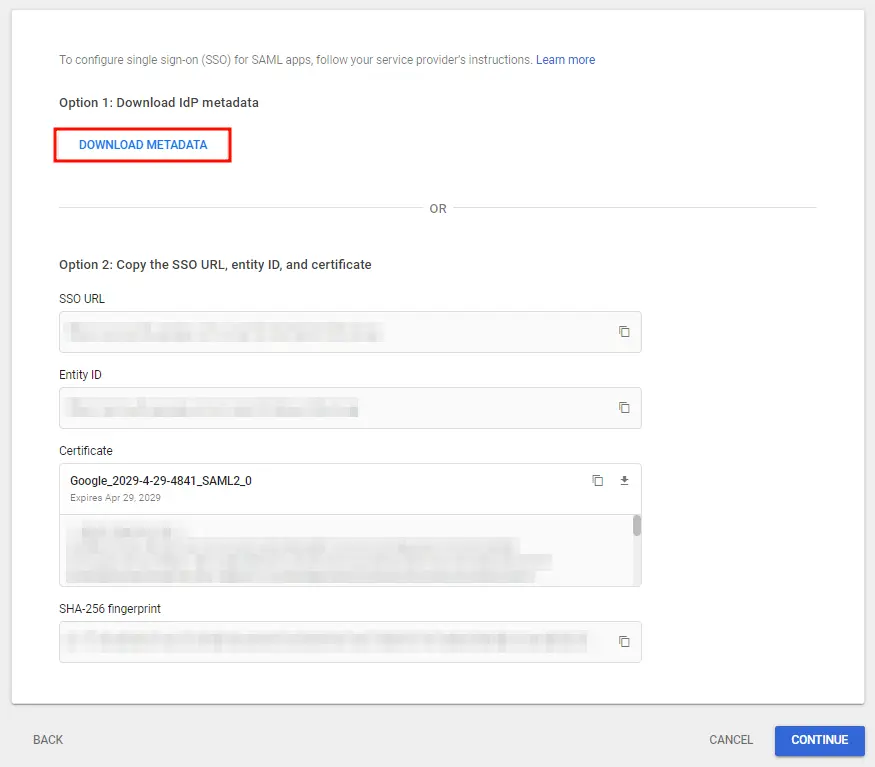
- On the next screen, click on Download Metadata to retrieve data needed to configure your Service Provider.
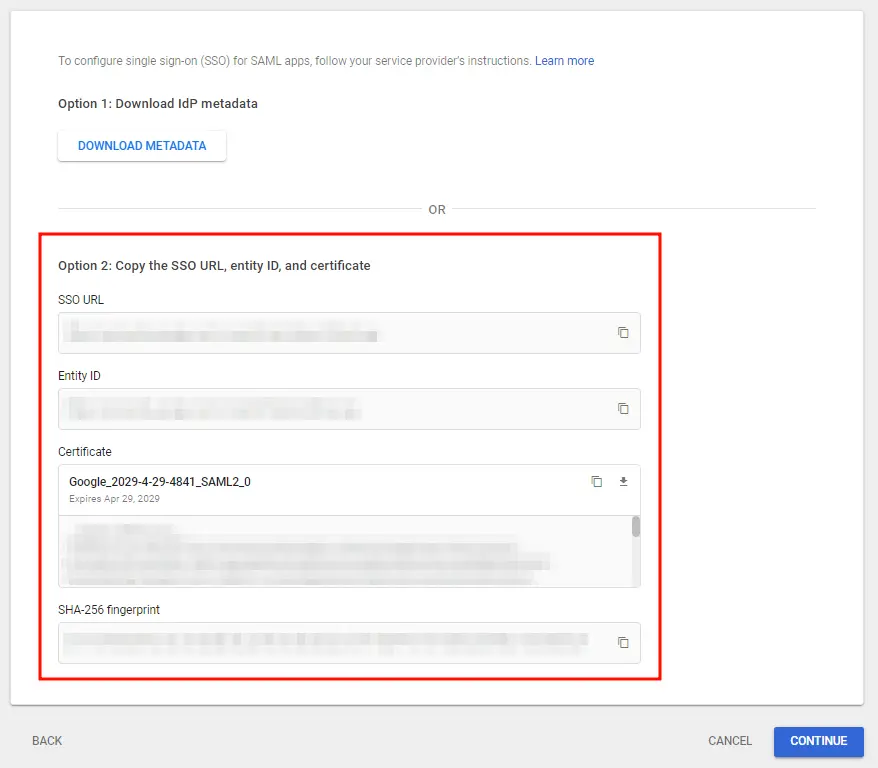
- Alternatively, you can copy GSuite details like SSO URL, Entity ID and Certificate to configure the Service Provider manually.
- Click Continue once you’re done.
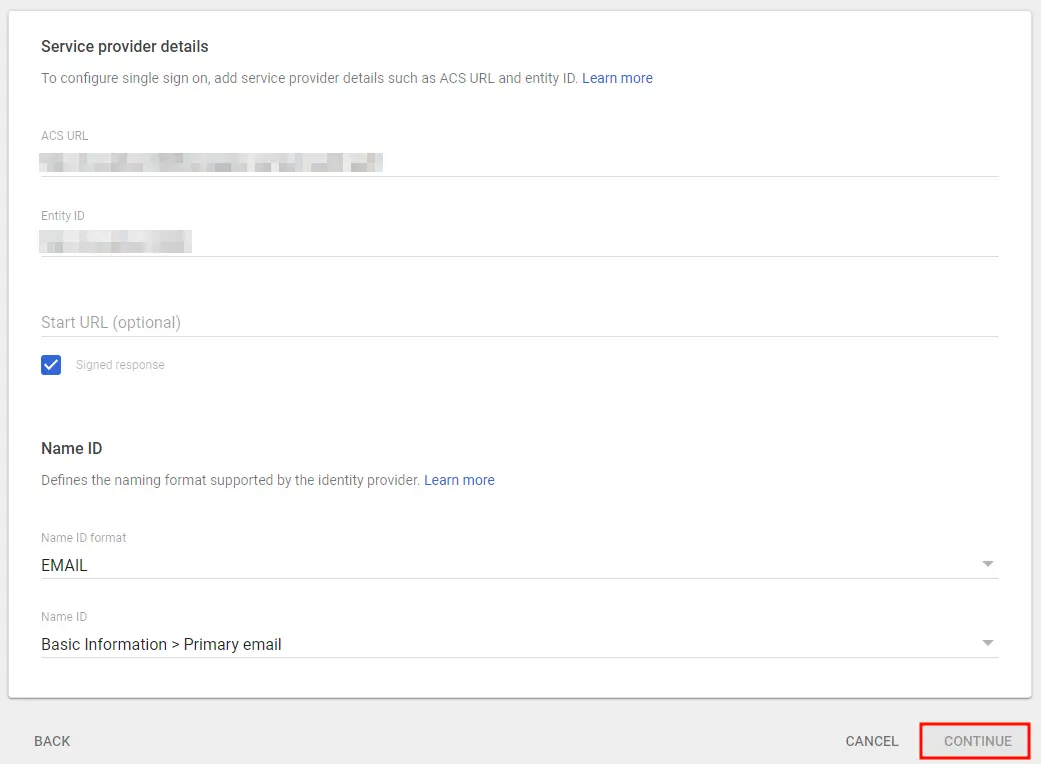
- Enter details from the Service Provider Metadata tab in the SAML SP plugin.
- Click Continue once you’re done entering the details.
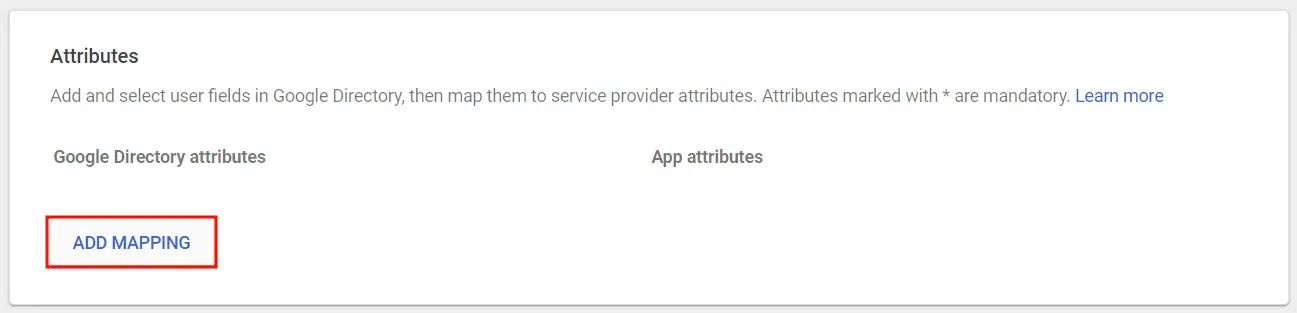
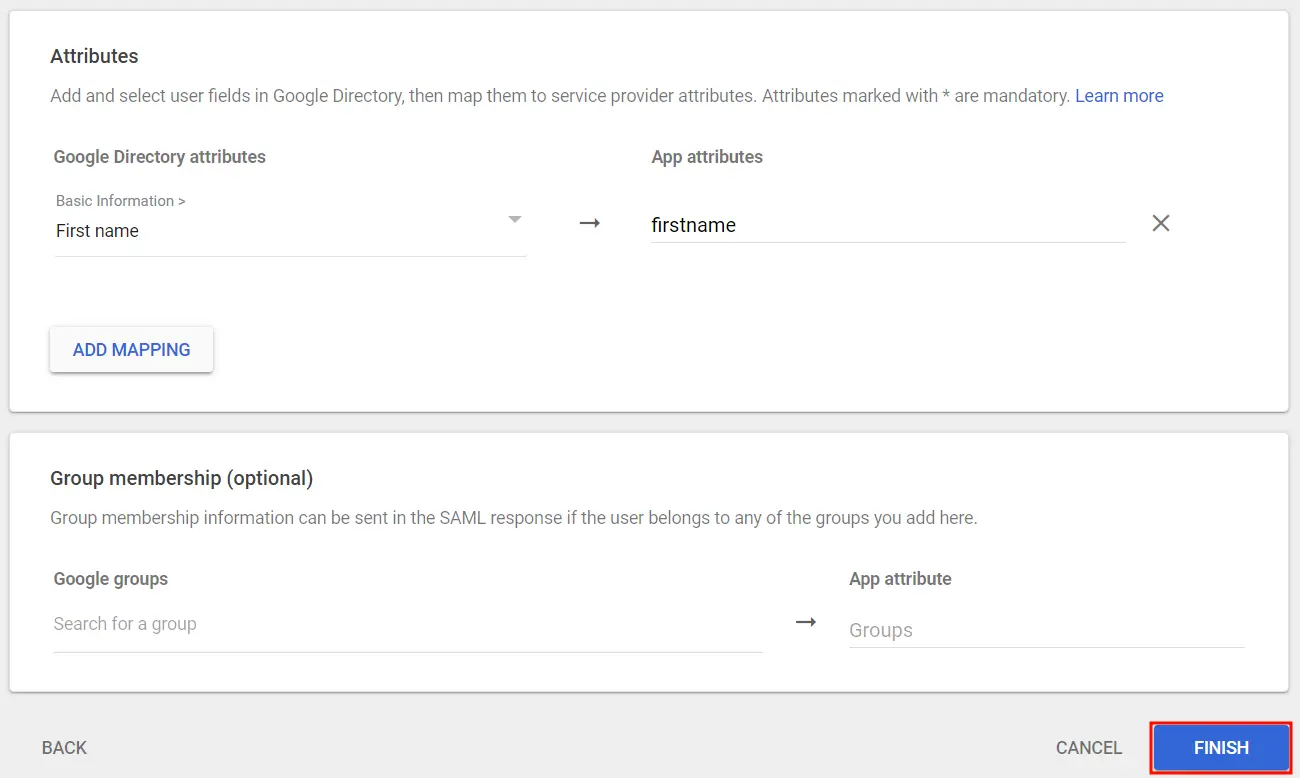
- Click on Add Mapping to add and select user fields in Google Directory.
- Next, map them to Service Provider attributes and click Finish once done.
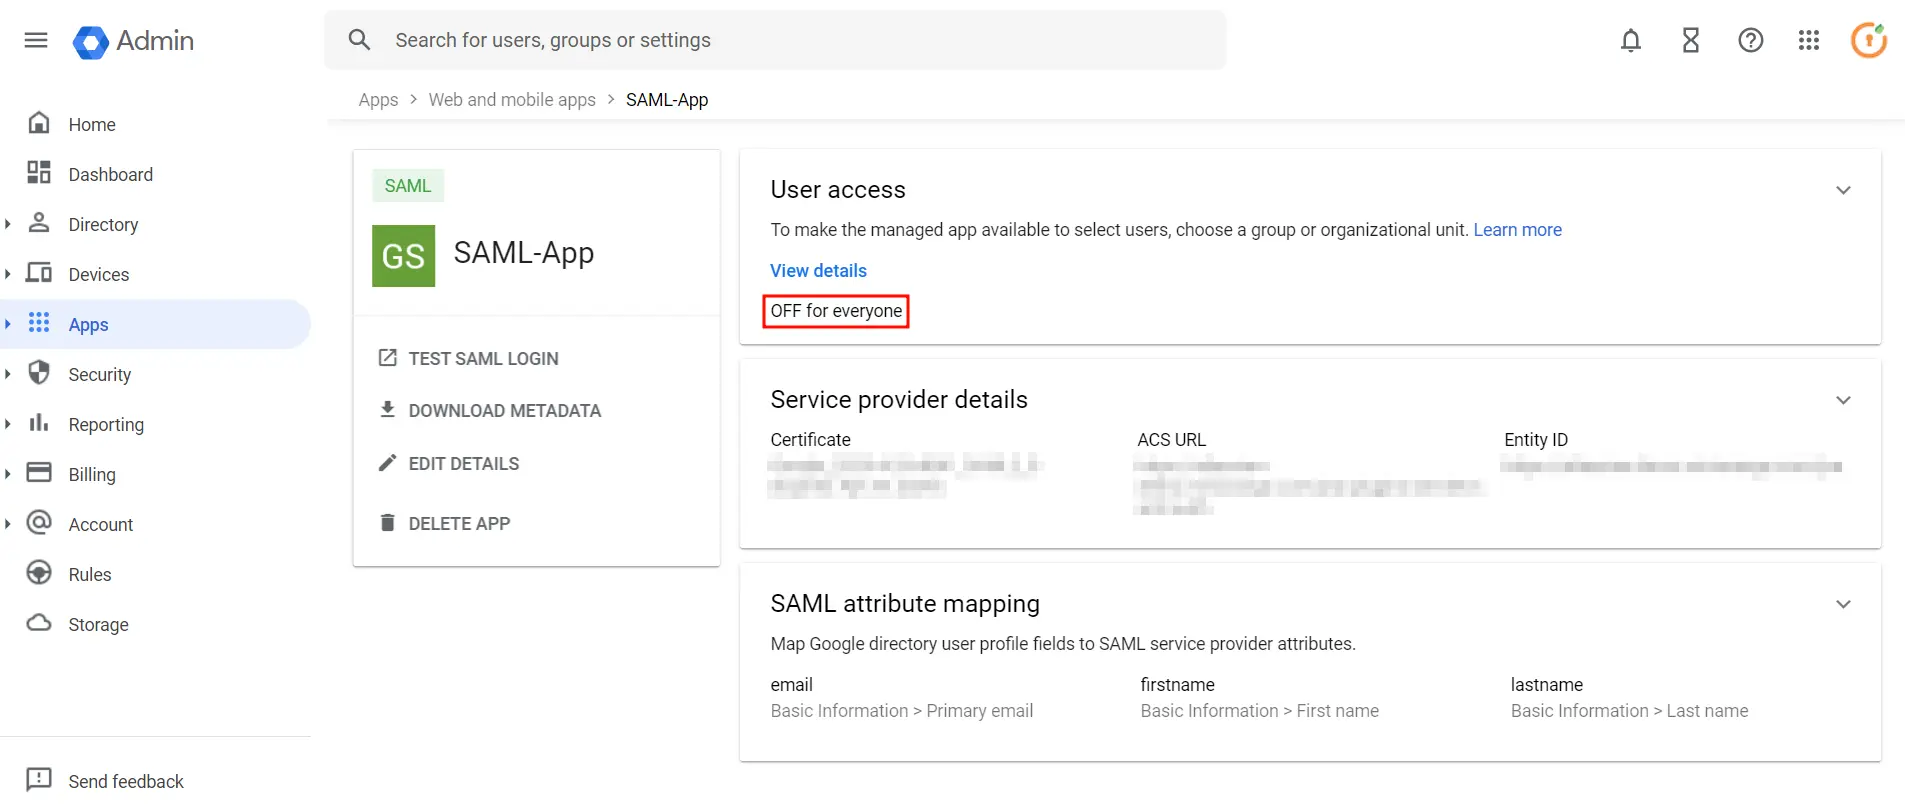
- Go to SAML Apps again and click on OFF for everyone .
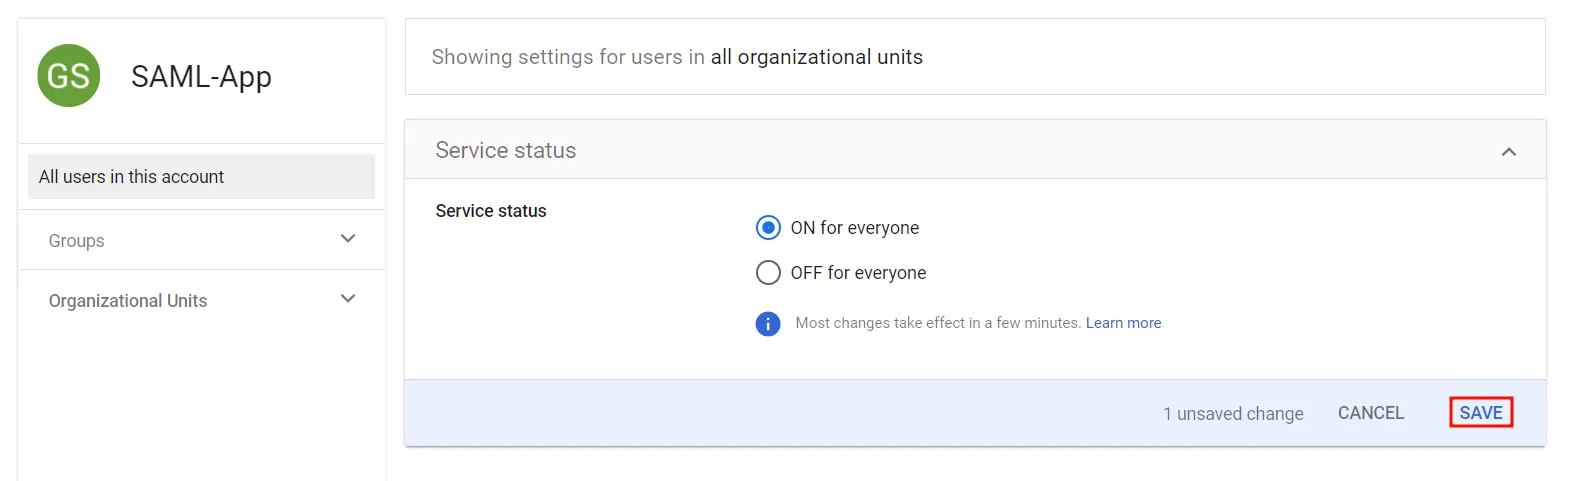
- Then, select ON for everyone to activate SSO.
- Note: After activating SSO, you can specify which users it applies to. For instance, if you choose organizational units, all users within that unit will be required to use SSO to access G Suite Apps. Likewise, you can choose to enforce SSO for specific groups or all users in the account.
Follow these steps to set up Google Apps/GSuite as an Identity Provider:
 1.1 Login as Administrator
 1.2 Add a SAML app
 1.3 IDP Information
 1.4 Service Provider Details
| ACS URL | Copy and paste the ACS URL from the plugin. |
| Entity ID | Copy and paste the SP Entity ID/ Issuer from the plugin. |
| Signed Response | Check Signed Response ✓ |
| Name ID Format |
 1.5 Attribute Mapping
 1.6 Turn On SSO