Set up SSO login with your provider
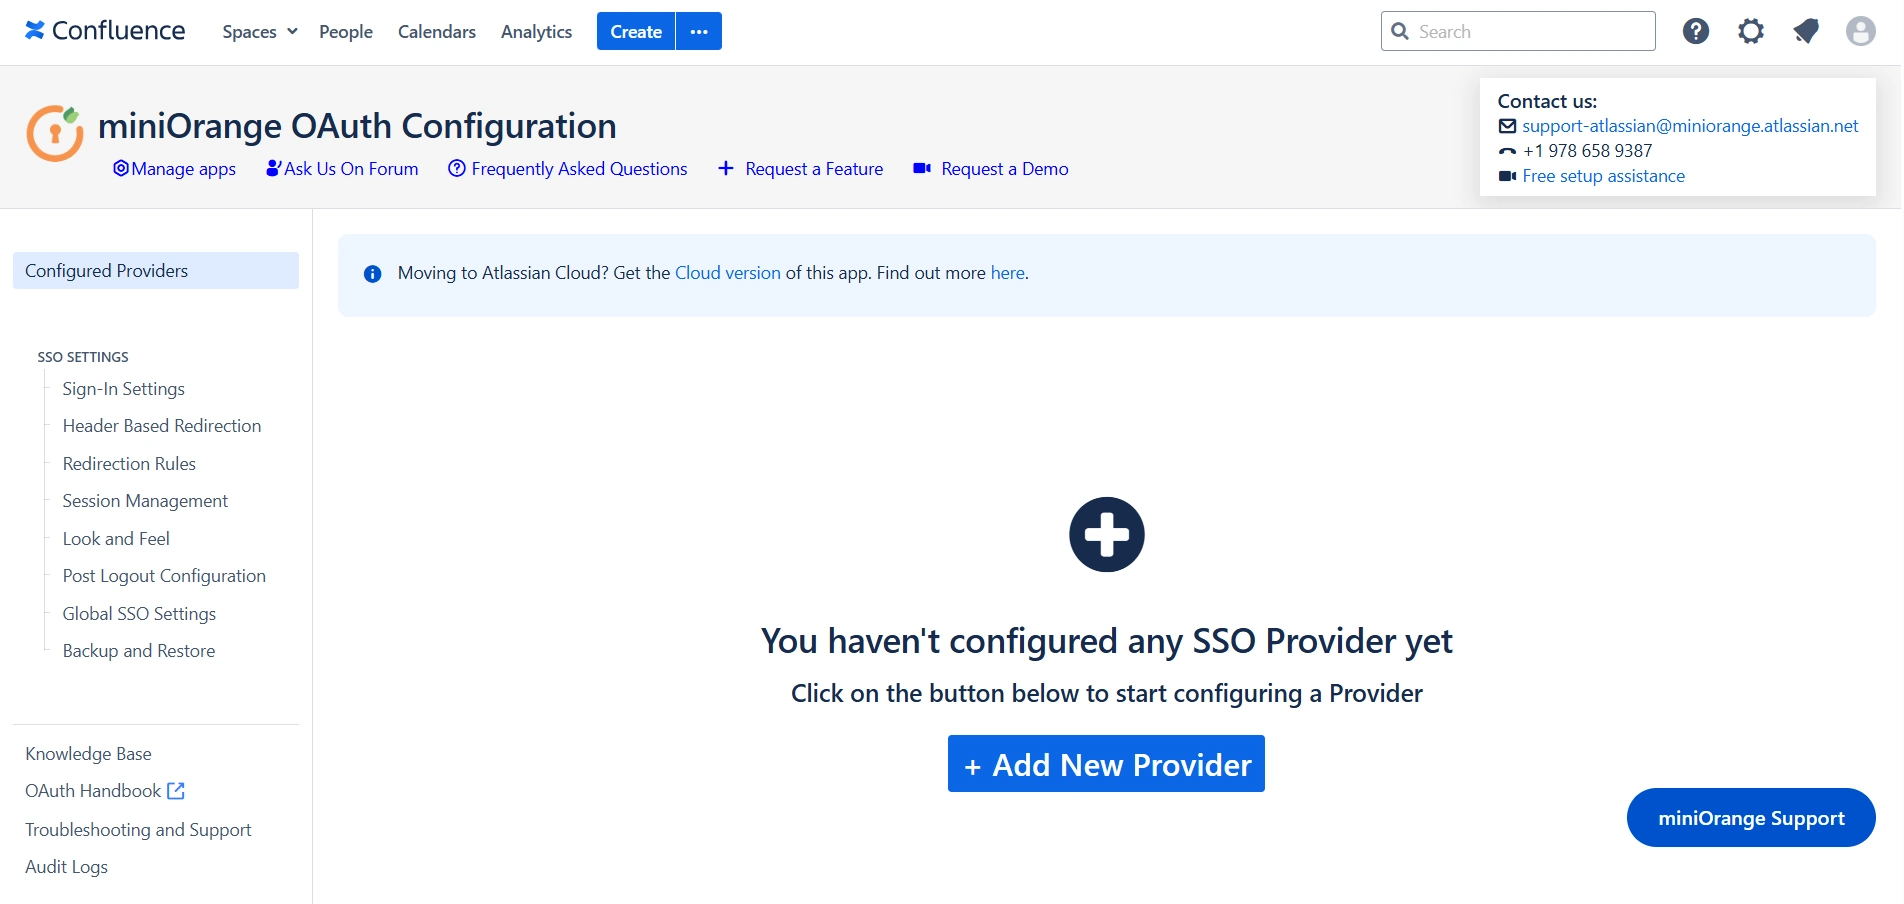
Step 1: In the miniOrange OAuth/OIDC SSO plugin configuration, click on the "Add new Provider" button.
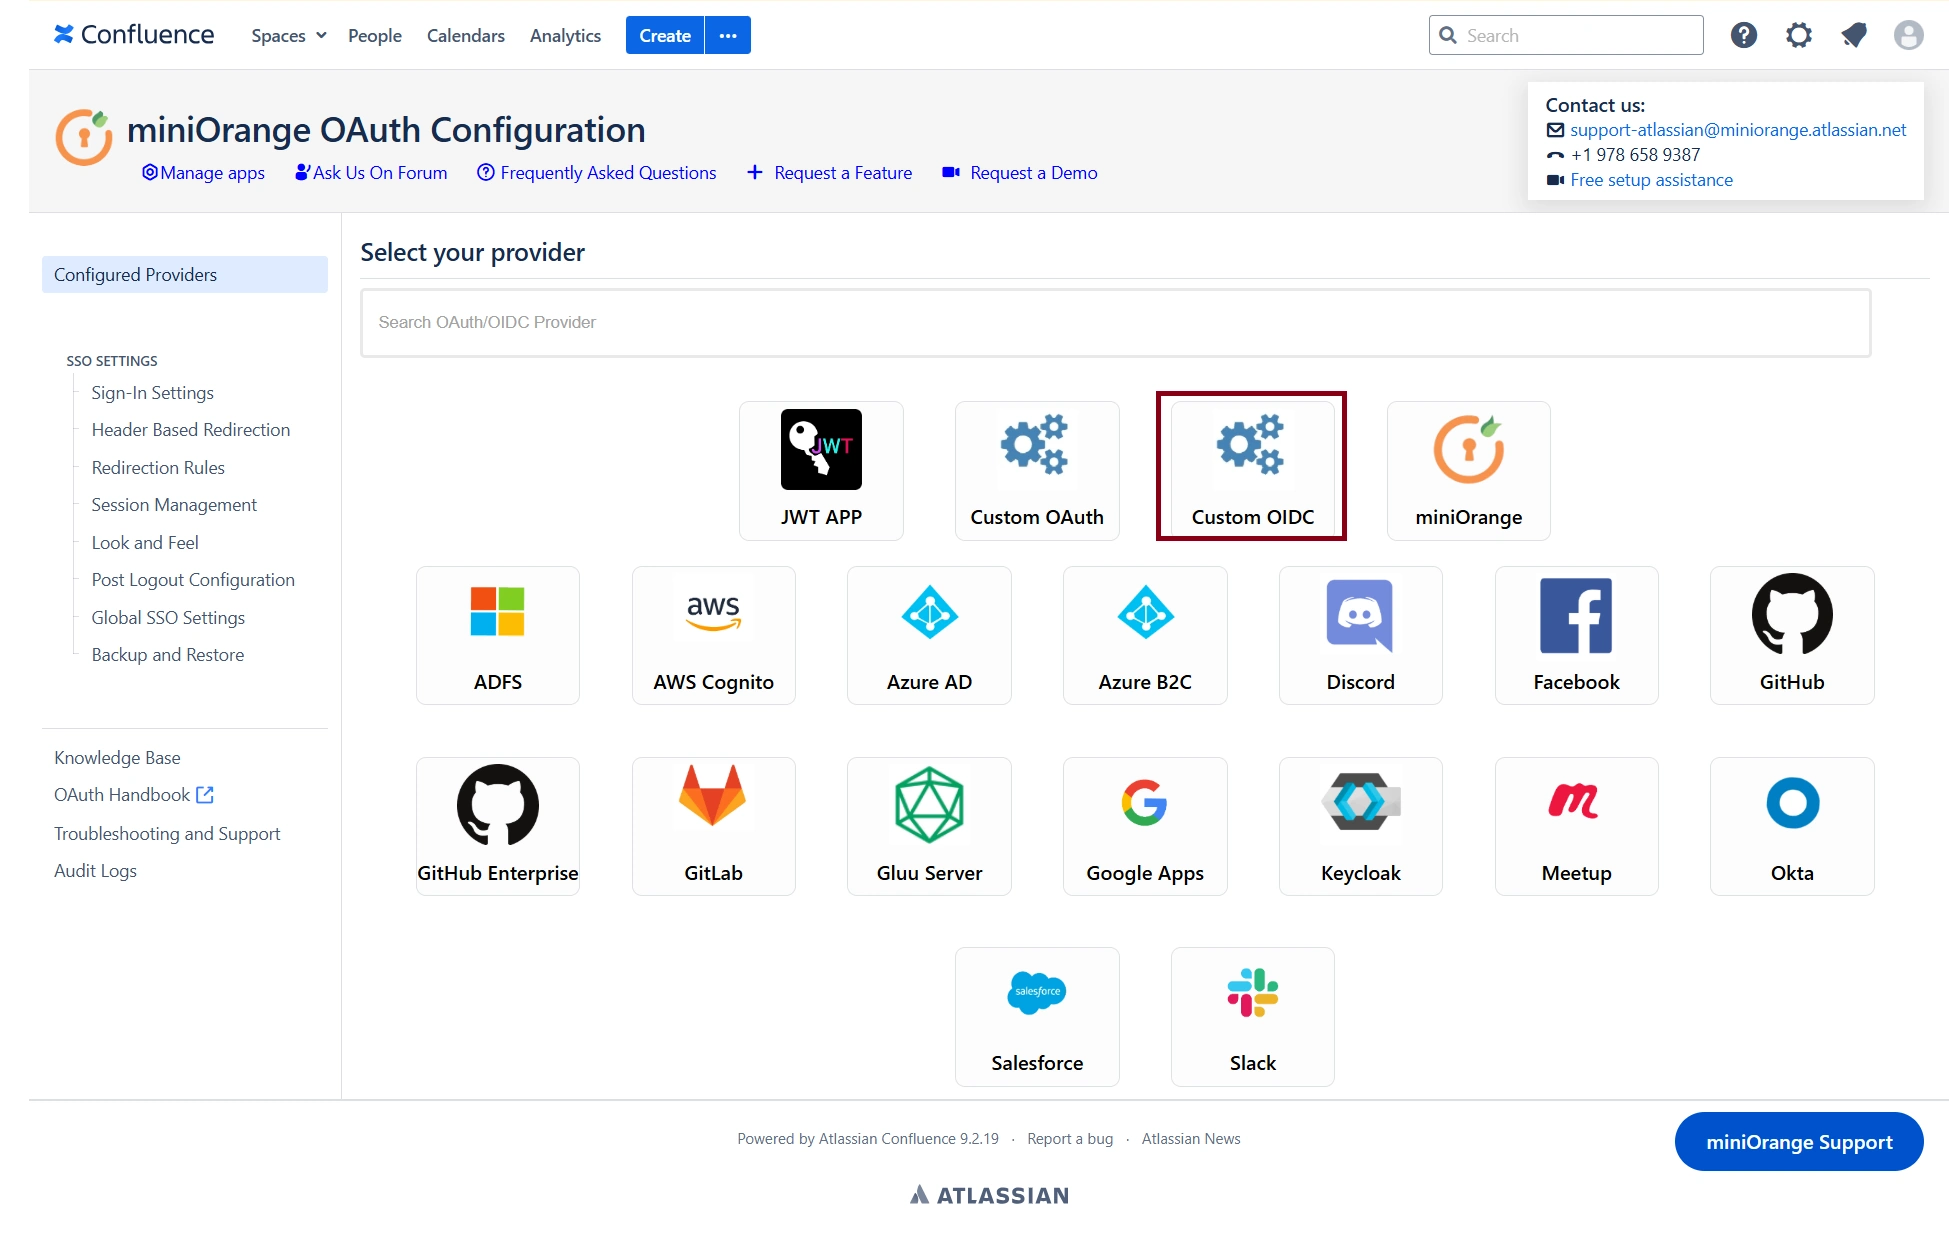
Step 2: You will now see a list of providers. Select your preferred provider from the list. If your provider is not listed or if you are using an in-house provider, click on the Custom OAuth or Custom OIDC App option based on your provider type to proceed with the configuration.
For example, here we will configure Okta as a custom OIDC provider.
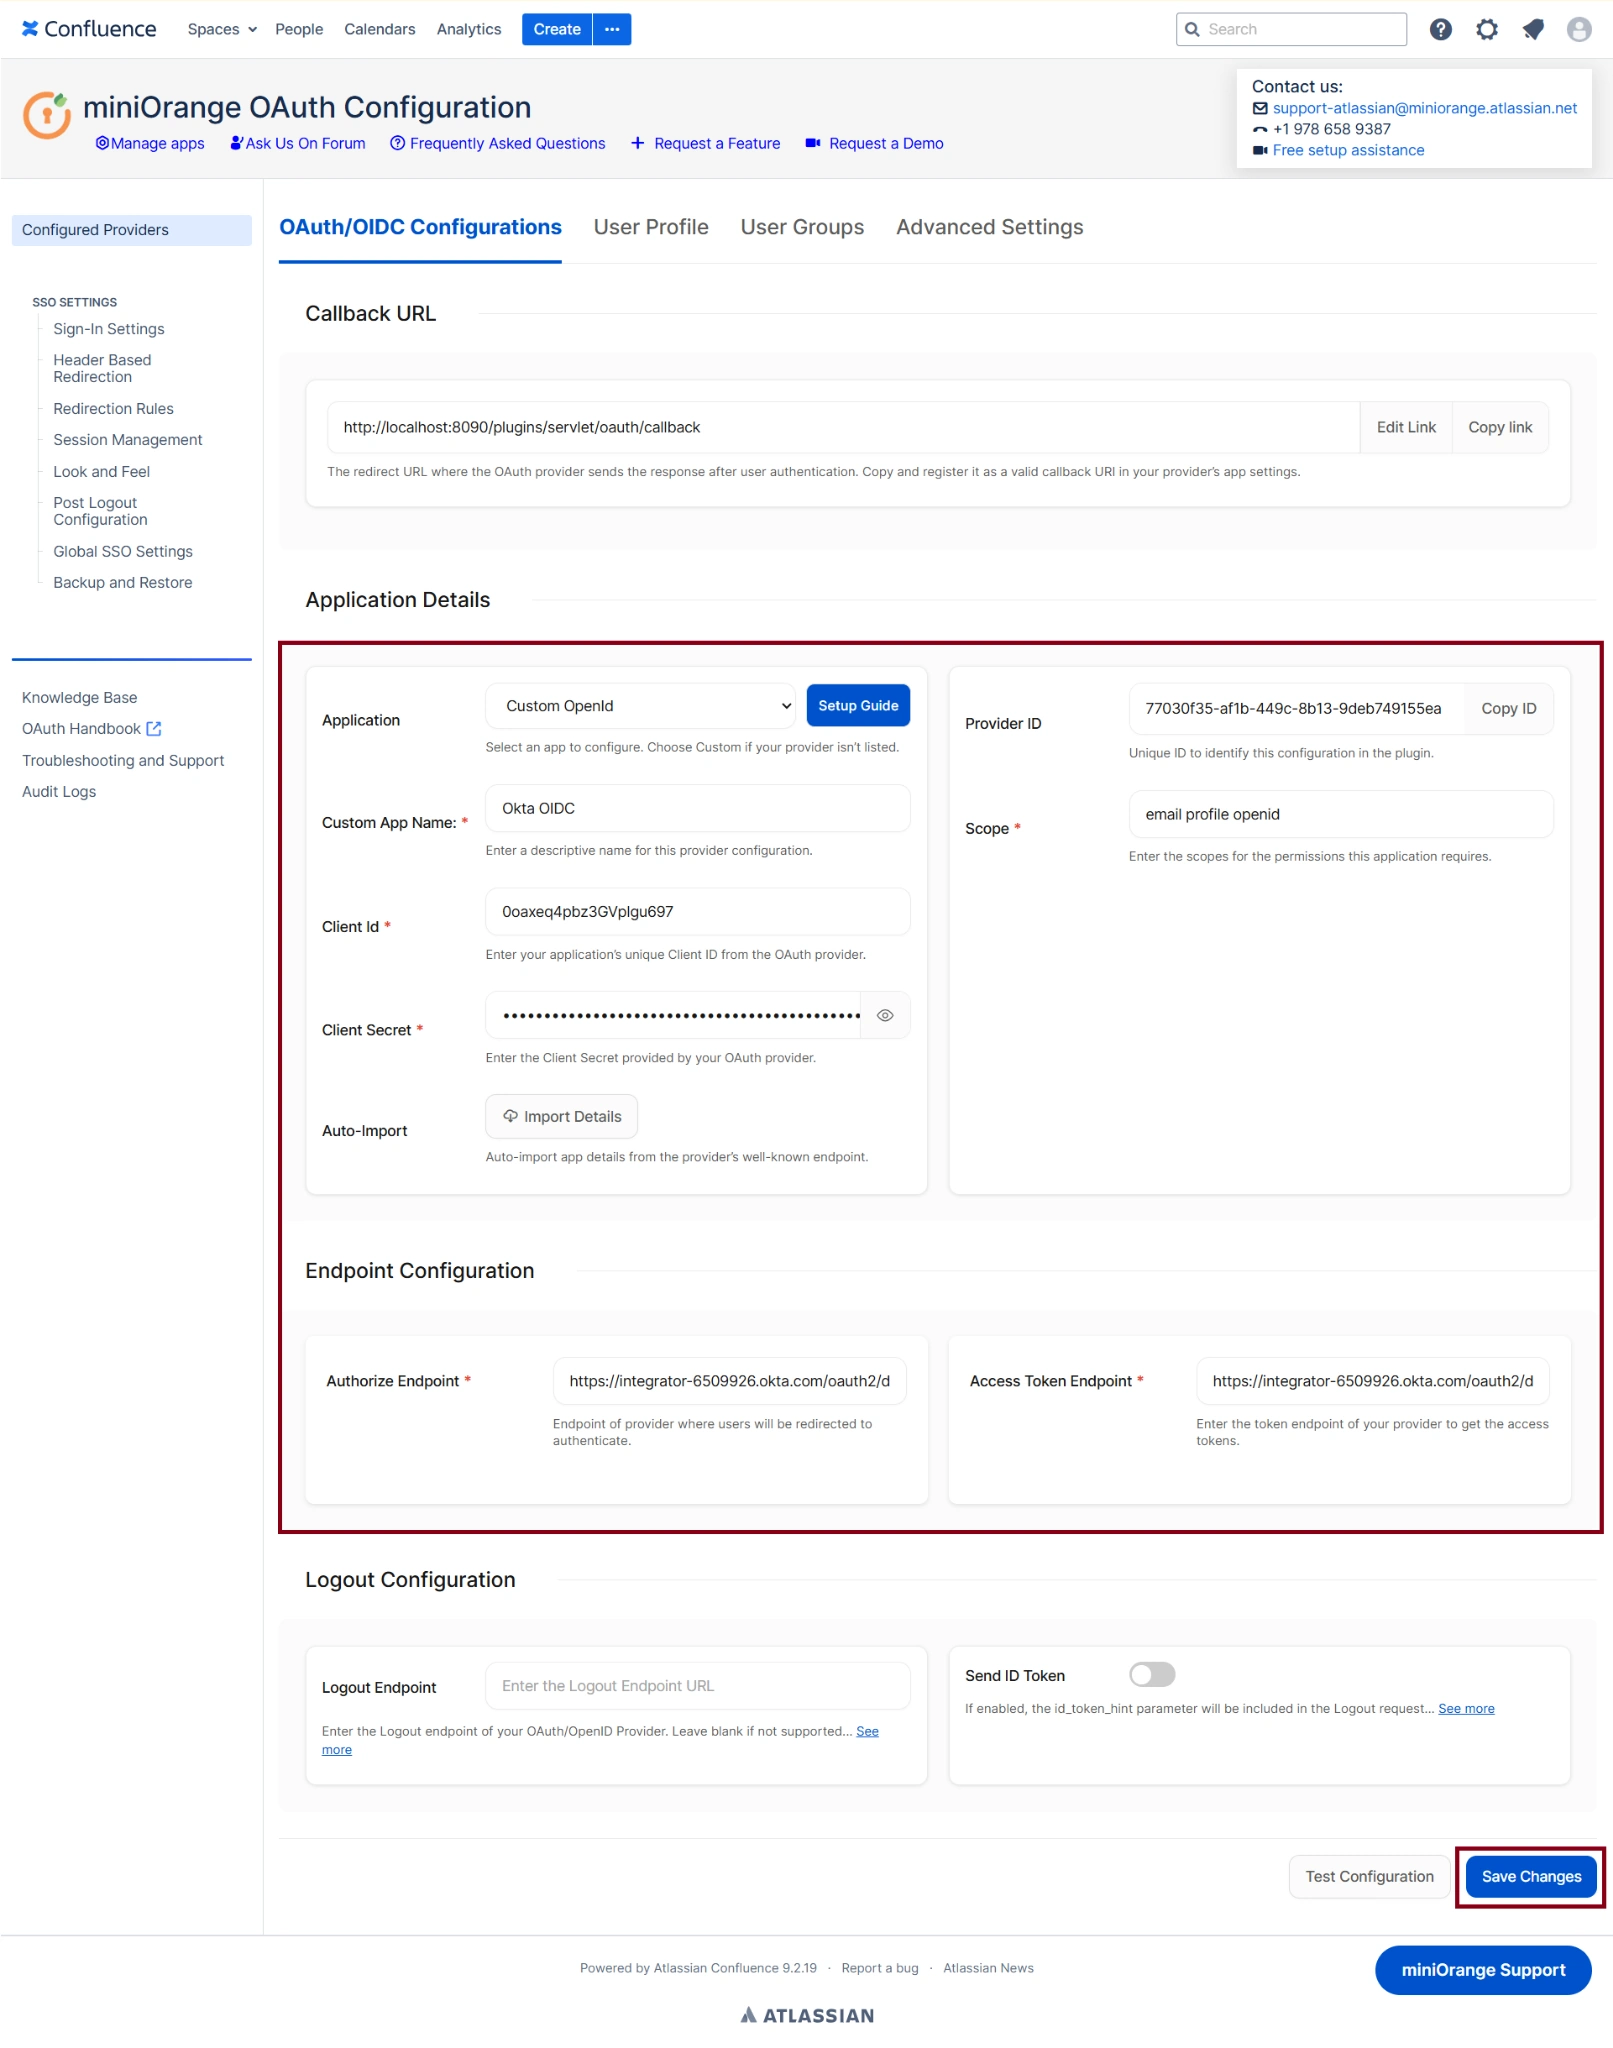
Step 3: Configure the OIDC Application on the provider (i.e., Okta) and Exchange Required Details
Copy the Callback URL displayed at the top of the plugin configuration page and configure it on the Okta side while creating the application.
To complete the OIDC configuration, collect the following details from the Provider (Okta):
- Client ID
- Client Secret
- Authorization Endpoint URL
- Token Endpoint URL
- Scopes (in Okta's case: email, profile, openid)
Once all the required details have been shared between the provider and the client application, fill in the respective required fields accordingly to complete the setup.
After filling in all the required OIDC configuration details, click on the "Save Changes" button to save the provider configuration.
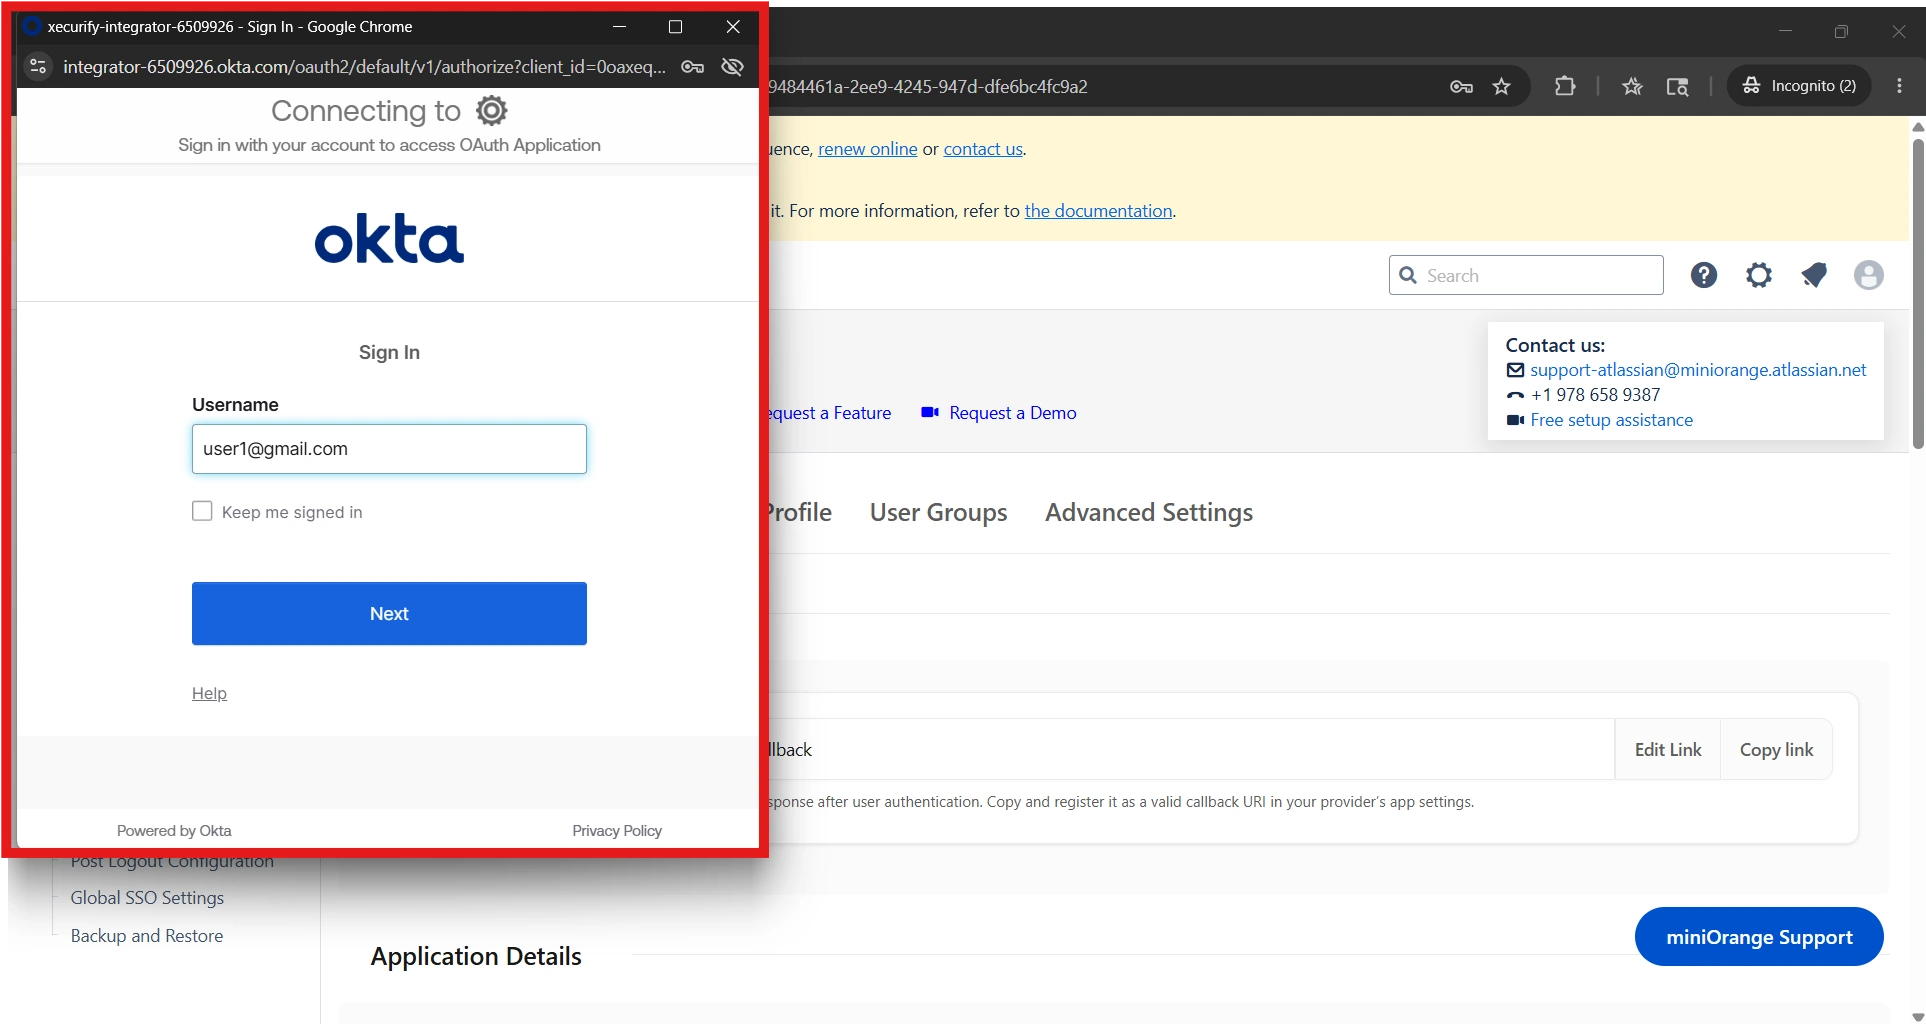
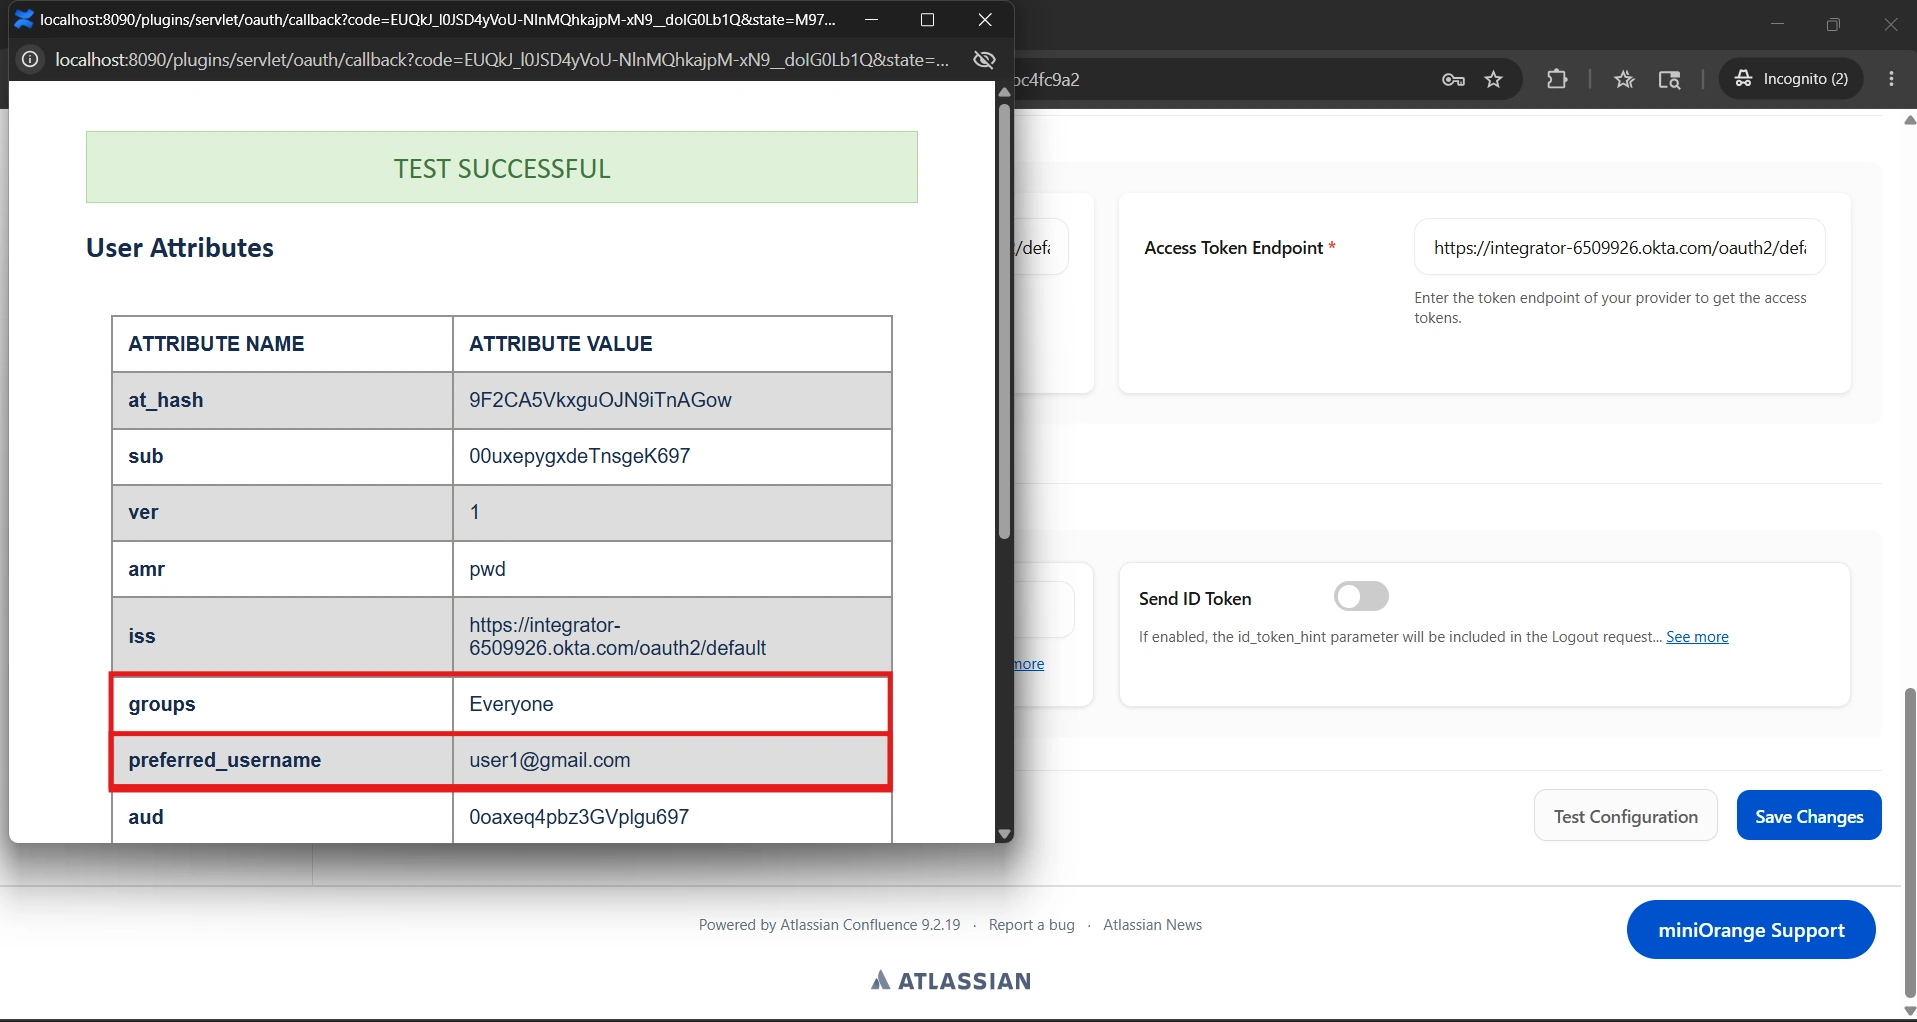
Step 4: Once the configuration is saved successfully, click on the "Test Configuration" button to verify the connection between the client application and the provider.
A new Test Configuration window will open. You may be asked to sign in using your configured login provider. If you're already signed in, this step may be skipped.
Step 5: Once authentication is complete and a user session is successfully created (or an active session already exists), the Test Configuration window will display a Test Successful message along with the user attributes received from the provider in a tabular format.
These attributes can be used later to configure user profile attribute mappings and group mappings within the plugin.
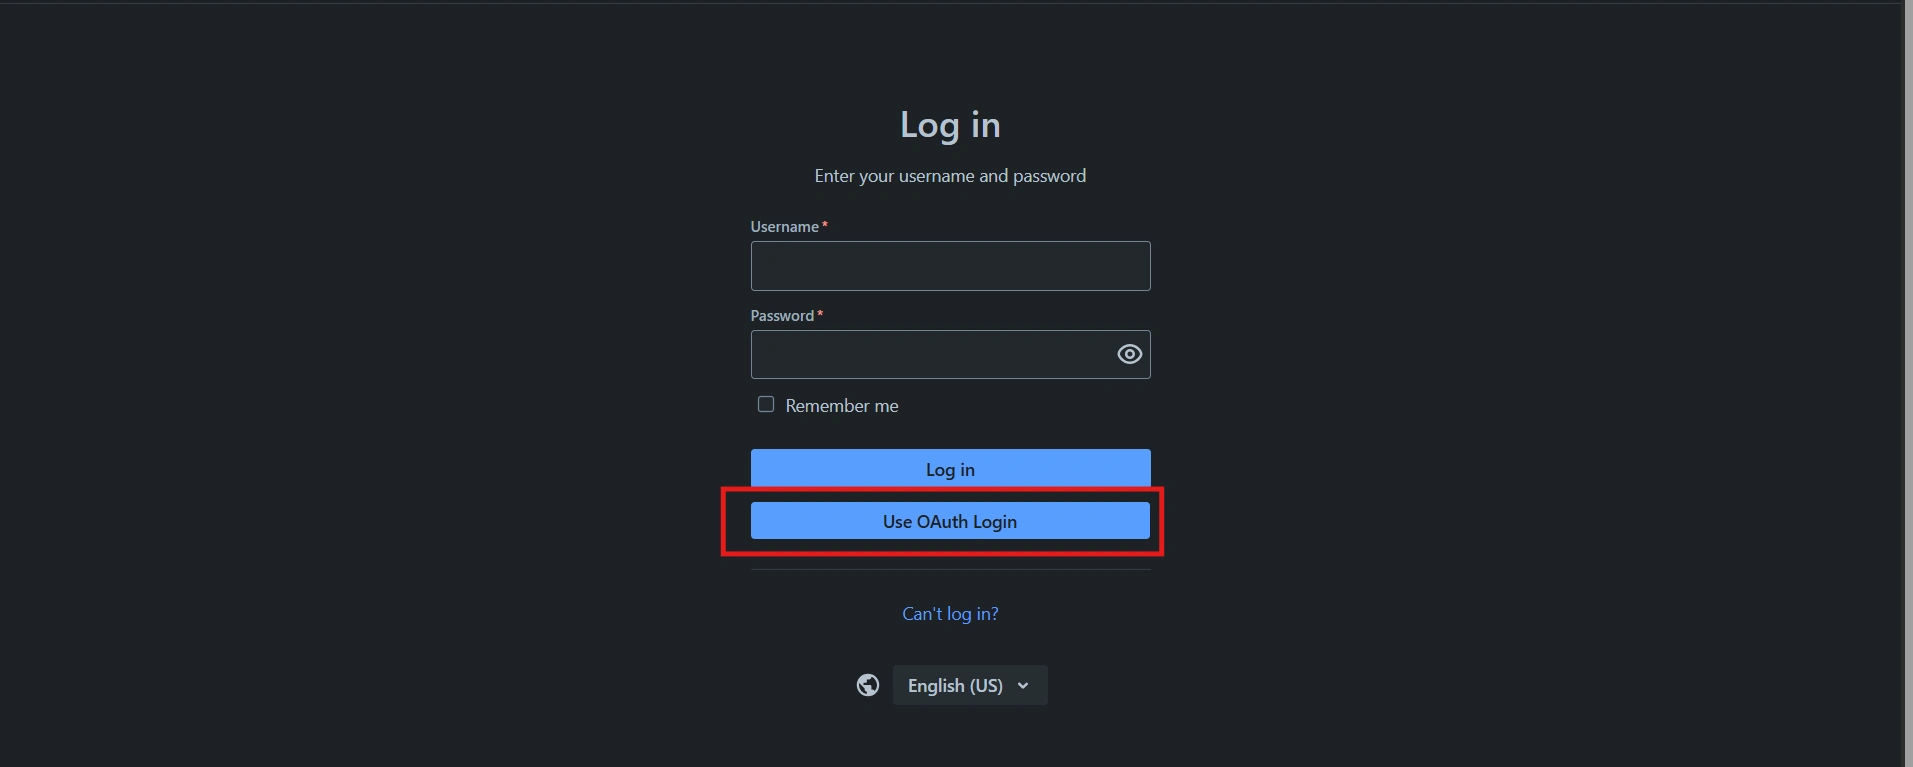
Step 6: After verifying that the required user attributes are being received correctly, proceed to test the actual SSO login flow. In this example, we will sign in using the Okta user account user1@gmail.com to confirm that users can successfully log in through SSO.
Open the application URL. You will see a "Use OAuth Login" button on the login page. Click this button to sign in using SSO. If multiple providers are configured, a separate login button will be displayed for each provider.
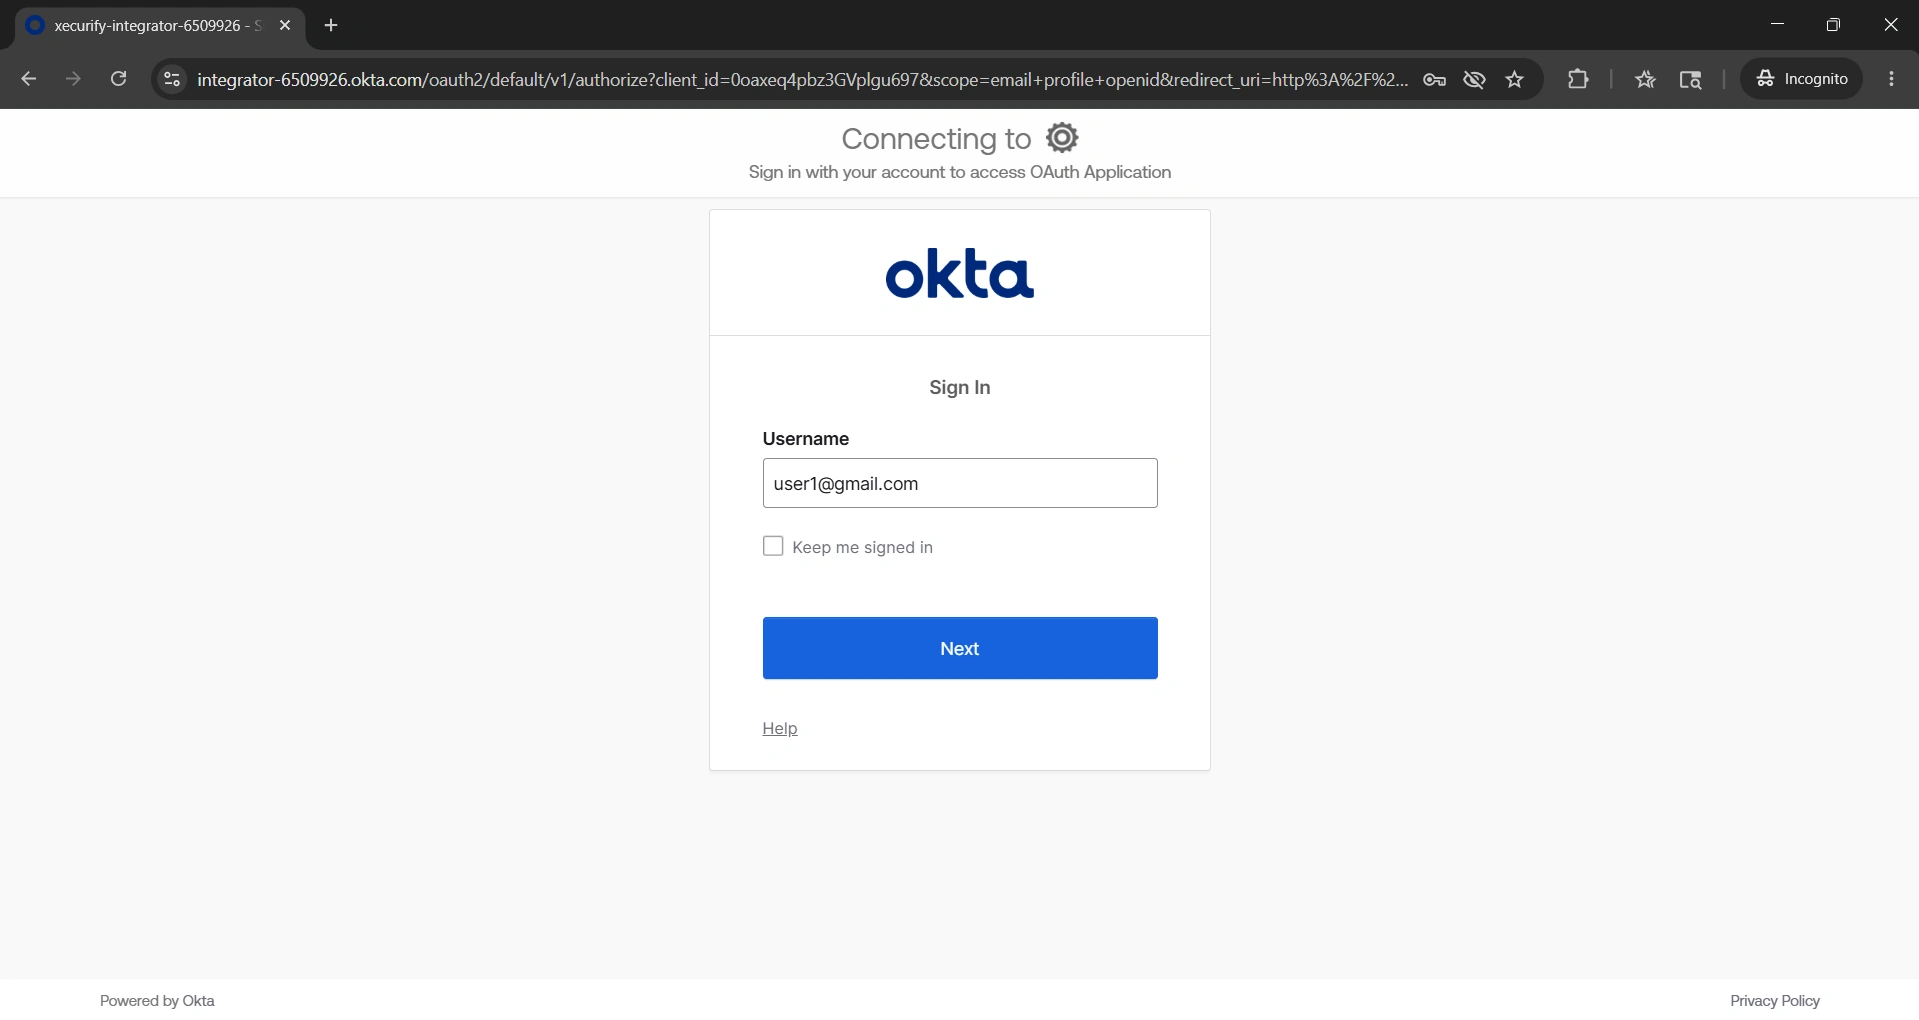
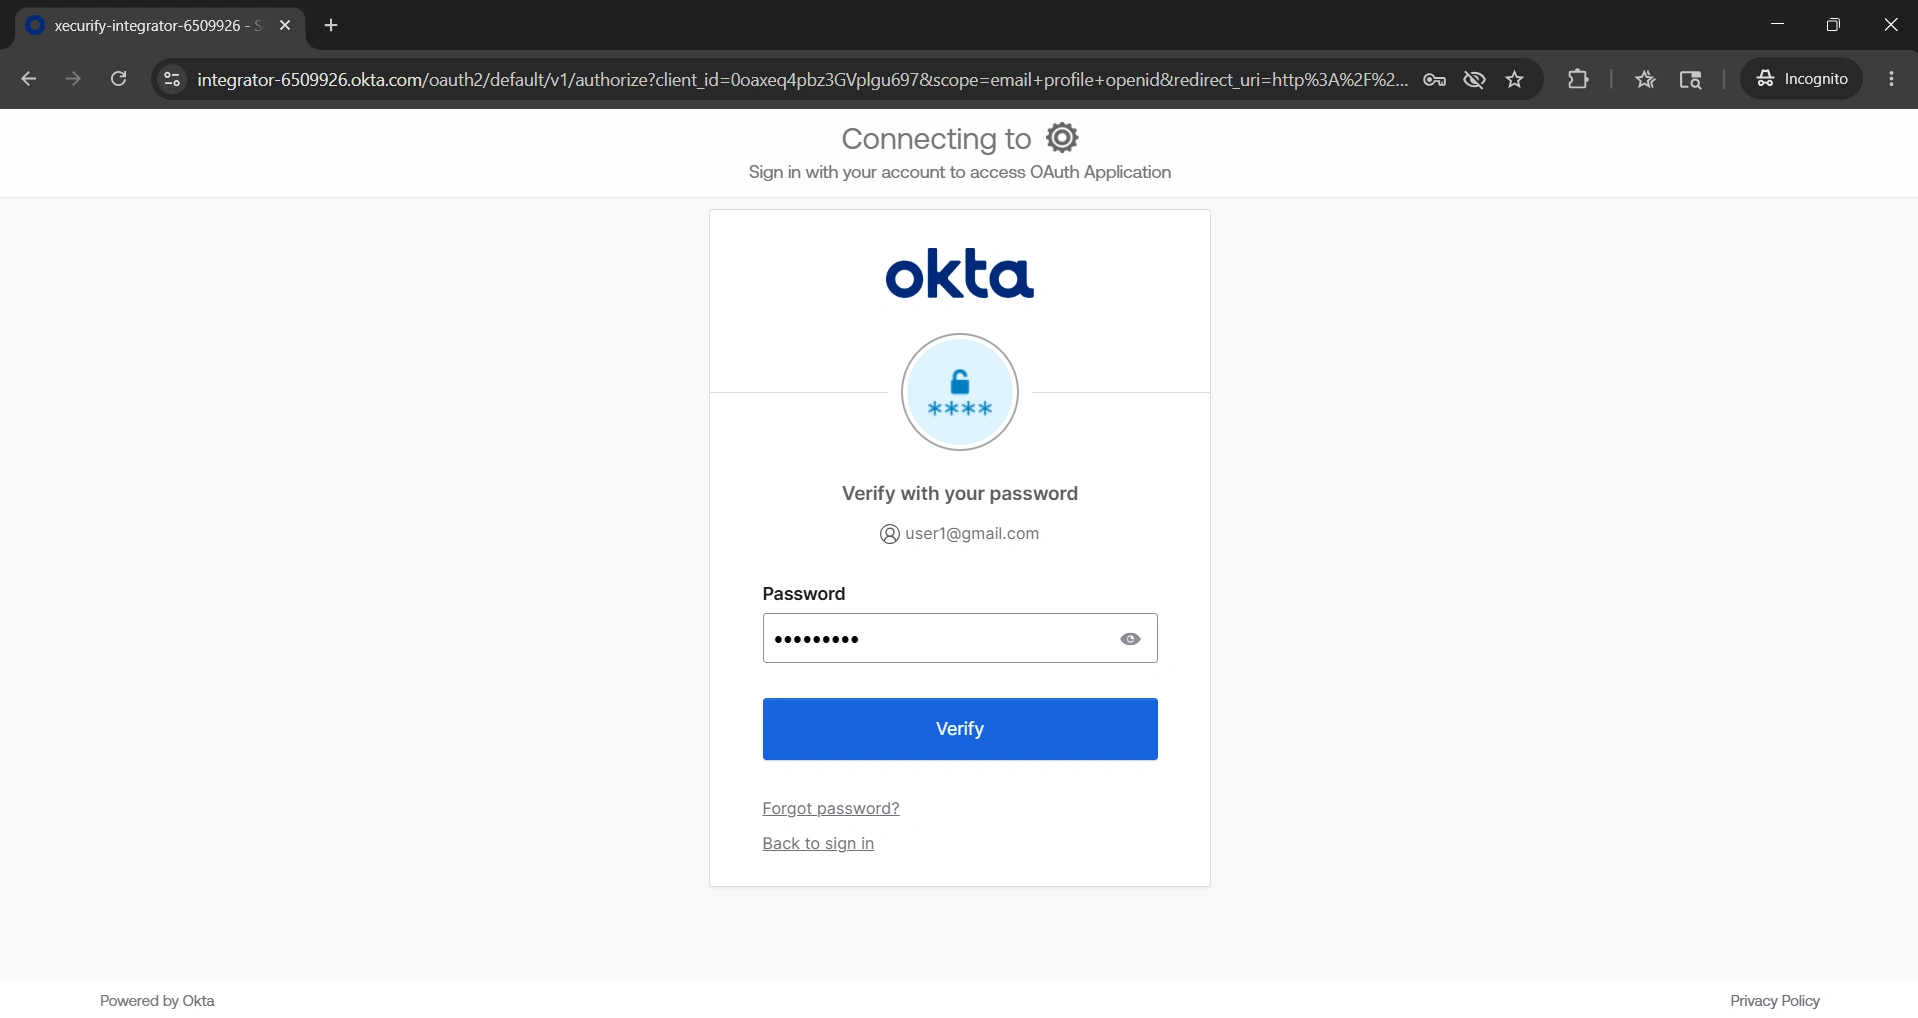
Step 7: After clicking the "Use OAuth Login" button, the user will be redirected to the provider's sign-in page. If the user is not already signed in, they will be asked to enter their login credentials and complete the sign-in process.
Step 8: Once the sign-in process is complete, the user will be redirected back to Confluence and automatically logged in. If the user was already signed in to the provider, this redirection will happen automatically without prompting for credentials.
Success confirmation: This completes the OIDC SSO setup for Confluence. User user1@gmail.com is now logged in through Okta.