- Home
- Identity Governance, Auditing & Access Control via JSM
- Integrate Google Workspace with Access Management for JSM

Integrate Google Workspace with Access Management, Access Reviews, & HR On/Offboarding for JSM
This guide walks you through connecting your Google Workspace domain using a service account and domain-wide delegation so you can automate the complete user access management lifecycle while maintaining audit-ready compliance.
 Try it for free
Pre-requisites
Before you begin, make sure the following are in place:
- Super Admin access to both Google Cloud Console and Google Workspace Admin Console.
Step 1: Create a Google Cloud Project
- Go to console.cloud.google.com.
- Click the project dropdown at the top and select New Project.
- Name it anything recognisable (e.g., jira-workflow-provisioning) and click Create.
Step 2: Enable the Admin SDK API
- Inside your new project, go to APIs & Services → Library.
- Search for Admin SDK API and select it from the results.
- Click Enable.
Step 3: Create a Service Account
- Go to IAM & Admin → Service Accounts → + Create Service Account.
- Give it a clear name (e.g., jira-provisioning).
- Skip the optional role and user access steps and click Done.
- Click on the newly created service account → Keys tab → Add Key → Create new key → JSON.
- A JSON file will download. Keep this secure. You will need to upload it in Step 5.
Step 4: Configure Domain-Wide Delegation
- Go to admin.google.com and sign in as Super Admin.
- Navigate to Security → Access and data controls → API Controls.
- Under Domain-wide delegation, click Manage Domain Wide Delegation → Add new.
- Paste the client_id from Step 3 into the Client ID field.
-
In the OAuth Scopes field, paste the following scopes exactly:
- https://www.googleapis.com/auth/admin.directory.user
- https://www.googleapis.com/auth/admin.directory.group
- https://www.googleapis.com/auth/admin.directory.group.member
- Click Authorize.
The three scopes grant the following permissions:
| OAuth Scope | Permission Granted |
|---|---|
| admin.directory.user | Create, update, suspend, and delete user accounts |
| admin.directory.group | Read and list Google Groups in your domain |
| admin.directory.group.member | Add and remove members from Google Groups |
Step 5: Connect Google Workspace to the App
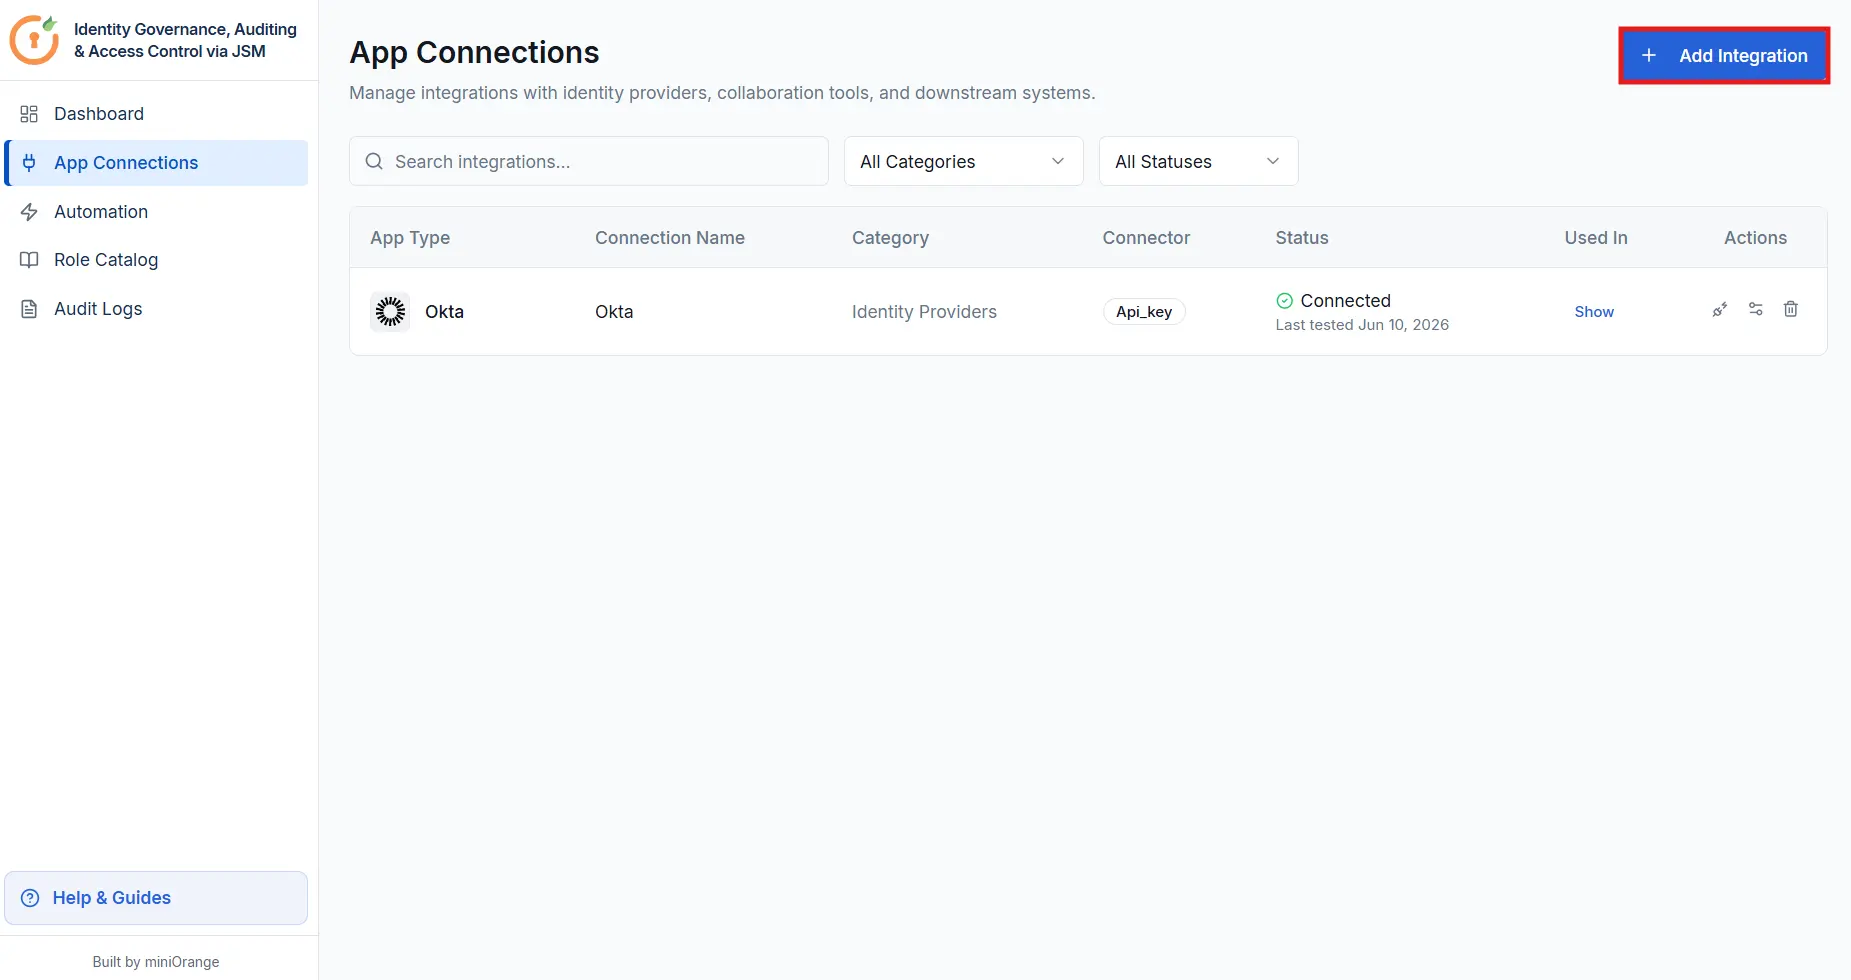
- Open the Identity Governance, Auditing & Access Control via JSM app and navigate to App Connections from the sidebar.
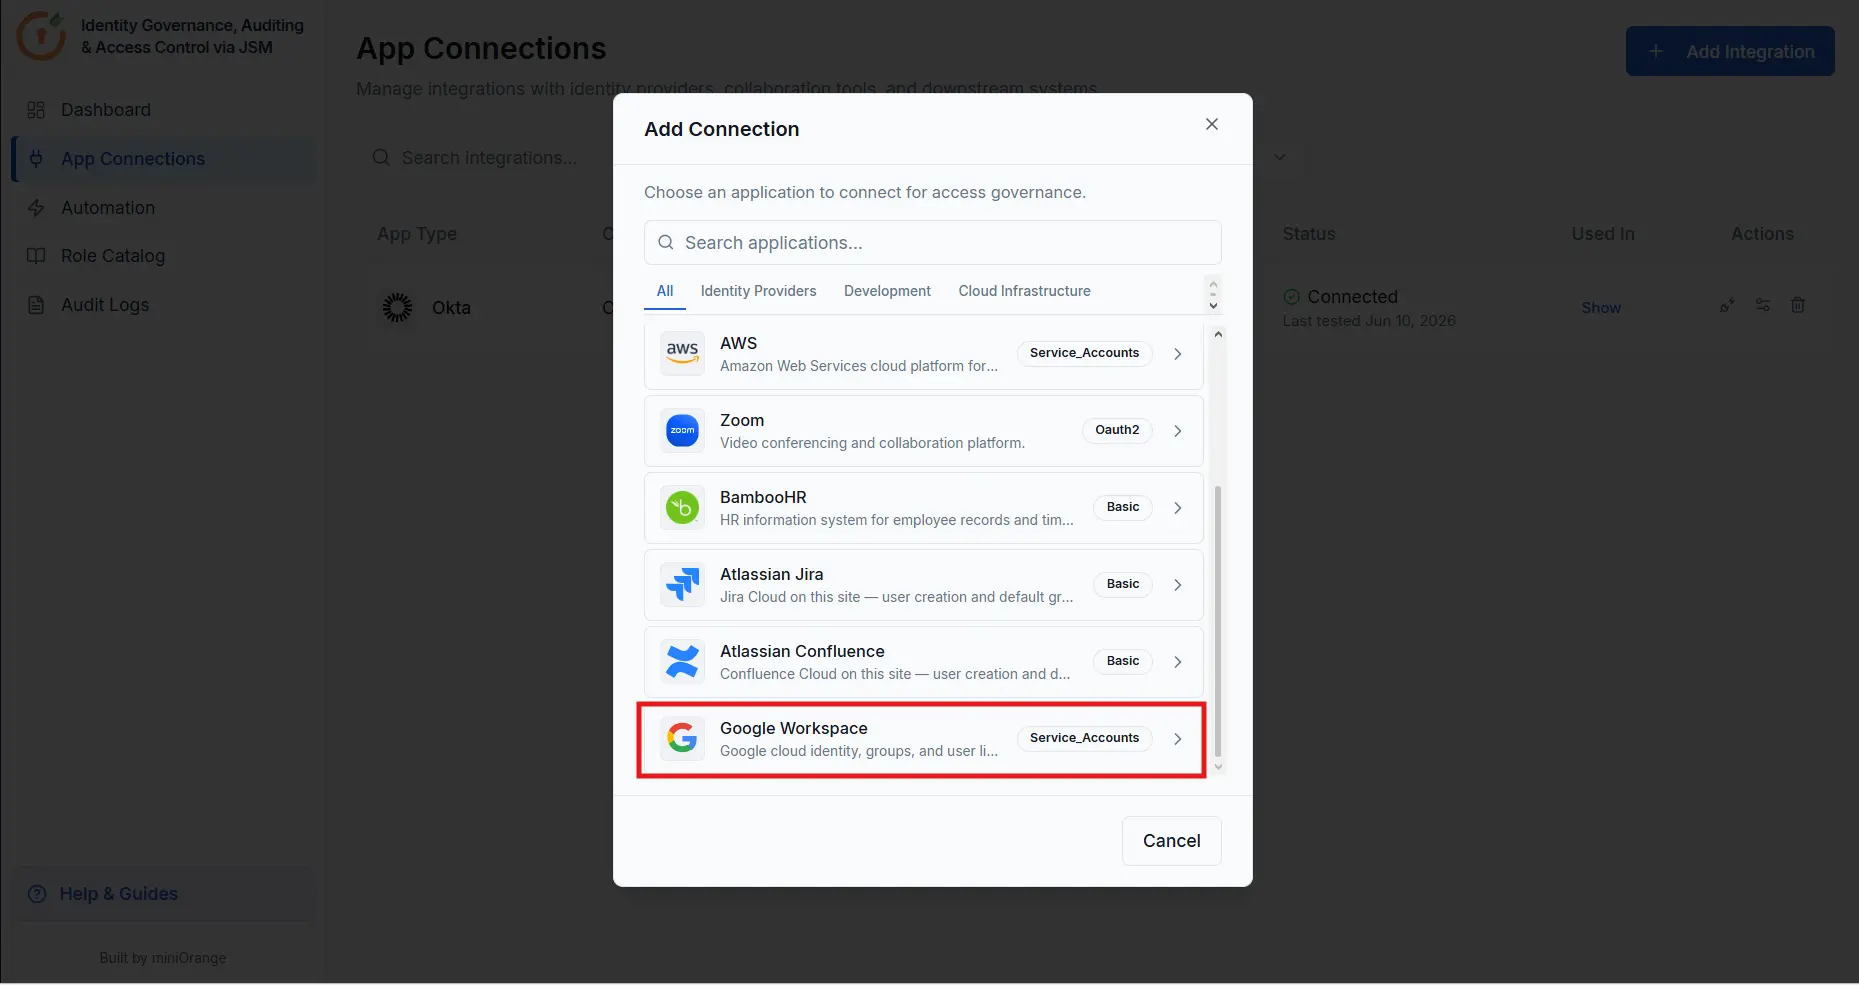
- Click + Add Integration and select Google Workspace from the list.
Enter the following details in the Connect Google Workspace panel:
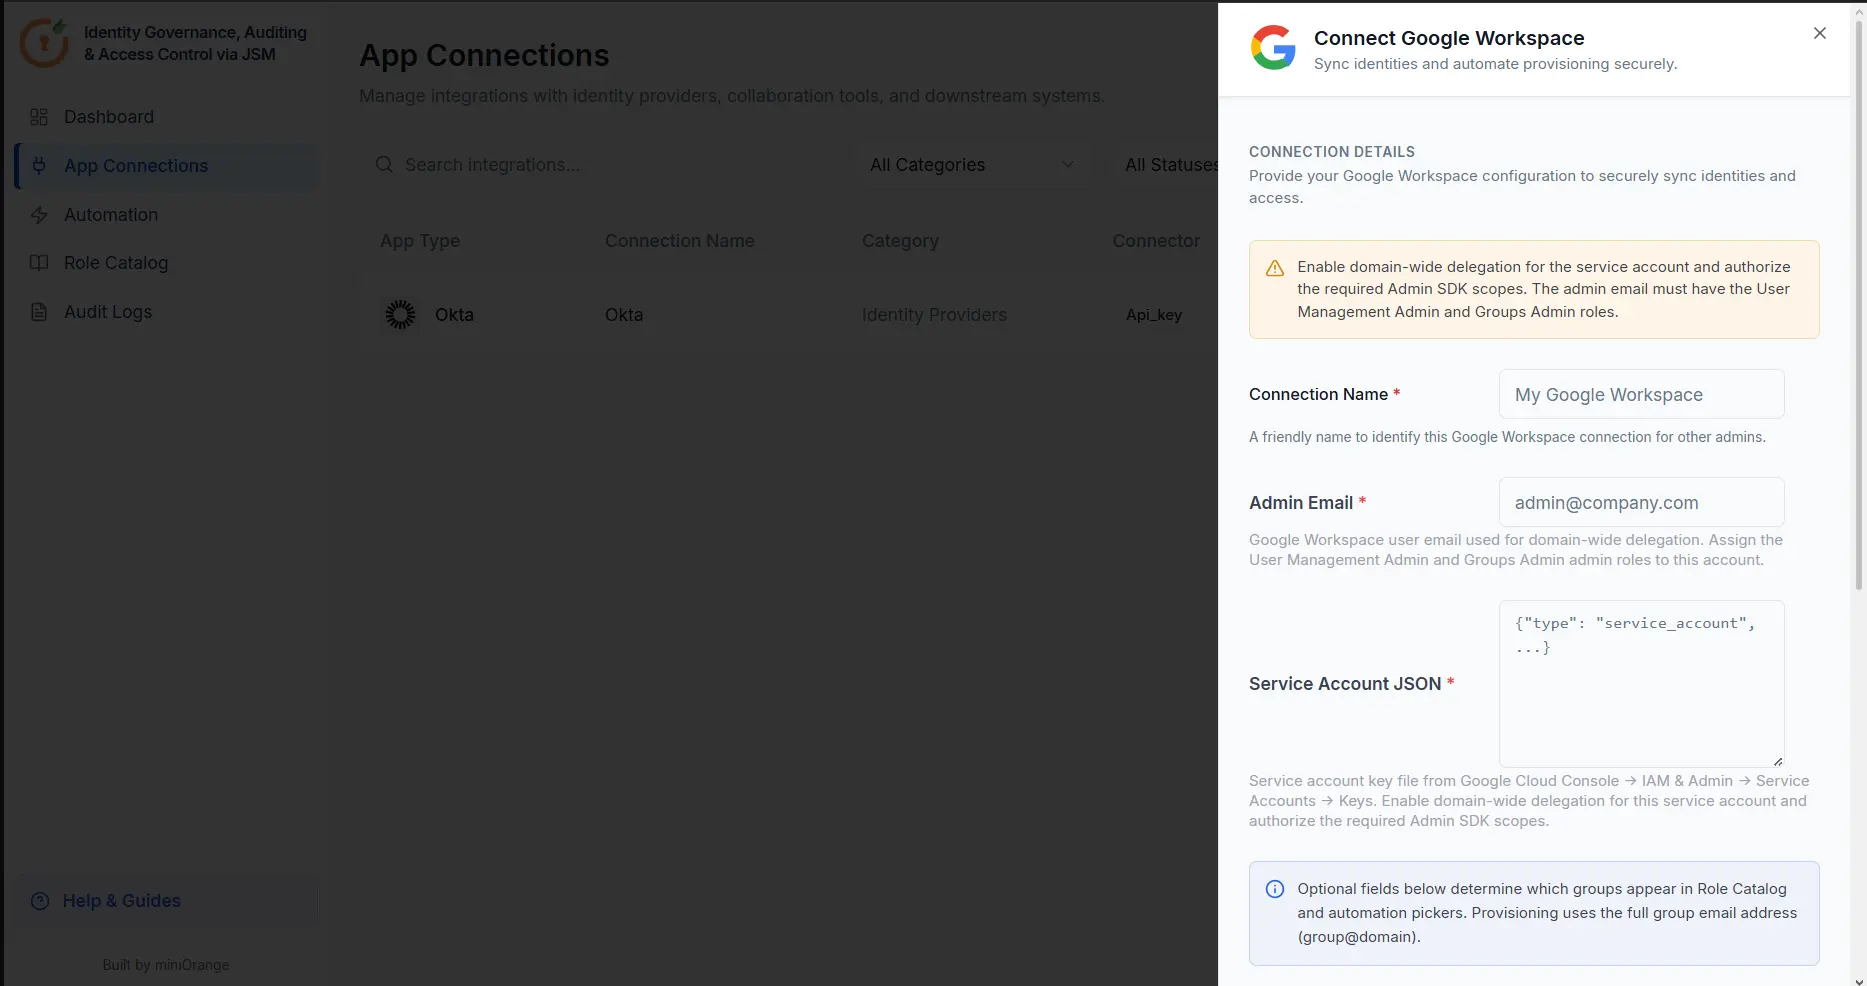
- Connection Name: To identify this Google Workspace connection for other admins (e.g., "My Google Workspace").
- Primary Domain: Your Google Workspace primary domain (e.g., company.com).
- Admin Email: The Super Admin account email used for impersonation.
- Service Account JSON: Upload or paste the contents of the JSON file downloaded in Step 3.
- Application Admin: Select a licensed Atlassian user who will manage this connection.
Once all fields are filled in, click Connect Google Workspace to save the integration.
Once the connection is saved, your Google Groups will be available in the Role Catalog and Rule Builder, and user provisioning actions (create, suspend, delete, group assignment) will be immediately available in your workflows.
Next Steps: Configure Automation Rules
With both connections saved, configure automation rules to define how access requests are routed, approved, and provisioned:
- Application Access Automation Rule
- Group Membership Automation Rule
- Identity Lifecycle Management: HR Onboarding and Offboarding
- Privileged Access Automation Rule
Did this page help you?
