Getting started
Access Reviewer360 adds a Project Access section to Jira that is visible to Jira administrators only. Everything in this guide lives under Project Access → Roles & Permissions, so no project-by-project navigation is required.
Before you start
- You are a Jira administrator (the app is admin-only by design).
- Access Reviewer360 is installed from the Atlassian Marketplace.
- You know the project key or name you need to audit — for example FINANCE.
Why this is hard in native Jira
An auditor, a customer, or leadership asks who can access the Finance project. In native Jira, answering that means opening Project settings → People, then User management → Groups to expand each group's members, then the Permission scheme to confirm what each role actually grants — three screens, manually cross-referenced, per project.
What Access Reviewer360 shows
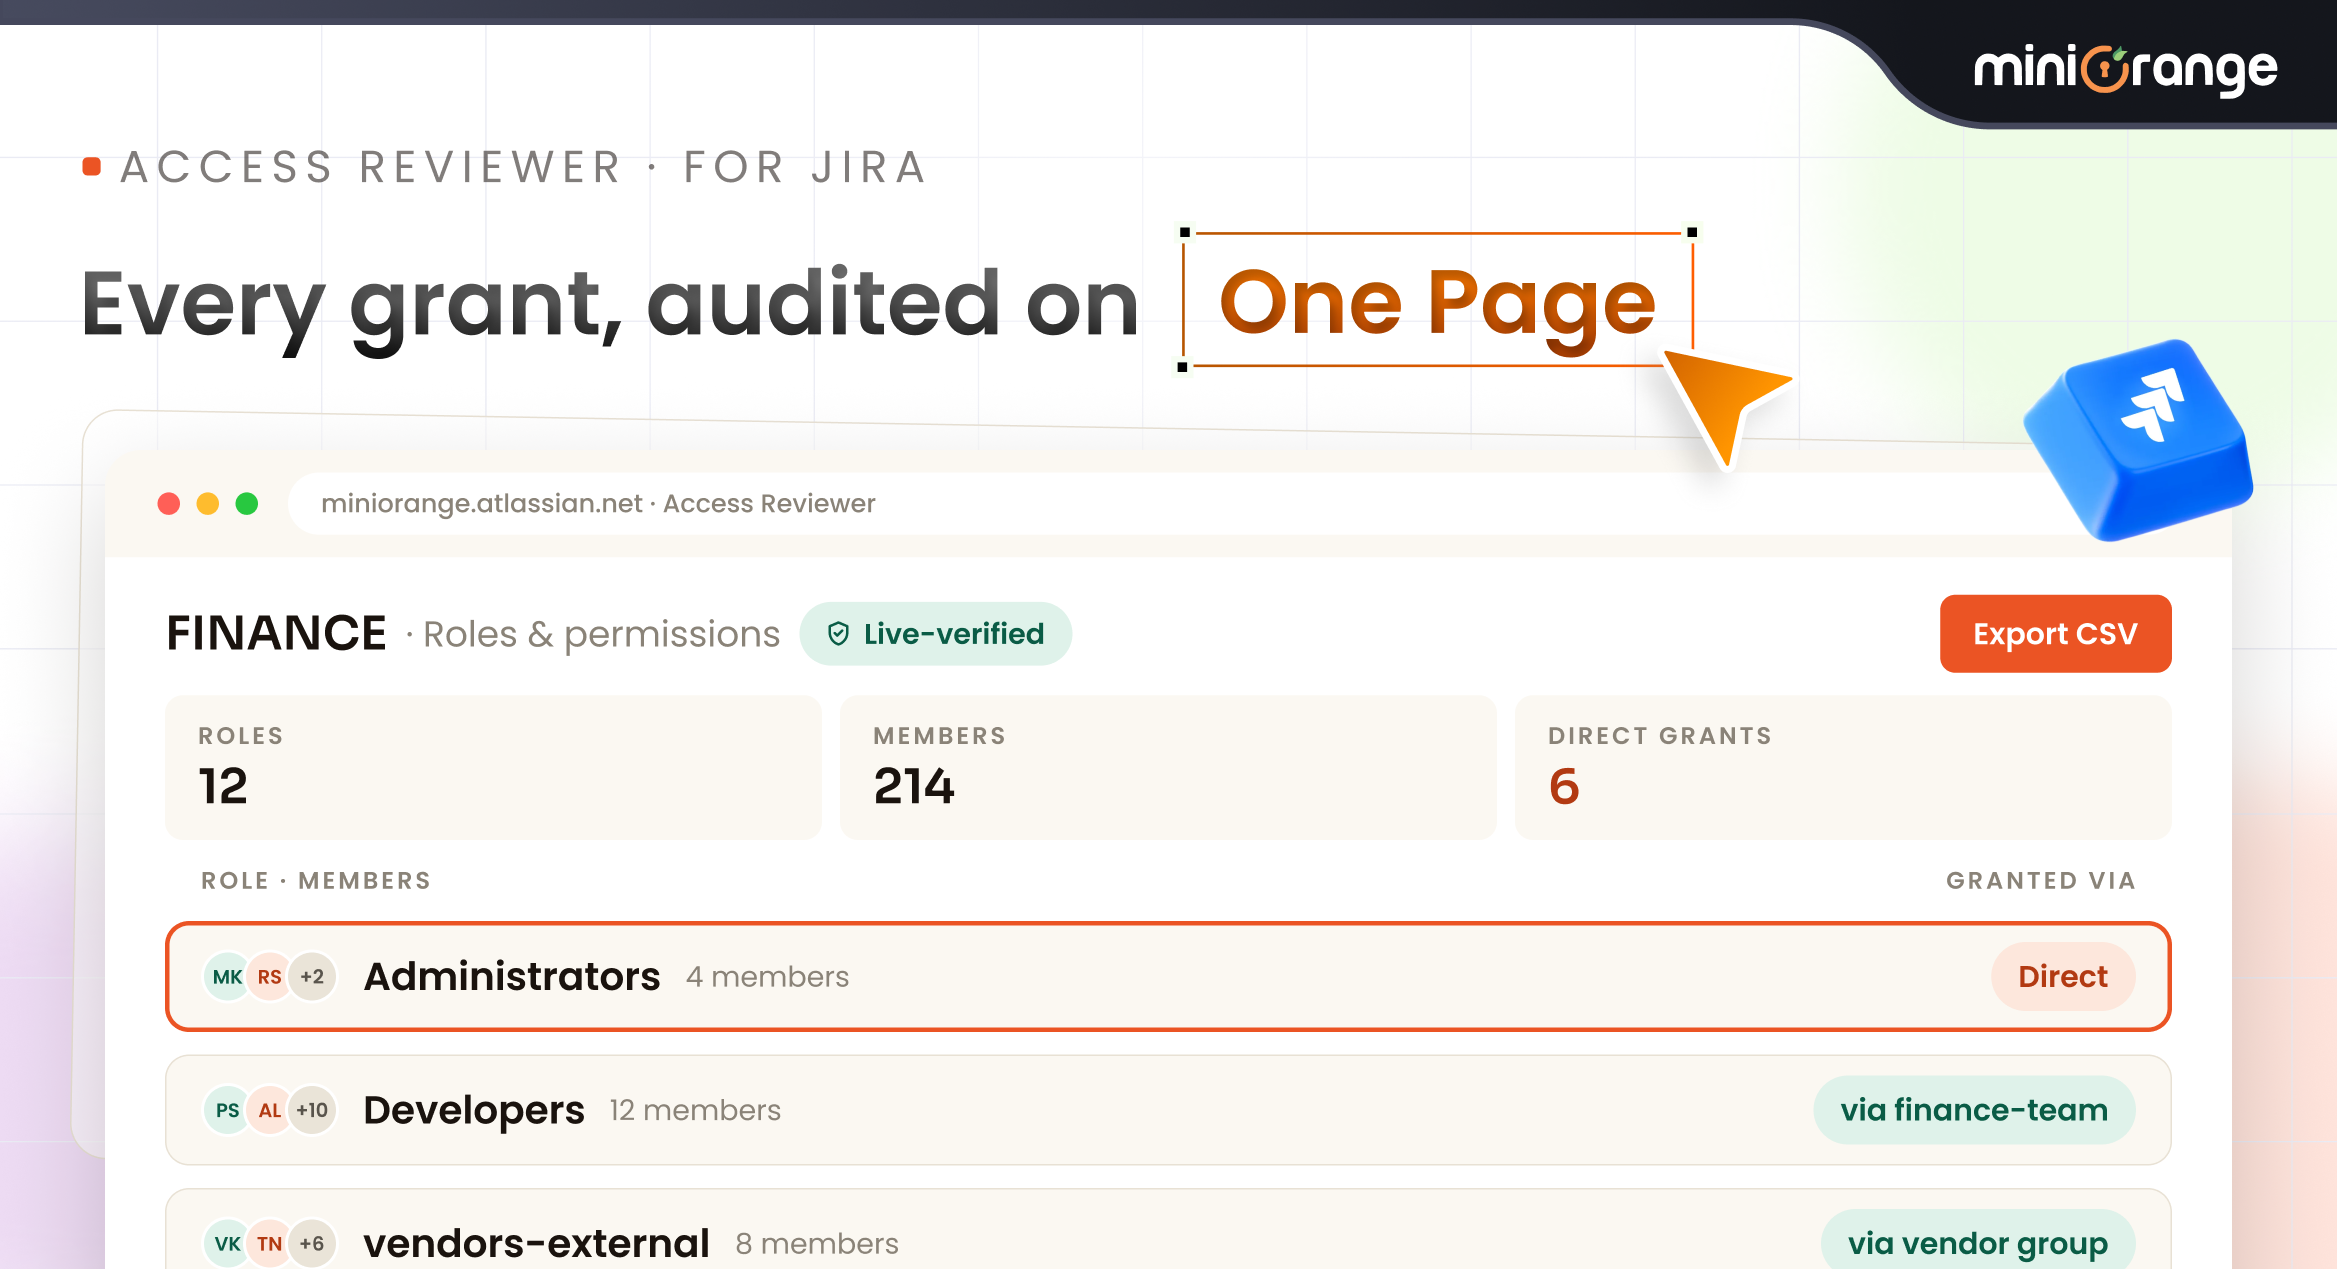
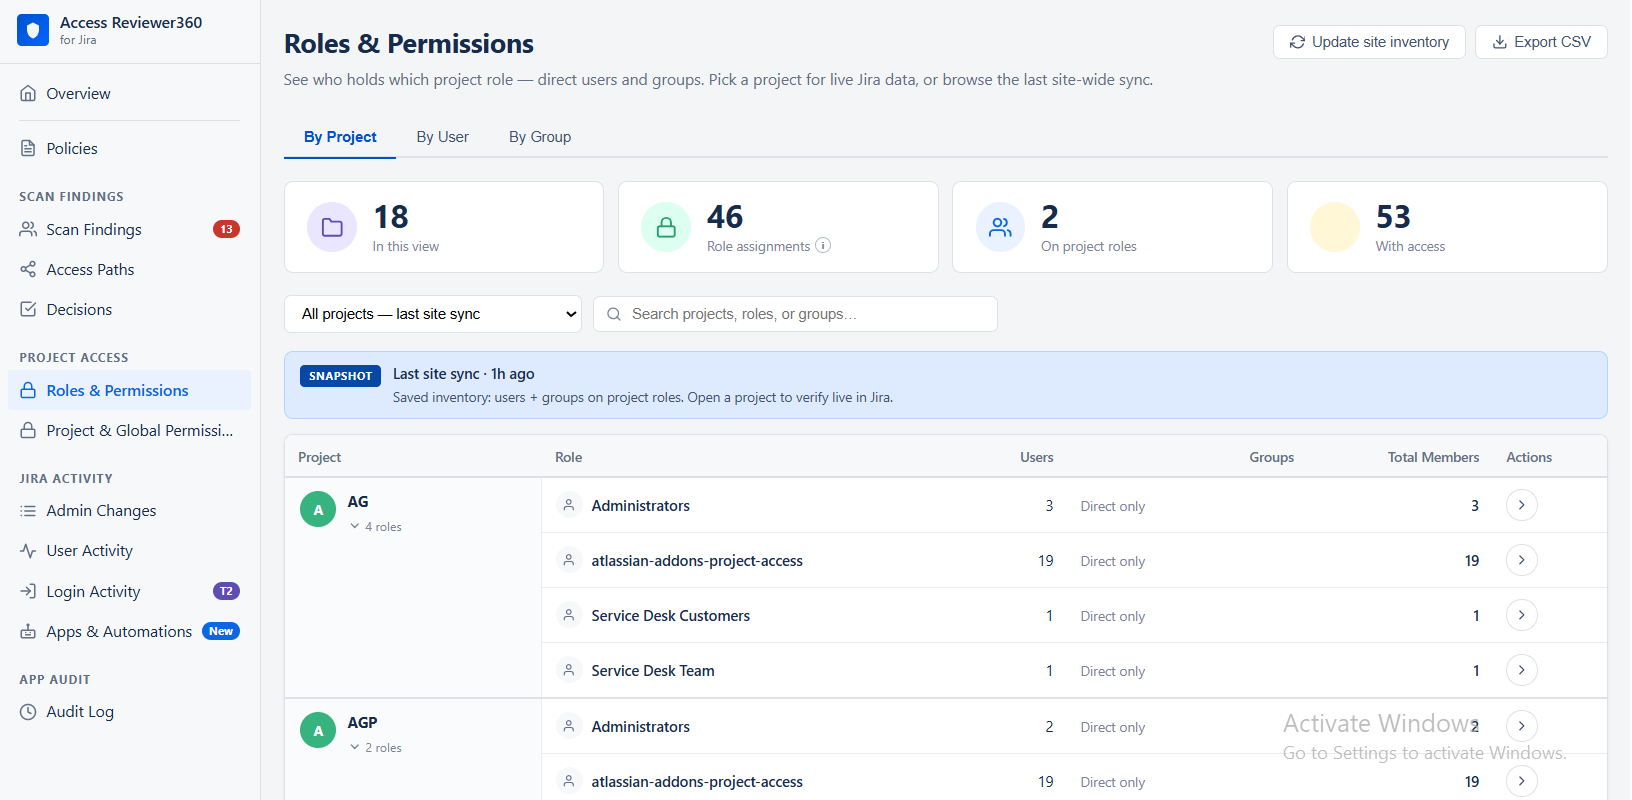
Roles & Permissions → By Project puts the whole picture on one page: every role on the project — including roles with nobody in them — live-verified from Jira, with group members already expanded rather than shown as a group name you have to chase.
Setup, step by step
- Install Access Reviewer360 from the Atlassian Marketplace as a Jira administrator.
- Open Project Access → Roles & Permissions and select the By Project tab.
- Check the Snapshot banner. If Last site sync is old, click Update site inventory (top right) and wait for it to finish.
- Use the project selector (All projects — last site sync) or the search box — Search projects, roles, or groups… — to reach the project, e.g. FINANCE.
- Read the summary tiles: projects in view, role assignments, groups on project roles, and users with access.
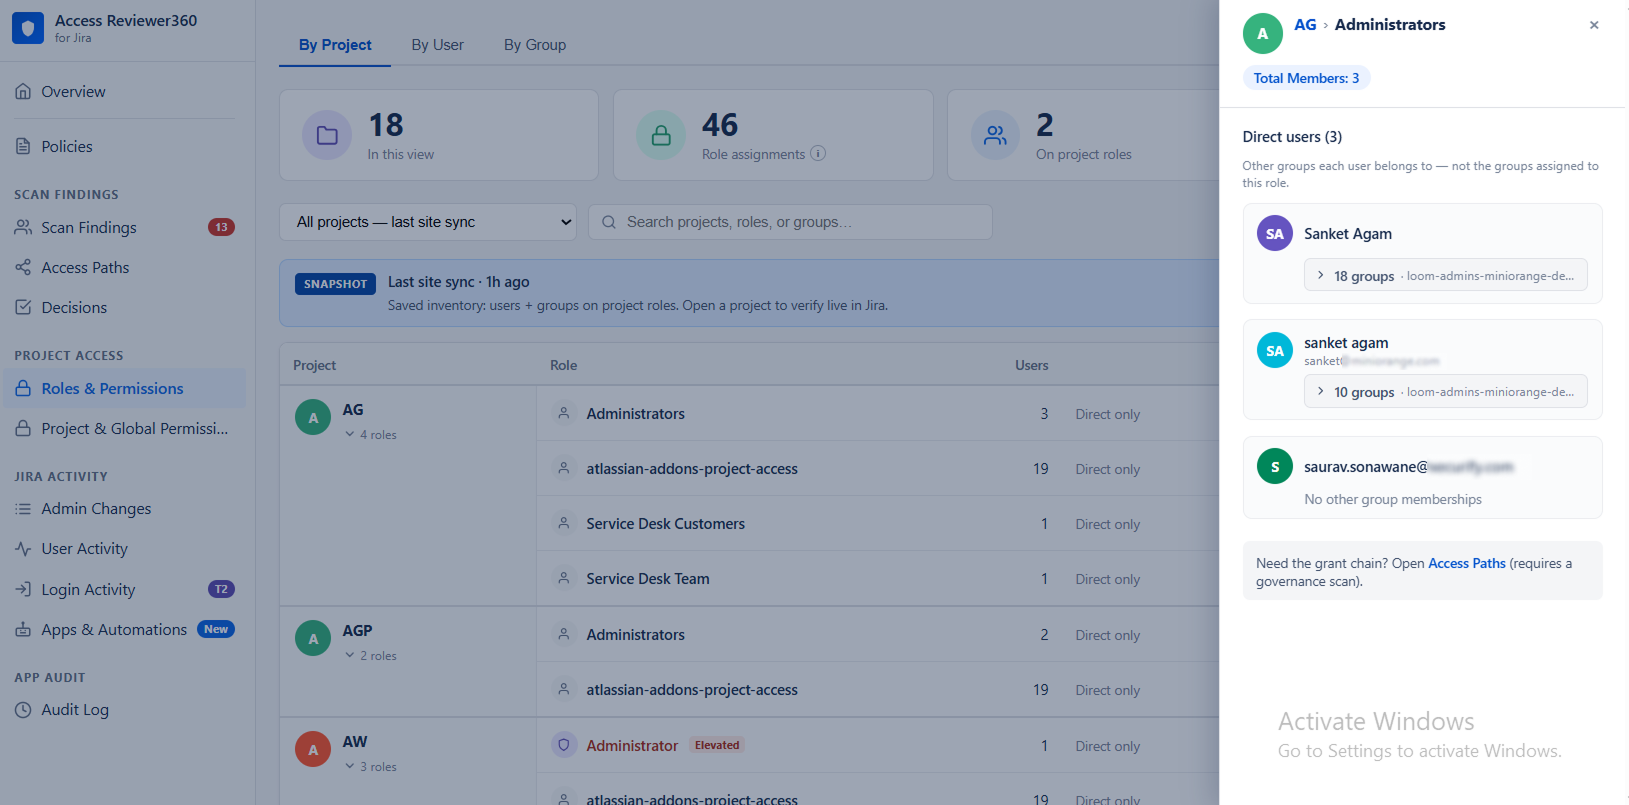
- Expand a project's roles and open a row's action to verify it live in Jira, reviewing direct users and group-inherited members.
- Click Export CSV (top right) to capture the evidence pack for the audit ticket.
What the export contains
- Project, role, and every member of that role.
- Whether each person is a direct assignment or reached via group, and which group.
- Roles with no members, so reviewers see full coverage rather than only matches.
Tips
- Export before and after any remediation, and attach both files to the ticket — the pair is the evidence auditors ask for.
- Re-run the same export monthly or quarterly; the repeat cadence is where the manual method loses the most time.
- Empty roles are worth reading. A role that grants a permission but holds nobody is usually a scheme left half-configured.
Contact
If you need help or want to ask questions, please contact us through miniOrange Support or via email to atlassiansupport@xecurify.com