Step 2. Set up SSO between Atlassian Guard and miniOrange App
After saving the OAuth Configuration, you’ll be required to configure Atlassian Guard and the miniOrange OAuth/OIDC SSO App.
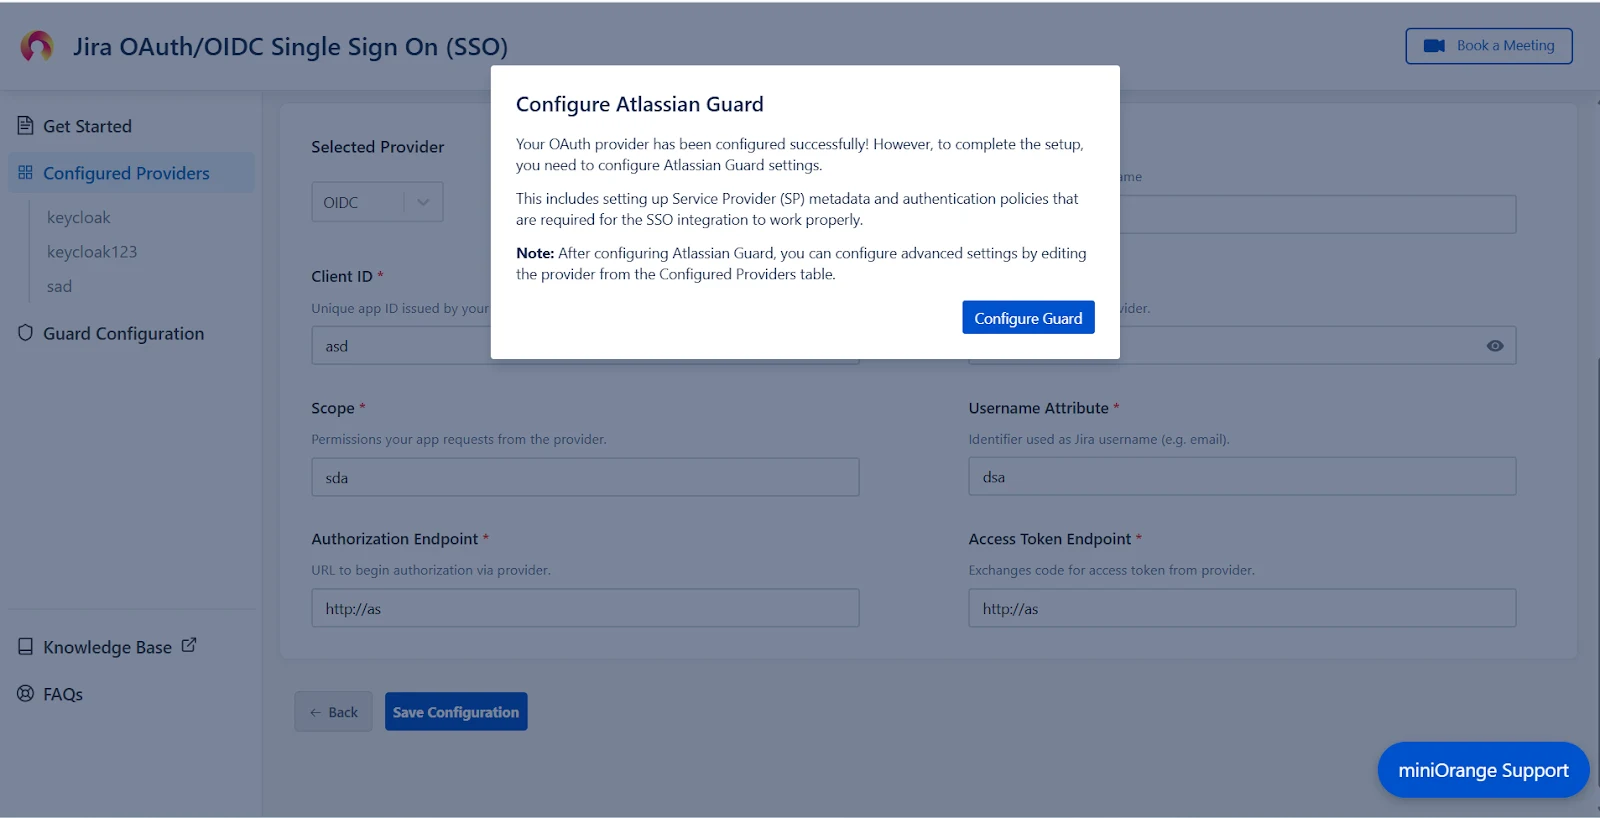
- A pop-up notification will appear, asking you to complete the Atlassian Guard configuration.
- Click on Configure Guard, and you will be navigated to the Guard Configurations section.
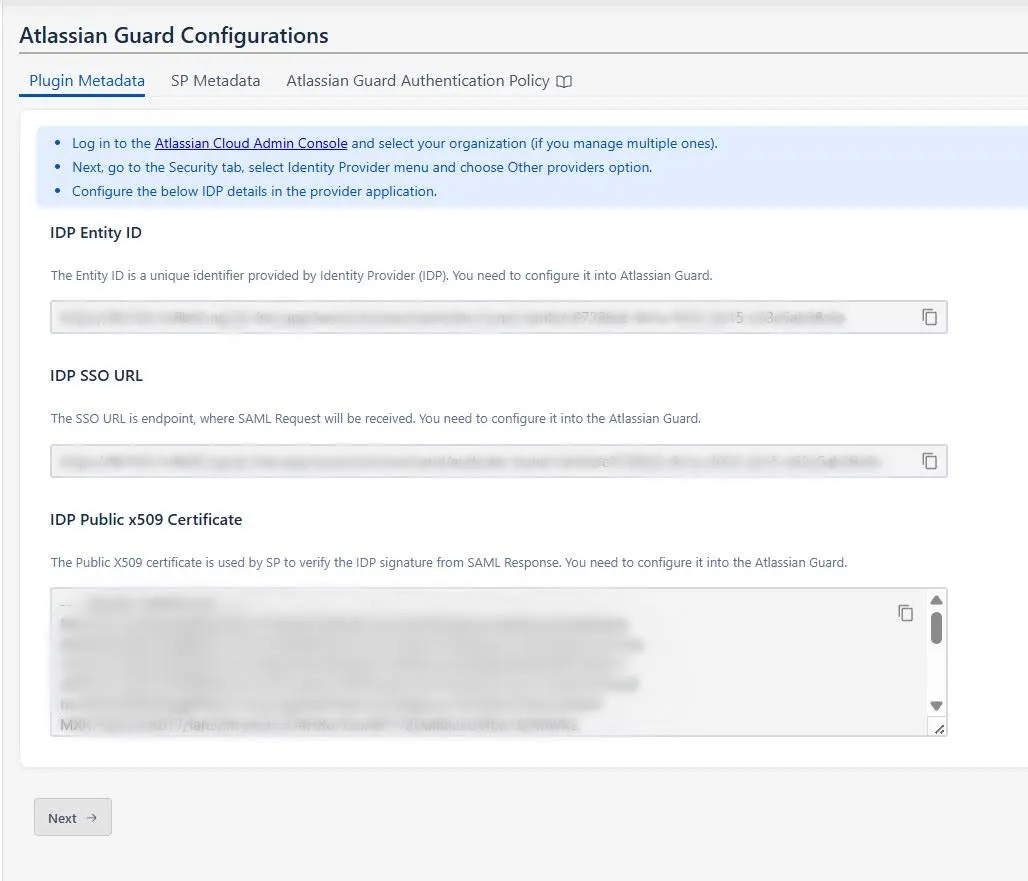
- In this section, you will find the Plugin Metadata details.
- Copy and keep the following values handy. You’ll need them while setting up your Identity Provider in Atlassian Guard:
- IDP Entity ID
- IDP SSO URL
- IDP Public X.509 Certificate
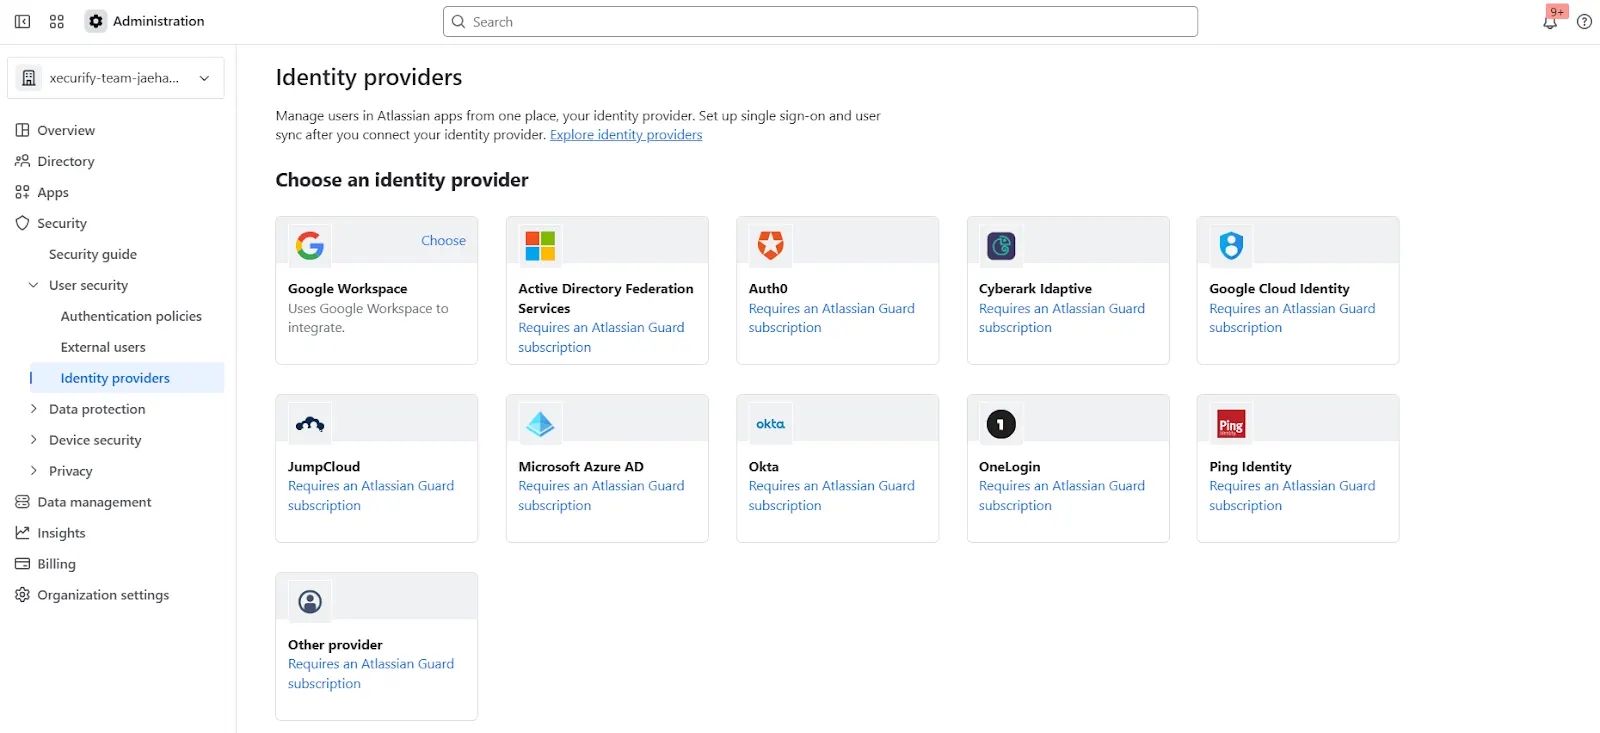
- Open the Atlassian Admin Console and navigate to the Security tab.
- Under User Security, click Identity Providers.
- Select Other to begin configuring a custom Identity Provider.
- Provide an appropriate name, select Set up SAML Single Sign-On, and click Next.
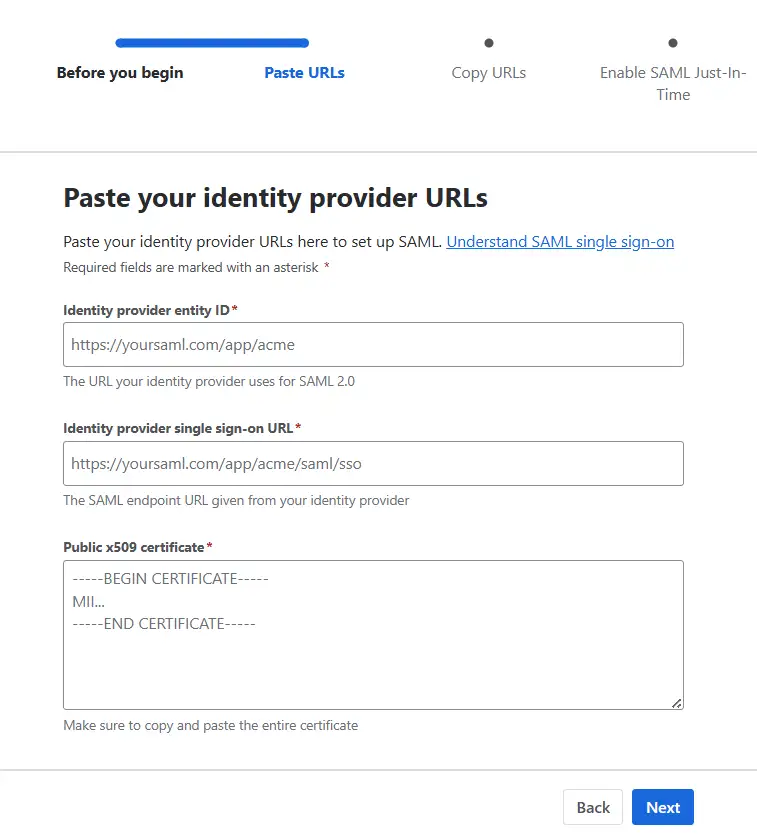
- Now, paste the IDP Entity ID, IDP SSO URL, and Public X.509 Certificate that you copied from the plugin configuration.
- Click Next and copy the Service Provider Entity ID and Service Provider Assertion Consumer Service URL. Keep these handy as they’re required to complete the plugin configuration.
- Complete the rest of the Atlassian Guard configuration.
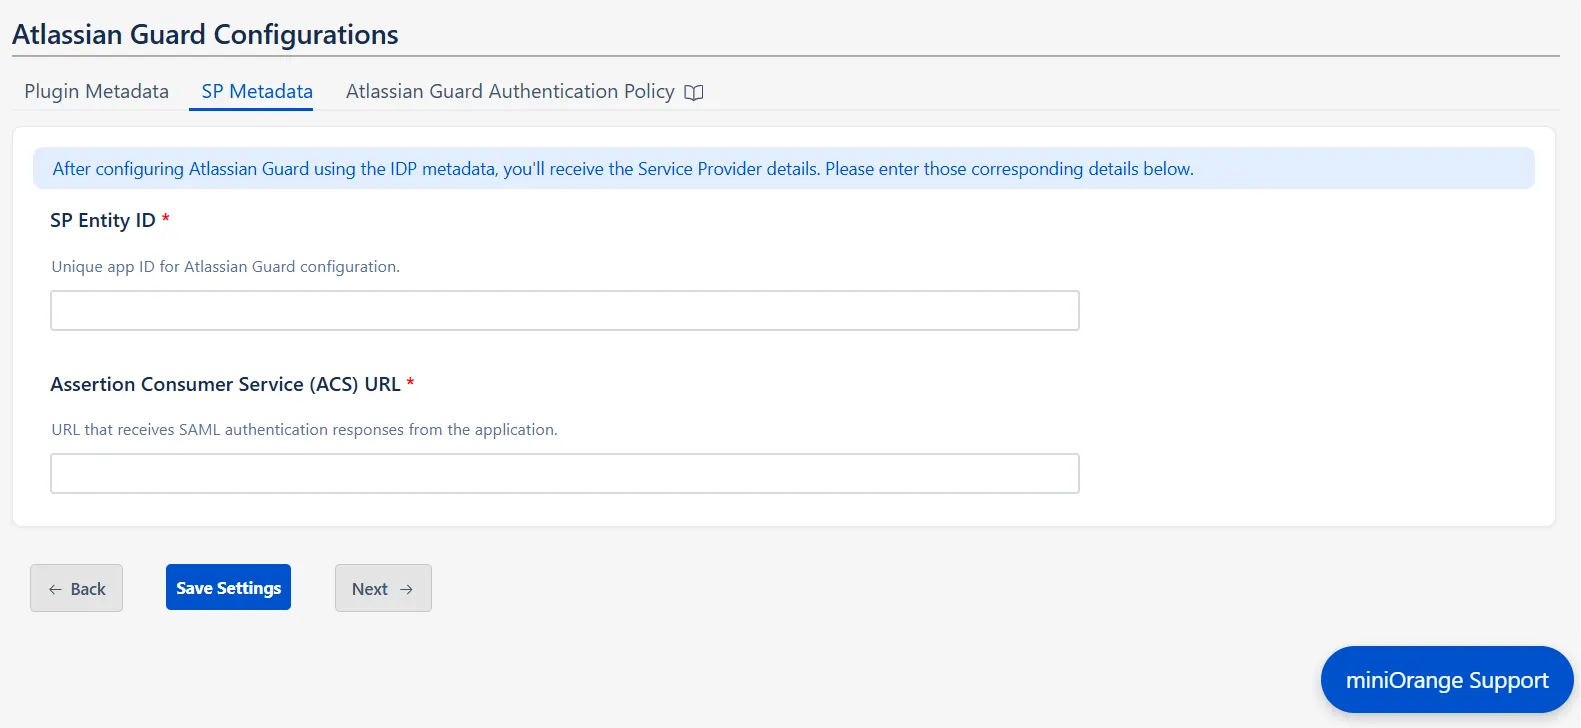
- Once you’re done, return to the plugin, go to the SP Metadata tab in the Guard Configurations section, and click Next.
- Enter the SP Entity ID and Assertion Consumer Service (ACS) URL that you copied, and click Save Settings.
Note: In case you manage multiple organizations, you’ll have to
select the intended one after accessing the admin console.
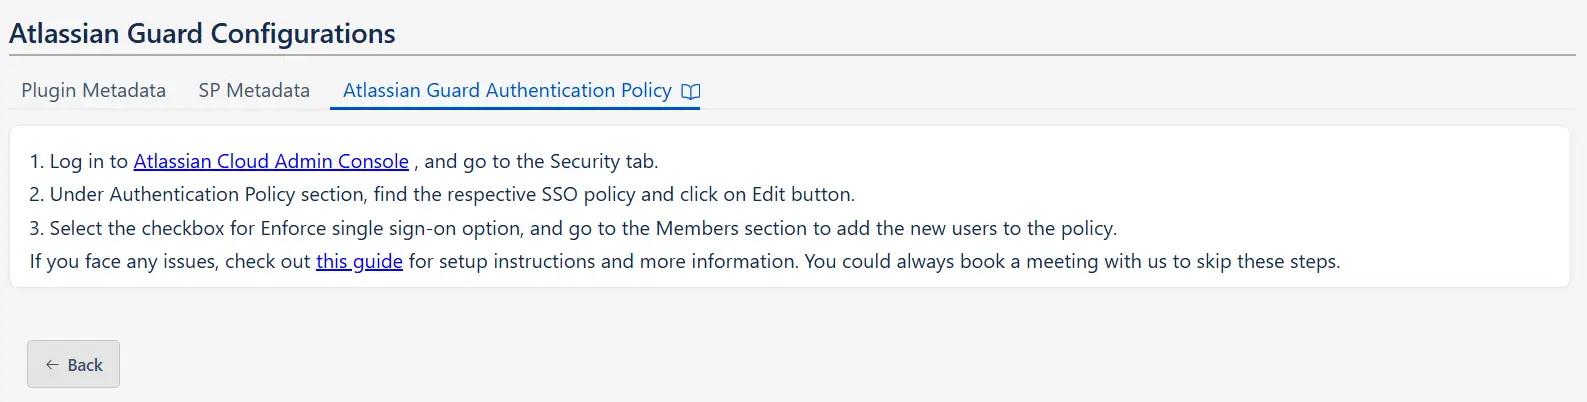
Step 3: Configure SSO Authentication Policy
Once all the SSO Configurations are done, you need to add users to the Authentication Policy and enforce Single Sign On.
After saving the SP Metadata, click Next to find the steps for adding the users to the Authentication policy.
Now you can now seamlessly enjoy Single-Sign On into Atlassian with your preferred OAuth provider, with our miniOrange app.