Centrify as IdP – SAML
Step 1: Setup Centrify as Identity Provider
Follow the steps below to configure Centrify as an Identity Provider
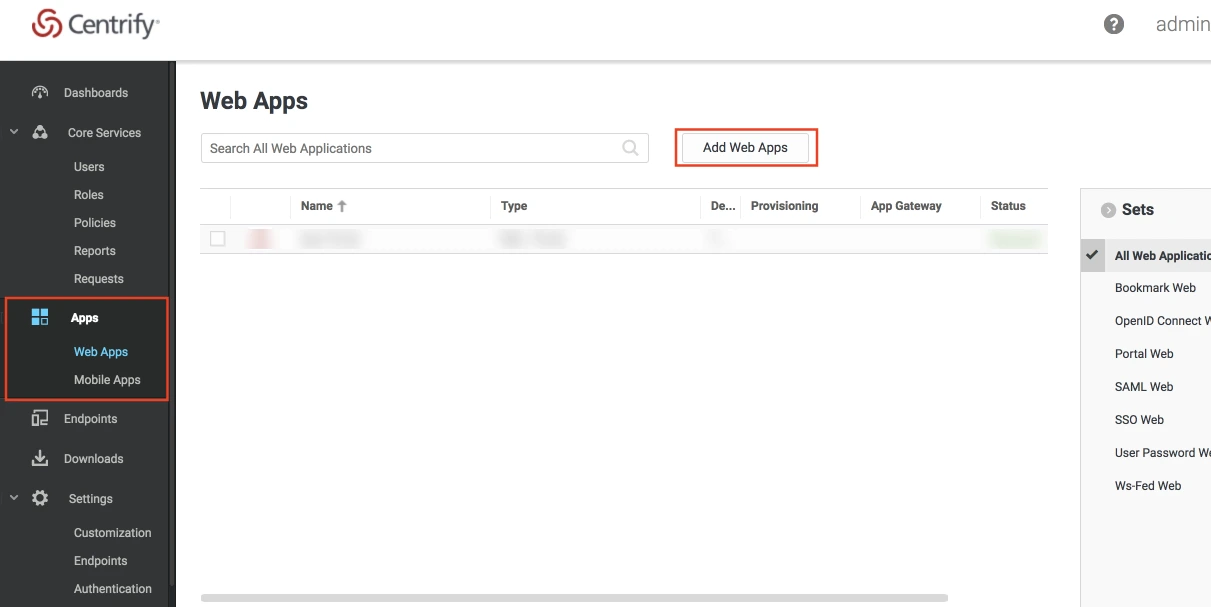
- Log into Centrify as an Administrator and click on Apps on the sidebar. Then Click on Web Apps.
- Click on the Add Web Apps button next to the search bar.
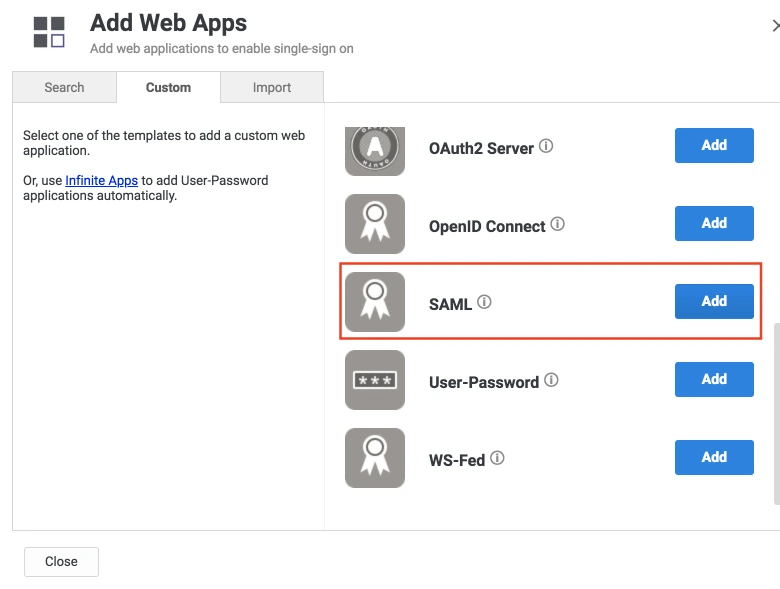
- Then select the Custom tab. Search for SAML and click on the Add button. Now press Yes to confirm.
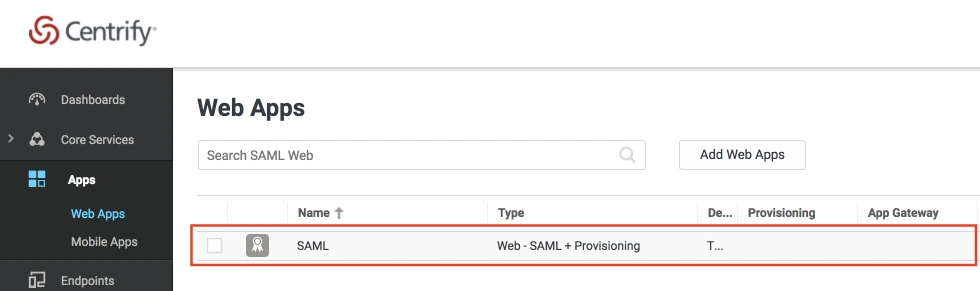
- When you create a web app, it will be listed in the Web Apps tab. Click on the newly created web app to configure.
- The name and description of the web app can be updated from this settings tab.
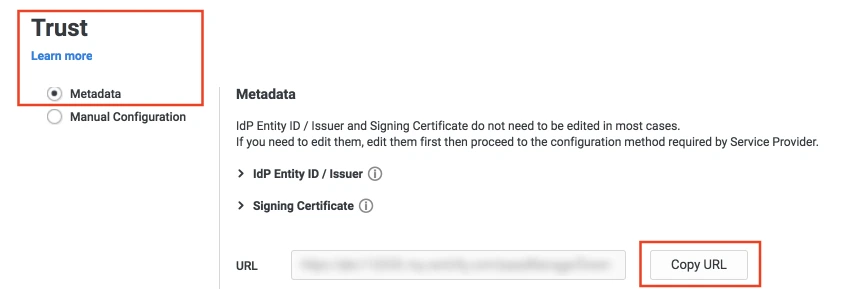
- Select the Trust tab from the sidebar. Trust tab will have metadata details for the configuration. Copy the metadata URL and save it for configuration with miniOrange.
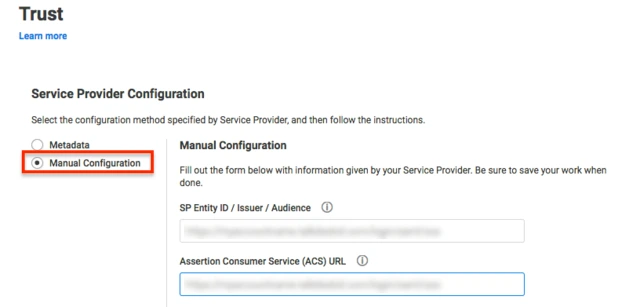
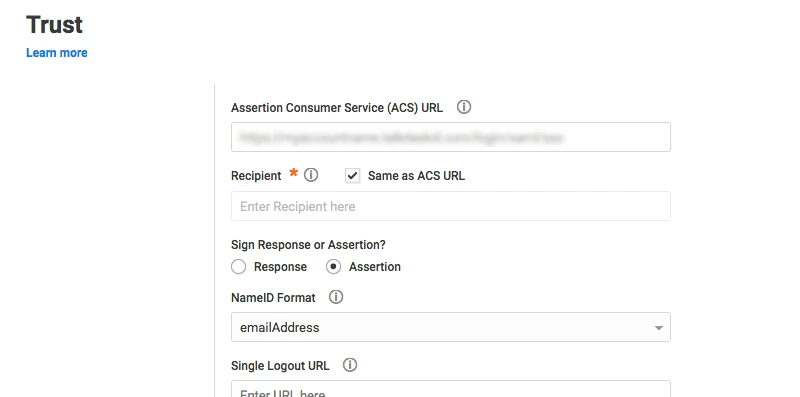
- Now scroll down until you see the Service Provider Configuration. Here you can configure the SP metadata either using the URL or manual configuration.
- Enter the configuration details and click on SAVE.
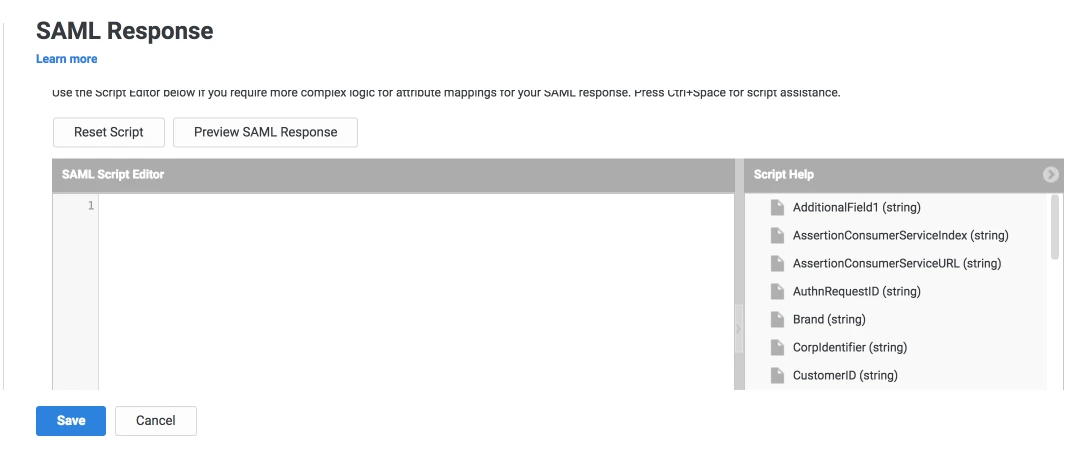
- Click on the SAML Response tab from the left sidebar.
- Here, you can map attributes from your source directory to SAML attributes that will be returned with the response.
- Also, Centrify provides a script editor under the custom logic section in the SAML Response tab to add more complex logic to map attributes.
- You will have to add below functions to the code -
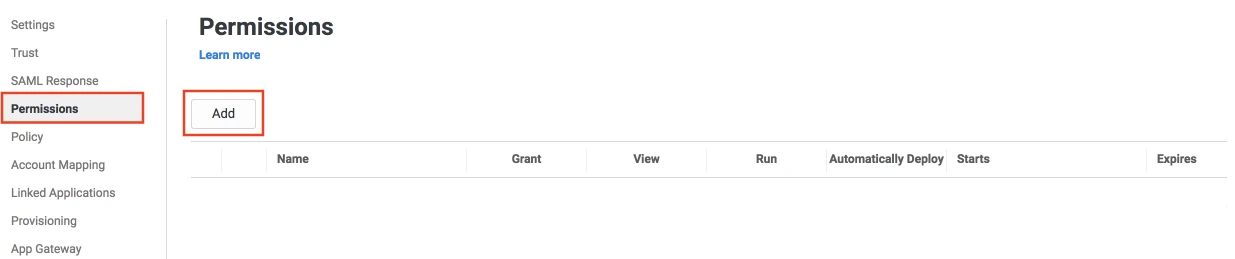
- From the left sidebar, select Permissions.
- Click on the Add button. The Select User, Group, or Role dialog will appear.
- Select the users, groups, or roles that will be accessing this web app. The role rules will be displayed on the User Access card.
- Click on the Save button.
 Create SAML App
Configure SAML App

| setAudience() | SP-EntityID / Issuer from Step 1 of the plugin under the SP Info Tab. E.g: setAudience('https://example.com') |
| setRecipient() | Recipient URL from Step 1 of the plugin under the SP Info Tab. E.g: setRecipient('https://example.com/plugins/servlet/saml/auth') |
| sethttpsDestination() | Destination URL from Step 1 of the plugin, under the SP Info Tab. E.g: sethttpsDestination('https://example.com/plugins/servlet/saml/auth') |
×
![ADFS_sso]()