- Home
- Identity Governance, Auditing & Access Control
- Set Up Identity Governance, Auditing & Access Control via JSM with GitHub

How to Set Up Identity Governance, Auditing & Access Control via JSM with GitHub
This guide explains how to configure GitHub integration inside the Identity Governance, Auditing & Access Control via JSM so that users are automatically invited to your GitHub organization when an access request is approved.
App Overview
The Identity Governance, Auditing & Access Control via JSM is an advanced solution built on Jira Service Management (JSM) to simplify and automate access request workflows across your organization.
Instead of relying on manual request and approval steps, the app enables:
- End users to submit access requests through the JSM portal.
- Automated routing of approval workflows based on predefined rules.
- Instant provisioning actions once approvals are complete.
By automating these processes, the Identity Governance, Auditing & Access Control via JSM ensures secure, policy-driven, and audit-ready access management across your tech ecosystem.
 Try it for free
Pre-requisites
Before you begin, make sure you have the following:
- You are a GitHub organization owner, or have sufficient permissions to manage organization invitations.
- You are able to create a GitHub Personal Access Token (PAT) with the required organization-level permissions.
1: Retrieve GitHub Credentials
A. Create a GitHub Personal Access Token
The app uses a Fine-grained Personal Access Token to authenticate with GitHub securely for organization invitation actions. This token grants the app the minimum permissions it needs to invite users to your organization.
Follow these steps to generate the token:
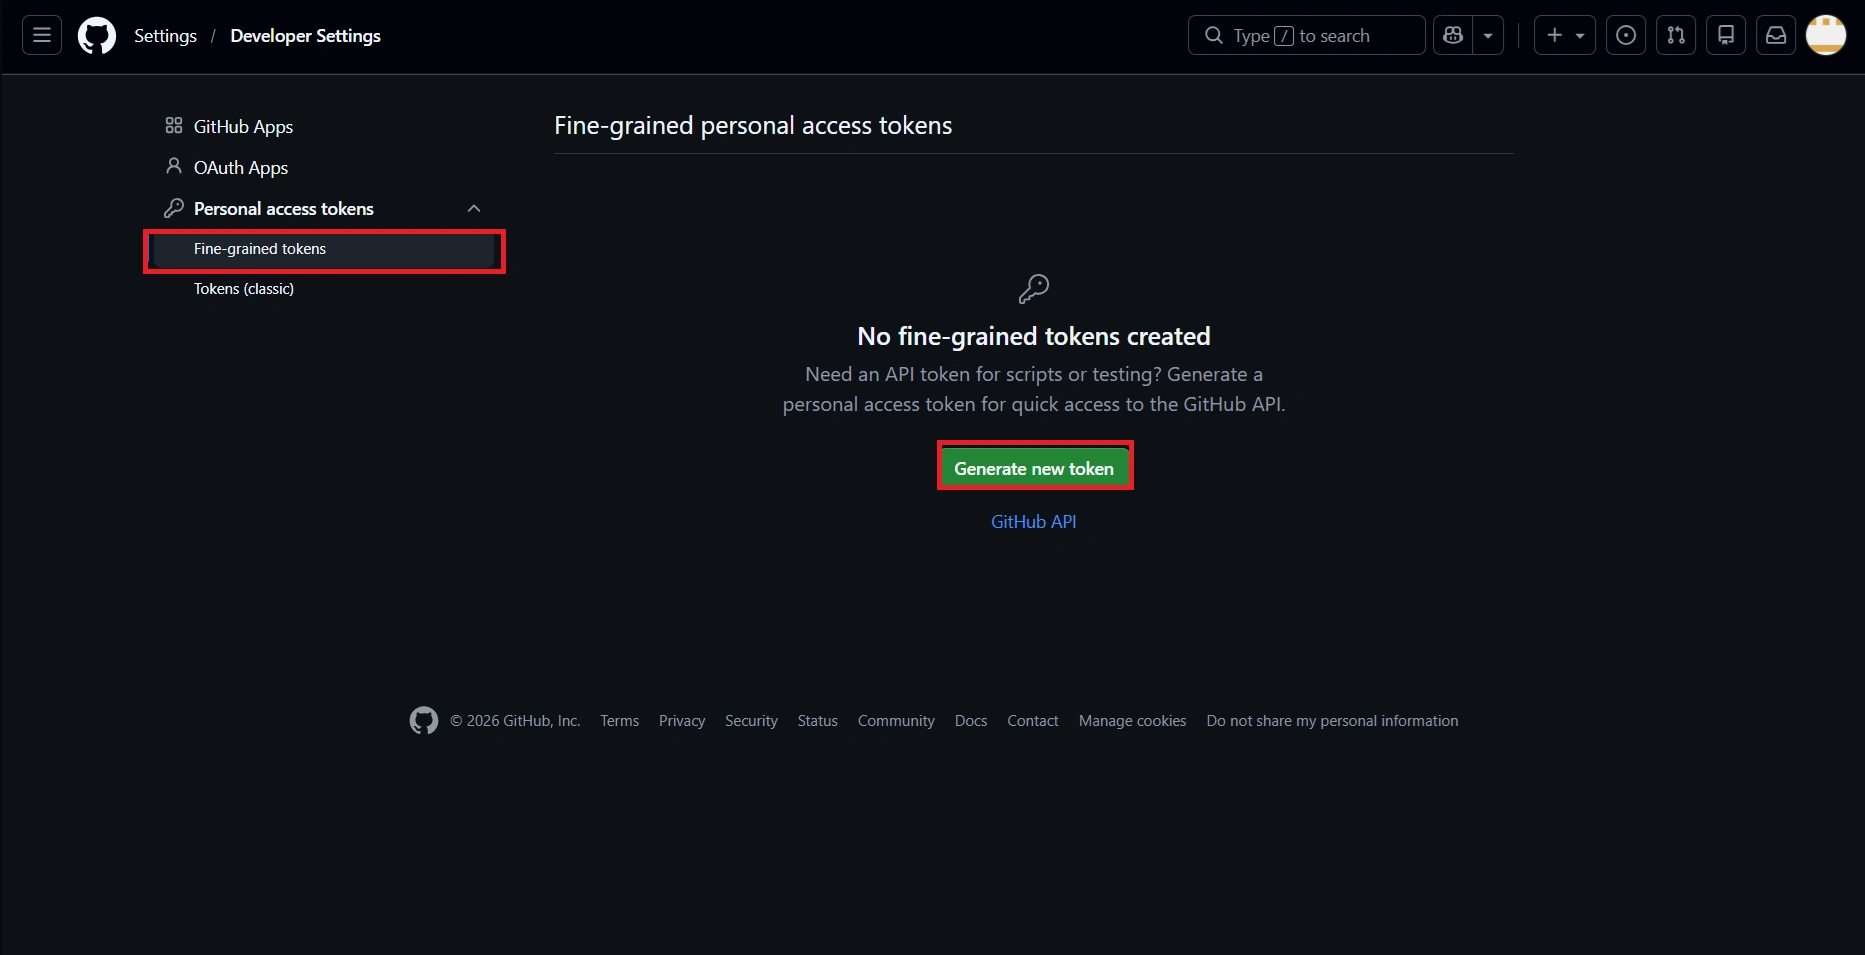
- Go to GitHub → Settings → Developer settings → Personal access tokens.
- Click Generate new token under Fine-grained tokens.
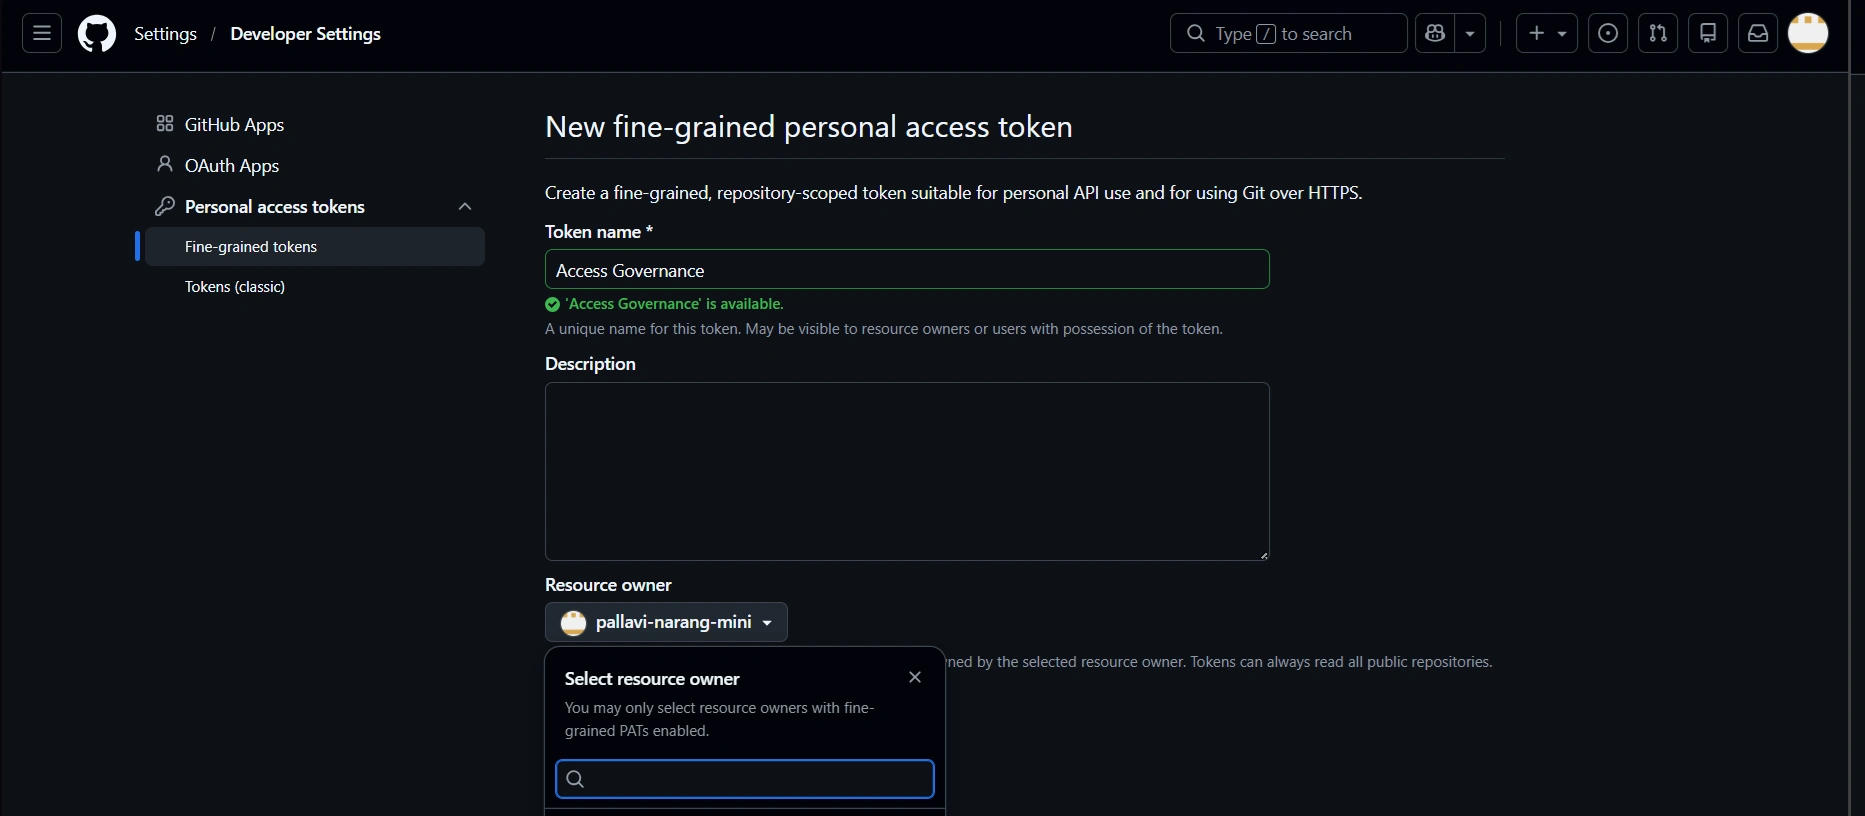
- Set a Resource owner to your organization.
- Under Organization permissions, set Members to Read and write. This permission allows the app to send and manage organization invitations.
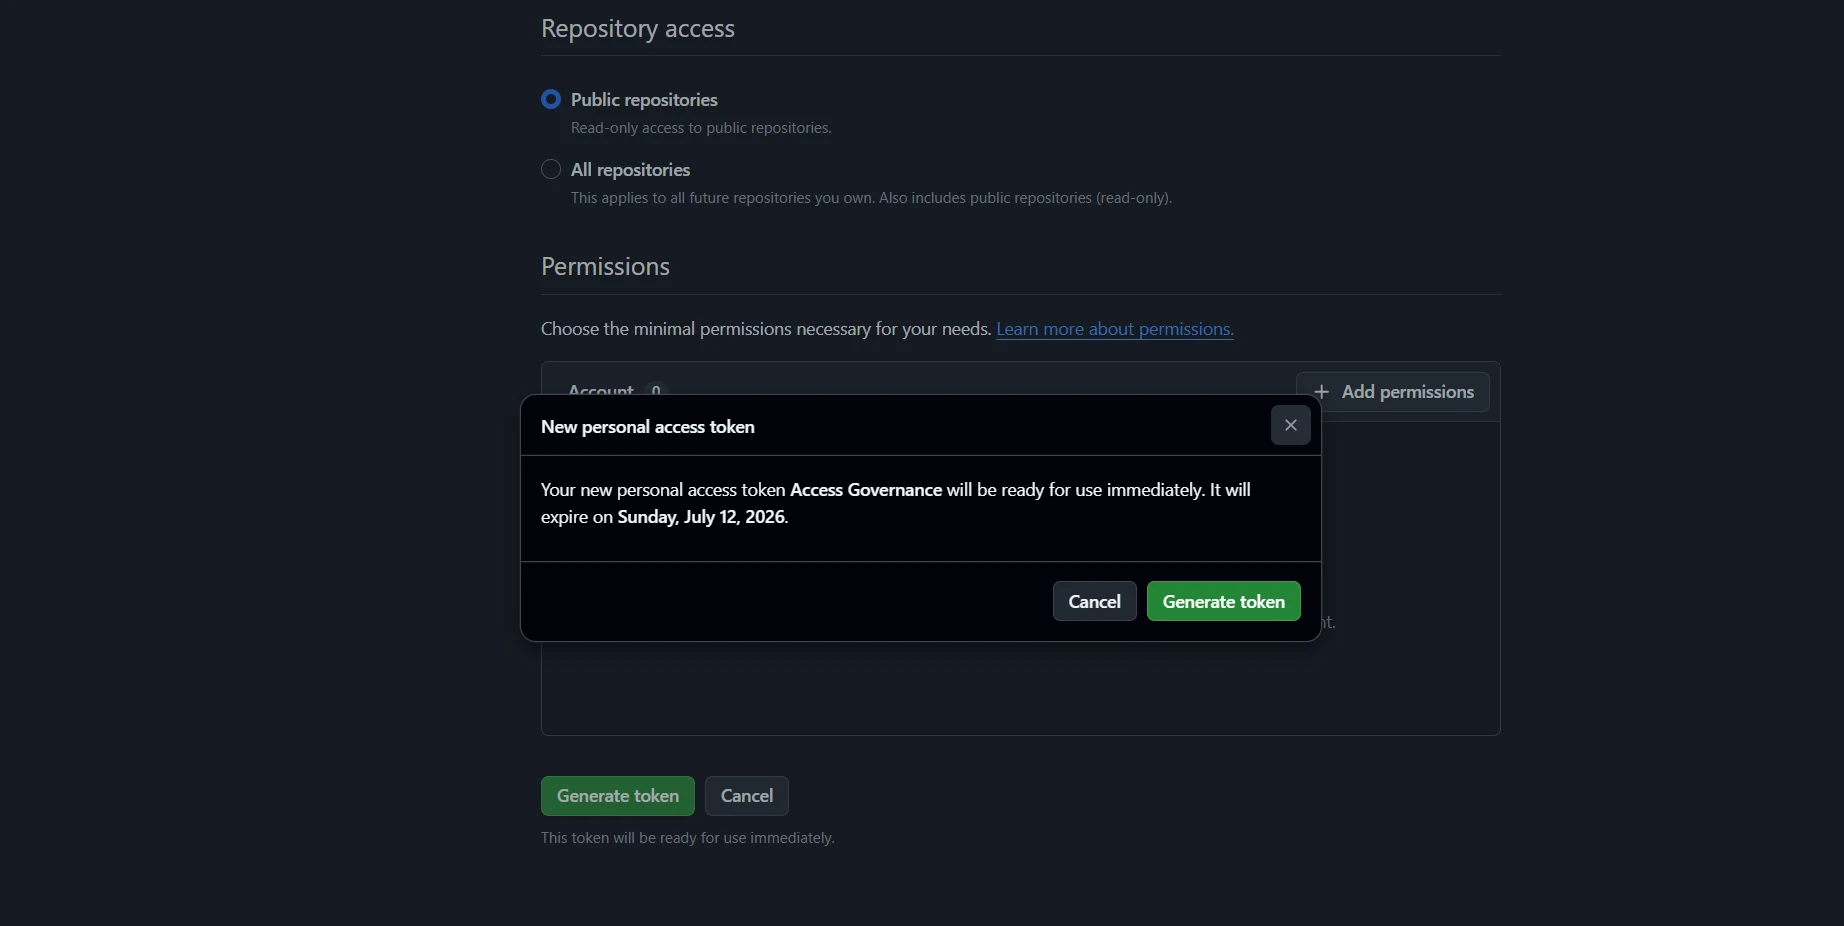
- Set an appropriate expiration date based on your organisation's security policy and generate the token.
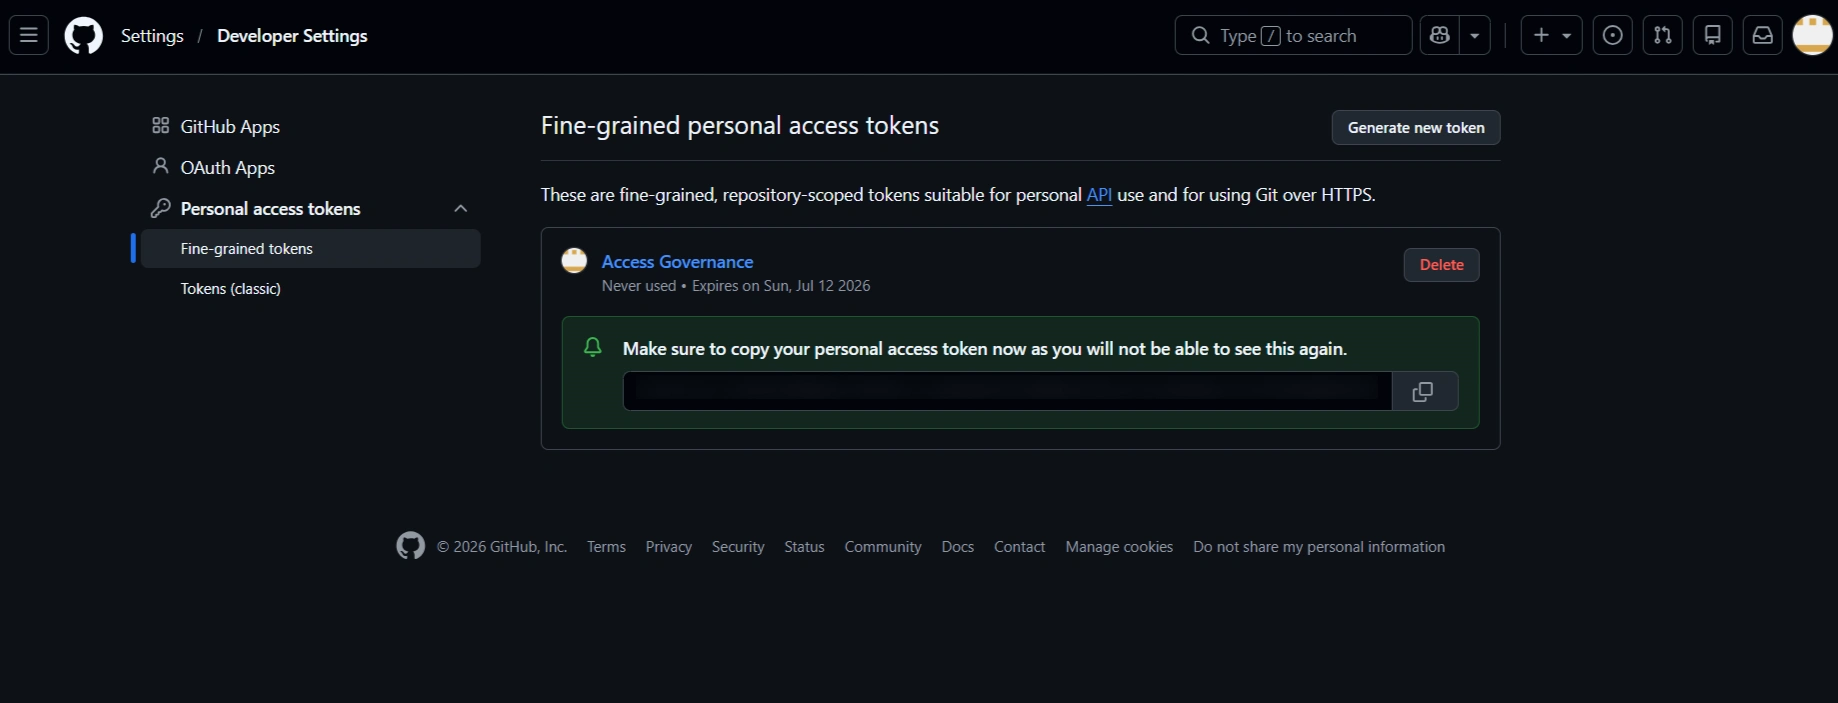
- Click on Generate Token. Copy the token immediately and store it securely. The token is shown only once and cannot be retrieved after you leave this page.
B. Find Your Organization Slug
The organization slug is the unique identifier for your GitHub organization and is used by the app to direct invitations to the correct organization.
- Open your GitHub organization page in a browser.
- Find the URL and copy the organization name that appears after github.com.
For example, if your organization URL is https://github.com/my-org, then your organization slug is my-org. This is the value you will enter in Step 2.
2: Connect GitHub to the Identity Governance, Auditing & Access Control via JSM
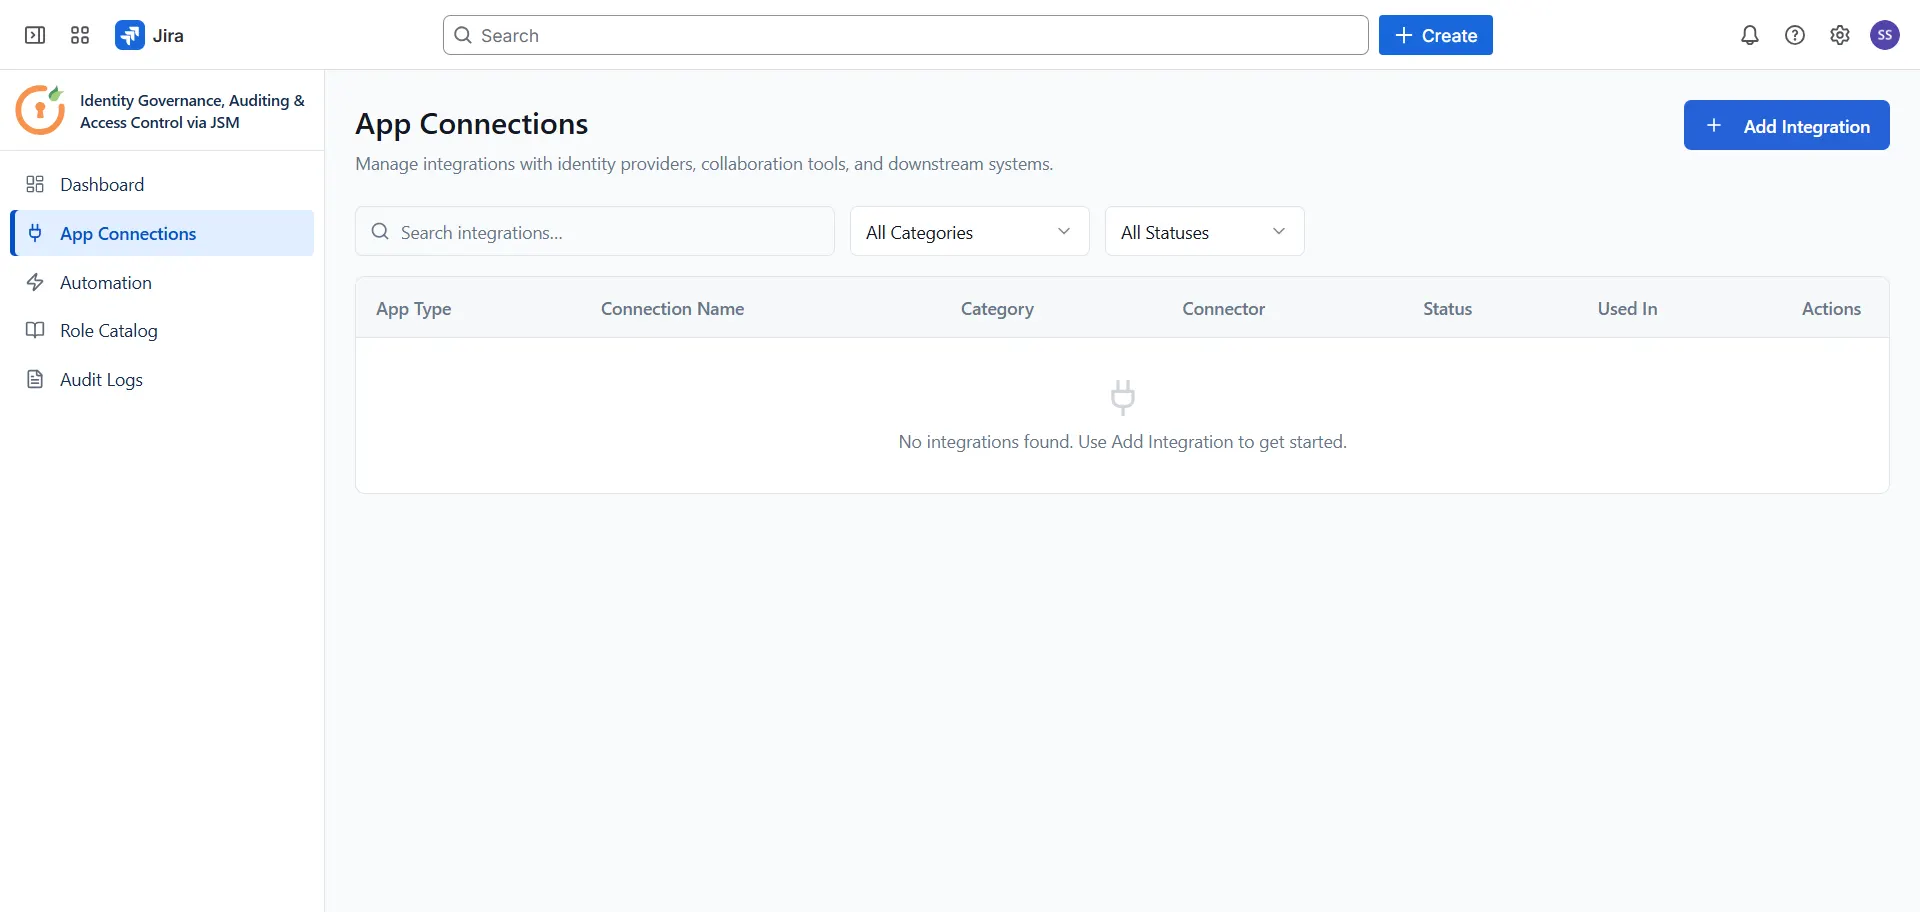
With the token and organization slug ready, open the Identity Governance, Auditing & Access Control via JSM app and navigate to App Connections from the sidebar. Click + Add Integration and select GitHub from the list. Enter the following details in the Connect GitHub panel:
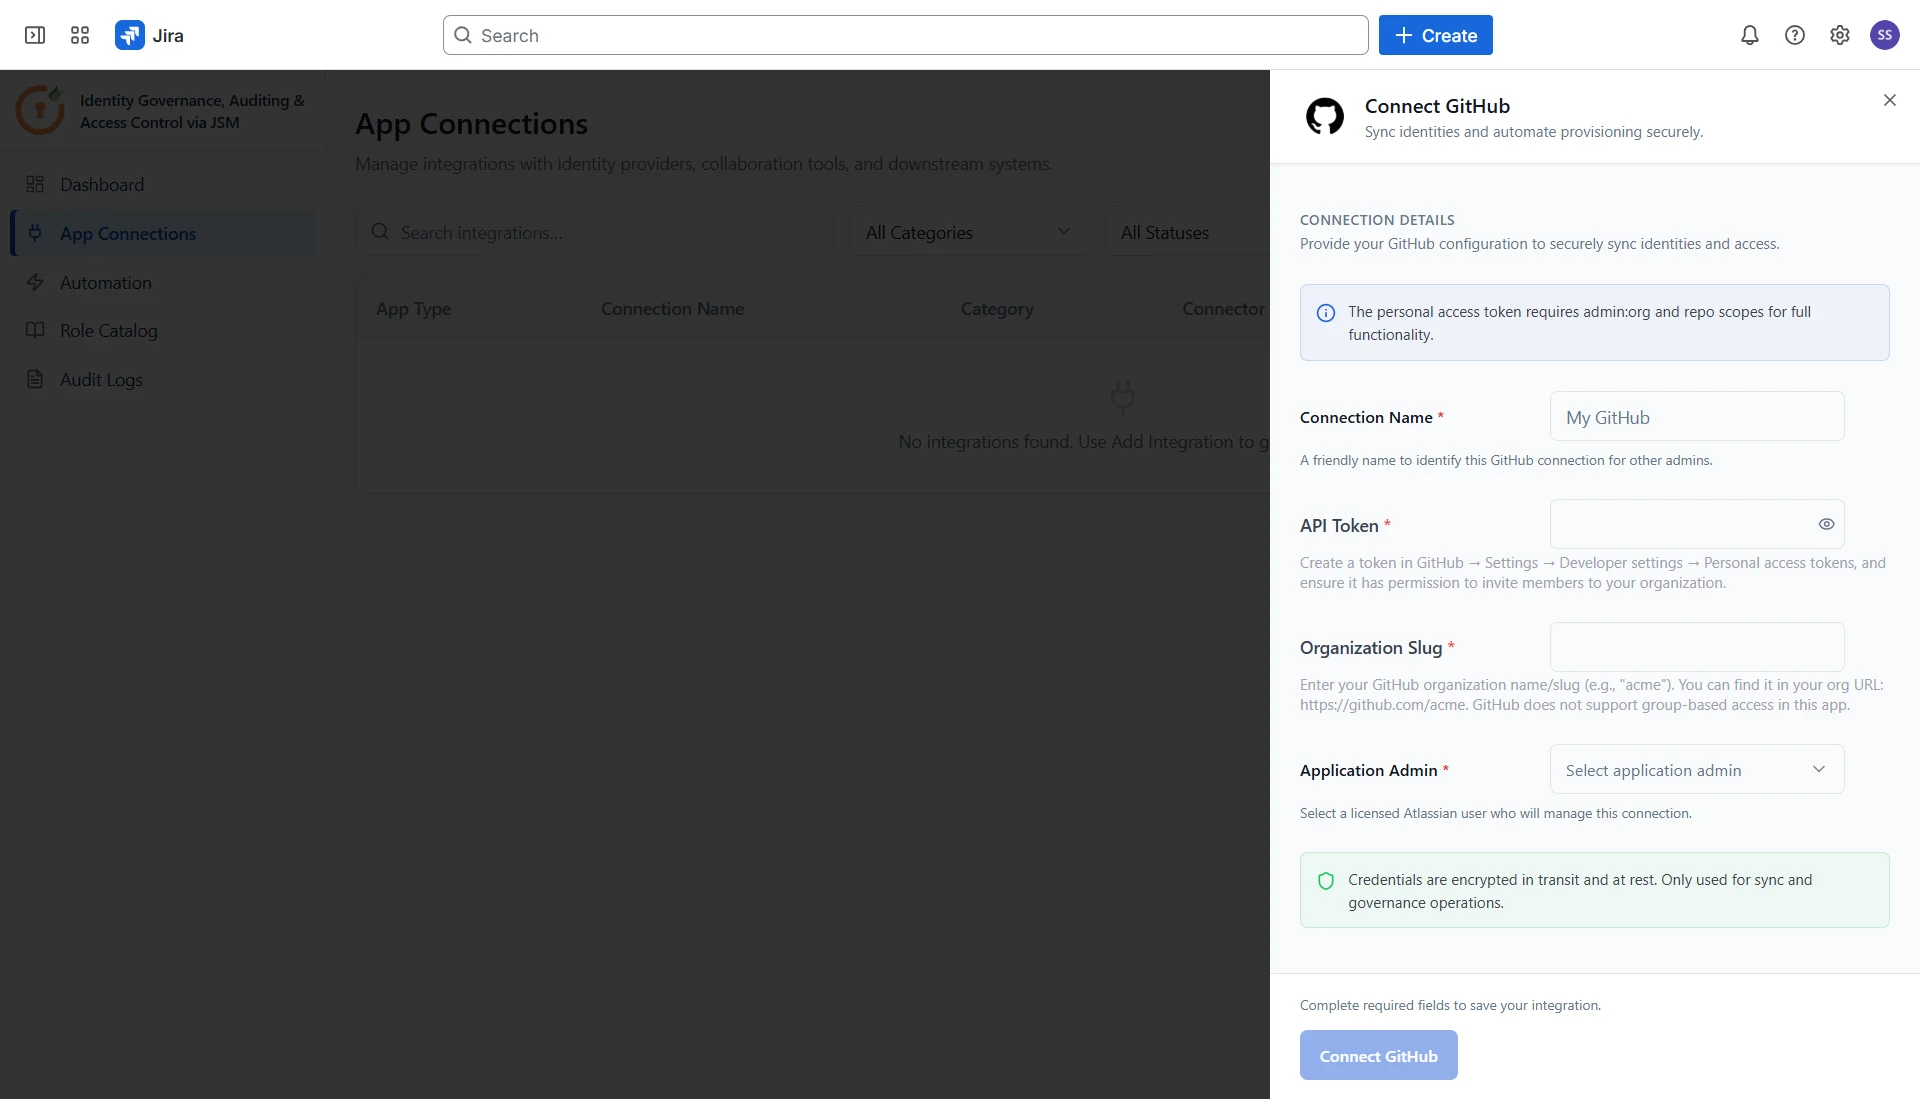
- Connection Name: A friendly name to identify this GitHub connection for other admins (e.g., "My GitHub").
- API Token: Create a token in GitHub → Settings → Developer settings → Personal access tokens, and ensure it has permission to invite members to your organization.
- Organization Slug: Enter your GitHub organization name/slug (e.g., "acme"). You can find it in your org URL: https://github.com/acme.
- Application Admin: Select a licensed Atlassian user who will manage this connection.
Once all fields are filled in, click Connect GitHub to save the integration.
After Setup
Once the integration is configured, the app automatically handles the provisioning flow. When an access request for GitHub is submitted through the Jira Service Management portal and approved, the user is automatically invited to your GitHub organization — no manual invitation process is required from the admin.
Important Notes
- This integration currently supports organization invitations only. Users will receive a GitHub invitation email upon approval of their access request.
- GitHub does not support group-based access in this app.
- Future versions of the app will extend this to support removing users from the organization and managing team-level membership.
Configure Automation Rules for GitHub
Now that GitHub is connected, configure automation rules to define how access requests are routed, approved, and provisioned in GitHub. Follow the guides below to set up each rule type:
Did this page help you?
