- Home
- Identity Governance, Auditing & Access Control via JSM
- Integrate Atlassian Jira Cloud with Identity Governance App

Integrate Atlassian Jira Cloud with the Identity Governance, Auditing & Access Control App
This guide walks you through connecting Atlassian Jira Cloud to the Identity Governance, Auditing & Access Control via JSM app for automated access provisioning through Jira Service Management.
 Try it for free
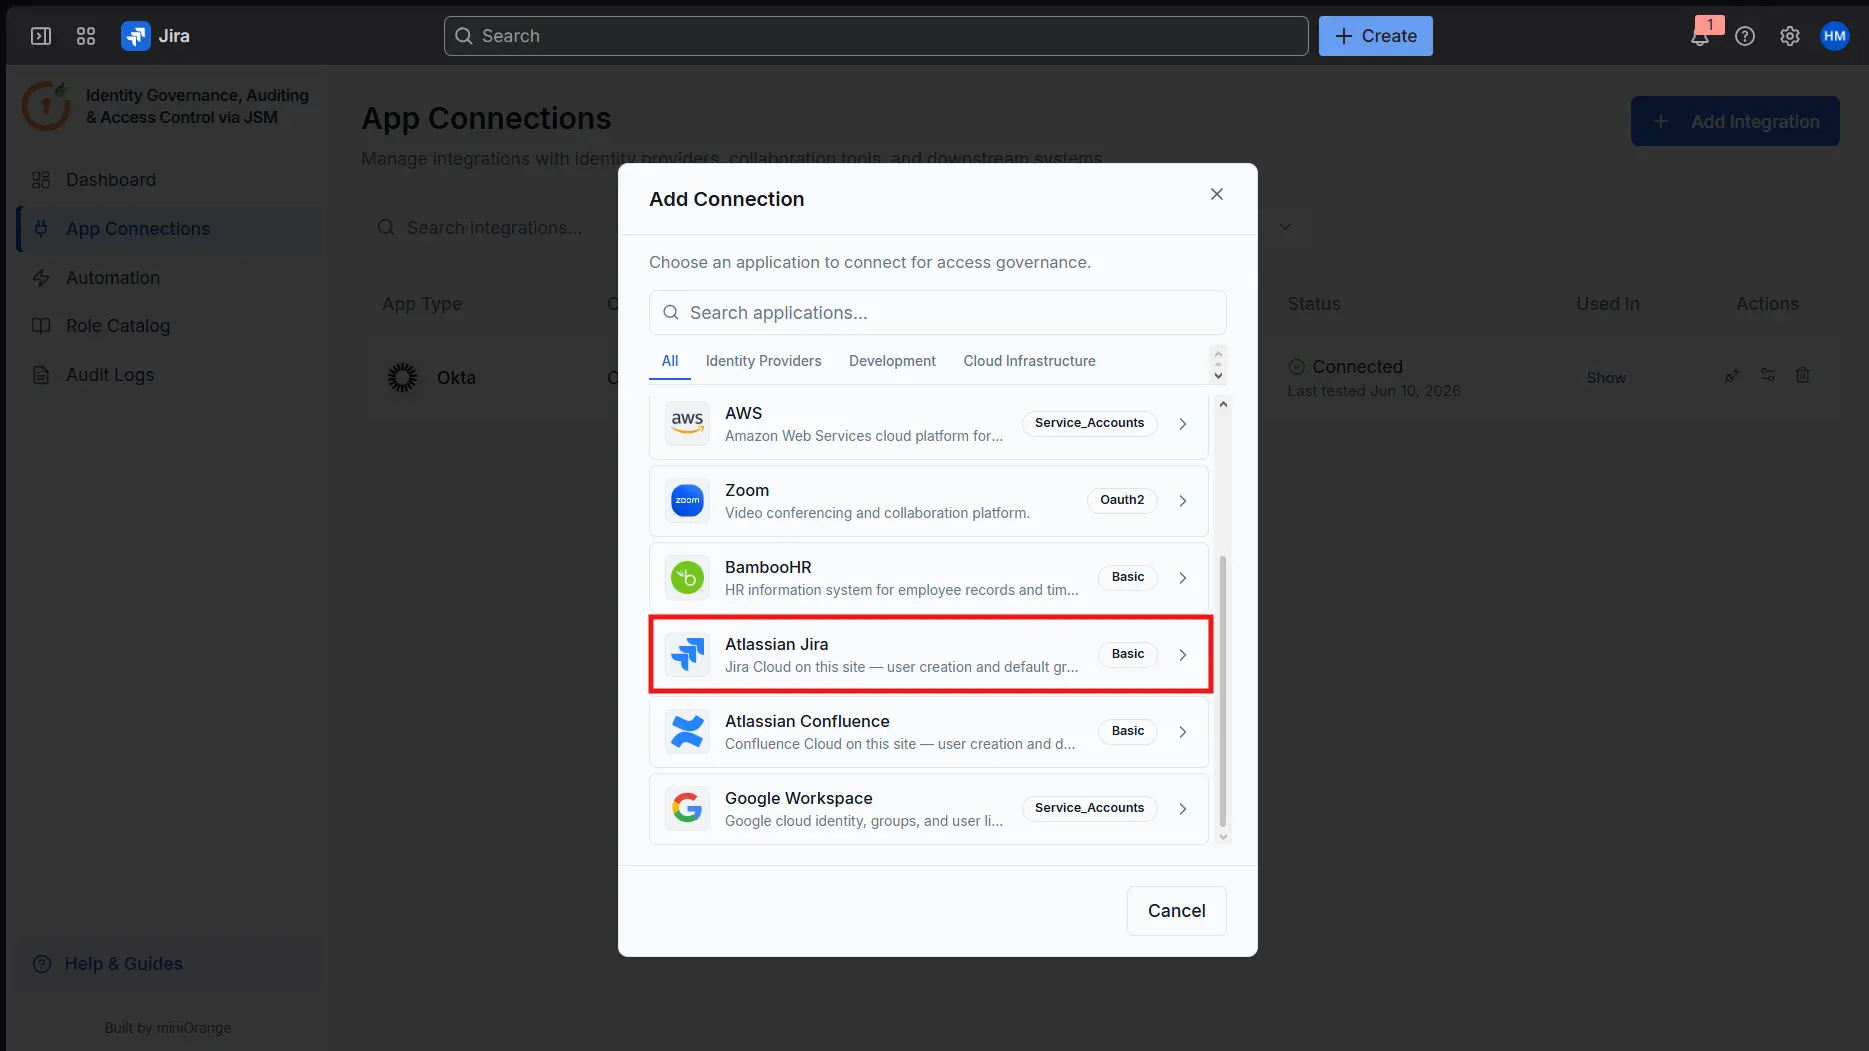
Step 1: Add the Integration
- Open the Identity Governance, Auditing & Access Control App.
- Navigate to App Connections from the sidebar.
- Click + Add Integration and select Atlassian Jira from the list.
Step 2: Enter the Connection Details
Complete the following fields:
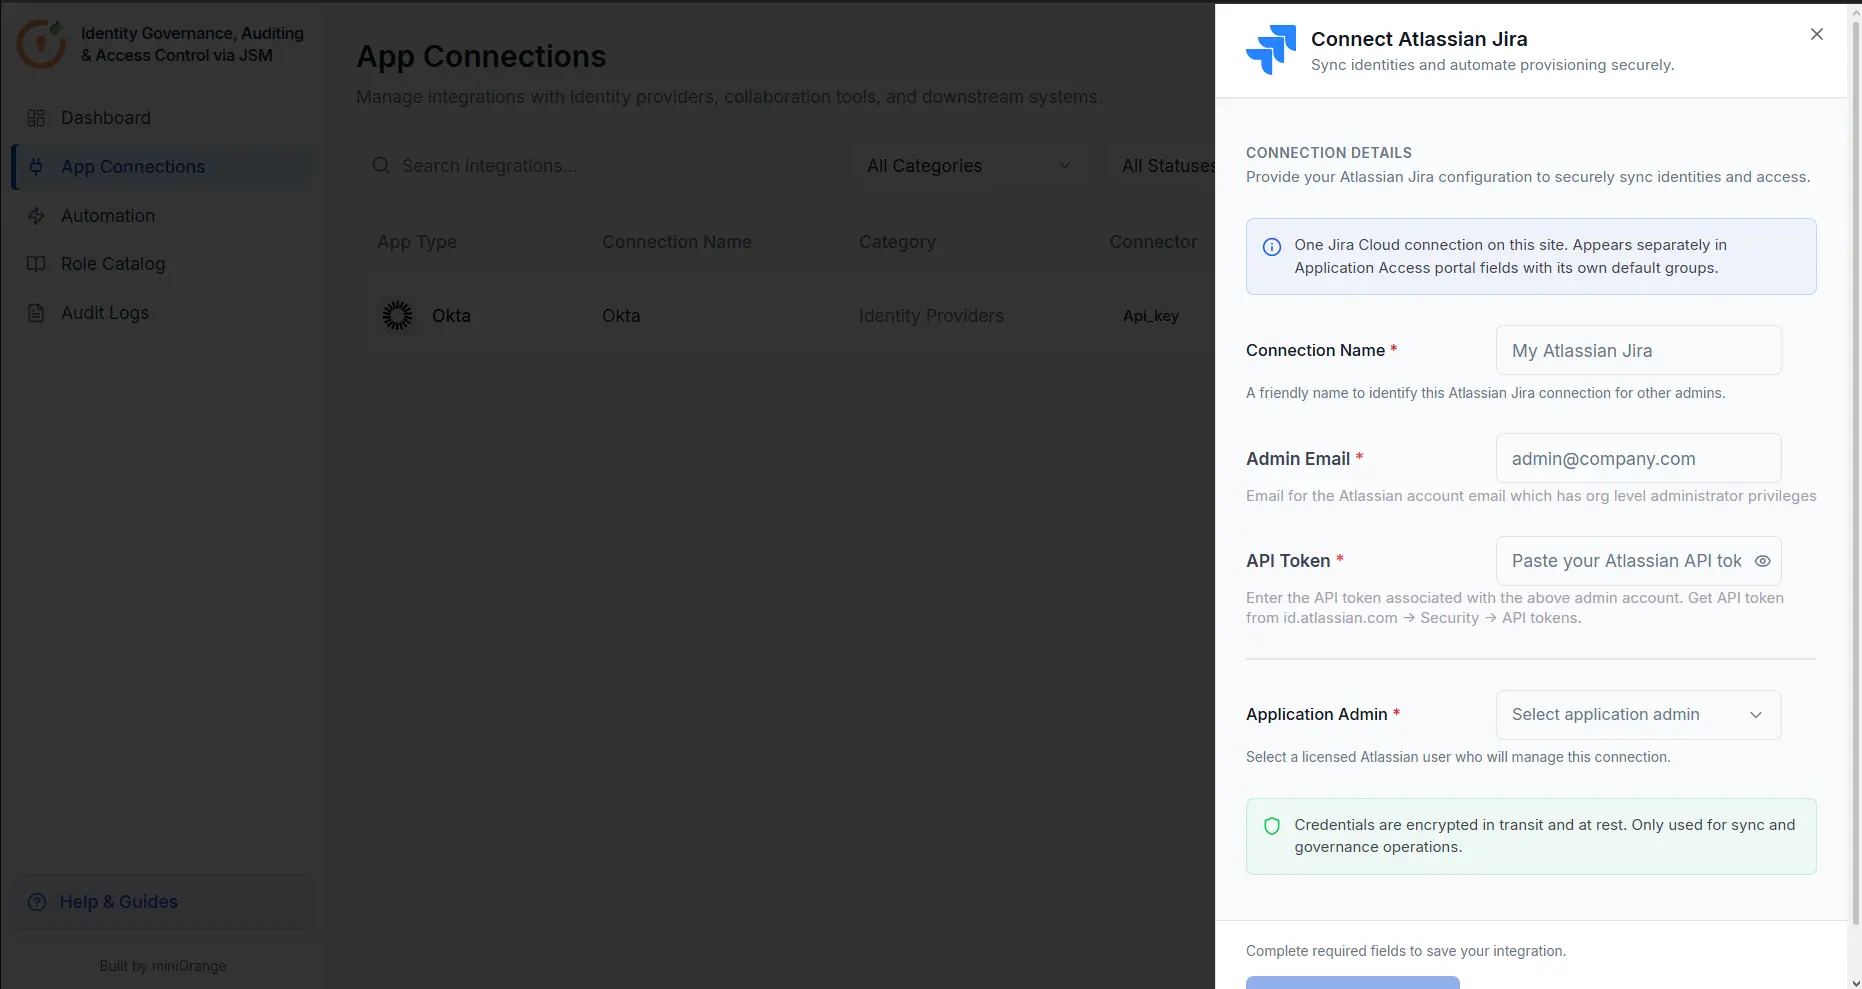
- Connection Name: Enter a label so that this connection can be identified by other admins (e.g., "Corporate Jira").
- Admin Email: Email address of the Atlassian account used for provisioning. Must belong to the org-admins group.
-
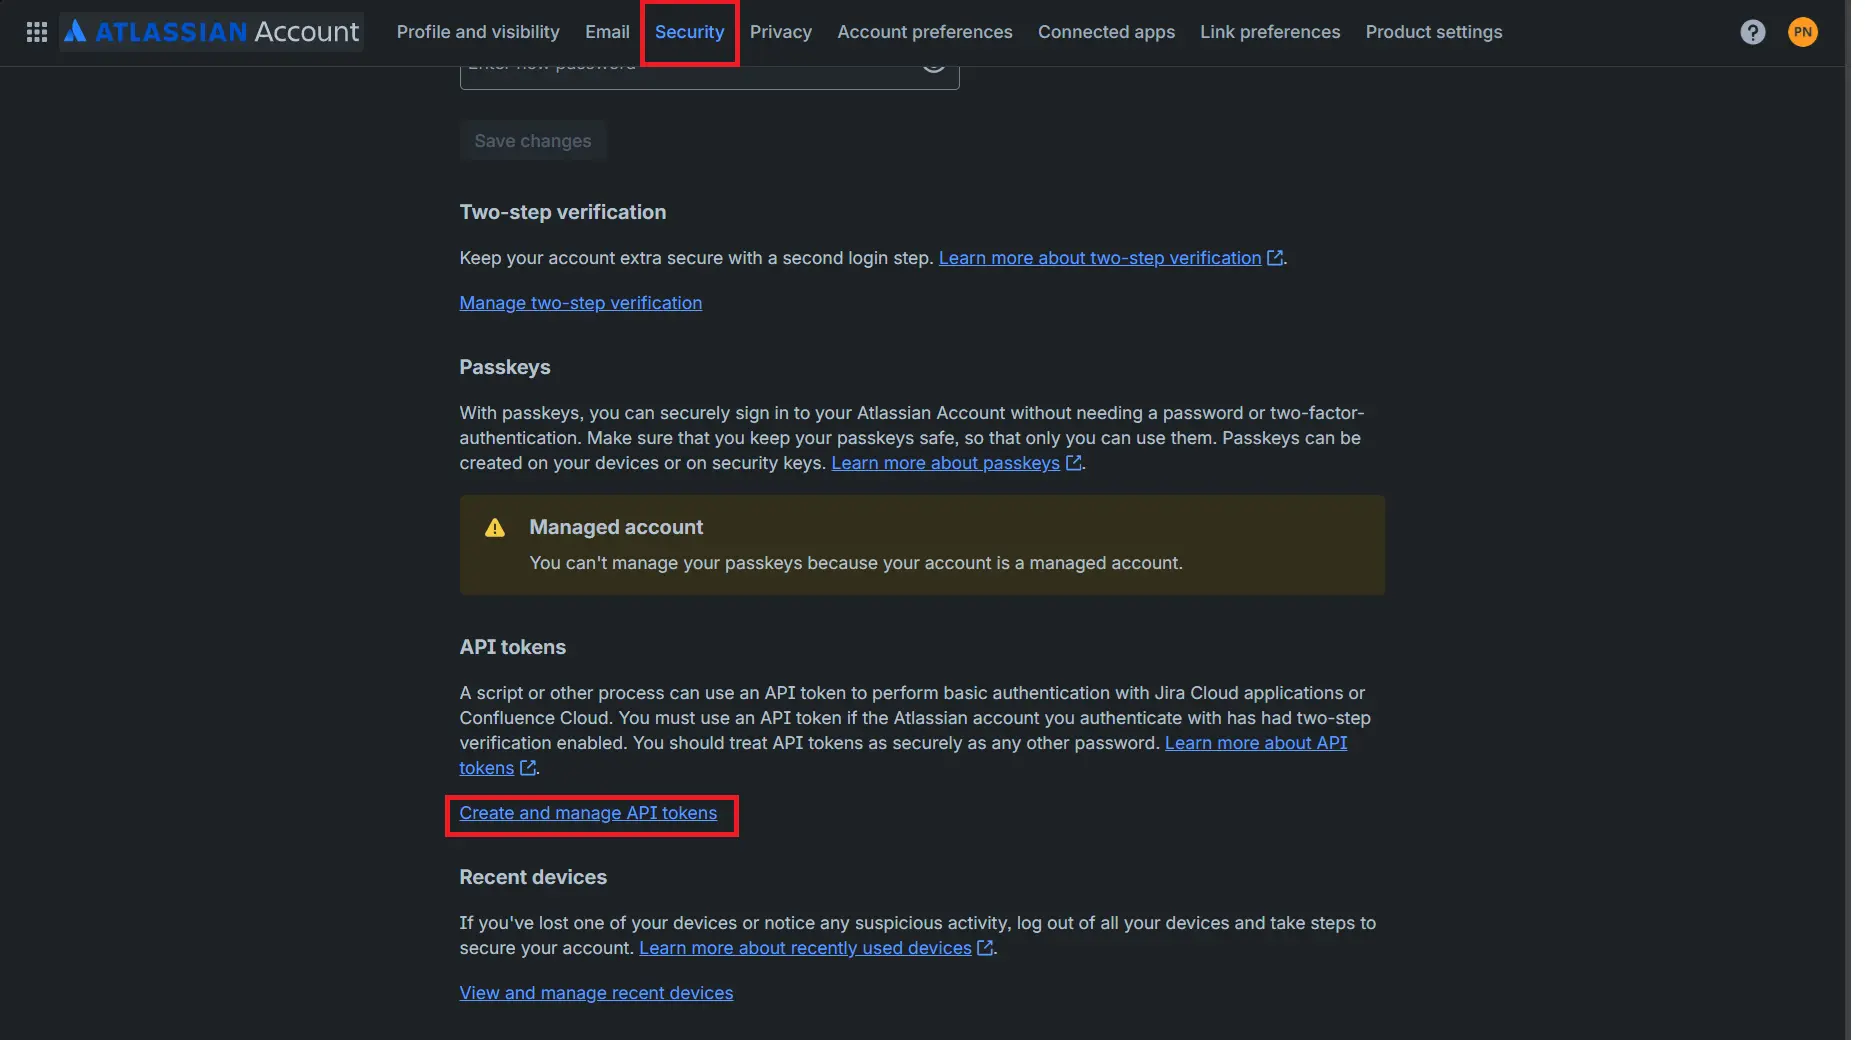
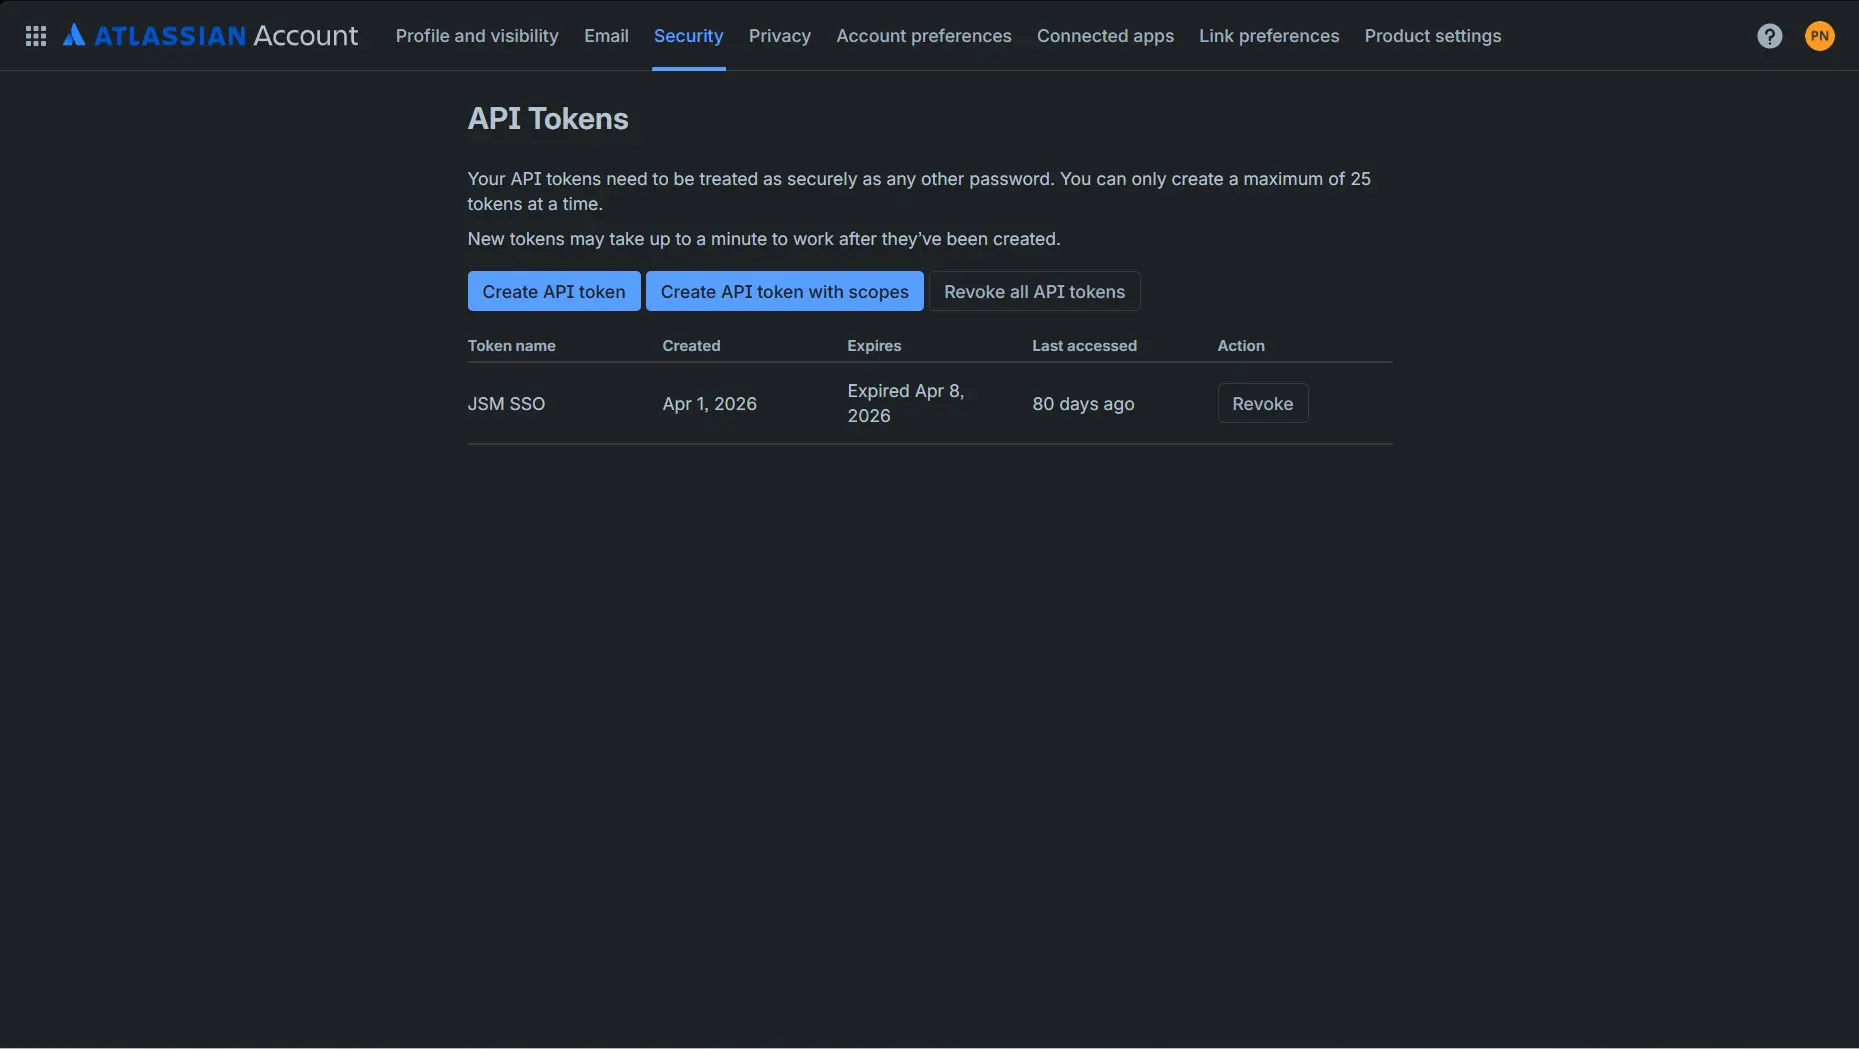
API Token: Generate the API token for the account selected above as
follows:
- Go to id.atlassian.com → Security → API tokens → Create.
- Application Admin: Select a licensed Jira user who will own and manage this connection inside the app.
 Note: Credentials are stored in Forge encrypted storage and are used solely for sync and provisioning operations.
Once all fields are filled in, click Connect to save the integration.
How Provisioning Works
When a user is invited to Atlassian Jira, the app creates the Atlassian account and grants Jira Software access using the configured product license, and a default group (e.g., jira-software-users) is automatically assigned to them.
Next Steps: Configure Automation Rules
With the connection saved, configure automation rules to define how access requests are routed, approved, and provisioned:
Did this page help you?
