- Home
- Advance SSO
- Advance Atlassian SSO

Advance Option for Atlassian SSO
Advance Option for Atlassian SSO gives the ability to set redirection rules and design new login and logout pages using customized login and logout forms. Here, we will go through step by step setup guide to configure the plugin.
 Try it for free
Pre-requisites
To configure the Advanced Option plugin, you need the following items:
- Jira Datacenter should be installed and configured.
- Admin credentials are set up in Jira.
- Valid Jira Datacenter Licence.
-
SAML/ OIDC SSO should be configured. If not, you can configure using
follow these steps
https://confluence.atlassian.com/adminjiraserver/saml-sso-for-jira-data-center-applications-938847031.html
Download and Installation
- Log into your Jira Datacenter instance as an admin.
- Navigate to the settings menu and click Manage Apps.
- Click Find new apps or find new add-ons from the left-hand side of the page.
- Locate Advance Option for Atlassian SSO for JIRA via search.
- Click Try free to begin a new trial or buy now to purchase a license for the Advance Option for Atlassian SSO for Jira.
- Enter your information and click Generate license when redirected to MyAtlassian.
- Click Apply license.
Configure Redirection Policy
Redirection Rules allow you to control how your users log into your
Atlassian application. You can control which users see the login page
vs. using SSO to login into your application. This can be managed using
different parameters such as email address domain, groups, or user
directory. We will learn more about configuring redirection rules in
this section.
You can set up multiple rules and change the order in which they’ll be
matched. The first rule satisfied by a user will decide if the user will
be allowed to perform SSO and if yes, then which IDP he’ll be redirected
to. You can also set up a default fallback rule in case none of the
rules are satisfied.
1: How to Configure Redirection Rules
To configure redirection rules:
- Click on the Configure button below the “Advance Option for Atlassian SSO” app listing on the Manage Apps window.
- Proceed to “SSO Redirection Policy >> Redirection Rules for jira”.
- Click on the Add Rule button.
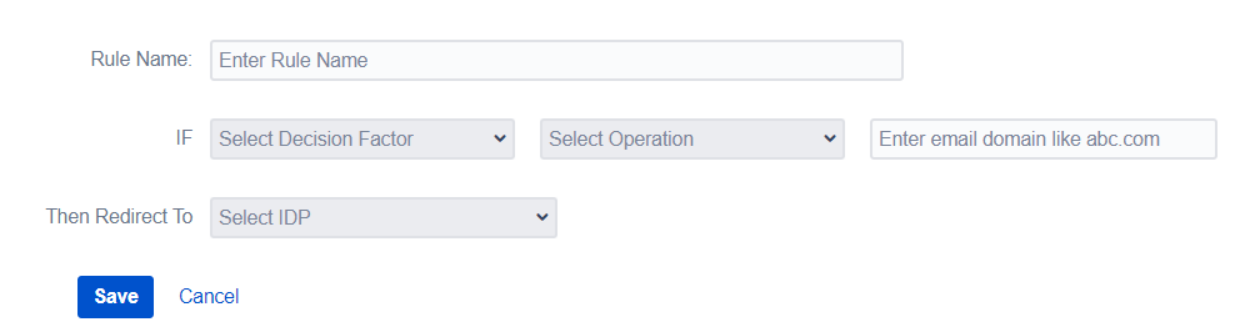
2: Creating a New Rule
Here are the options required for creating a rule
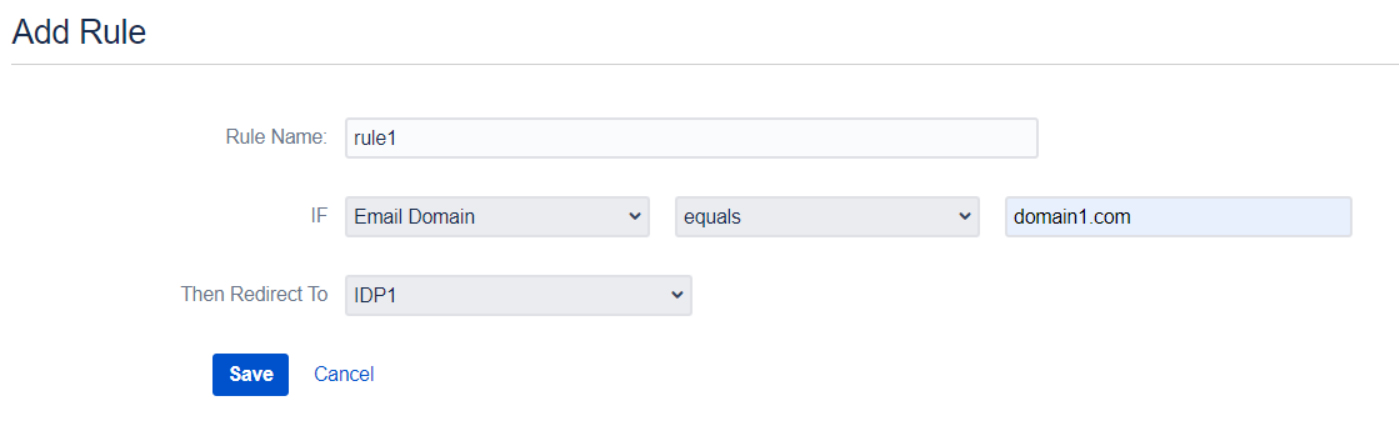
- Rule Name: This is a unique identifier of the rule. This field allows only alphanumeric characters.
- Rule based on the Email Domain: If you select the email domain, you’ll be asked to enter the domain of the users who should be redirected to the selected IDP.
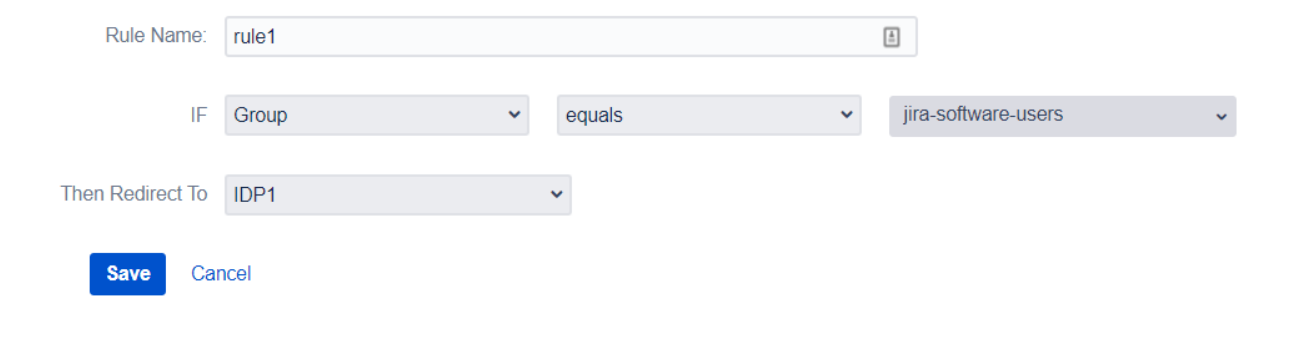
- Rule-based on User’s Group: If Group is selected, you’ll be asked to select the user groups to which the user belongs while creating a rule. If the user’s group matches the configured one, the rule will be satisfied and the user will be redirected to the configured IDP.
3: Reordering the Rules
When the user enters the username on the login page, his username is
processed against the order in which rules are added. To change the
order you can use the up and down arrow on the Redirection Rules page.
The order of the Default Rule can’t be changed as it works as a fallback
rule and always executes at the end.
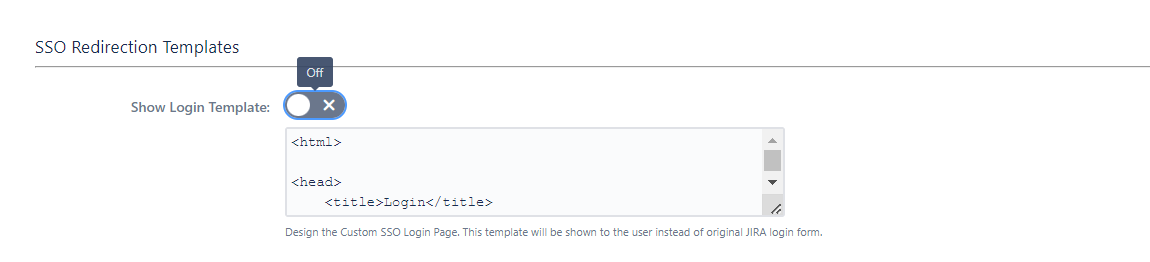
Configure SSO Template policy:
- Custom Login Template: This template defines the UI of the login page. The template is written in HTML so you can easily redesign the login page, add instructions, logos, multiple options for user login, etc.
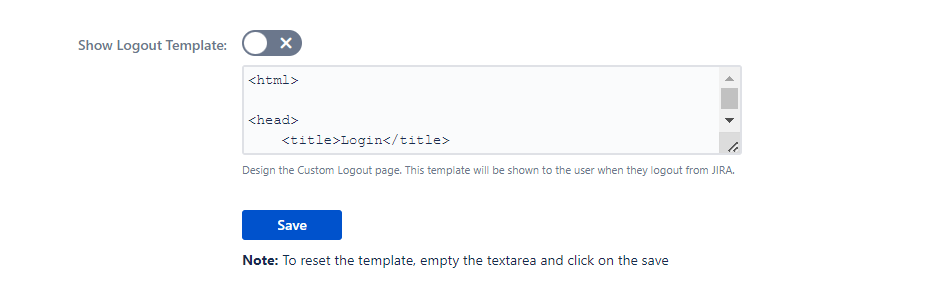
- Custom Logout Template: The user will be redirected to this template after signing out. You can show custom messages or action items after the user logs out. To enhance the logout Page UI custom logout templates can be used to change the message after Logout and show a custom message. The template is written in HTML so it’s easy to understand and change. You can edit the logout template as per your requirement.
Did this page help you?
