Auth0 as IdP – SAML
Step 1: Set Up Auth0 as Identity Provider
- SP Entity ID
- ACS URL
- Single Logout URL (to log users out from Auth0 when logged out from Atlassian)
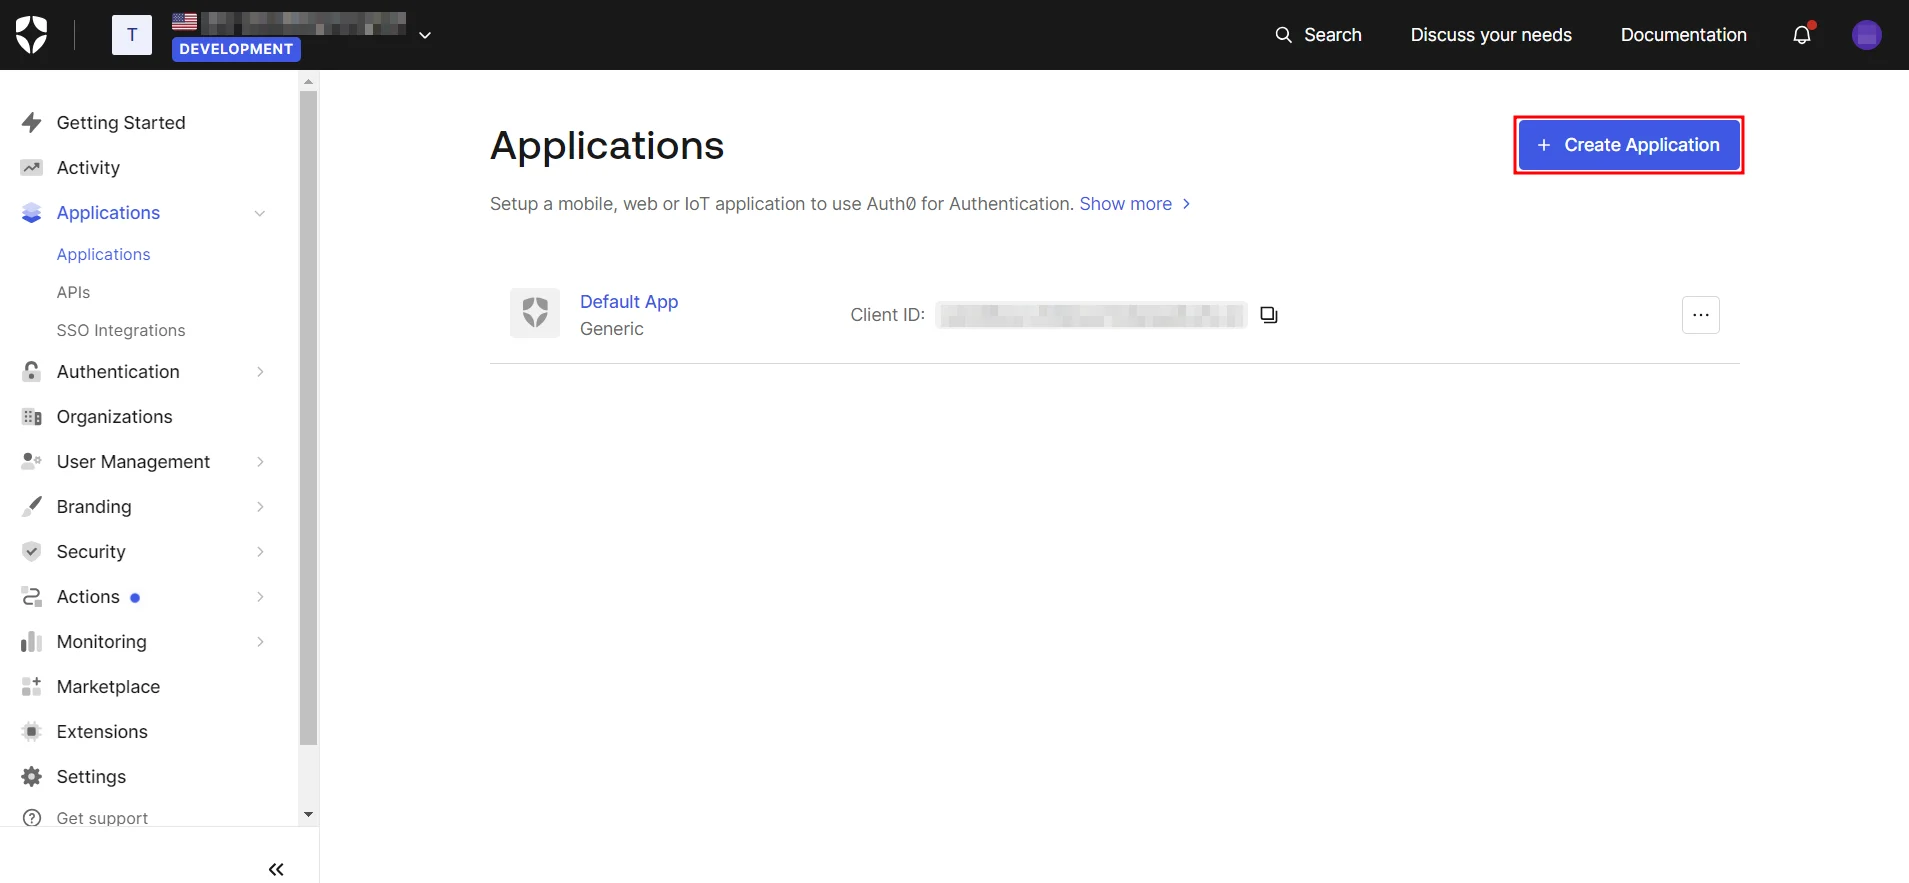
- Log in to your Auth0 dashboard.
- Navigate to Applications and click on Create Application.
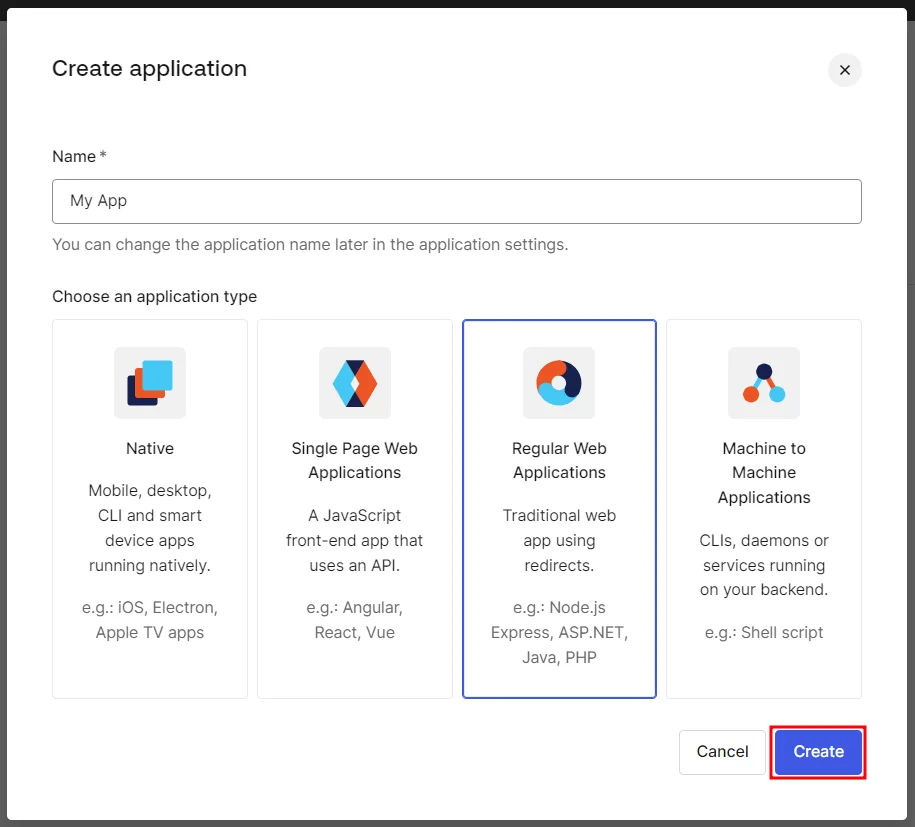
- Next, assign a name to the application, choose Regular Web App, and click Create.
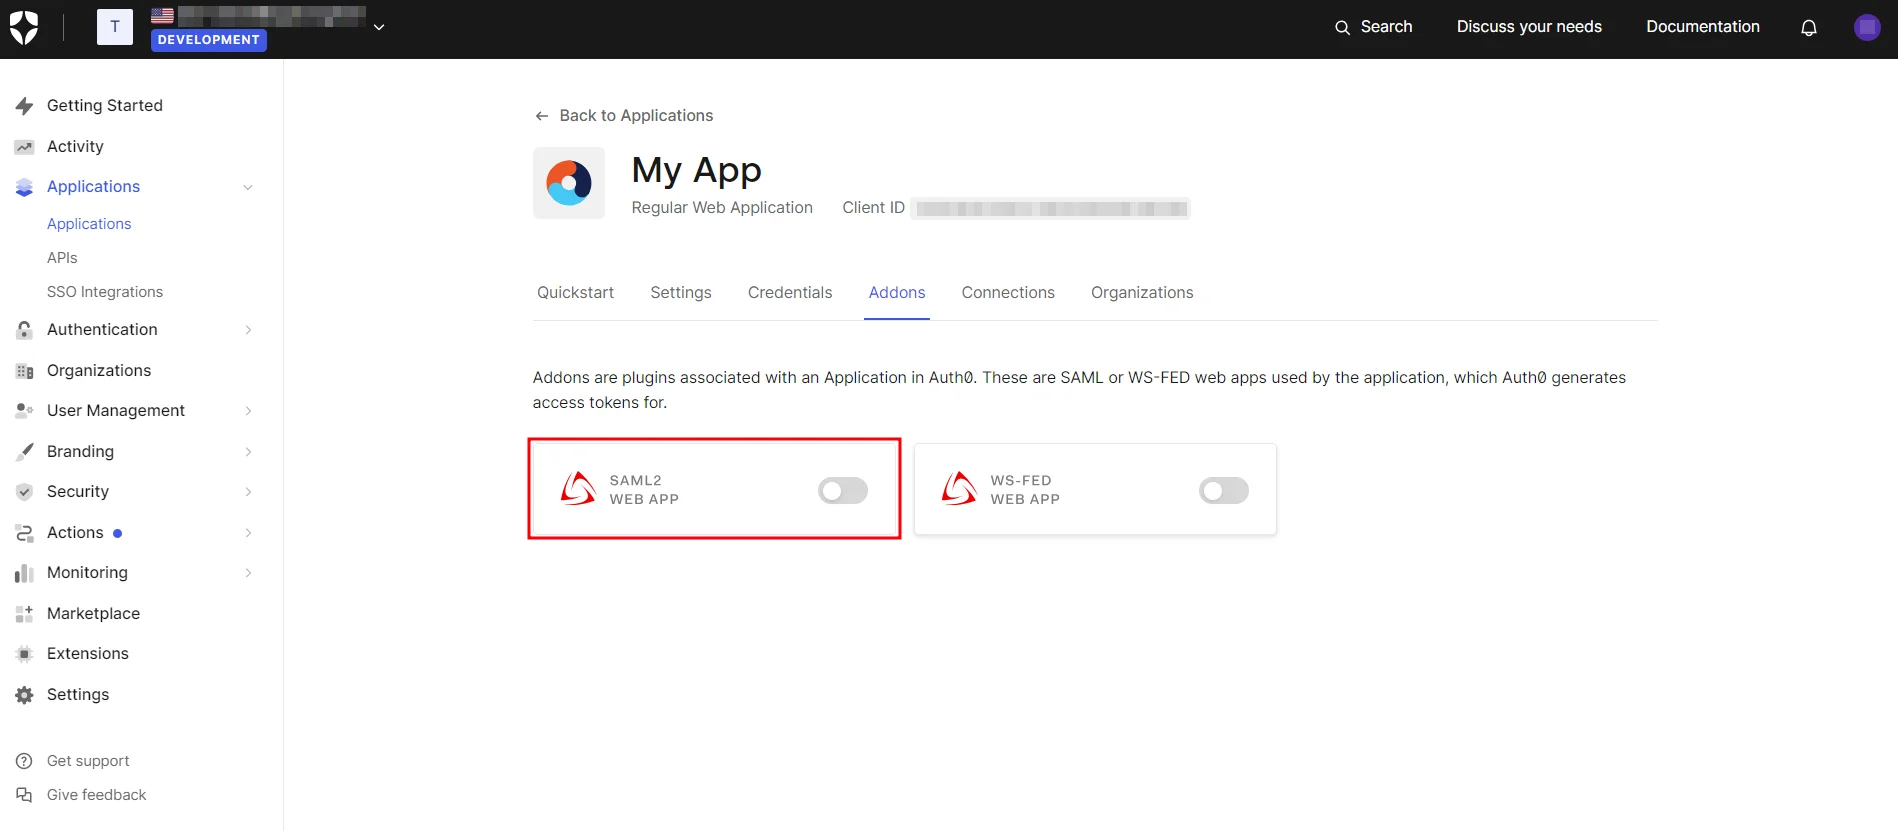
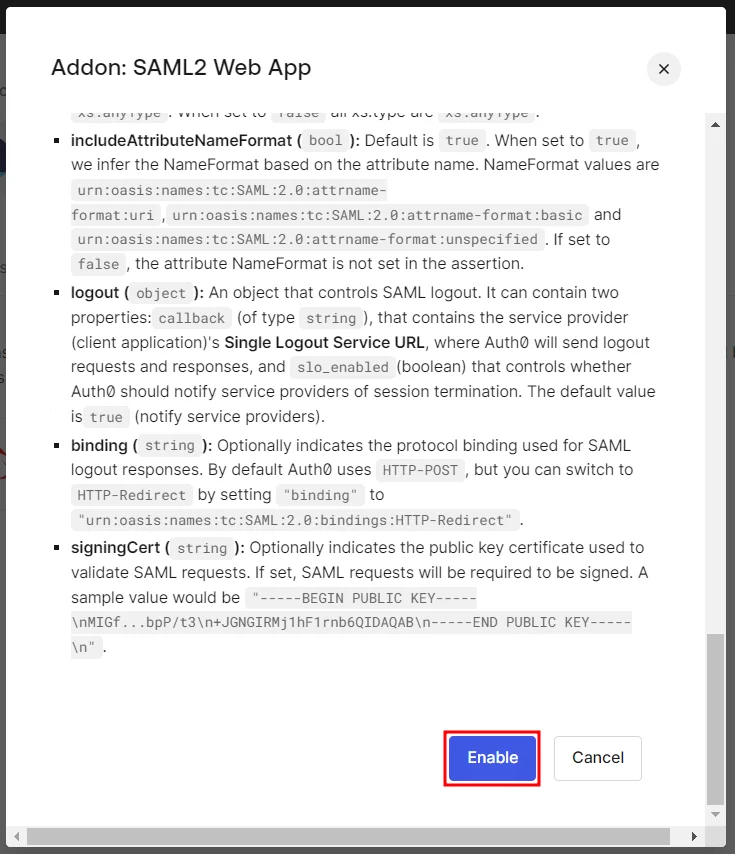
- In the Addons tab, enable the SAML2 option to configure it.
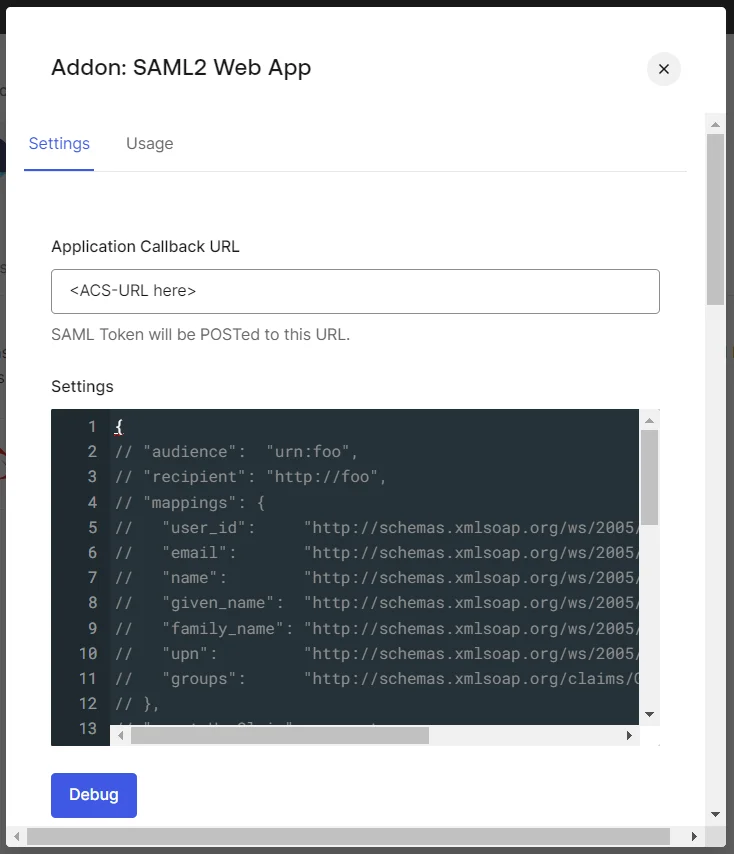
- Configure the Application Callback URL, Audience, Recipient, and other settings using the SP Entity ID and ACS URL from the SAML plugin.
- Once you’re done configuring the settings, scroll down and click Enable.
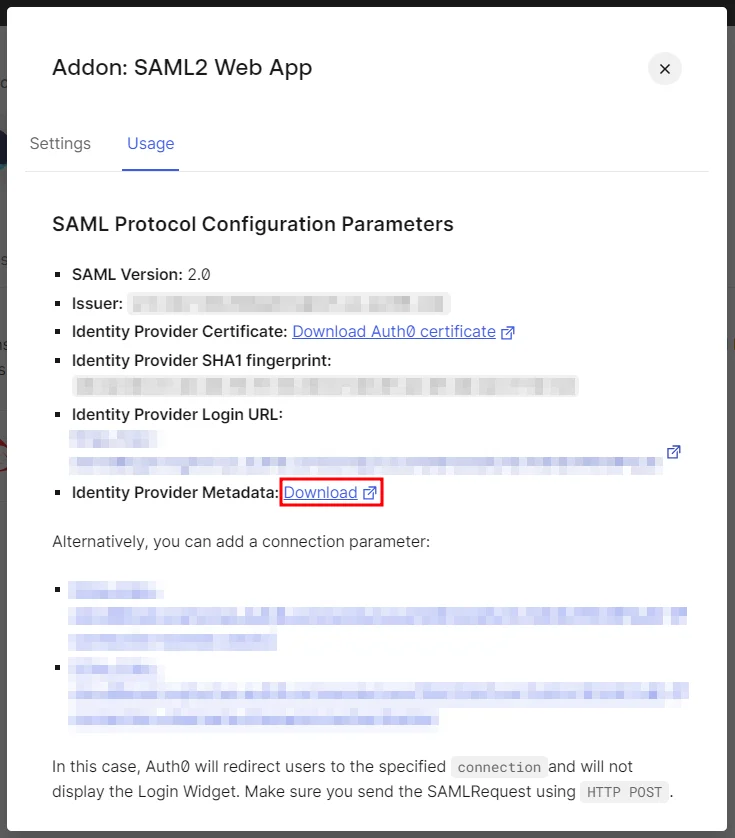
- Go to the Usage tab and download the Identity Provider Metadata XML file.
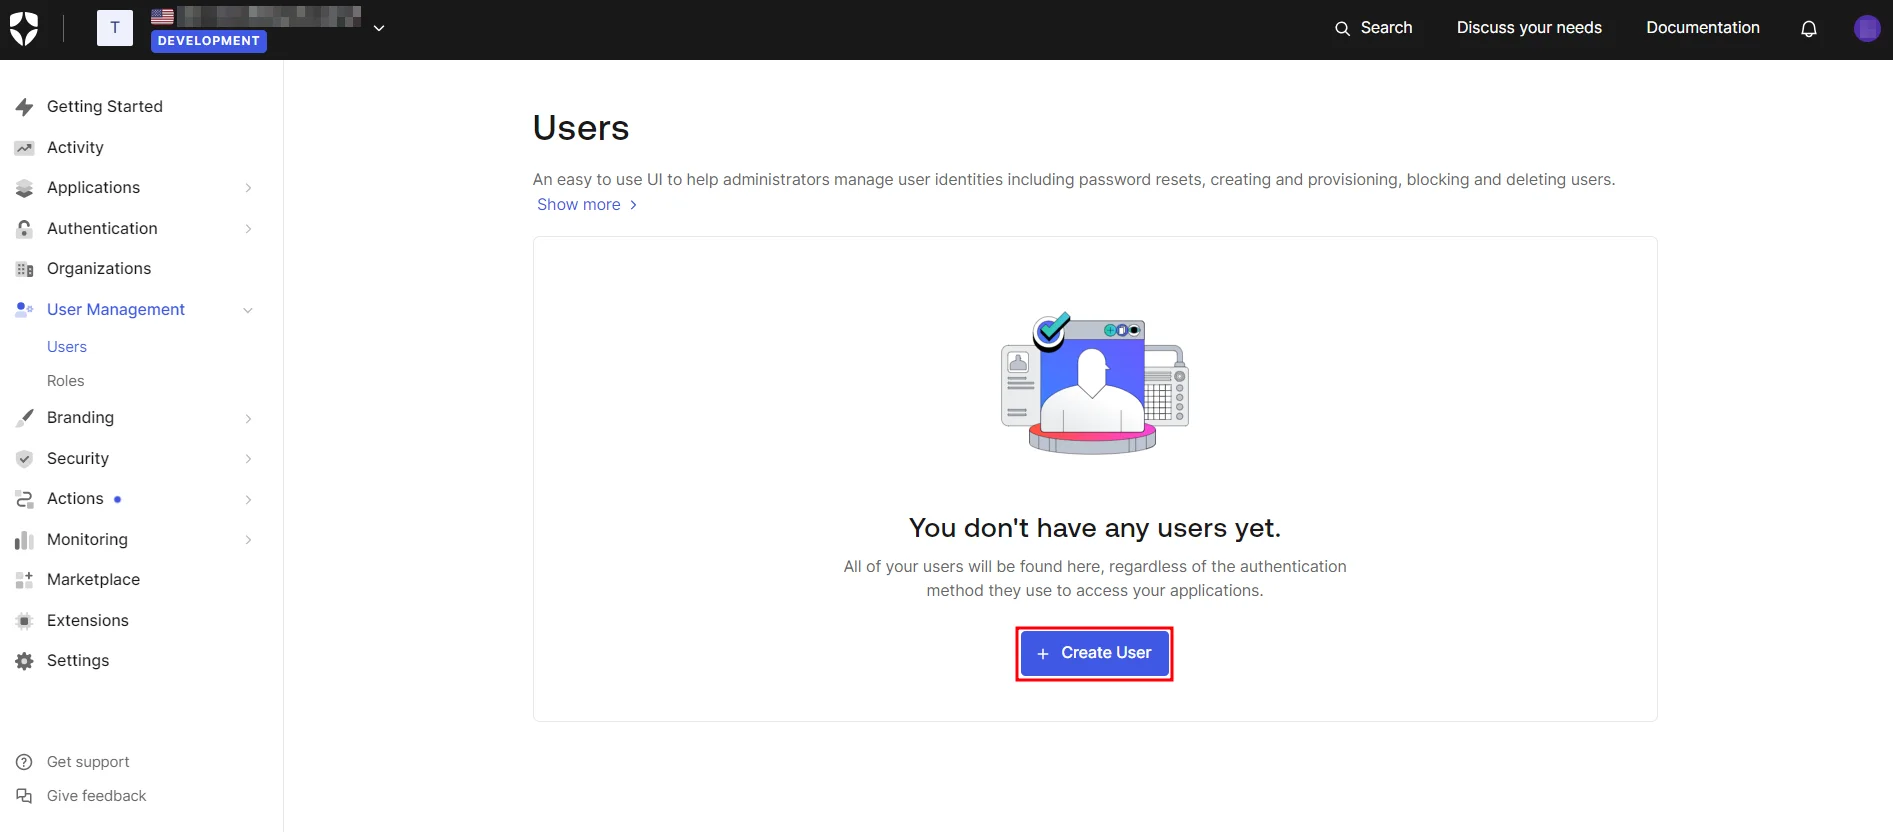
- Navigate to Users & Roles → Users and click on Create User.
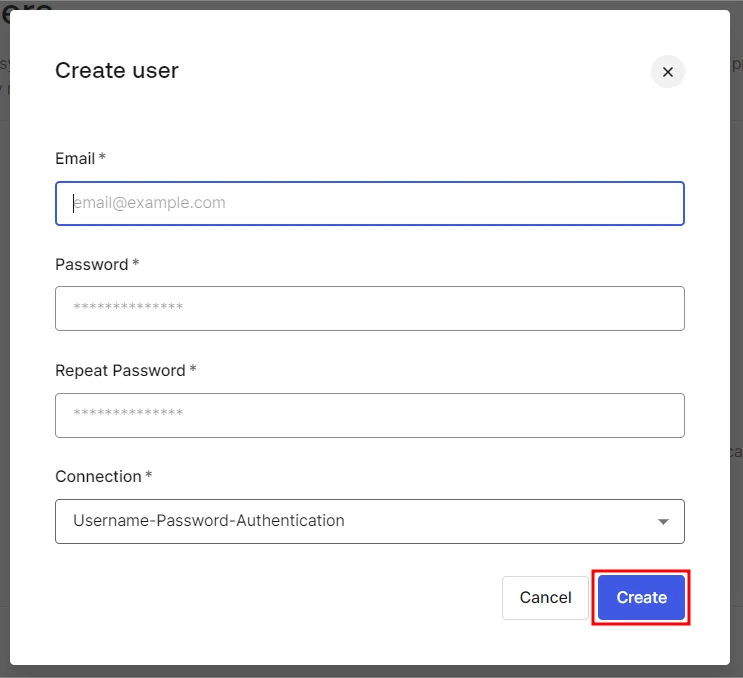
- Next, provide the email address and password for the new user and click Create.
 1.1 Prerequisites:
Ensure you have these values from the Service Provider Info tab of the SAML plugin:
1.2 Instructions:
1.3 Create User in Auth0:
×
![ADFS_sso]()