Step 1: Set Up Azure AD as OAuth Provider
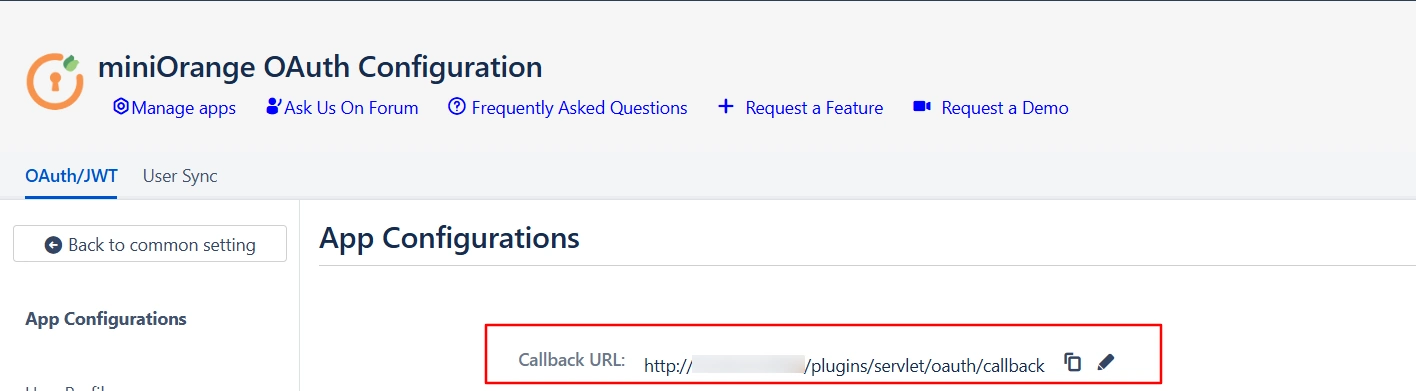
- Navigate to the plugin configuration page, click the "Add New Provider" button (located either in the middle or top-right corner), select Microsoft Entra ID as the application, and copy the callback URL from the plugin and keep it handy, as you'll need it to configure Microsoft Entra ID as the OAuth provider.
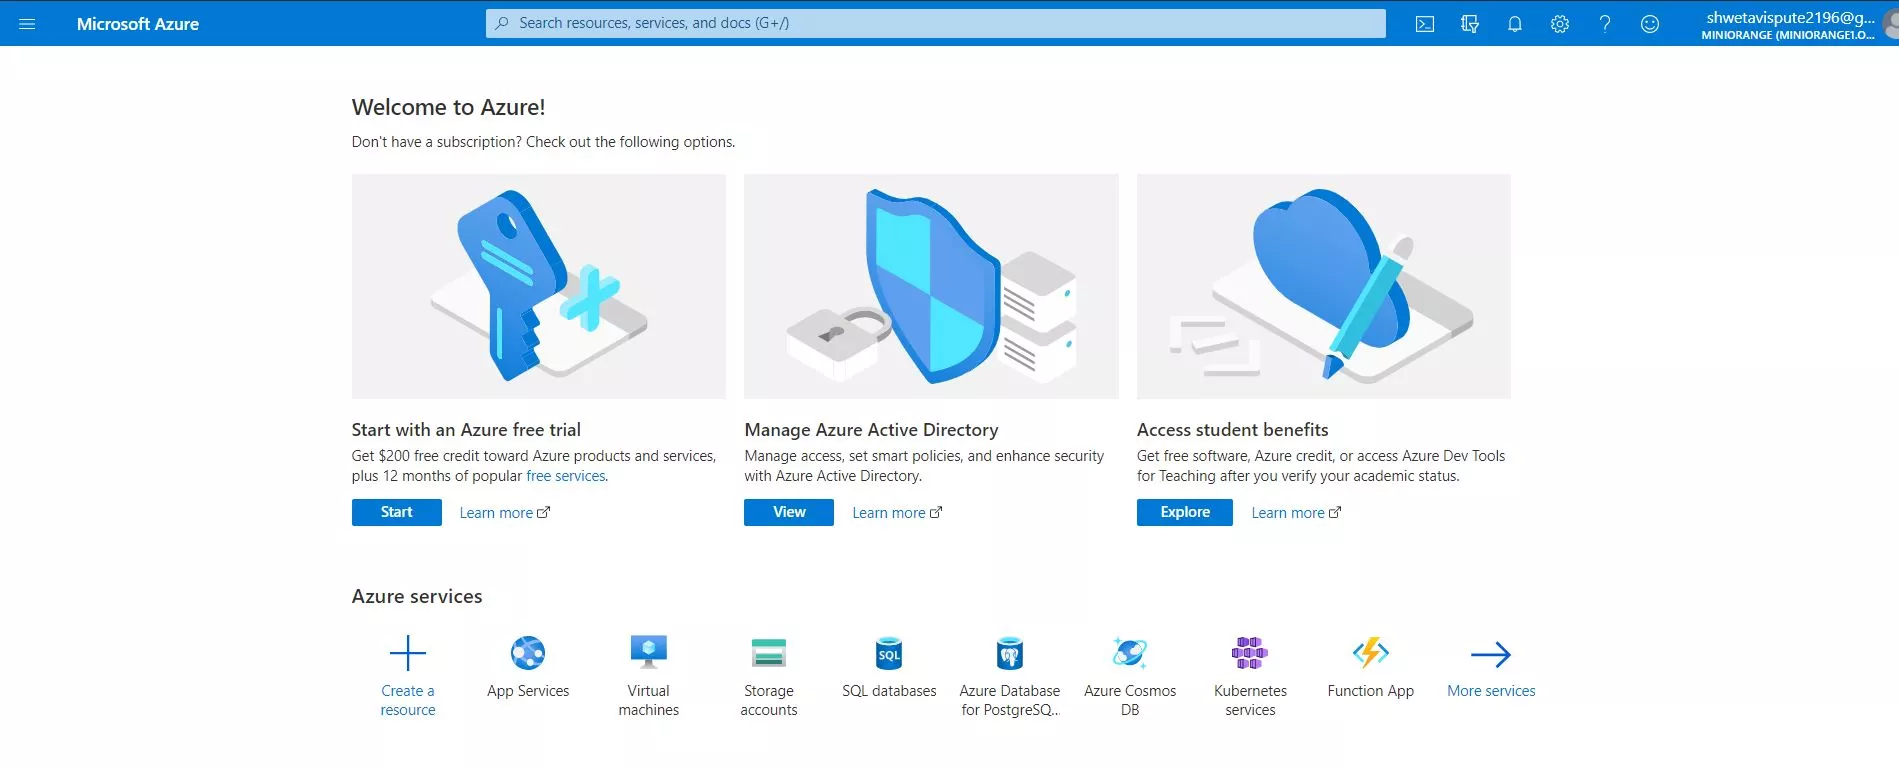
- Sign in to Azure portal.
- Click on view Manage Azure Active Directory.
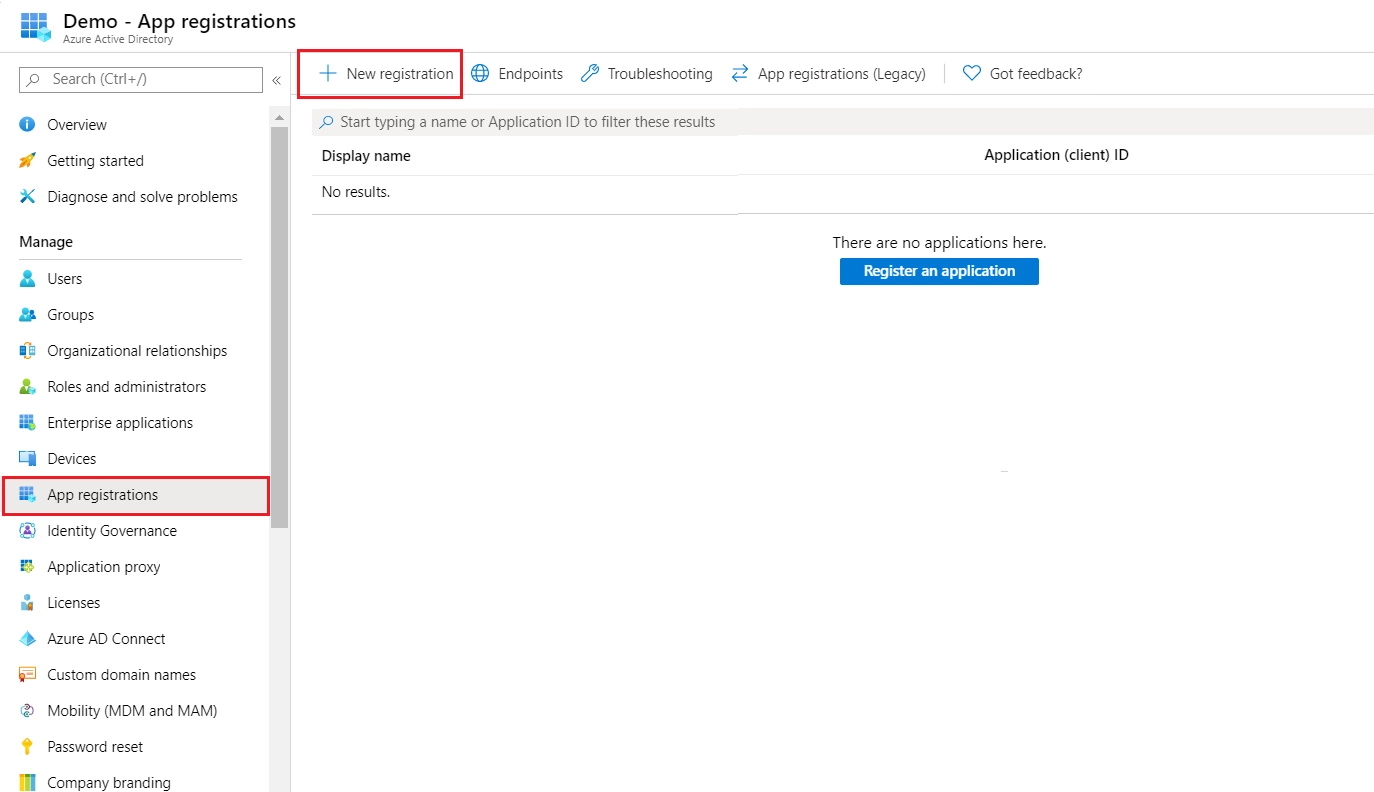
- In the left-hand navigation pane, click the App registrations service, and click New registration.
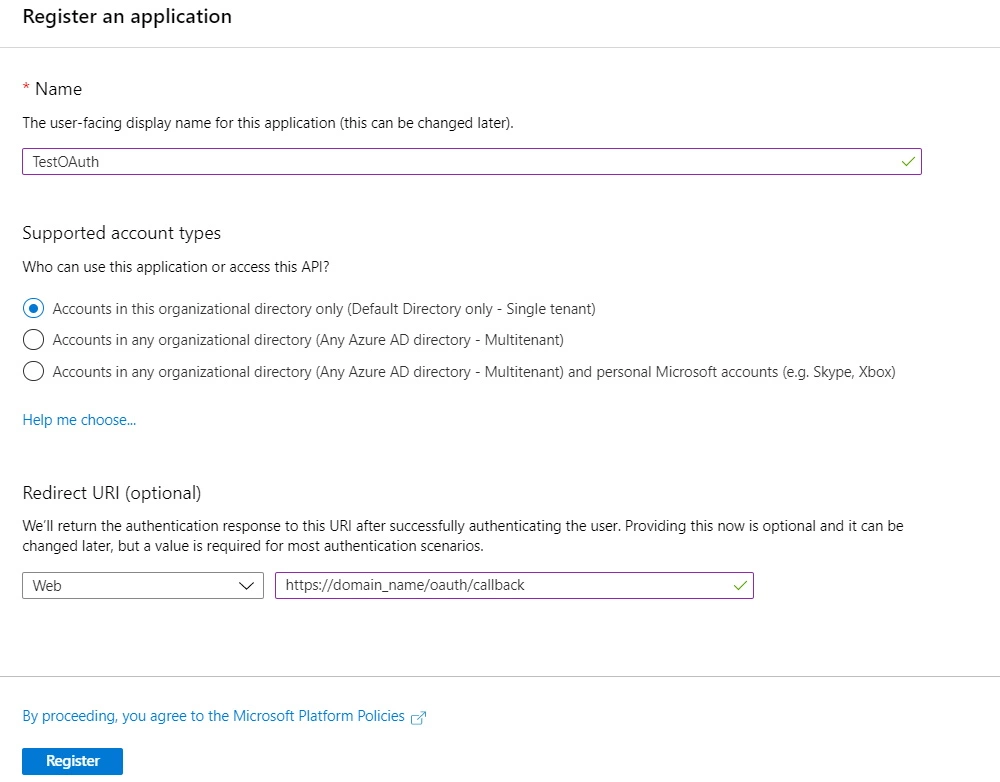
- When the Create page appears, enter your application's registration information.
- In the Redirect URI enter the Callback URL from the plugin. eg: [application-base-url]/plugins/servlet/oauth/callback
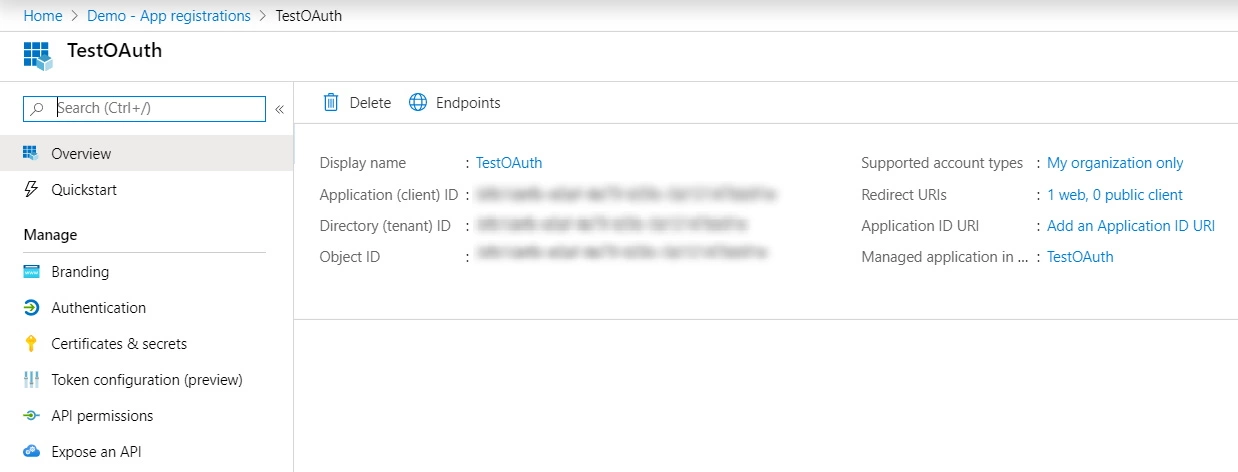
- When finished, click Register. Microsoft Entra ID (Previously known as Azure AD) assigns a unique Application ID to your application. Copy Application ID and the Directory ID , this will be your Client ID and Tenent ID respectively.
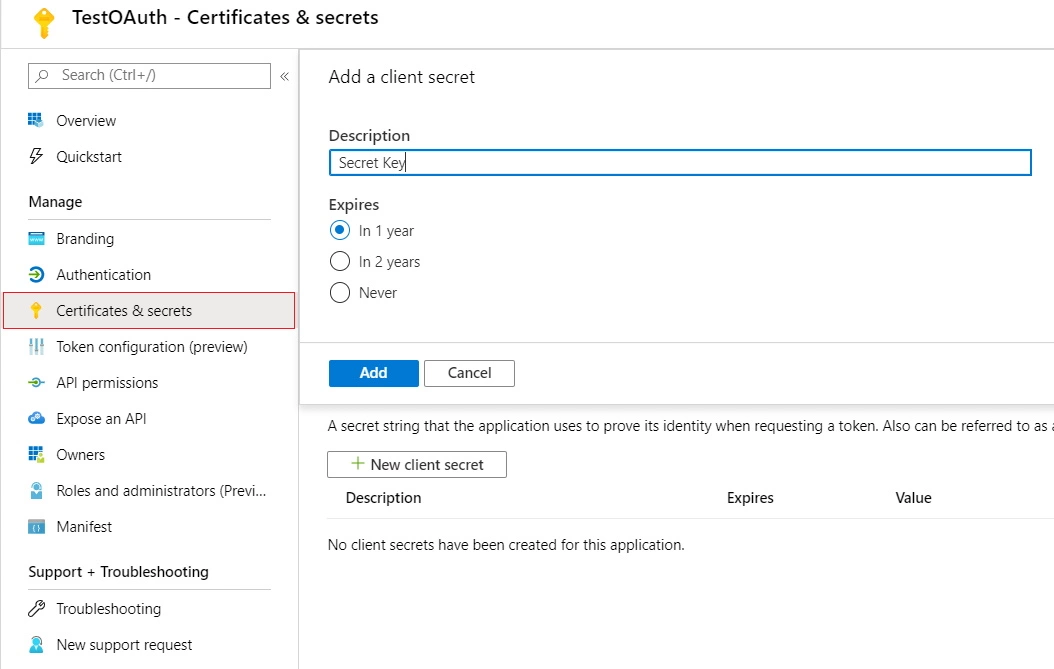
- Go to Certificates and Secrets from the left navigaton pane and click on New Client Secret. Enter description and expiration time and click on Add option.
- Copy Value. This will be your Client Secret.