User Sync & Group Sync app syncs user and group information from Oracle Identity Cloud Service (IDCS) to Bitbucket. Users, groups and directory details can by synced user group attributes. Sync can be
performed manually, scheduled to run after set time intervals, or during user login.
This way the administrator only needs to manage user accounts in Oracle Identity Cloud Service (IDCS). This reduces
the administration time required to create users and groups in Atlassian modules such as Bitbucket.
Download and Installation
- Log into your atlassian instance as admin.
- Navigate to the settings menu and Click Manage Apps.
- Click on Find new apps .
- Locate miniOrange User and Group Sync app.
- Click Try free to begin a new trial or Buy now to purchase a license.
- Enter your information and click Generate license when redirected to MyAtlassian.
- Click Apply license.
Step 1: Setup Oracle Identity Cloud Service (IDCS)
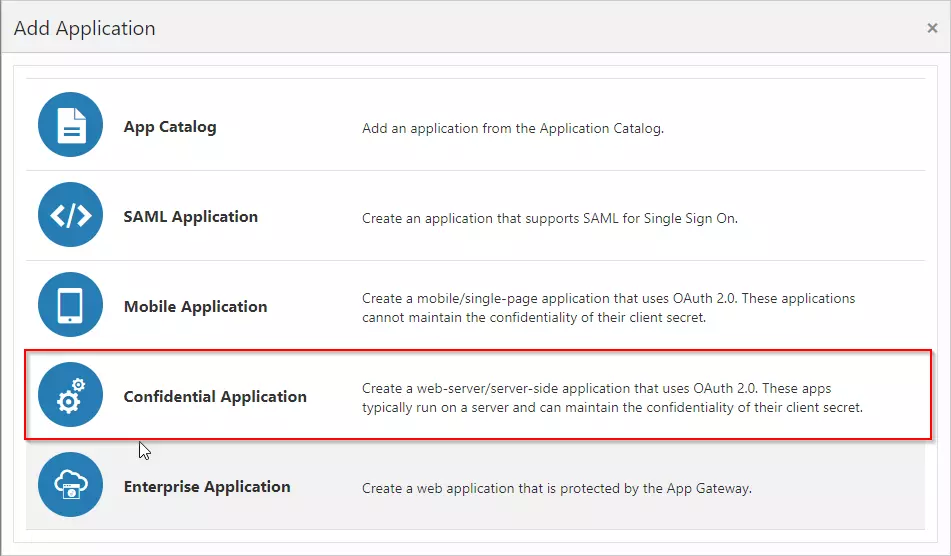
- Access the Oracle Identity Cloud Service administration console, select Applications, and then click Add.
- Click on Confidential Application.
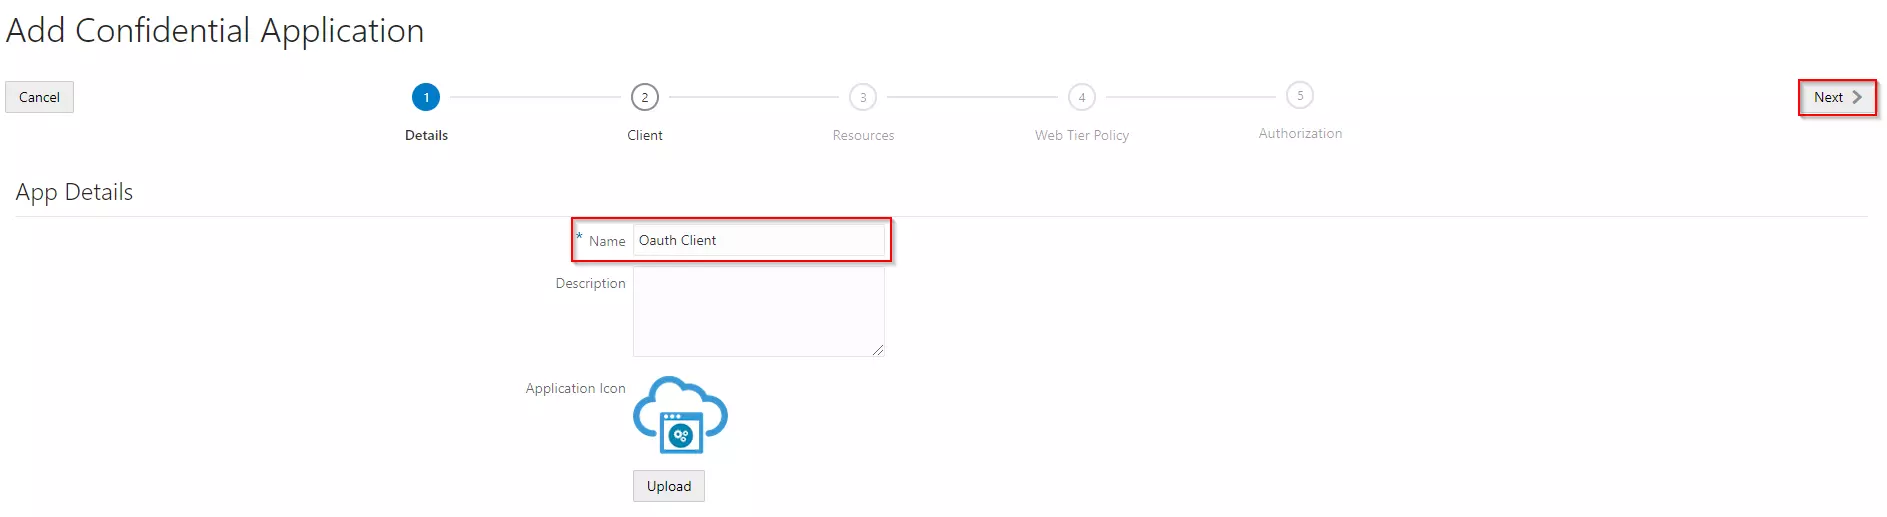
- Enter the name of your Application and select Display in My Apps option under Display Settings section. And then click on the Next button.
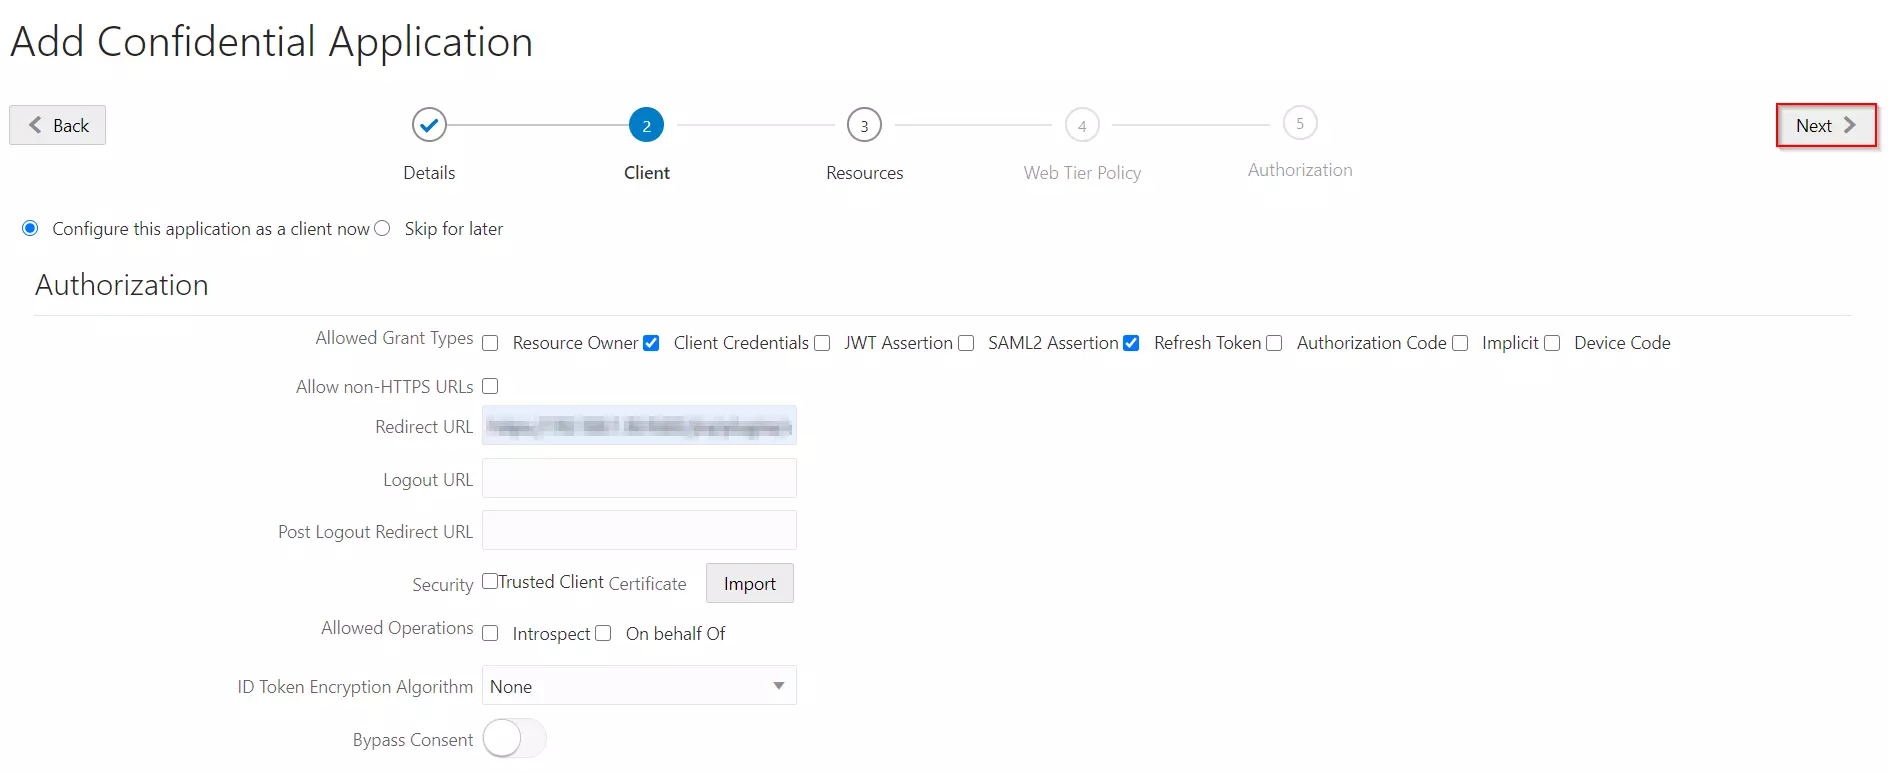
- Enable Configure this application as a Oauth Client now. Select Client Credentials and Refresh Token as your Allowed Grant type.
- In the Redirect URL enter the Callback URL from the plugin. Eg: <server-base-url>/plugins/servlet/usersync/callback. Replace <server-base-url> with your Atlassian module Server BaseURL.
- You can select Scope as per your requirement and under Grant the client access to Identity Cloud Service Admin APIs section, add App Role according to your requirement. And click on Next button.
- Under Expose APIs to Other Applications section, enable skip for later option and click on the Next button.
- Under Web Tier Policy section, enable skip for later option and click on the Next button.
- Enable Enforce Grants as Authorization checkbox, if you want only users to the access application which you granted acccess to it and click on the Finish button.
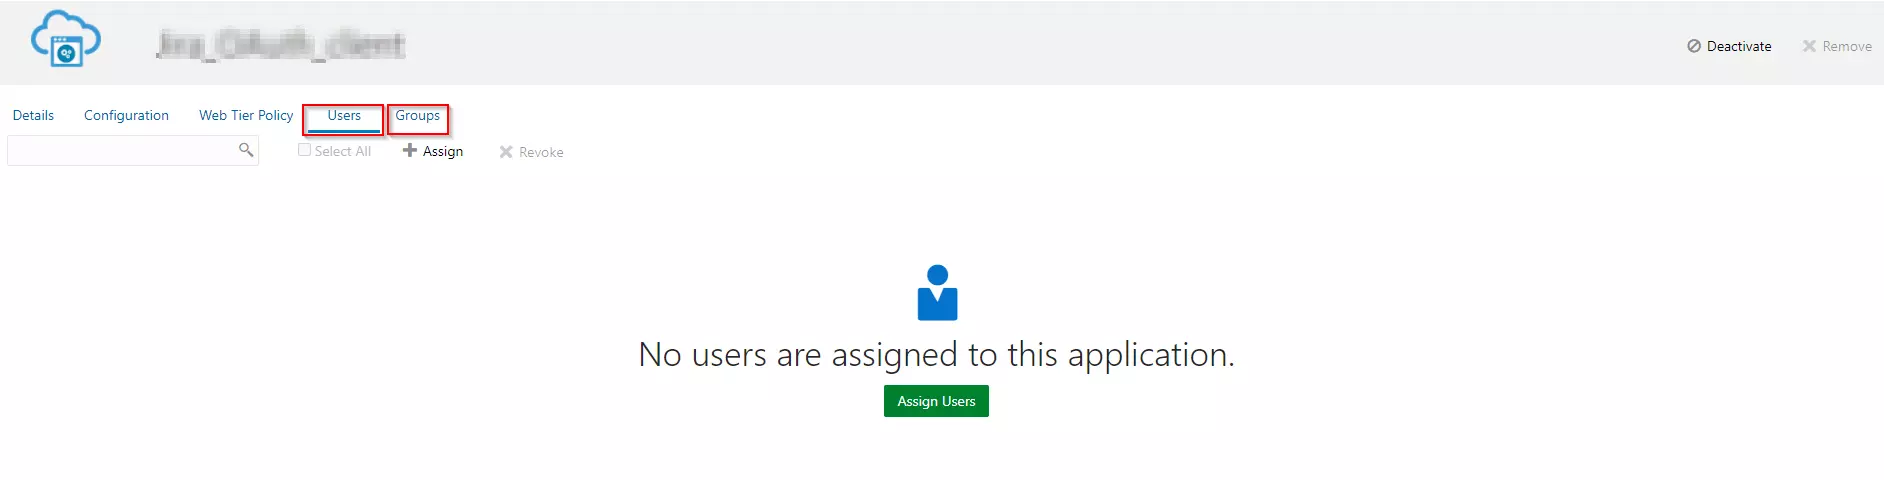
- Assign the users/groups to your application by clicking on the Users / Groups tab respectively.
- Activate the application, once it gets created.


Step 2: Setup User Sync & Group Sync app
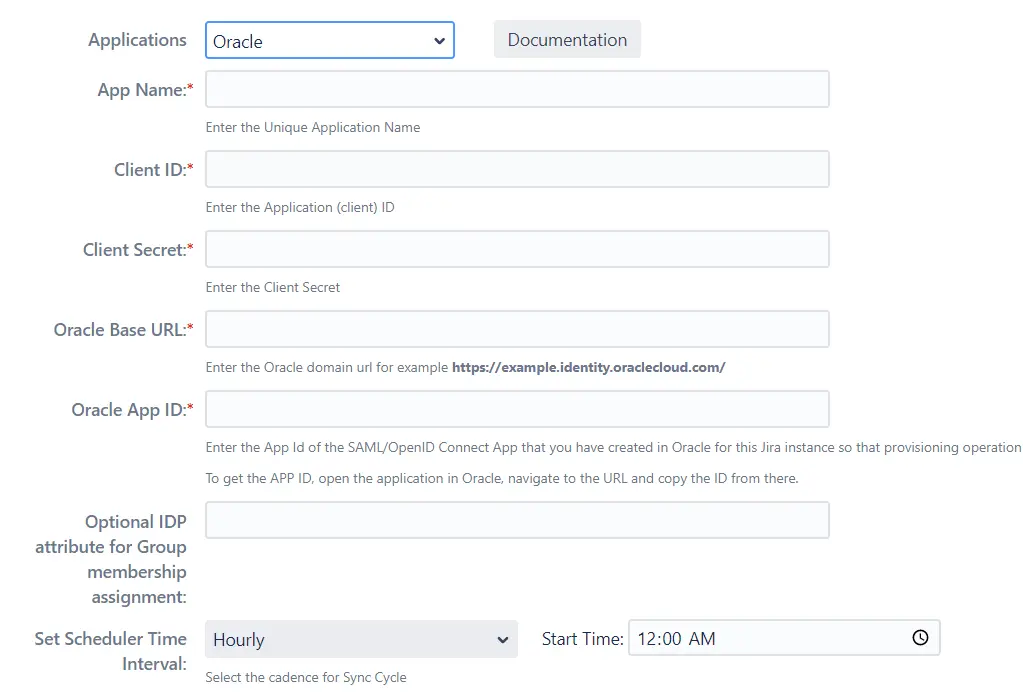
- Open User Provisioning/Sync for Confluence plugin configuration. Go to the Configuration tab. Select Oracle from the options.
- Fill in values according to the table below.
- Click on Save Settings.

| App Name | Enter unique name which you can identify in applist after configuration. |
| Client Id | Enter Oracle Cloud Client ID which you will find in Credentials in the left panel. |
| Client Secret | Enter Oracle Cloud Client secret which you will find in Credentials in the left panel. |
| Oracle Base URL | Enter the base url for your oracle domain. |
| Oracle App ID | Enter the app id of the app you created inside Oracle. |
| Optional IDP attribute for Group membership assignment | If you wish to include additional attributes in the API call for group membership assignment, please enter them here. |
| Set Scheduler Time Interval | To synchronize user and group information, choose the scheduler time interval. |
Step 3: User Sync Settings
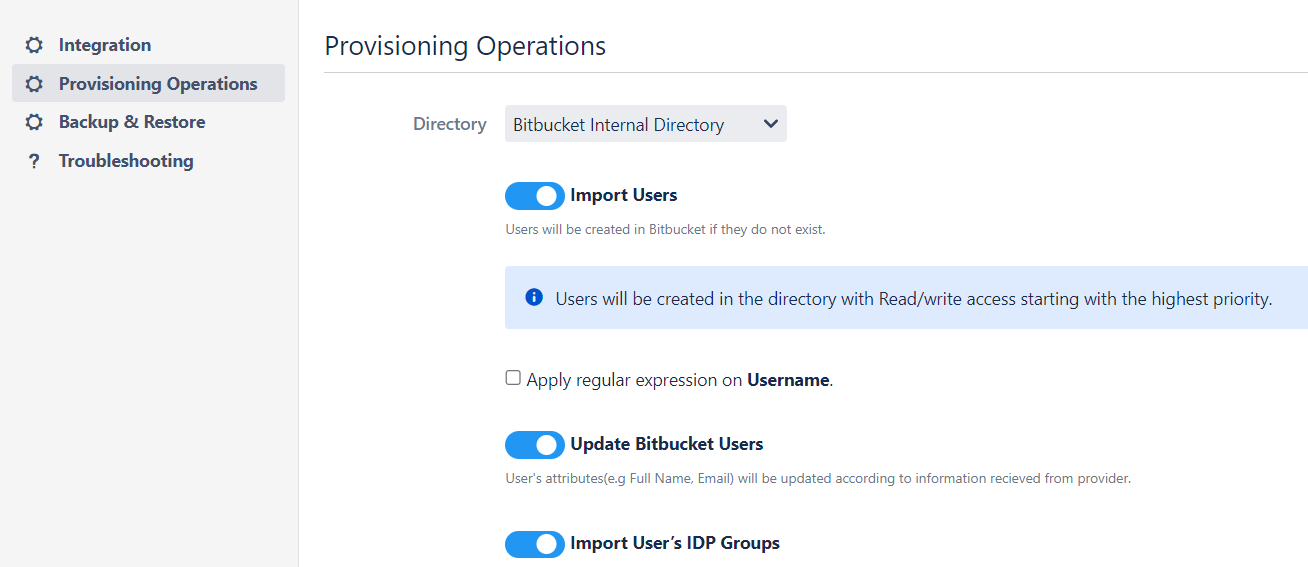
- Select the Provisioning Operations tab from the left sidebar. Here you can configure different settings about user creation and updation.
- You can select the directory or can create a new one. Furthermore, you can choose from the following operations for provisioning users.
- You also have an option to set Default Project Lead and Default Component Lead.
Step 4: Synchronization Process
- To perform user sync, click on the Synchronize option of your newly created app.
- When the synchronization is complete, you will be able to view newly created and updated user information in Confluence's User Management section.

Recommended Add-Ons

Two Factor Authentication
Enable 2FA/MFA for users & groups and let users configure 2FA during their first login.
Know MoreJira SAML SSO
Jira SAML SSO application enables SSO for Jira Software and Jira Service Desk.
Know MoreJira OAuth/OIDC SSO
Secure your Jira Service Management with OAuth/OpenID Connect SSO.
Know MoreAdditional Resources
Bitbucket Git Authentication App | Kerberos/NTLM Apps | Word/PDF Exporter | WebAuthn | SonarQube SSO | Jenkins SSO
If you don't find what you are looking for, please contact us at support-atlassian@miniorange.atlassian.net or raise a support ticket here.