User Sync & Group Sync app sync user and group information from Azure AD to Jira Cloud. Sync can be performed manually, scheduled to run after set time intervals, or during user login. This way the administrator only needs to manage user accounts in Azure AD. This reduces the administration time required to create users and groups in Atlassian modules such as Jira Cloud.
Step 1: Setup Azure AD
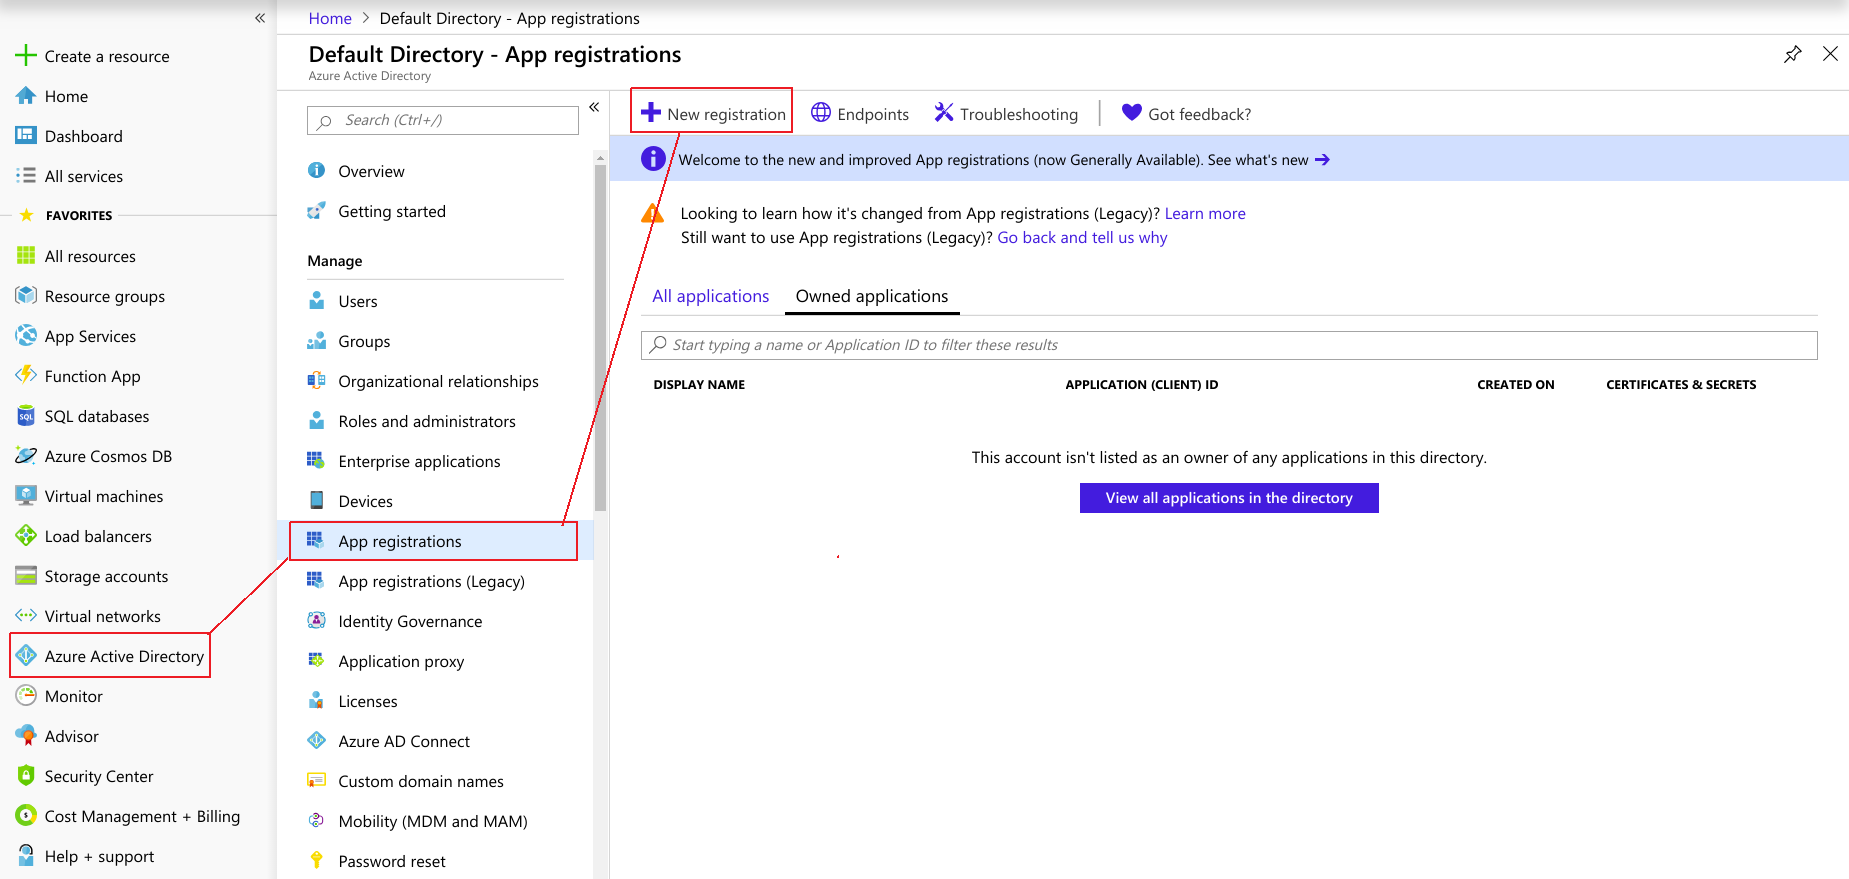
- Log in to Azure AD Portal
- Select Azure Active Directory ⇒ App Registrations. Click on New Application Registration.
- Assign a Name and choose the account type.In the Redirect Url, leave it blank and click on Register button.
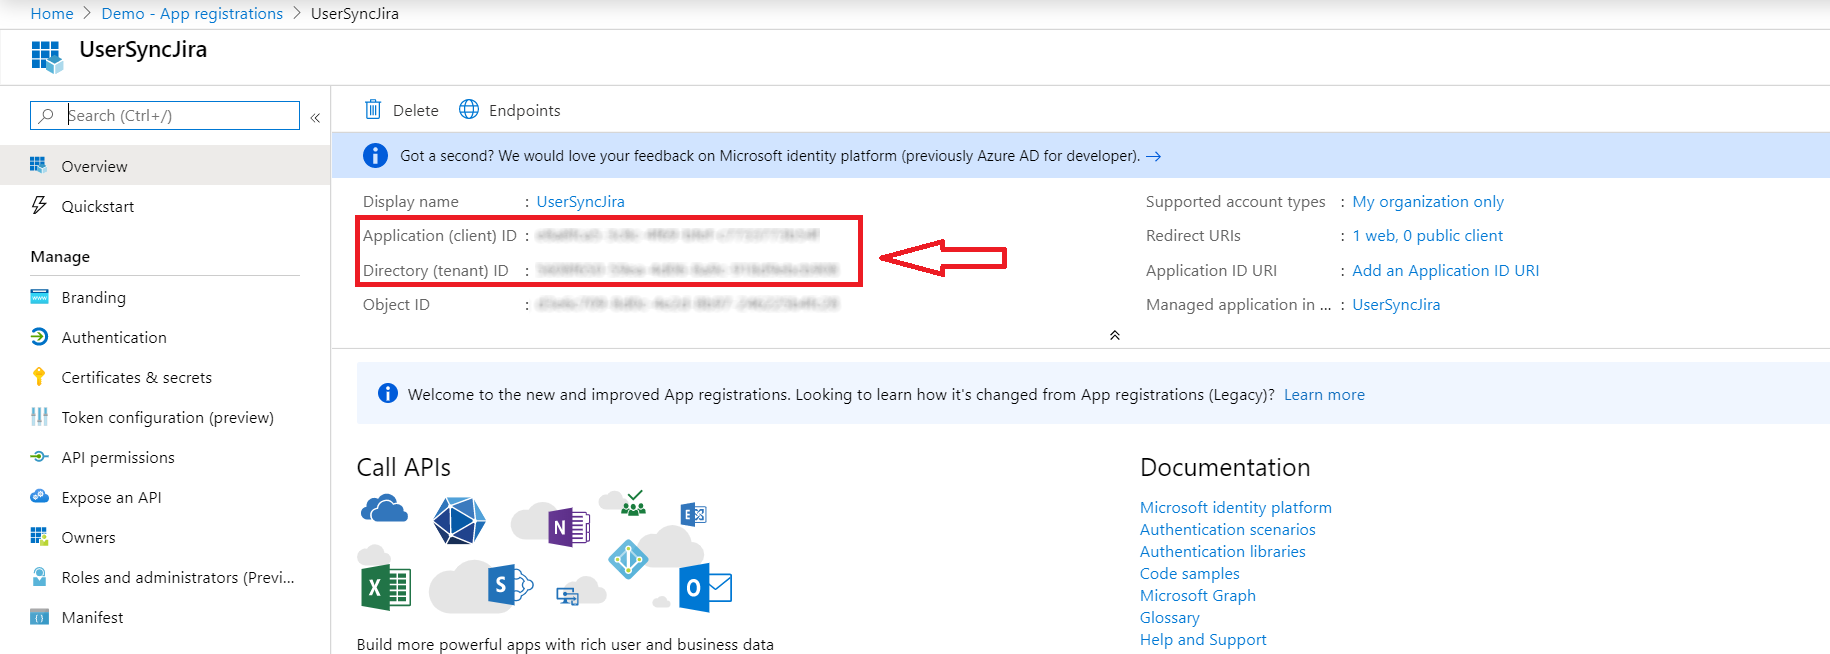
- After Registration you can see the "Application ID" and the "Directory (tenant) ID". You will need both to setup the Azure AD in User Sync & Group Sync app.
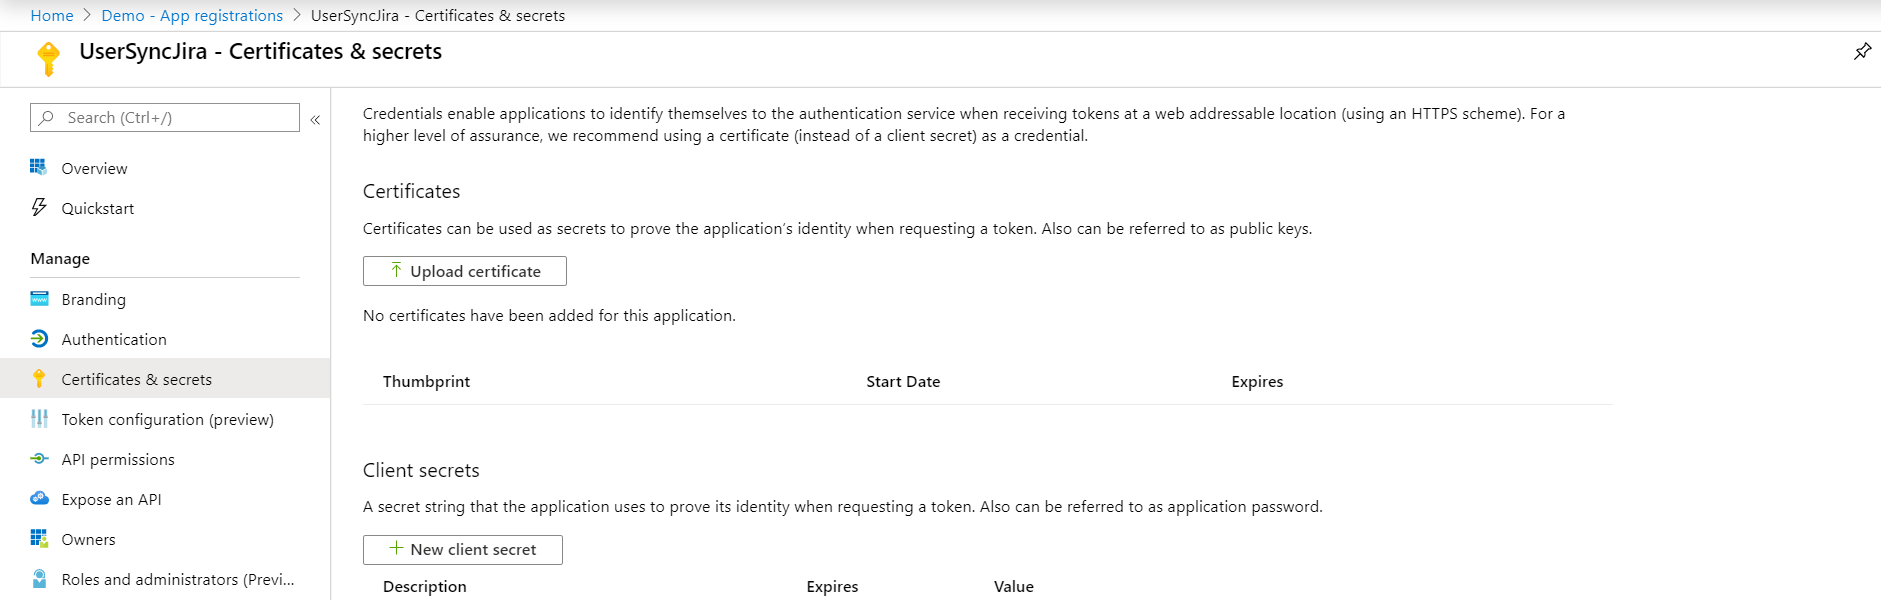
- In the Left panel click on Certificates & secrets. click on the New client secret button. It will show you the popup for adding a new client secret.
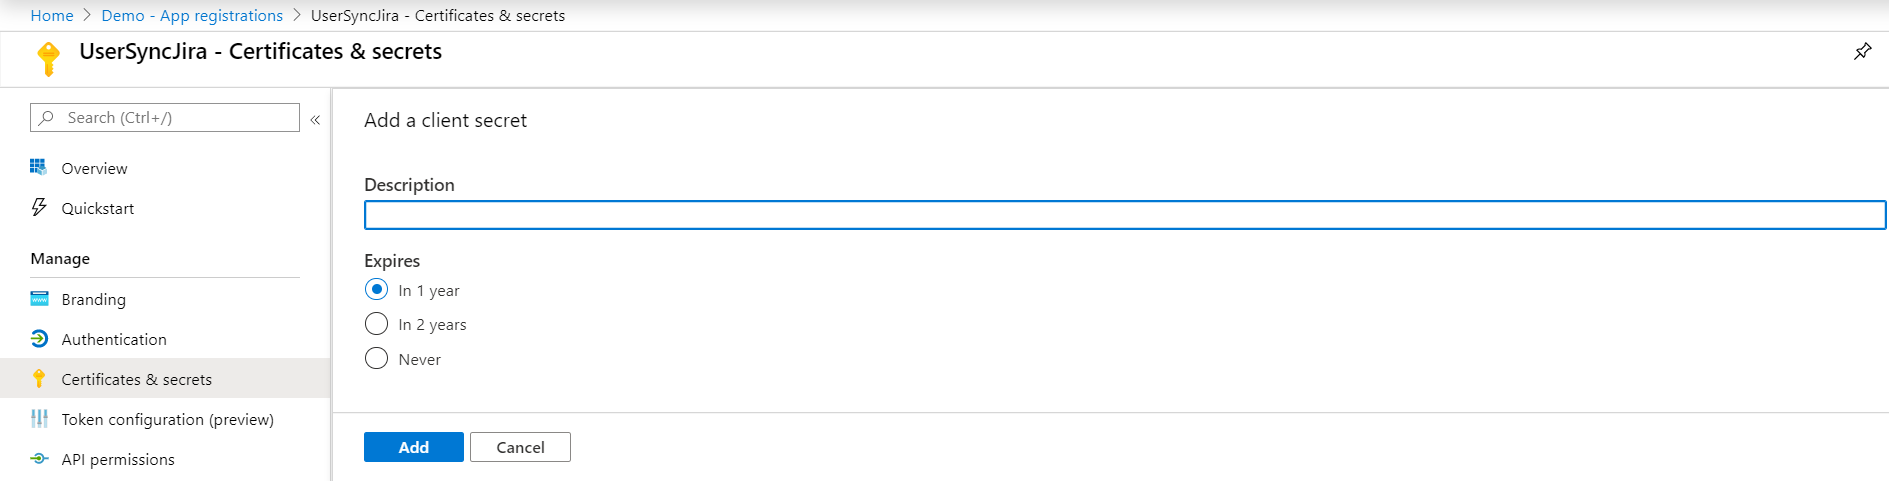
- Add "secret key" in the descripton and add expires in 1 year and click on Add button.Copy client secret keep it handy it will reqired while Setup User Sync app.
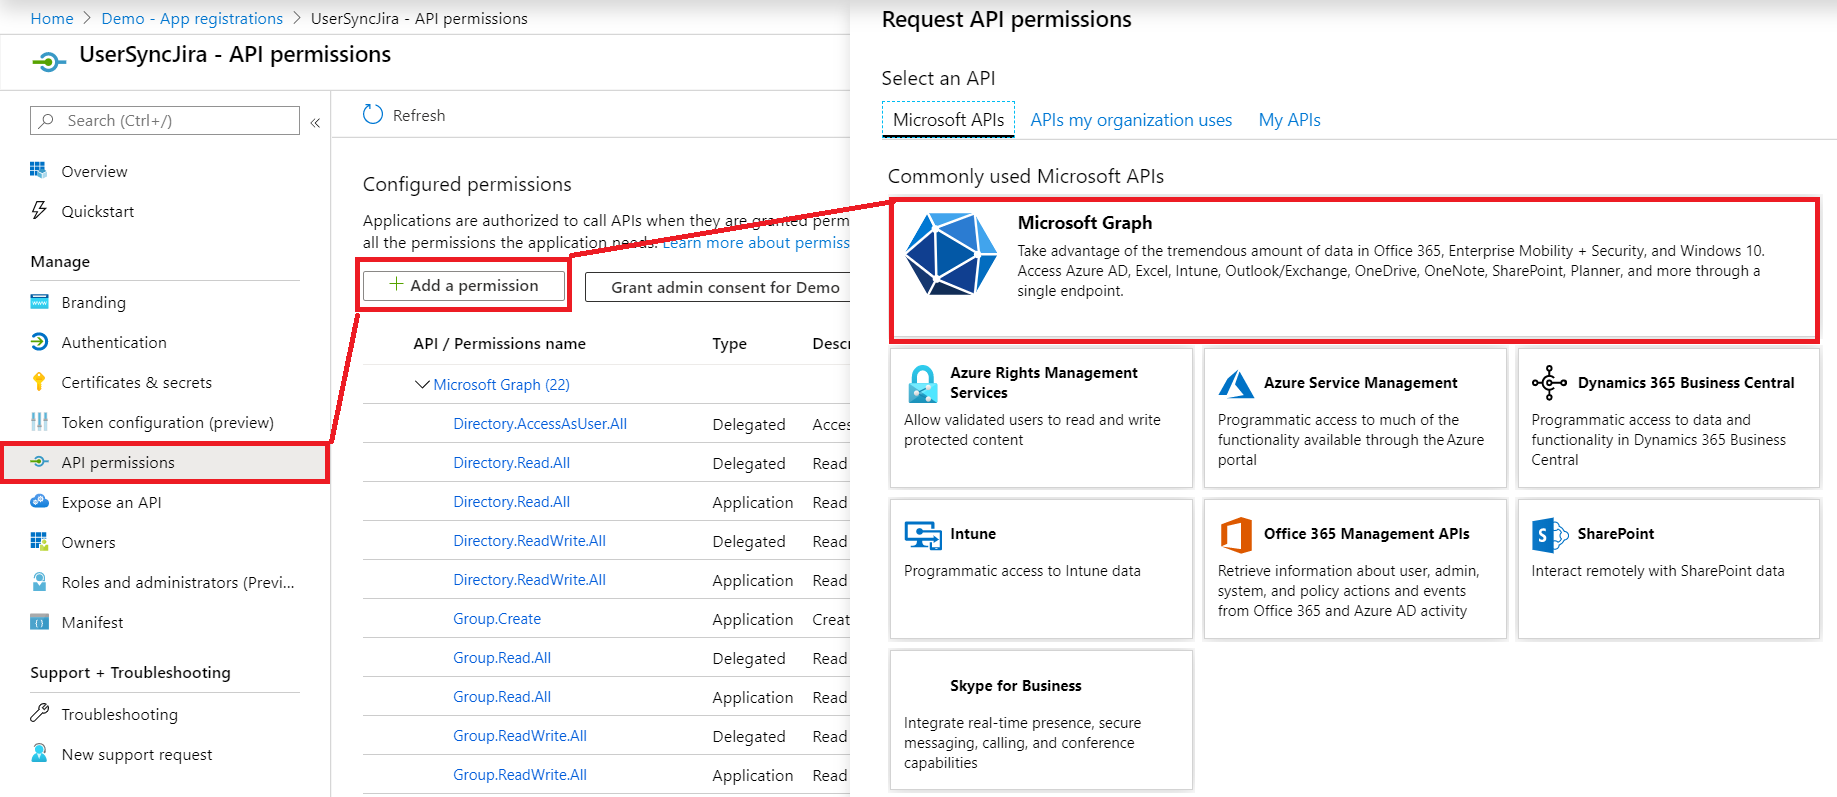
- Select API permissions ⇒ Add a permission. Click on Microsoft Graph.
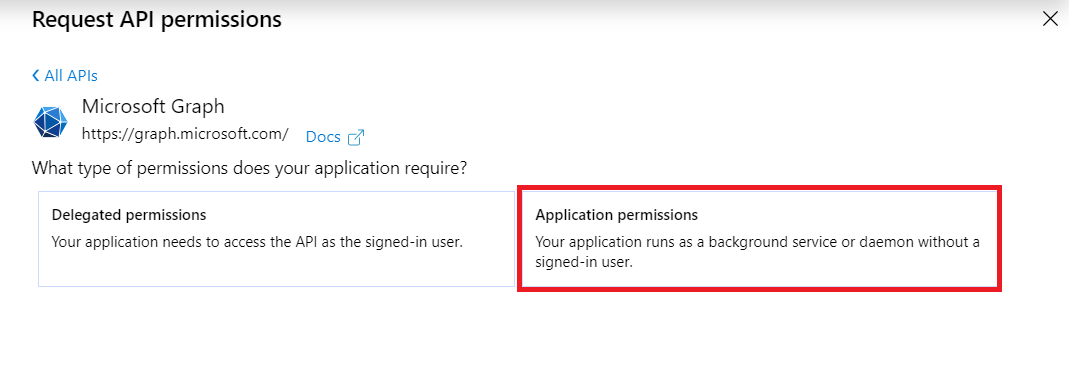
- Click Application permissions and Select below permissions
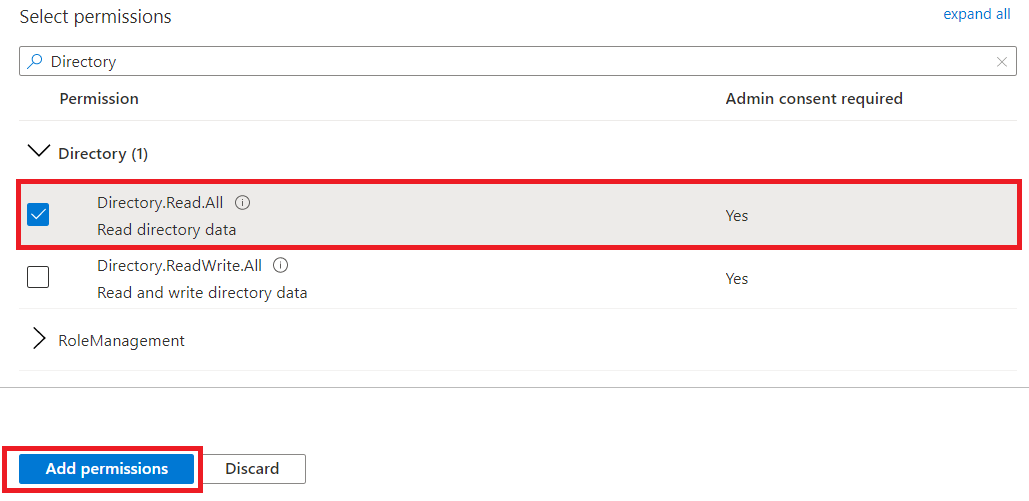
- Search for Directory and select the Directory.Read.All permission. Then search for user and select User.Read.All
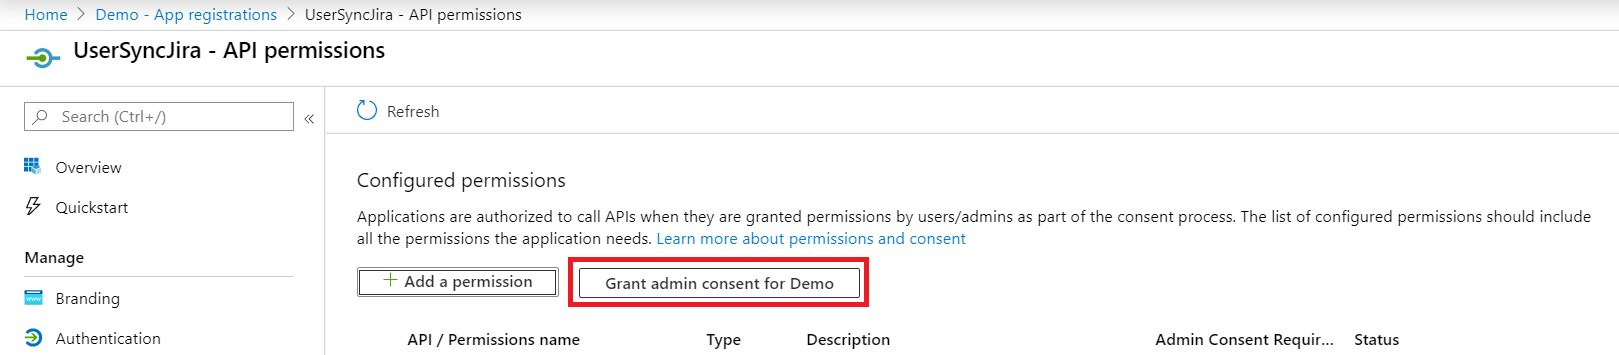
- After assigning permissions you have to click on Grant admin consent for Demo

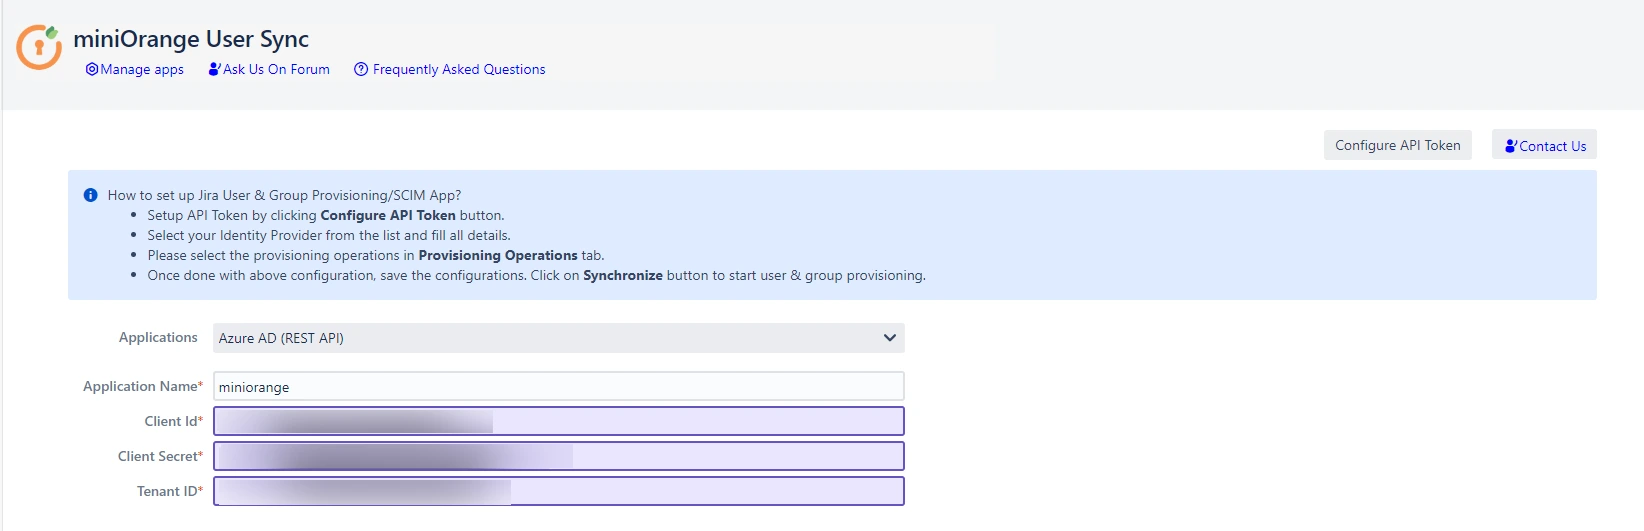
Step 2: Setup User Sync & Group Sync app
1: Configure API token:
- Setup API Token by clicking Configure API Token button.
- Enter your Admin Email
- Generate your own API token. Please refer this document here.
- Fill in values according to the table below.
| Application Name | Enter unique name. e.g. Azure AD |
| Client ID | Enter Azure AD Application (client) ID which you will find in overview page of the Azure AD app. |
| Client Secret | Enter Azure AD Client secret which were created while setting up Azure AD. |
| Tenant ID | Enter Azure AD Directory (tenant) ID which you will find in overview page of the Azure AD app. |
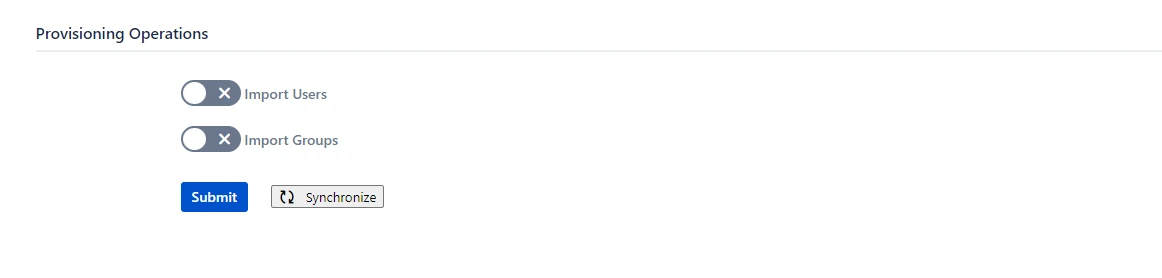
Step 3: Provisioning Operations
- Enable Import Users option to create users automatically if they do not exist in Jira.
- Enable Import Groups option to create groups automatically if they do not exist in Jira.
- Click on Submit.
Recommended Add-Ons

Two Factor Authentication
Enable 2FA/MFA for users & groups and let users configure 2FA during their first login.
Know MoreJira SAML SSO
Jira SAML SSO application enables SSO for Jira Software and Jira Service Desk.
Know MoreJira OAuth/OIDC SSO
Secure your Jira Service Management with OAuth/OpenID Connect SSO.
Know MoreAdditional Resources
Bitbucket Git Authentication App | Kerberos/NTLM Apps | Word/PDF Exporter | WebAuthn | SonarQube SSO | Jenkins SSO
If you don't find what you are looking for, please contact us at support-atlassian@miniorange.atlassian.net or raise a support ticket here.