Step 1: Setting up Okta as OAuth Provider
With the plugin installed, you can move on to setting up Okta as the OAuth Provider using the steps provided below:
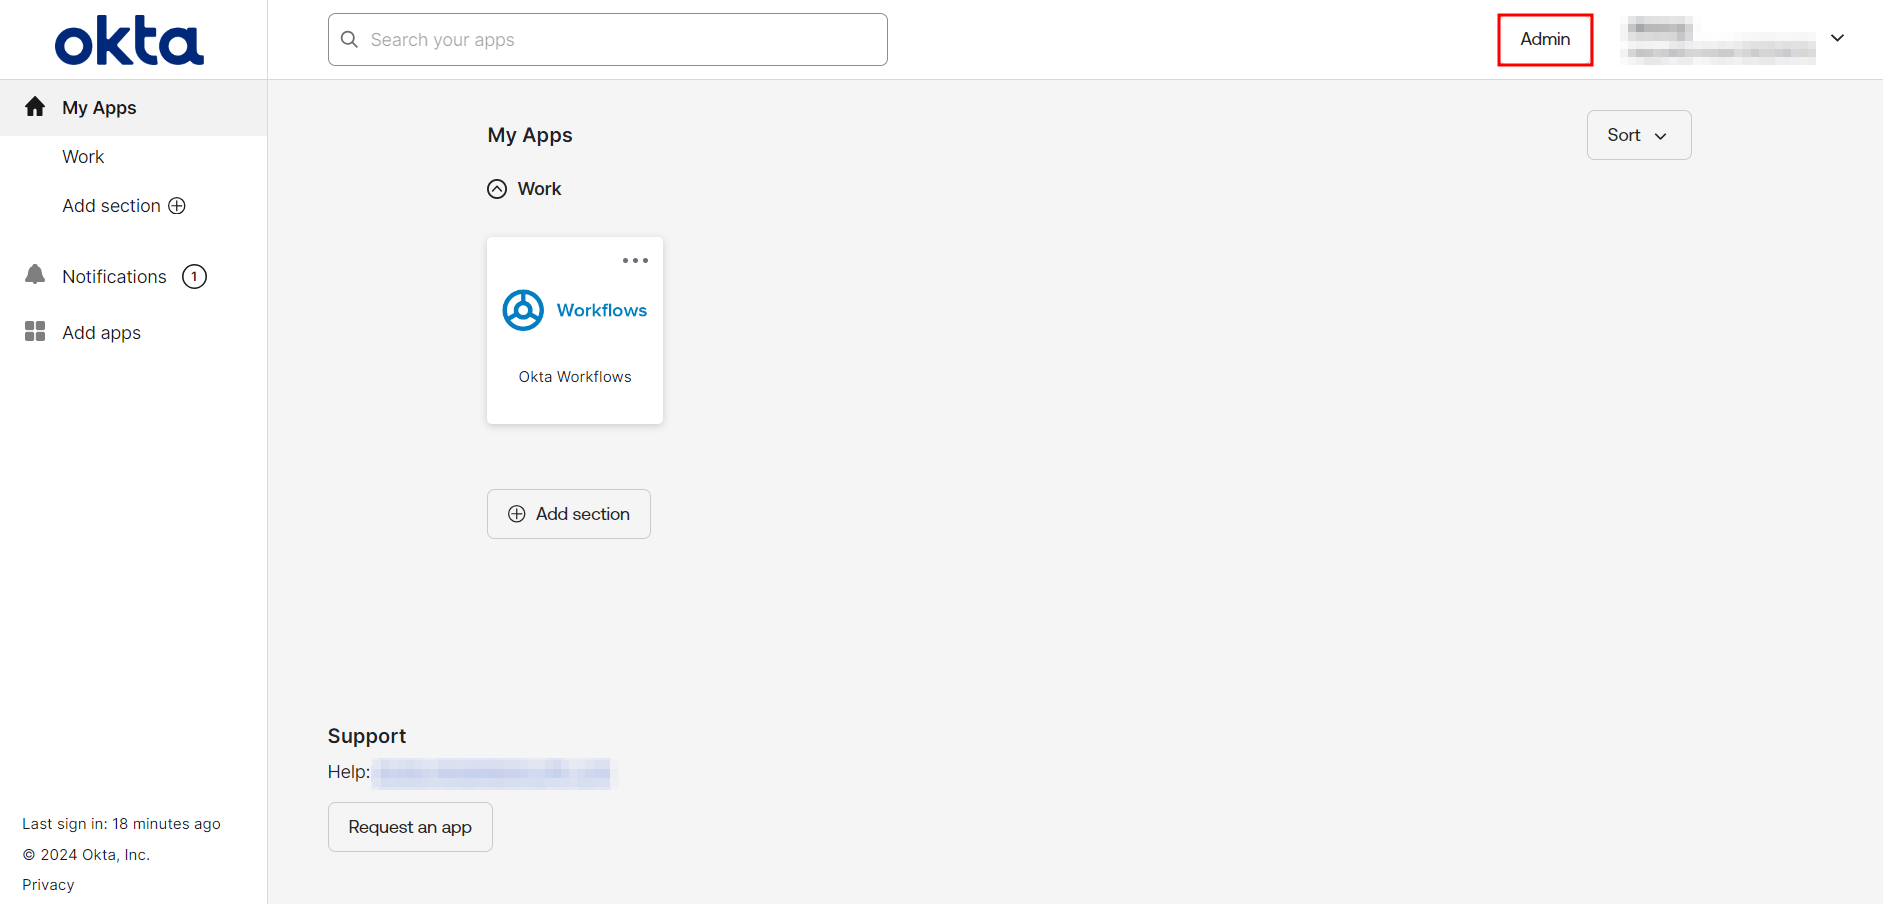
- Log into Okta Admin Console.
- For the developer account, switch to Classic UI to configure the app.
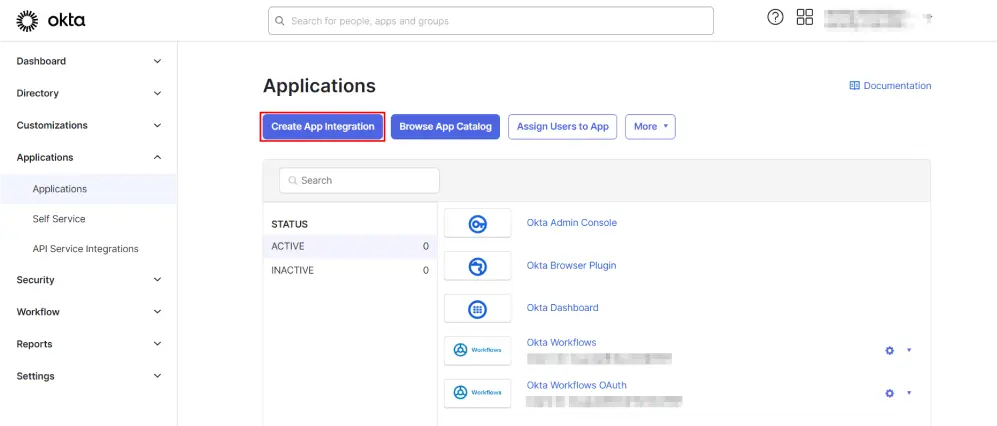
- Inside the admin console, go to Applications → Applications from the left-hand menu and then click on Create App Integration.
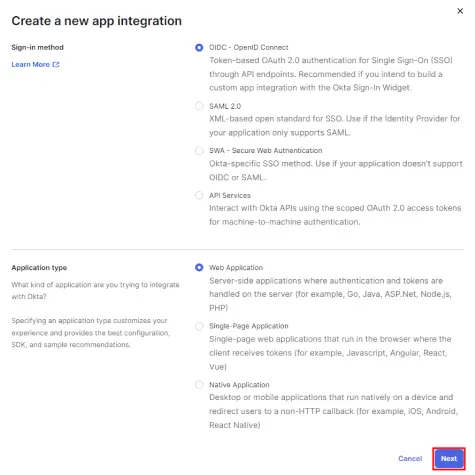
- Next, choose OIDC OpenID Connect as the sign-on method and Web as the platform. Proceed by clicking Next.
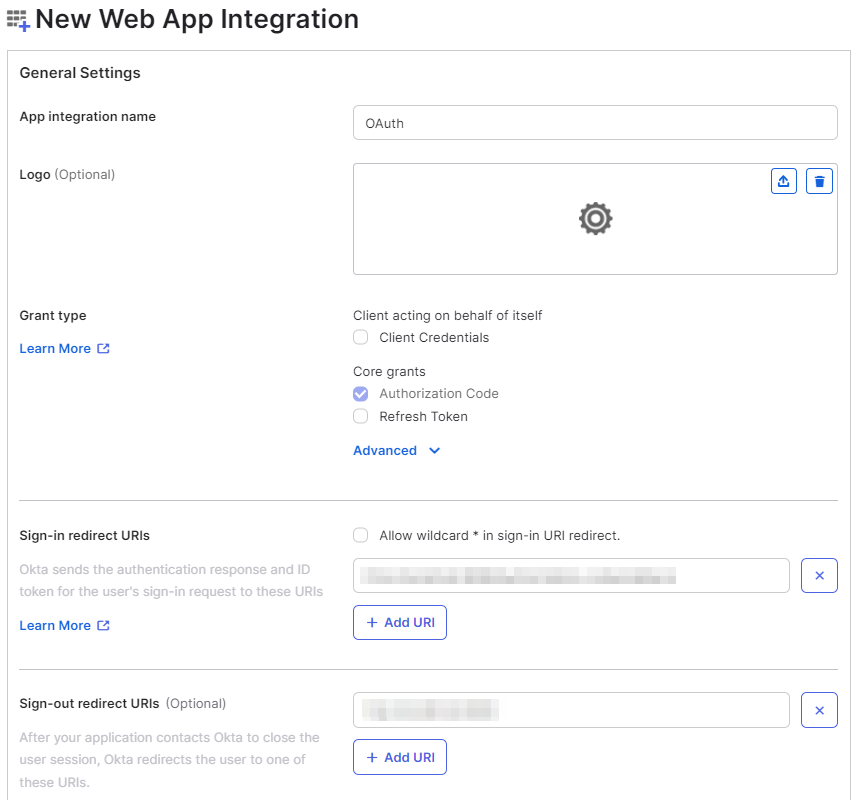
- Upon redirection to the app details page, specify the App integration name and Sign-in redirect URIs. Ensure to copy the Callback URL from the plugin for configuring the Login Redirect URL in your IDP. Click Saveonce you’re done.
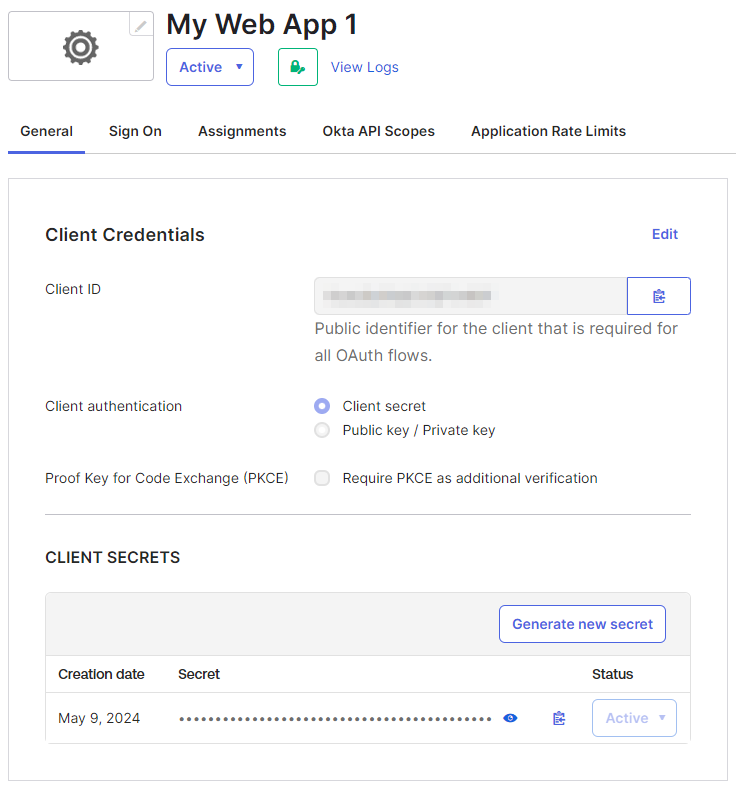
- Next, you’ll be redirected to the My Web App details page. Retrieve the Client ID and Client Secret for future reference.