Step 1: Set Up OneLogin as Identity Provider
- Go to https:// <your_domain>.onelogin.com and login into OneLogin.
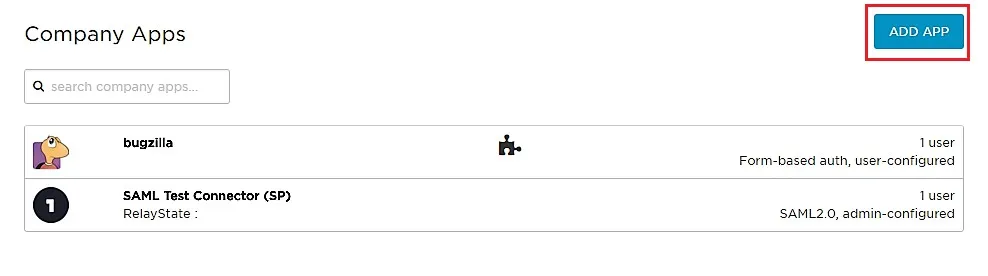
- Log into OneLogin as an Administrator and go to Apps Company Apps Add Apps from the Navbar.
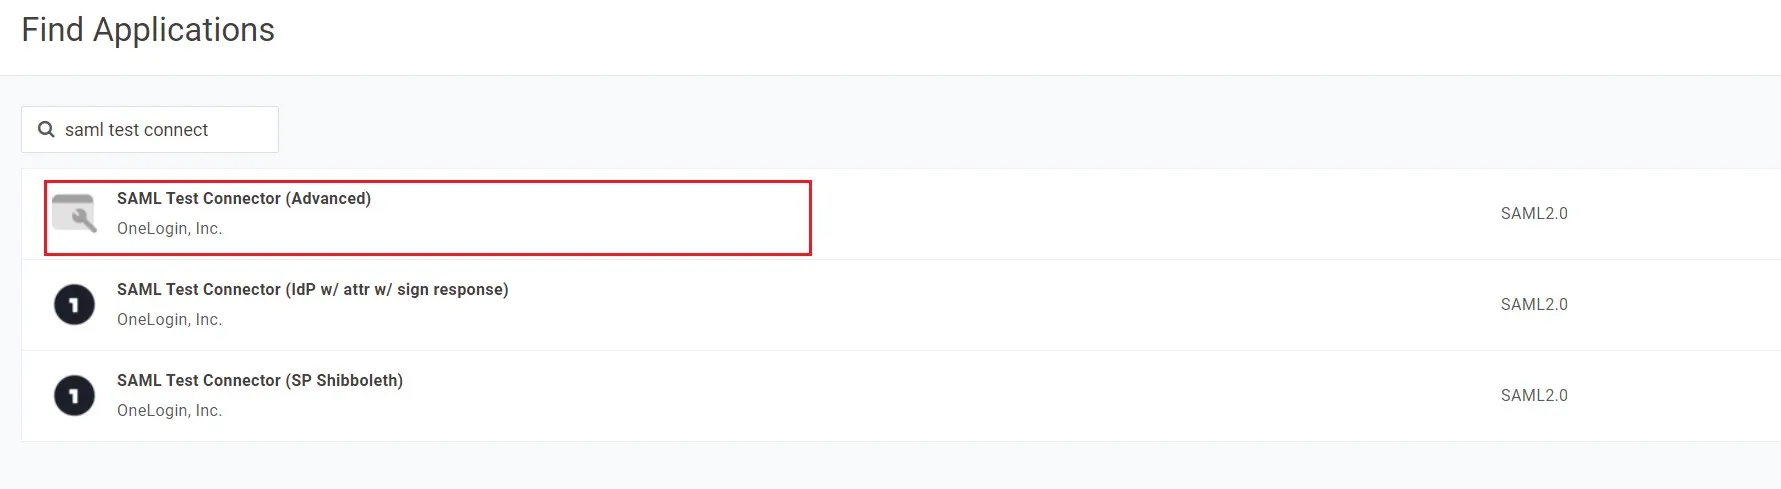
- In the search box, type SAML Test Connector (Advanced) and click on the App to add it.
- Enter the display name and click Save.
- In Info enter App Name and click on Next.
- After saving, go to Configuration Tab and enter the following:
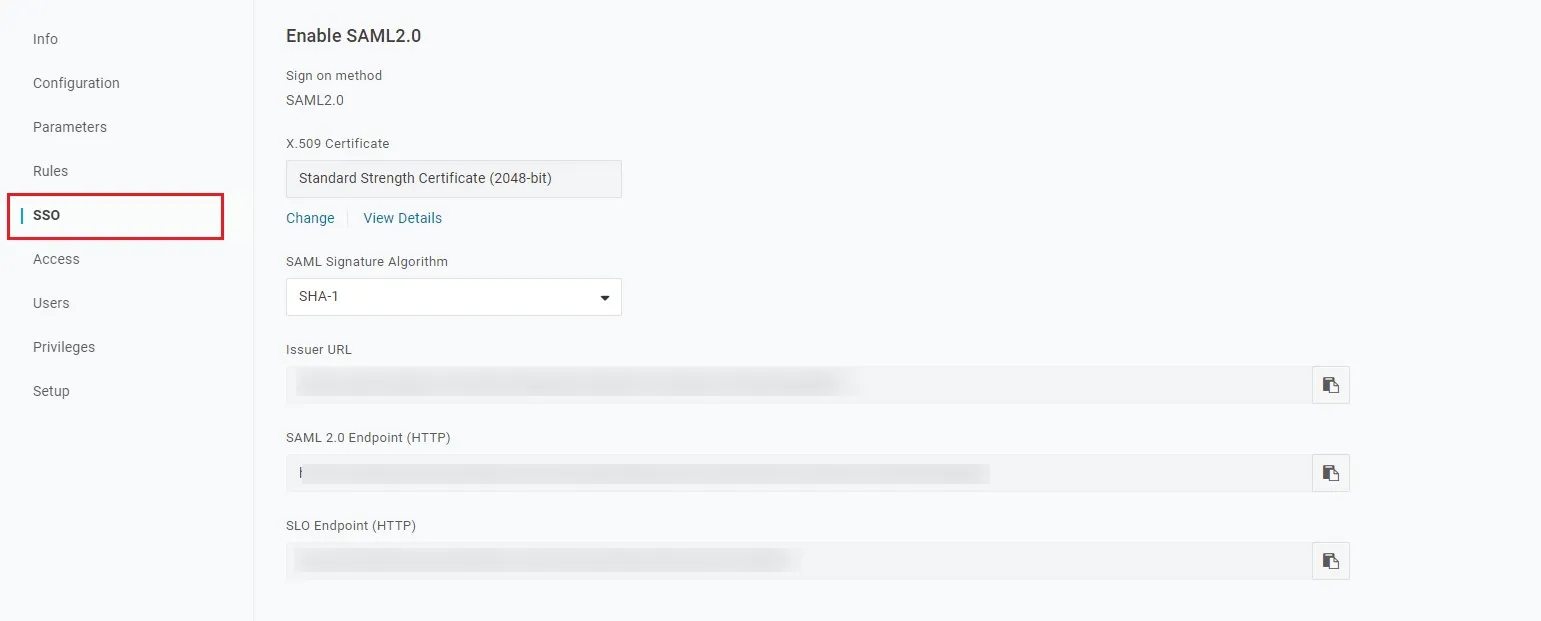
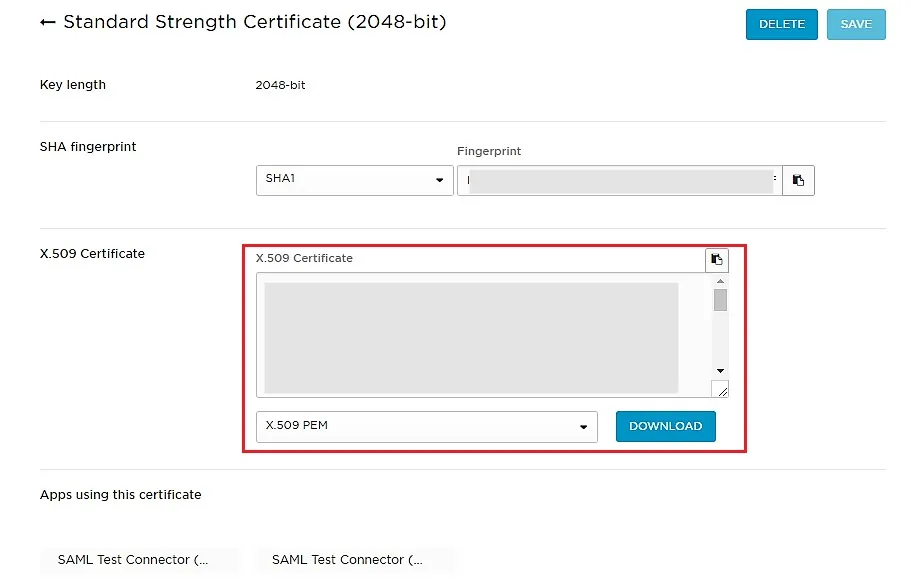
- Go to SSO tab. Note down the URL/Endpoints. These will be required while configuring the plugin.
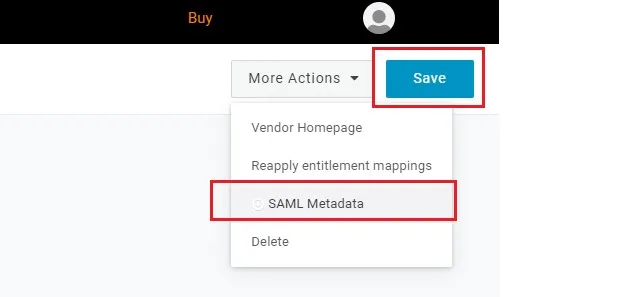
- Select SAML metadata options from More Actions dropdown list.
- Download this metadata or Copy the URL and provide it in plugin settings.
- You can also copy the URL's from SSO tab
- Save all the Settings.
Follow the steps below to configure OneLogin as an Identity Provider
 Configuring OneLogin as IdP
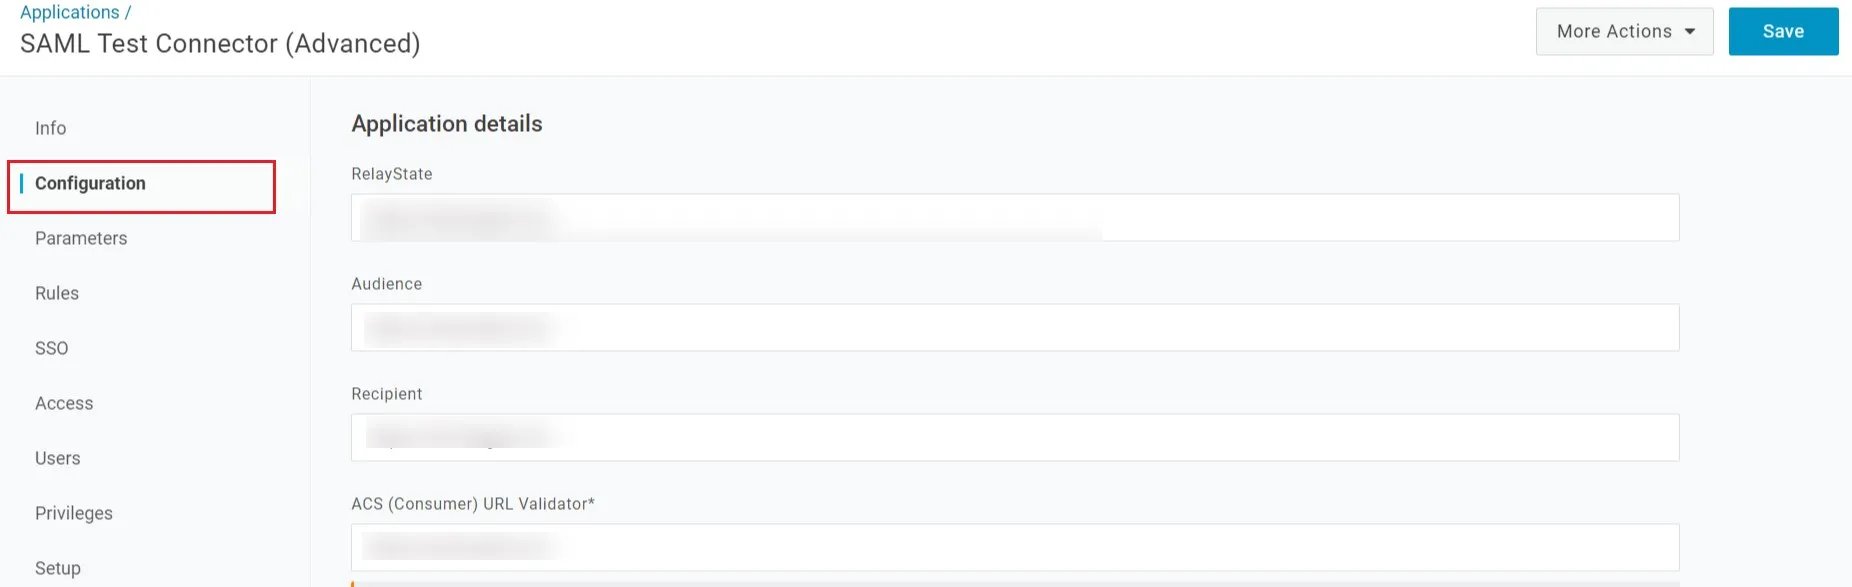
| Audience | Audience URI from plugin under Service Provider info Tab. |
| Recipient | Recipient URL from plugin under Service Provider info Tab. |
| ACS (Consumer) URL Validator | ACS (Assertion Consumer Service) URL from plugin under Service Provider info Tab. |
| ACS (Consumer) URL | ACS (Assertion Consumer Service) URL from plugin under Service Provider info Tab. |
| Single Logout URL | Enter Single Logout URL from the Service Provider info tab of the module. |
Assigning Groups/People
Import IDP Metadata
Hello there!
Need Help? We are right here!


