Part 2 : Configuring SAML SSO between miniOrange as SP and Salesforce as IDP
Step 1. Setup Salesforce as IDP
- Log in to Salesforce Portal.
- Click on your profile icon on the top right then click Switch to Salesforce Classic mode from the profile/ menu and then go to the Setup page.
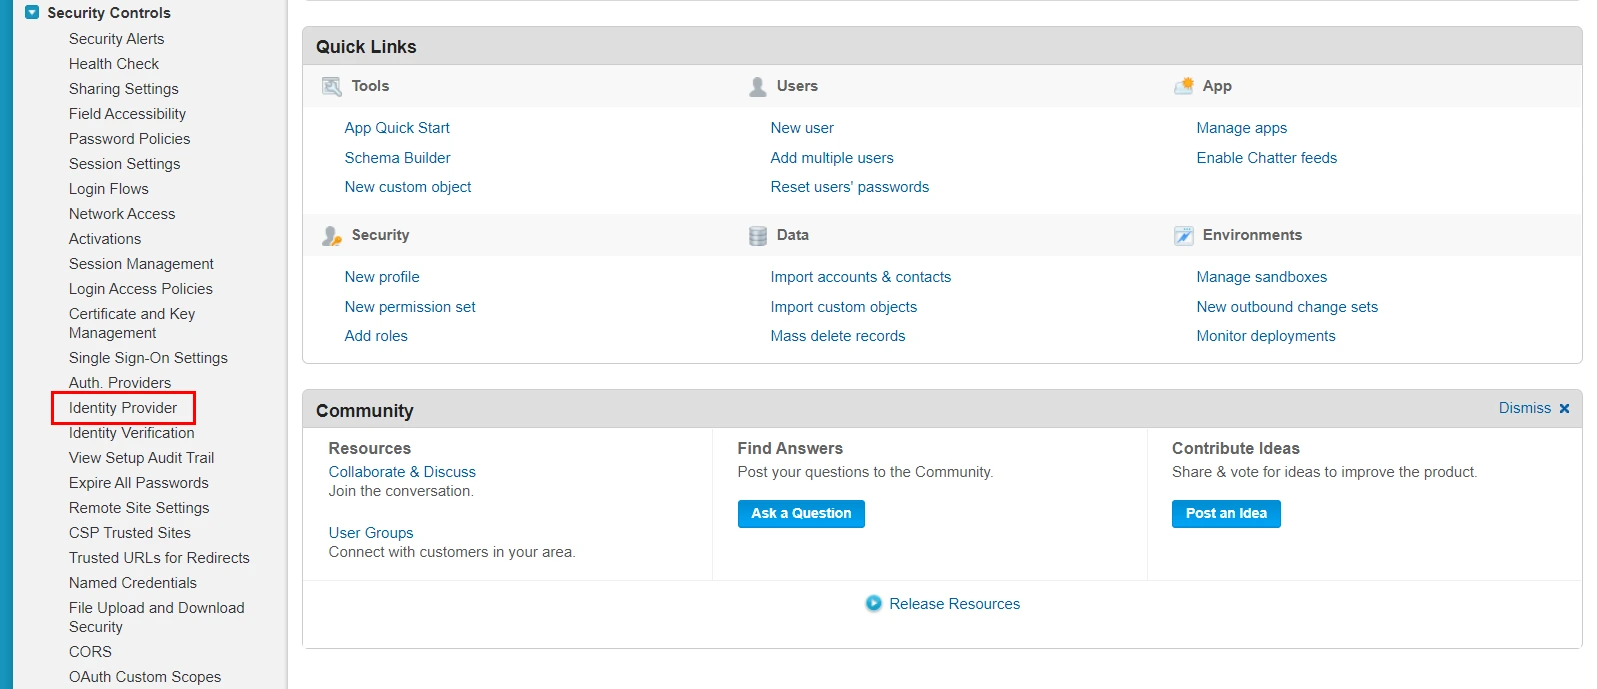
- From the left pane, select Security Controls -> Identity Provider.
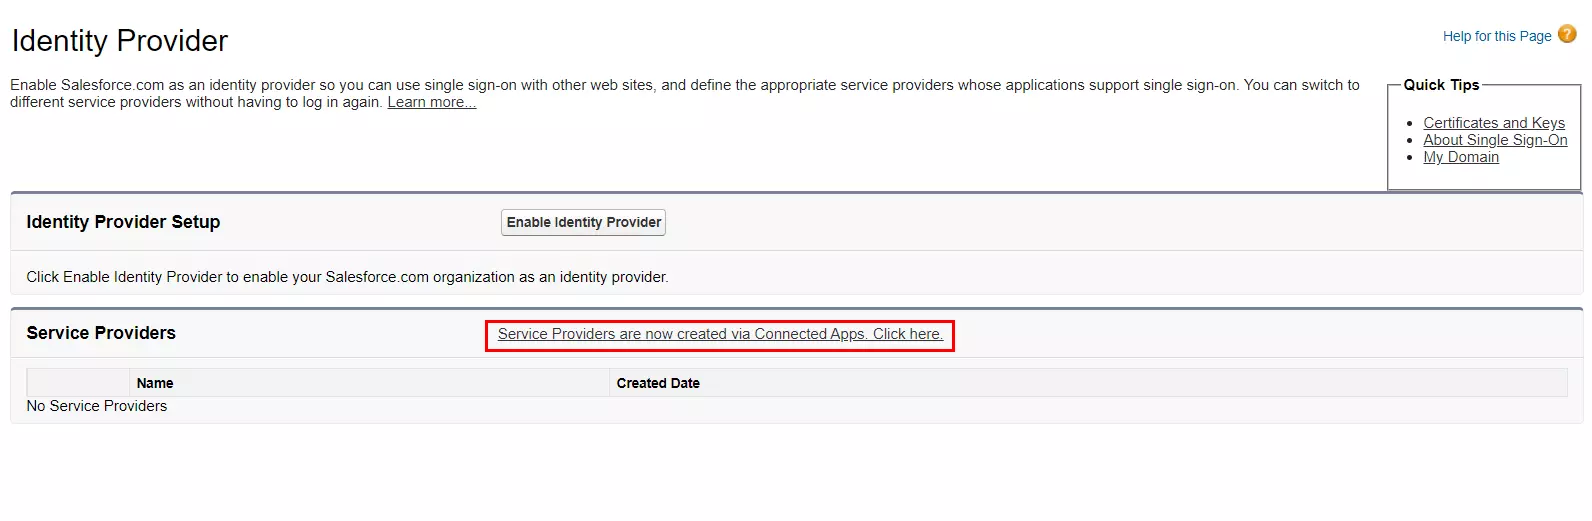
- In the Service Provider section, click on the link (Service Providers are now created via Connected Apps. Click here.) to create the Service Provider using Connected Apps.
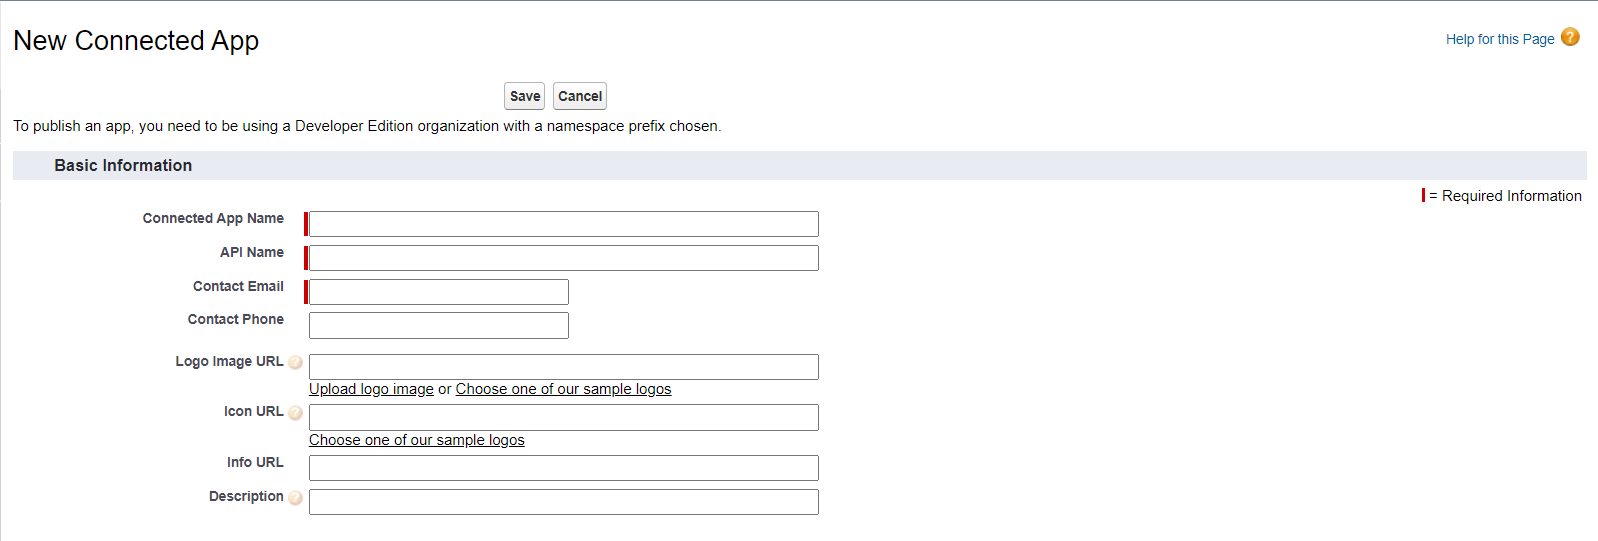
- Enter Connected App Name, API Name and Contact Email.
- Under the Web App Settings, check the Enable SAML checkbox and enter the following values:
- Then click on Save.
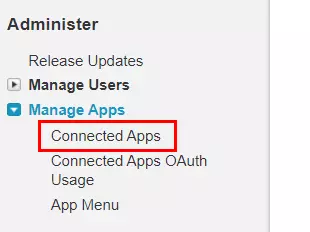
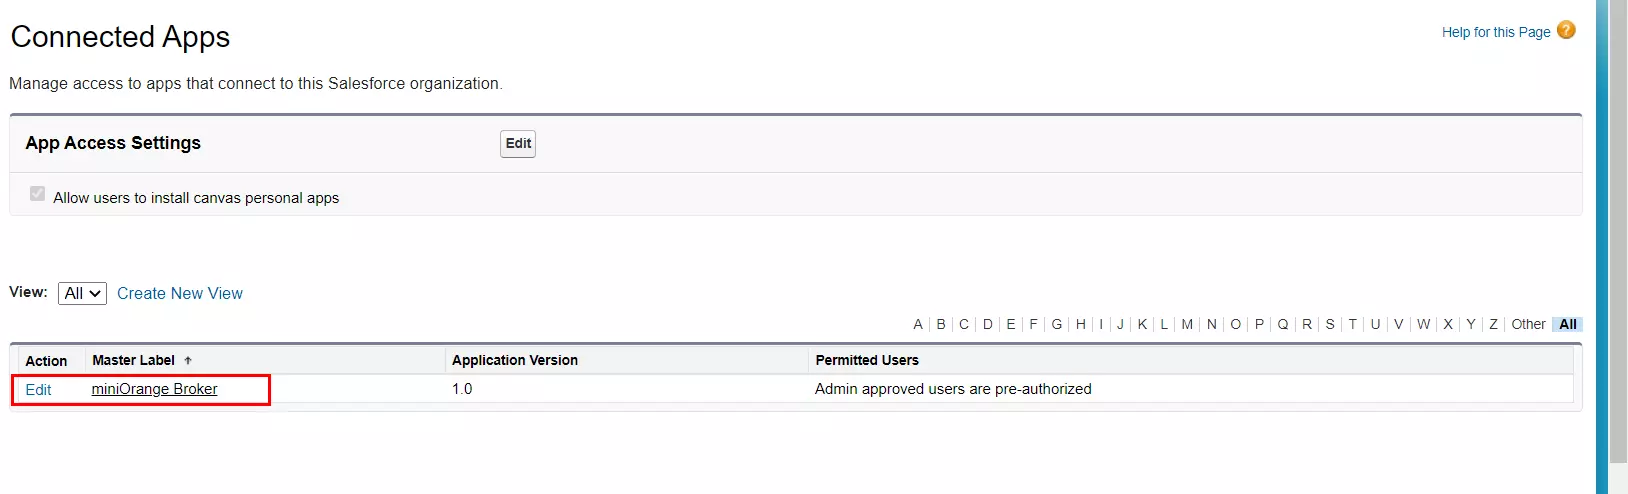
- Now from the left pane, under the Administer section, go to Manage Apps -> Connected Apps.
- Click on the app you just created.
- Under the Profiles section click the Manage Profiles button and select the profiles you want to give access to log in through this app.
- Under SAML Login Information, click on Download Metadata.

| Entity ID | Entity ID or Issuer: Refer this step |
| ACS URL | ACS URL (For SP-Initiated SSO) Refer this step |
| Single Logout URL | Logout Url from Salesforce |
| Subject Type | Username |
| Name ID Format | urn:oasis:names:tc:SAML:2.0:nameid-format:persistent |


Keep this metadata handy for the next steps.
Step 2. Setup miniOrange as Service Provider
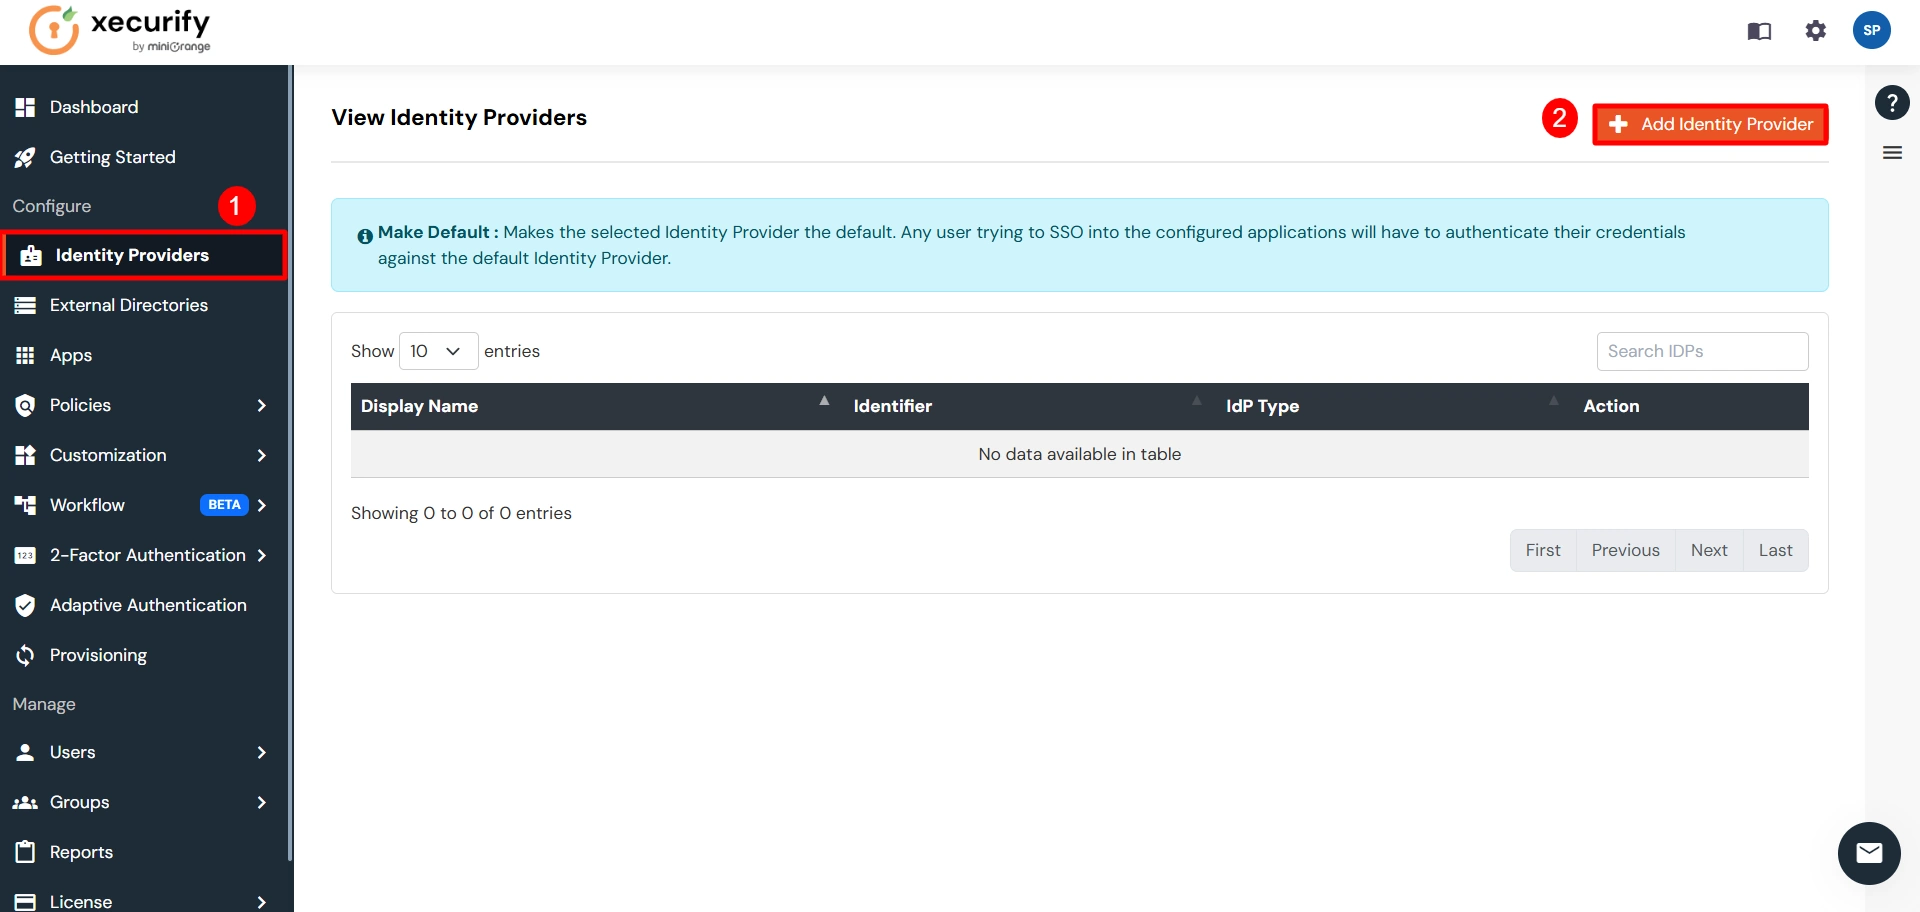
- Go to miniOrange Admin Console.
- From the left navigation bar select Identity Provider. Then click on Add Identity Provider
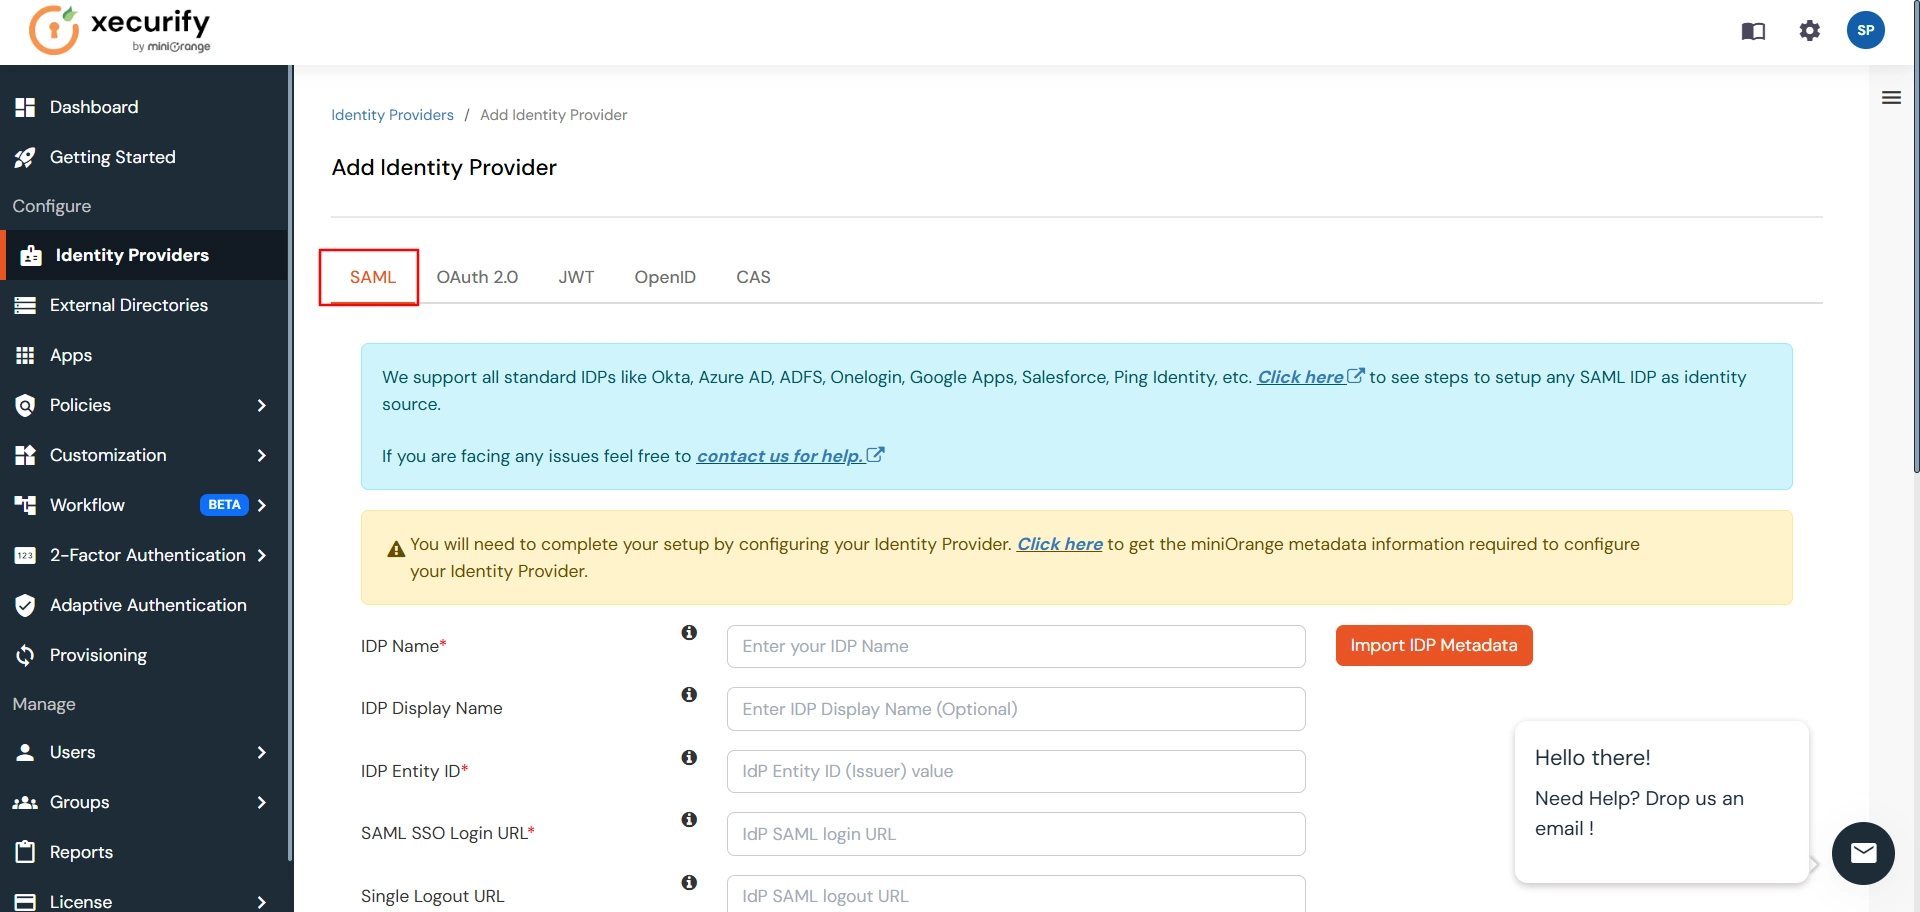
- Select SAML tab.
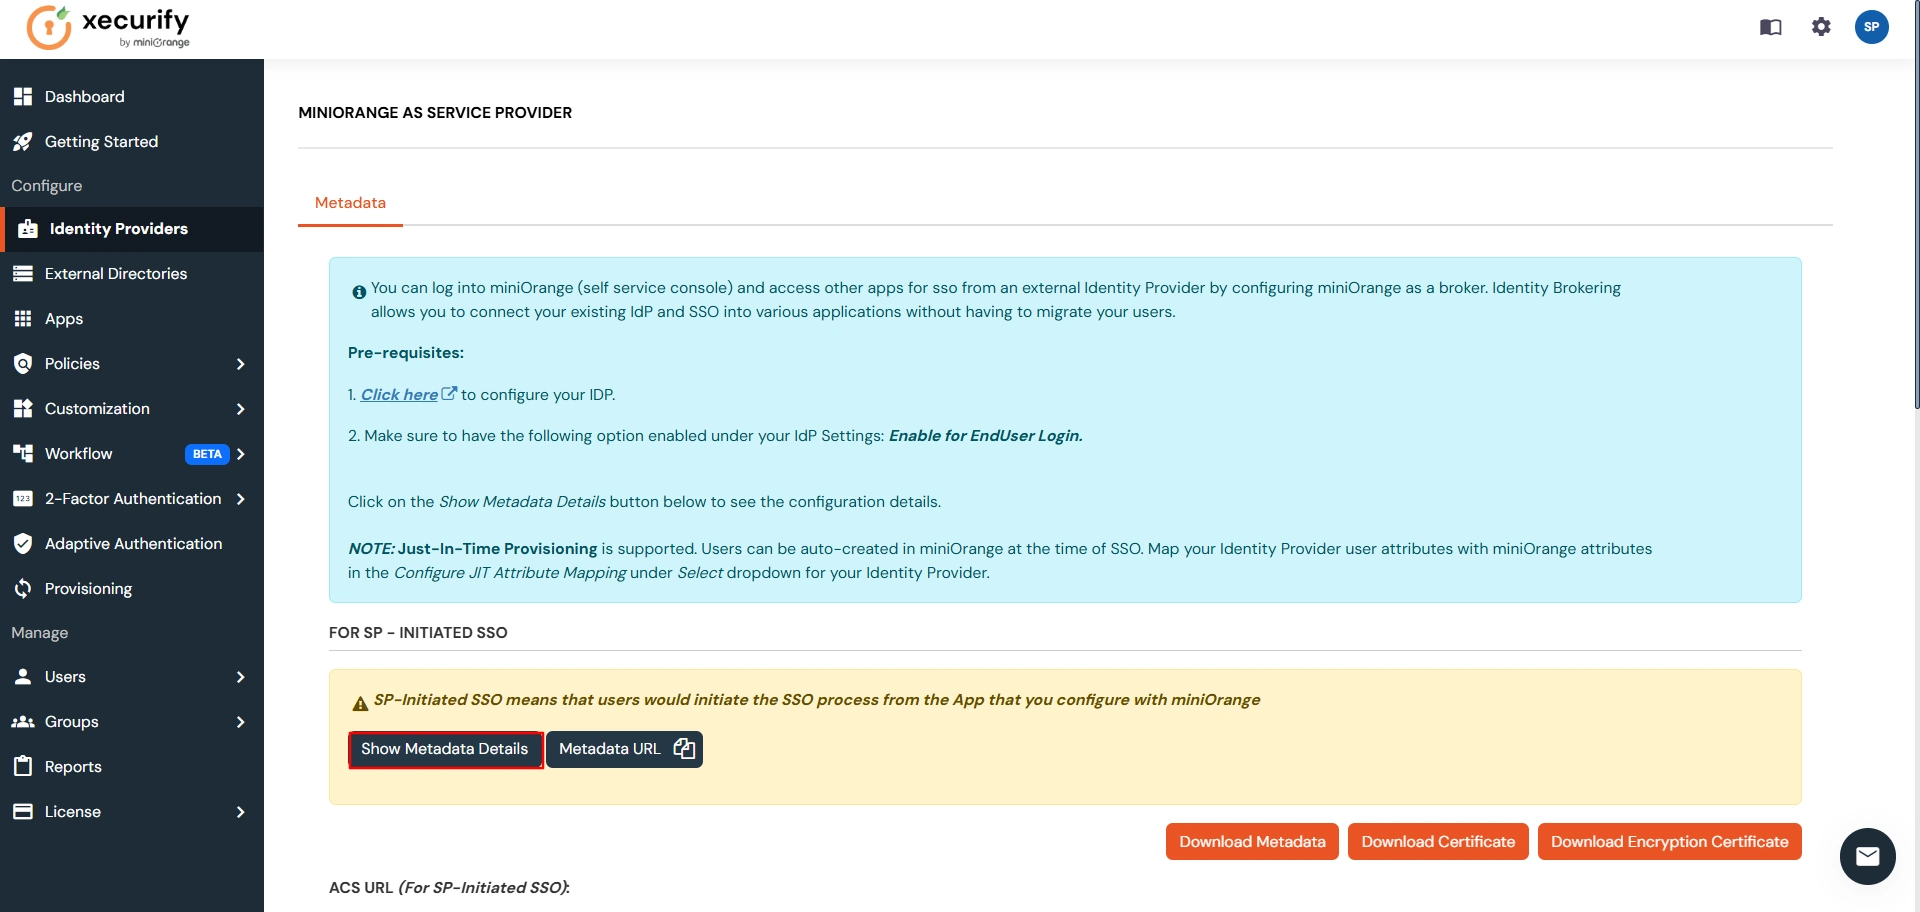
- Click on Show Metadata details under For SP - INITIATED SSO. You can either manually enter details or use Metadata URL or File
- Now to create SAML app for Salesforce, go to the Add Identity Provider page and click on Import IDP Metadata. Import the metadata file that you will get from the SAML Login Information section of Salesforce. Refer this step.
- If you don't have a metadata file, you can also provide the details manually. You need to configure following endpoints:
- Few other optional features that can be added to the Identity Provider(IDP) are listed in the table below:
- Click on Save.
You can get the metadata details of miniOrange app either by clicking on the link
shown by "Click here" in the yellow block, Or you can also get the details after creating the
app. Keep these details handy as we will need these in configuring Salesforce.

| IDP Entity ID | Entity ID of IDP |
| Single Login URL | Login Url from IDP |
| Single Logout URL | Logout Url from IDP |
| X.509 Certificate | The public key certificate of your IDP. |
| Domain Mapping | Can be used to redirect specific domain user to specific IDP |
| Show IdP to Users | Enable this if you want to show this IDP to all users during Login |
| Send Configured Attributes | Enabling this would allow you to add attributes to be sent from IDP |
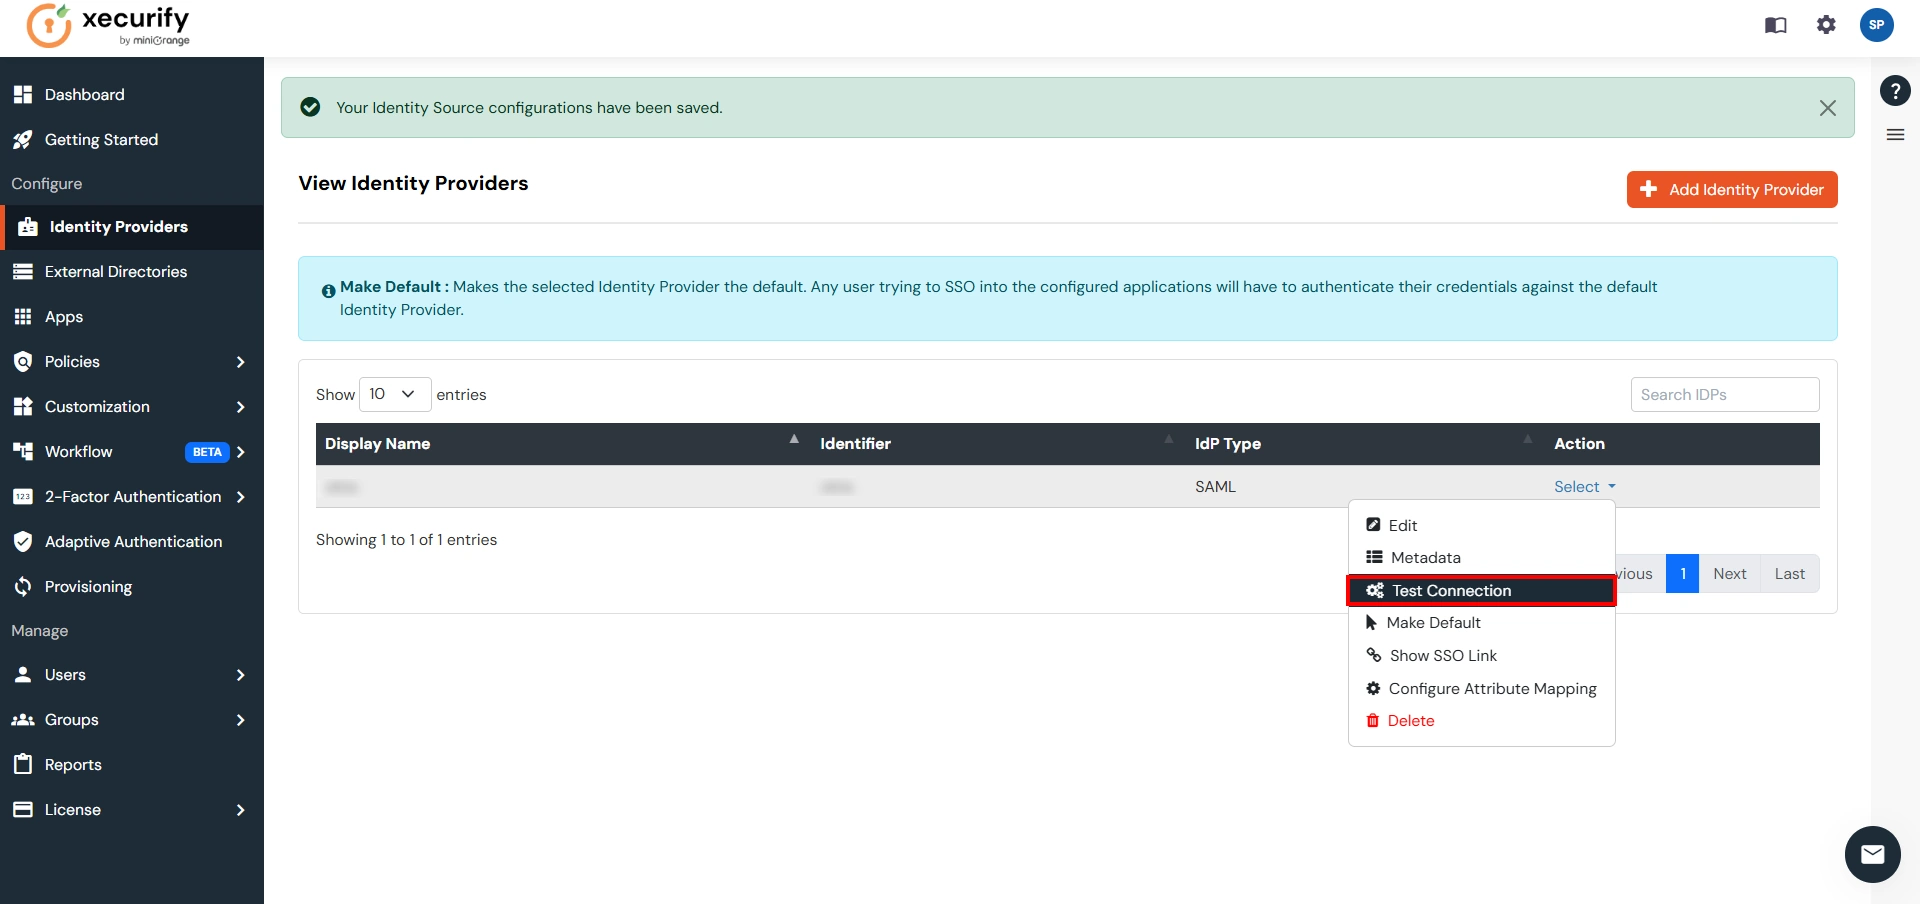
Step 3. Test Connection between miniOrange and Salesforce
- Go to the miniOrange Admin Dashboard.
- Go to Identity Providers tab. Then click on select button under the app you just created. Then click on Test Connection.
- A new popup login window will open. Enter your credentials and login.
- Now you will see TEST SUCCESSFUL in a new popup window. If not, then check if you have missed any of the above step.
Part 3: Testing Connection between Atlassian and Salesforce with miniOrange
- Go to Atlassian Login Portal.
- Enter email and click on Continue. Then you will be redirected to Salesforce Login Page.
- After logging into Salesforce Login Page, you will be successfully logged into Atlassian Cloud Dashboard.
If you encounter any difficulties configuring miniOrange add-ons, please contact us at atlassiansupport@xecurify.com or raise a support ticket here.