Step 1: Set Up Salesforce as Identity Provider
- Log into your Salesforce account.
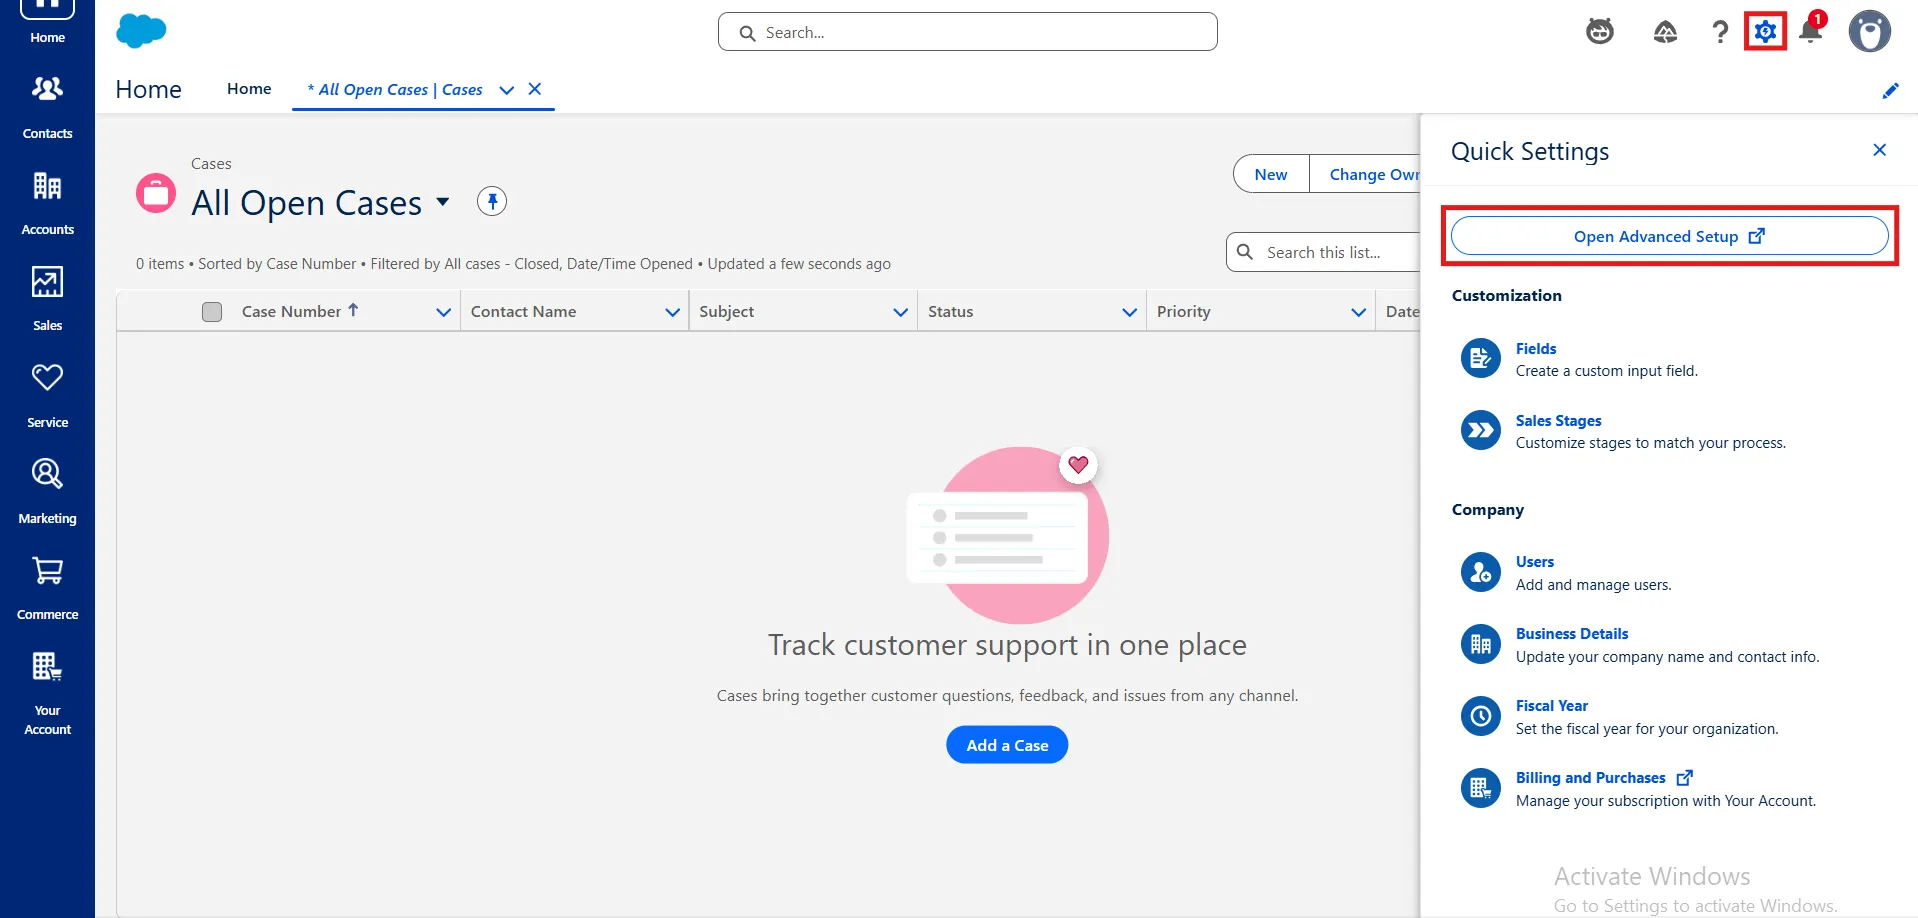
- Go to settings and then go to the Setup page.
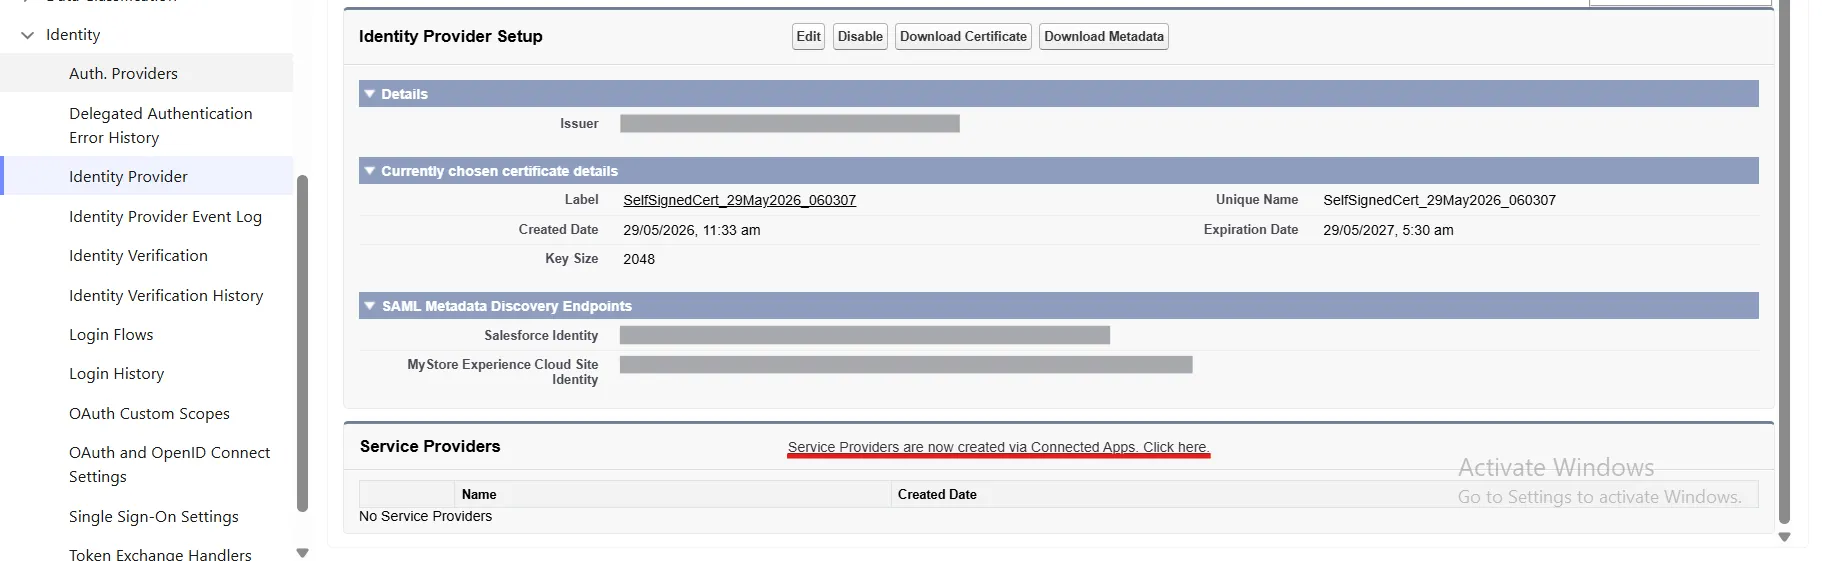
- From the left pane, select IdentityIdentity Provider.
- In the Service Provider section, if Identity provider is disable then enable Identity provider.
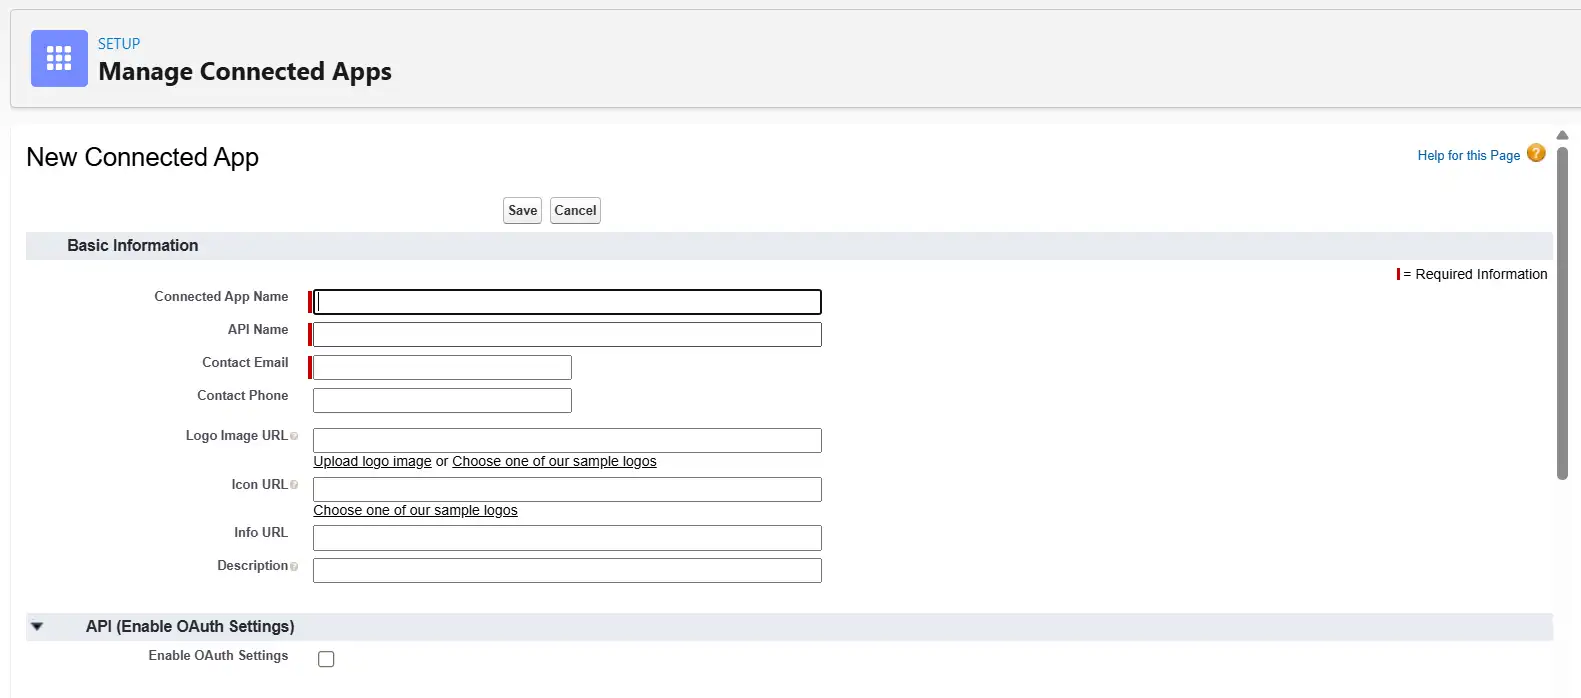
- Click on the link to create the Service Provider using Connected Apps.
- Enter Connected App Name, API Name and Contact Email.
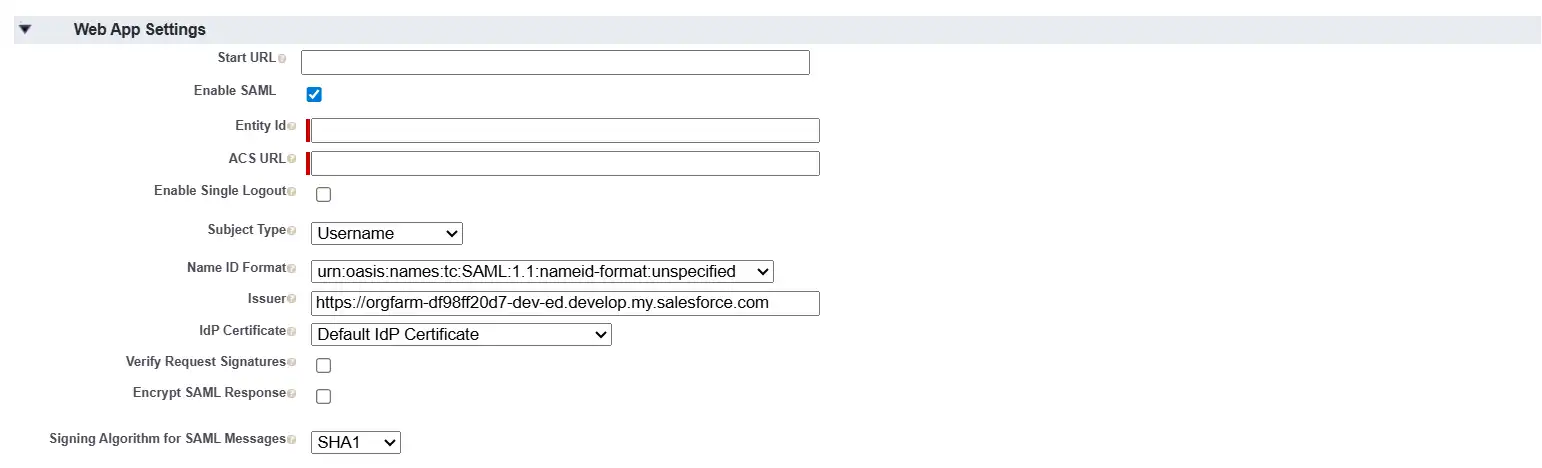
- Under the Web App Settings, check the Enable SAML checkbox and enter the following values:
- Now from the left pane, under Administer section, go to AppsConnected AppsManage Connected Apps. Click on the app you just created.
- Under Profiles section click Manage Profiles button and select the profiles you want to give access to log in through this app.
- Under SAML Login Information, click on Download Metadata.
- Keep this metadata handy for the next steps.
| Entity ID | SP-EntityID / Issuer from Service Provider Info Tab |
| ACS URL | ACS (AssertionConsumerService) URL from Service Provider Info Tab |
| Subject Type | Username |
| Name ID Format | urn:oasis:names:tc:SAML:2.0:nameid-format:persistent |