Part 2: Setup miniOrange with GitLab
Step 1. Configure miniOrange as SP in GitLab
Obtain the following steps to get callback url.
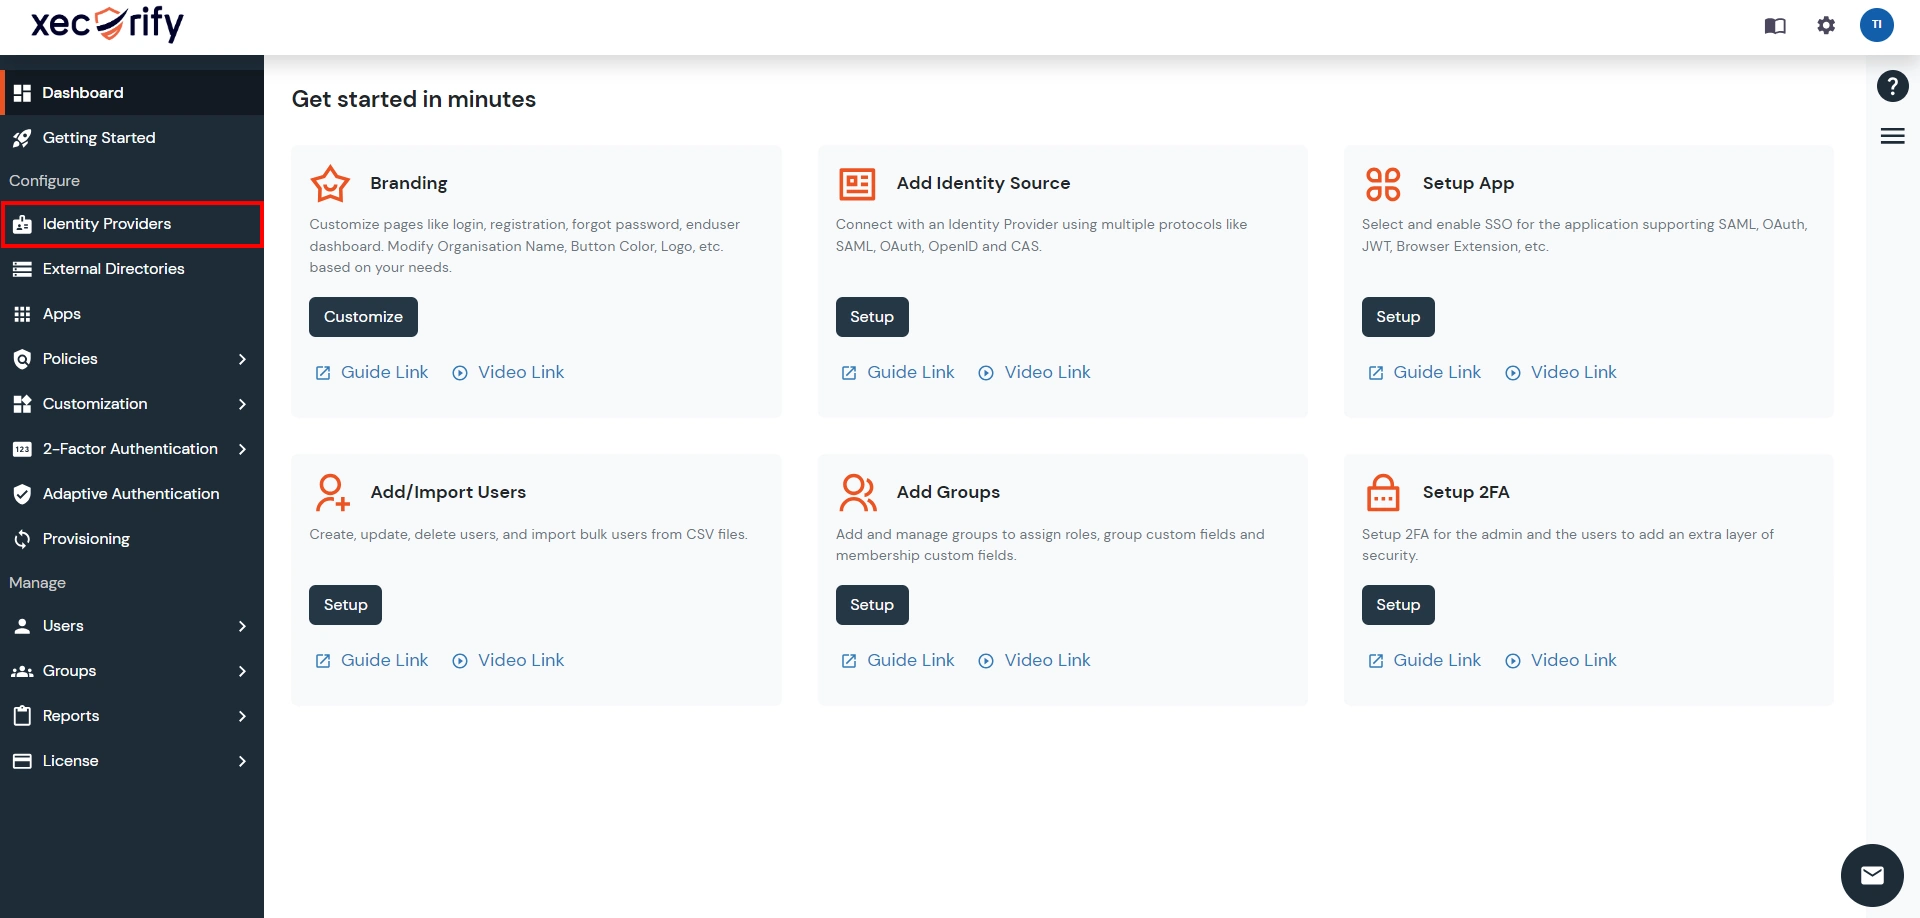
- Go to miniOrange Admin Console.
- From the left navigation bar, select Identity Provider.
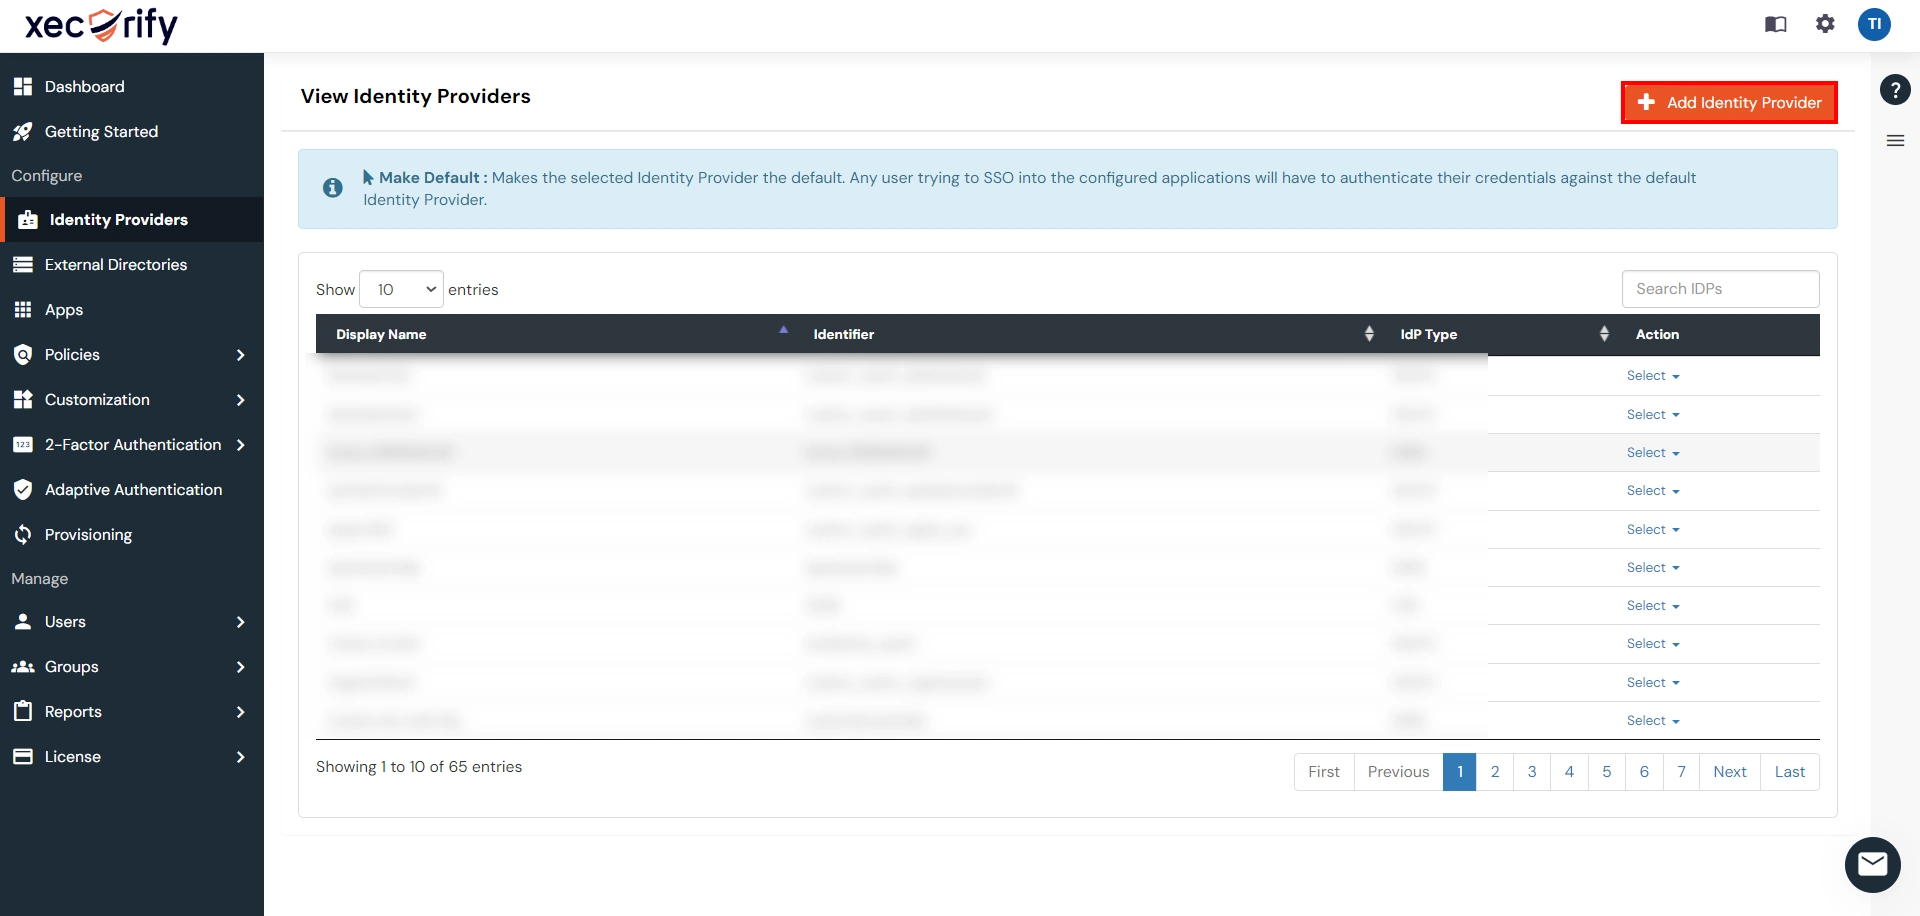
- Click on the Add Identity Provider button.
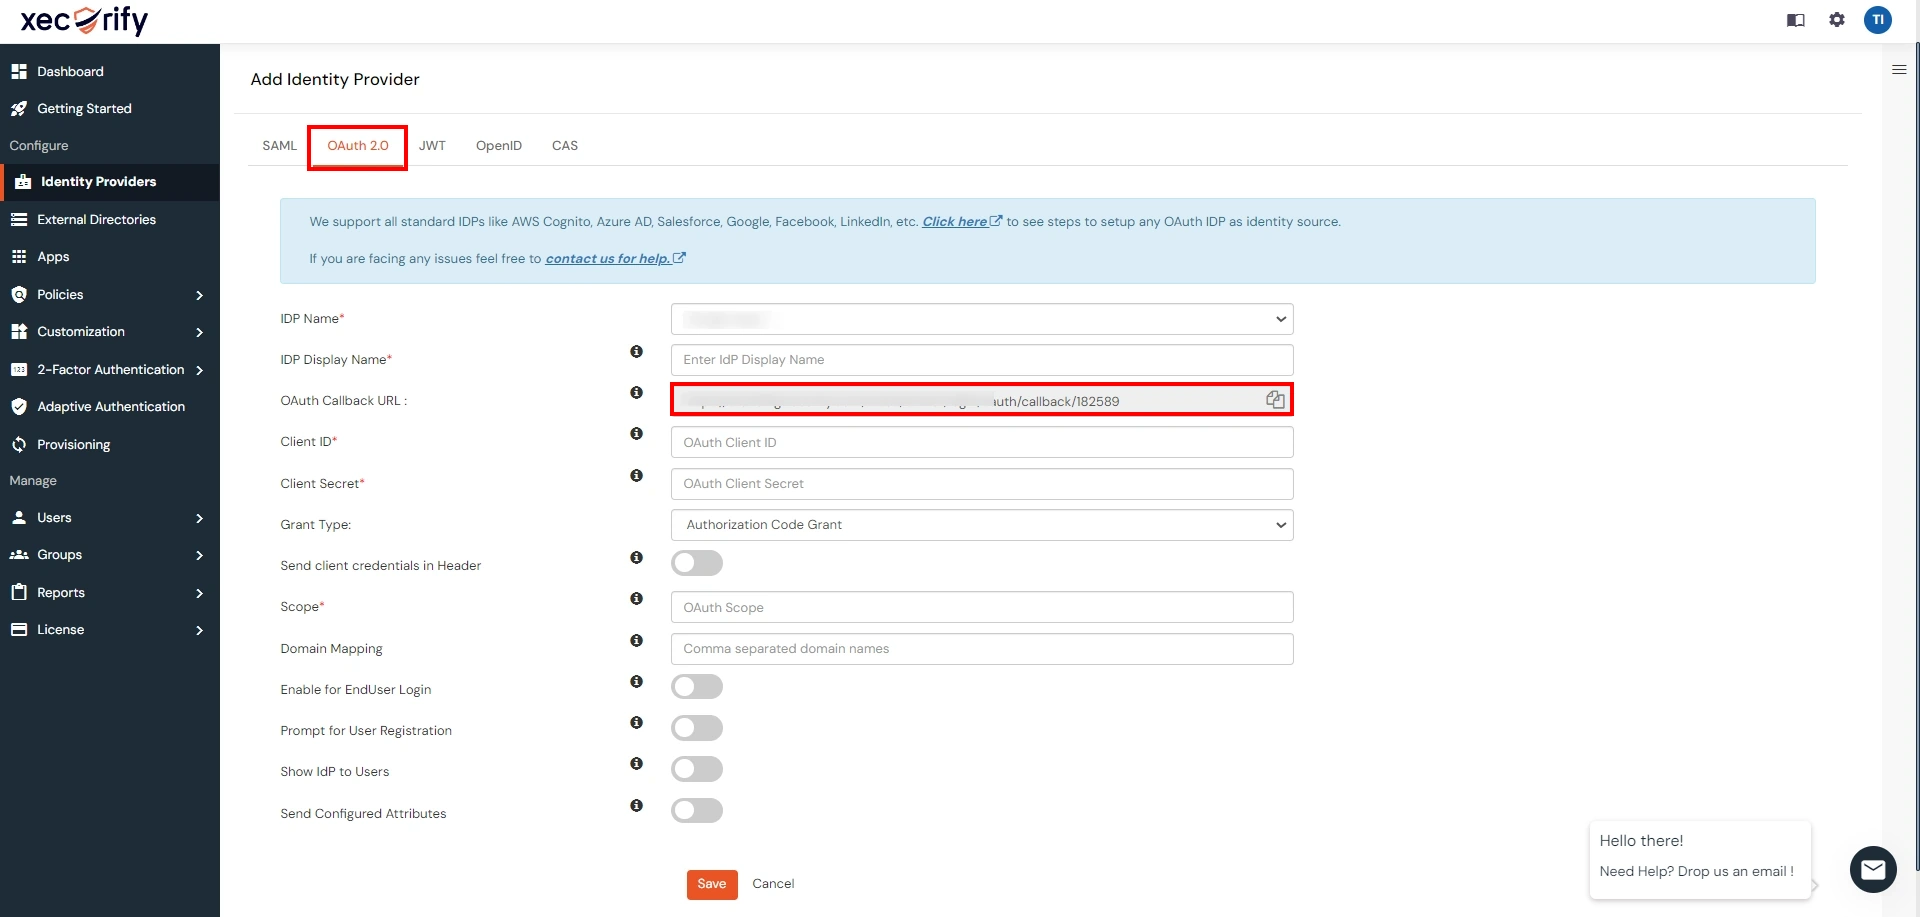
- You will get the callback URL here, keep it handy this would be required in next steps.
- Login to GitLab : Go to GitLab or your on-premise GitLab Server and login to your account.
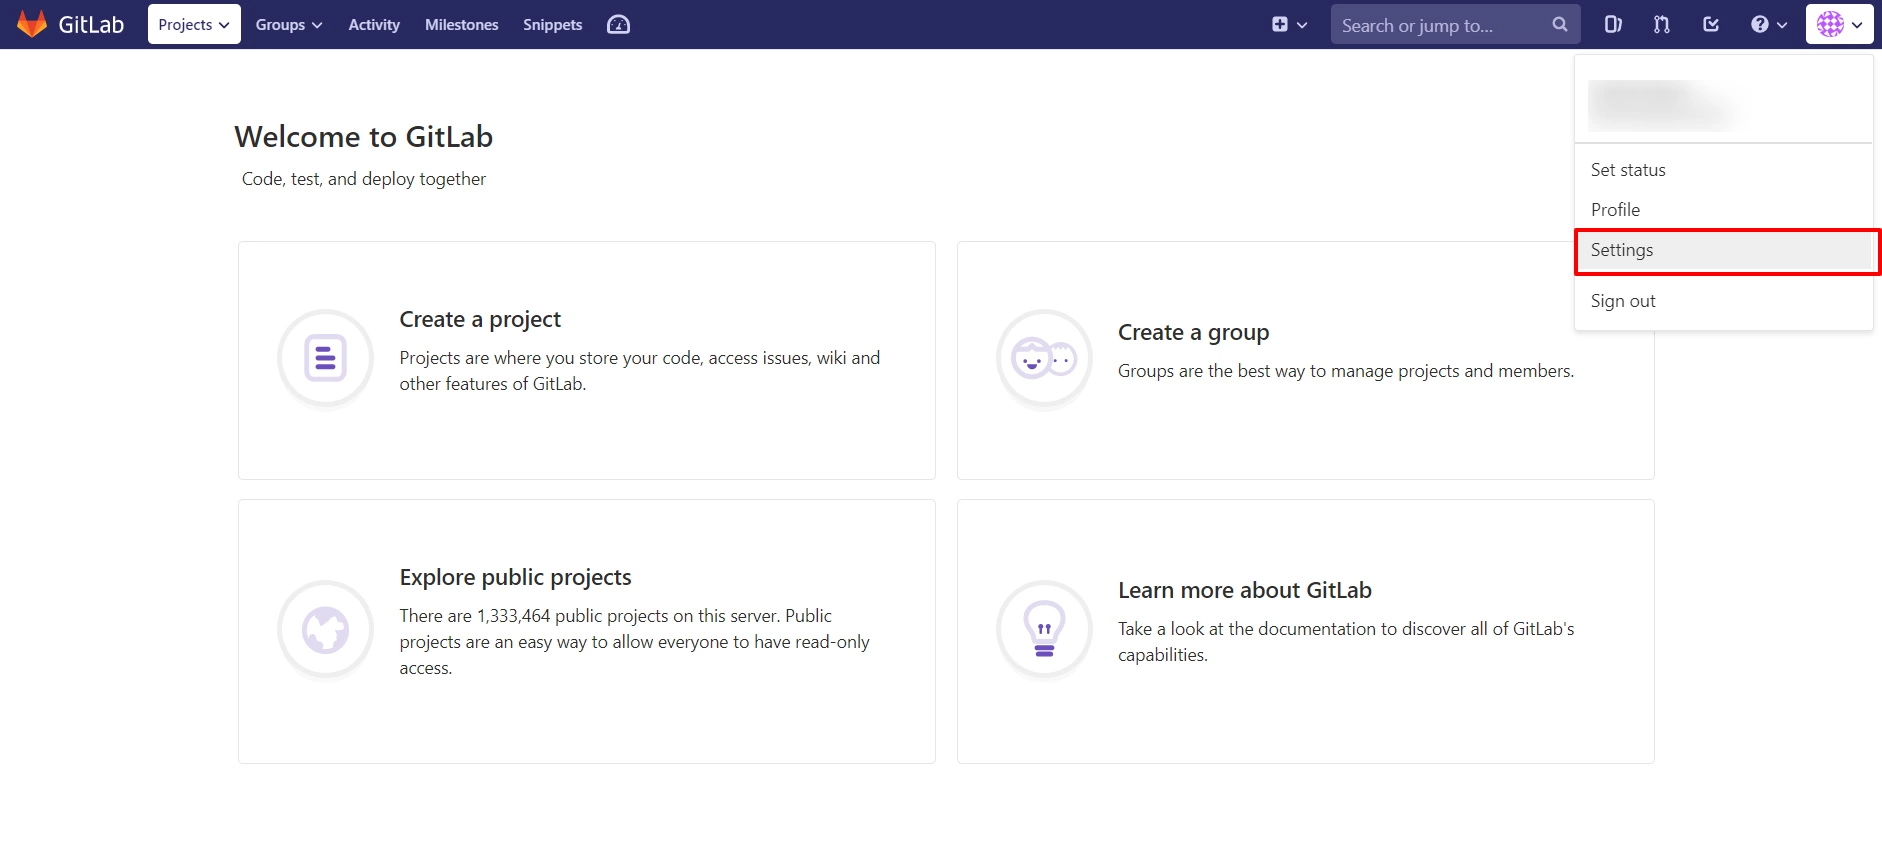
- Navigate to your profile settings.
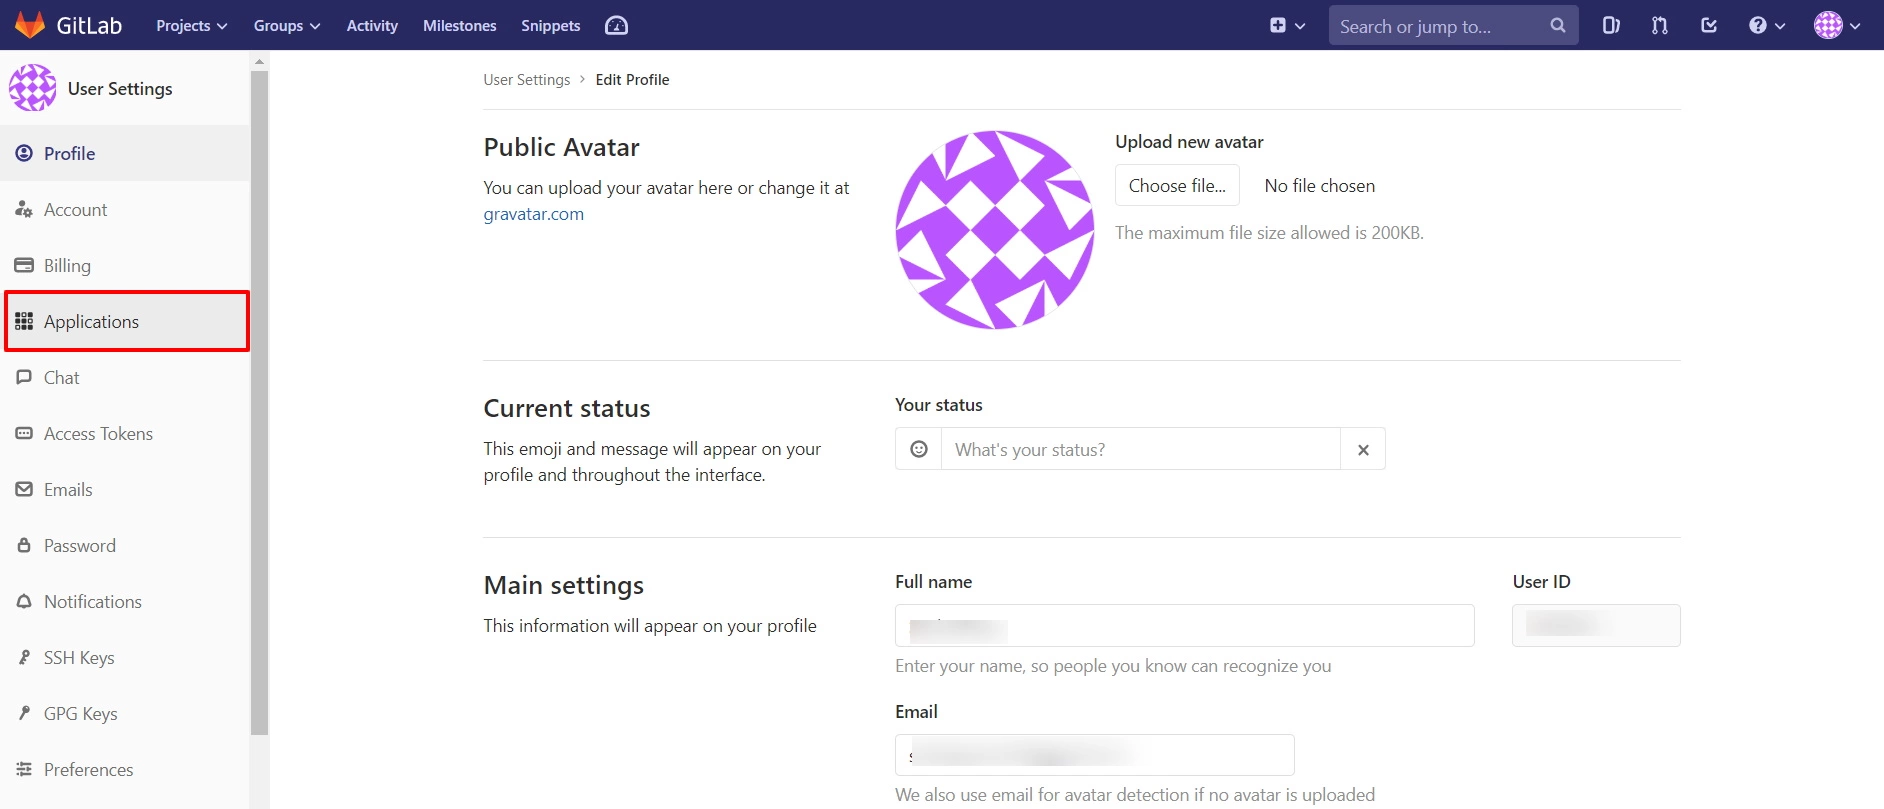
- Create app : Select applications in left menu.
- Provide the required details.
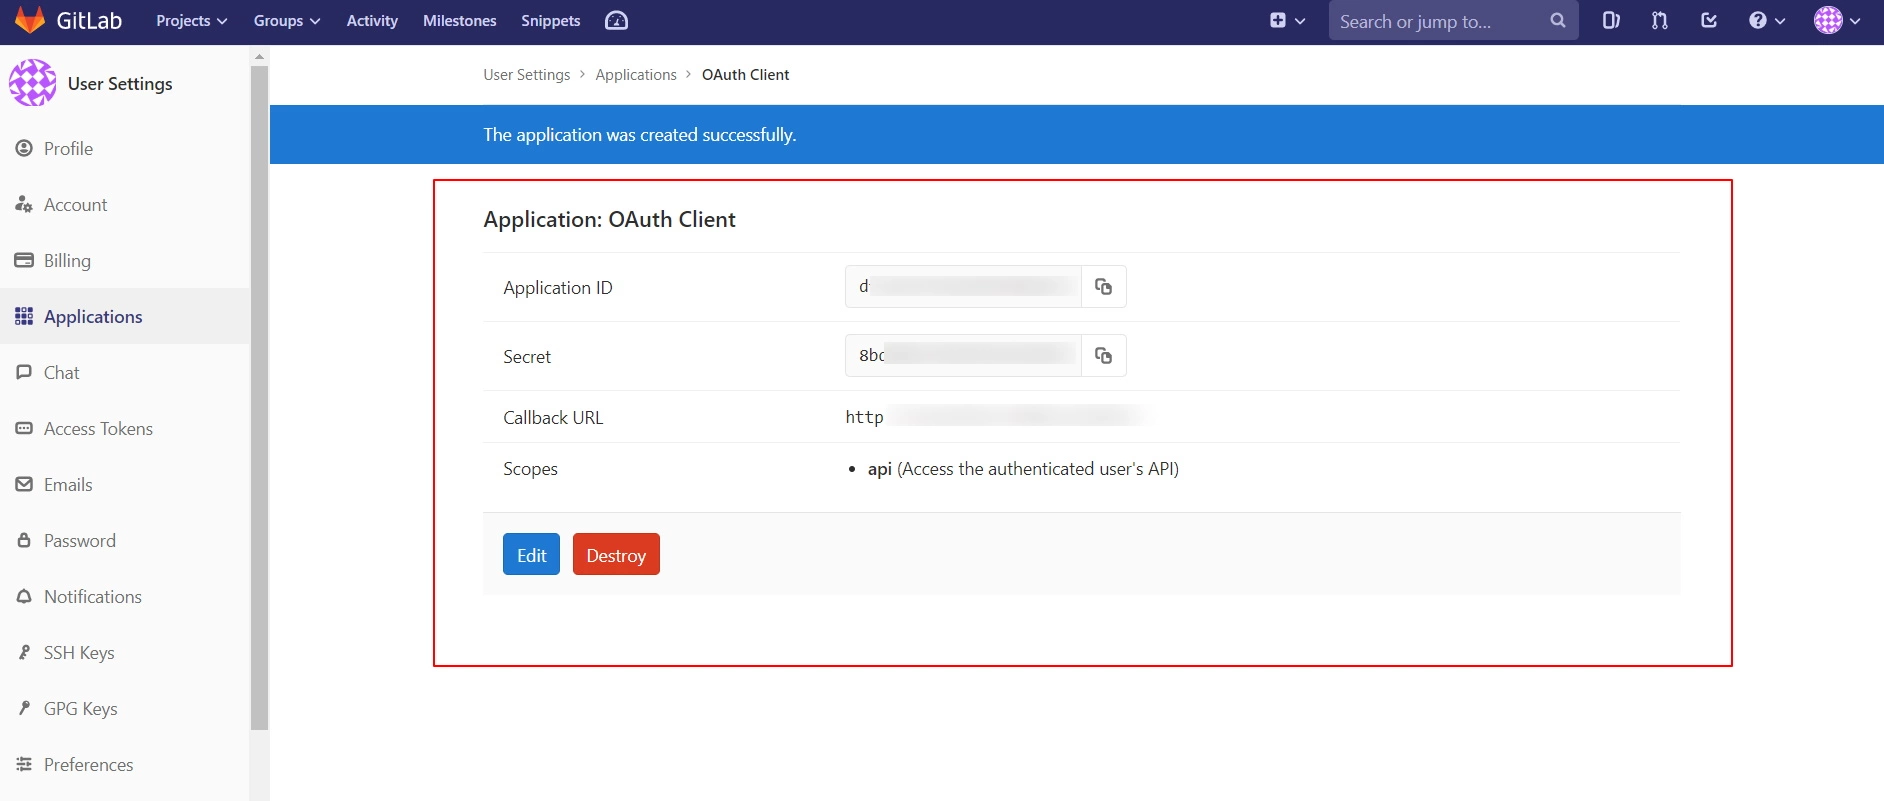
- Get Client ID & Client Secret : Copy Application Id , Secret and Scope.
| Name : | This can be anything. Consider something like <Organization>'s GitLab or <Your Name>'s GitLab or something else descriptive. |
| Redirect URI : | Copy Callback URL from plugin. |
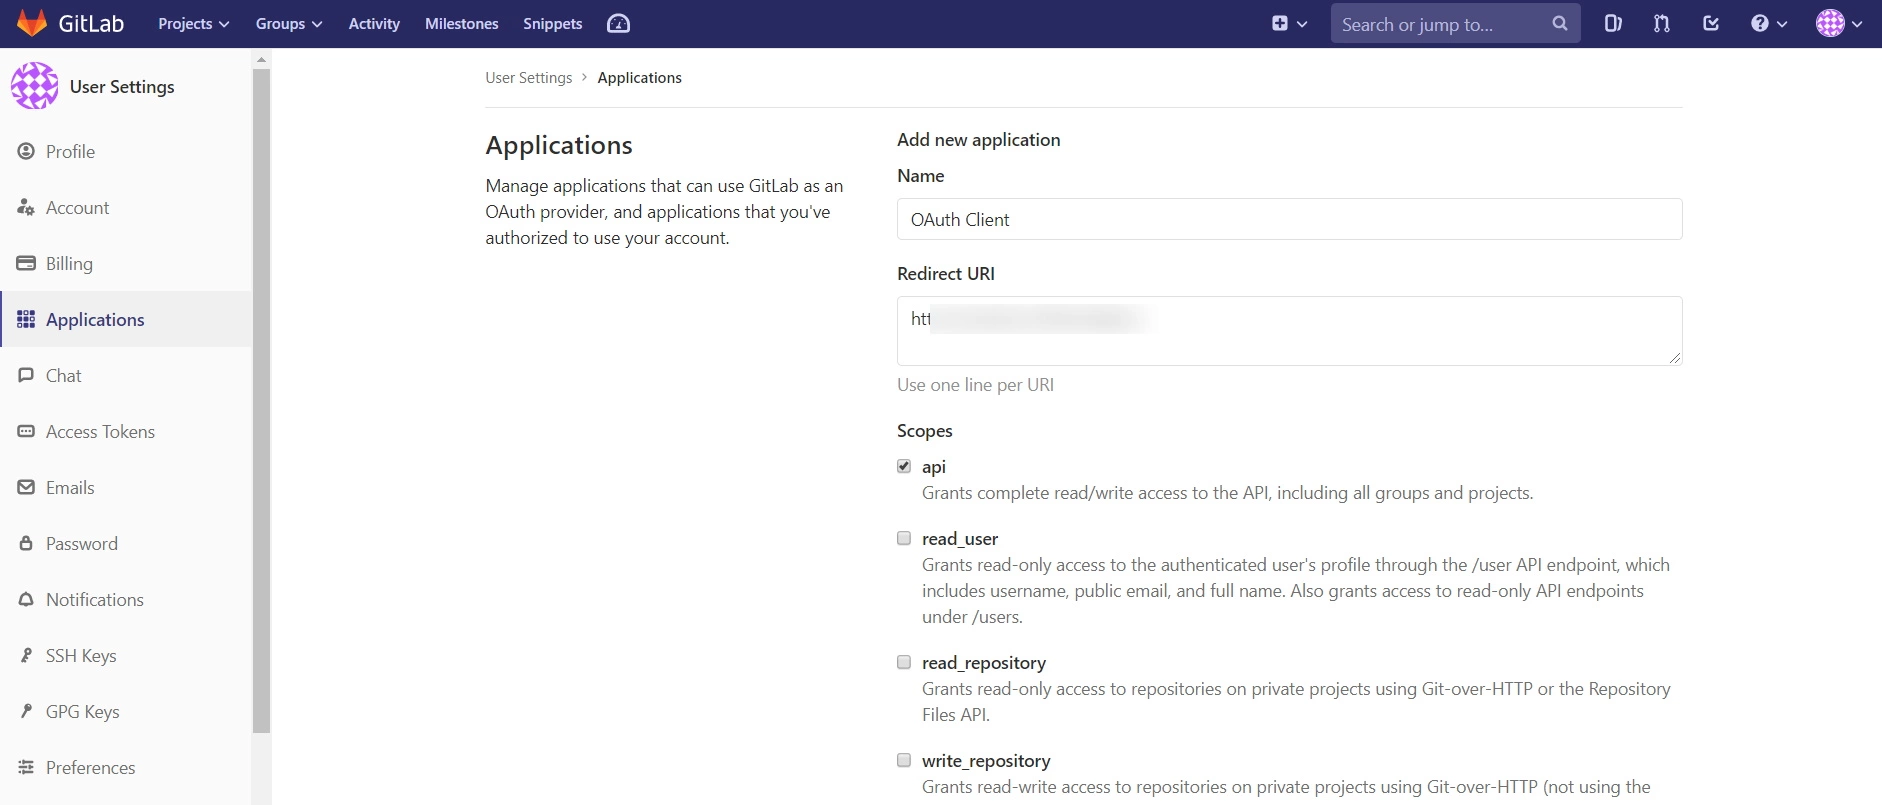
NOTE: The check-box for “api” needs to be checked, as it’s unchecked by default.
Step 2. Configure Gitlab in miniOrange.
- Go to miniOrange Admin Console.
- From the left navigation bar select Identity Provider.
- Select OAuth
- Enter the following values.
- Now you can click on Save.

| IdP Name | Custom Provider |
| IdP Display Name | Choose appropriate Name |
| OAuth Authorize Endpoint | https://{GitLab-app-domain}/oauth2/authorize | OAuth Access Token Endpoint | https://{GitLab-app-domain}/oauth2/token | OAuth Get User Info Endpoint (optional) | https://{GitLab-app-domain}/oauth2/userInfo |
| Client ID | This value can be obtained from the above steps |
| Client secret | This value can be obtained from the above steps |
| Scope | openid |
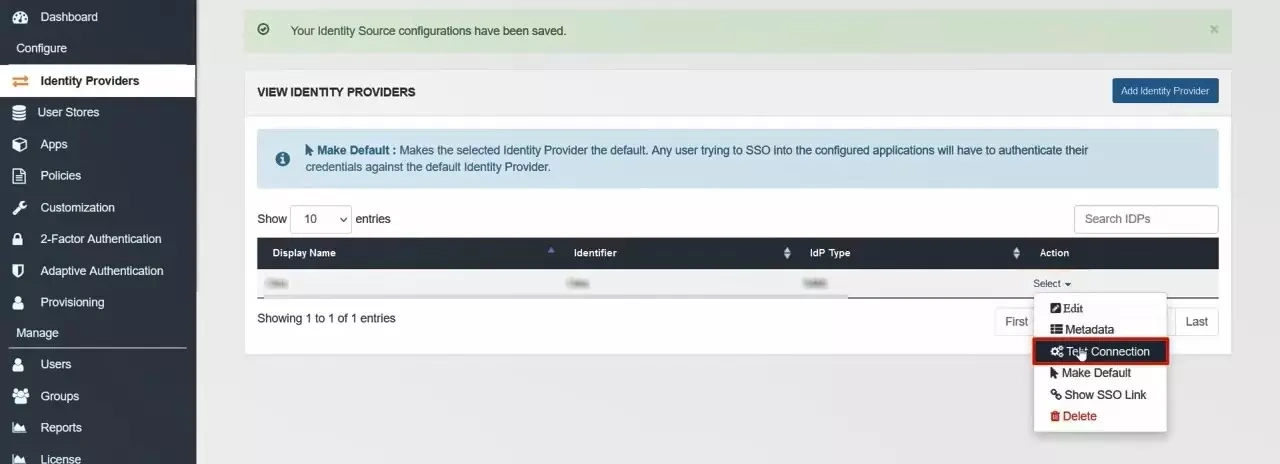
Step 3. Test connection between miniOrange and GitLab
- Go to the miniOrange Admin Dashboard.
- Go to Identity Providers tab. Then click on select button under the app you just created. Then click on Test Connection.
- A new popup login window will open. Enter your credentials and login.
- Now you will see TEST SUCCESSFUL in a new popup window. If not, then check if you have missed any of the above step.