- Home
- OAuth Cloud SSO
- OAuth SSO Documentation
- Atlassian Cloud OAuth Single Sign-On (SSO) with Salesforce

Atlassian Cloud OAuth Single Sign-On (SSO) with Salesforce
With Jira OAuth Single Sign-On (SSO) for Atlassian Cloud, you can securely log in to Atlassian Cloud using your Salesforce credentials. This app allows you to implement seamless Single Sign-On (SSO) for Atlassian Cloud accounts using existing Salesforce credentials.
 Try it for free
Pre-requisites
-
Atlassian Guard (Atlassian Access) Subscription:
Atlassian Guard is an additional subscription applied across the Atlassian Cloud products, like Jira Software, Jira Service Management, Jira Work Management, Confluence, and Bitbucket. It is needed for Single Sign-On (SSO) or any Cloud Service across Atlassian Cloud products. -
Domain Verification:
Atlassian Guard requires the Domain Verification process to enforce SSO on the managed user accounts. This process verifies that you own a valid domain for managing the user accounts and use the same domain name for the email addresses.
References:
https://www.atlassian.com/software/guard/guide/getting-startedhttps://www.atlassian.com/licensing/atlassian-guard
Download and Installation
- Log in to your Atlassian Admin Console and select your site.
- Now, in the left sidebar, scroll down to the Apps section. Under Apps, select Site, which will open the site settings page.
- In the Site Settings, navigate to Connected Apps → Explore apps. (Alternatively, you can go to the Atlassian Marketplace and search for the app.)
- Search for miniOrange OAuth/OpenID SSO.
- Click “Try it free” to begin a new trial of the app.
- On the top menu bar, go to Apps.
- Locate the “mO Jira OAuth/OpenID SSO” app and click to open it.
In this guide, we will demonstrate the setup in three parts:
- Configure the OAuth SSO connection between miniOrange App (as OAuth Client) and Salesforce (as OAuth Provider).
- Configure SAML SSO connection between Atlassian Guard (as SP) and miniOrange App (as IDP).
- Add users to the SSO Authentication policy, and enforce the SSO.
Step 1. Configure SSO connection between miniOrange App and Salesforce
- Once the plugin is installed, select the Apps section from the sidebar menu and click on mO Jira OAuth/OIDC SSO option.
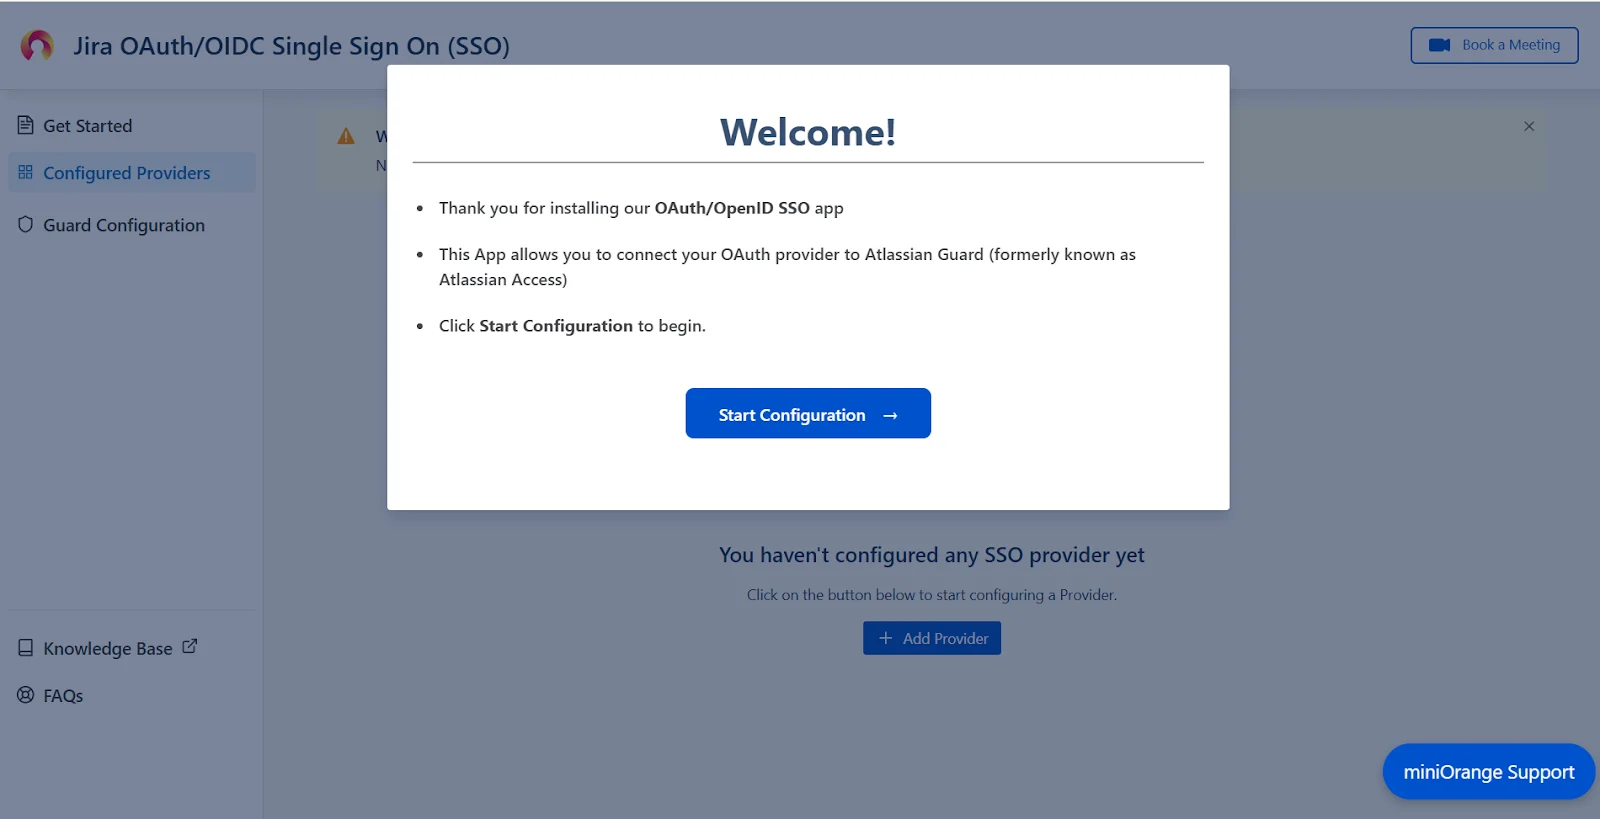
- Next, you will be prompted with a welcome pop-up window. Click Start Configuration.
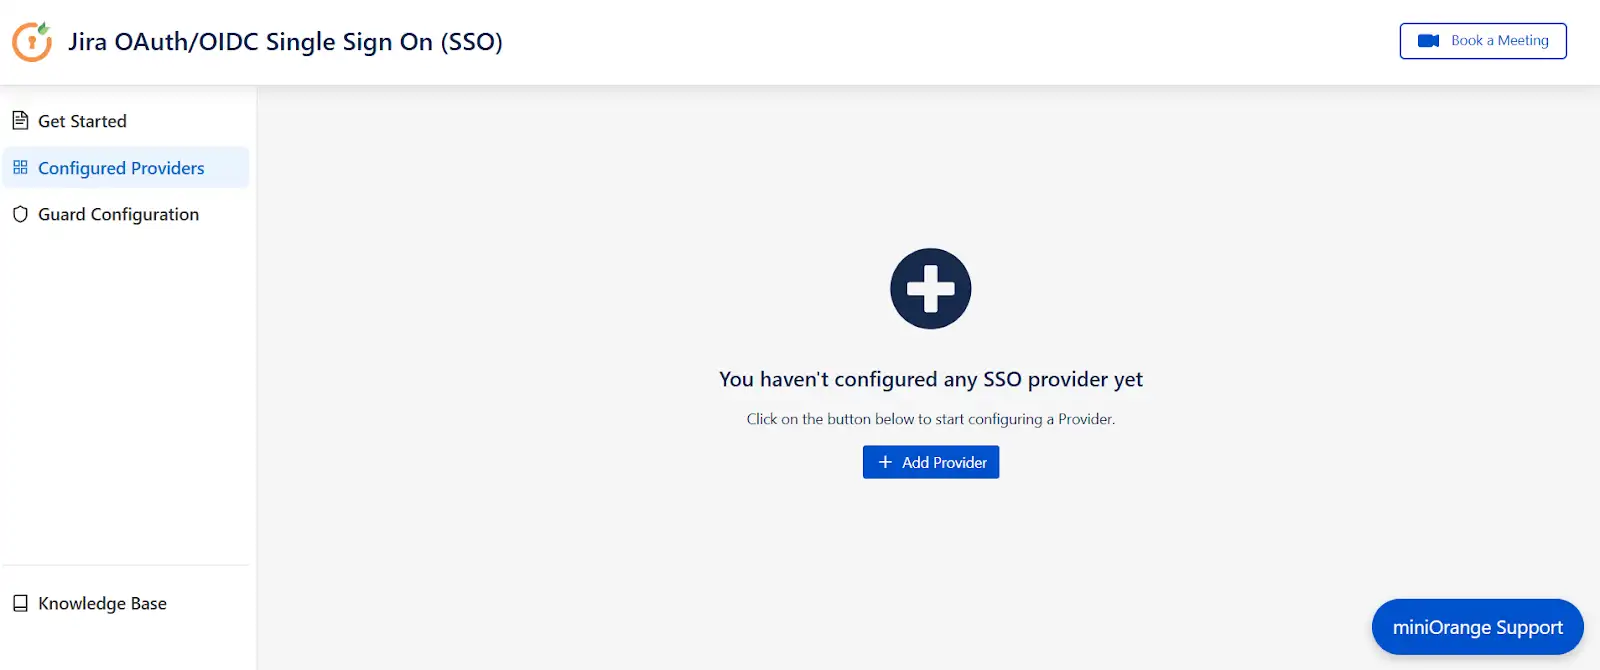
- Now, in the Configured Providers section, click the "Add Provider" button.
- Select Salesforce as the application.
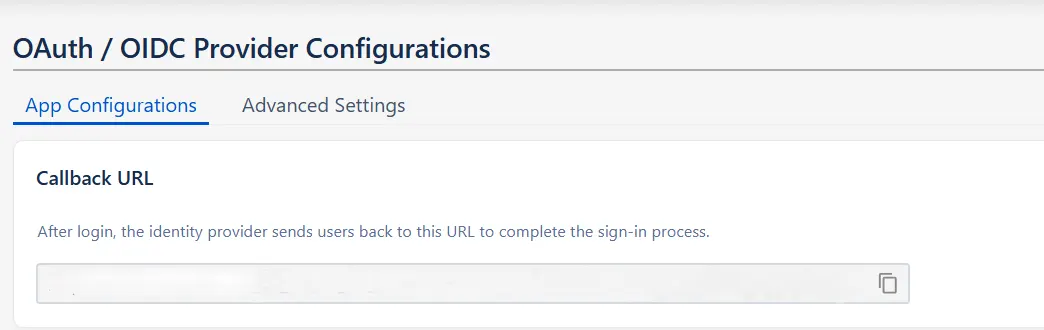
- And copy the callback URL from the OAuth / OIDC Provider Configurations page and keep it handy, as you'll need it to configure Salesforce as the OAuth provider.
- After copying the callback URL, login to your SalesForce account.
- Switch to the SalesForce Classic mode from the profile menu, and then go to the Setup page.
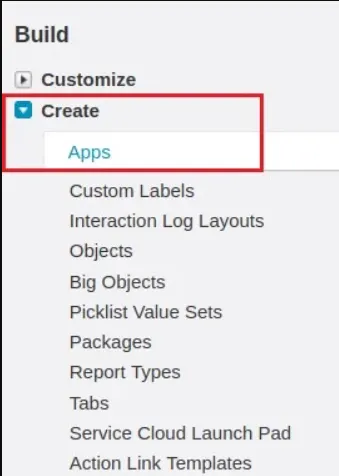
- From the left pane, under the Build section go to Create > Apps.
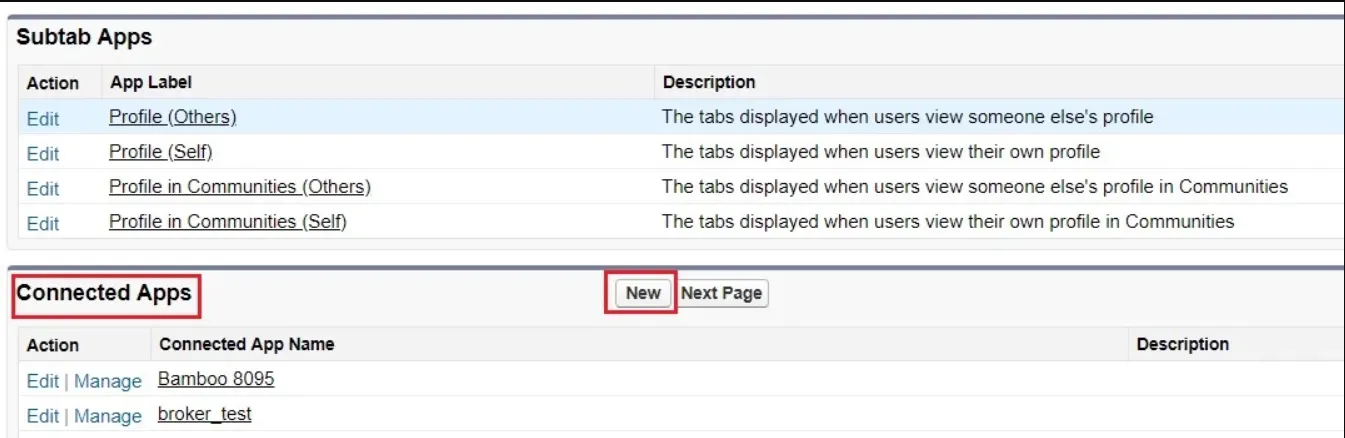
- Scroll down and click on the New button under Connected apps.
- You will be taken to the application settings page. Enter the required details such as Connected App Name, API Name, and Contact Email.
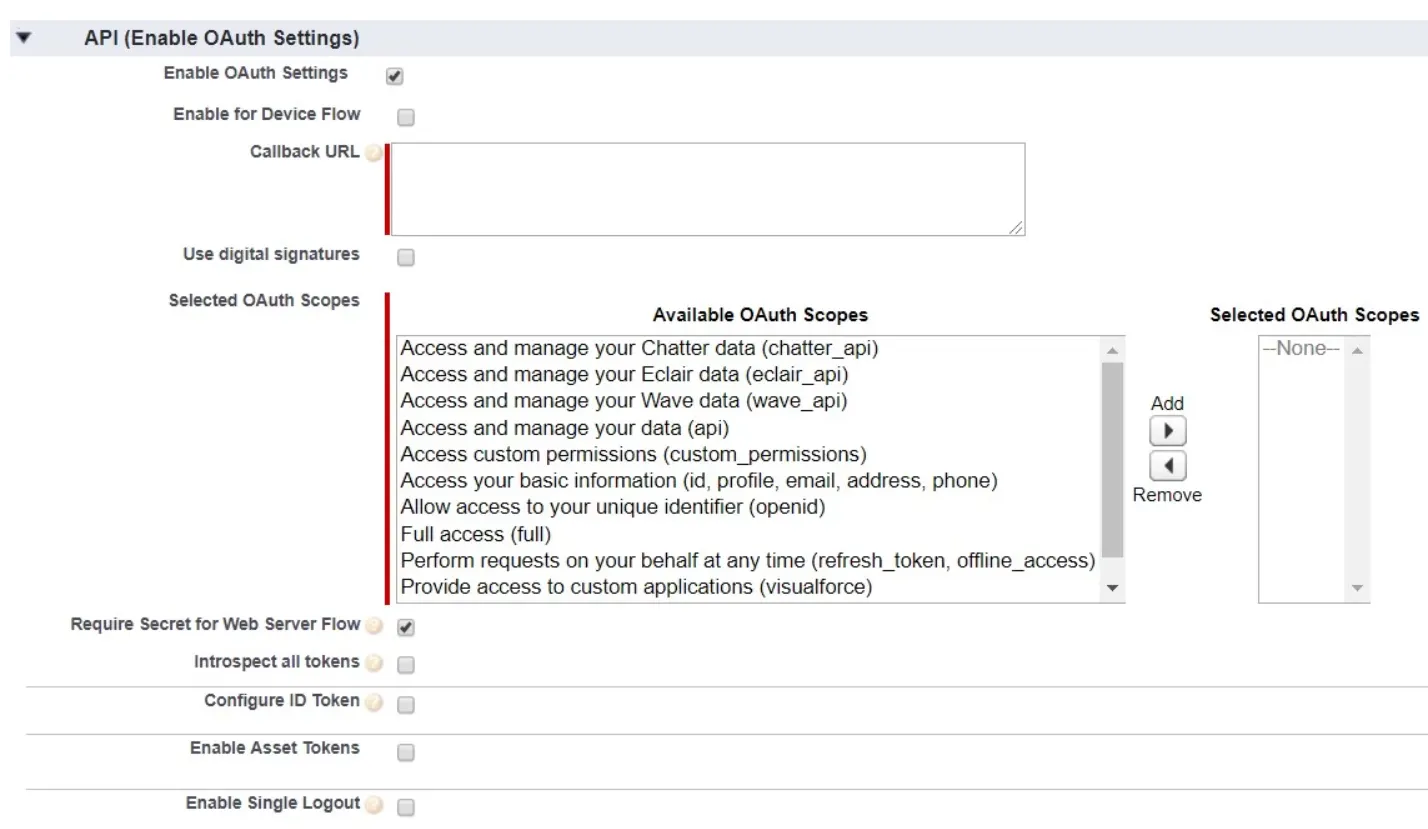
- Check the Enable OAuth Settings checkbox under API(Enable OAuth Settings) section and you will be shown more options to configure.
- Enter the Callback URL (copy it from the plugin), select the Scopes as required and save the settings.
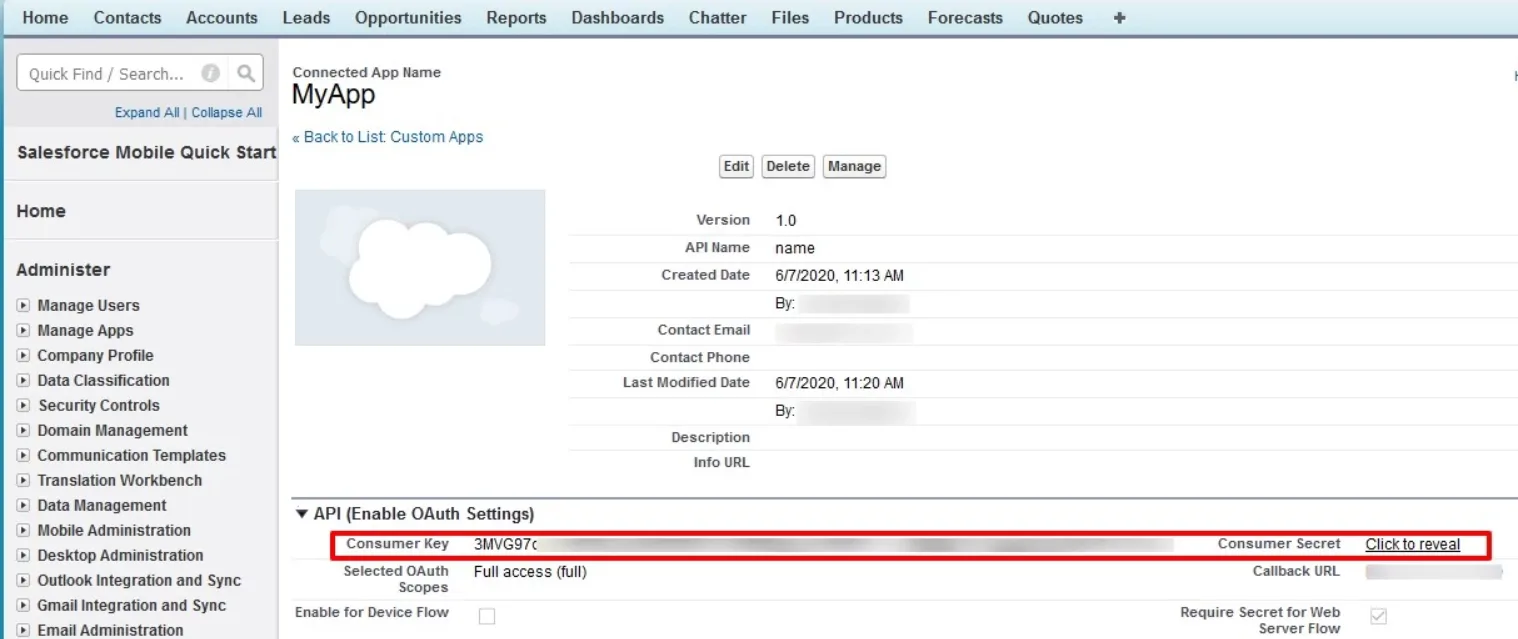
- You will be taken to the Application Management page. Here, you will find Consumer key (Client ID) and Consumer Secret (Client Secret).
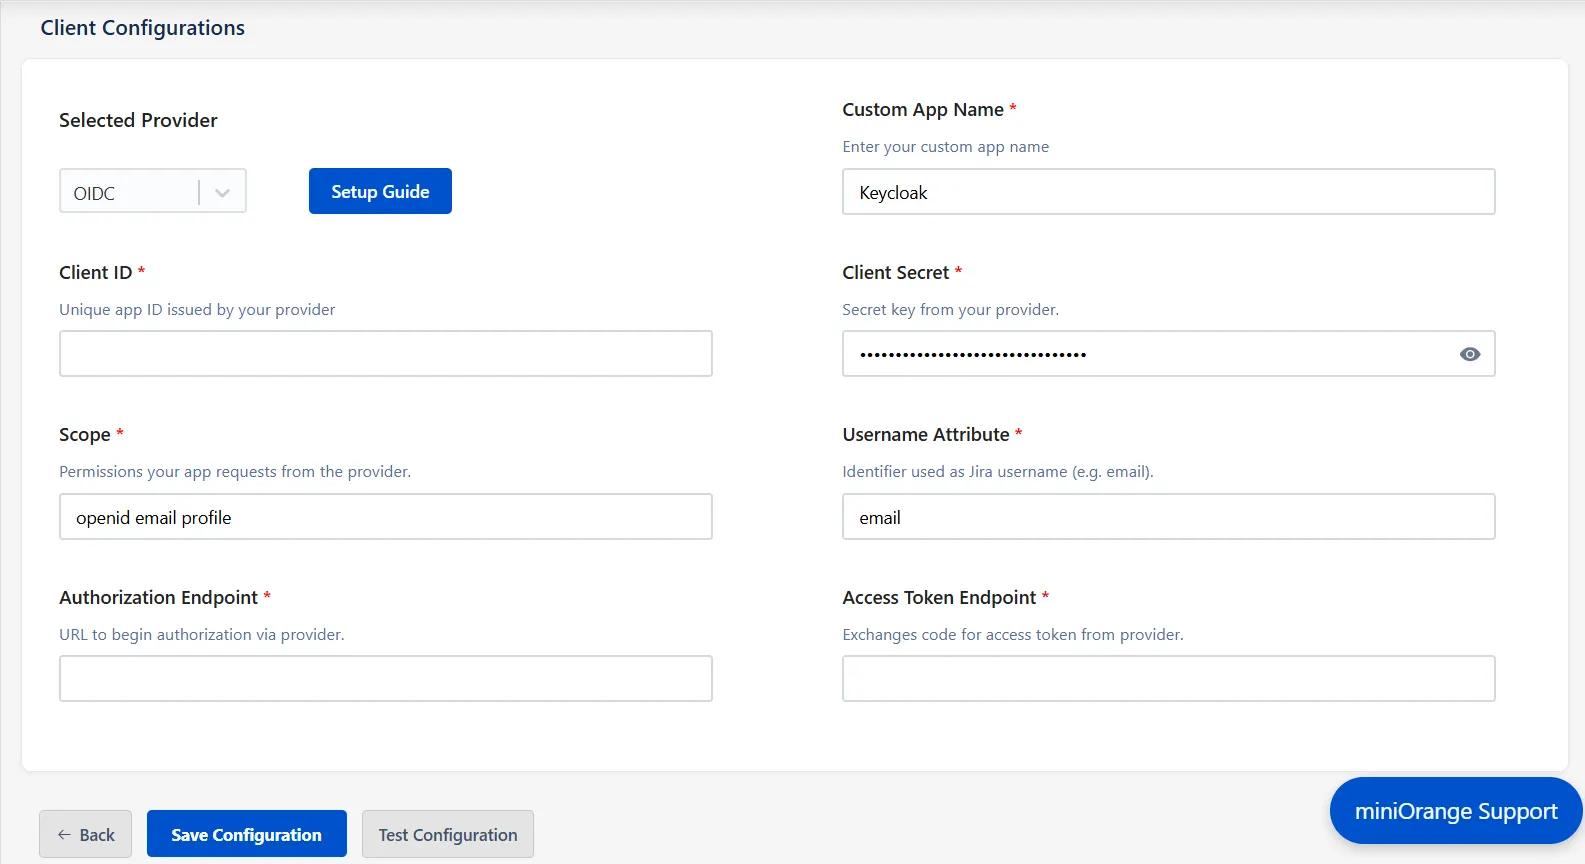
- Next, return to the miniOrange App configuration page. (OAuth / OIDC Provider Configurations )
- Enter Client ID, Client Secret, Scopes (such as openid, email, etc.), and other required endpoints, and click Save Configuration.


Step 2. Set up SSO between Atlassian Guard and miniOrange App
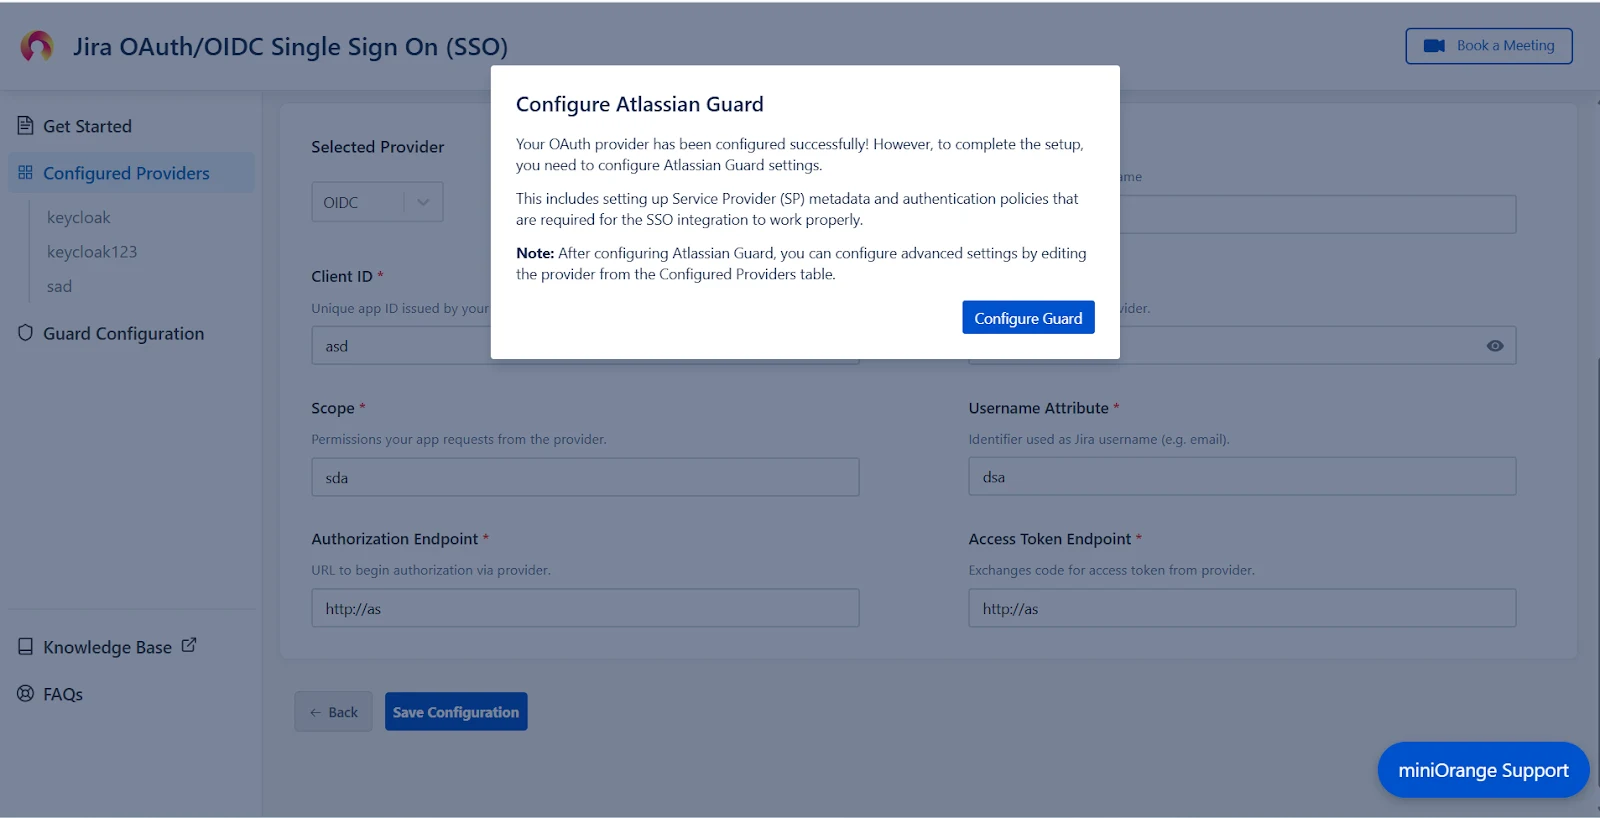
After saving the OAuth Configuration, you’ll be required to configure Atlassian Guard and the miniOrange OAuth/OIDC SSO App.
- A pop-up notification will appear, asking you to complete the Atlassian Guard configuration.
- Click on Configure Guard, and you will be navigated to the Guard Configurations section.
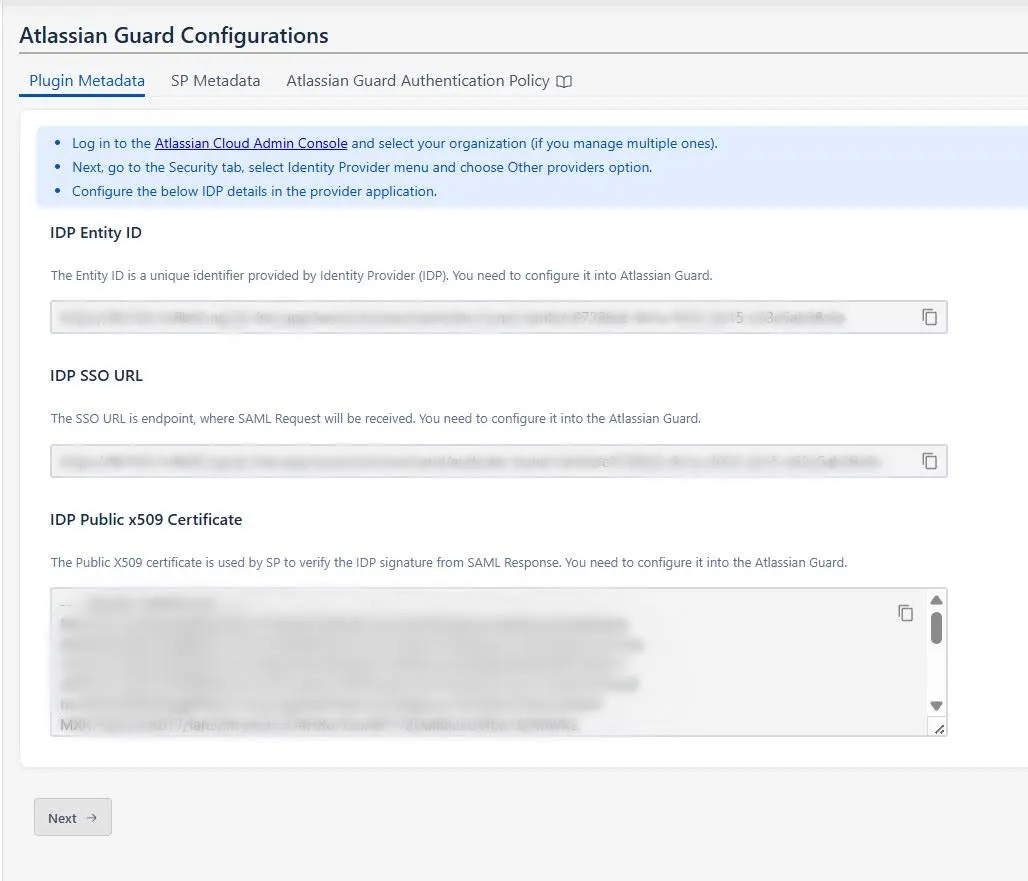
- In this section, you will find the Plugin Metadata details.
- Copy and keep the following values handy. You’ll need them while setting up your Identity Provider in Atlassian Guard:
- IDP Entity ID
- IDP SSO URL
- IDP Public X.509 Certificate
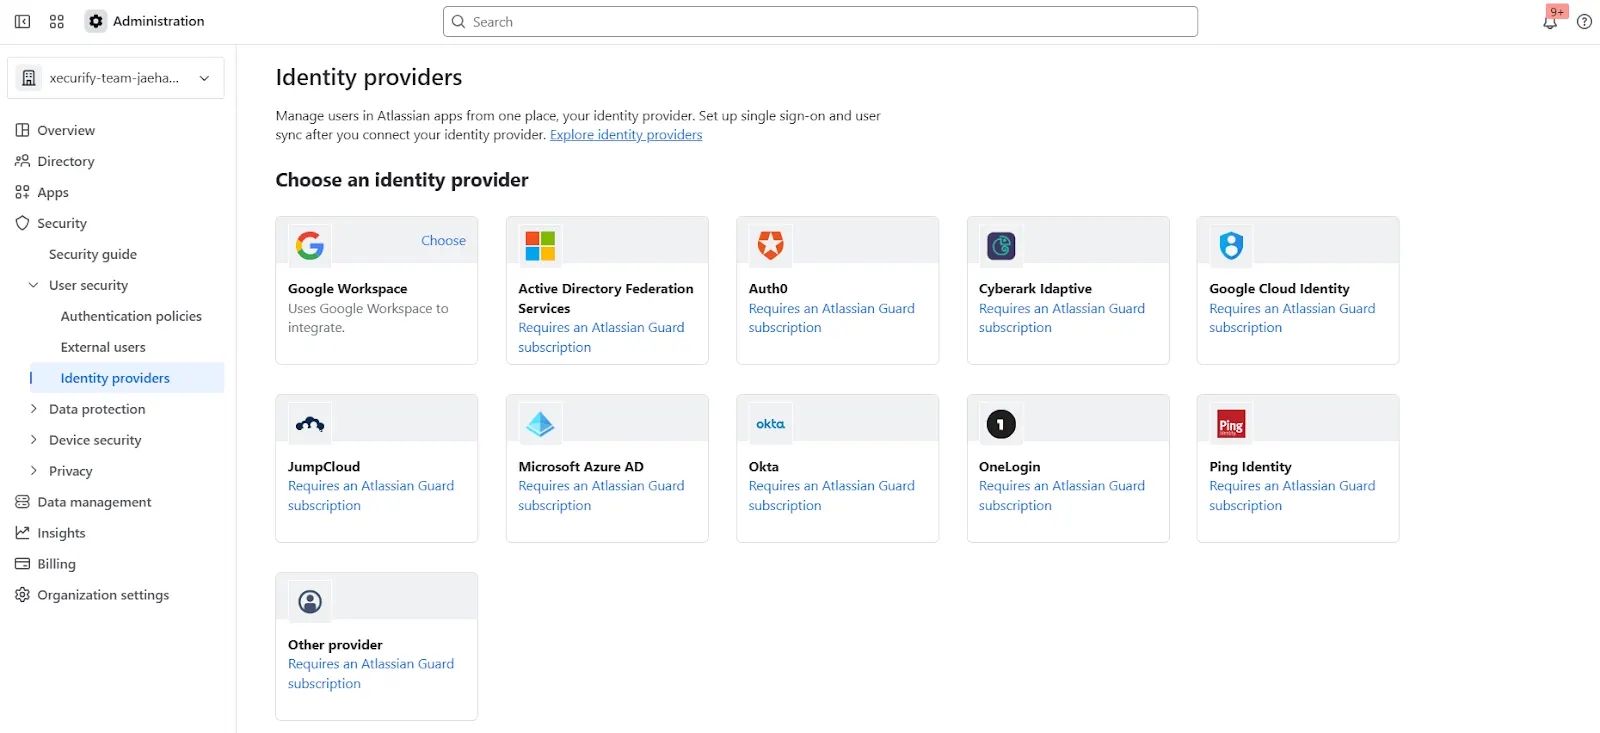
- Open the Atlassian Admin Console and navigate to the Security tab.
- Under User Security, click Identity Providers.
- Select Other to begin configuring a custom Identity Provider.
- Provide an appropriate name, select Set up SAML Single Sign-On, and click Next.
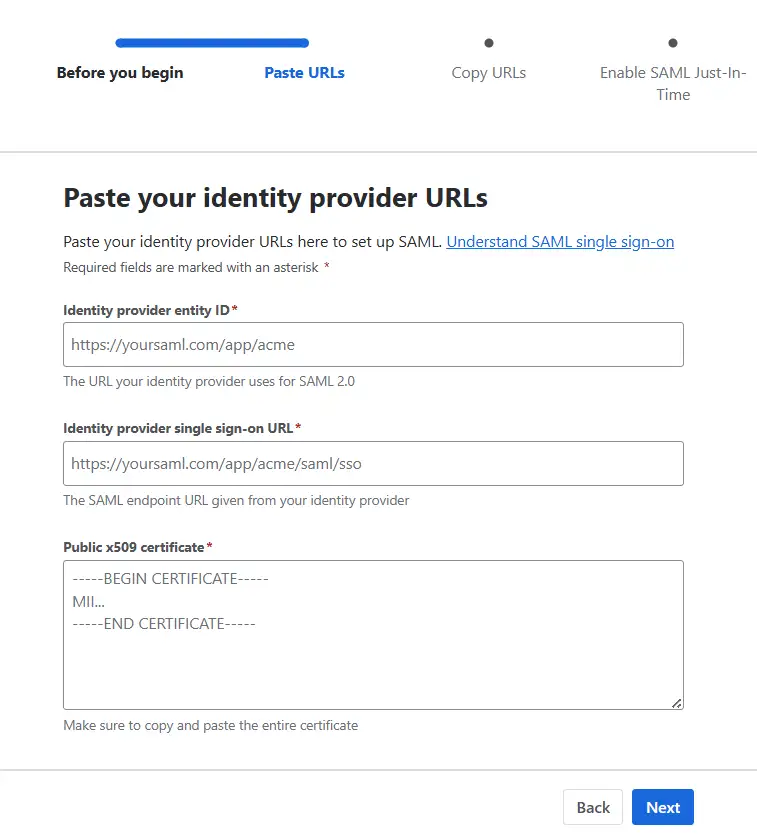
- Now, paste the IDP Entity ID, IDP SSO URL, and Public X.509 Certificate that you copied from the plugin configuration.
- Click Next and copy the Service Provider Entity ID and Service Provider Assertion Consumer Service URL. Keep these handy as they’re required to complete the plugin configuration.
- Complete the rest of the Atlassian Guard configuration.
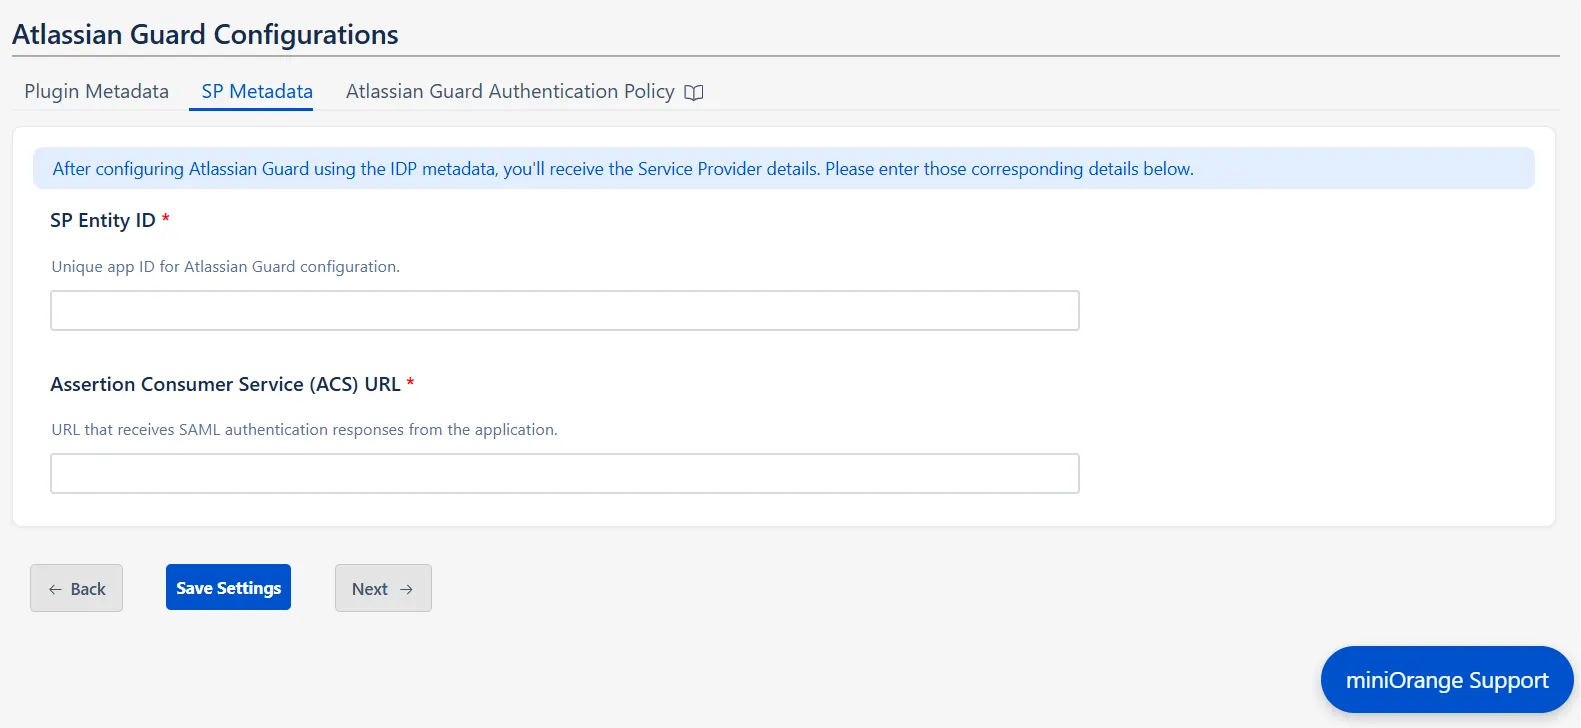
- Once you’re done, return to the plugin, go to the SP Metadata tab in the Guard Configurations section, and click Next.
- Enter the SP Entity ID and Assertion Consumer Service (ACS) URL that you copied, and click Save Settings.
Step 3. Configure SSO Authentication Policy
After completing your SSO configuration, you must assign users to the Authentication Policy and enforce Single Sign-On (SSO).
- Go to your Atlassian Cloud Admin Console.
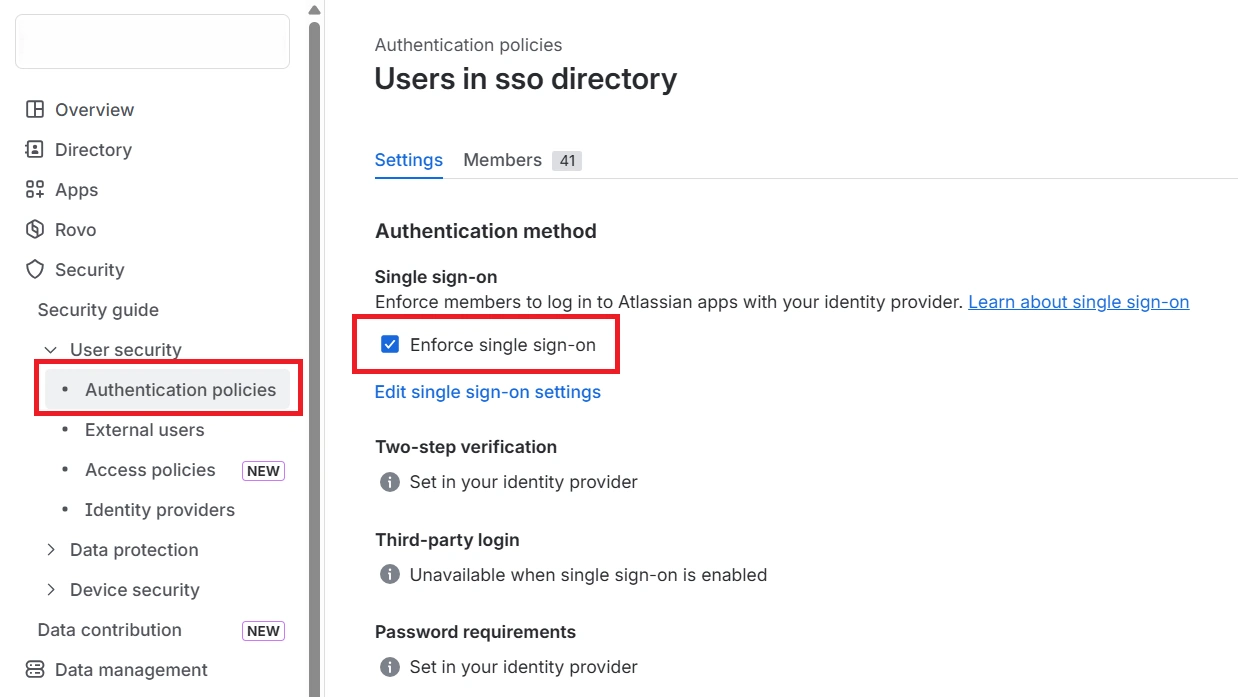
- Navigate to Security → Authentication Policies.
- Open the Authentication Policy you configured for SSO.
- Enable the Enforce Single Sign-On (SSO) option and save the changes.
- Now go to the Members section and add the users or groups who should authenticate using this policy.
- Save your changes.
Once these steps are complete, return to the app and Mark as Complete to complete the setup.

Additional Resources
Did this page help you?
