Bring your own device Enrollment
Bring your own device (BYOD) on Android uses a secure managed work profile that keeps work apps, data, and policies separate from personal apps and content, ensuring user privacy while enabling enterprise management.
Prerequisite
Step 1: How to enroll an Android device
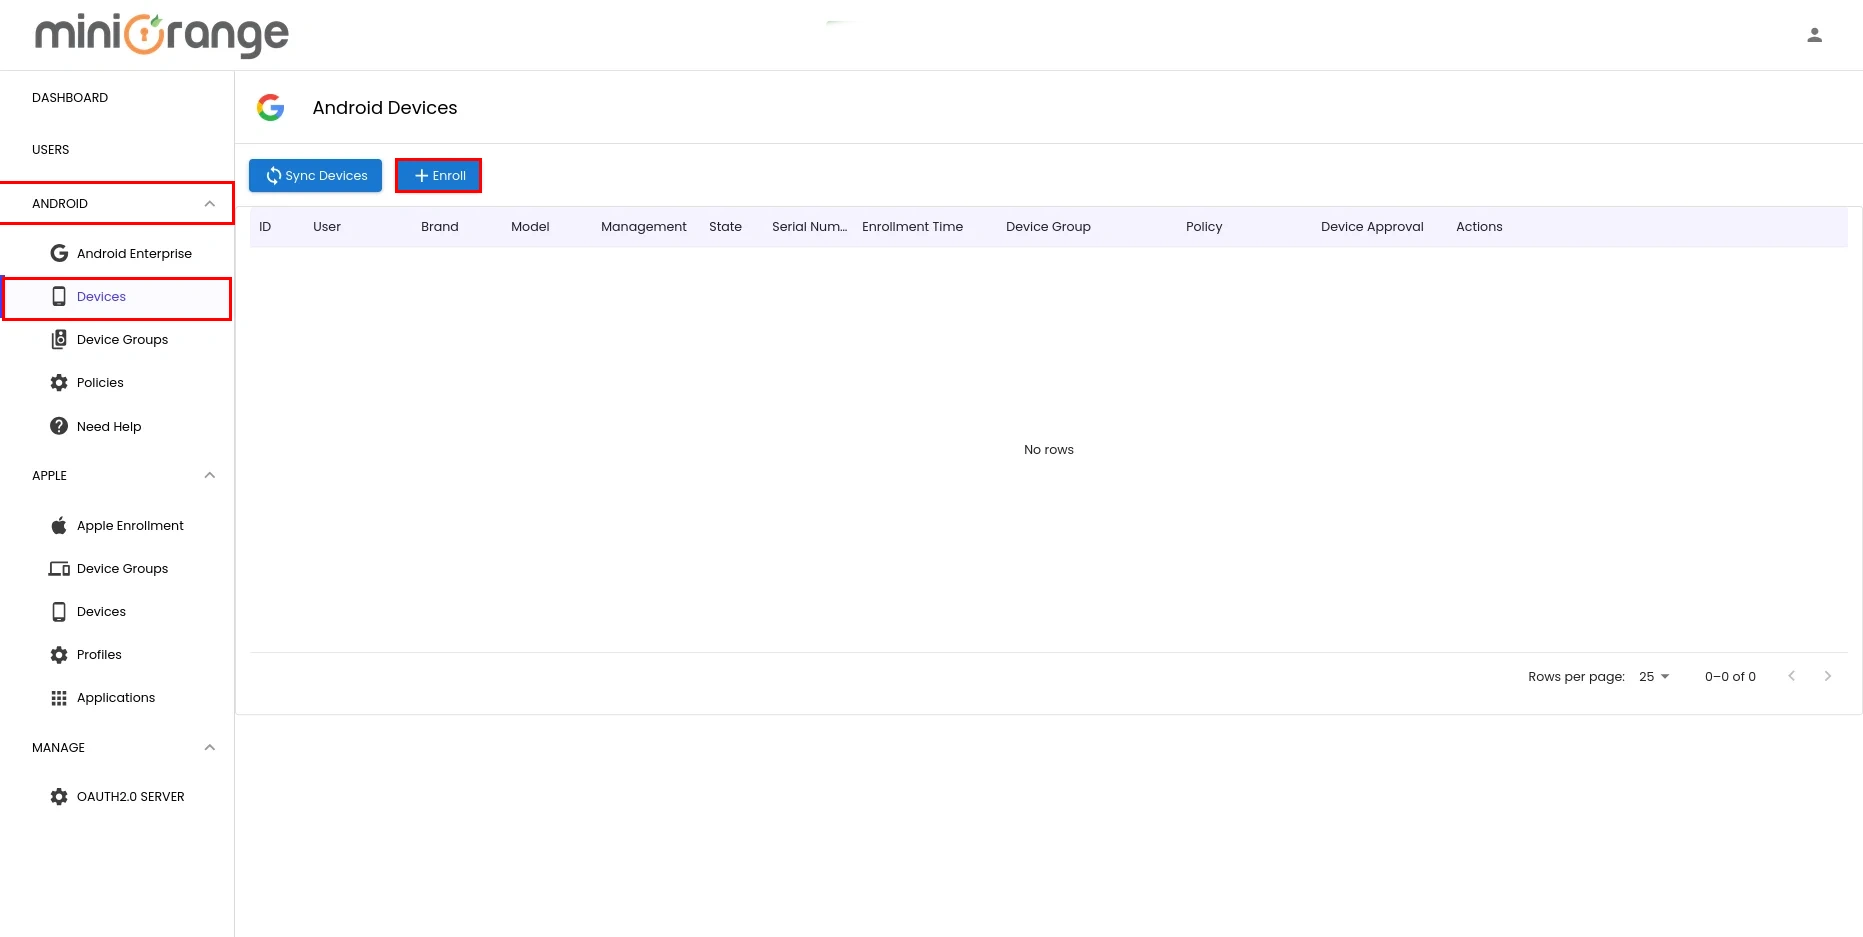
- To enroll devices, go to Manage Devices → Devices → Android and click Enroll Android Device. You can also use the Bulk Device Enrollment button to enroll multiple devices at once.
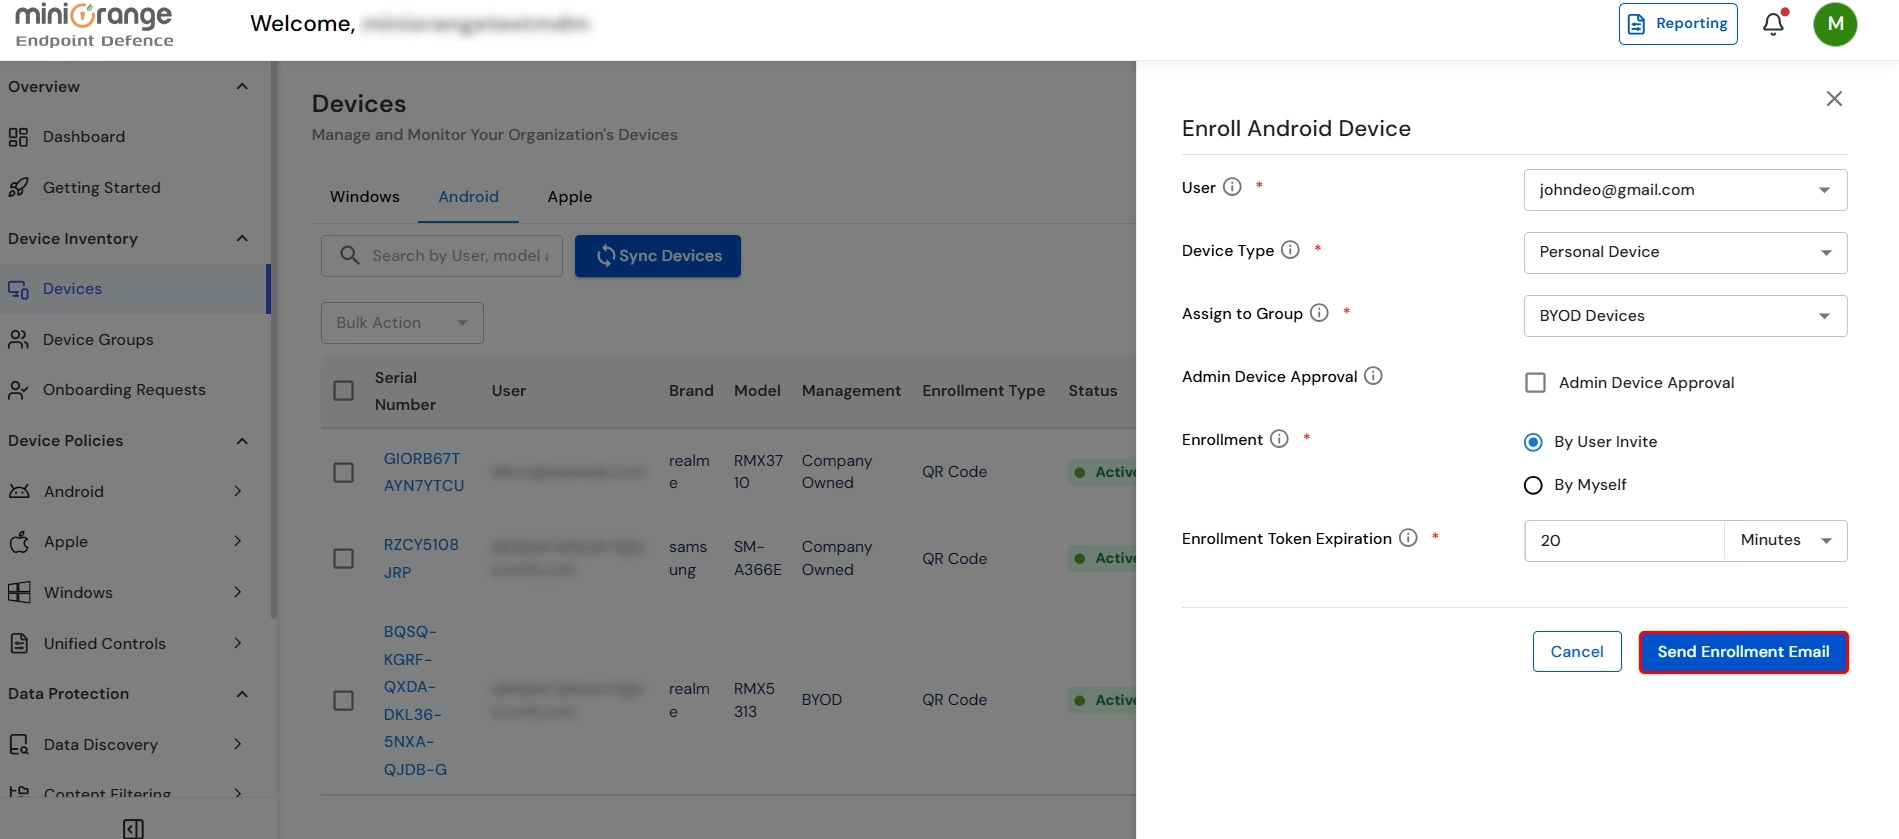
- In the Enroll Android Device panel, configure the following details:
- User: Search and select the user you want to send the enrollment invite to.
- Device Type: Select Personal Device for BYOD enrollment so the device is provisioned with a managed work profile while personal data stays separate.
- Assign to Group: Pick the device group whose work-profile policies, managed Google Play apps, and compliance rules should apply.
- Admin Device Approval: Enable this if an admin should approve the device and assign the actual policy after the user completes setup.
- Enrollment: Choose how the device is provisioned:
- By User Invite – Sends an email with a QR code and enrollment token, plus the steps the user needs to enroll the device themselves.
- By Myself (IT Admin) – The IT admin enrolls the device directly; the QR code and steps are shown on the screen.
- Enrollment Token Expiration: Set how long the generated enrollment token remains valid (e.g., 20 minutes).
- Click the Send Enrollment Email button.
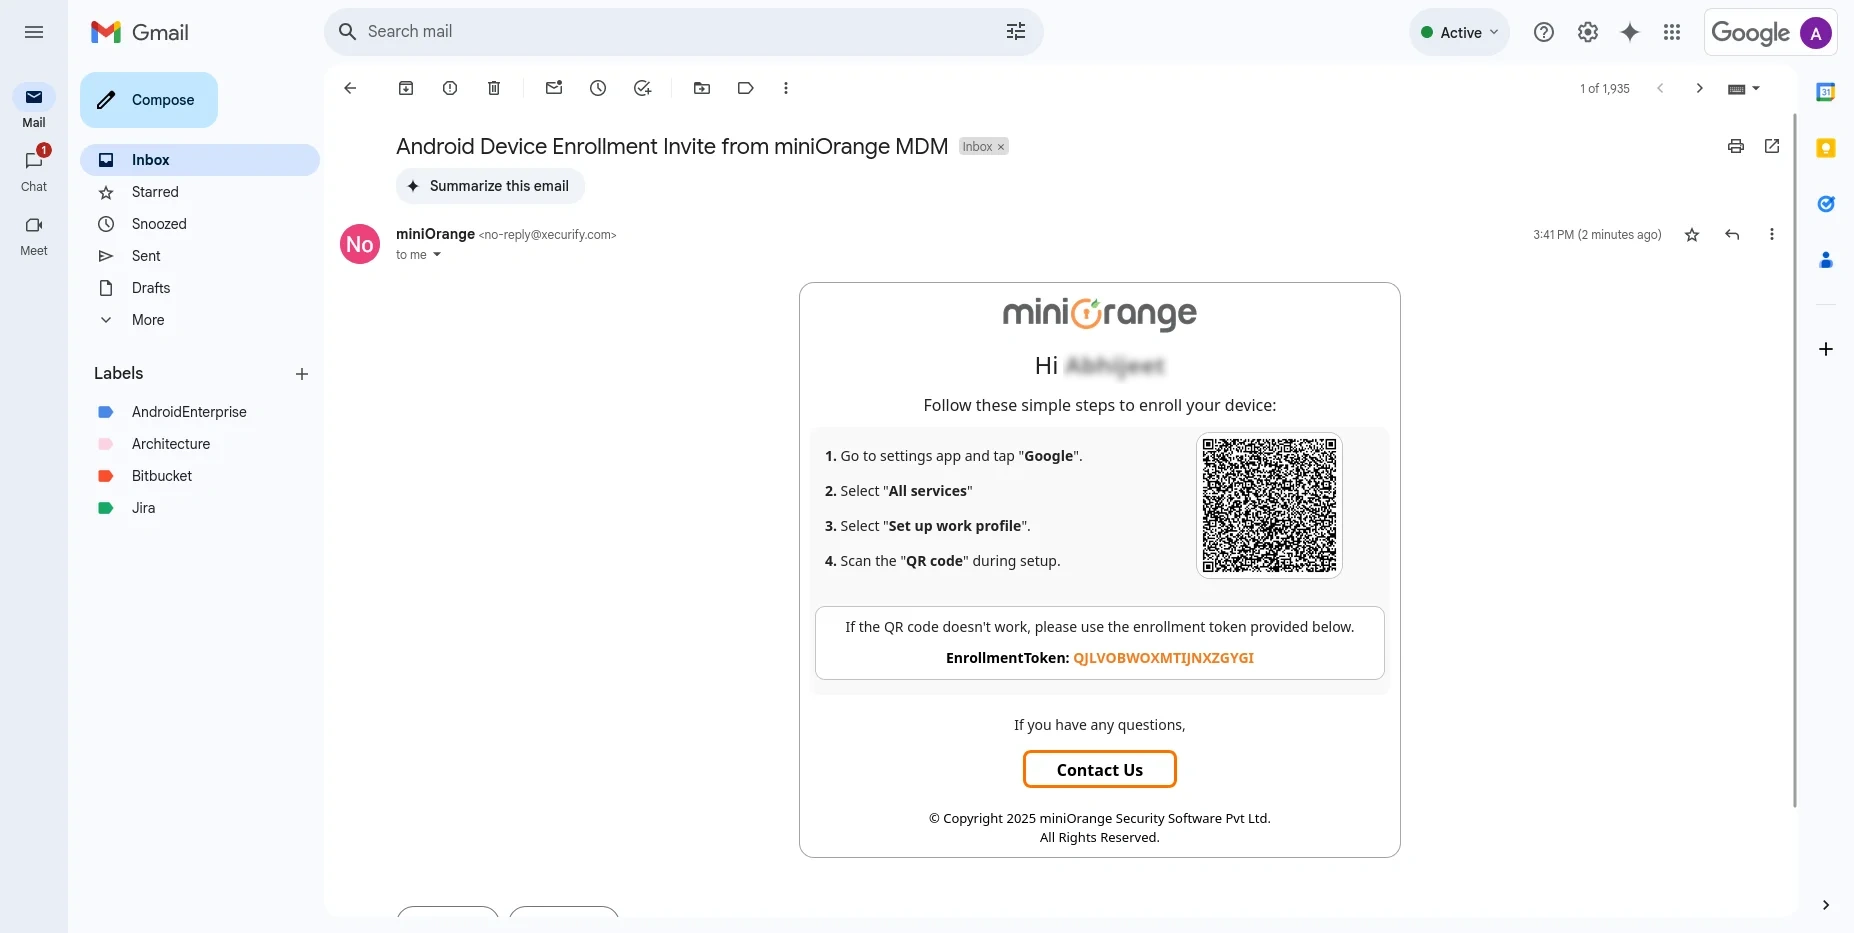
- The user will get the enrollment email with a QR code and enrollment link in the following format.
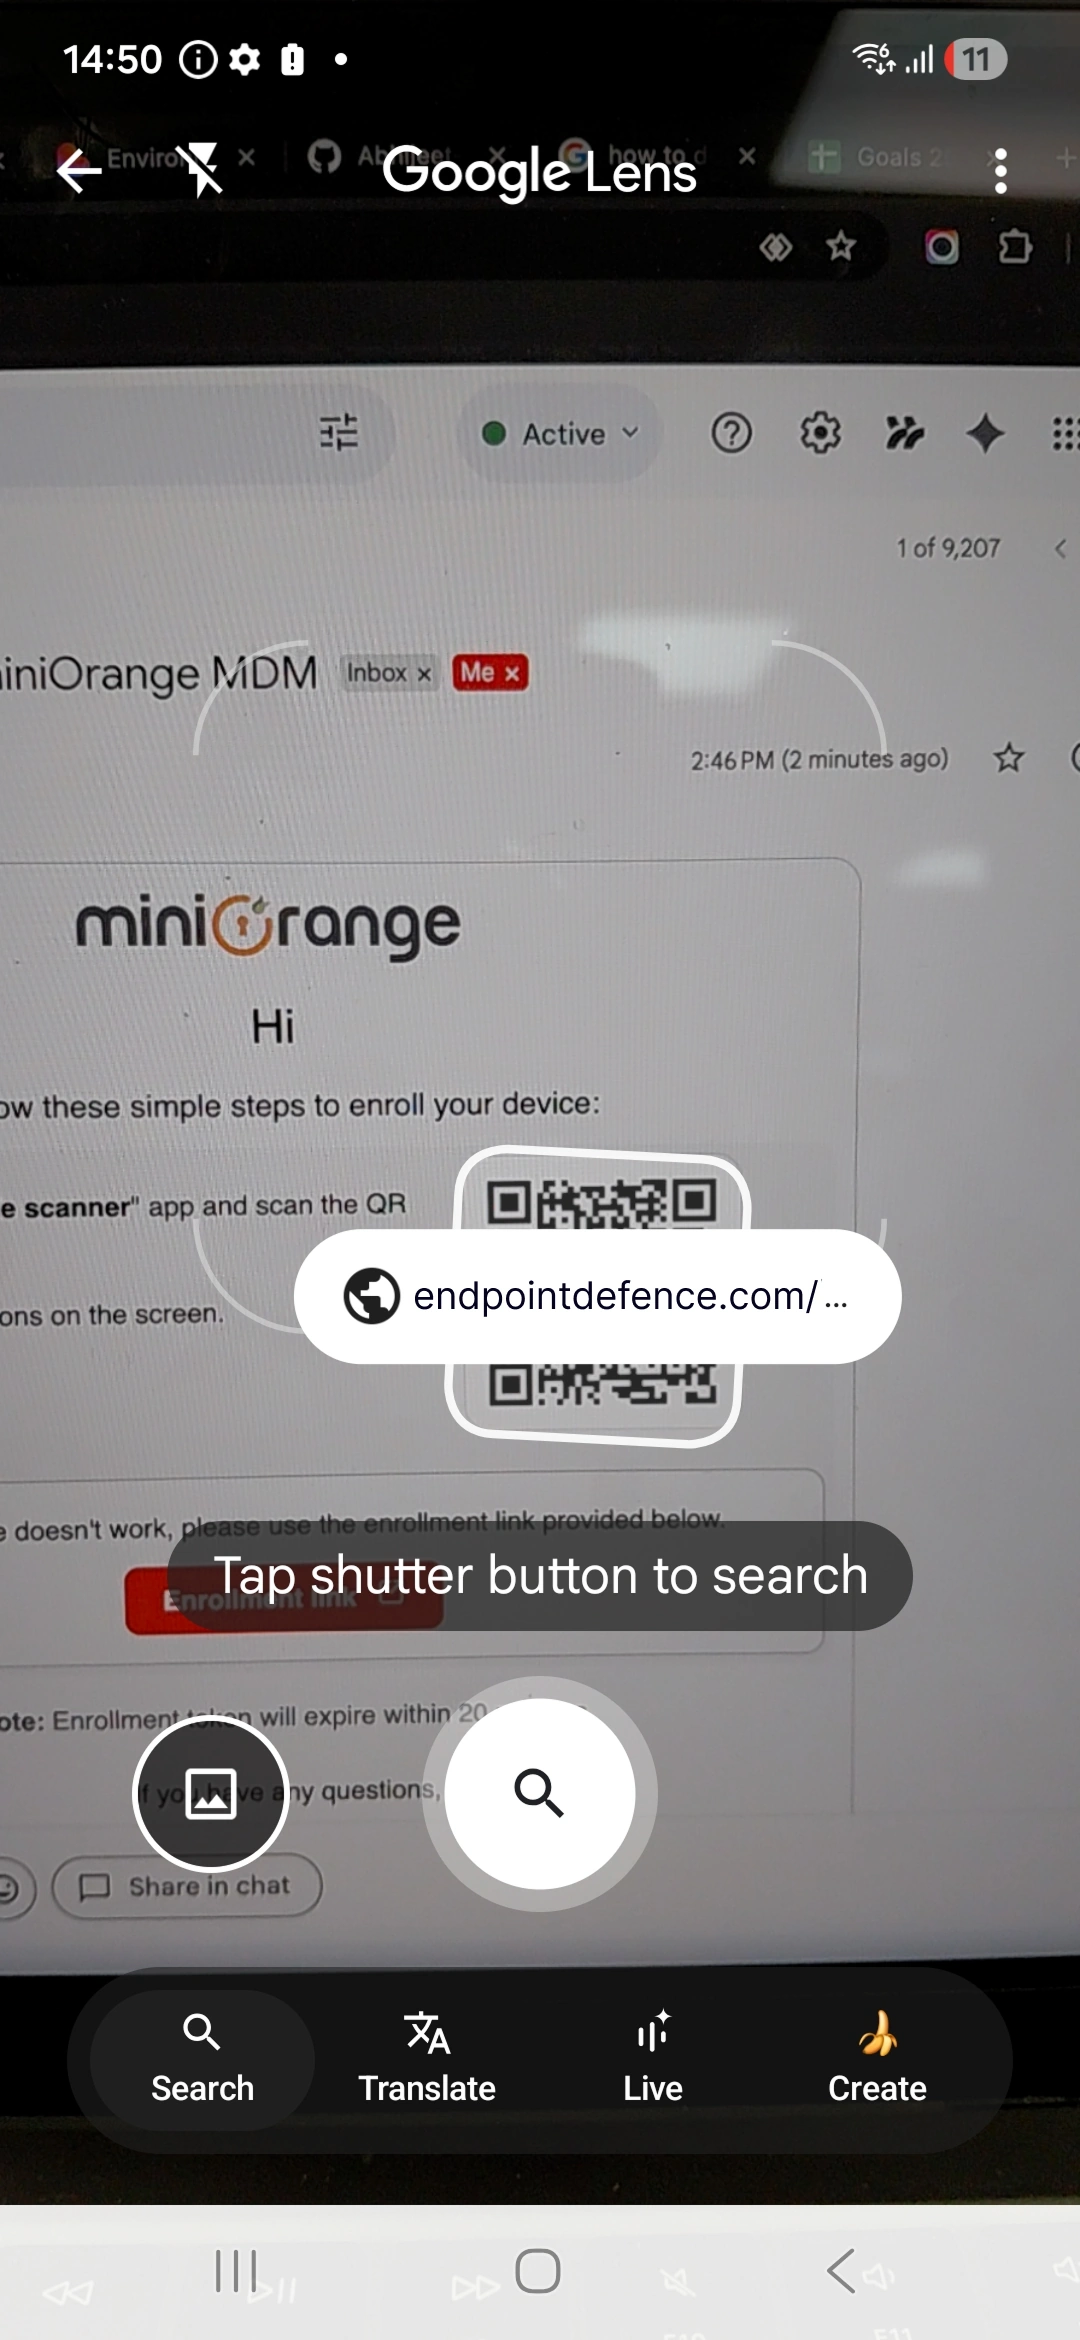
Step 2: Enroll the Mobile Device
- On your mobile device, open any QR code scanner app and scan the QR code. After scanning, tap the link that appears to proceed. (If the QR code does not work, use the “Enrollment link” provided in the email.)
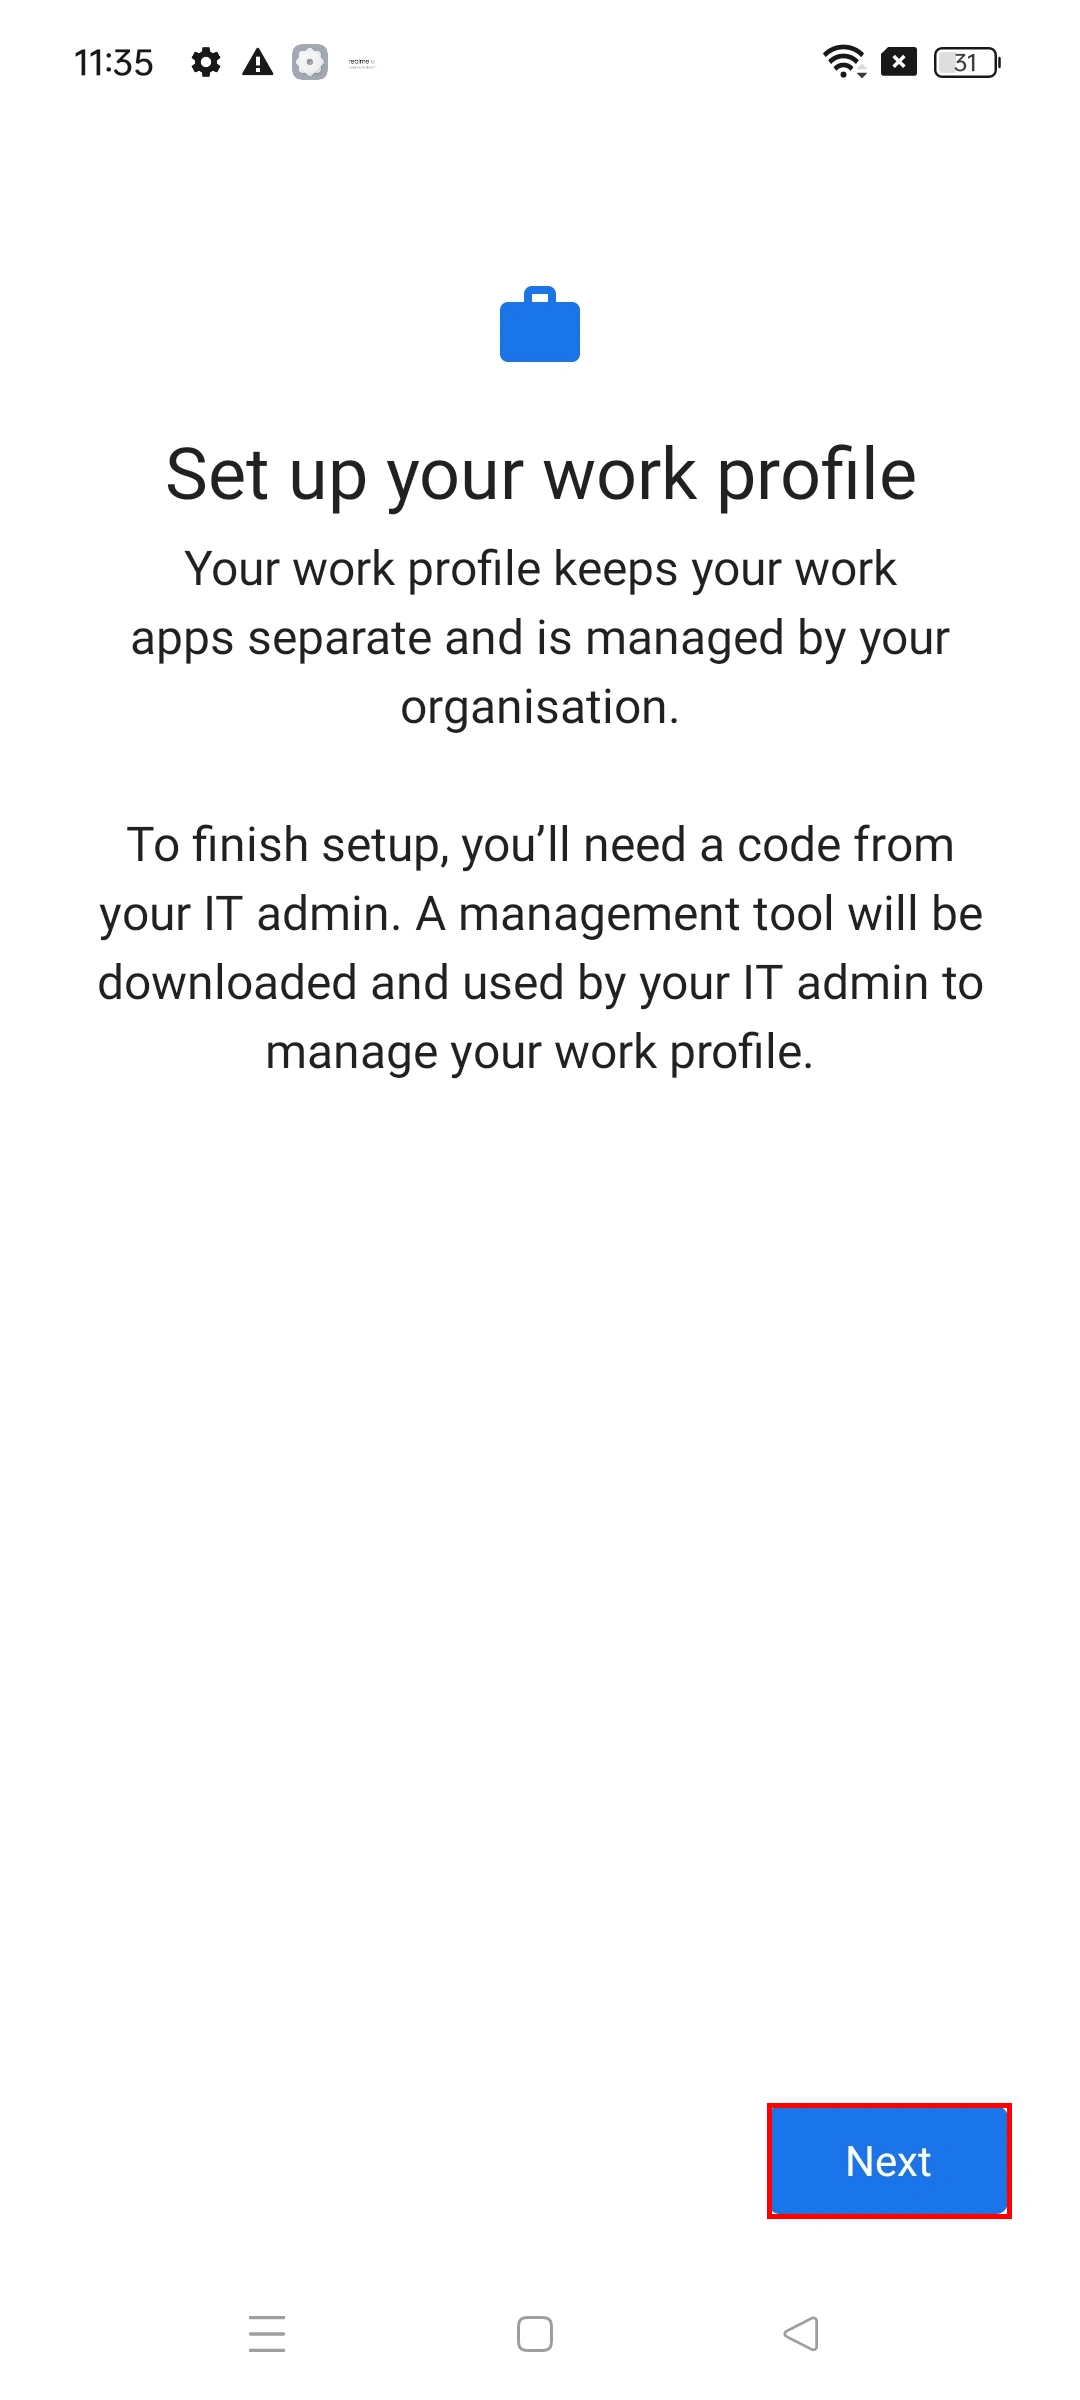
- You will see the screen below. Click Next to continue.
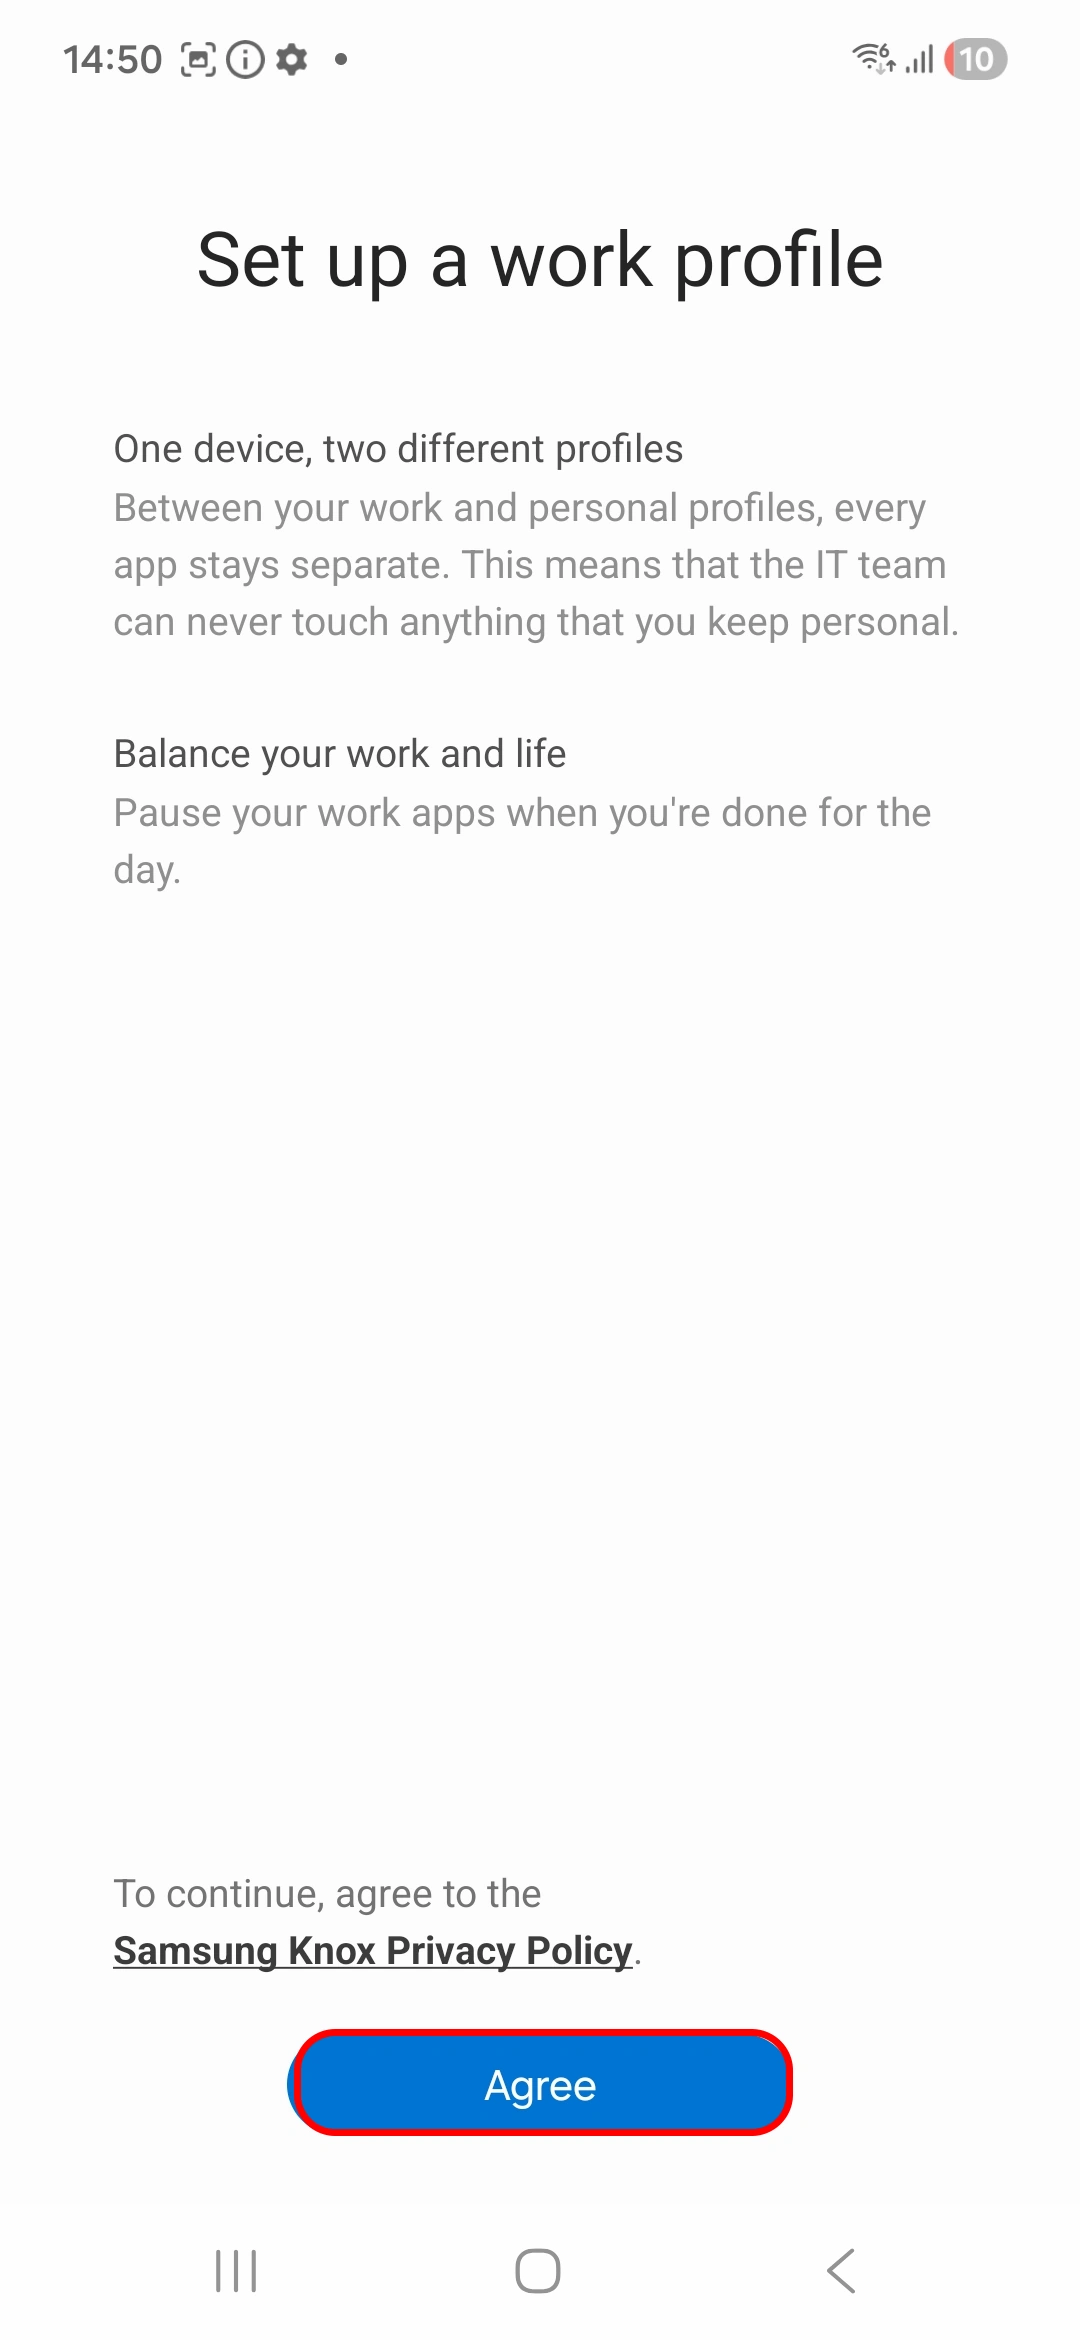
- Click on Agree.
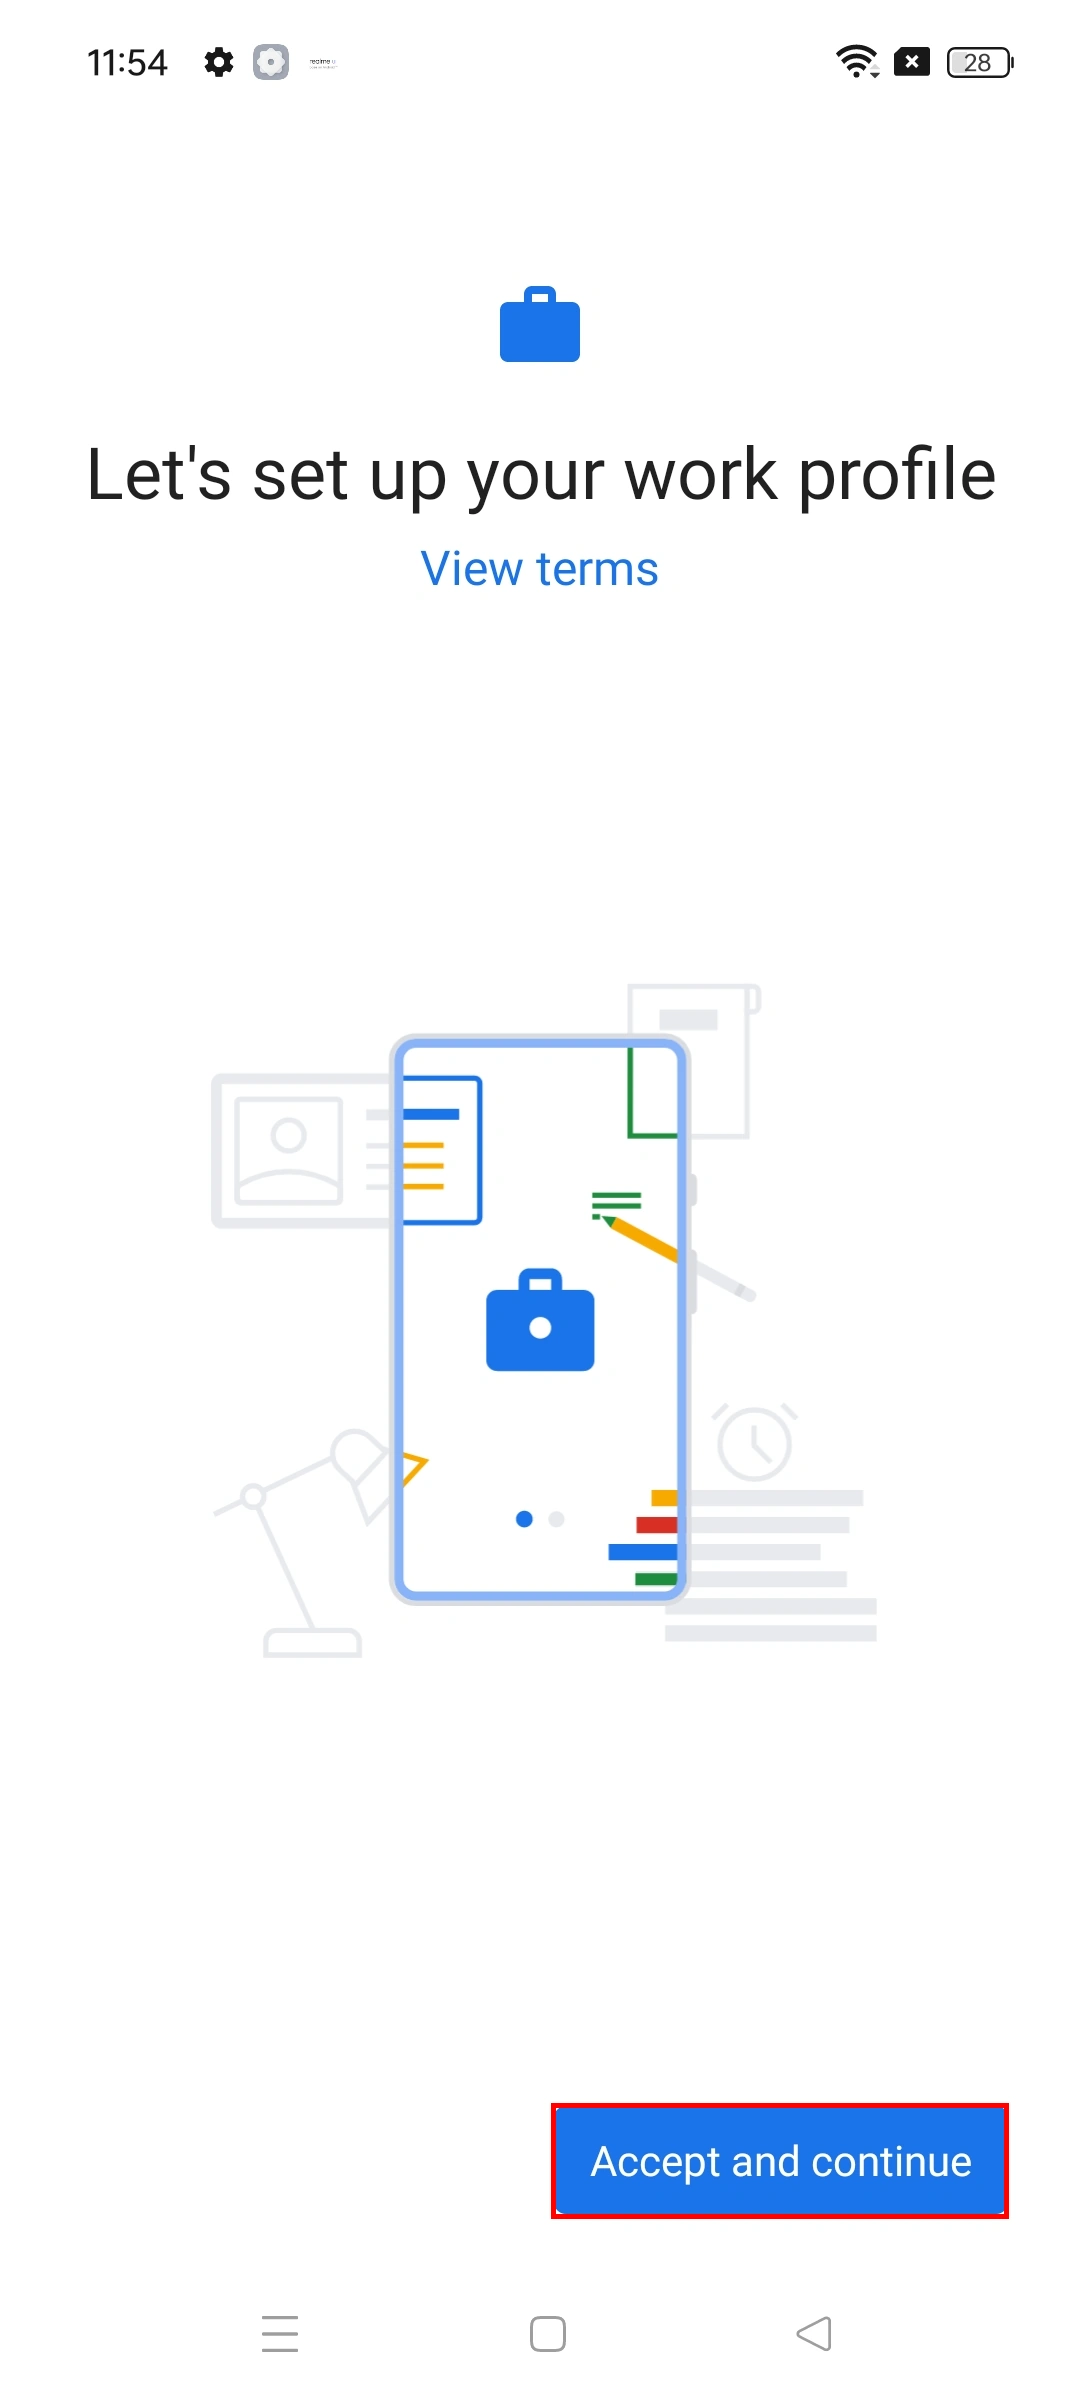
- Click on Accept and continue after scanning the QR code.
- Once accepted, a work profile will be created on your device, and your work apps will begin installing within the work profile. This process may take a few minutes.
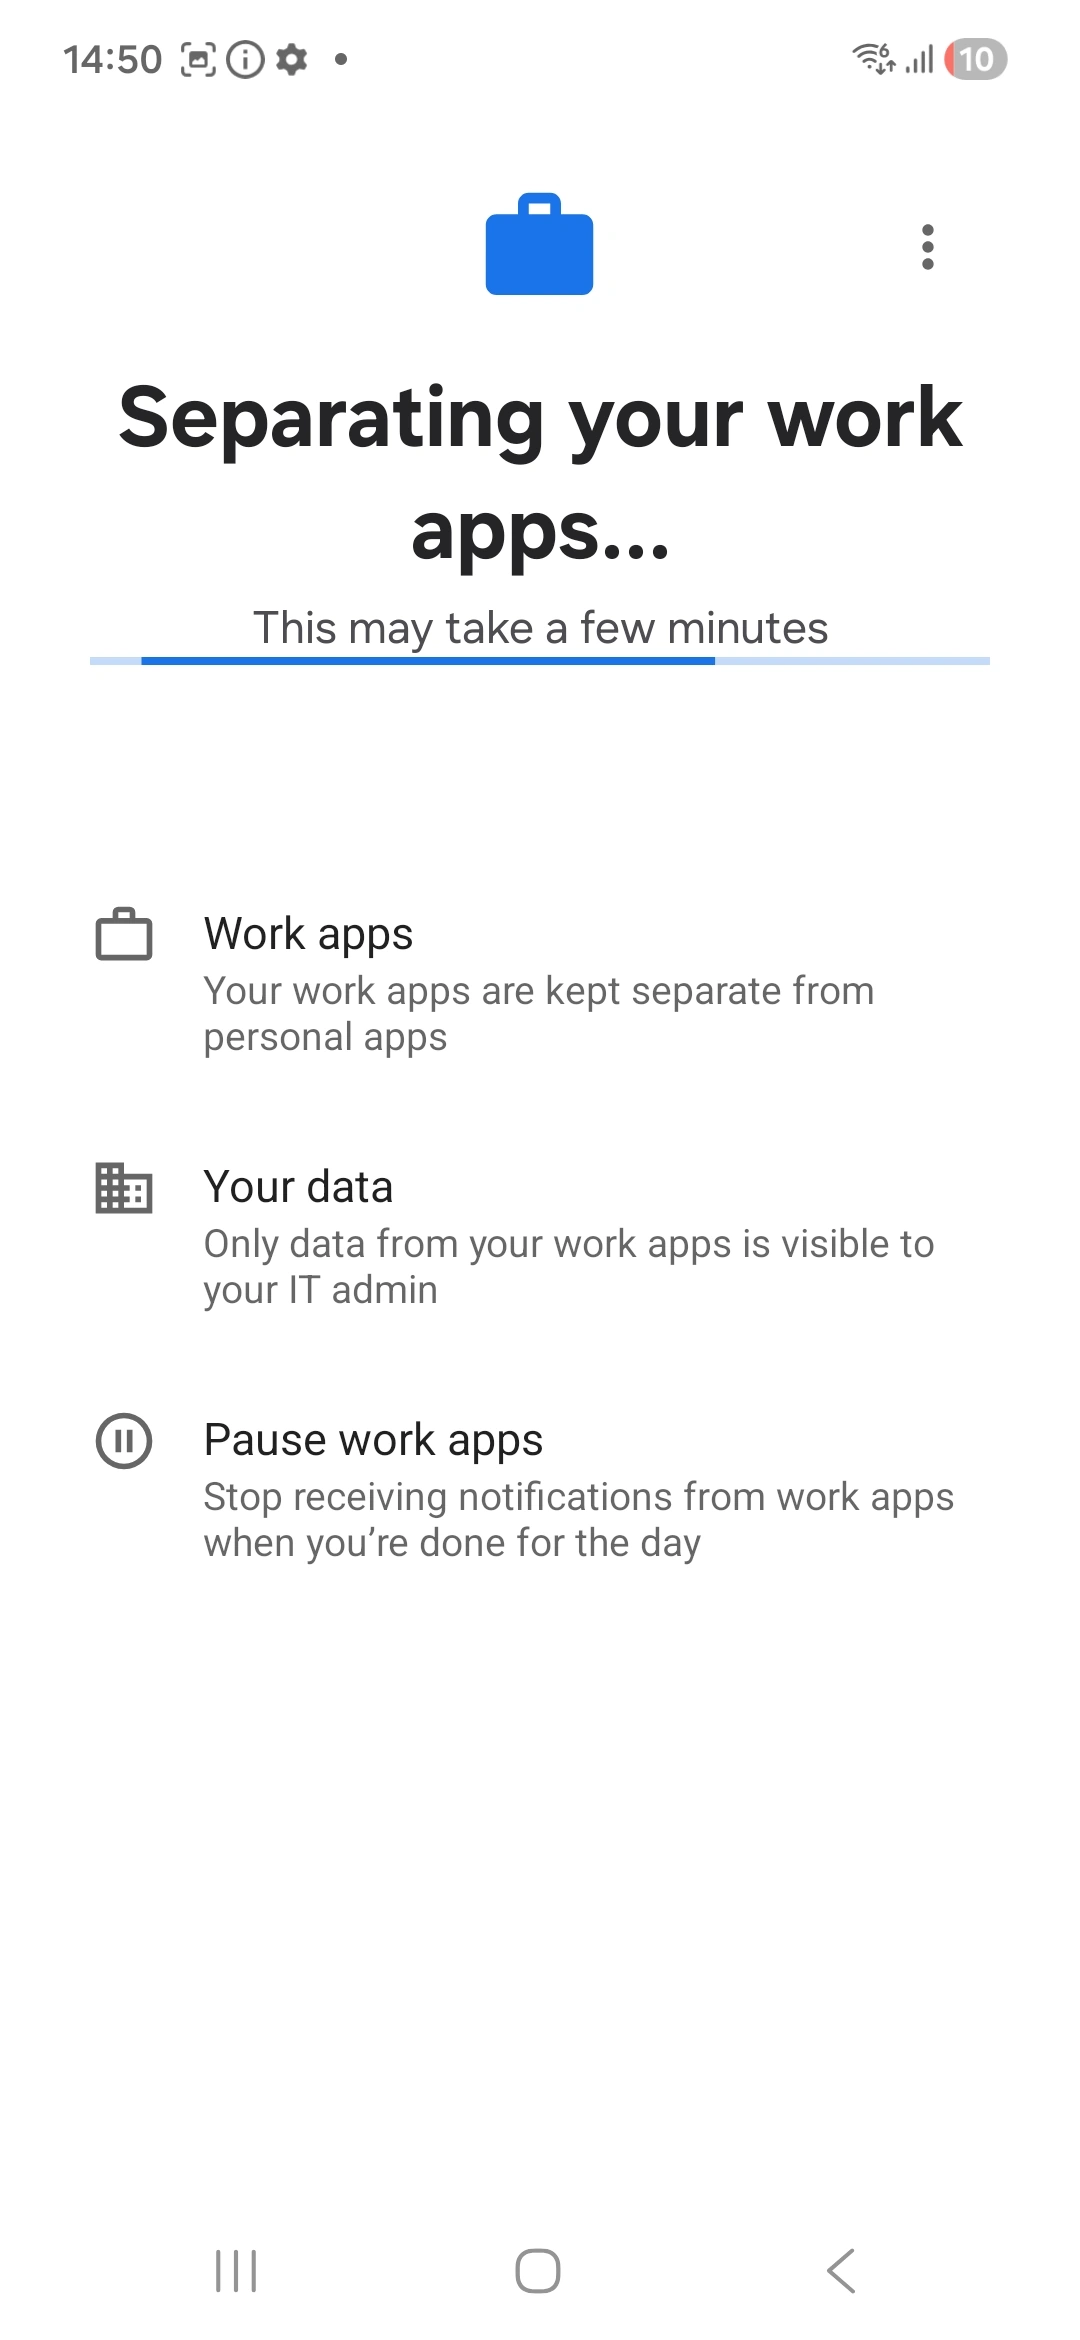
- You will now see a separate work container on your device for your work apps and data.
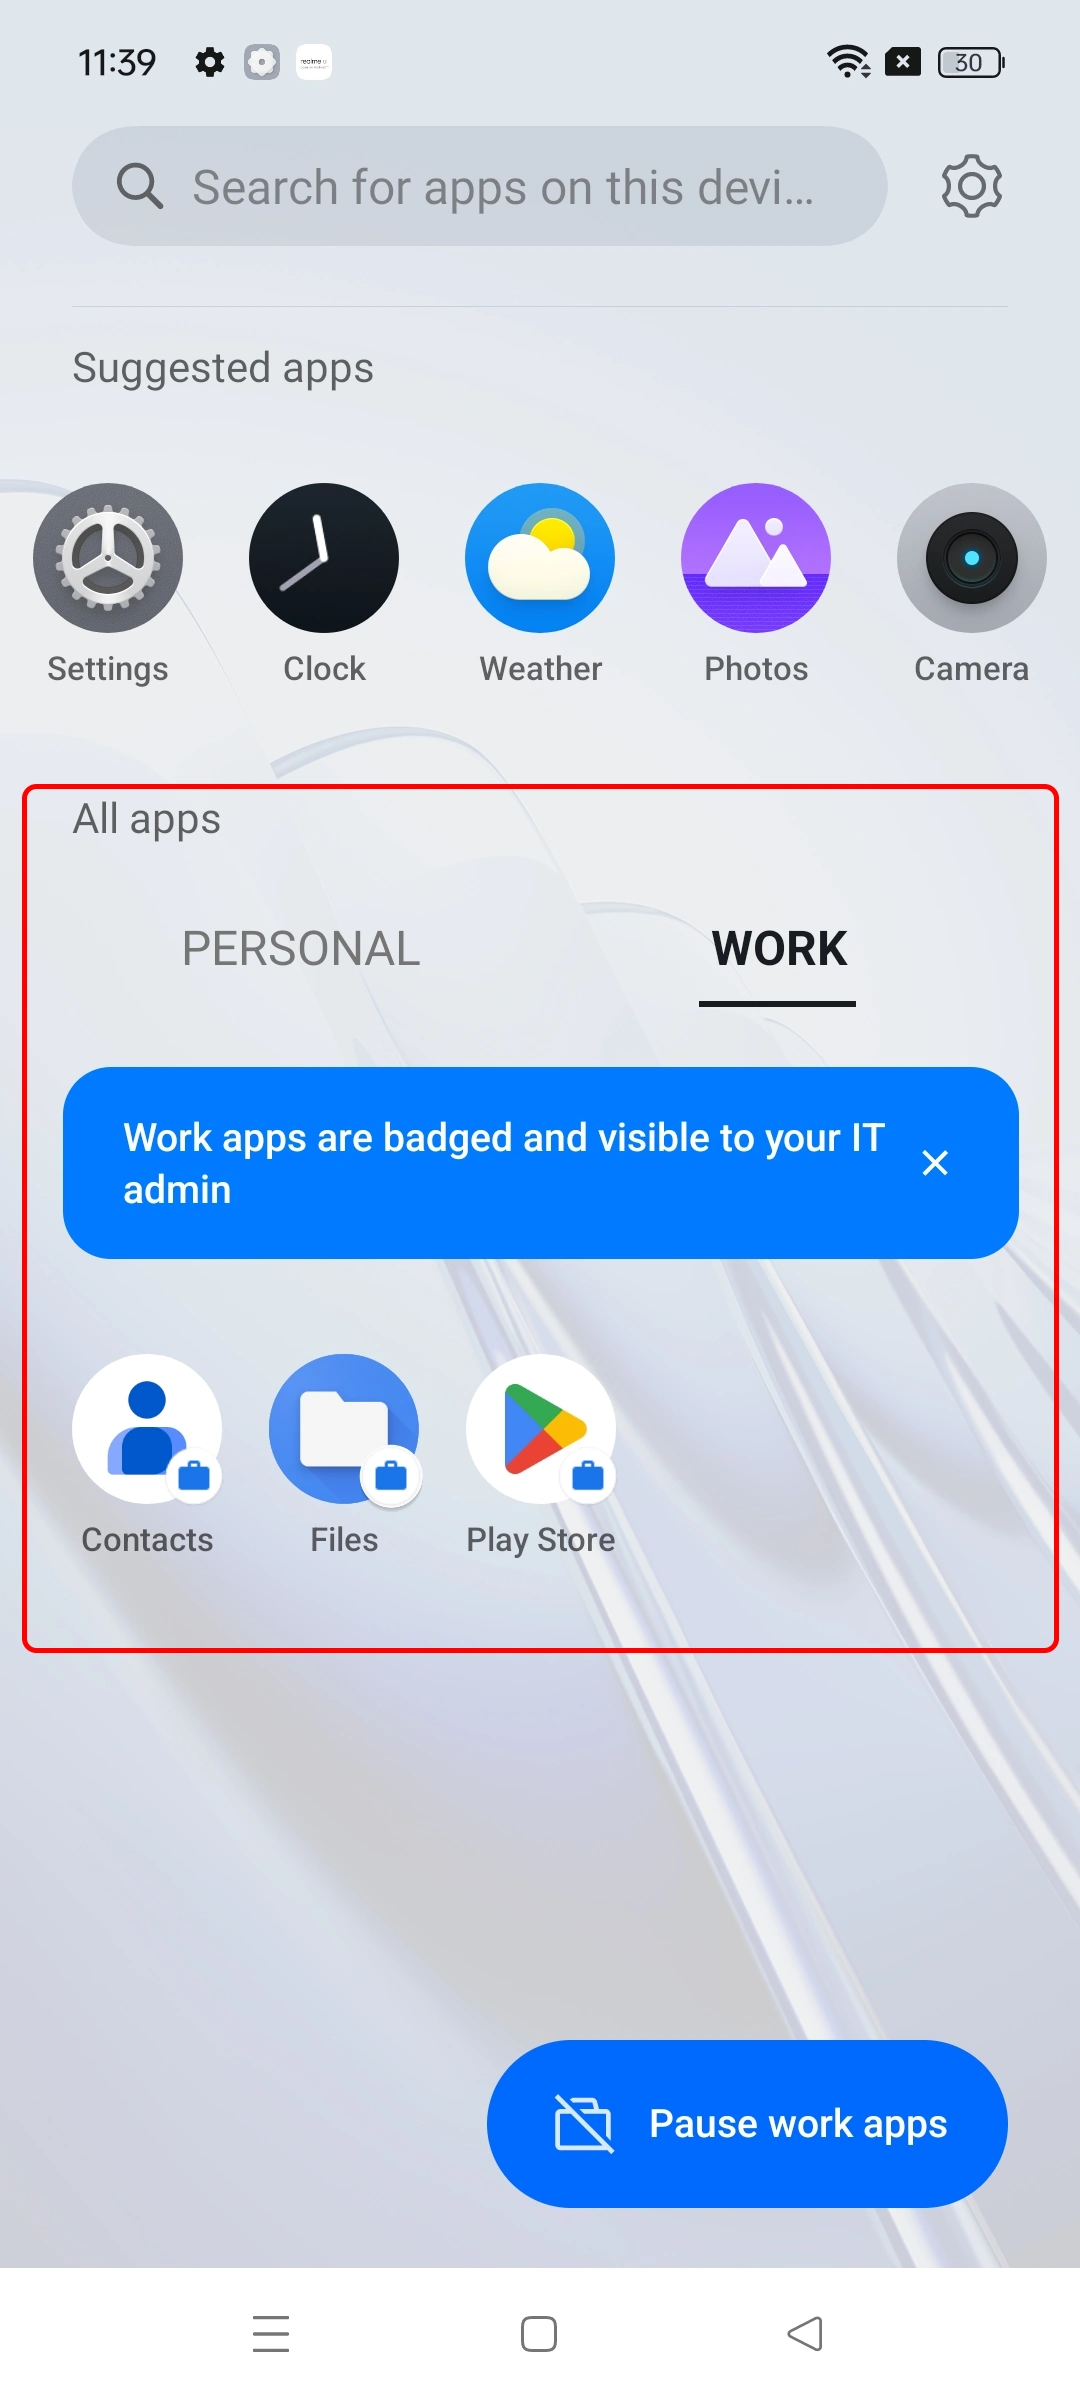
- Your Android device has been successfully configured with the MDM solution.
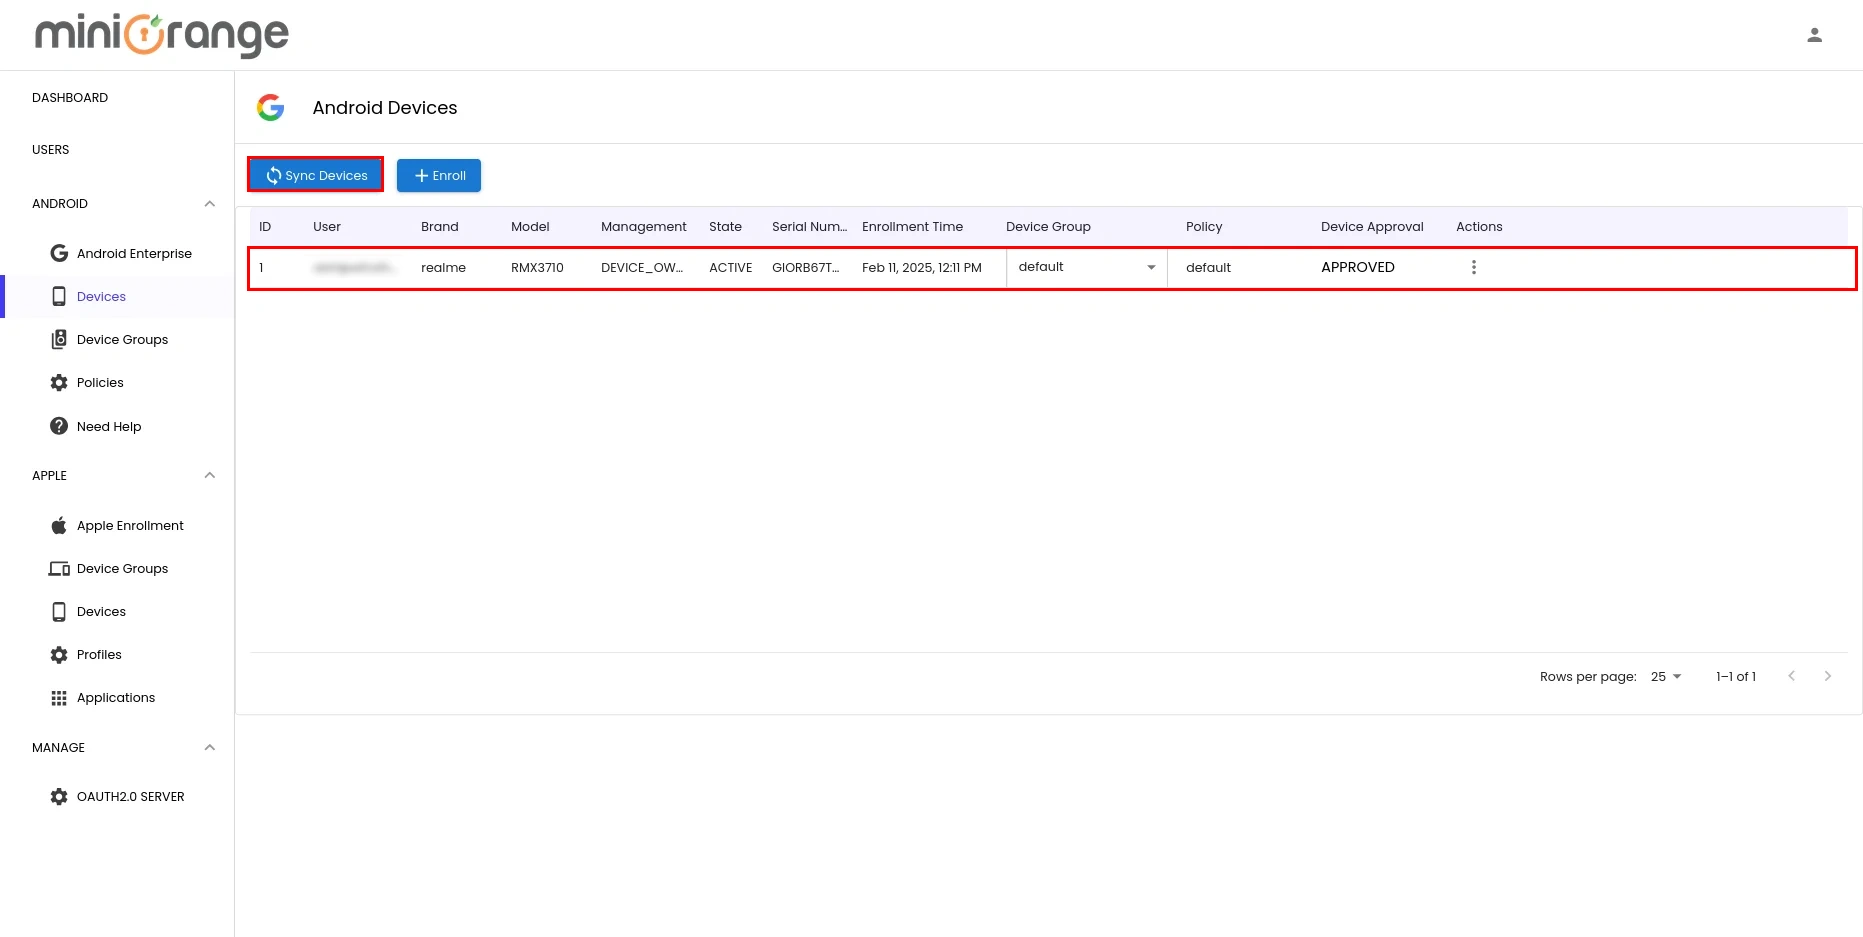
- Go to the Admin Dashboard to view the enrolled device details. If the device does not appear automatically, click Sync Devices to refresh the list.
For corporate-owned deployments (including zero-touch), see Company owned device enrollment. For corporately owned personally enabled (COPE) devices, see COPE.