Hello there!
Need Help? We are right here!
Need Help? We are right here!
Search Results:
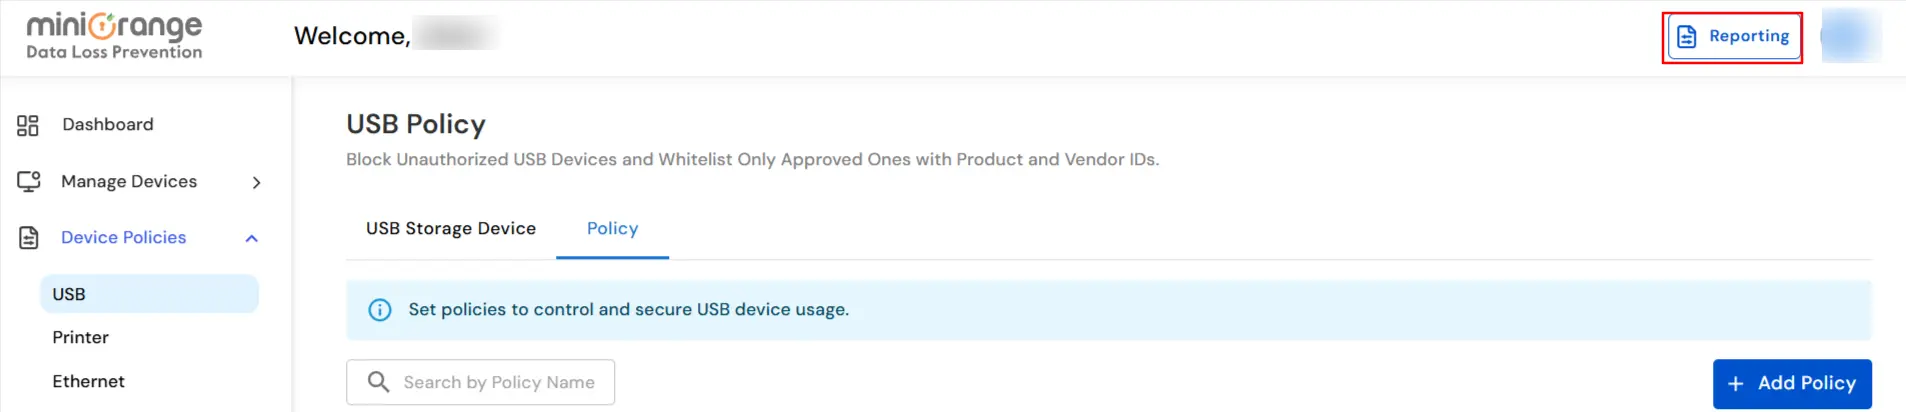
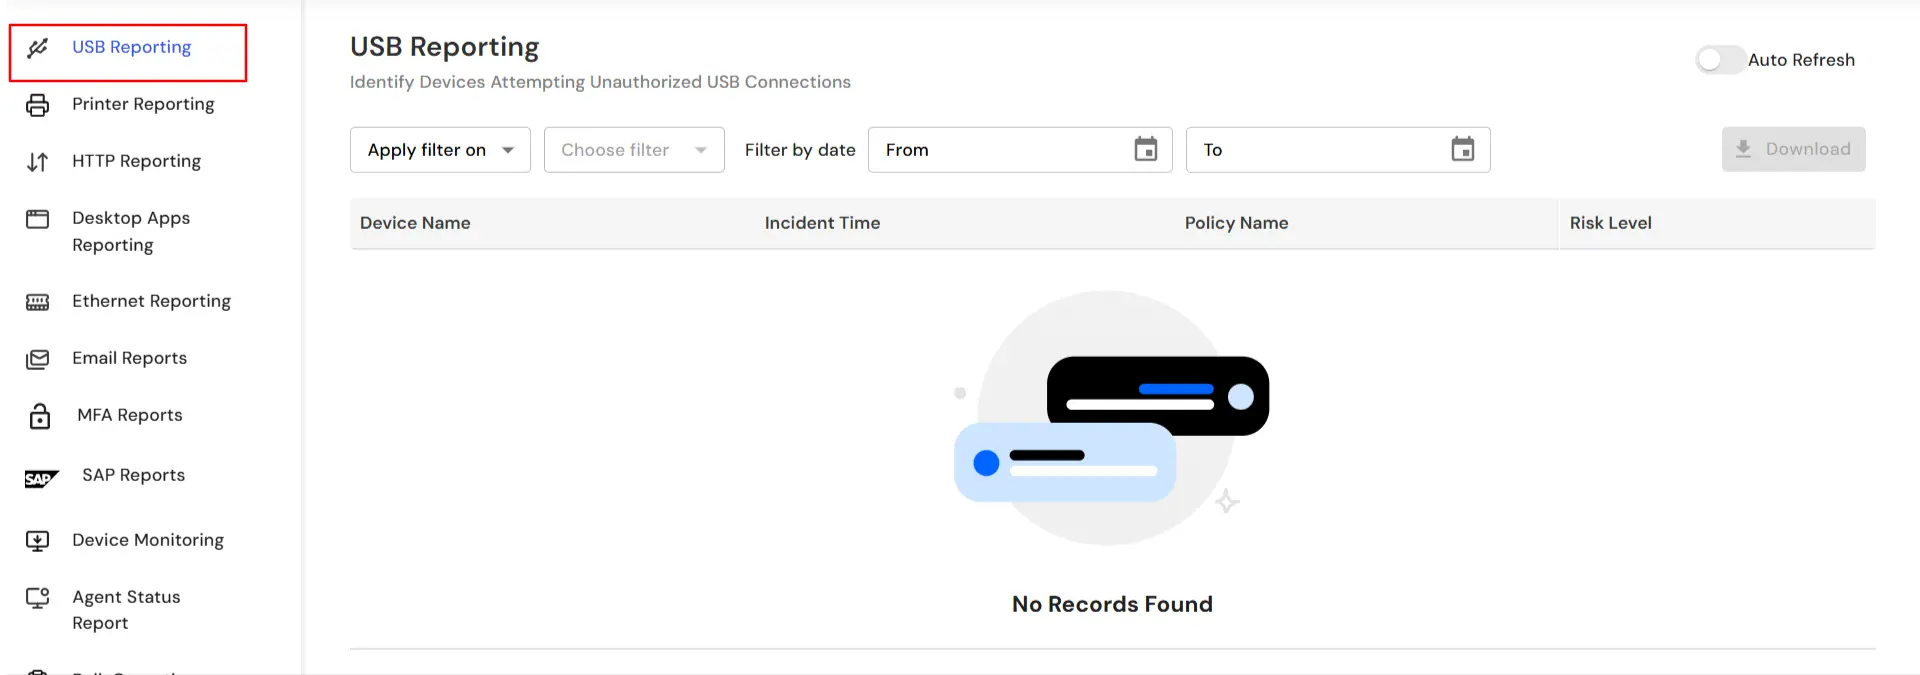
×In today's digital landscape, securing sensitive data is crucial. One of the key security measures is preventing unauthorized USB access to protect against data breaches. This guide provides a step-by-step walkthrough on configuring USB policies in your Data Loss Prevention (DLP) solution. You’ll learn how to set up USB blocking, notifications, logging, and whitelisting to ensure only approved devices can connect. By following this guide, you can enhance security and gain full control over USB device usage within your organization.
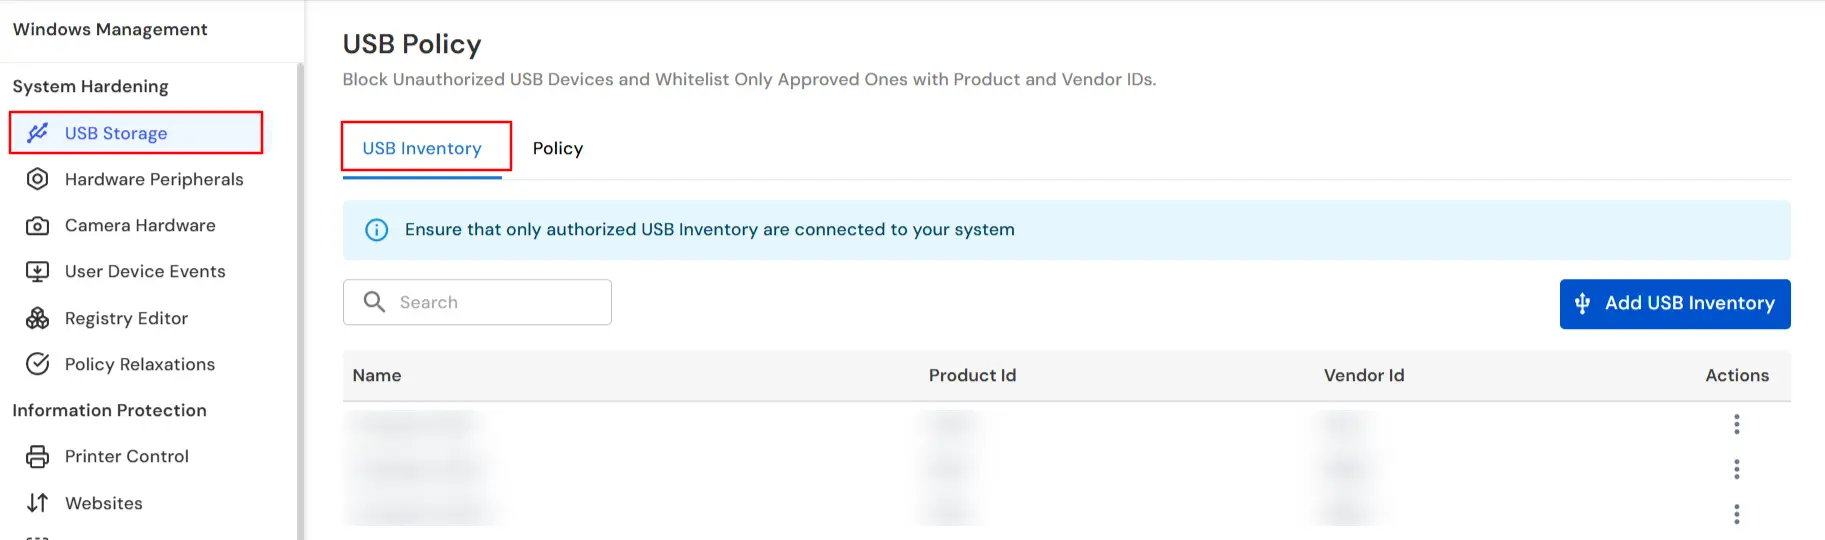
There are a couple of things you need to check before you start with the setup:
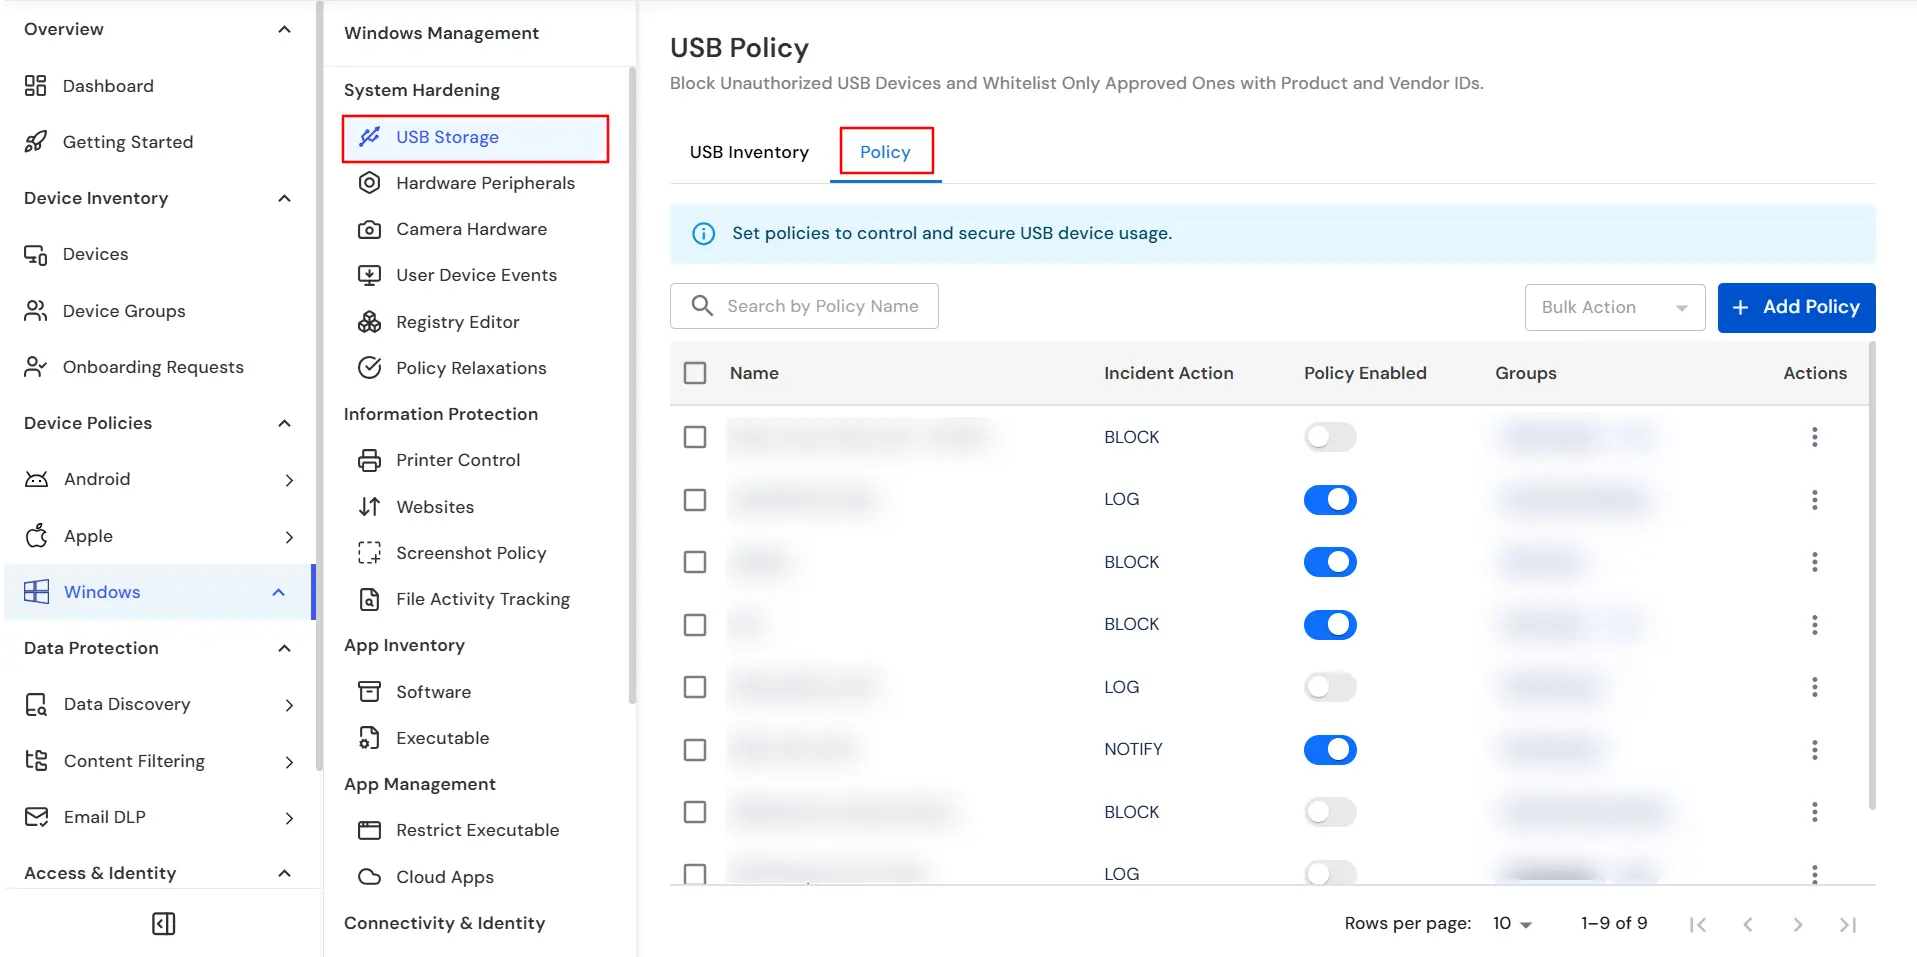
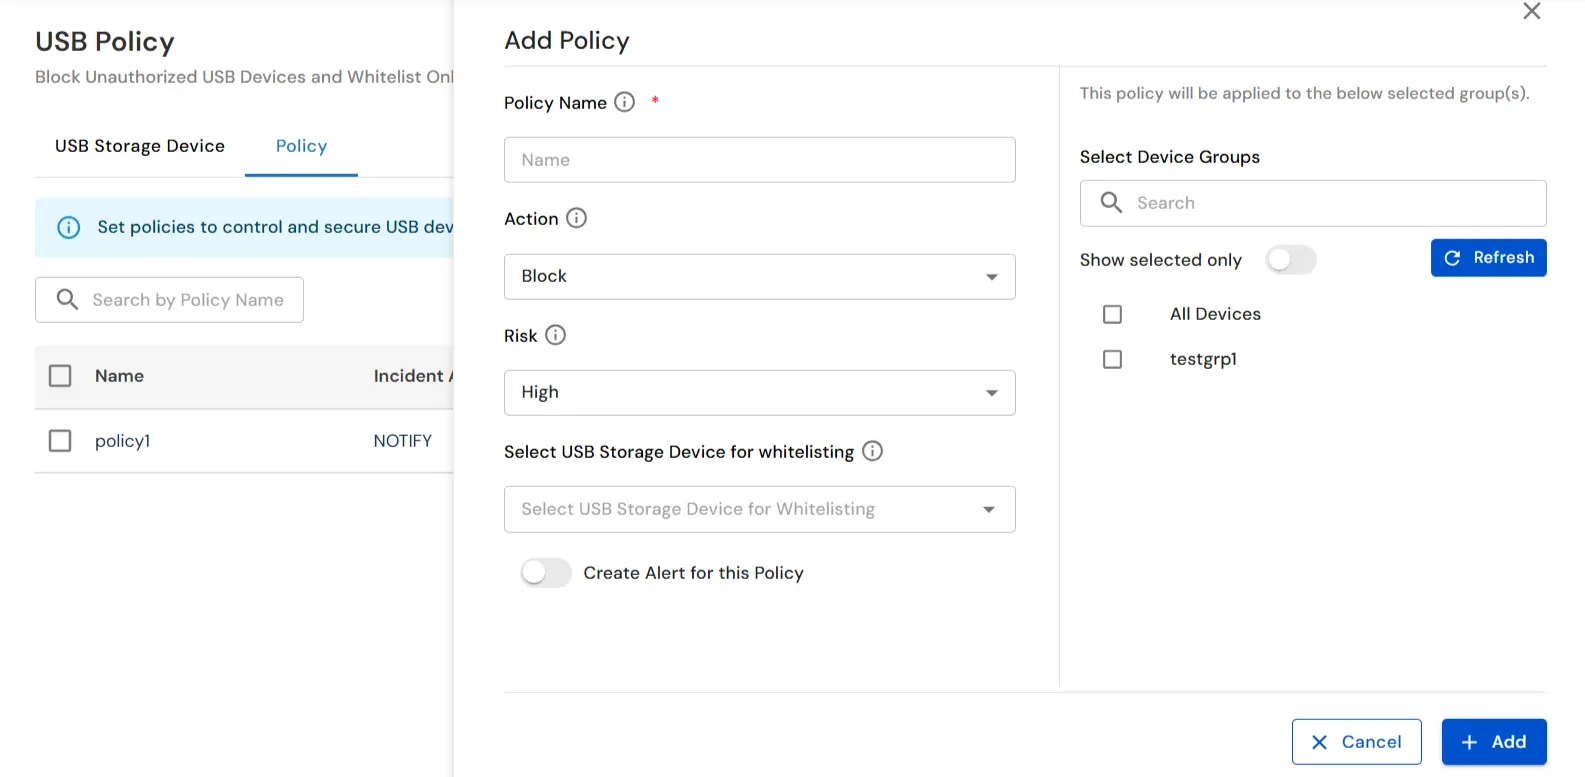
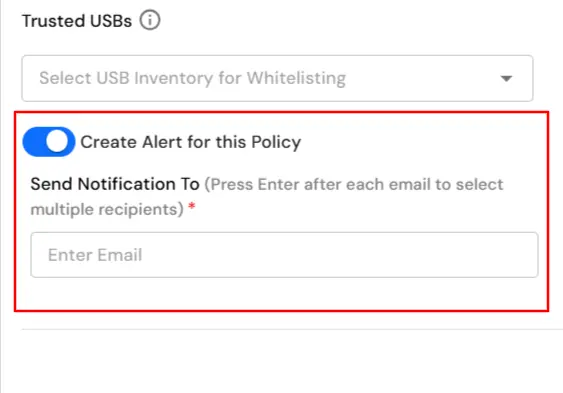
Note: This policy will not apply to whitelisted USBs.
Note: You can enter multiple email addresses by pressing the Enter key after each one.
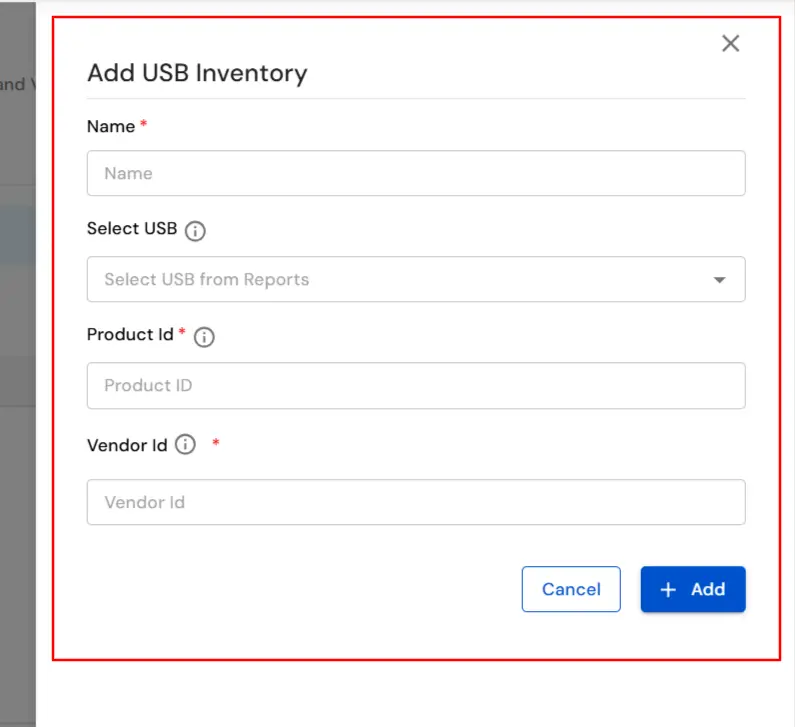
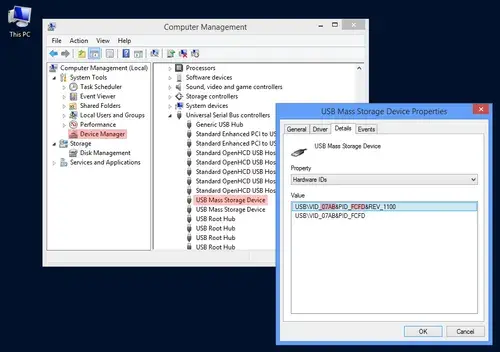
For Example: HID\VID_046D&PID_C05A, Here the Vendor ID is 046D and the Product ID is C05A
In this way you have succesfully setup the USB Policy by using the our DLP solution. Also if you are facing any issues that you are not able to resolve please feel to reach out us uemsupport@xecurify.com
