- Home
- WORD/PDF Exporter
- WORD/PDF Exporter Documentation
- WORD/PDF Exporter for Jira

Export Jira Tickets in PDF/Word for Cloud
miniOrange Issues/Tickets exporter app for Jira, gives ability to export Jira issues/tickets in the standard business document file format to share, print, email, archive and report them. Here we will go through a guide which will help you to understand functionality of Jira Issues/Tickets Exporter app. By the end of the guide, you can export the Jira issues/tickets in in the standard business document file format i.e. PDF and Word(.doc).
 Try it for free
Pre-requisites
To configure miniOrange miniOrange Exporter - Export Jira Tickets in PDF/Word plugin, you need the following items:
- Jira should be installed and configured.
- Admin credentials are set up in Jira.
- Valid Jira Server or Data center Licence.
Download and Installation
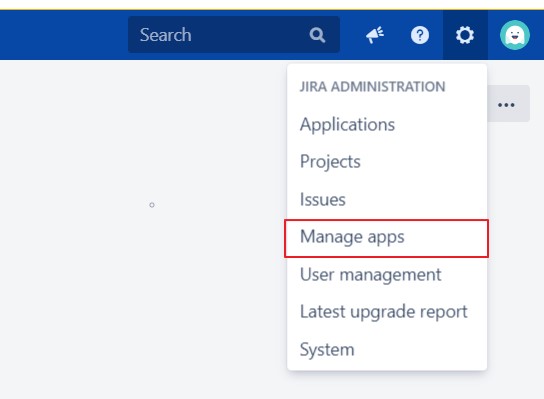
- Log into your Jira instance as an admin.
- Navigate to the settings menu and Click Manage Apps.
- Click Find new apps or find new add-ons from the left-hand side of the page.
- Locate miniOrange Exporter - Export Jira Tickets in PDF/Word for JIRA via search.
- Click Try free to begin a new trial or buy now to purchase a license for miniOrange Exporter - Export Jira Tickets in PDF/Word for Jira.
- Enter your information and click Generate license when redirected to MyAtlassian.
- Click Apply license.
1: Select which Jira Tickets to export
 1.1 For exporting Single Jira Ticket
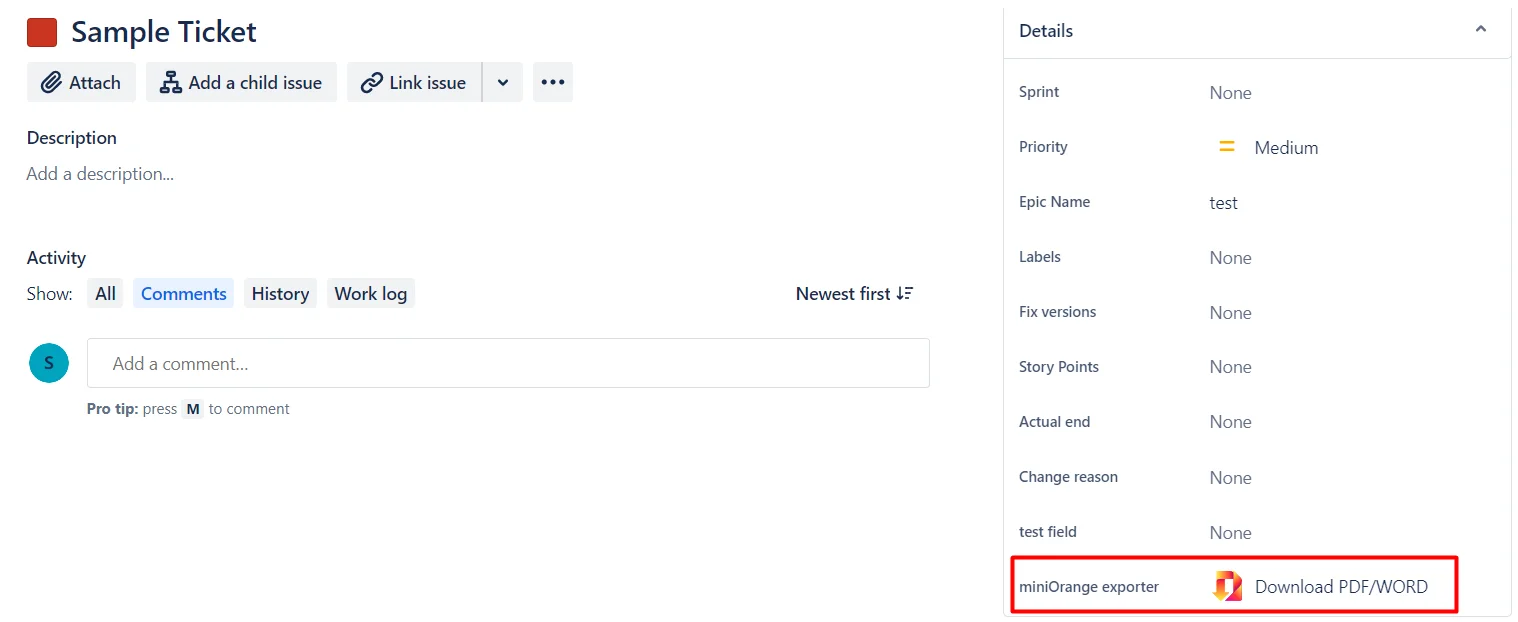
- Go to the Jira project and open the desired issue.
- On the right side of the open issue, locate the miniOrange PDF Exporter.
- Proceed to Step 2.
1.2 For exporting filtered Multiple Jira Tickets
- Navigate to the Issues page >> go to advanced search.
- Filter the desired issues using a filter or JQL (Jira Query Language).
- Click on the miniOrange icon located on the top right corner to initiate the export.
- Continue to Step 2.

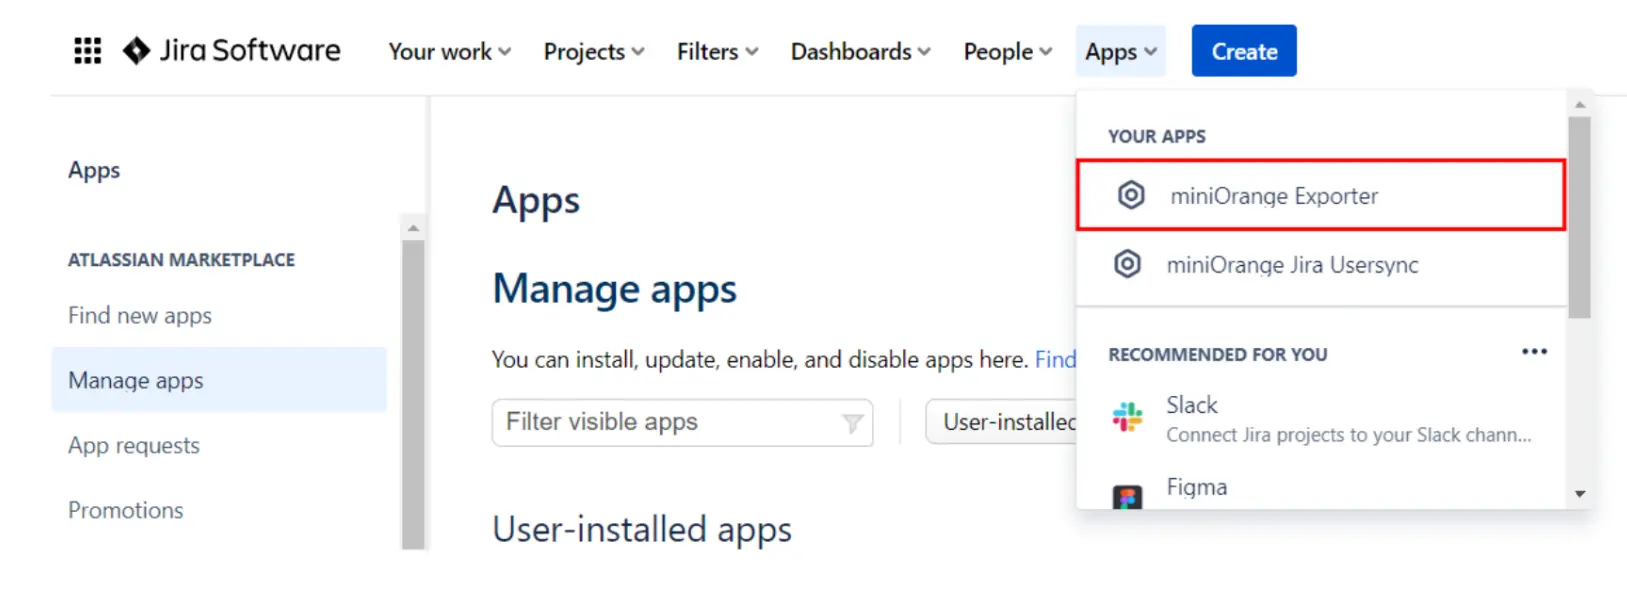
1.3 For exporting All Jira Tickets from all projects
- Navigate to top Navbar >> Apps >> “miniOrange Exporter”.
- You may now proceed with Step 2.
2: How to export Jira Ticket
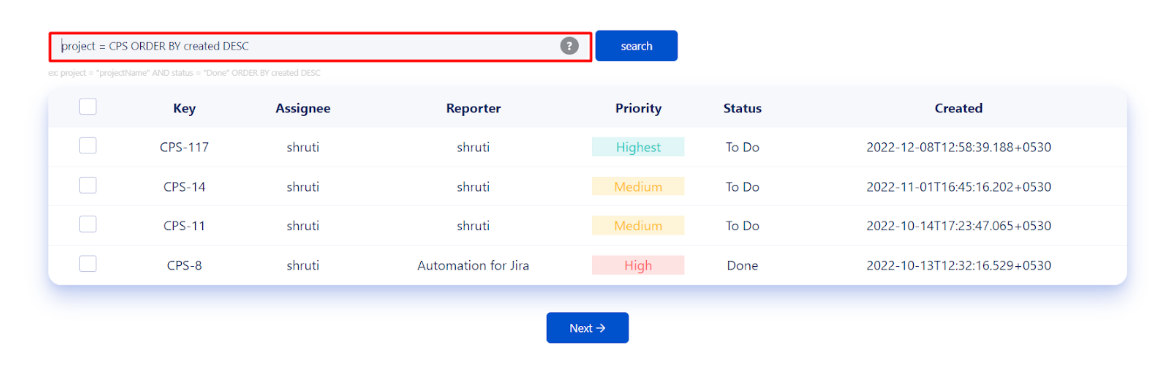
- Select the issues you want to export.
- Filter issues using the JQL search bar.
- Click on the Next -> button.
- Select the PDF or WORD or EXCEL format in which you want to export the issue.
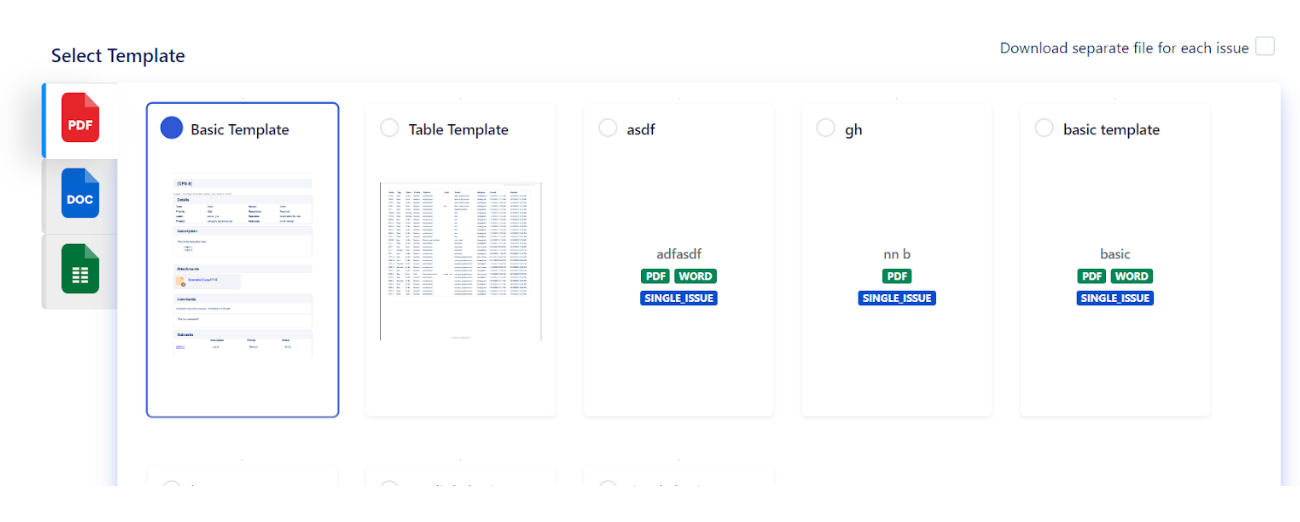
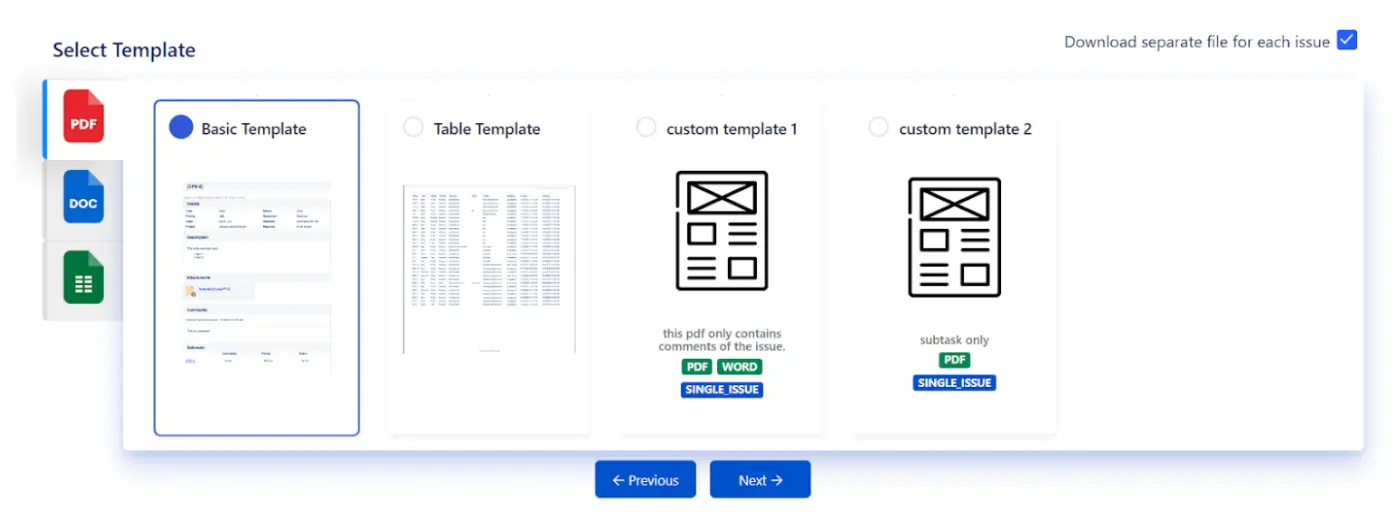
- Select the Template in which you want to download the issues.
- To download separate files for each Issue, select the Download separate file for each issue checkbox.
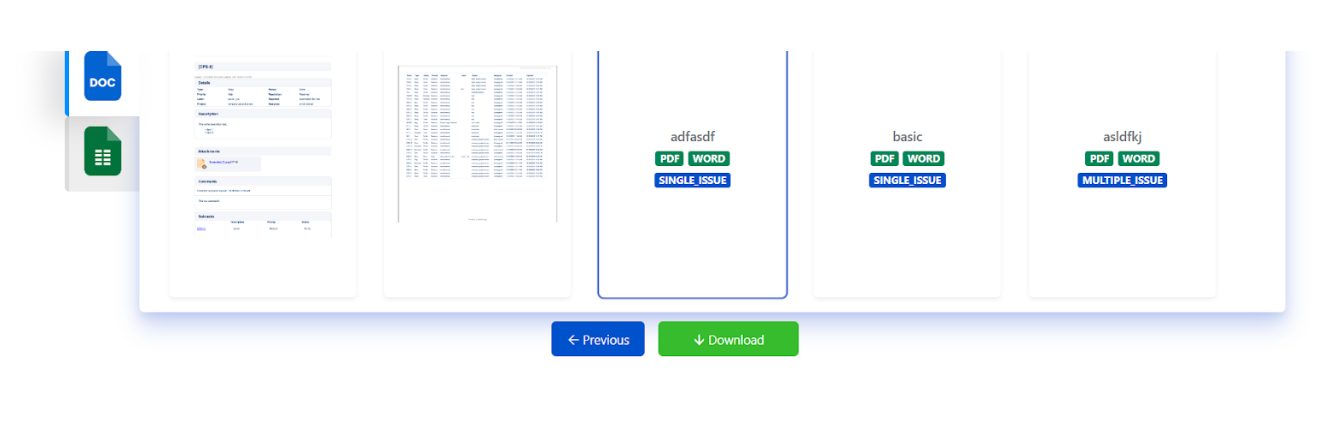
- For a custom Template, click on the DOWNLOAD button to start downloading the exported file.
- For Plugin templates, click on the Next-> button to configure Advanced configuration.
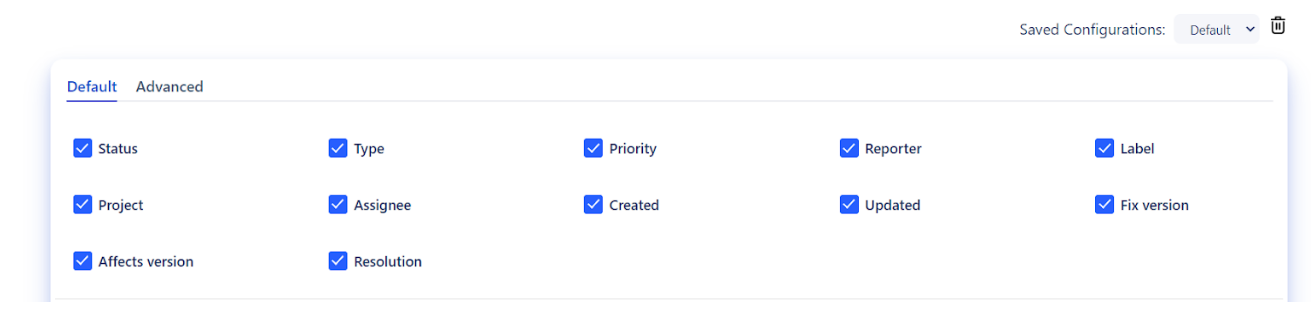
- Click on the Default tab. Select the fields which you want to export in the selected document format.
- Click on the Advanced tab to export selected advanced or custom fields.
- Select sections from the select sections tab.
- Click on Download. It will download the selected issue with the selected configuration.
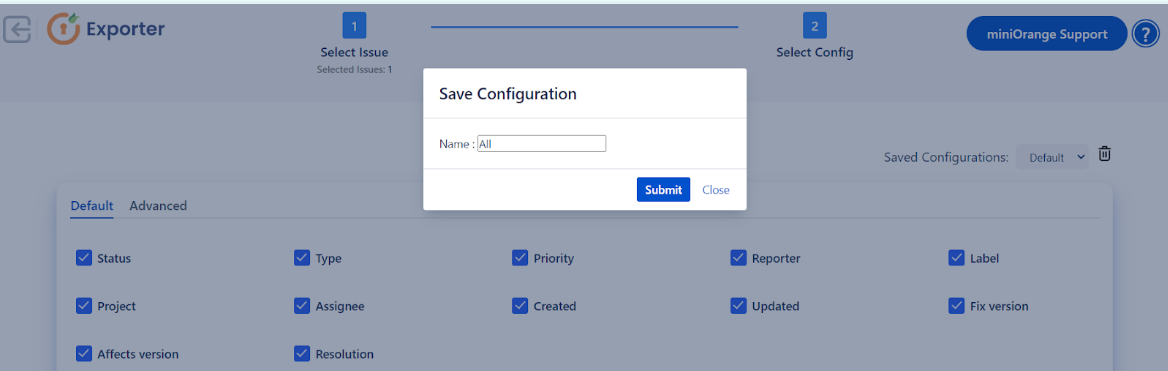
- To save the selected fields and sections for using them again, click on the save configuration button.
- Enter the Name for saving the selected configuration.
- Click on Submit button to save the Configuration.
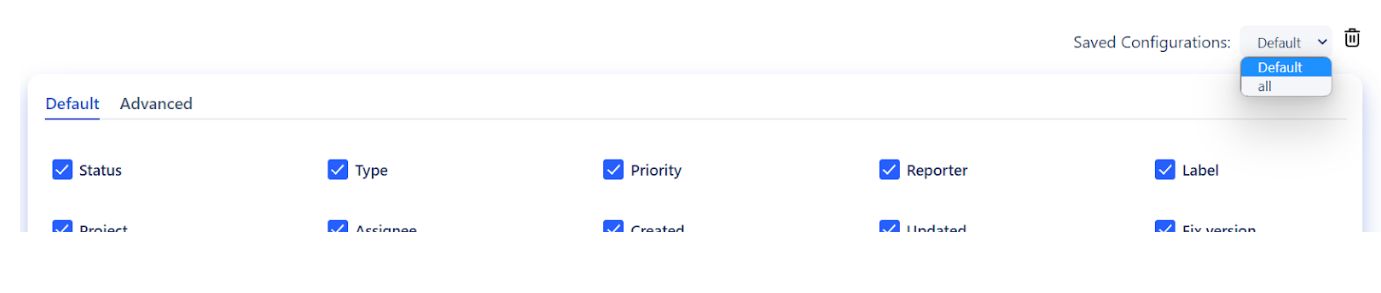
- Use the saved configuration by selecting it from the dropdown.
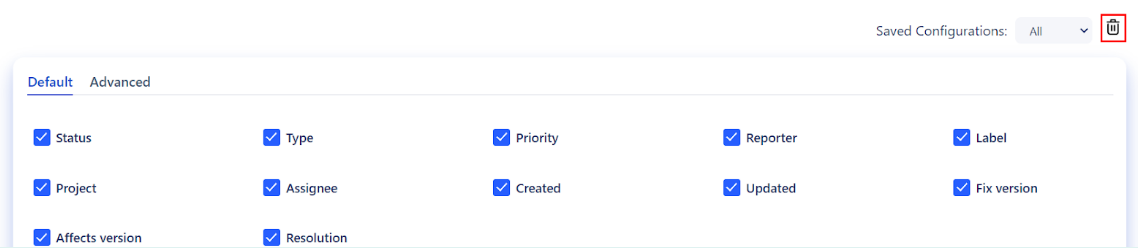
- To delete a configuration, click on the Delete Icon next to the dropdown after selecting the configuration to delete.
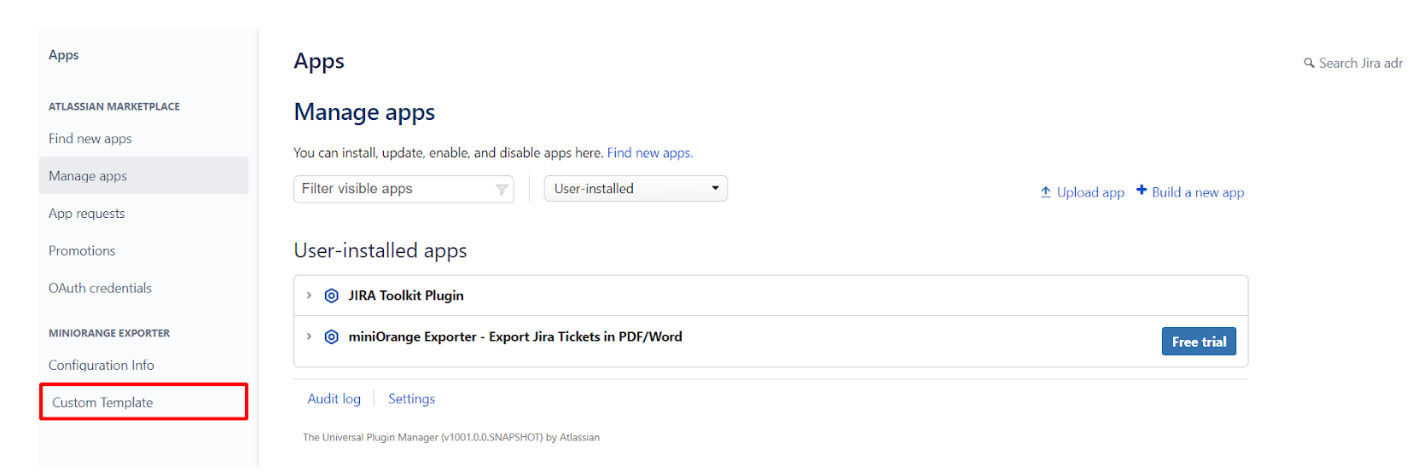
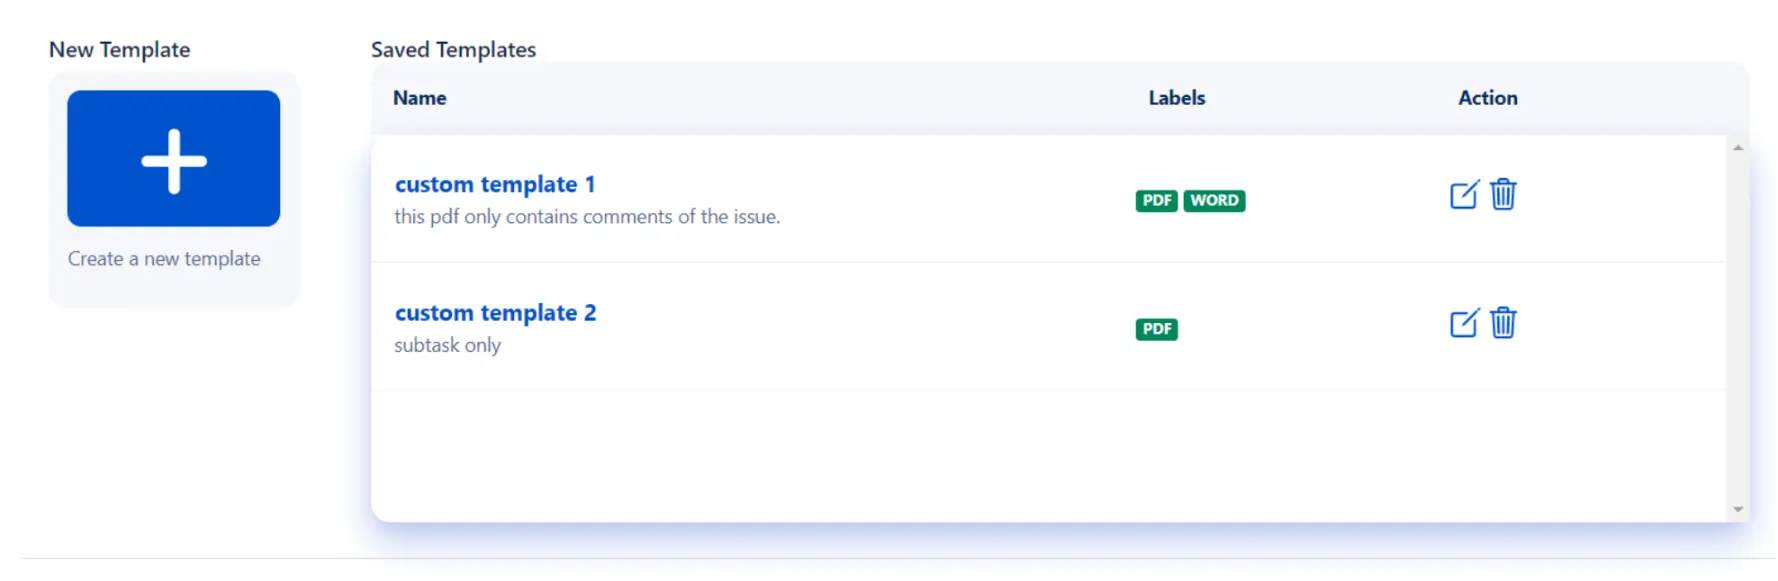
- To customize the export templates, go to Manage apps >> Custom Template.
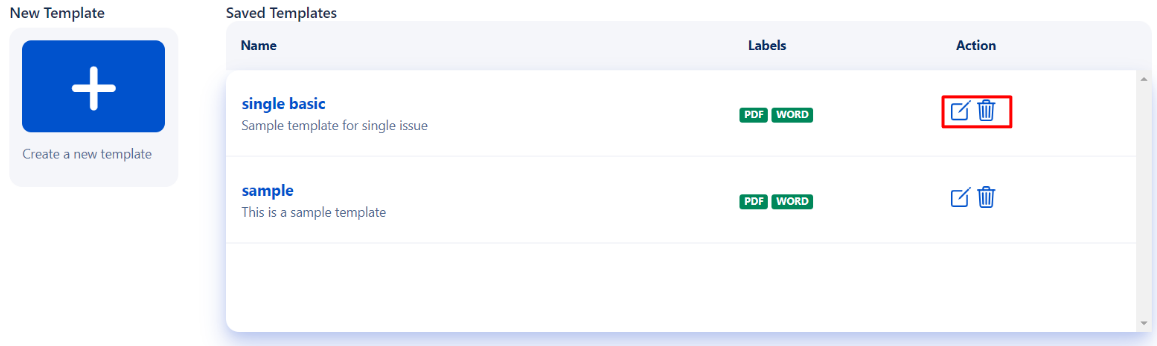
- To create a new custom template, click on the “+” button.
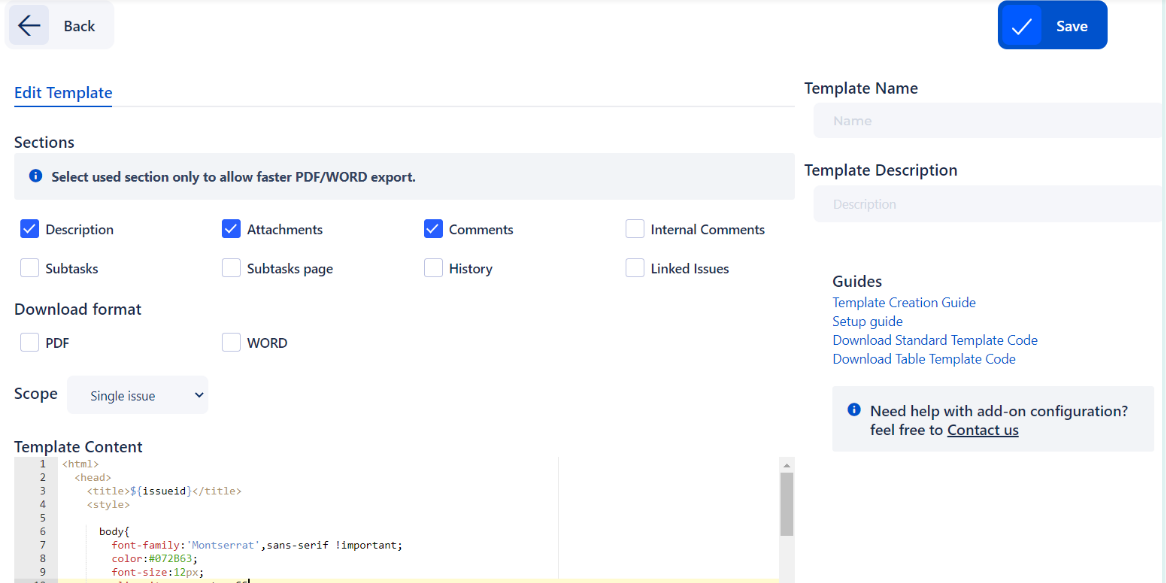
- Enter the Template name, Template Description, and Template Content.
- Select the sections which you want to add to the template ( selecting only the required sections will reduce the download time ).
- Select the Formats for which this template can be used.
- If only PDF is selected, that PDF cannot be used for WORD download.
- Click on Save Button to save the template.
- To Edit or delete a template, click on the icons for the template.


Did this page help you?
