Comprehensive REST API Authentication Documentation
Securely connect external apps to Jira, Confluence, and Bitbucket using OAuth, JWT, or API tokens while controlling access and protecting data.

Rest API Authentication: The Expert's Guides
Atlassian REST API authentication documentation this guide provides practical implementation strategies.


App Resources: Video Guides


App Resources: Explore Blogs
Handbook
Rest API Authentication
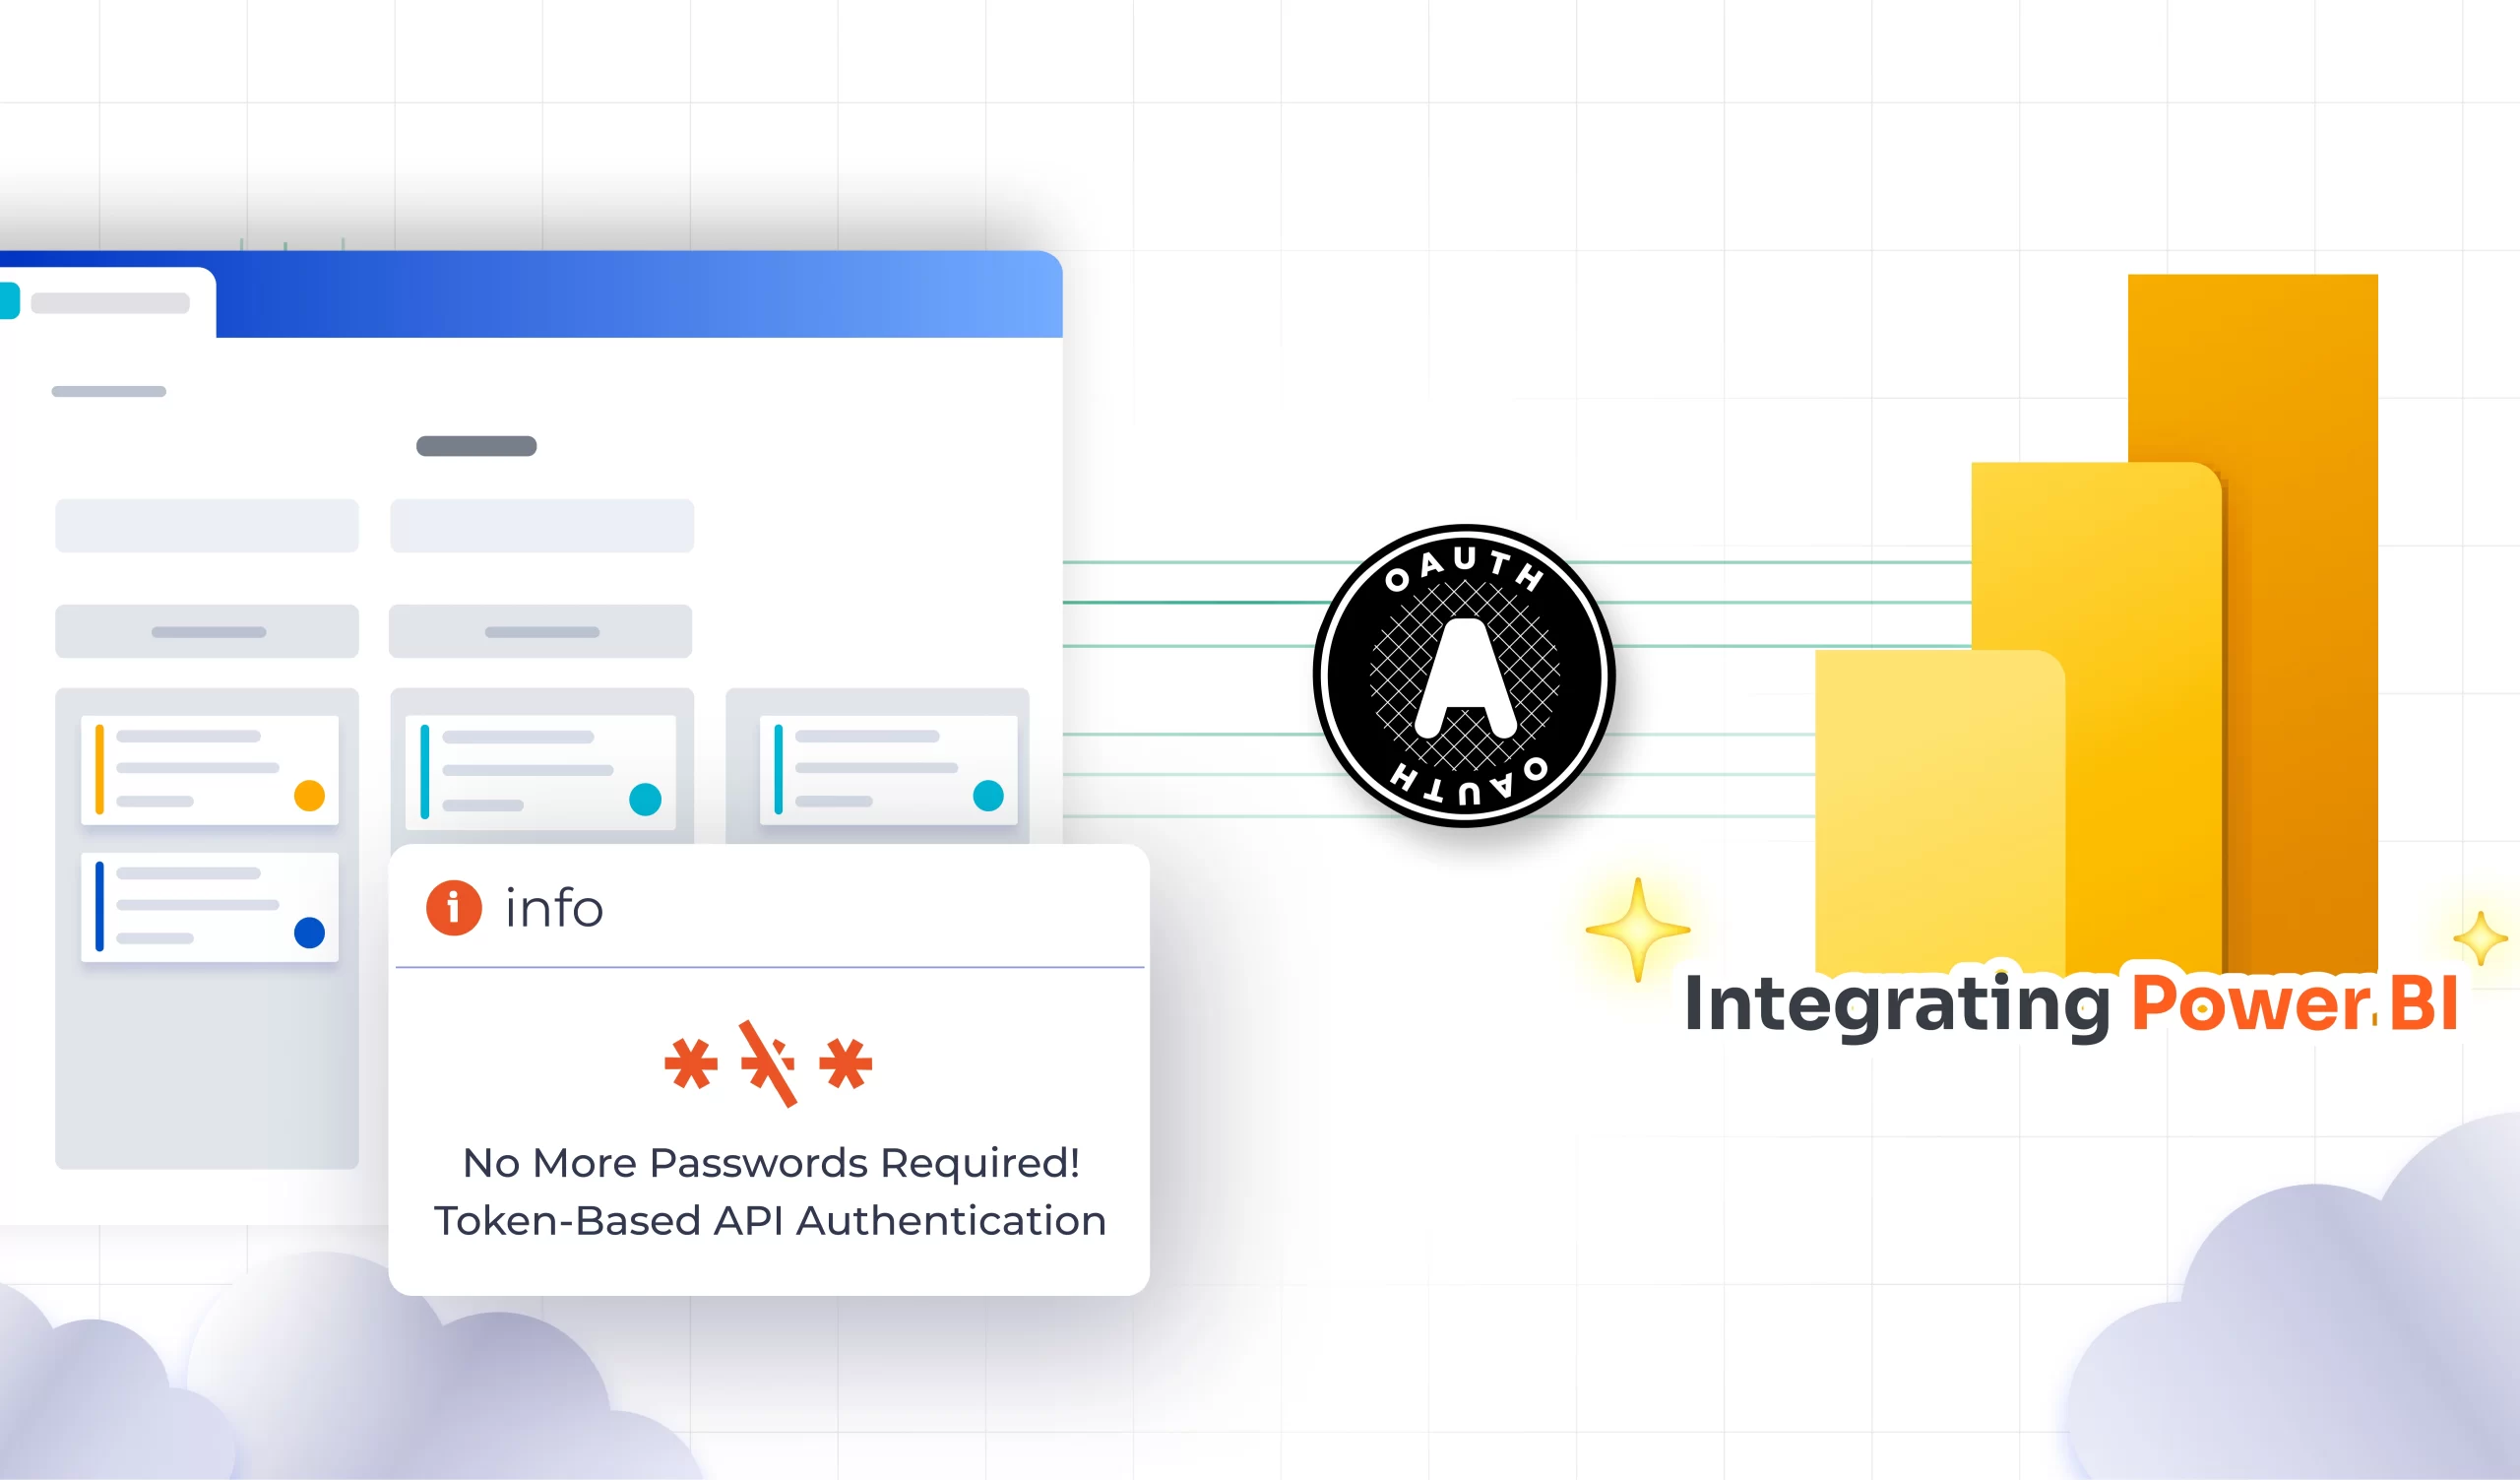
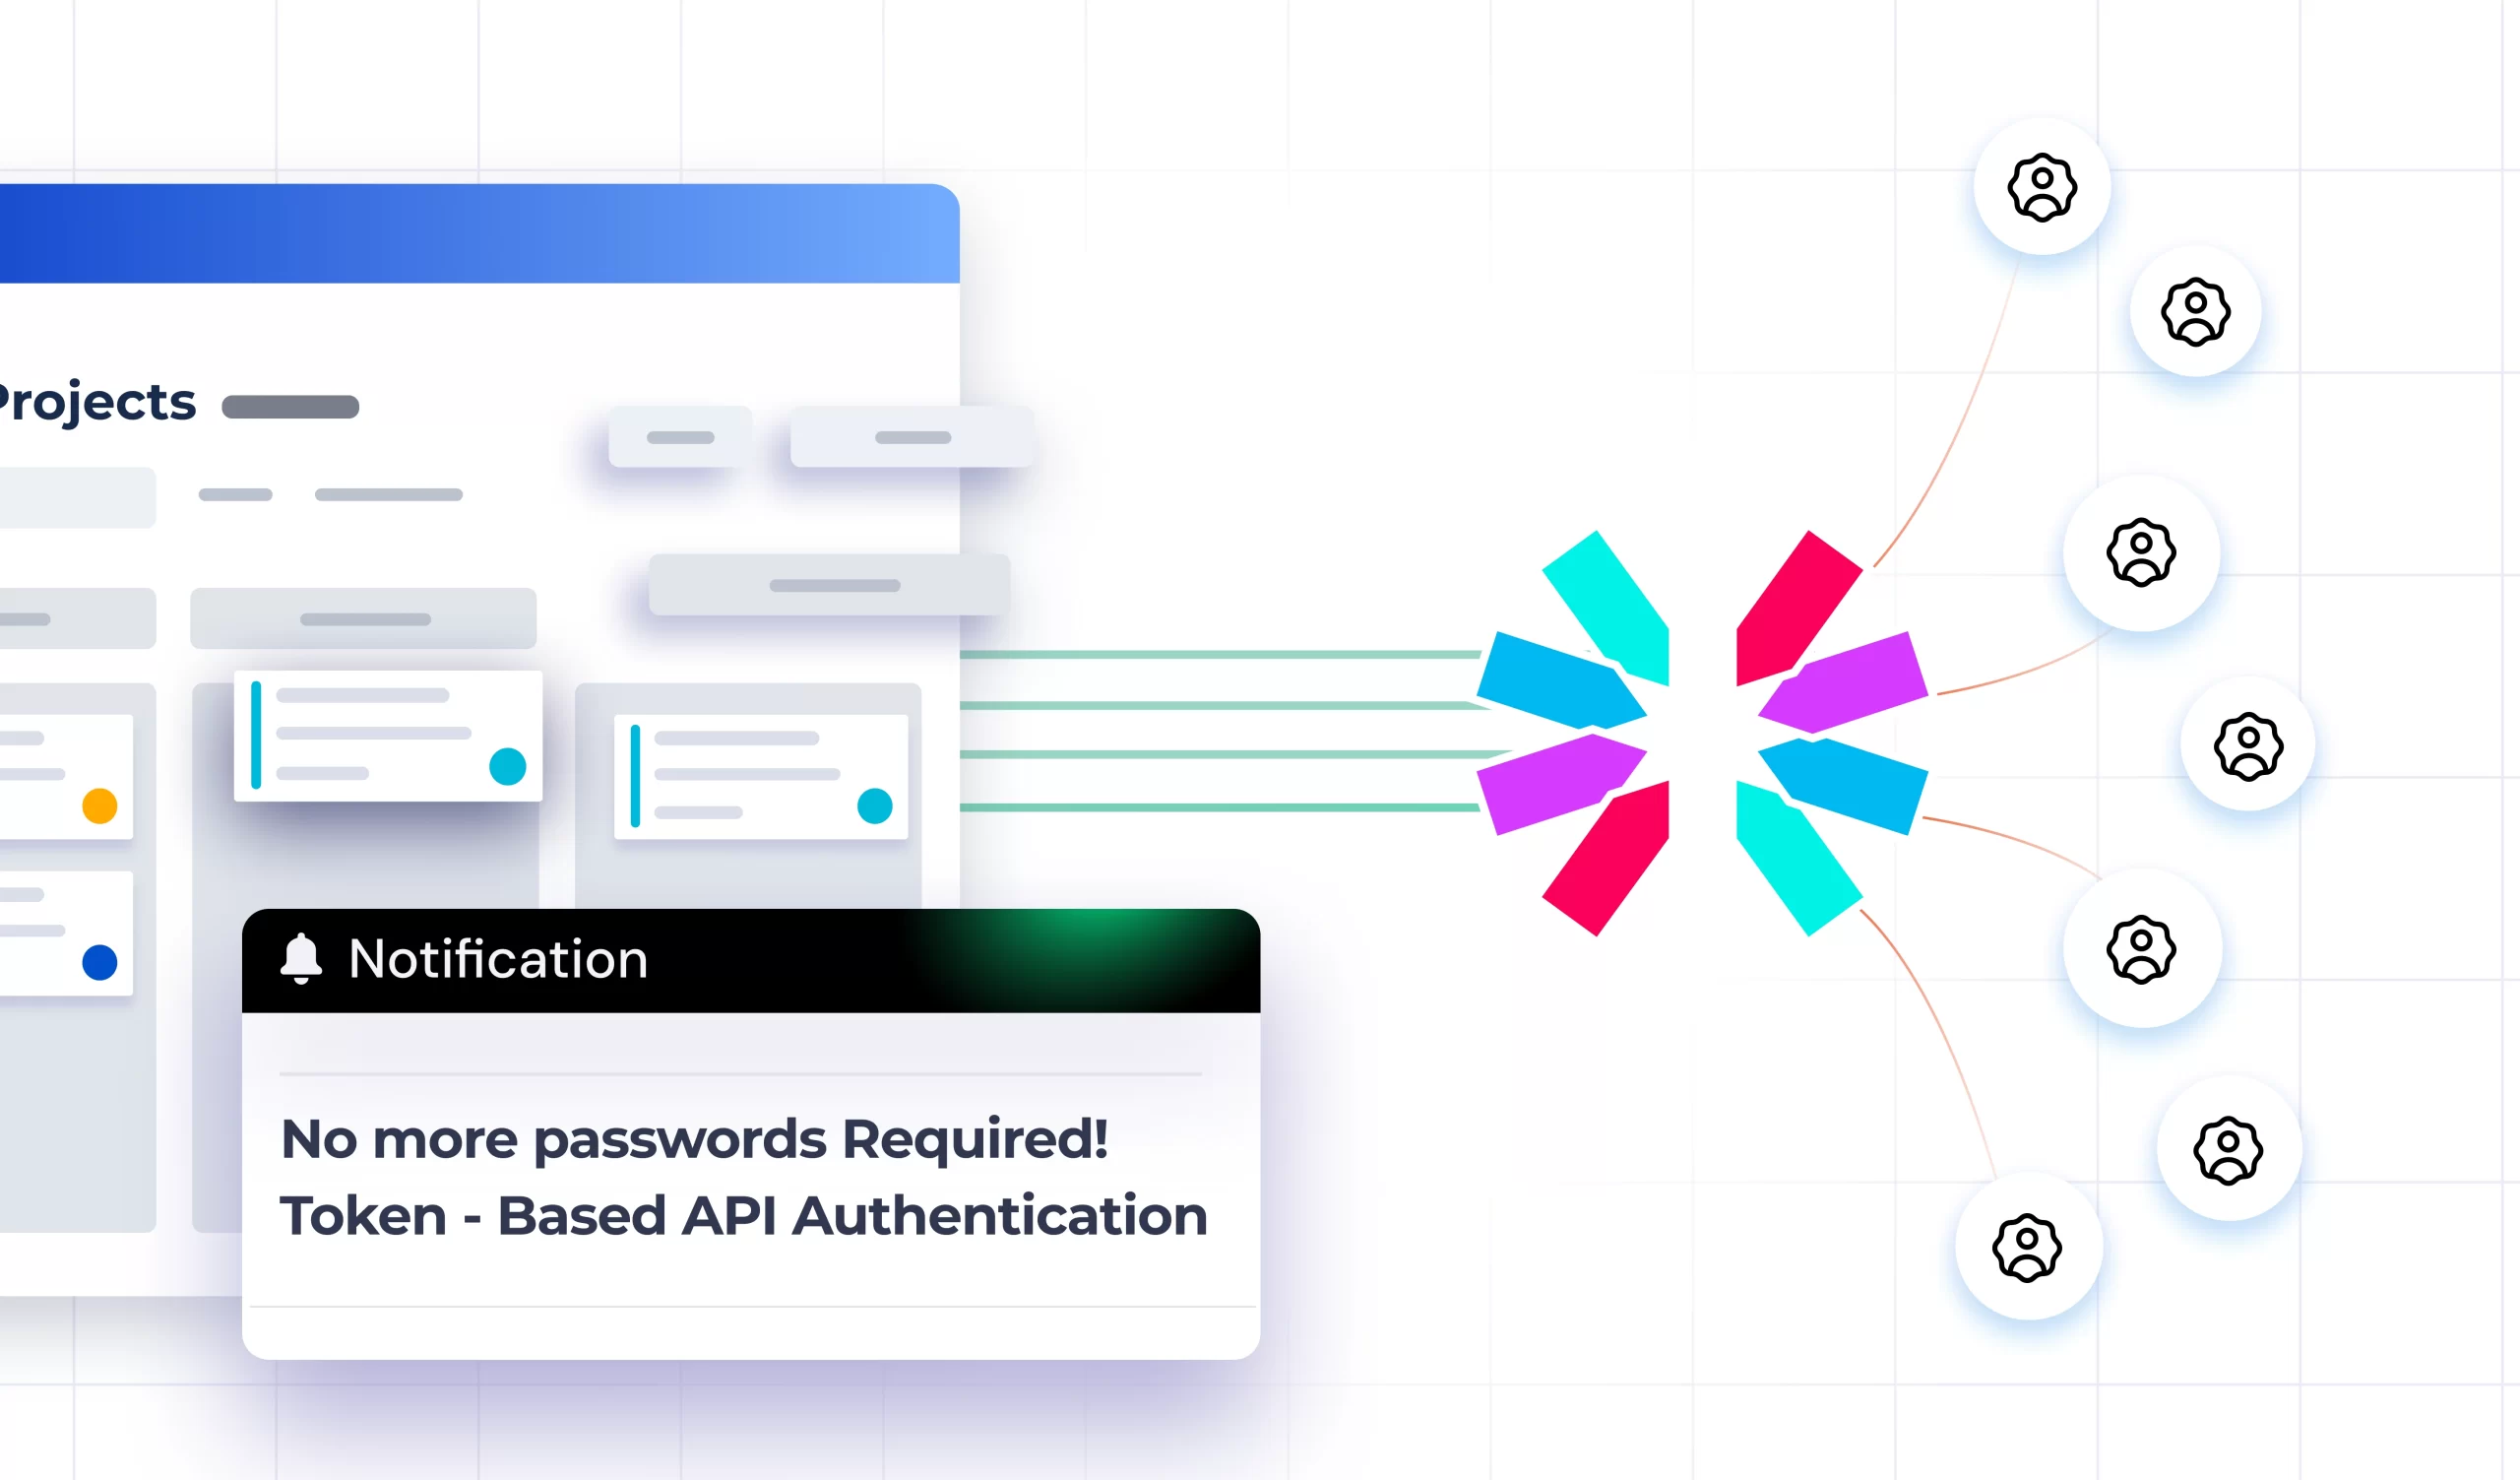
miniOrange's Enhance API Security for REST APIs with OAuth/API Token plugin allows you to secure your Jira, Confluence and Bitbucket REST APIs using Basic, Bearer, and OAuth 2.0 authentication methods.
Know More
Blog
Authentication methods to Secure Jira/Confluence data center Rest APIs
Secure Atlassian REST API in 2026: Your Essential Guide by miniOrange Atlassian Experts
Know More
Usecase
Integrating Jira REST API with PowerBI Using Okta OAuth 2.0 Tokens
Know More
Usecase
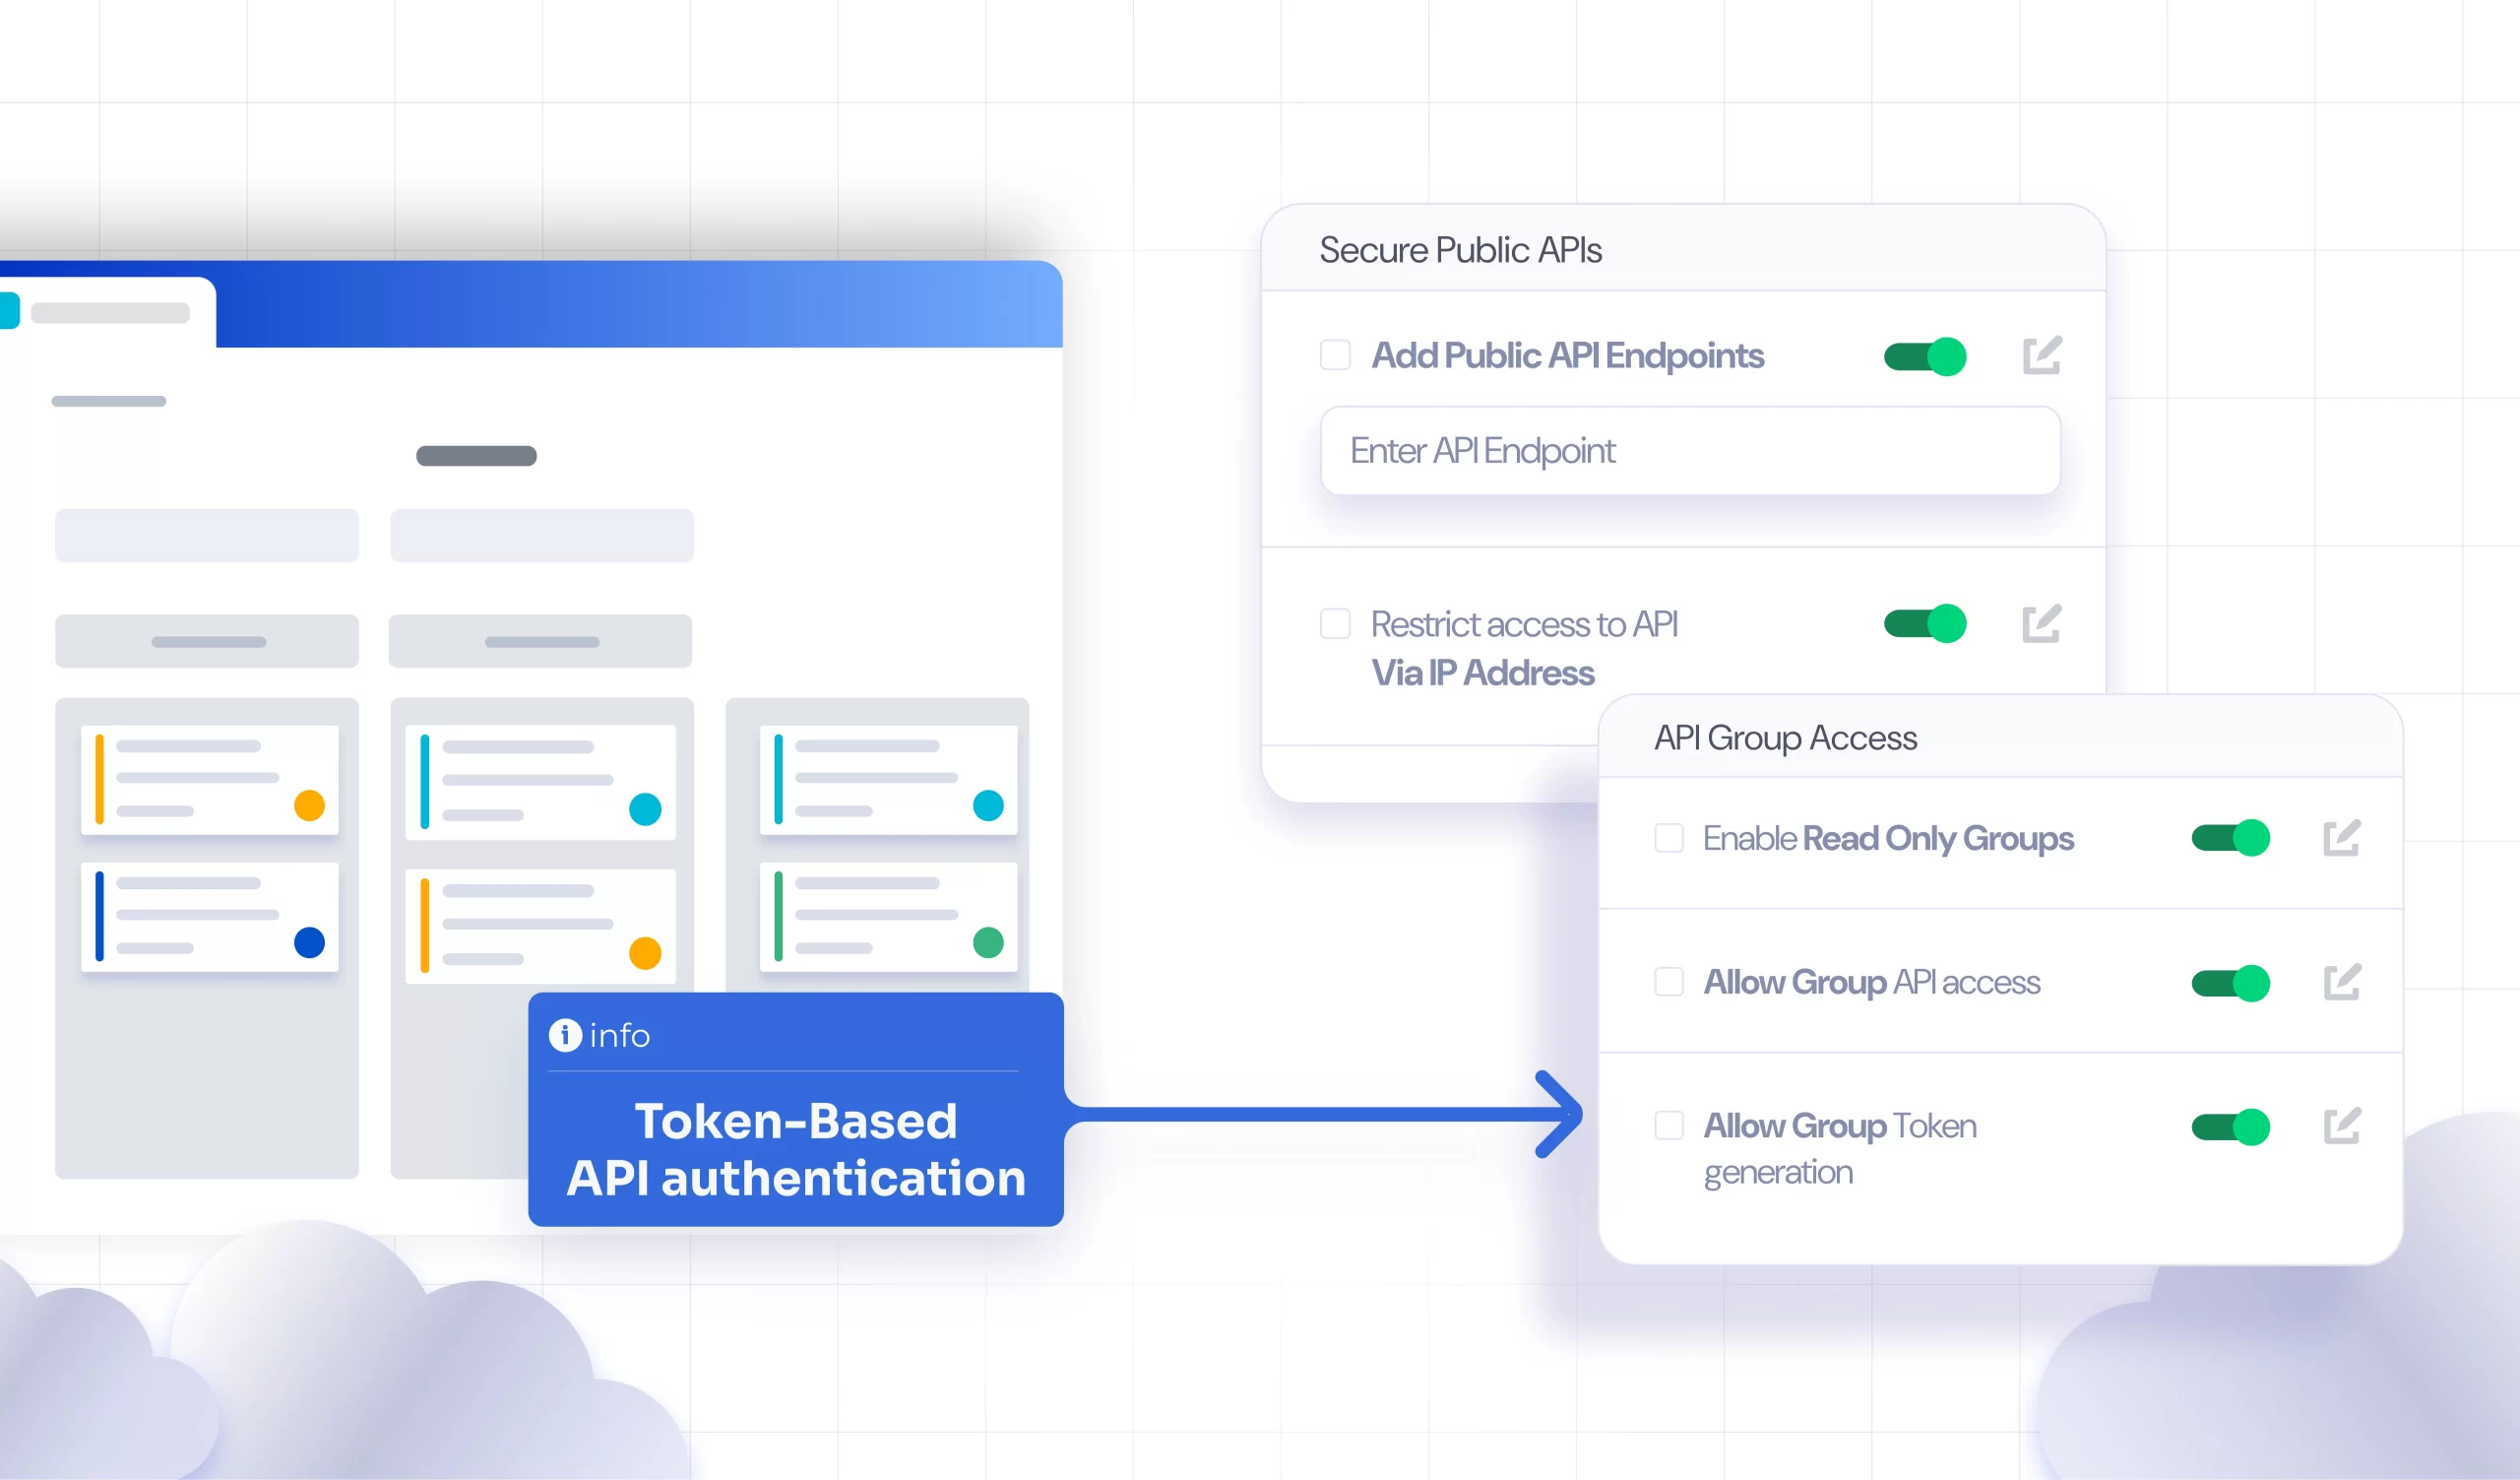
Enhancing REST API Security with Fine-Grained Authentication Control
Know More
Usecase
Securing Jira REST API Access with Azure OAuth 2.0
Know More
-
Does this app replace Jira’s existing authentication?
No. It adds an extra authentication layer for REST APIs while retaining Jira’s default methods. Existing methods like basic auth, personal access tokens, and app links still work unless restricted in the plugin’s Global Settings.
-
What authentication methods are supported by the app?
The app supports API tokens, JWT tokens (via certificate or key), authorization grant flow for major providers, and client credentials token validation via introspection. It offers flexibility to choose methods suited to your security needs.
-
Can I restrict or control API access?
Yes. The app supports IP-based and group-based restrictions, giving admins precise control over who can access Jira REST APIs and from where.
-
Can I use tokens from my own OAuth provider to authenticate Jira REST APIs?
Yes. The app supports custom OAuth providers and validates tokens via the Custom Authorization Grant option or JWT validation using your provider’s certificates or keys.
