How to Set Up 2FA for PAM Dashboard
Enable and configure two-factor authentication for your own account.
What is Multi-Factor Authentication (MFA)?
Multi-Factor Authentication (MFA) is a security measure that adds an additional layer of identity verification to protect your account. It combines two or more methods to verify your identity:
- The first method is something you know - your username and password.
- The second method is something unique that you possess - your phone, an authenticator app, or a fingerprint.
Even if an attacker obtains your password, they still can't pass authentication without the second factor.
Note: This page covers 2FA for login to the PAM Dashboard. If you want to require two-factor authentication when a user opens a specific resource (Database, SSH, RDP, or Web App), refer to Configure MFA Methods for Users → Requiring MFA on Specific Resources to enable that option.
How to Enable MFA for Your Account
- Log in to the dashboard.
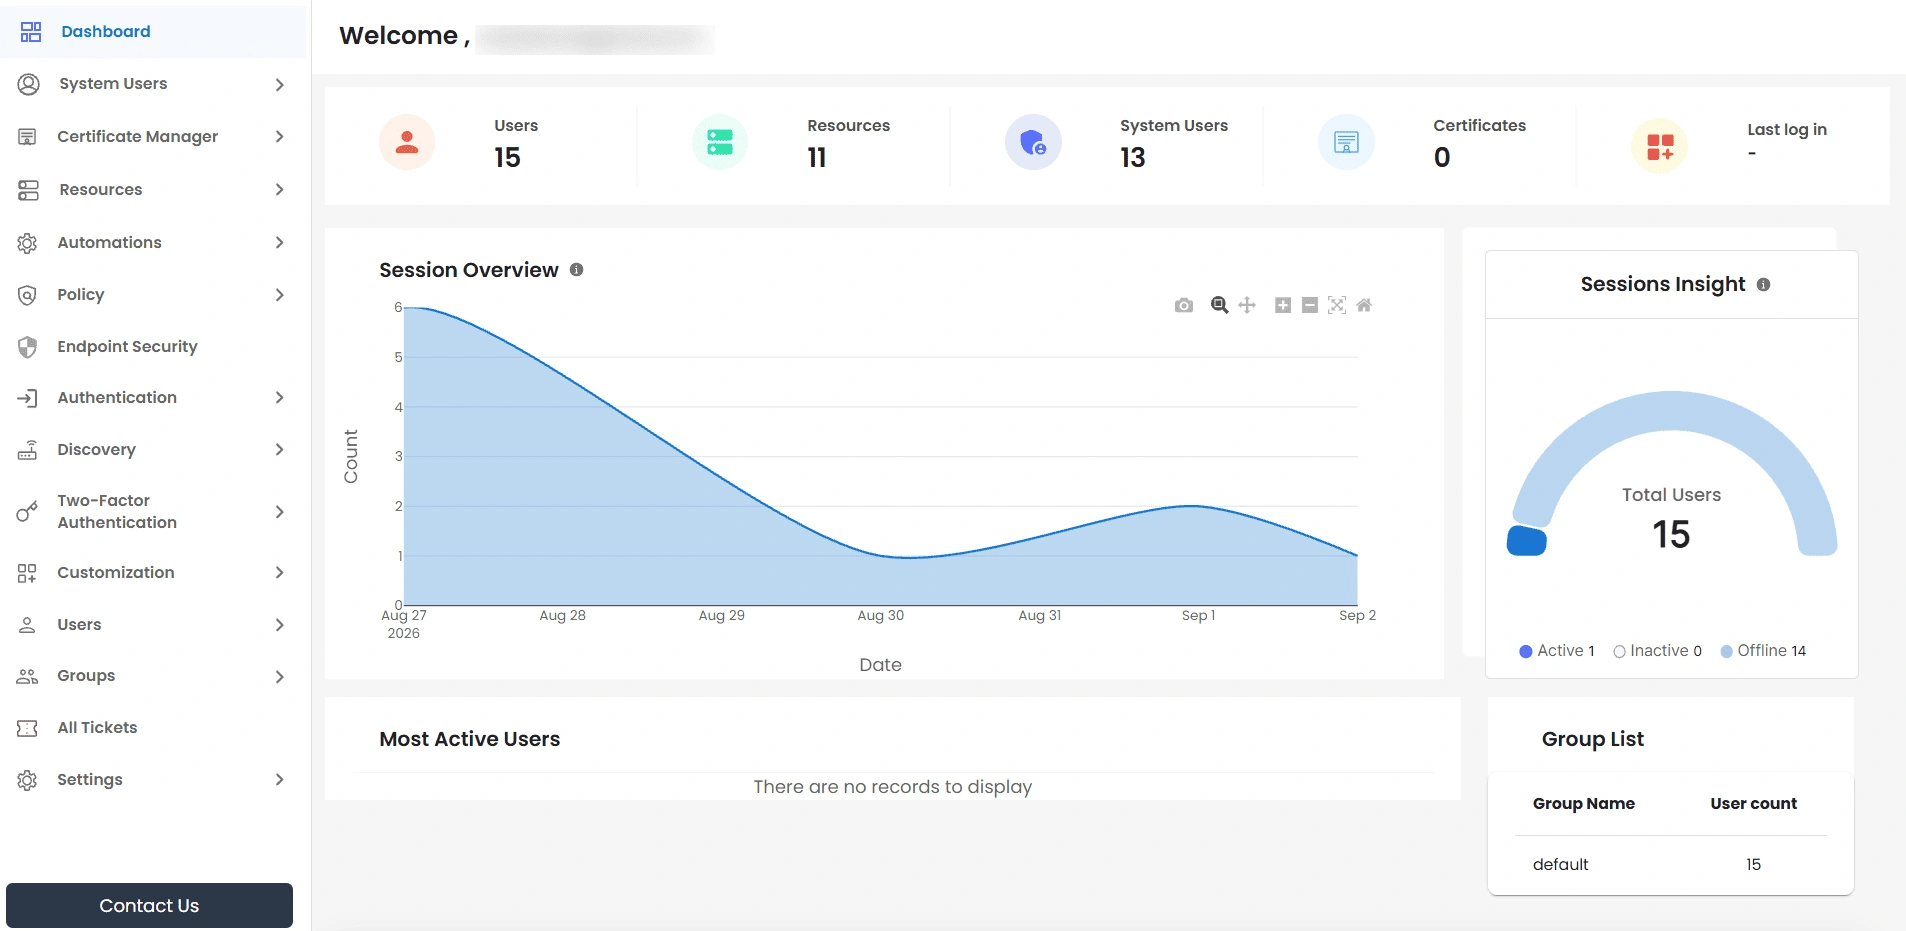
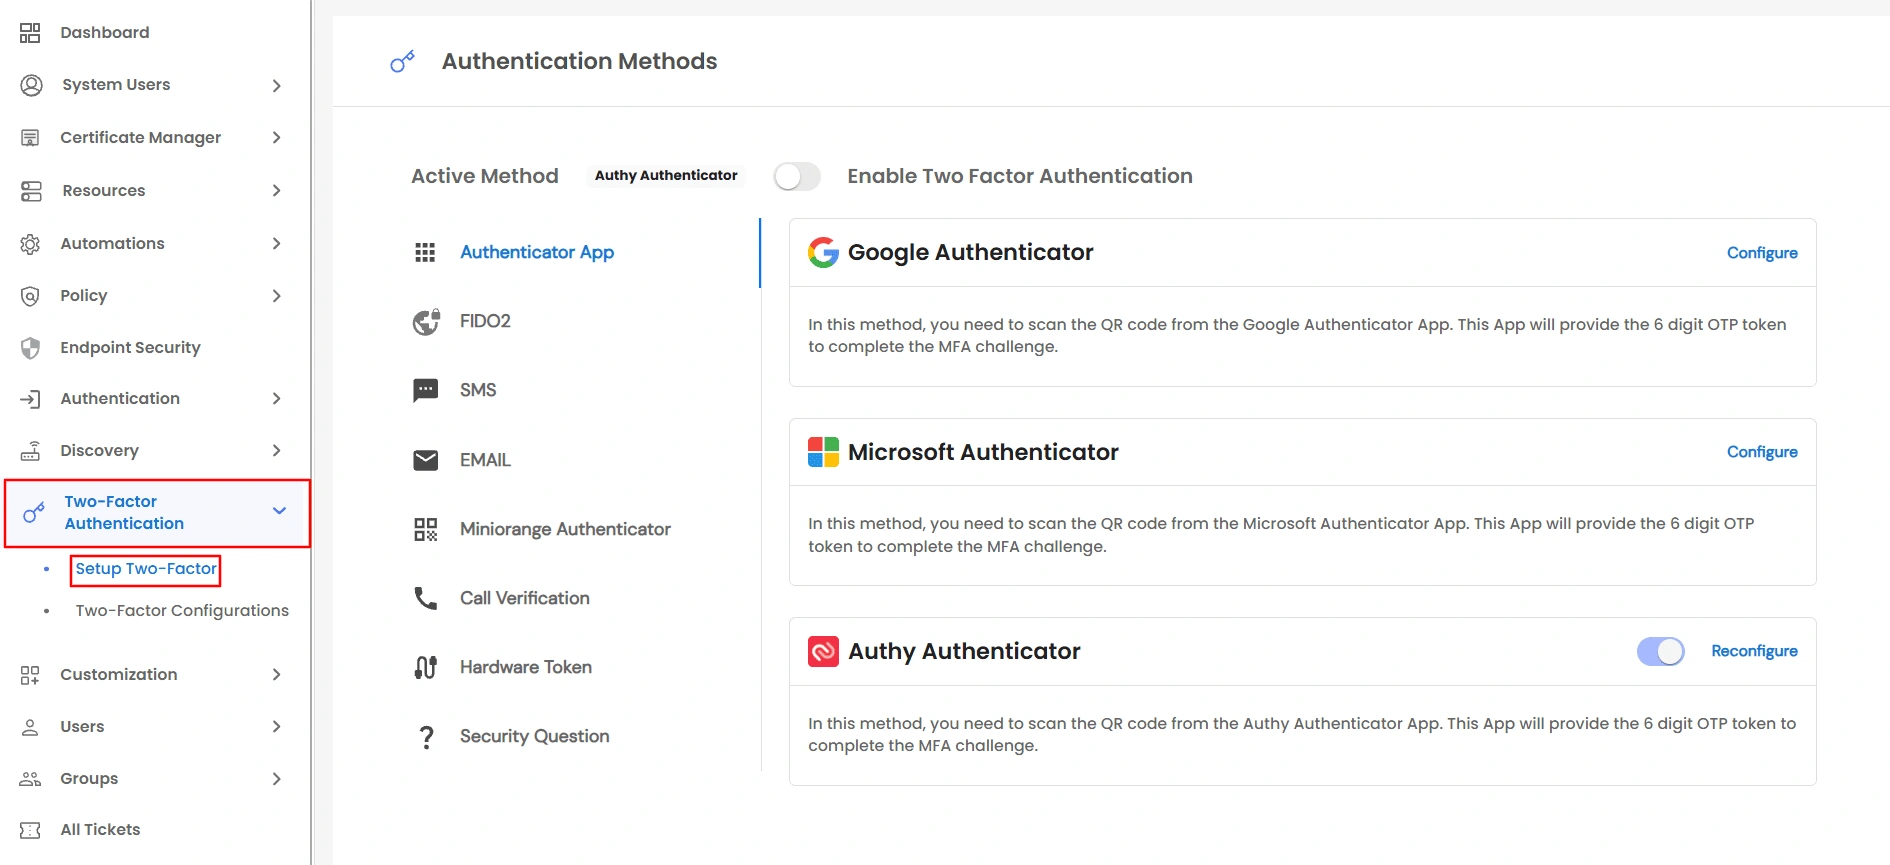
- From the left sidebar, navigate to Two-Factor >> Setup Two-Factor to open the Authentication Methods page, which lists every method your admin has allowed.
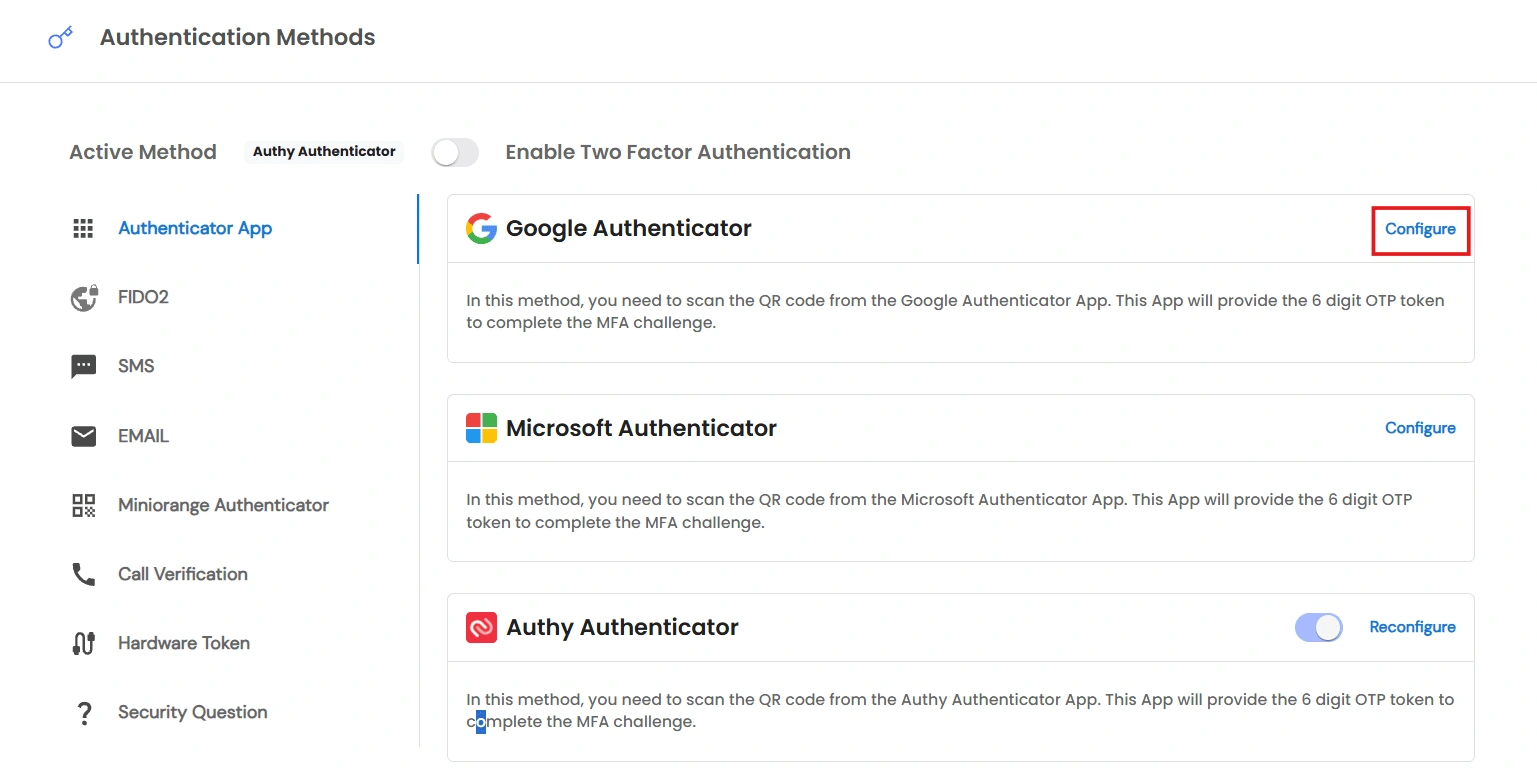
- Select a method category on the left, then click Configure on the method you want to set up.
- Complete the setup for that method - see the steps for each method below.
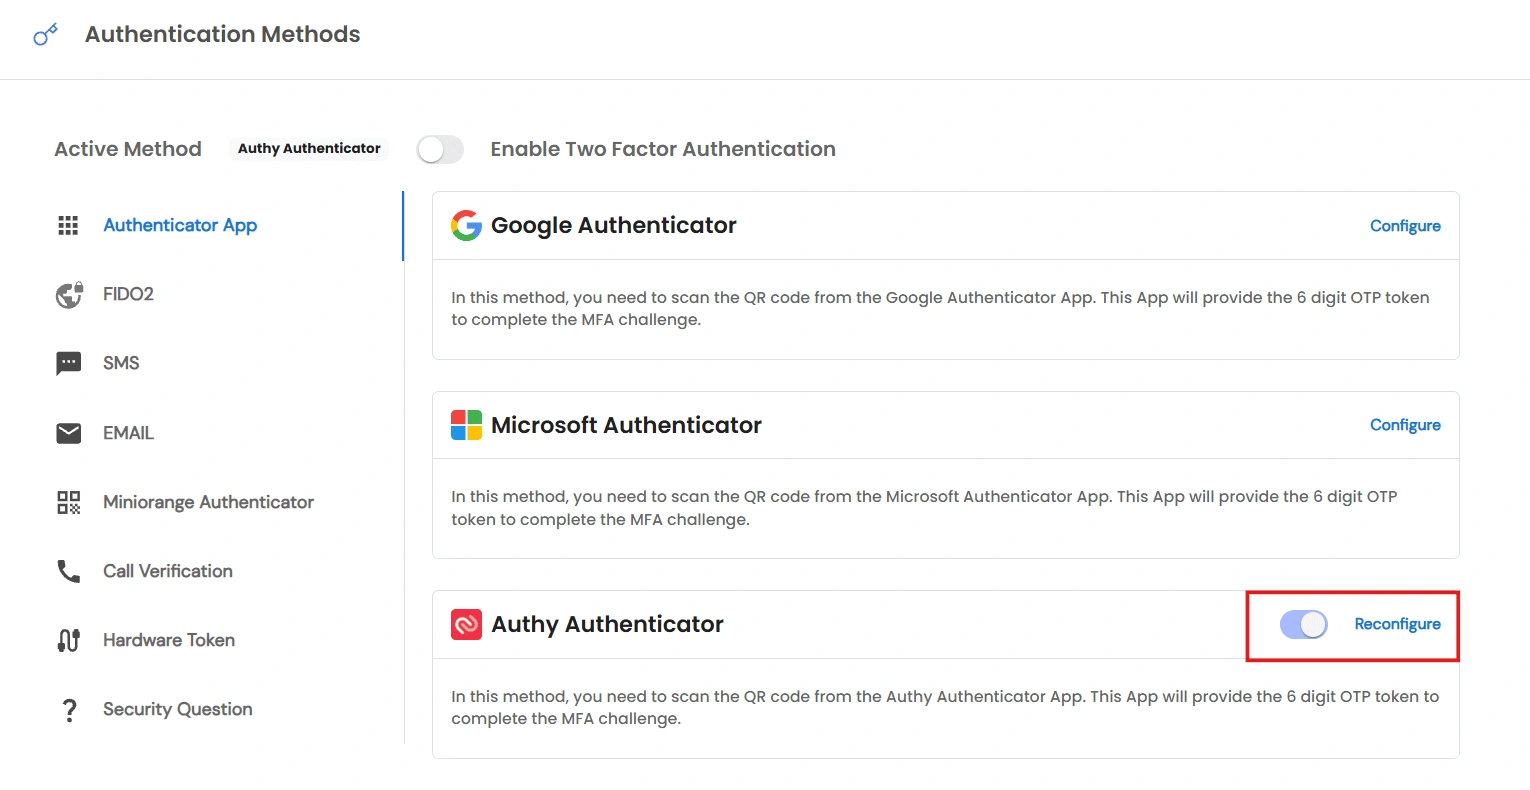
- Once configured, use the switch on the method's card to mark it as your Active Method. This is the method you'll be prompted to use at login.
Note: If you're an end user rather than an admin, this page is reached from a single sidebar link labeled Setup 2FA instead of the Two-Factor Authentication section. It opens the same Authentication Methods page.
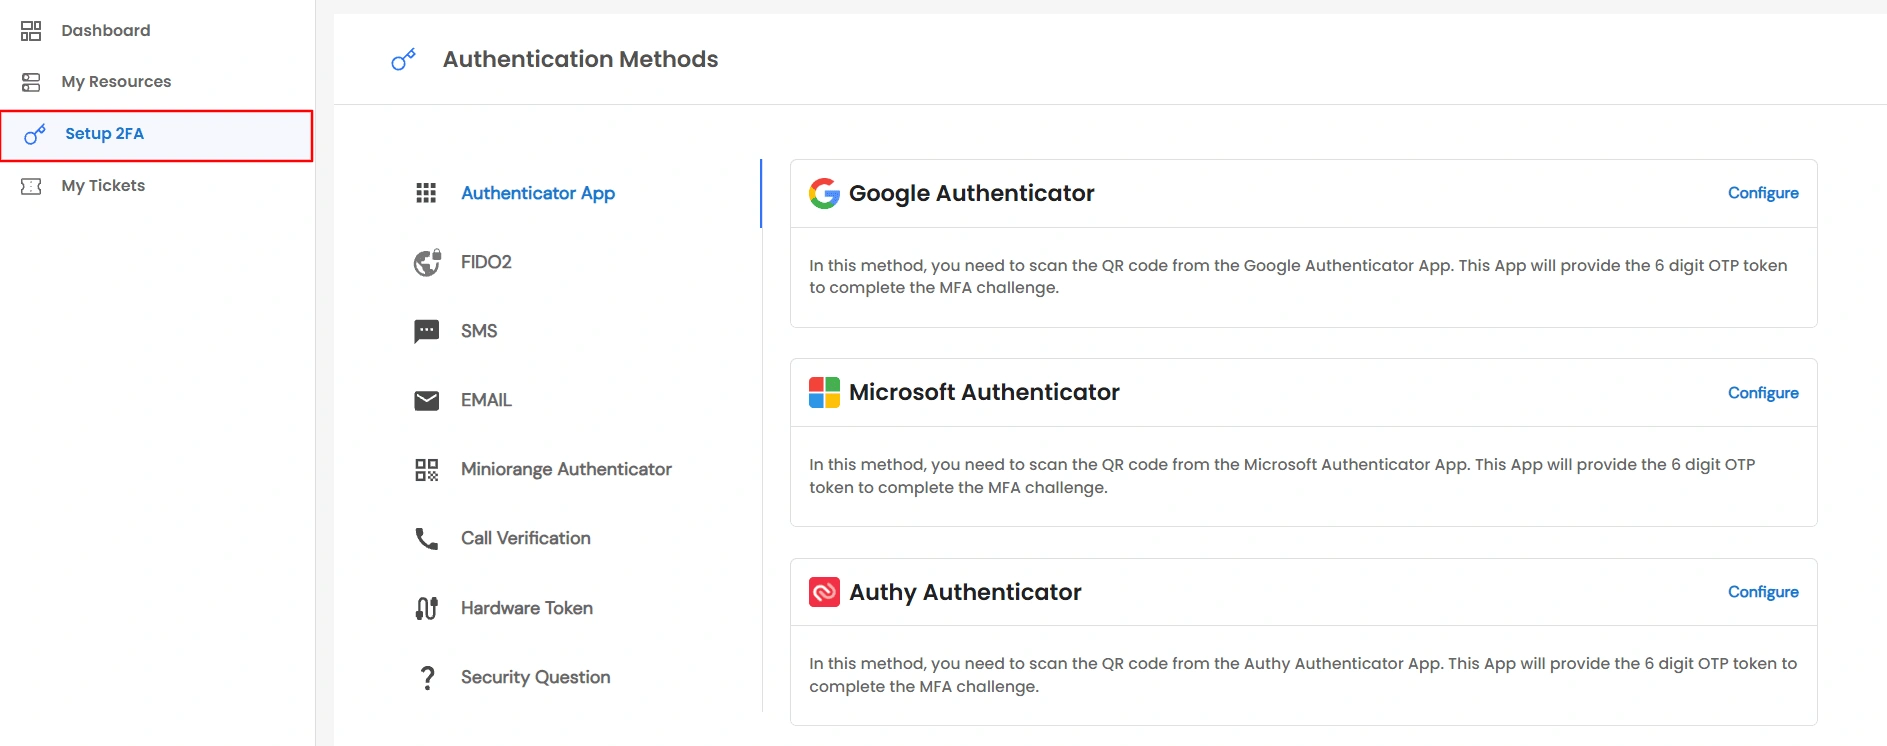
If no methods appear on this page, your admin hasn't configured any allowed methods for your account yet — reach out to your admin. If your admin has applied their own MFA to all users, this page won't be available - you'll authenticate using your admin's credentials instead.
Setting Up Each Method
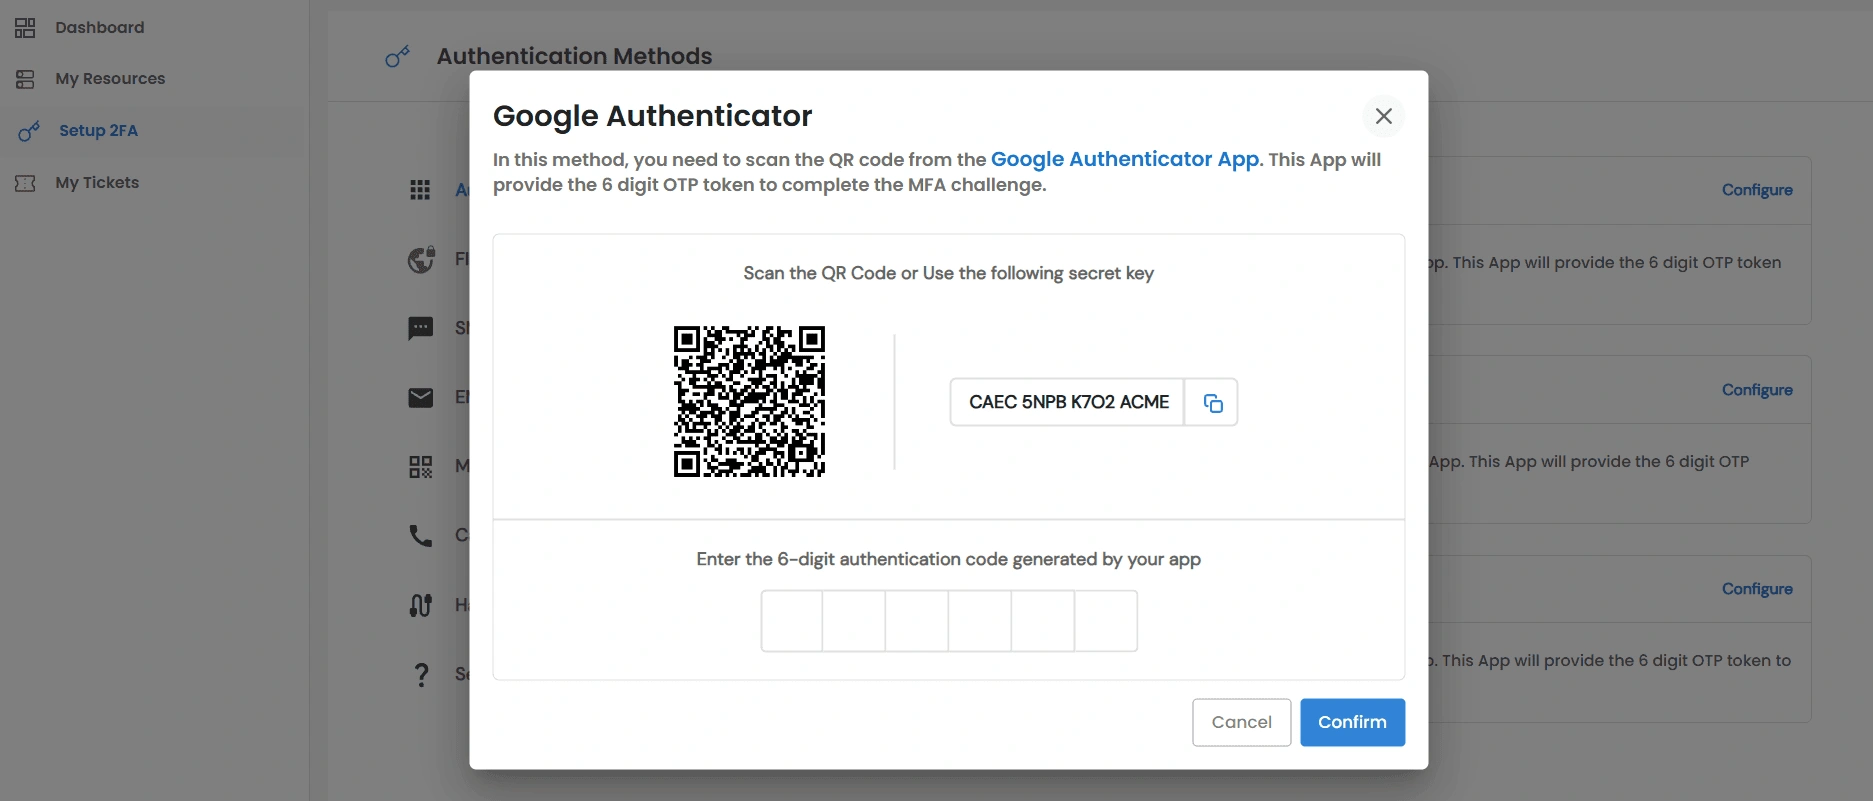
Authenticator App (Google / Microsoft / Authy)
- Scan the QR code shown with your app, or copy the secret key (shown in 4-character groups) and enter it manually. Enter the 6-digit code your app generates and click Confirm.
FIDO2 (Biometric)
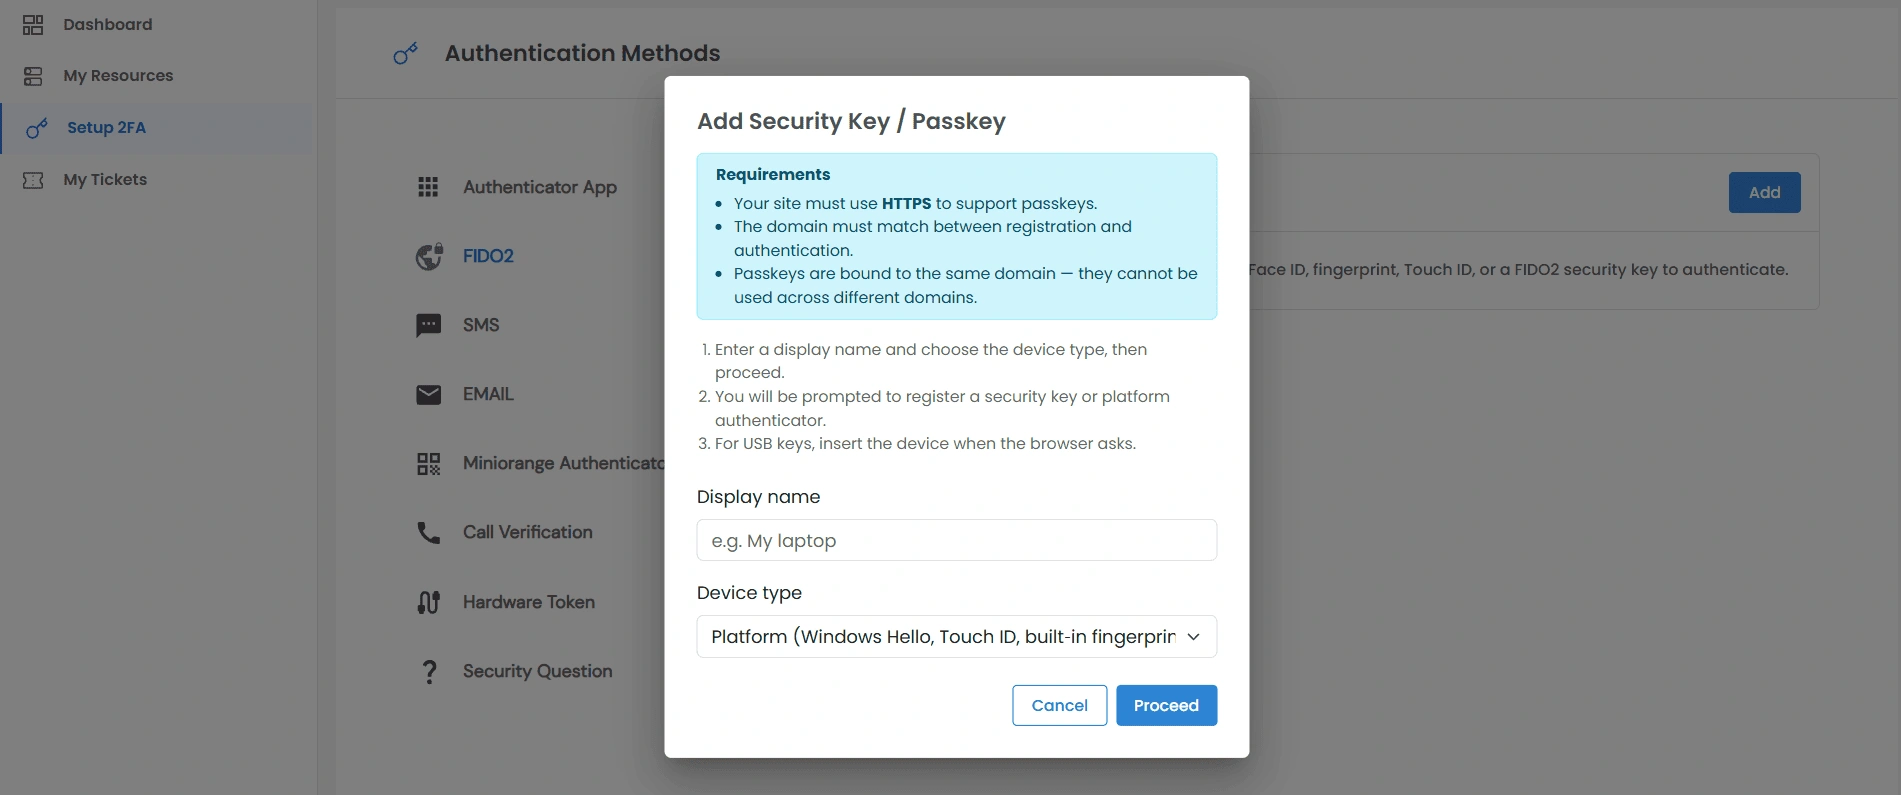
- Click Add on the FIDO2 panel. This opens the Add Security Key / Passkey dialog. Enter a name, then choose Platform (Windows Hello, Touch ID, fingerprint) or Cross-platform (physical security key), and follow your browser's prompt.
- You can register multiple keys and rename or delete any of them later.
- Requires HTTPS; a passkey only works on the domain where it was registered.
Miniorange Authenticator
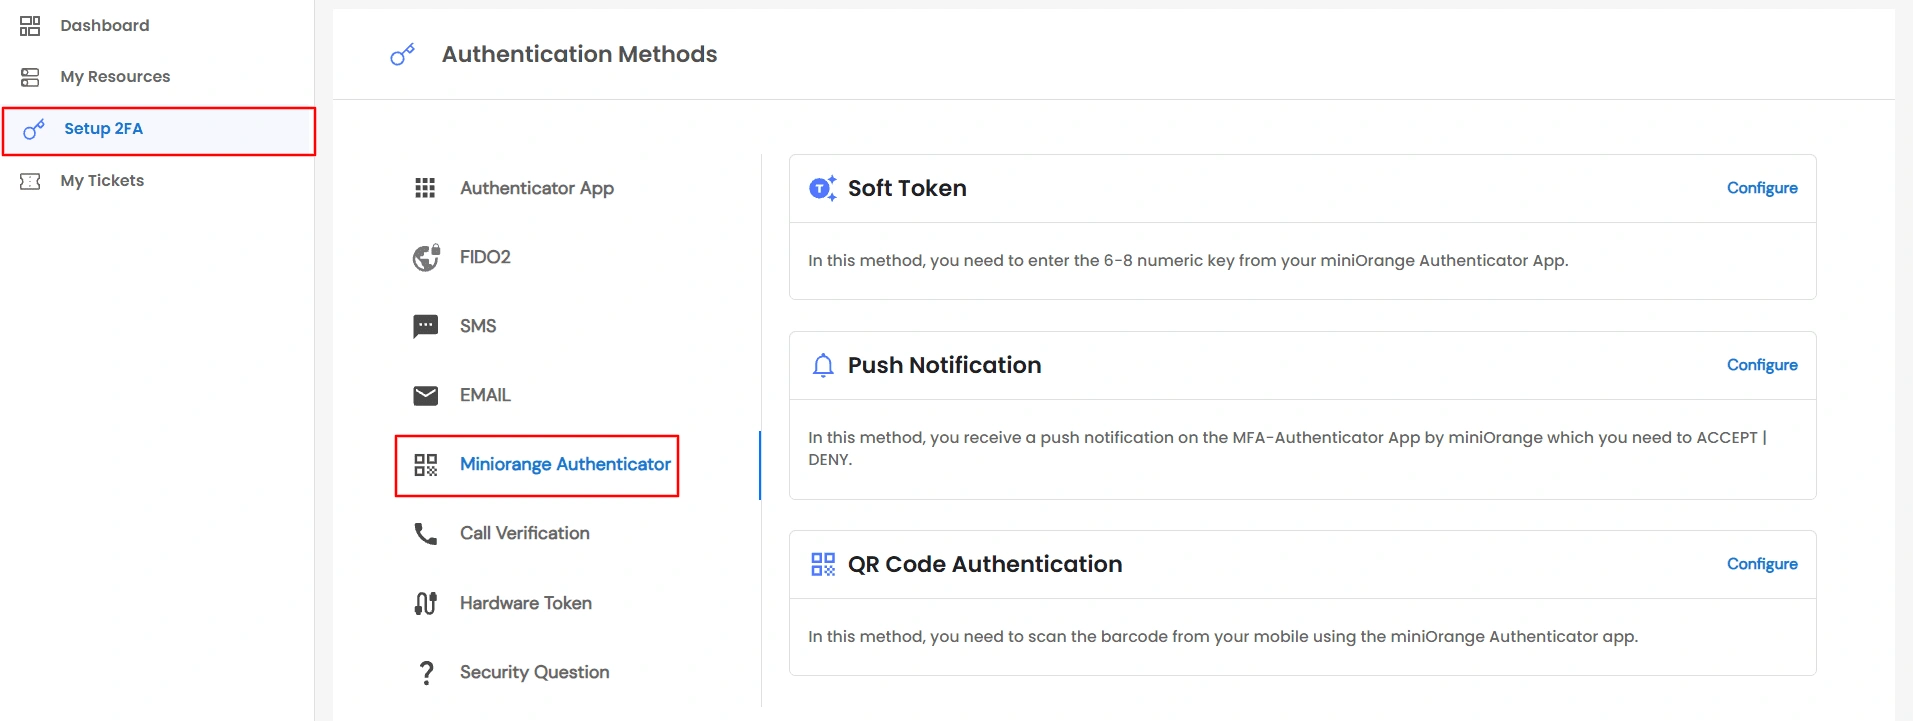
- Scan the QR code with the miniOrange Authenticator app. The page checks automatically and enables Confirm once your device responds.
SMS / Email / Call
- Enter your phone number (SMS/Call) or confirm your email, then click Send OTP (or Send Link). Enter the code and click Verify OTP, or approve the link/push prompt on your device.
Security Question
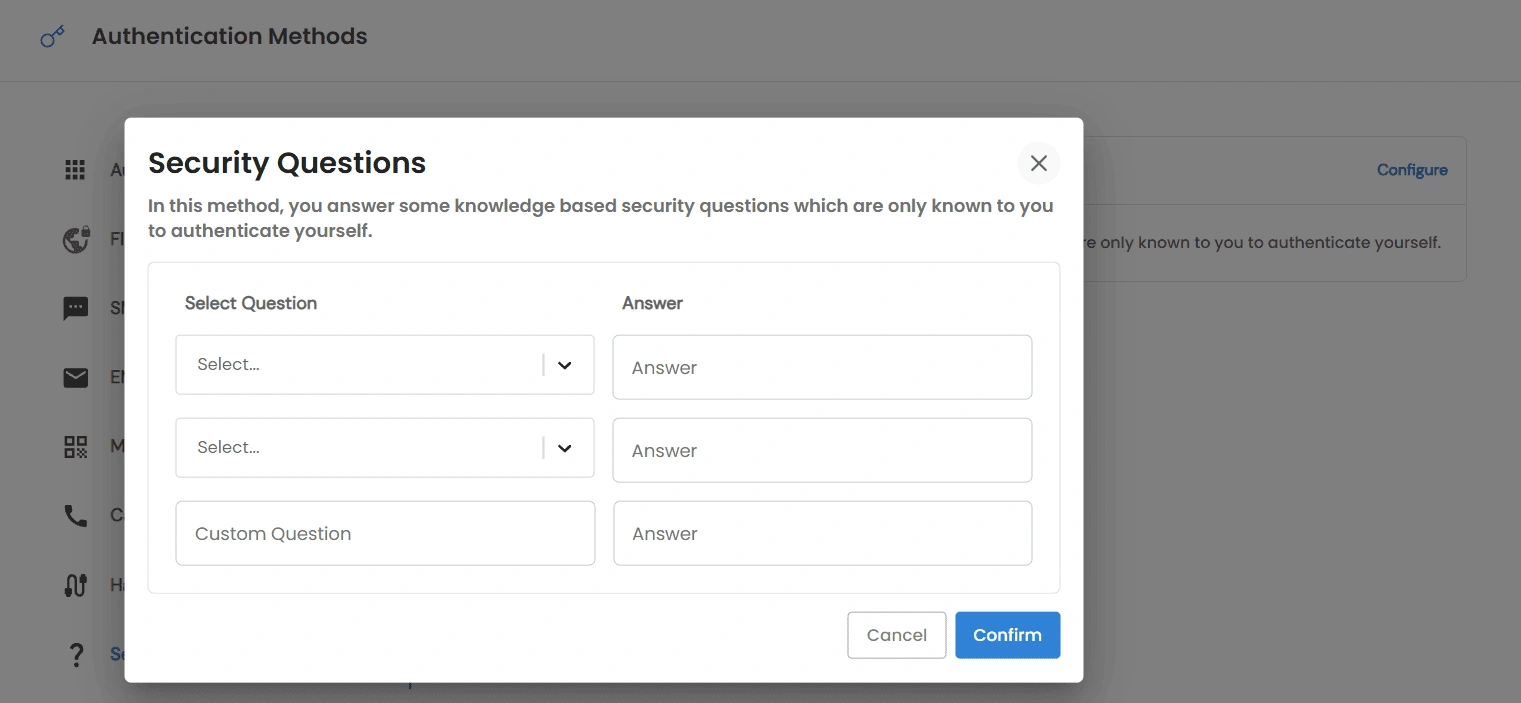
- Choose two different security questions and write one custom question, then answer all three. Click Confirm. Click Reconfigure later to change your answers.
Hardware Token — Yubikey
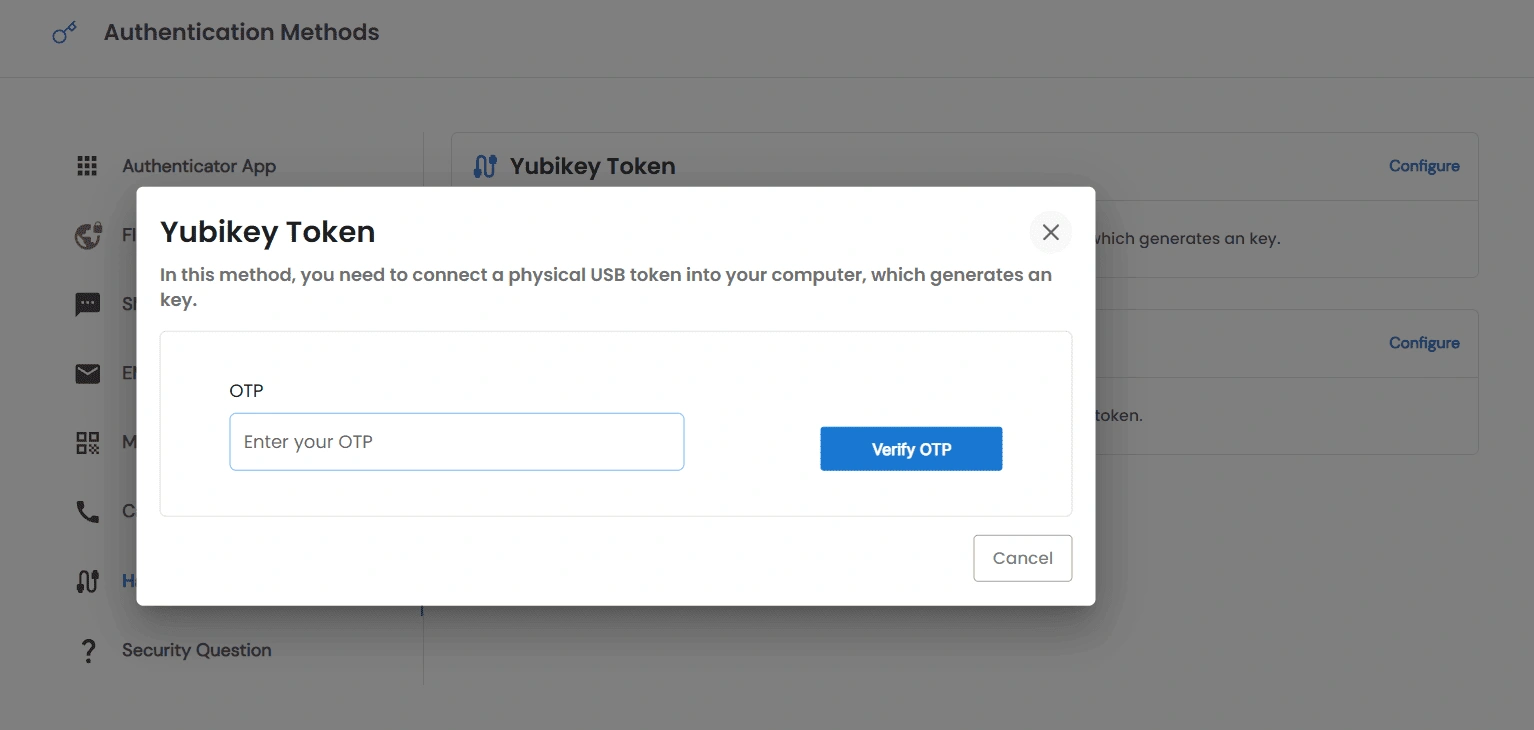
- Enter the OTP generated by your Yubikey device and click Verify OTP.
Hardware Token - Display Token
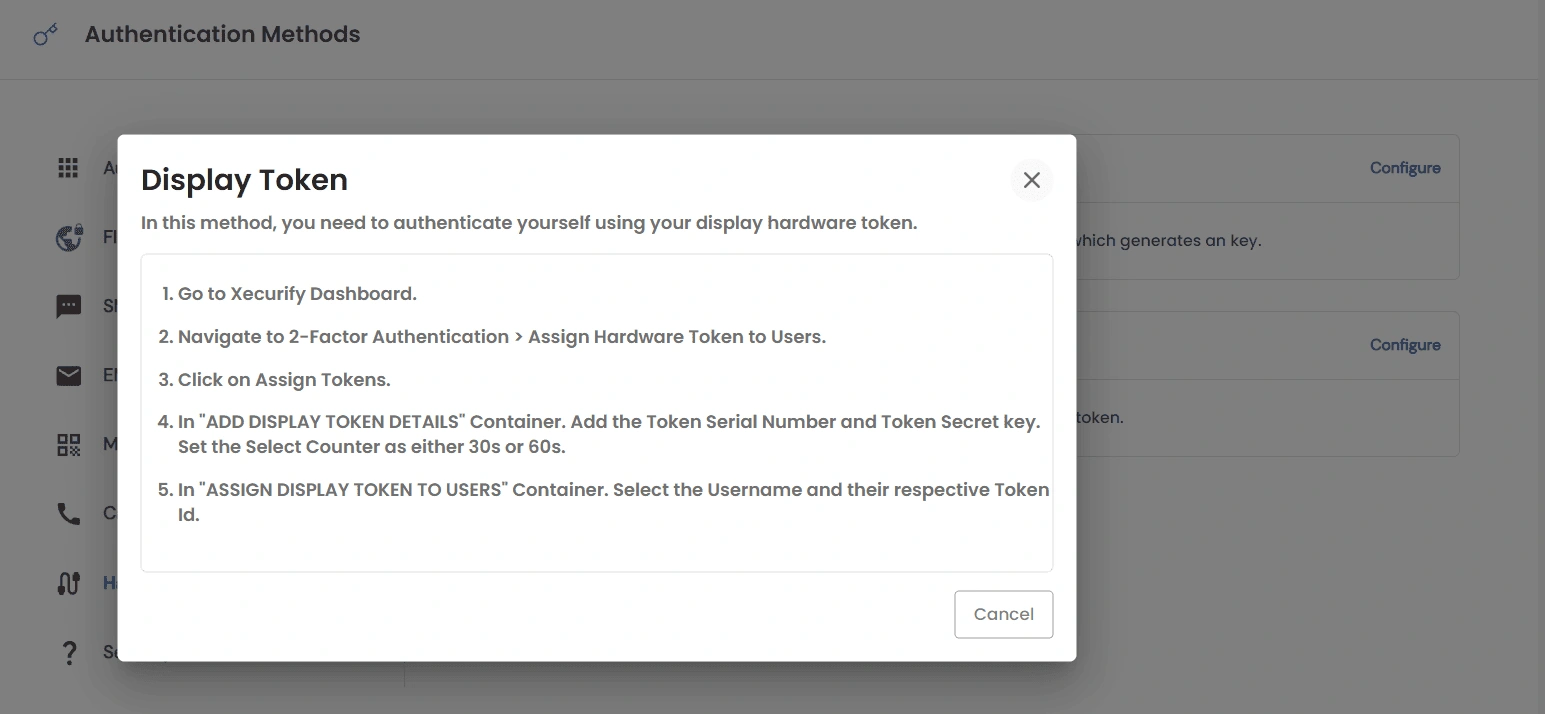
- This method is provisioned by your admin through miniOrange's external dashboard, not from within PAM. Contact your admin if you need one assigned.
Note: Miniorange Authenticator, SMS, Email, Call, Security Question, and Hardware Token only appear here once your admin has connected the miniOrange IAM and enabled them - see Configure MFA Methods for Users.
Logging In With 2FA
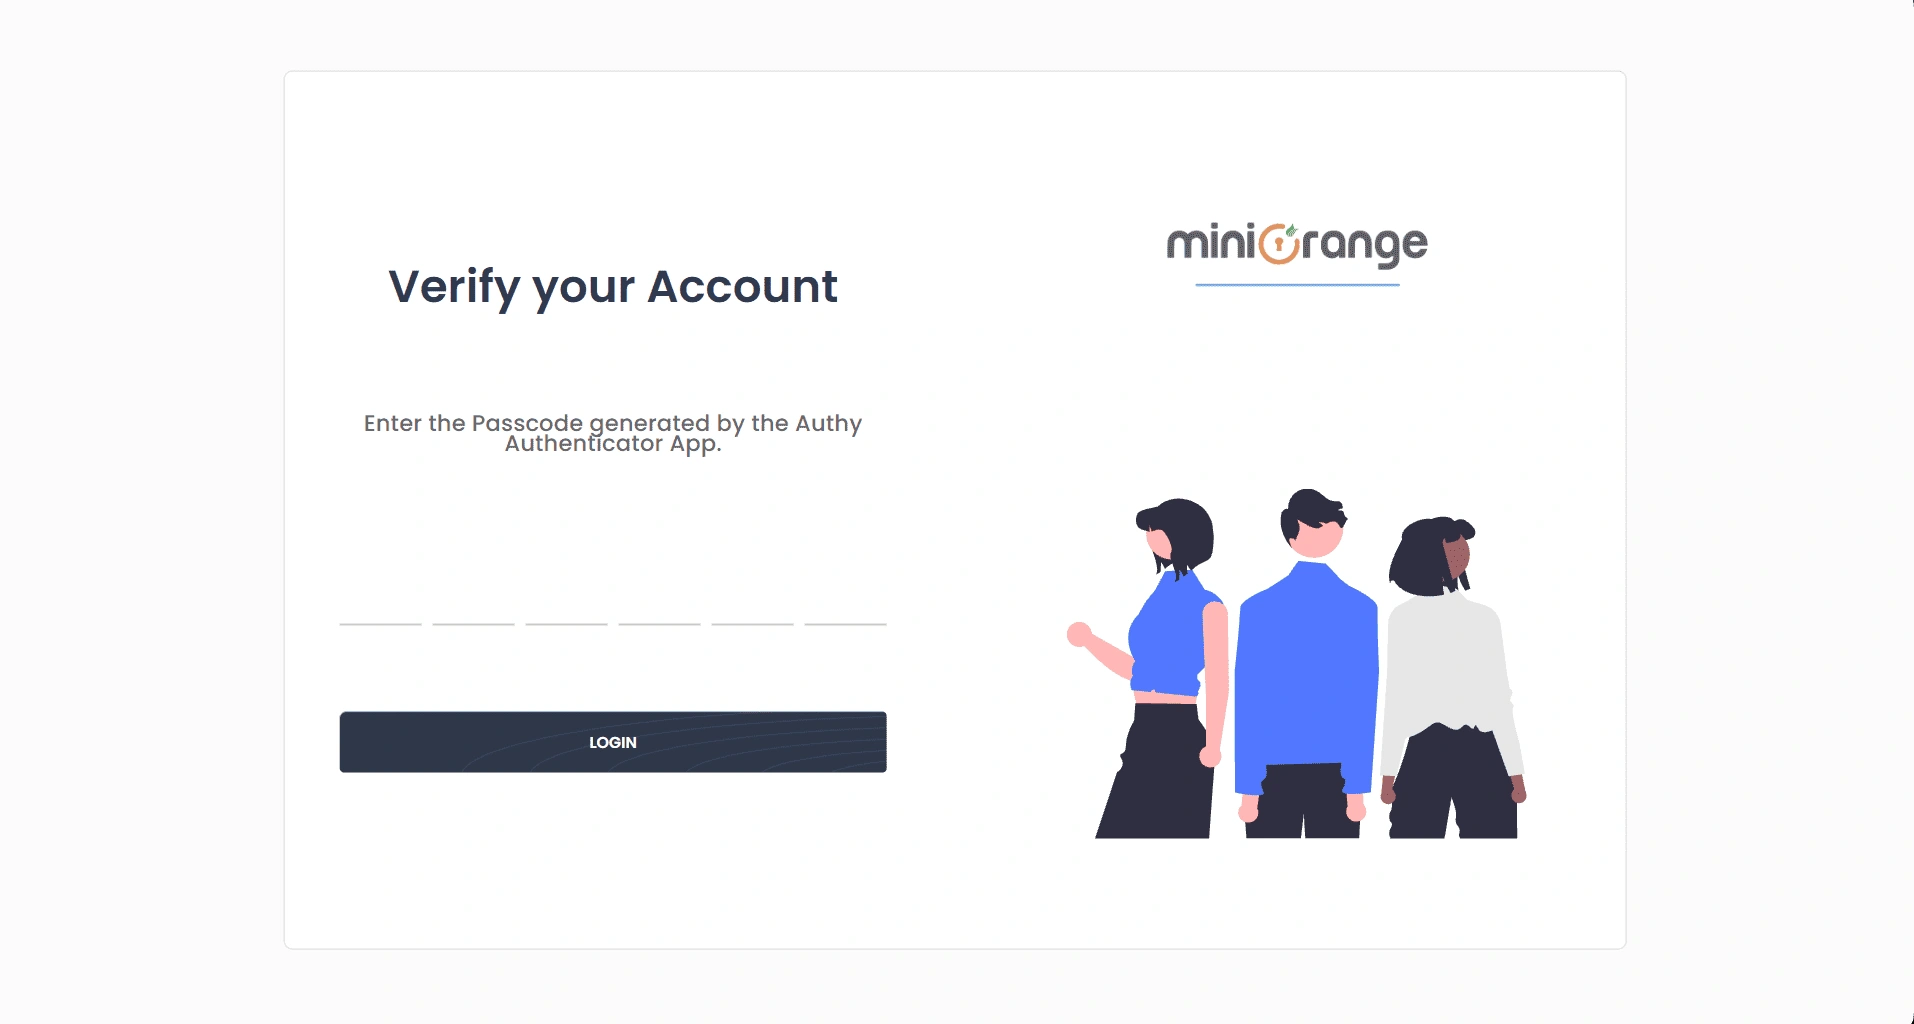
- After entering your password, you'll see a code-entry screen - 6 boxes, 4 for call-based OTP, or a single field for Yubikey. Enter your active method's code and submit.
- A Resend option appears for SMS/Email OTP.
Lost Your Device?
There's no self-service recovery. Contact your admin and ask them to reset your 2FA. You'll be prompted to set up a new method on your next login.

