Hello there!

Need Help? We are right here!

miniorange Support~
miniOrange Email Support
success

Thanks for your Enquiry.

If you don't hear from us within 24 hours, please feel free to send a follow-up email to info@xecurify.com

Search Results:

×

Add Profile Fields in the User Profile


To add a custom field to the user profile:
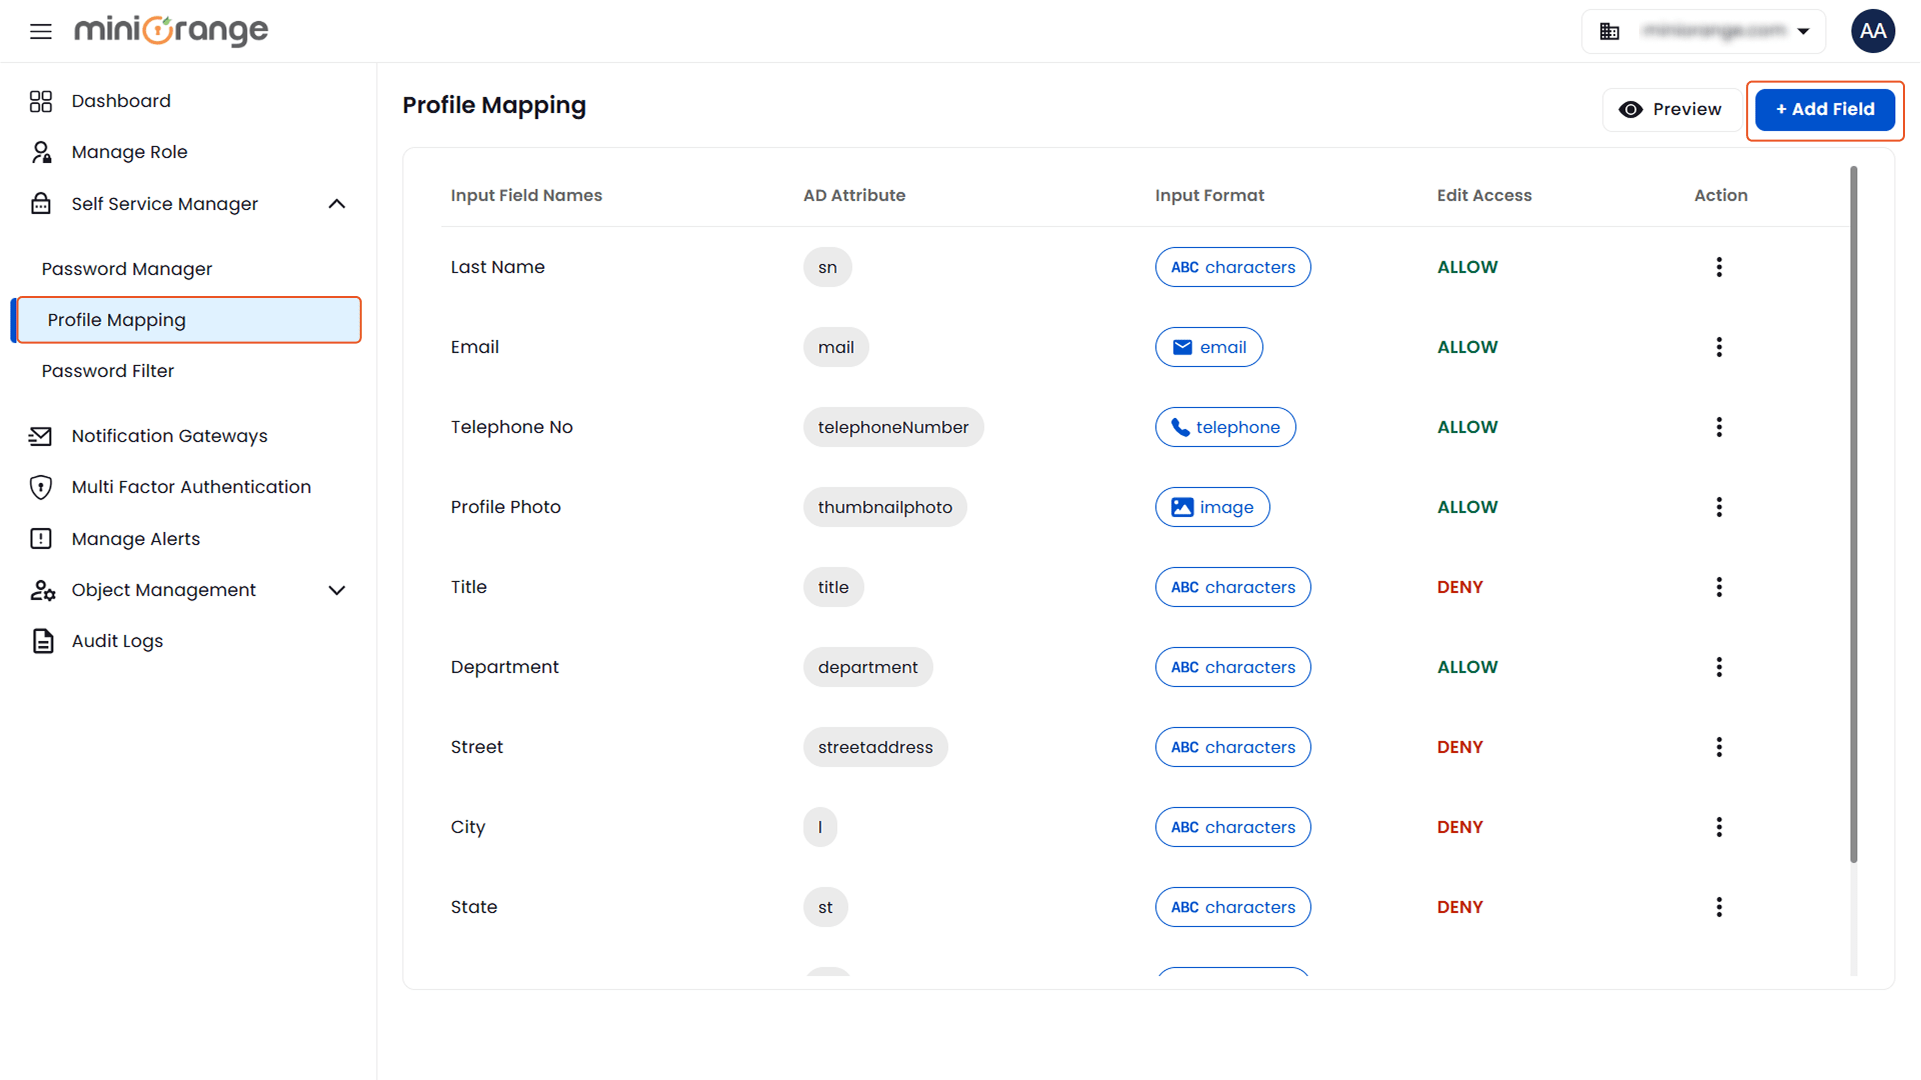
  • Navigate to Self services > Profile Mapping.
  • Click on the Add Field button.
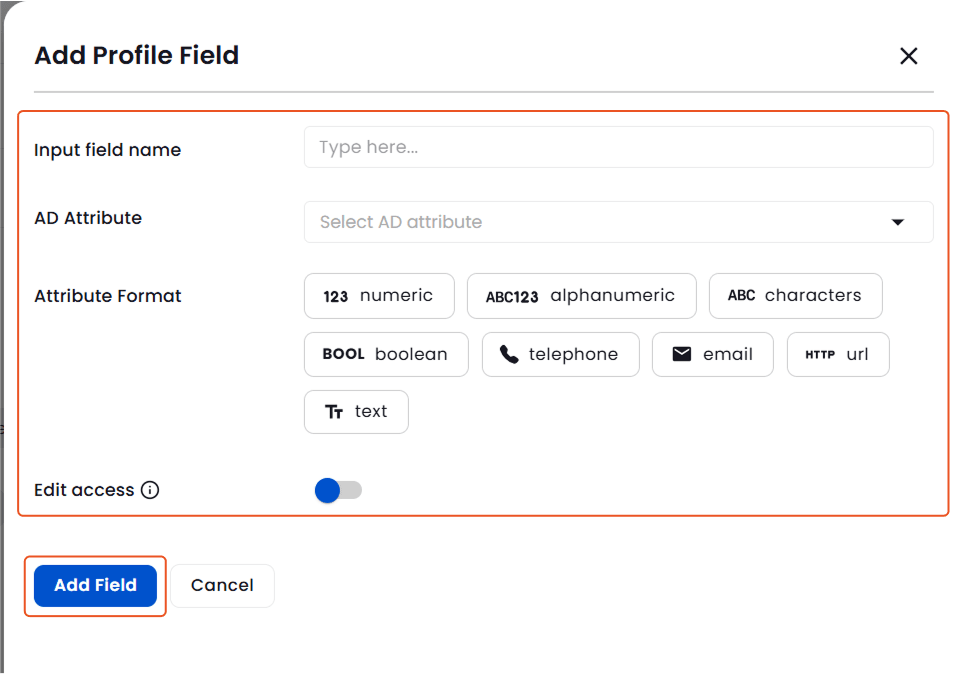
Add new user profile field | Profile mapping

  • In the form that appears, fill in the following details:
    • Input Field name:
      Enter the label that will be shown to the user for this input field.
    • AD Attribute:
      Select the corresponding Active Directory or LDAP attribute from the dropdown.
    • Attribute Format:
      Choose the appropriate input format for the field, such as:
      • Numeric
      • Alphanumeric
      • Characters
      • Boolean
      • Email
      • Text
      • Telephone
      • URL
      • Array
    • Edit Access:
      Enable or disable edit access to allow or restrict users from modifying this field on their profile.
  • Once all inputs are filled, click on the Add Field button to save the new profile field.
  • The newly added field will now appear in the Profile Mapping table and be reflected in user profiles based on the configuration.
Create new profile field | Profile Mapping

Preview User Profile Data Based on Defined Profile Mapping:

To view how the profile data appears for a specific user based on the configured profile mapping:
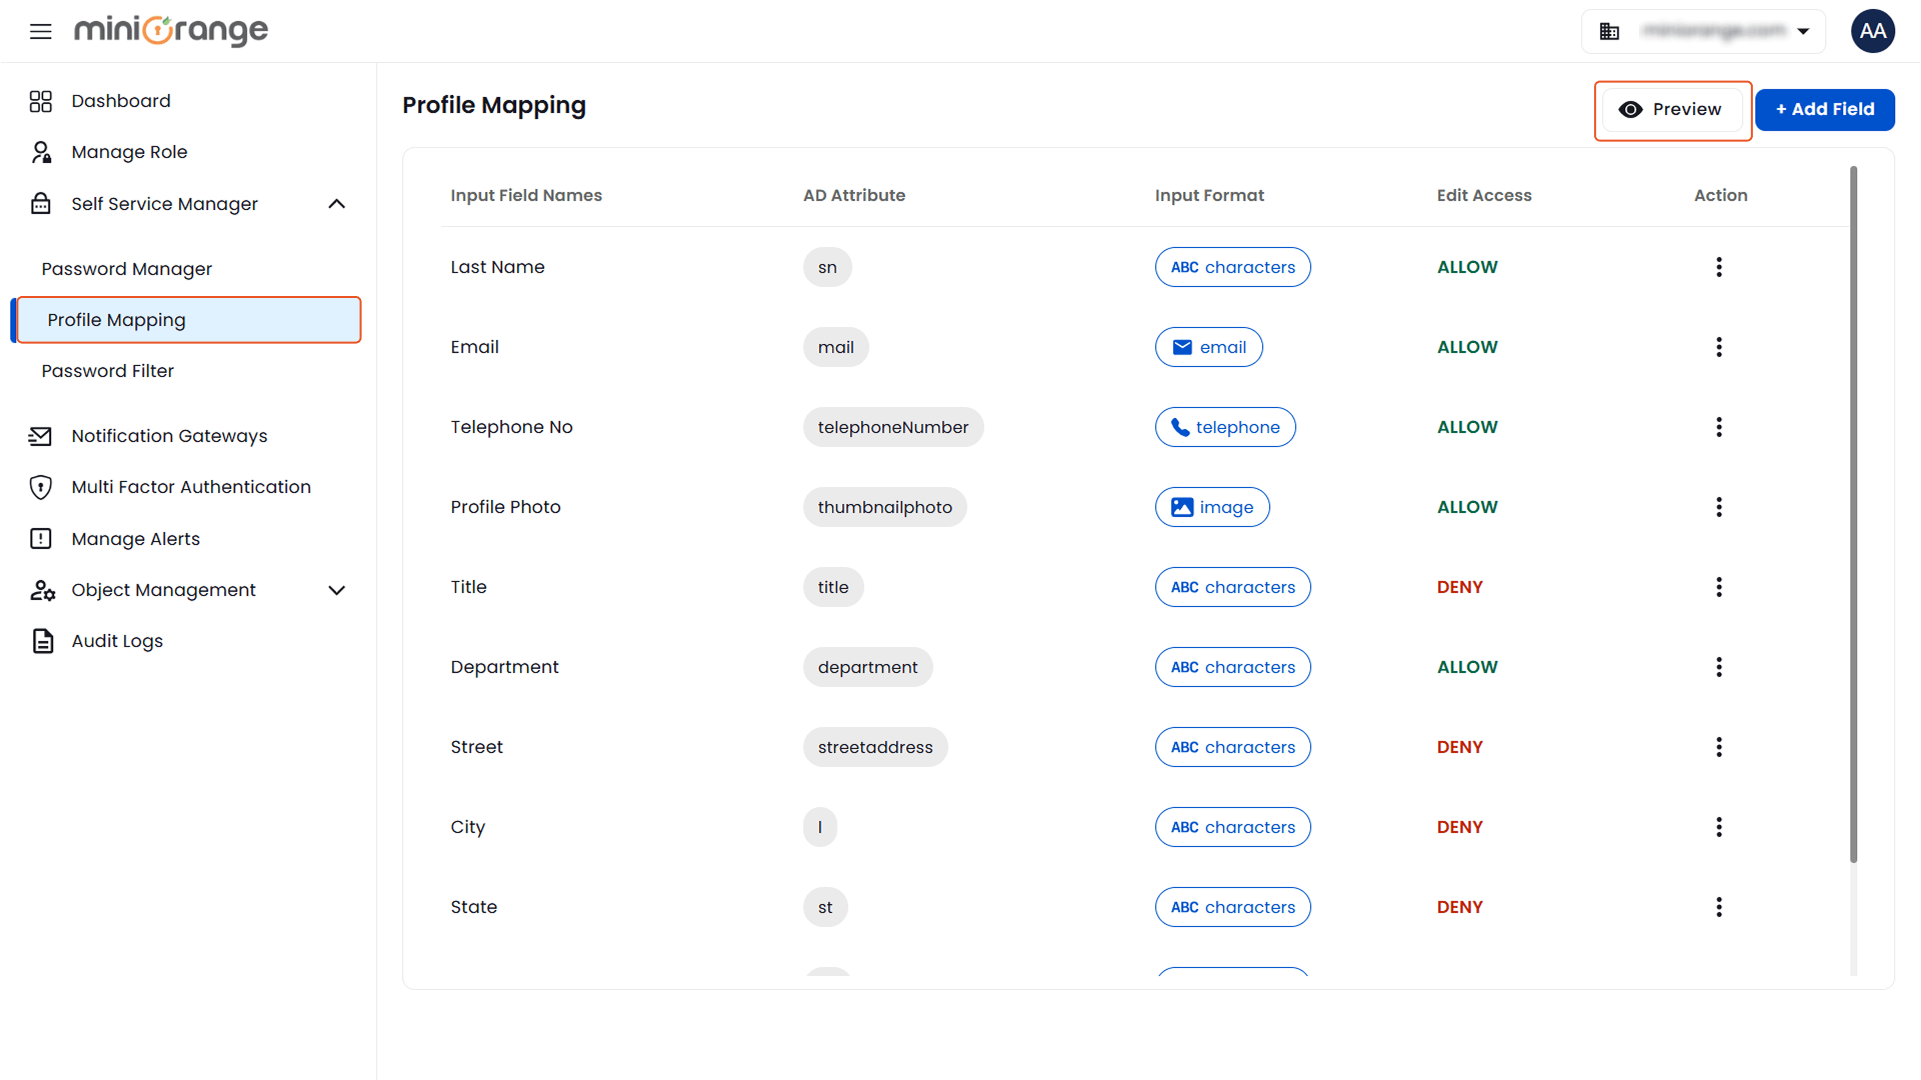
  • Navigate to Self services > Profile Mapping.
  • Click on the Preview button.
Preview User Profile | Profile Mapping

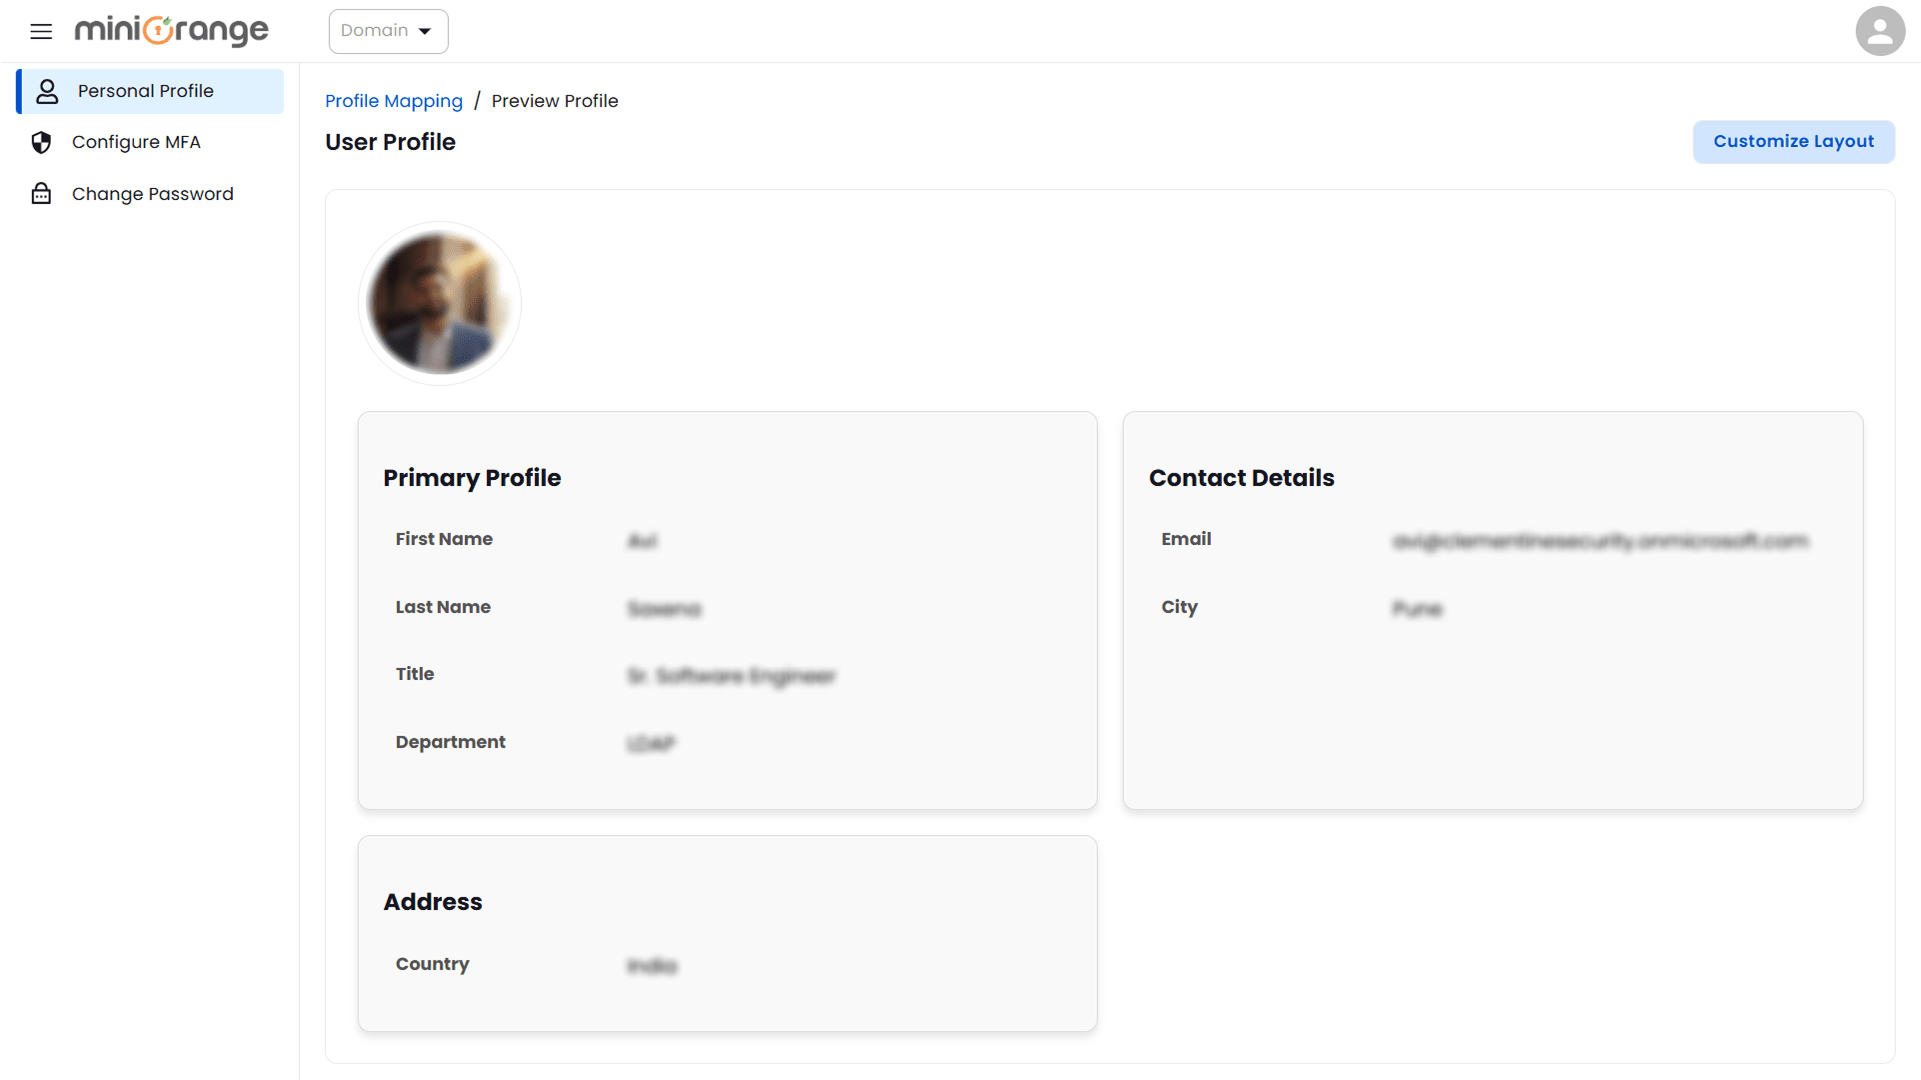
  • The Profile Settings page will display the selected user's profile with the mapped attributes and their current values from Active Directory.
  • Review the displayed profile information to verify that the profile mappings are configured correctly and the data is synced as expected.
Preview User Profile | Profile Mapping