Add Group to Active Directory
Create a New Group in AD:
To create a new group in AD:
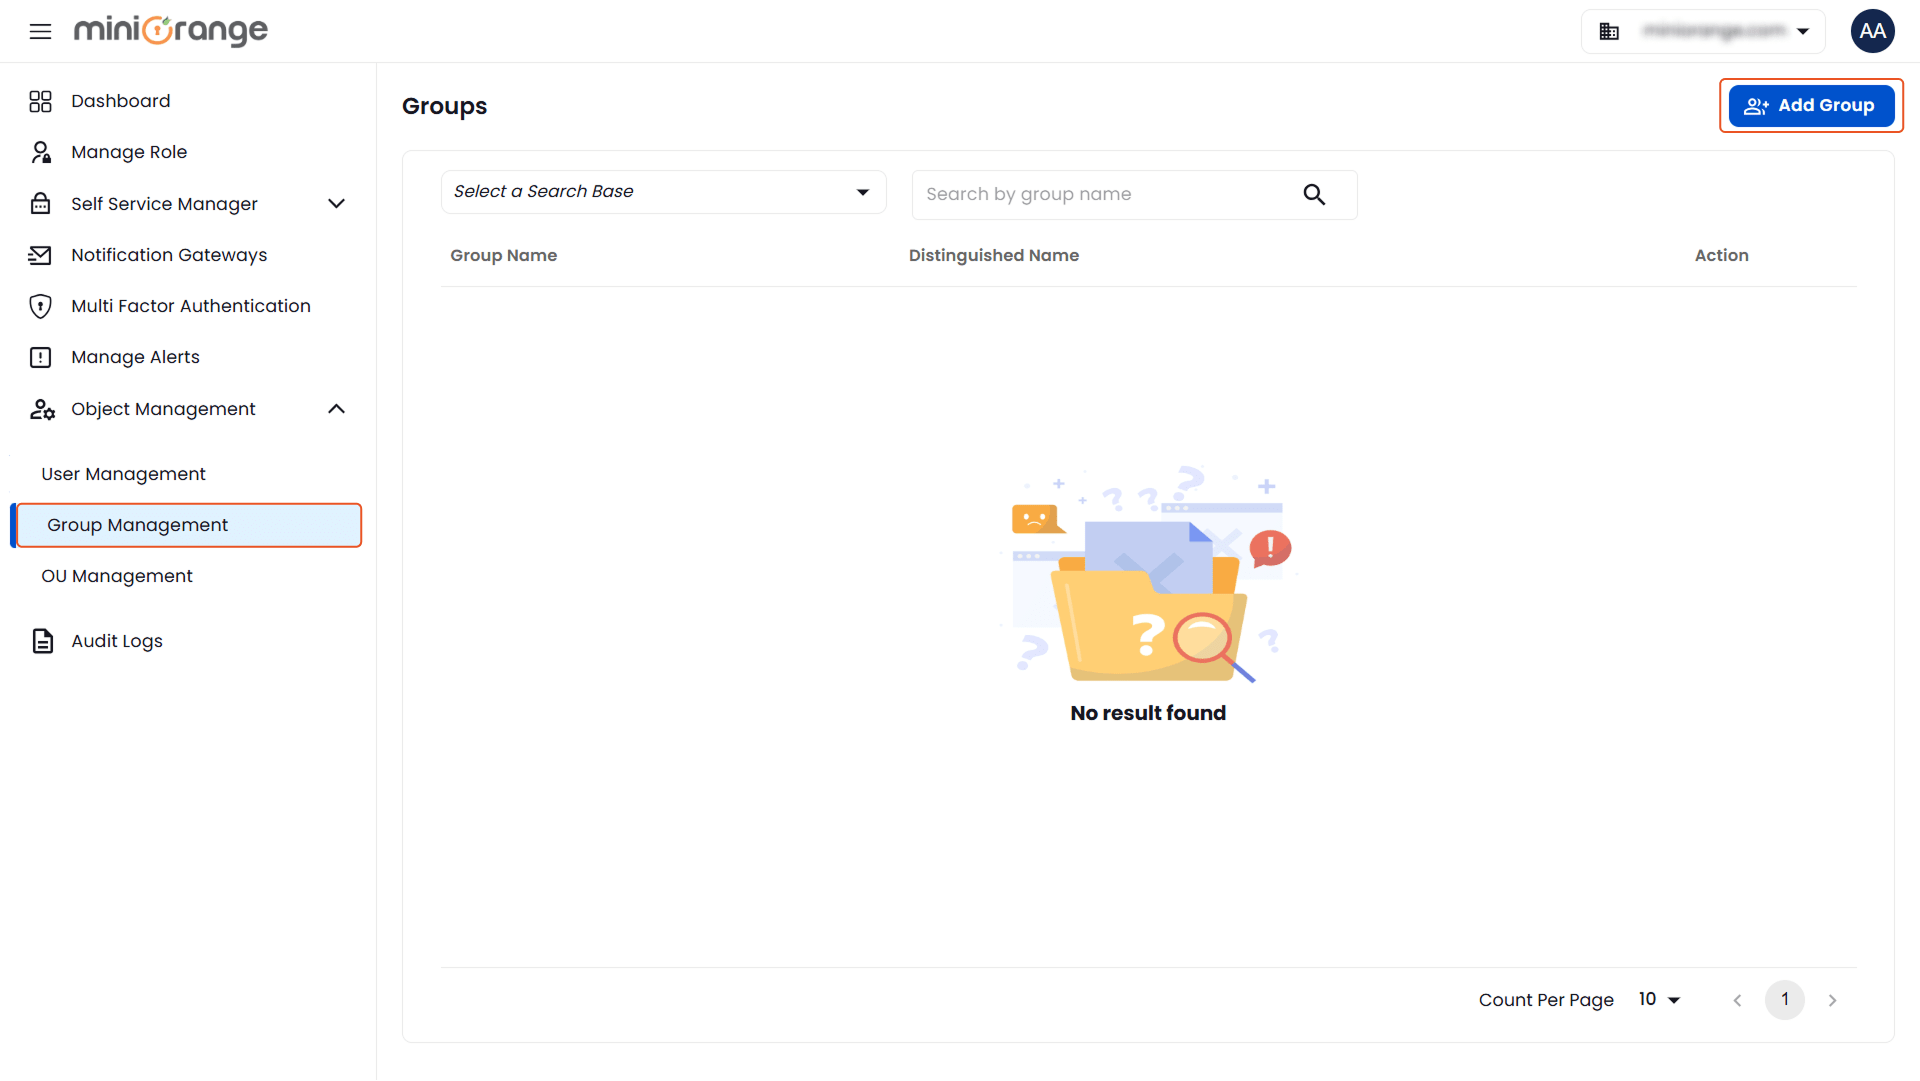
- Navigate to Object Management > Group Management.
- In the Groups tab, click the Add Group button.
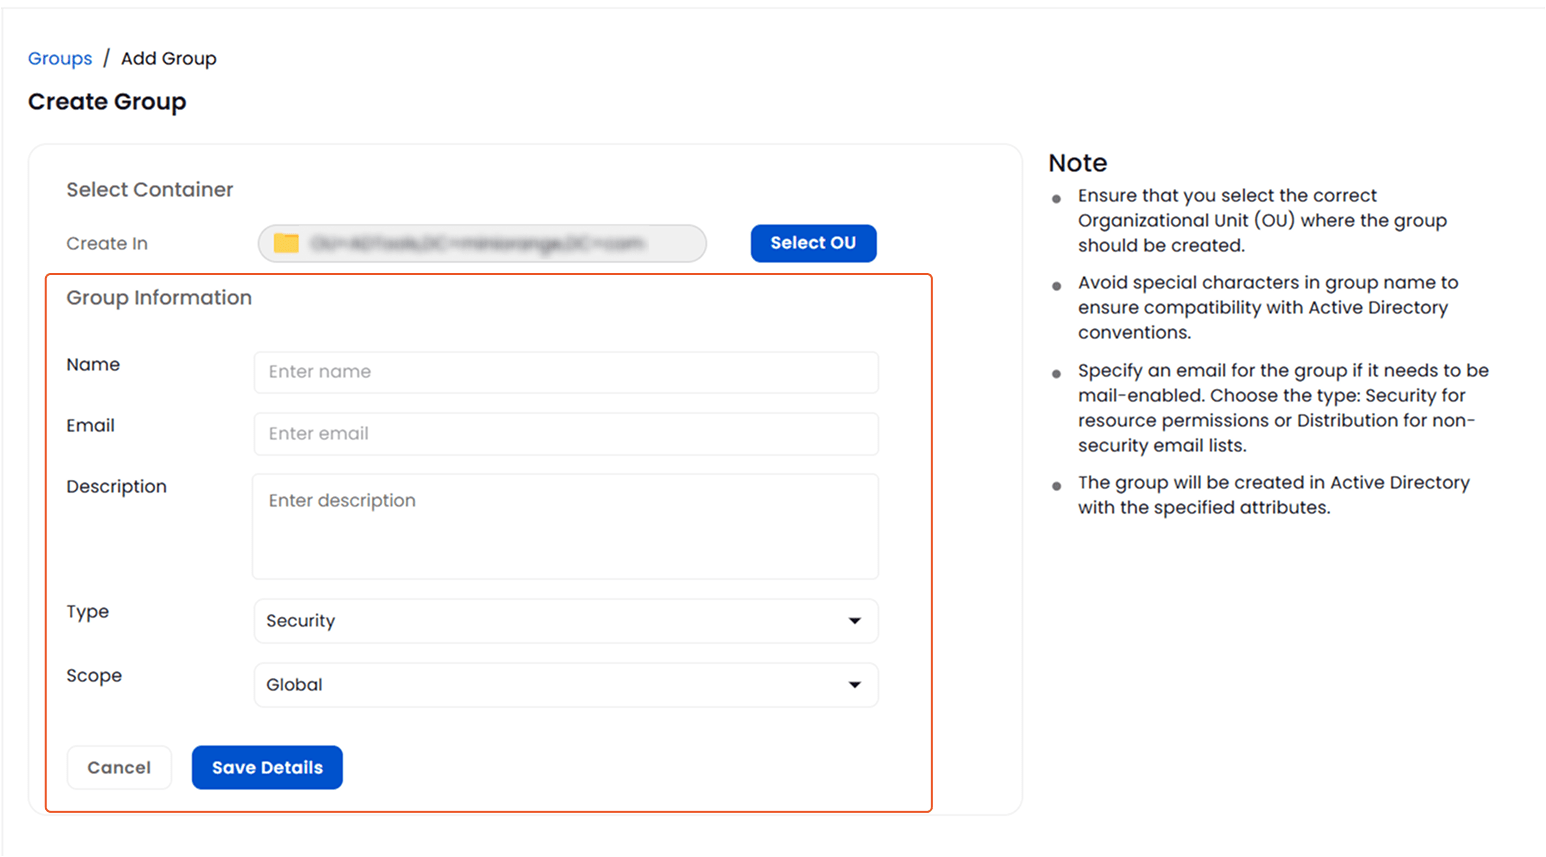
- In the Create Group form:
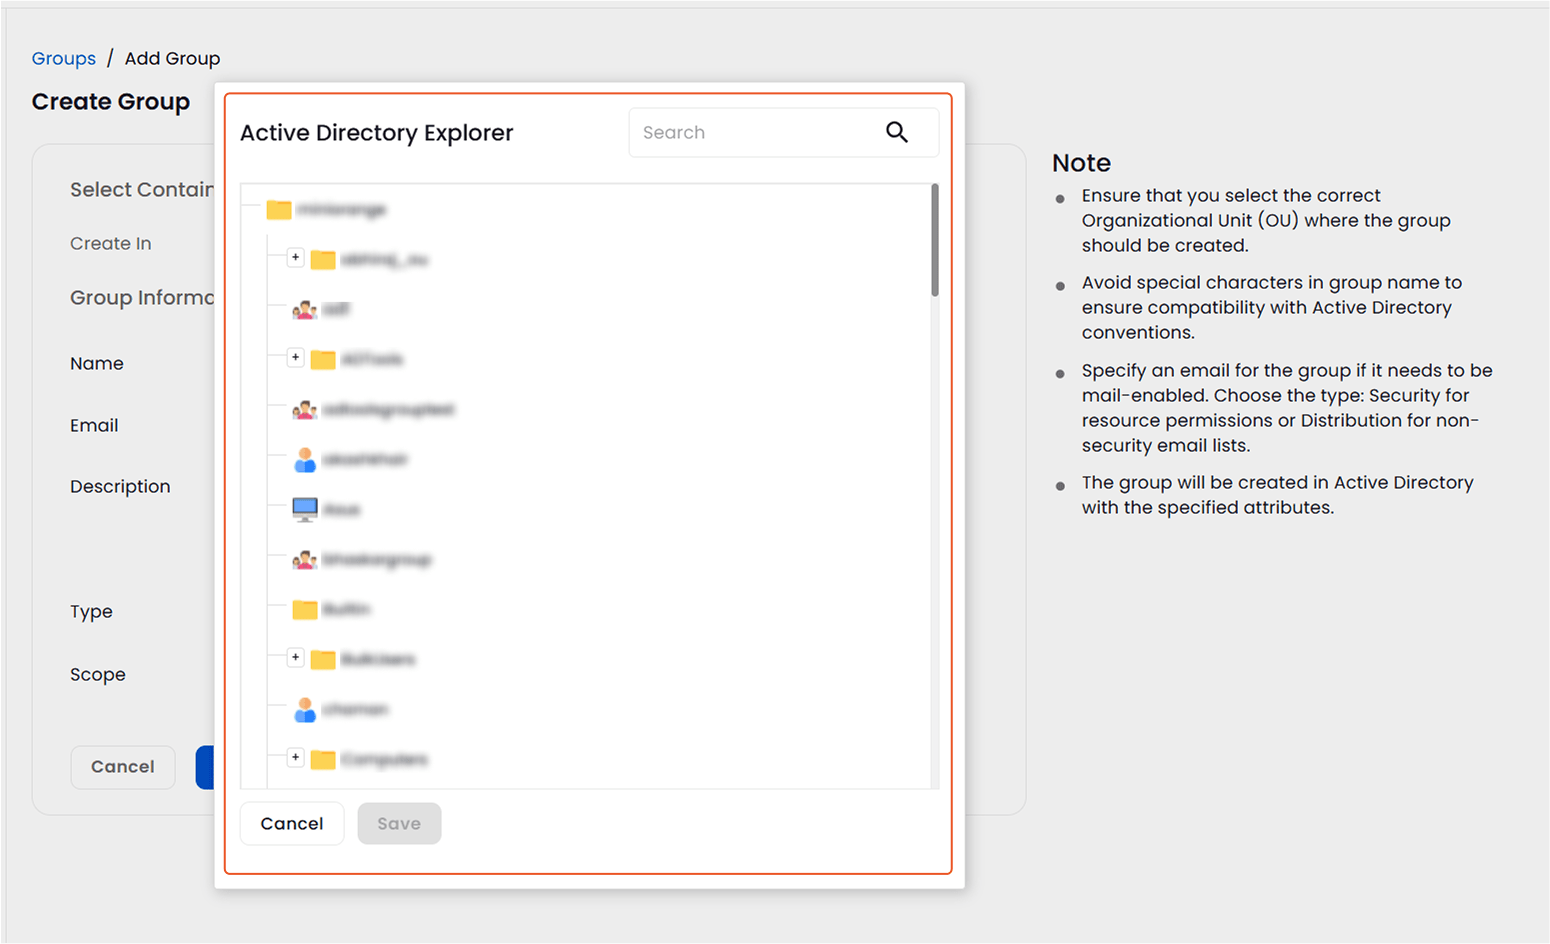
- Select OU:
Click Select OU to choose the Organizational Unit where the group will be created.

- Select the Organizational Unit from the Active Directory Explorer.
- Once the desired OU is selected, click on the Save button.
- Enter Group Information:
- Name: Enter the name of the group.
- Email: Specify an email if the group should be mail-enabled.
- Description: Provide a brief description of the group's purpose.
- Set Group Type:
- Security For groups used in permission management.
- Distribution For groups used in non-security email distribution lists.
- Set Group Scope:
- Global: Grants access across the forest but includes users from the same domain.
- Domain Local: Access is limited to resources within the domain, but members can be from any domain.
- Universal: Grants access across the forest and can include members from any domain.
- After entering the required information, click on Save Details to create the group in Active Directory.
Note:
- Ensure the correct OU is selected before creating the group.
- Avoid using special characters in group names.
- Set the correct email, type, and scope based on the group's intended purpose.
Manage Groups in Active Directory
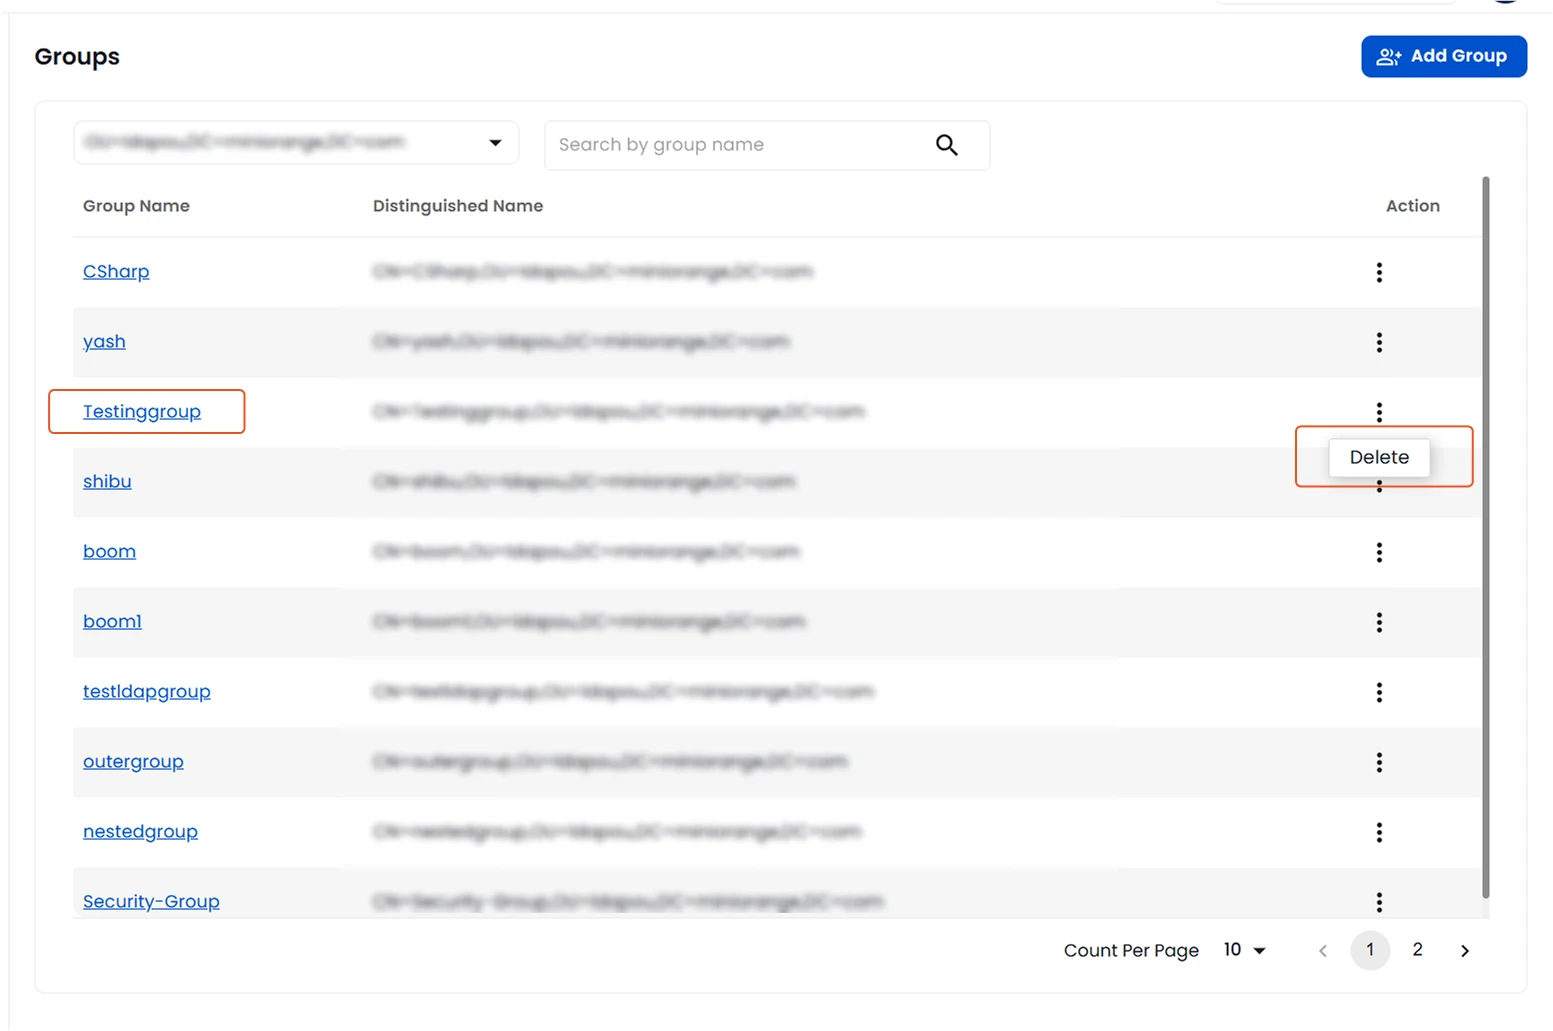
To view and manage groups in your Active Directory:
- Navigate to Object Management > Group Management.
- In the Groups tab, click on the Select a Search Base dropdown to choose the container you want to manage.
- To find a specific group, type the group name in the search bar and click the search icon.
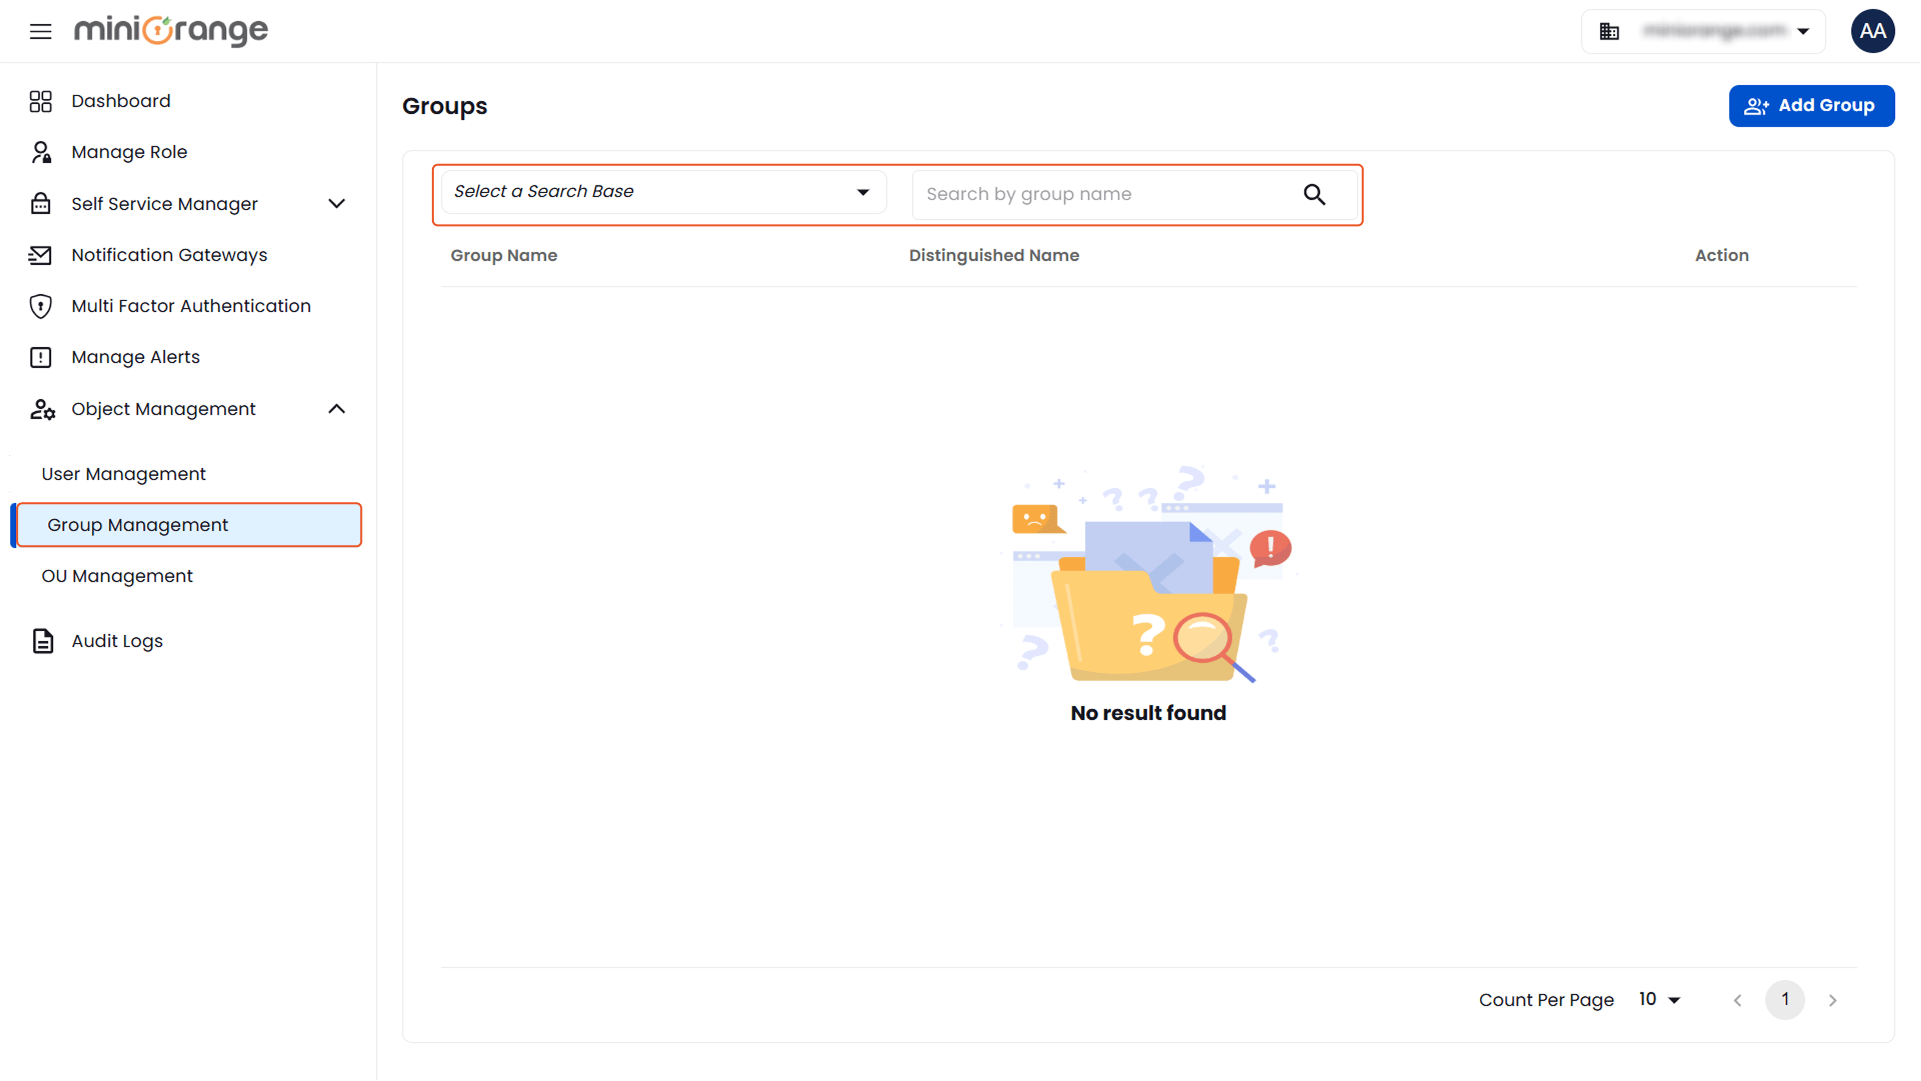
- After the search, a list of groups will be displayed along with their distinguished names.
- In the Action column, click Delete to delete the group.
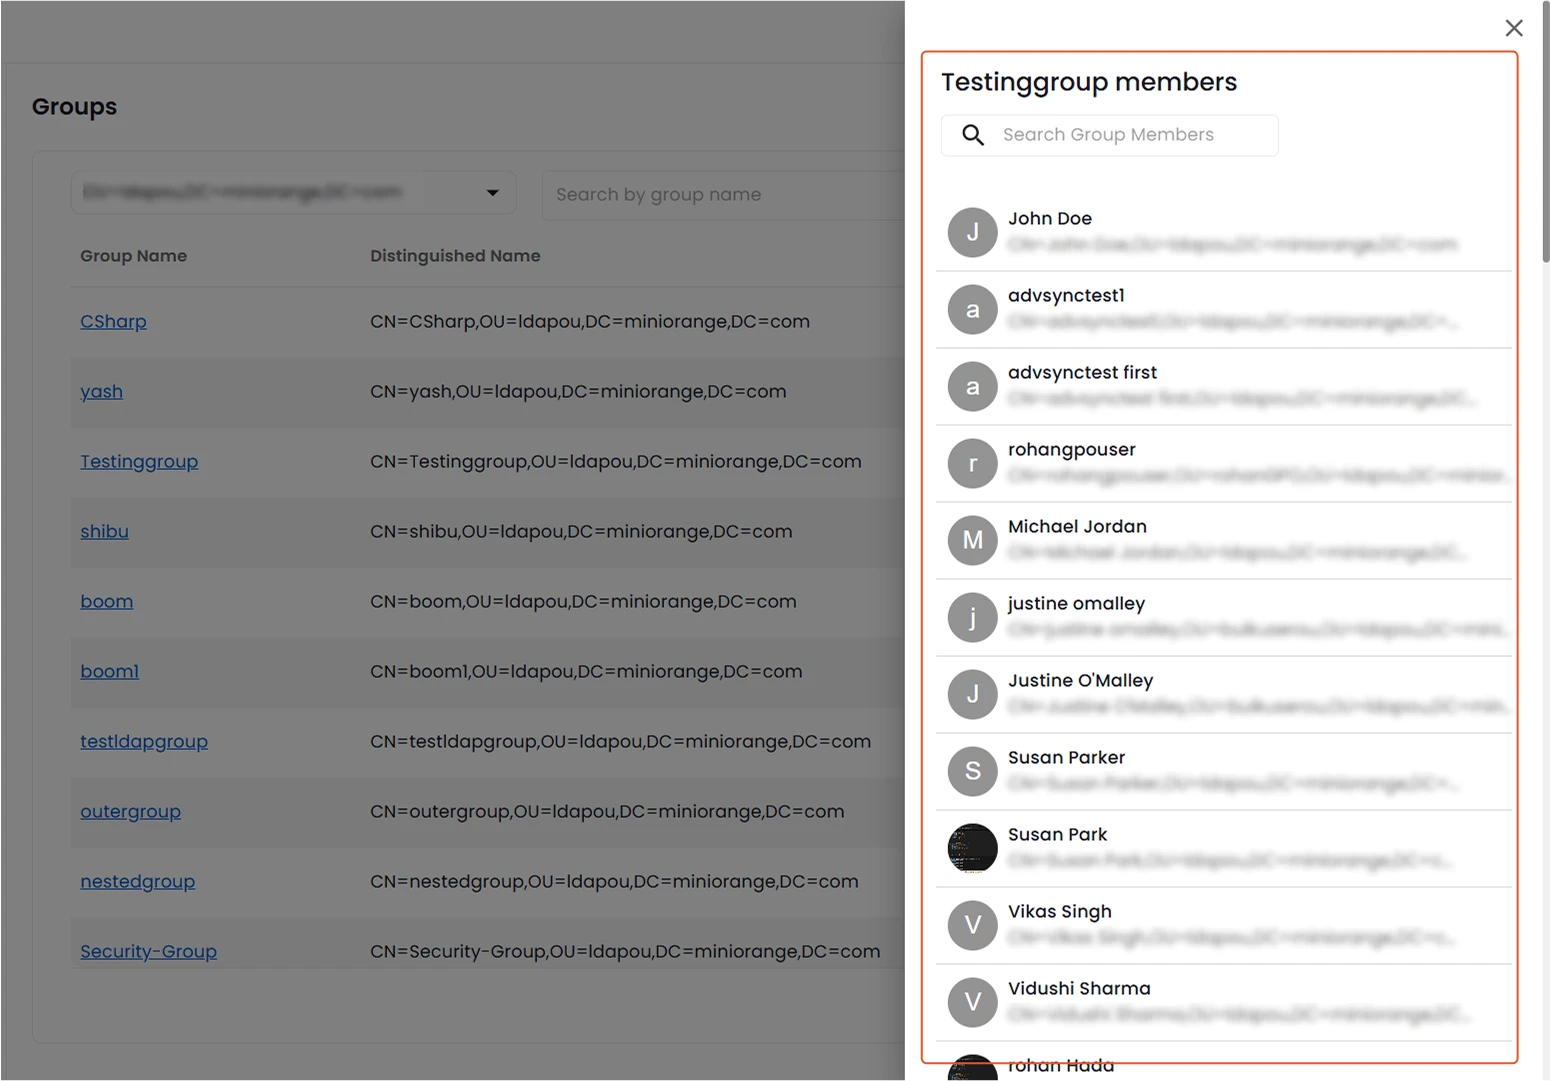
- Click on the group name to view its members.