Hello there!
Need Help? We are right here!
Need Help? We are right here!
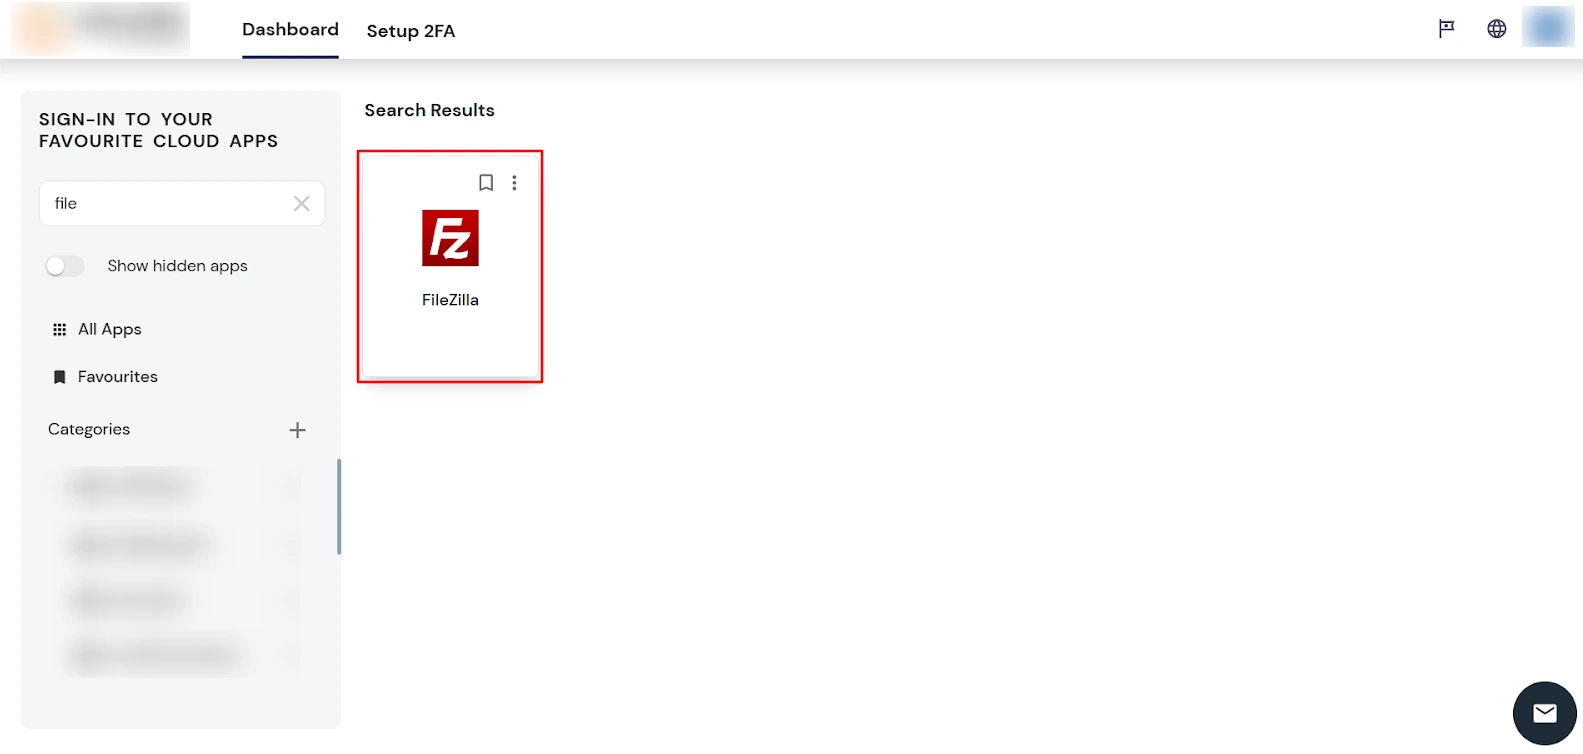
Search Results:
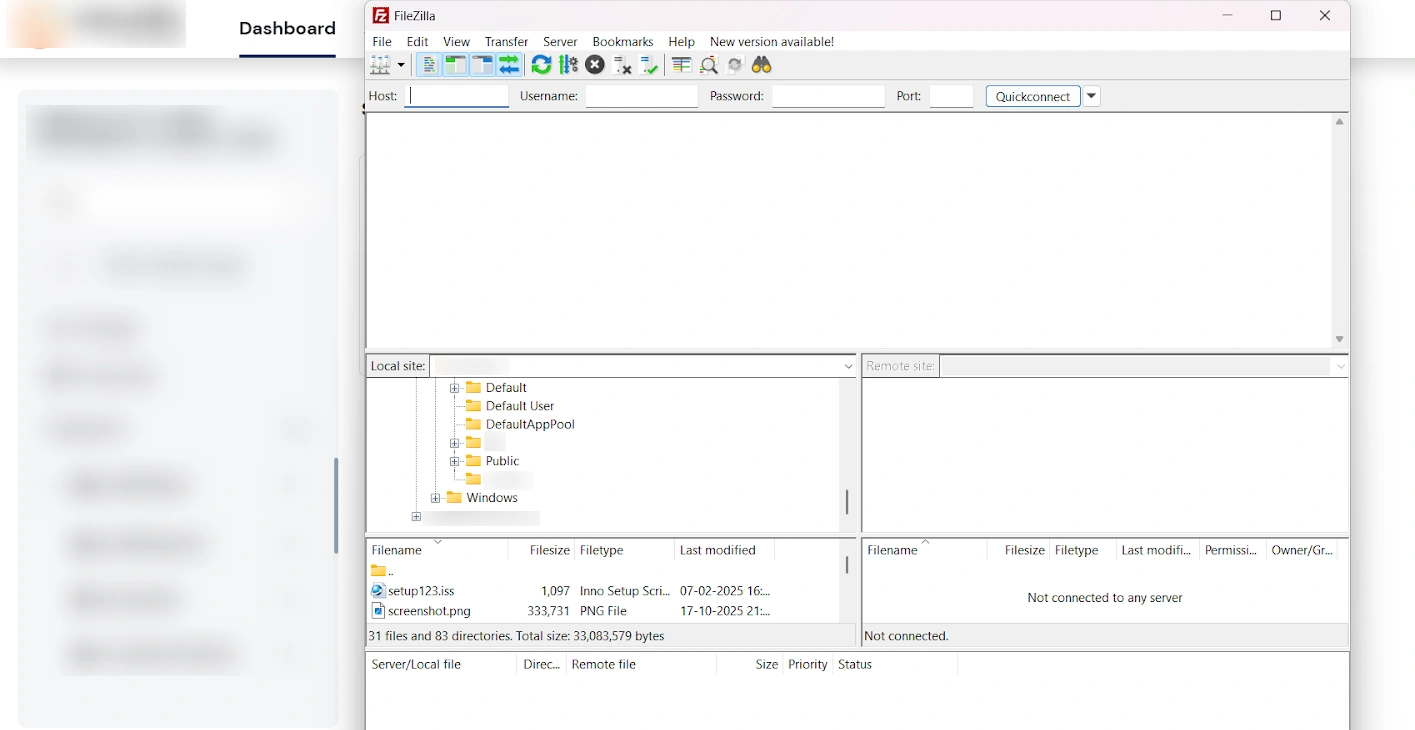
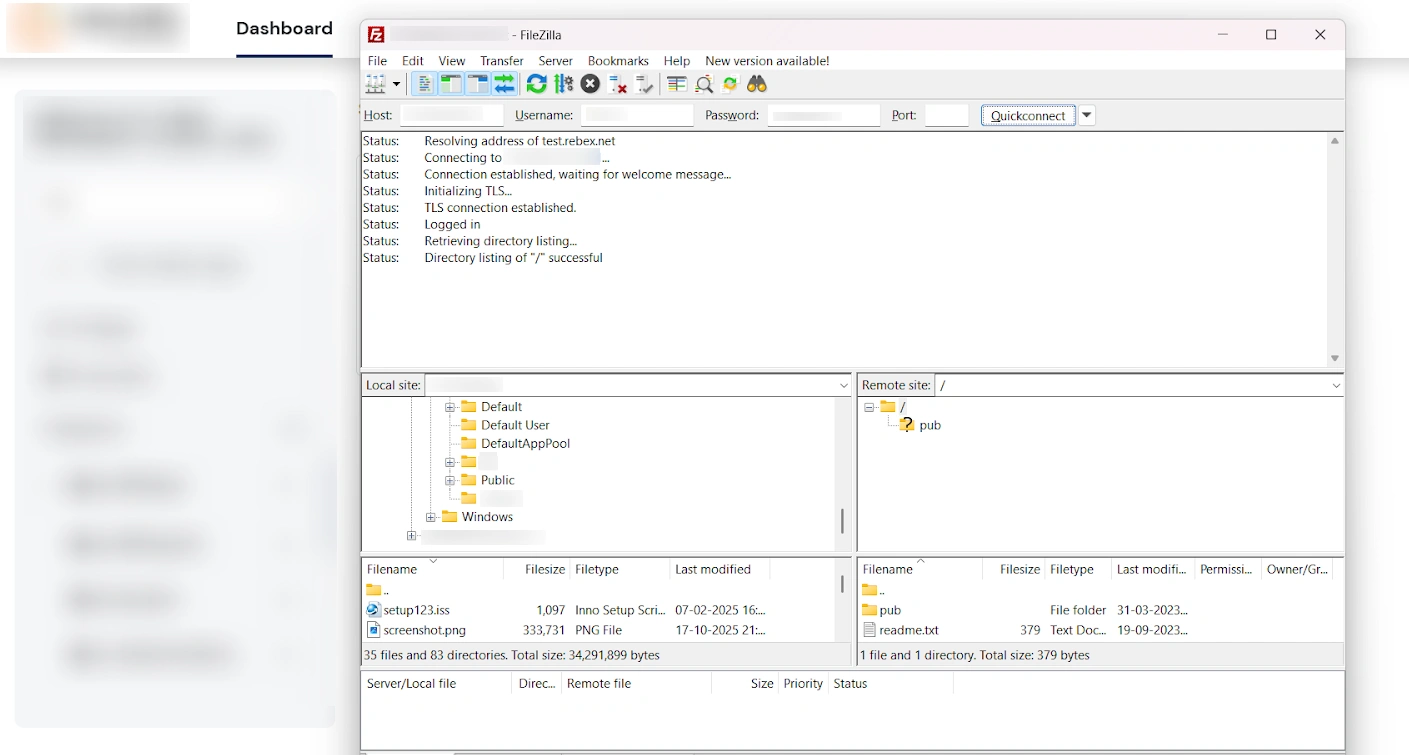
×FileZilla is a thick client FTP/SFTP application that runs on the user’s desktop and provides a rich graphical interface for managing file transfers to remote servers. As a thick client, it handles connection profiles, encryption settings, and file operations locally while communicating with FTP, FTPS, or SFTP servers over the network.
Let’s now look at how to set up FileZilla thick client SSO.
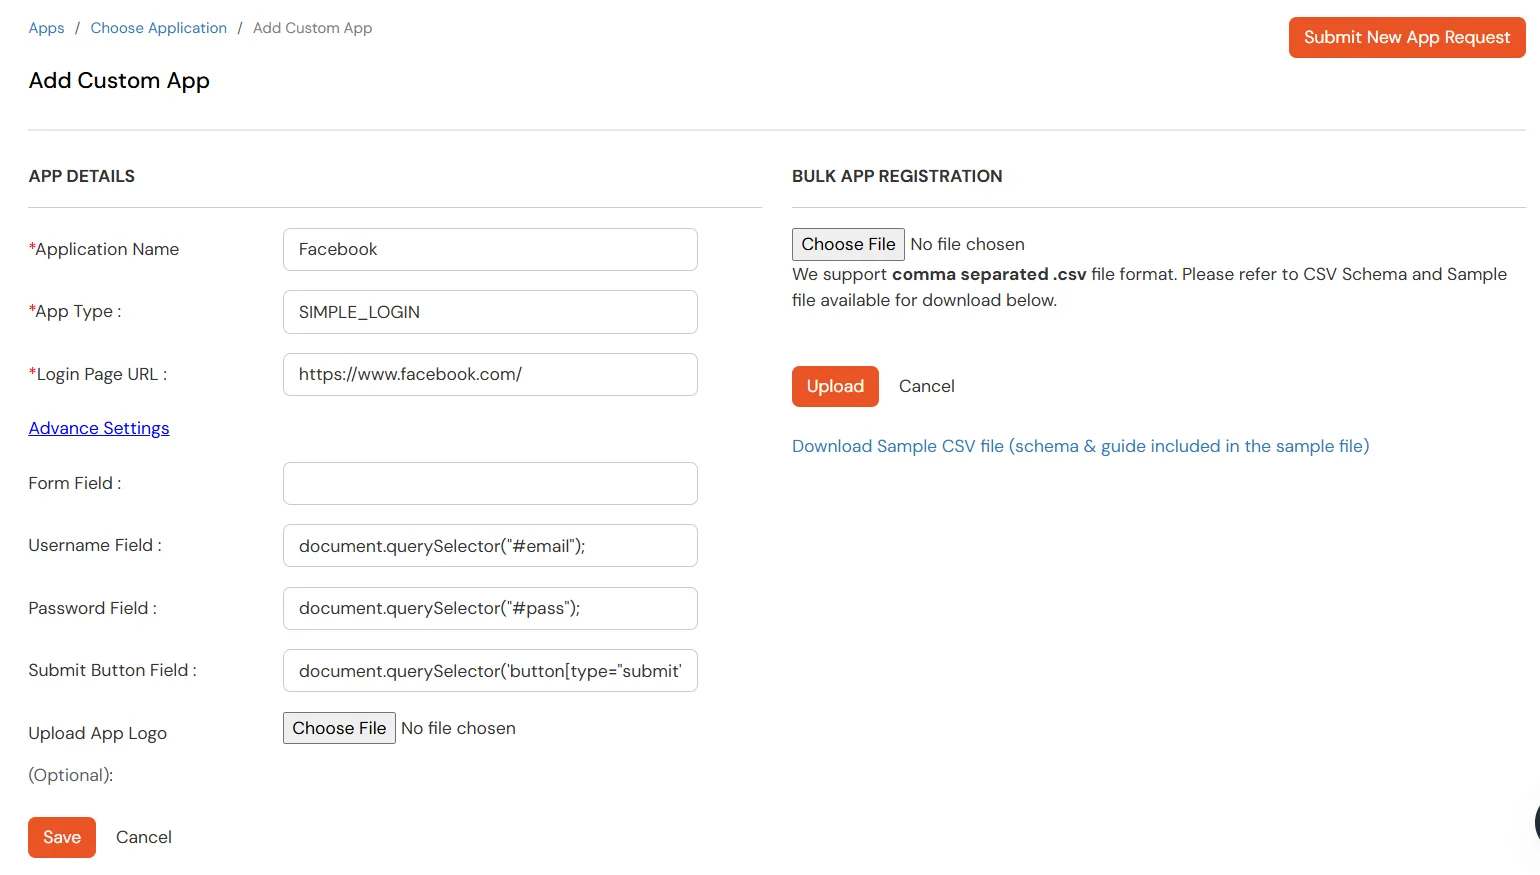
| App Field | Description |
|---|---|
| Application Name | Enter your application name |
| App Type | For this Remote Desktop thick client setup, the application type does not affect the integration. Select SIMPLE_LOGIN (the simple login / default option in the dropdown) and continue. |
| Login Page URL | mo://filezilla |
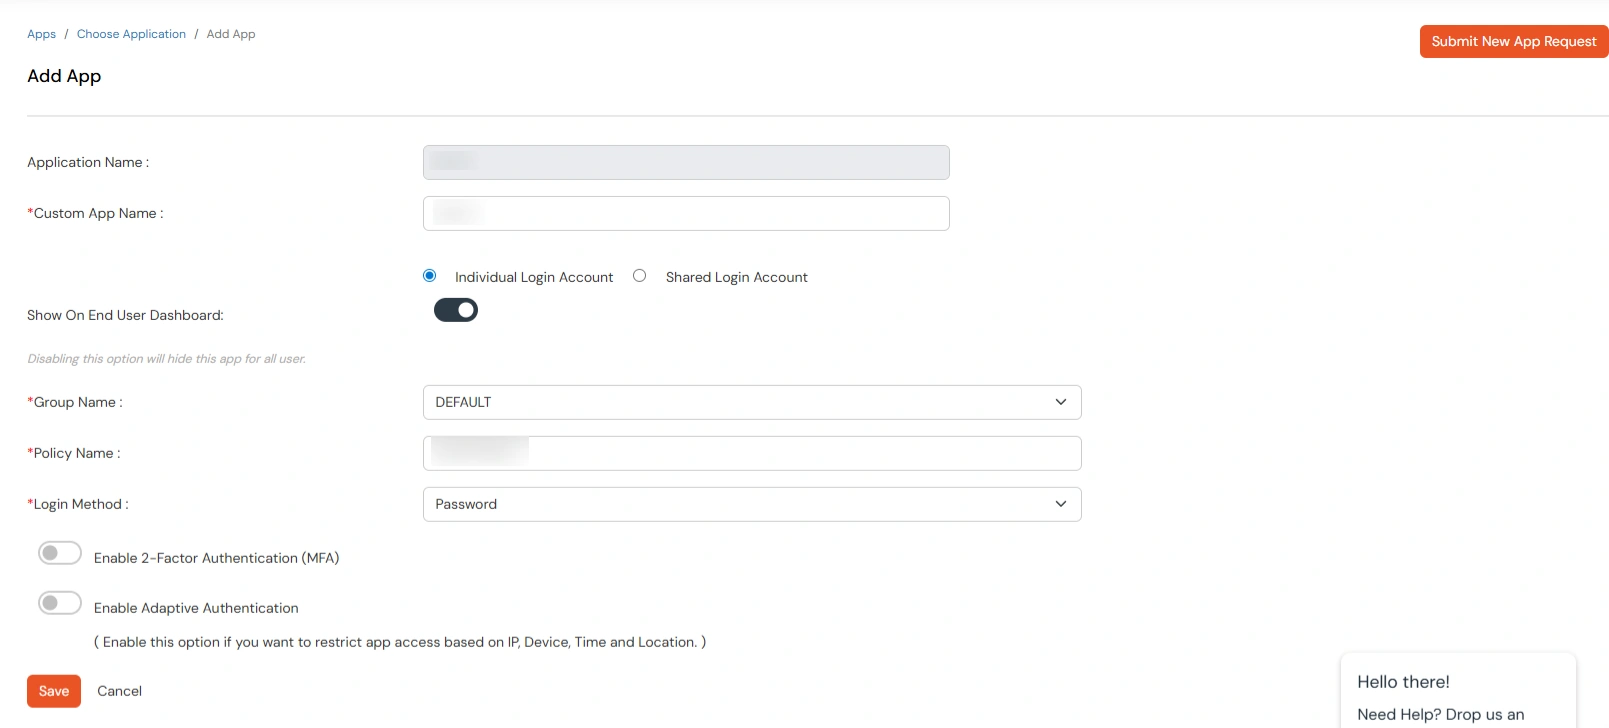
| App details | Description |
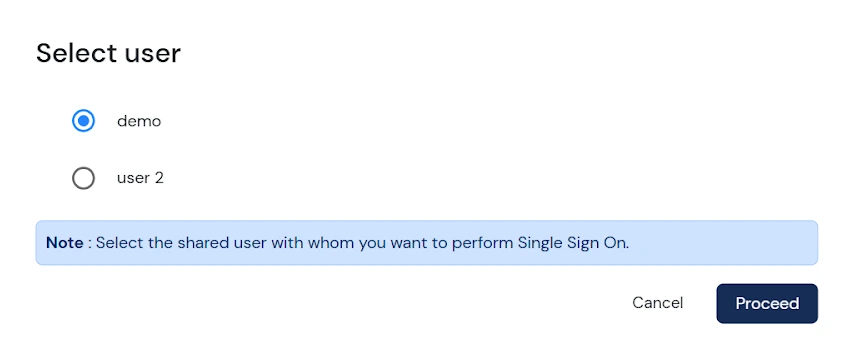
| Individual Login | If each user has a different username and password for the app, admin should choose an Individual Login Account option, so that users can save their username and password from the user portal themselves. |
| Shared Login | If multiple users are allowed to access the app via the same credentials assigned by admin, admin should choose share Login Account option. |
| Group Name | Select Group name as default.(This will allow all your added groups to access this service) |
| Policy Name | Select Policy Name the same as your application name. |
| Login Method | The authentication method for Users. |
| Enable 2-Factor Authentication (MFA) | Enable this option if you want to enable MFA on top of the user authentication. Note: Can be only used with Password as the login method. |
| Enable Adaptive Authentication | Enable this option if you want to enable Adaptive Authentication on top of the user authentication. The type of Adaptive Authentication and the Adaptive Authentication Policy has to be configured in this case. Note. Either MFA or Adaptive Authentication can be enabled in a policy and not both. |
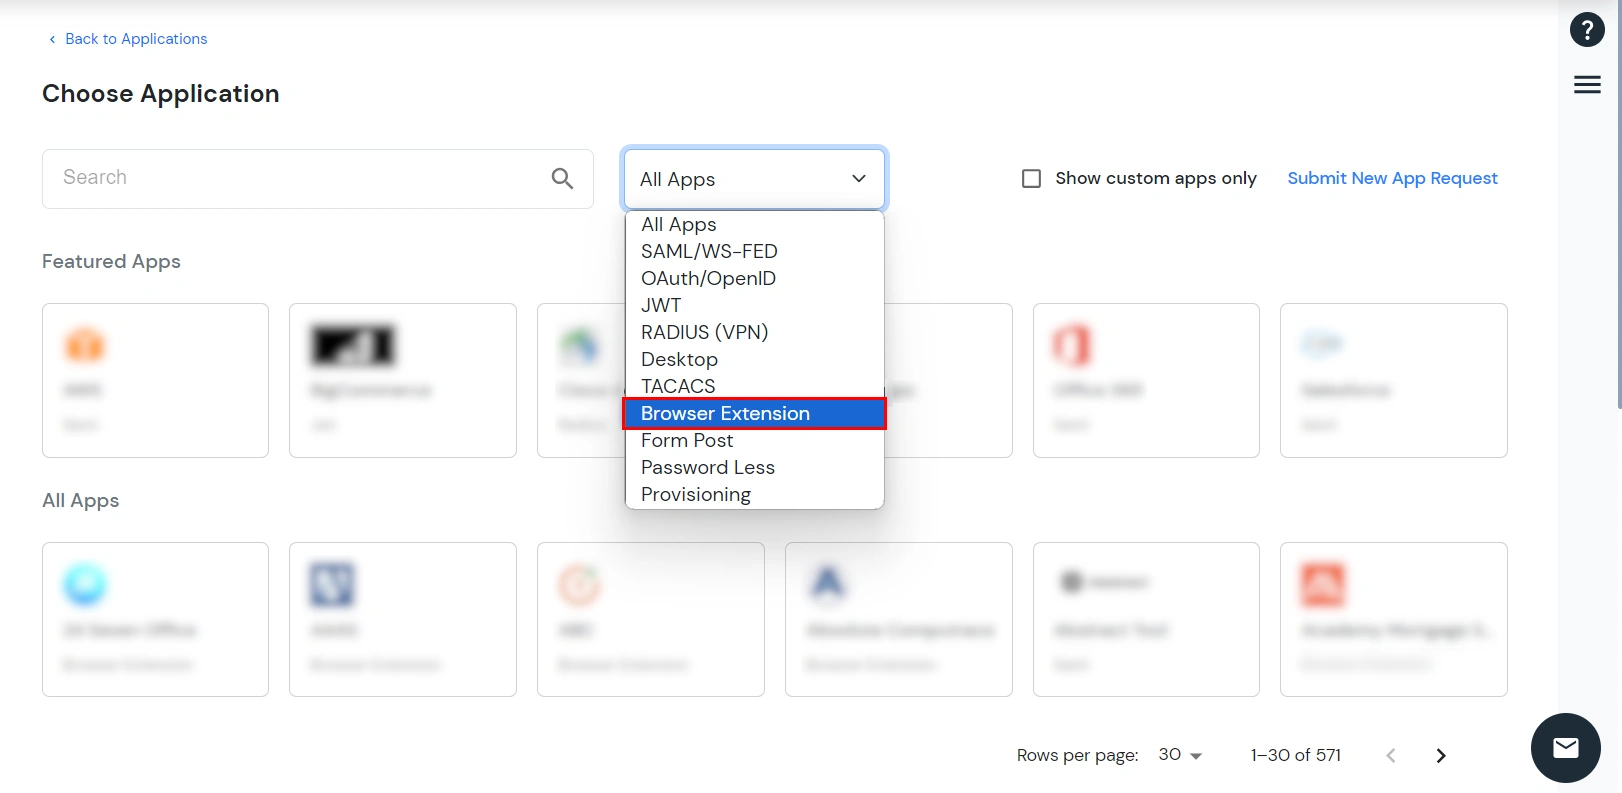
Note: Extension: install the browser extension and miniOrange Agent MSI on user machines.
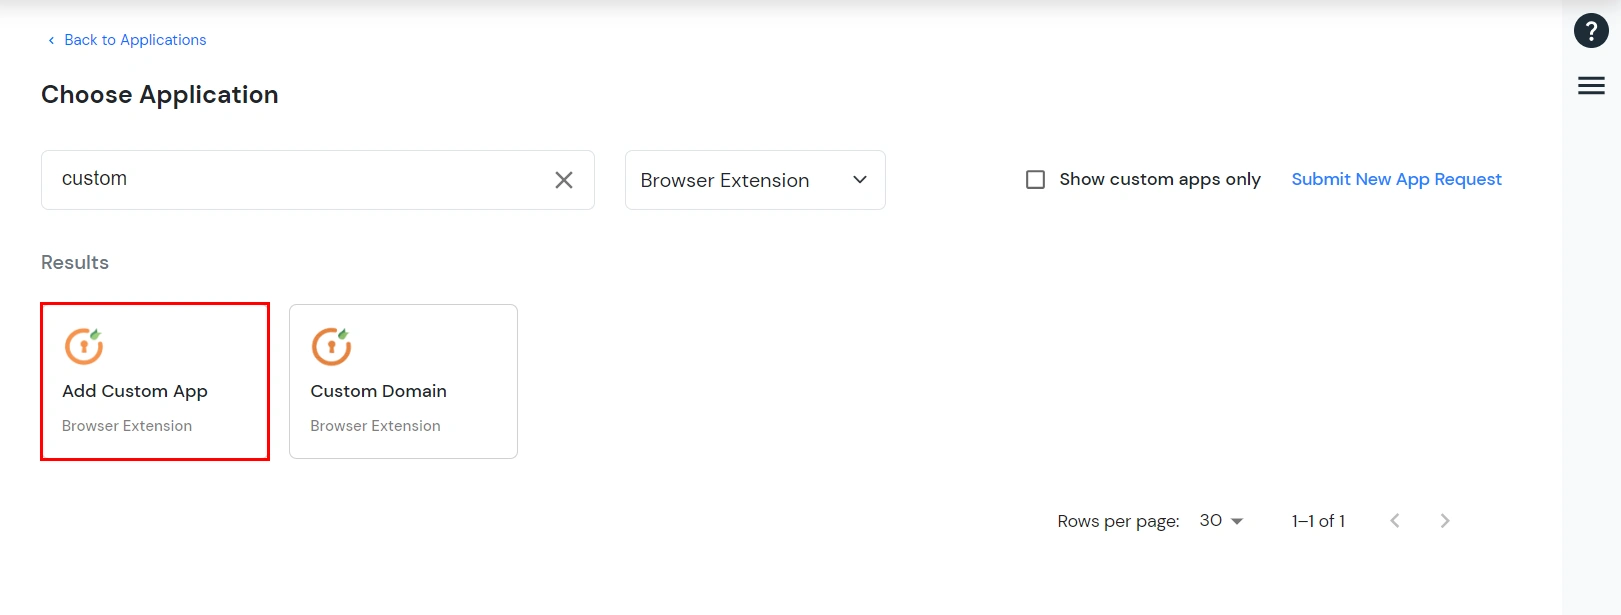
Note: Click here to proceed with the configuration steps. Select Individual Login for user-level credentials, or Shared Login for centrally managed credentials.