How to add a Browser Extension App
miniOrange supports Single Sign-on into your apps, to securely login for admins and users. miniOrange supports several different protocols for your applications, such as SAML, WS-FED, OAuth, OIDC, JWT, RADIUS, etc. Using Single Sign-on, users can use one set of credentials to login to multiple applications. This improves security, as it reduces avenues for phishing attacks, and also improves access to your application.
For web applications that do not provide support for federated single sign-on, miniOrange provides Secure Single Sign-on browser extension for SSO. Here, it is enabled on an application, where end-users see an icon on their home pages and browsers, through which users can set and update their credentials. ( In the secure store for that application only). miniOrange supports all browser extensions:
- miniOrange Secure Browser Extension for SSO supports all popular web browsers like Chrome, Firefox, Safari, Internet Explorer and Microsoft Edge.
- Browser extension provides a secure driven post to the application login page, signing in the user automatically on their behalf. The Extension does not store the credentials anywhere, and they are discarded once the user has signed into the application.
- Users' credentials are stored in an encrypted format by using AES encryption, with the combination of a customer-specific private key. When a user clicks the application icon, miniOrange securely posts the username/password to the app login page over SSL and the user is automatically logged in.
1. Configure Single Sign-On (SSO) Settings for Browser Extension Apps:
- Login into miniOrange Admin Console.
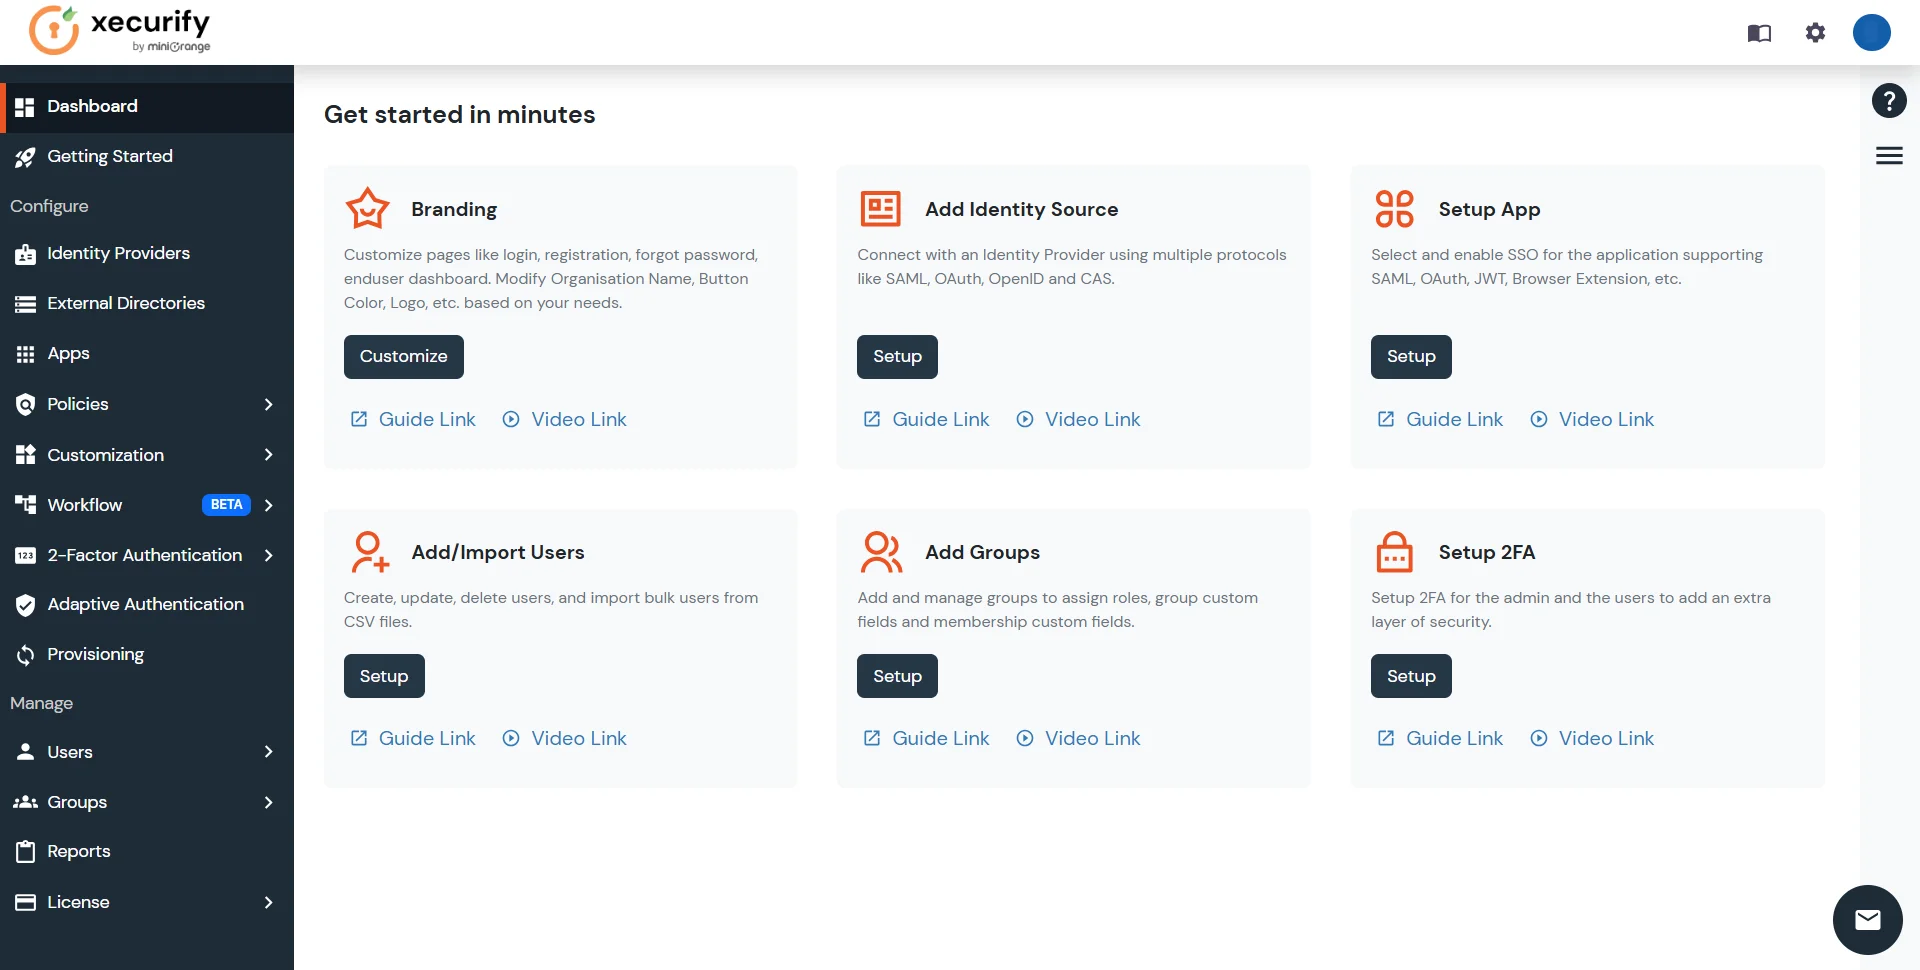
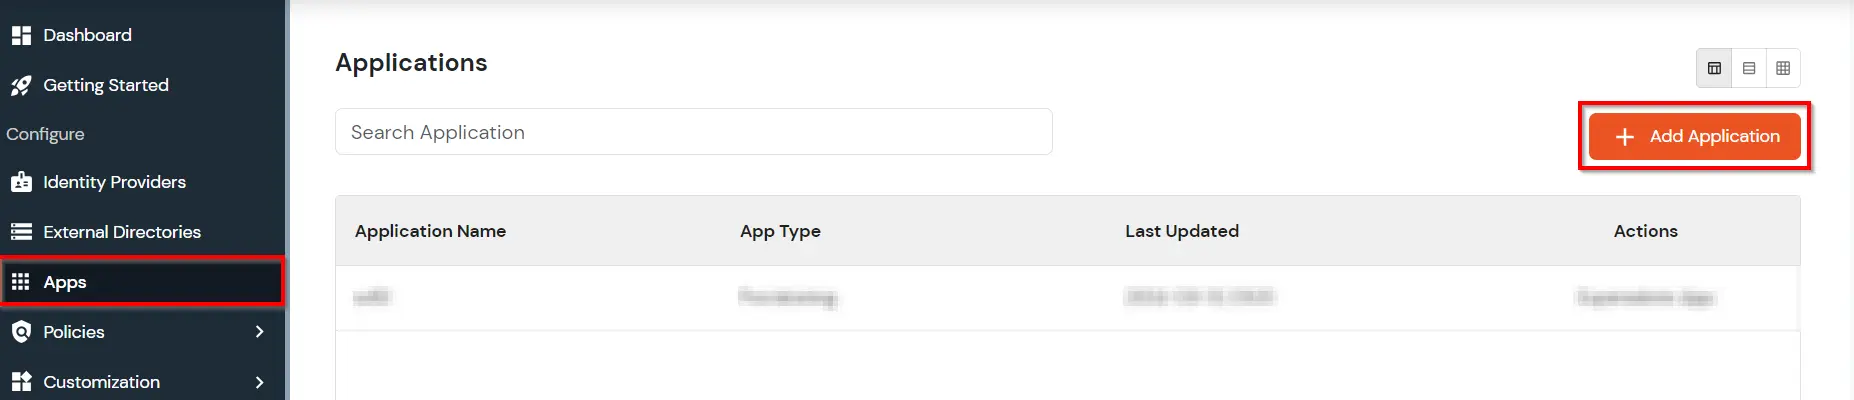
- Click on Apps. It shows a list of all configured applications and option to modify them. Click on Add Application.
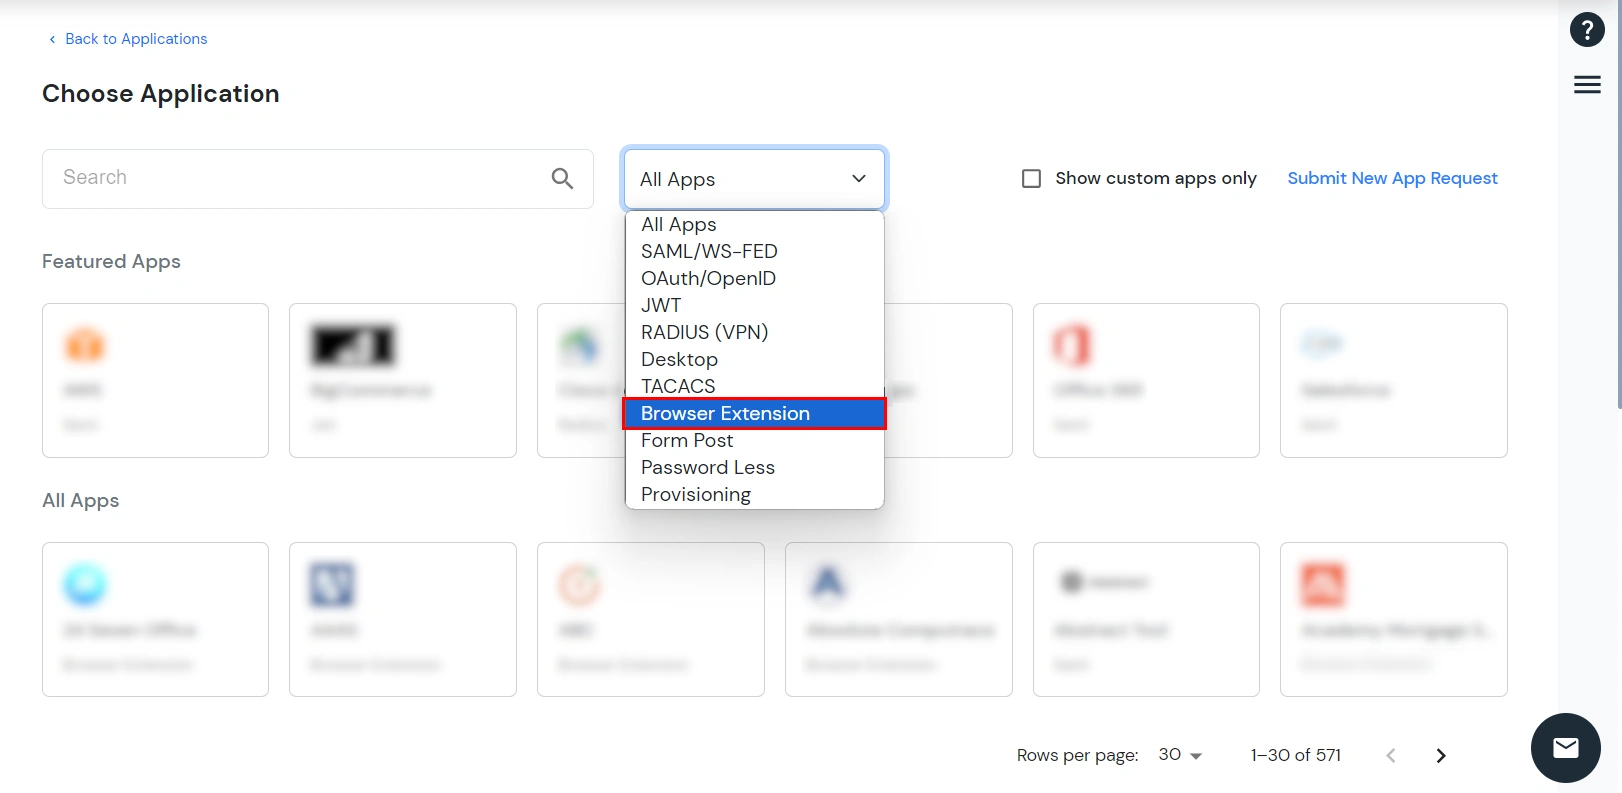
- Under Choose Application, select Browser Extension from the All Apps dropdown.
- If your app is not on the list, follow Create Custom App in miniOrange steps given below, else skip to Activate the App.
2. Add a custom Browser Extension Application
Configure browser extension applications by adding a single custom application or importing multiple applications through a CSV file.
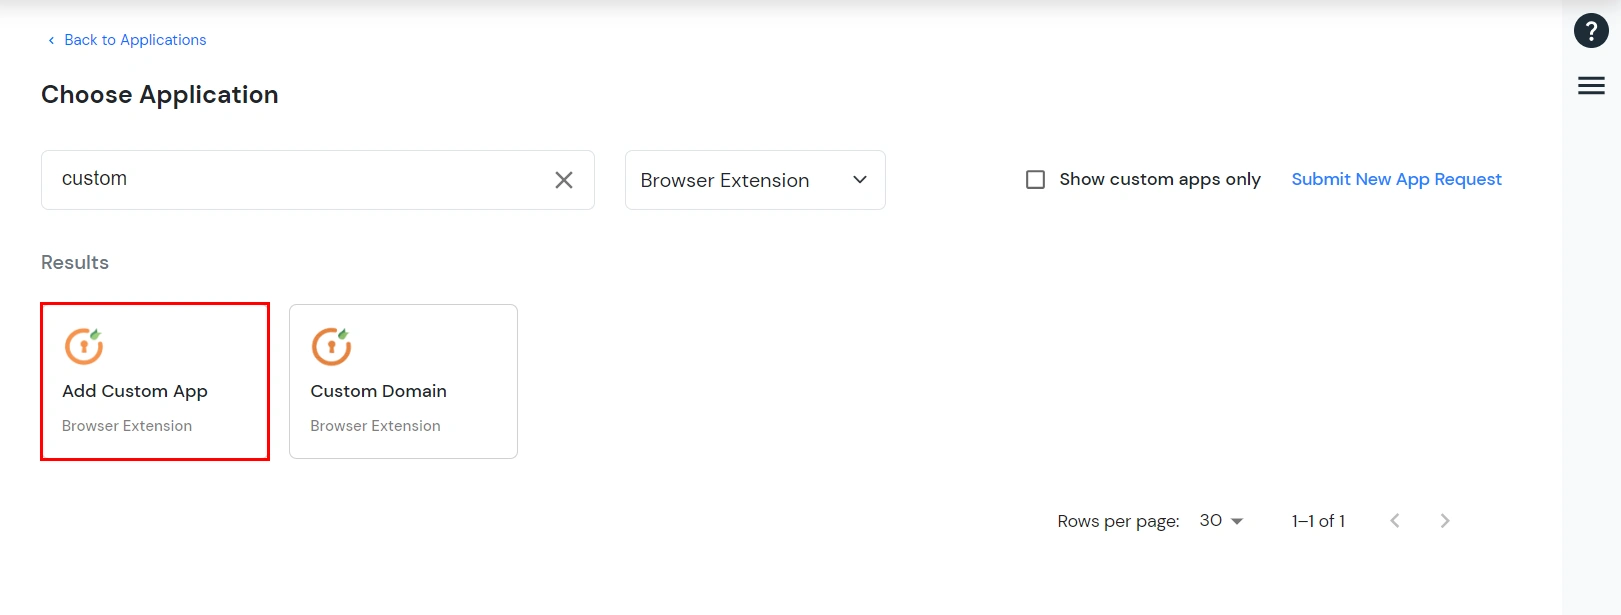
- Search for custom and click on Add Custom App.
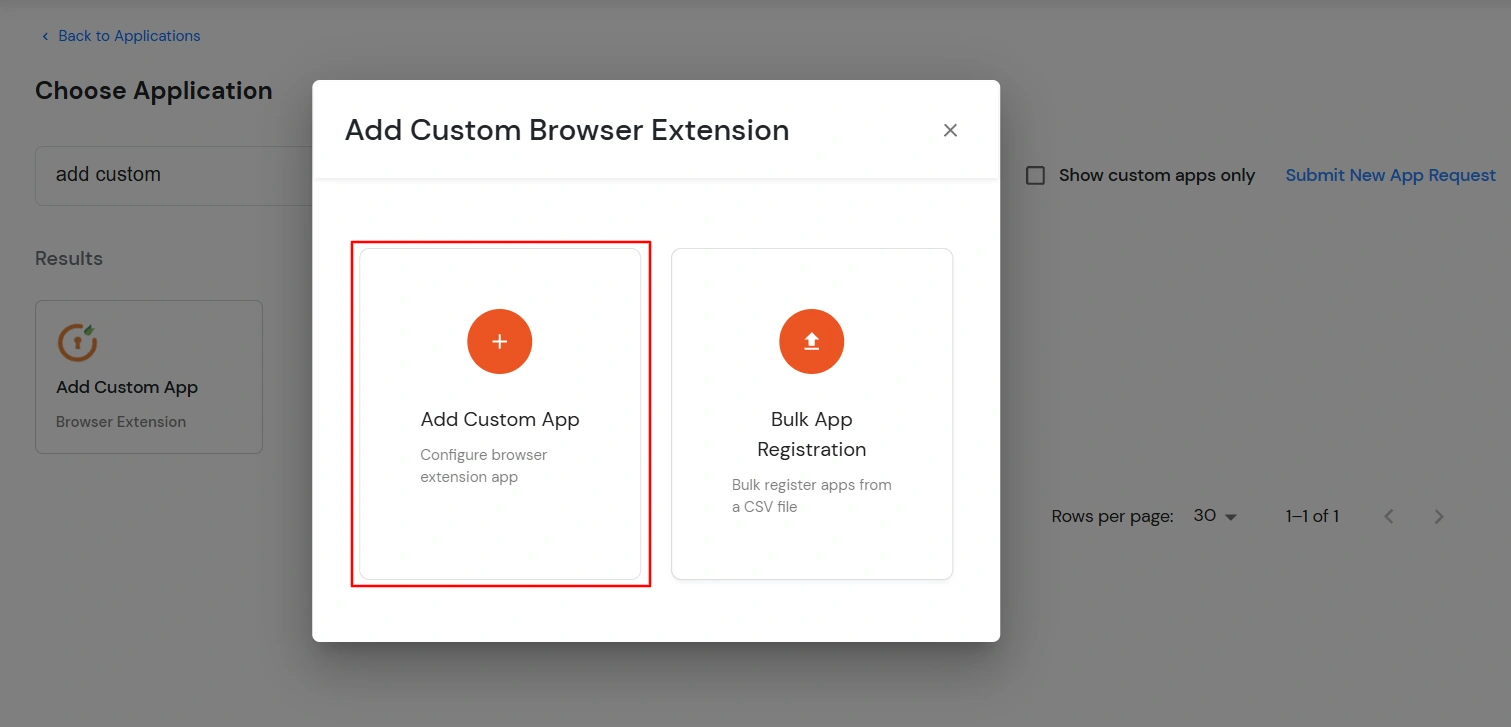
- Click on Add Custom App box to configure a custom browser extension app.
- Fill in the details below under the Basic tab.
| App Field |
Description |
| Display Name |
Enter your application name |
| Login Page URL |
Login URL of your application |
| Login Account Type |
- Shared Login: If multiple users are allowed to access the app via the same credentials assigned by admin, admin should choose shared Login Account option.
- Individual Login: If each user has a different username and password for the app, admin should choose an Individual Login Account option, so that users can save their username and password from the user portal themselves.
|
| Upload App Logo |
Choose a file to upload the app logo. |
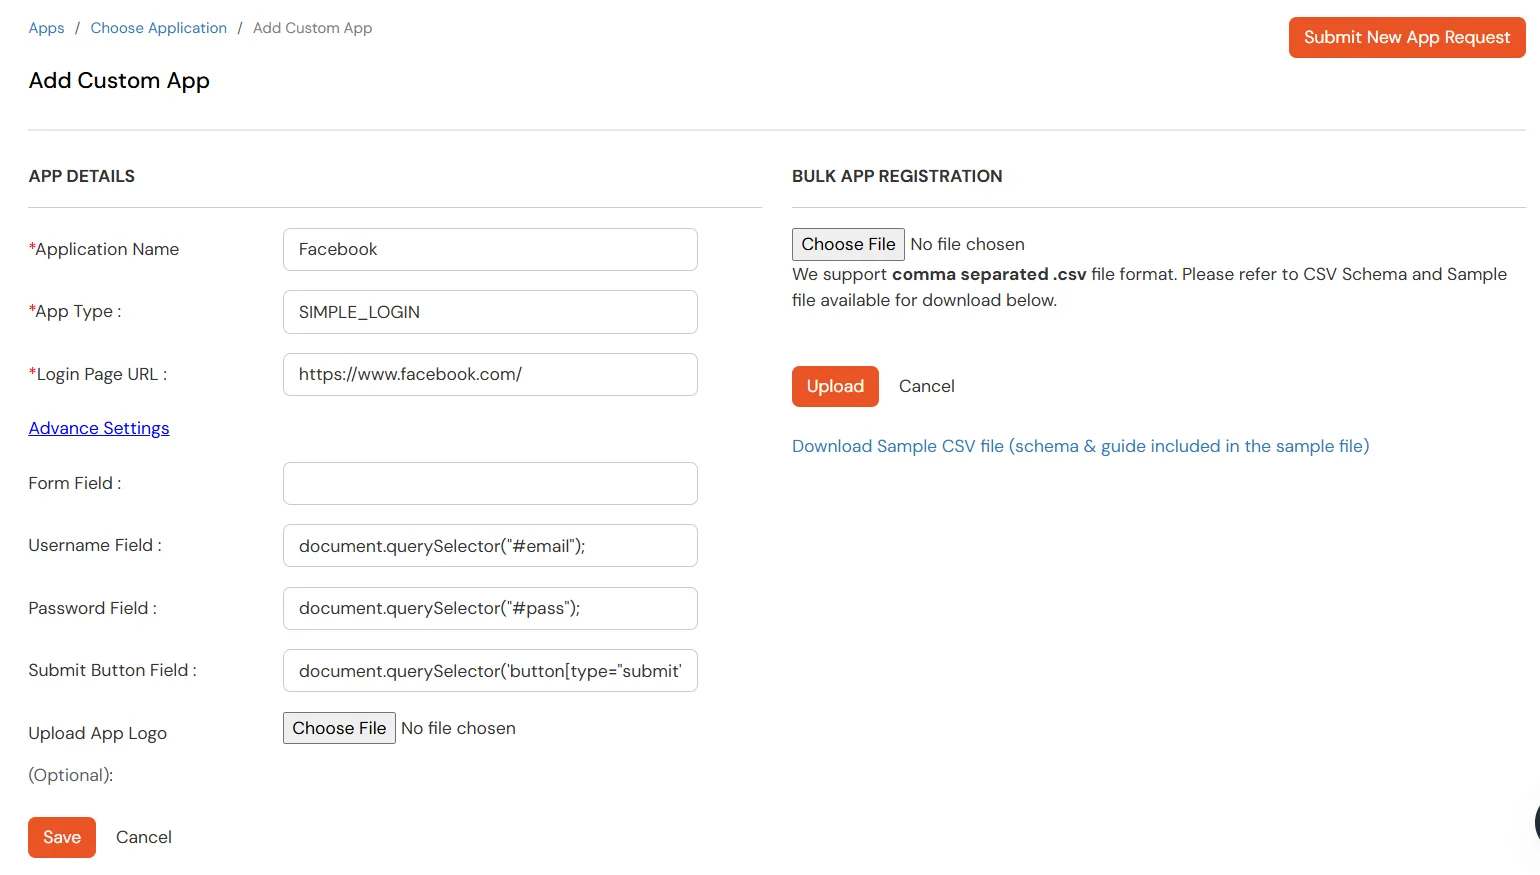
- Click on Next to continue.
- Fill in the details below under the Advanced tab.
-
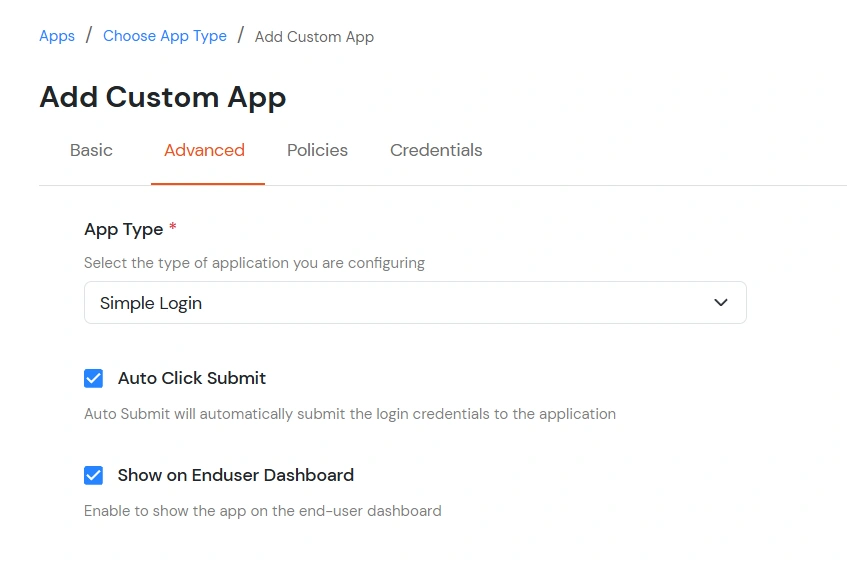
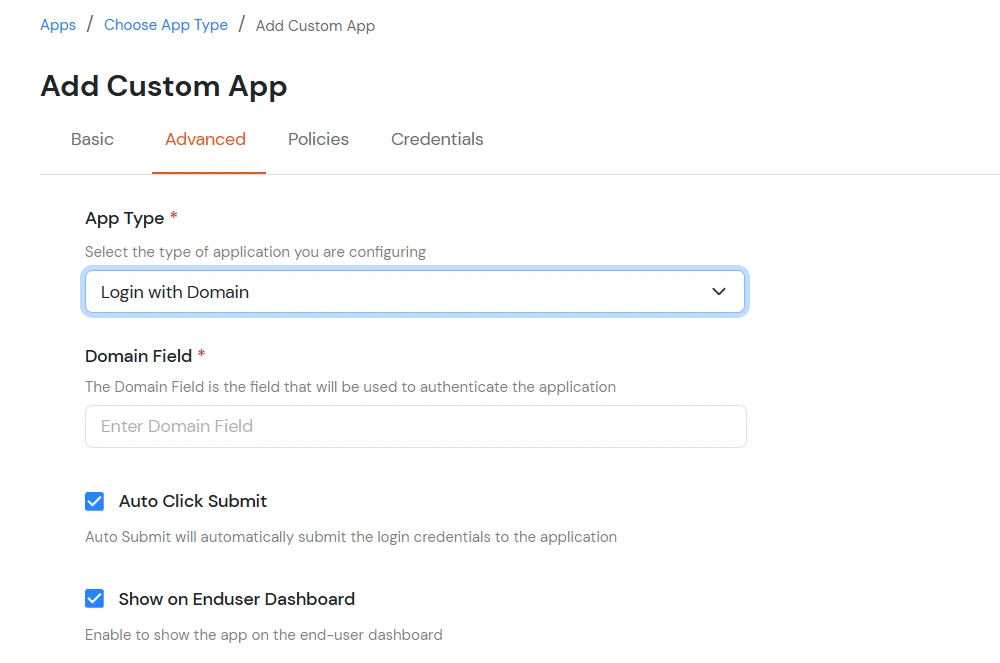
App Type:
- Simple Login: Select Simple Login for applications that use a standard login form with a username field, password field, and a login button.
- Login with Domain: Select Login with Domain for applications that require an additional input field, such as a domain name, account ID, tenant ID, or other constant value, along with the username and password.
- Login with Pre-Click: Select Login with Pre-Click for applications that require a user action, such as clicking a button, checkbox, or link, before the login credentials can be submitted.
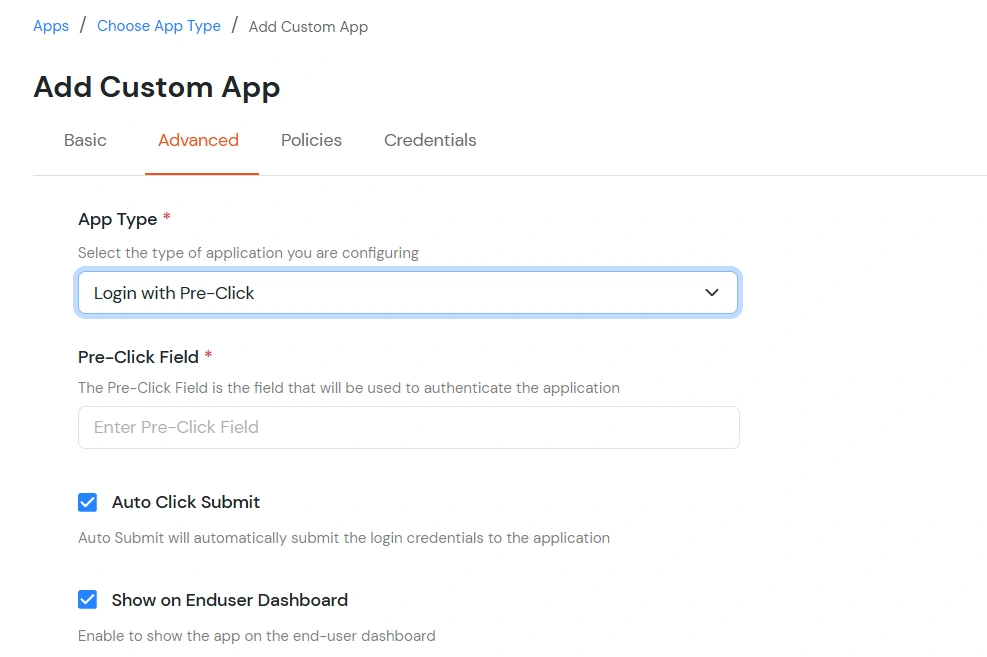
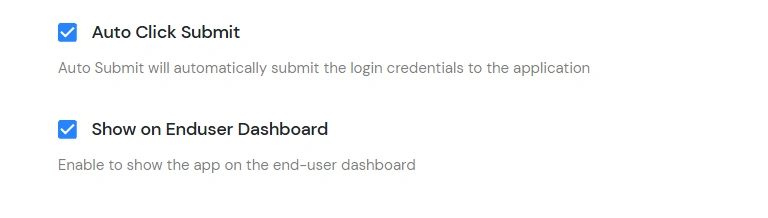
- Auto Click Submit: Enable this toggle to automatically submit the login form after the extension fills in the user's credentials. Disable this option if users need to manually complete additional verification steps, such as entering a CAPTCHA, answering a security question, or providing other required information before signing in.
- Show on Enduser Dashboard: Enable this toggle to make the application visible on the end-user dashboard. If the application is configured as a Shared Account and the shared credentials have not been configured, the application will not be displayed on the end-user dashboard even if this option is enabled.
- Click on Next to continue.
- You need to Save the Application first to configure the policy for the application.
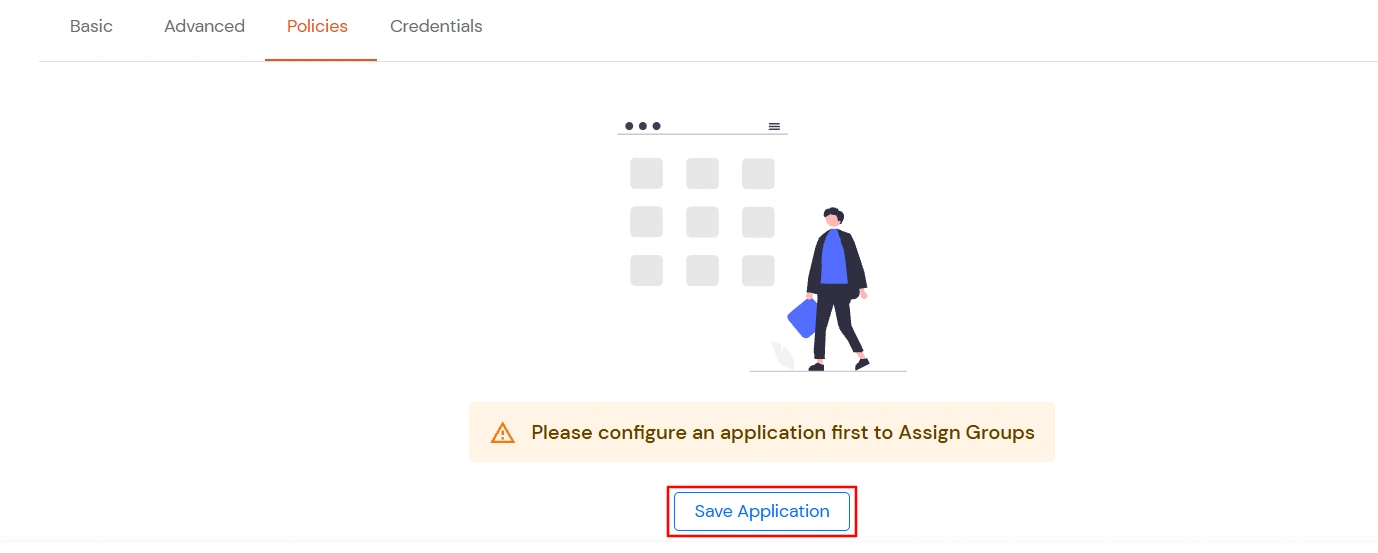
- Click on Assign group to configure the policy for that application.
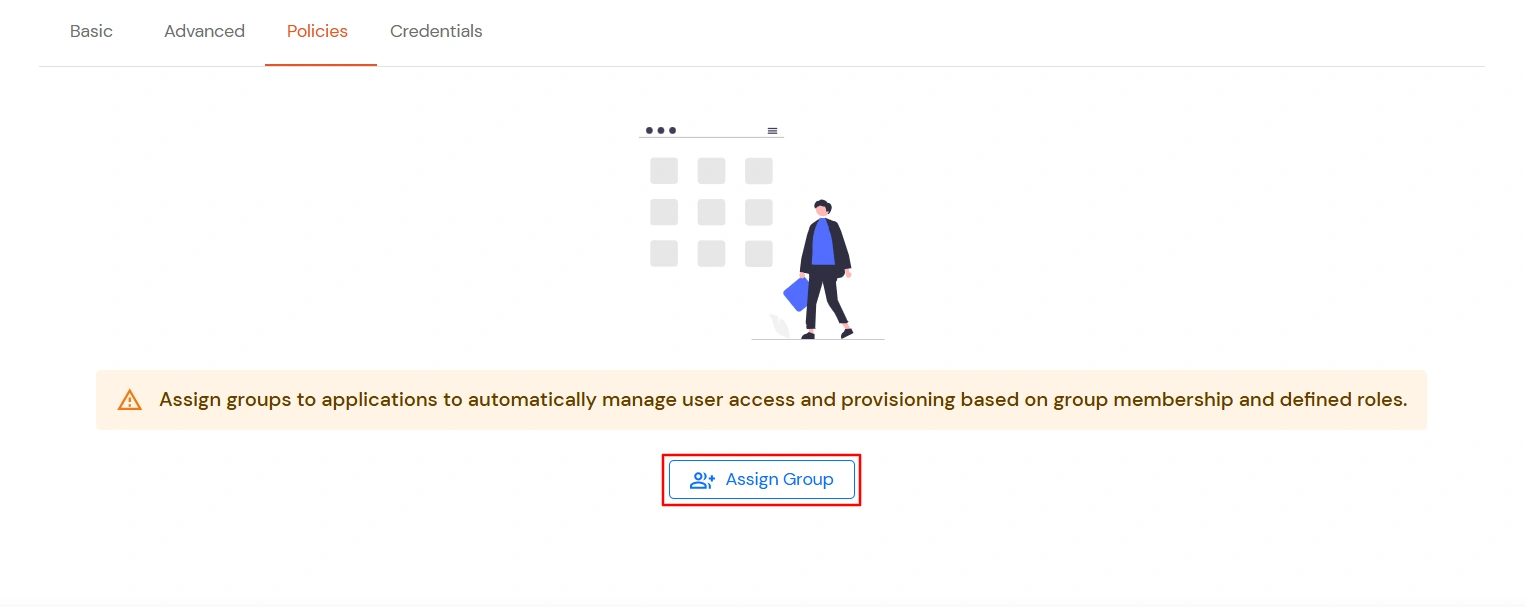
- A new Configure Group Assignment Modal tab will open. Fill in the details in the fields below.
- Assign Group: Select the groups you want to link with the application. You can select up to 20 groups at a time.
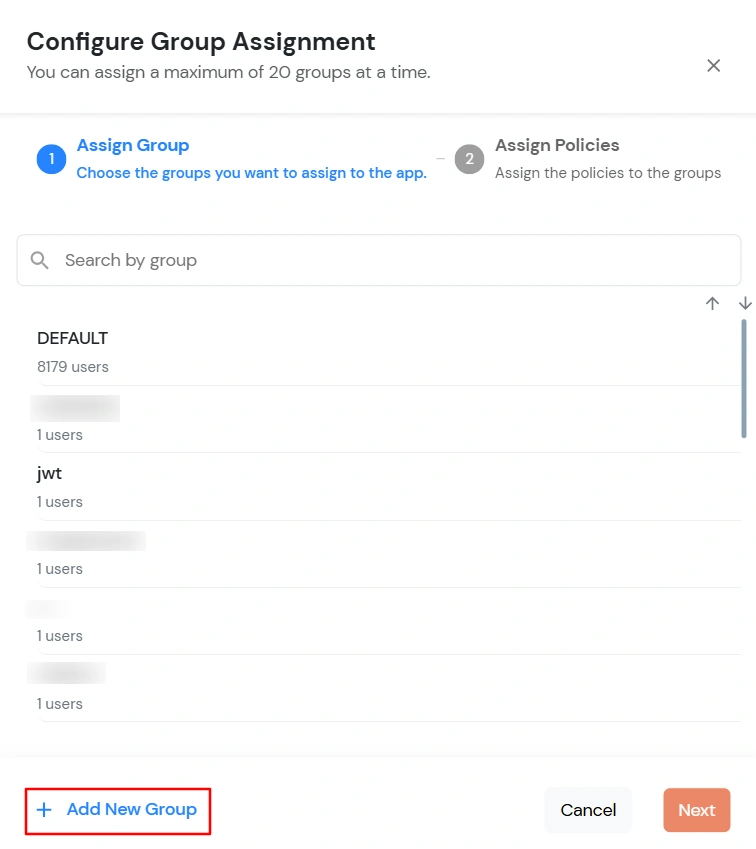
- If you need to create new group. Click on Add New Group button.
- Enter the Group name and click on Create Group.
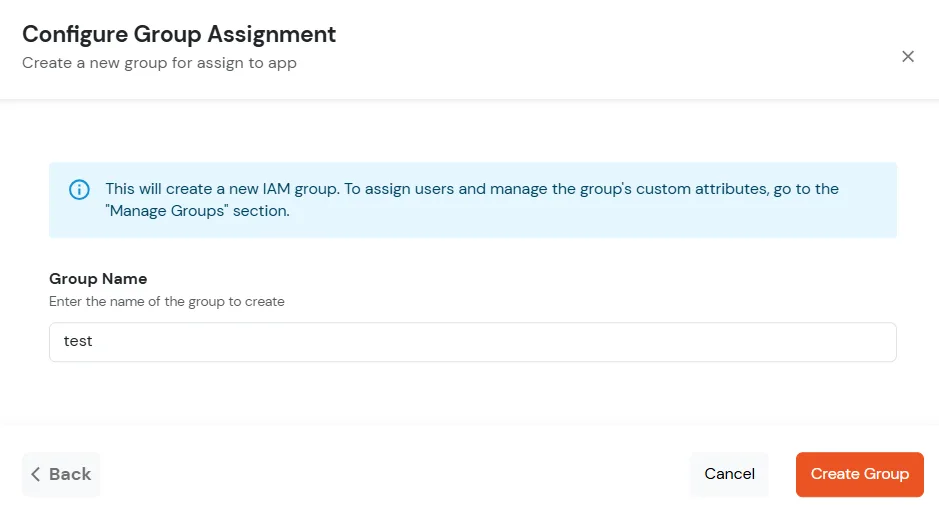
- Click on Next.
- Assign Policies: Add the required policies to the selected groups. Enter the following details:
- First Factor: Select the login method from the dropdown.
- If you select Password as the login method, you can enable 2-Factor Authentication (MFA) and Adaptive Authentication, if needed.
- If you select Password-less as login method, you can enable 2-Factor Authentication (MFA) if needed.
- If you select Magic Link as the login method, the following options appear:
- Enable sign-in from other IPs: When enabled, users can open the Magic Link from a different IP address than the one from which it was requested.
- Enable sign-in from other devices: When enabled, users can open the Magic Link on a different device than the one used to request it.
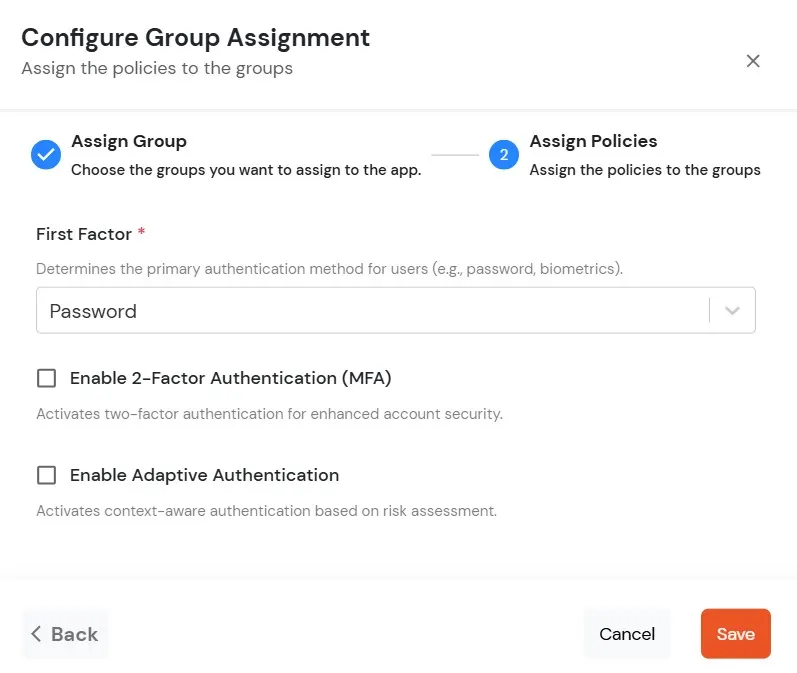
- Click on Save. Policies will be created for all the selected groups.
- You will see the policy listed once it’s successfully added.
- Click on Next to continue.
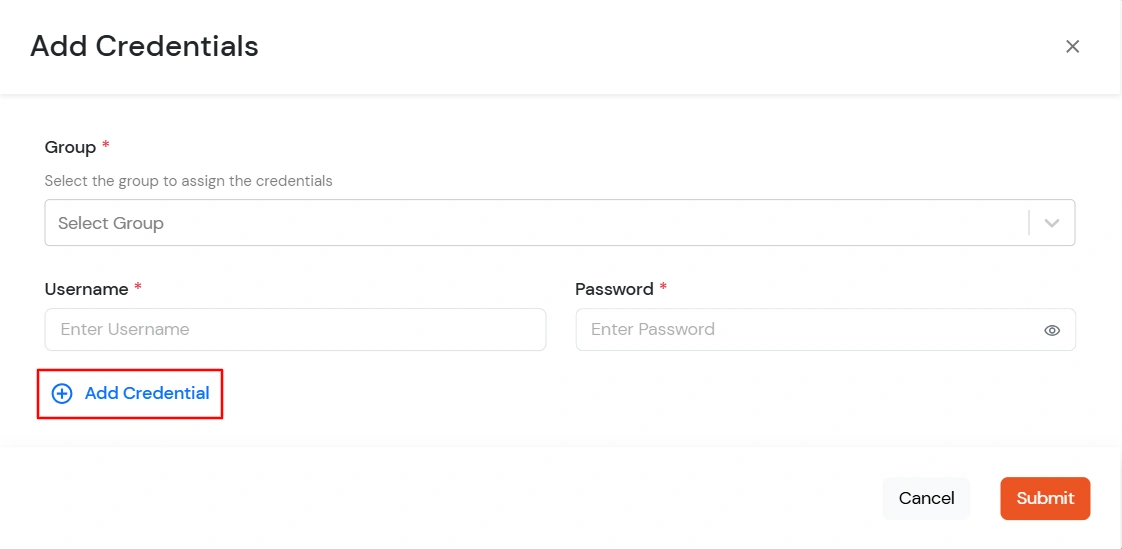
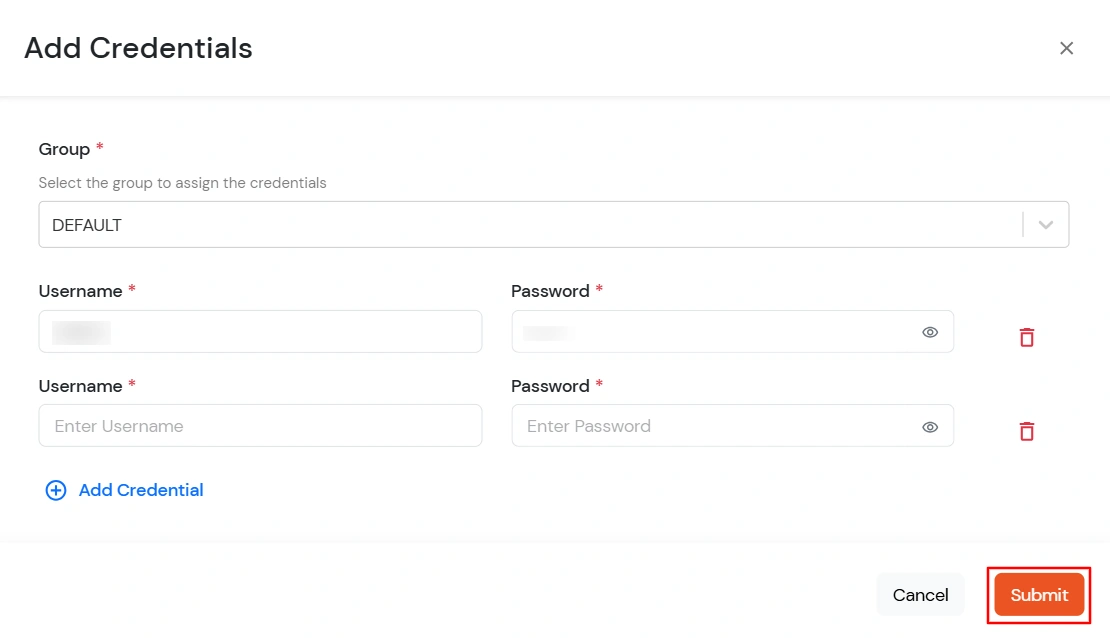
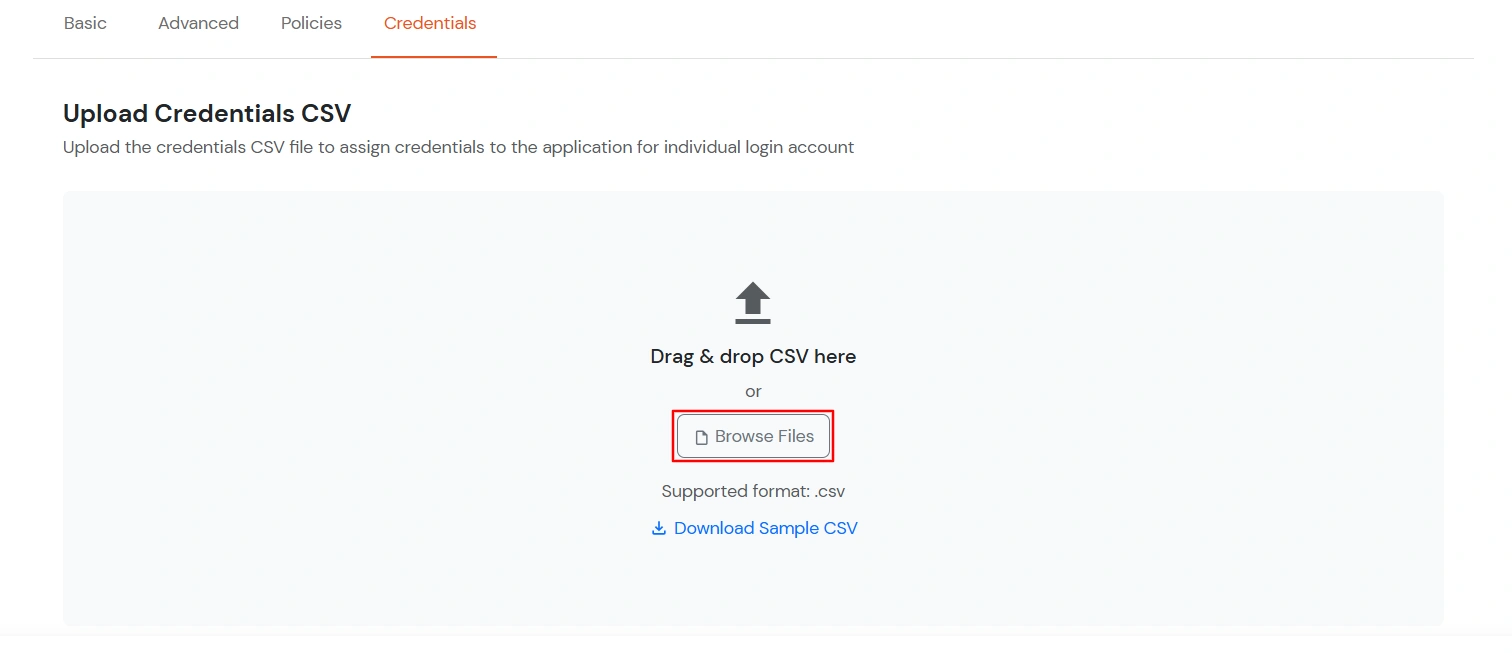
- To configure the Login Credentials for your app:
Use this option to assign individual login credentials to users by uploading a CSV file.
- Click Browse Files and select the CSV file containing the user credentials.
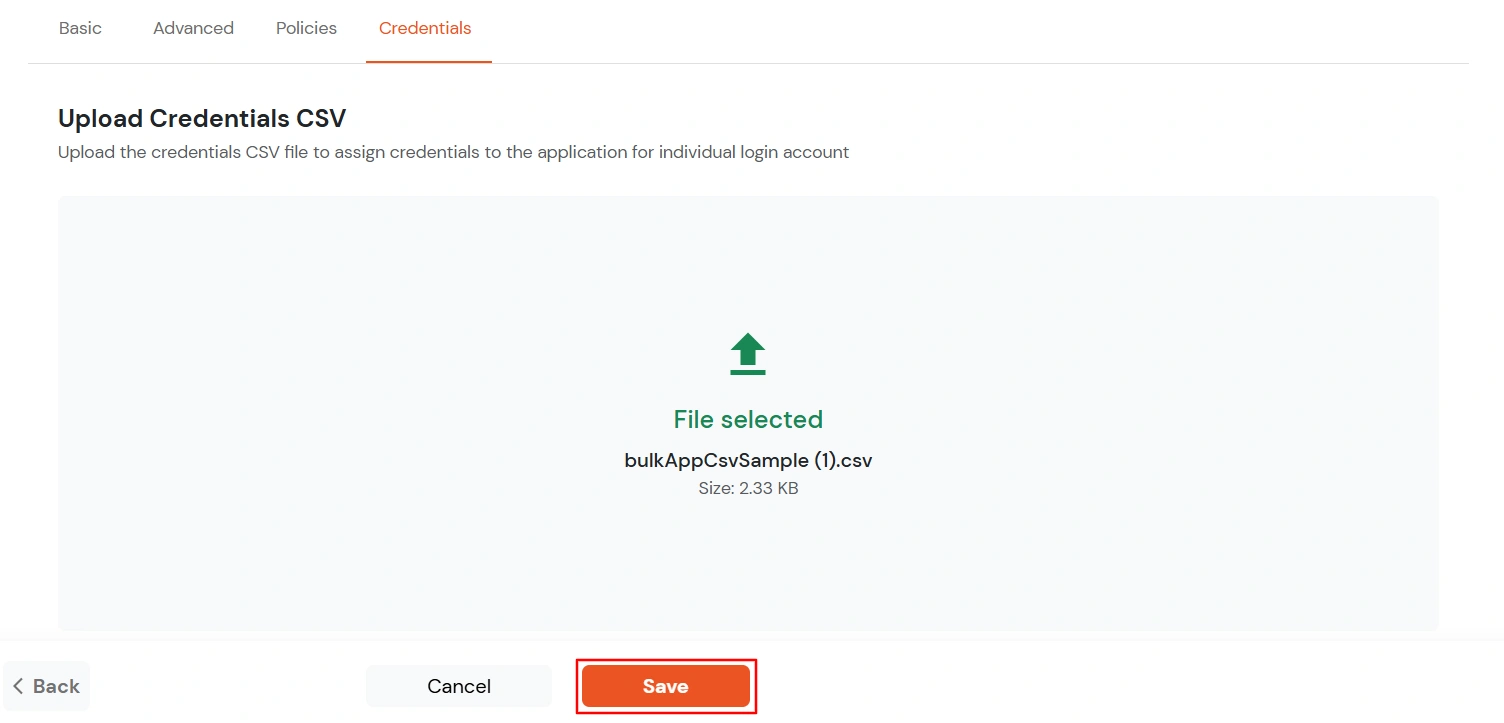
- Click Save to upload the credentials.
Bulk App Registration allows you to create, update, or delete multiple browser extension applications by uploading a CSV file.
- Click on Bulk App Registration.
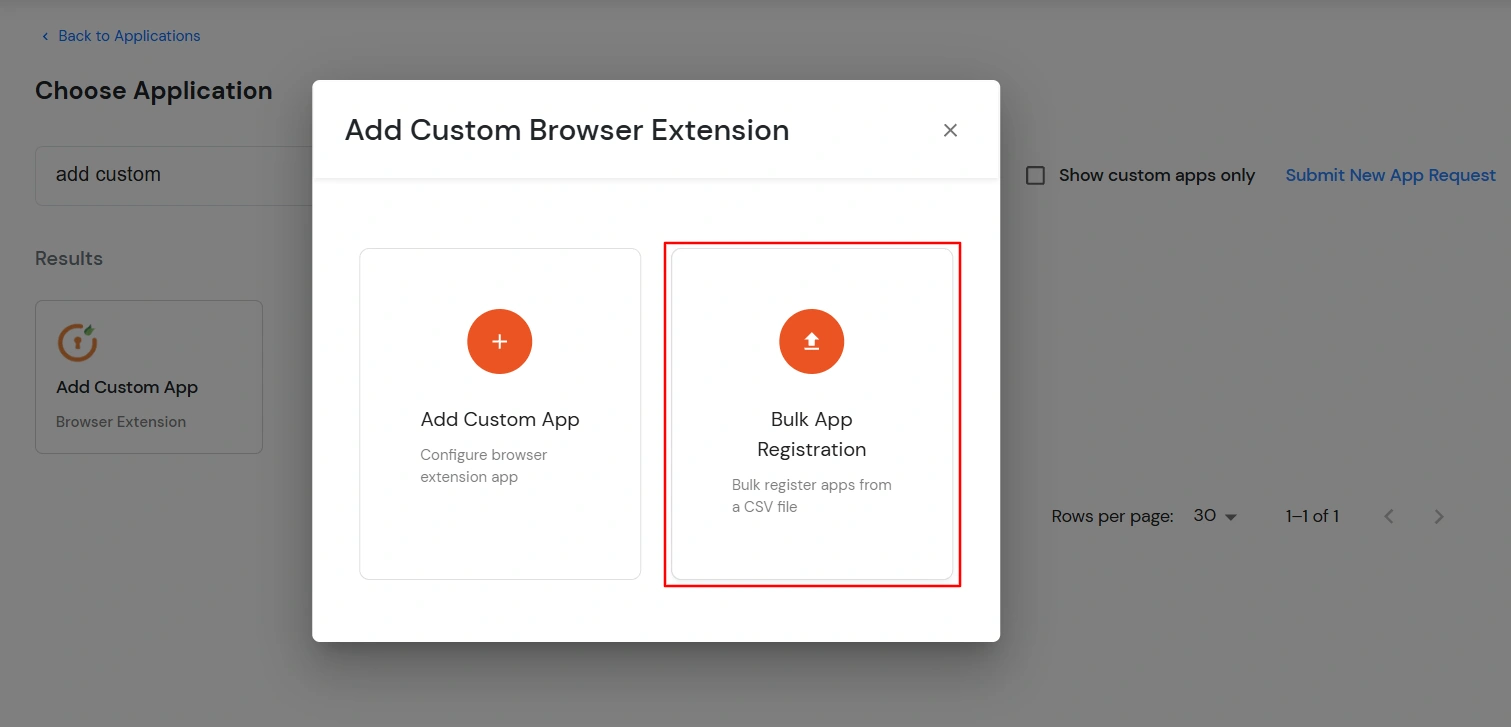
- Click Download Sample CSV File to download the sample CSV template. Populate the file with the required application details in the specified format.
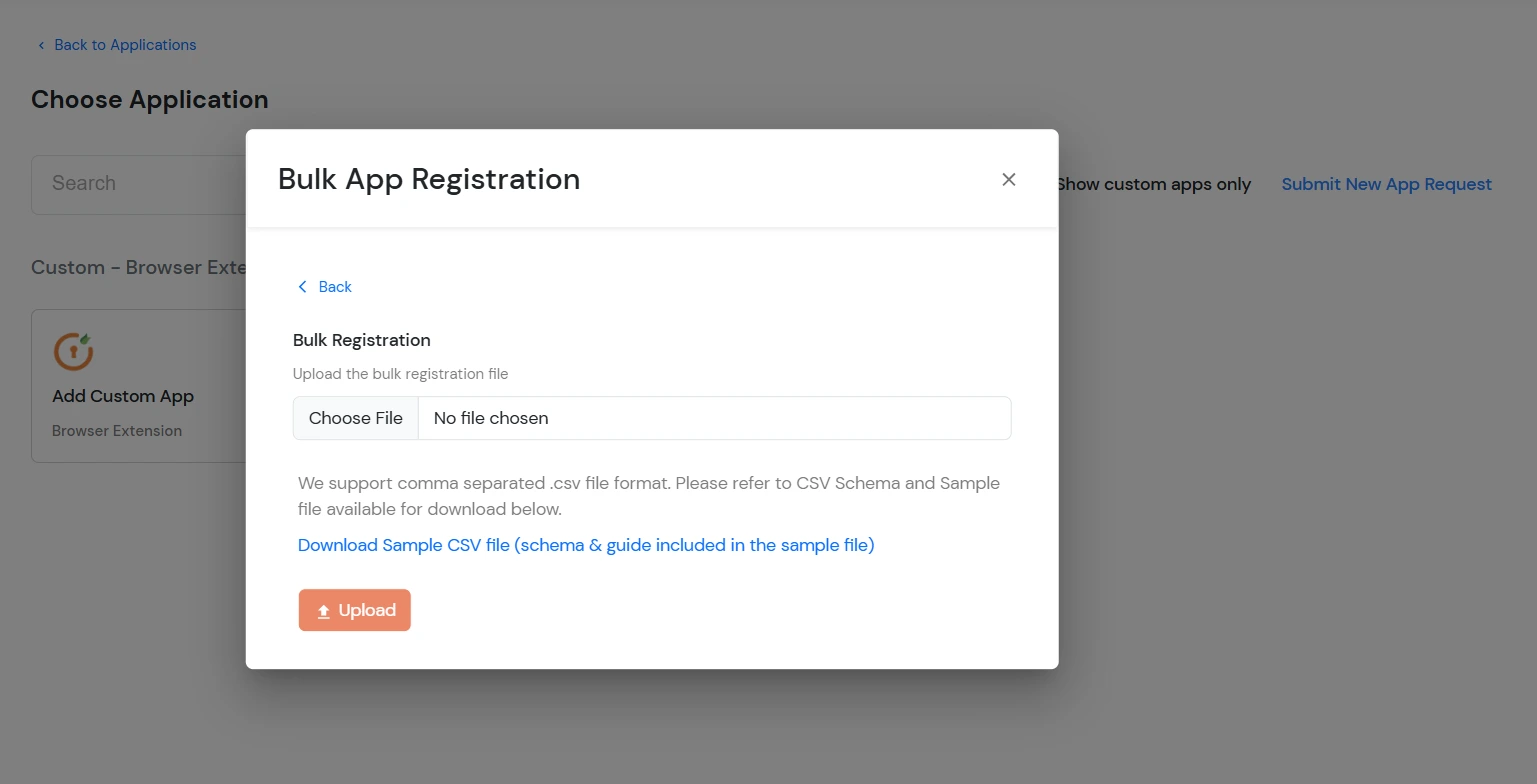
- Click Choose File and select the CSV file containing the application details.
- Click Upload to start the bulk registration process.
3. Download and Install Browser Extension.
- Go to your User Dashboard.
- Click on your app icon, click on the download symbol.
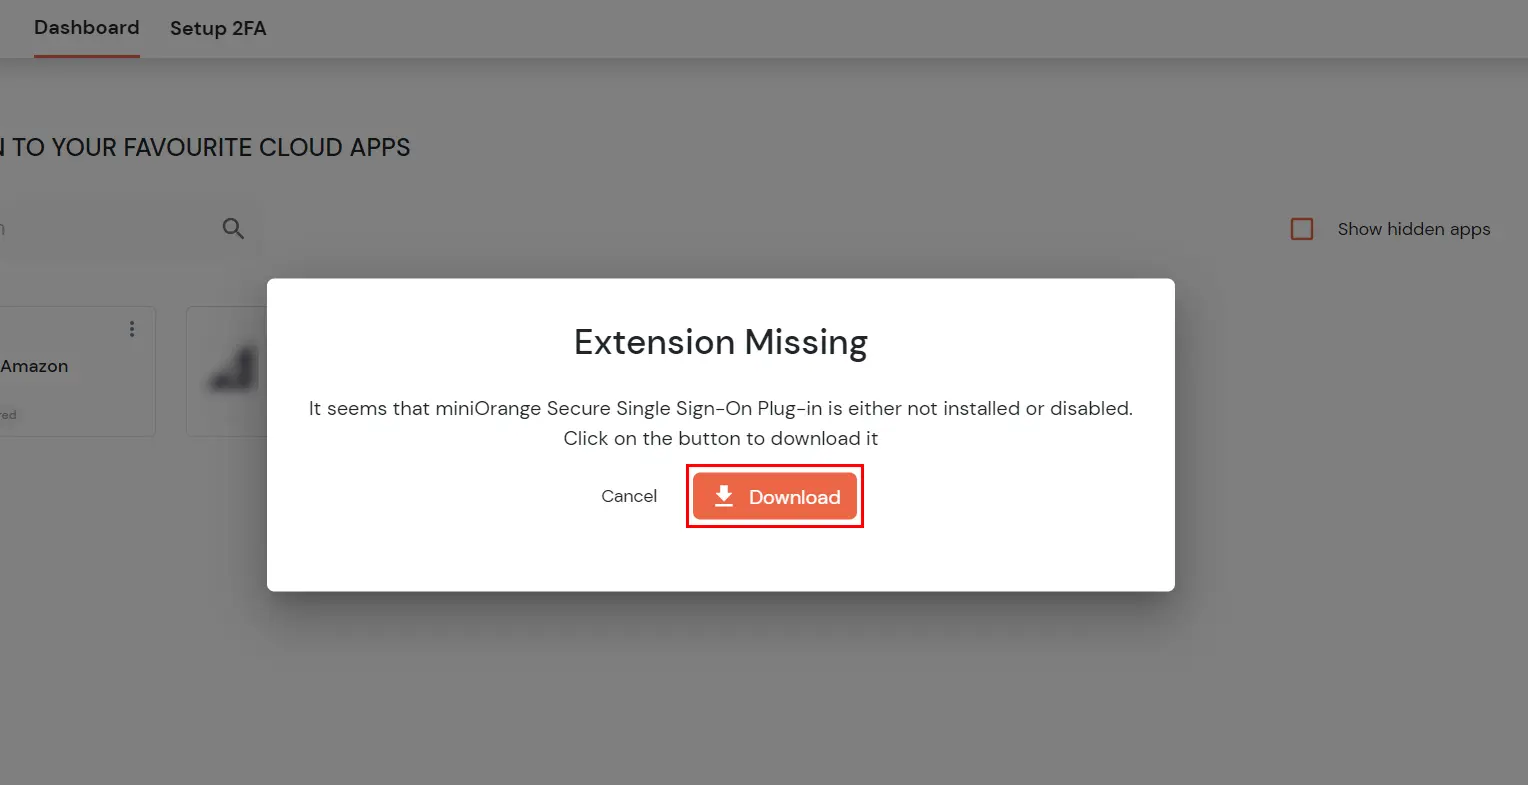
- You will be redirected to an Add extension page. Now, click on Add to Chrome.
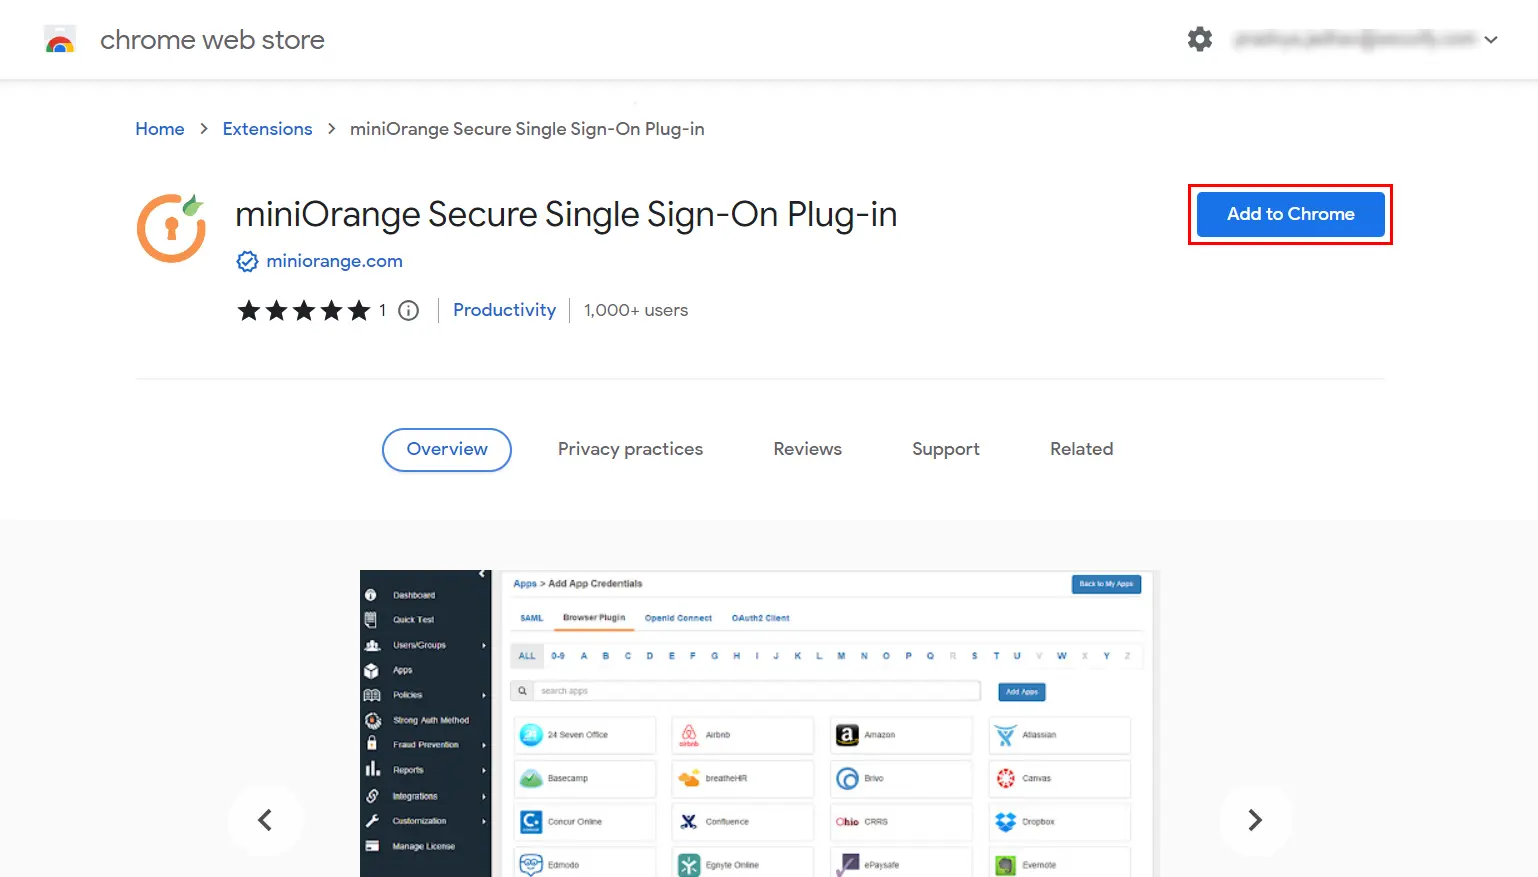
- Click on Add extension.
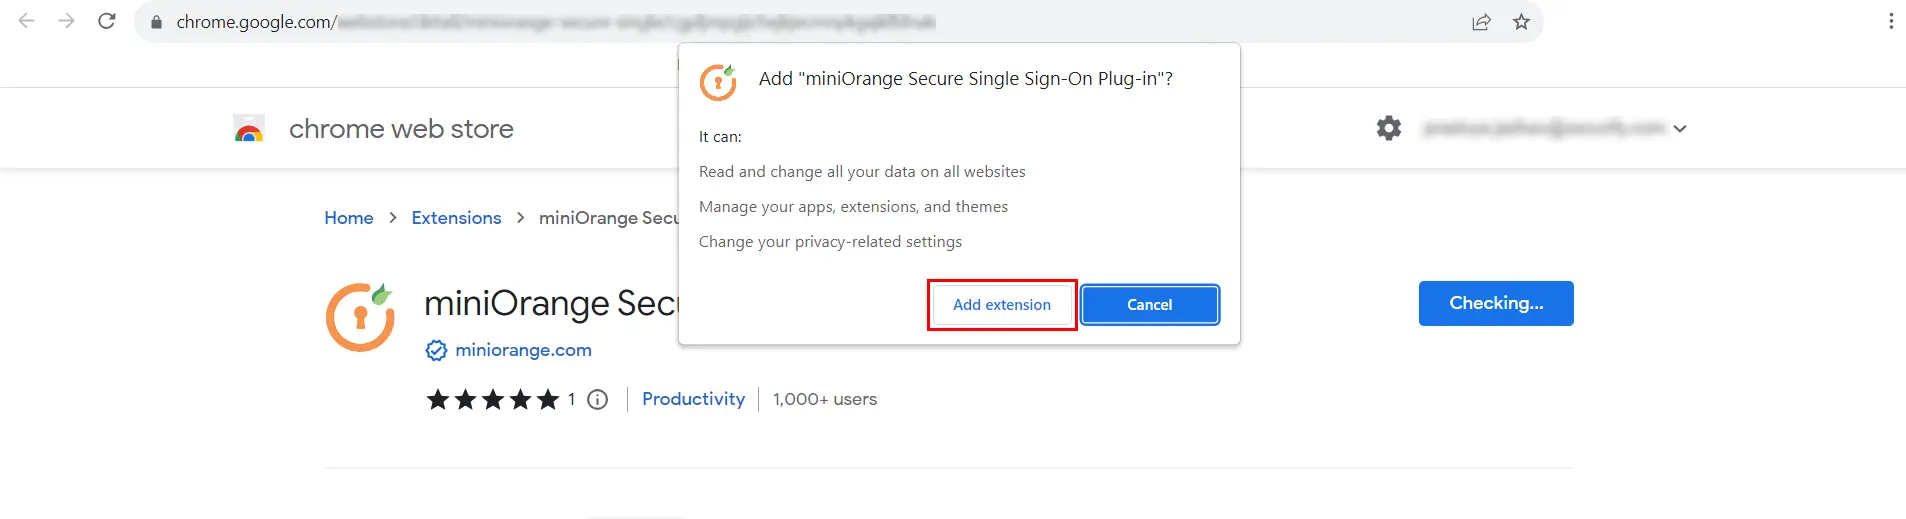
- Now, miniOrange extension is installed in your respected Browser.
- A .zip will be download.
- Extract the .zip file and open the readme.txt file.
- Follow the instructions in the readme file to install the extension in Internet Explorer.
- Restart the Internet Explorer browser.
4. Login to your Application via Configured App.
- Click on the configured app in your user-dashboard to Login to your application.
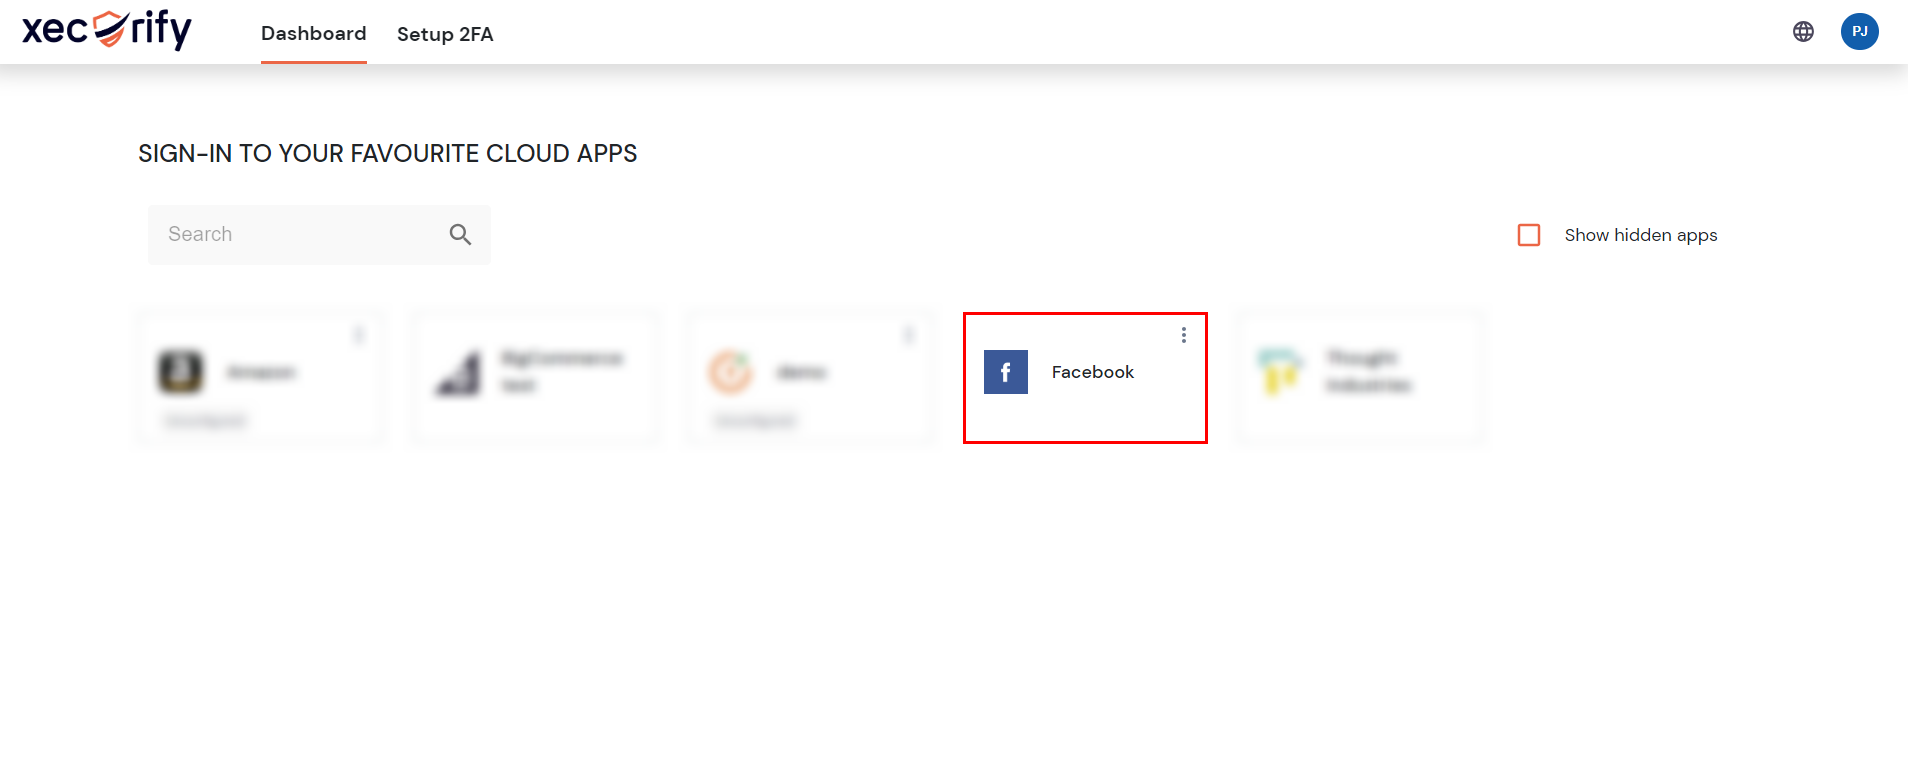
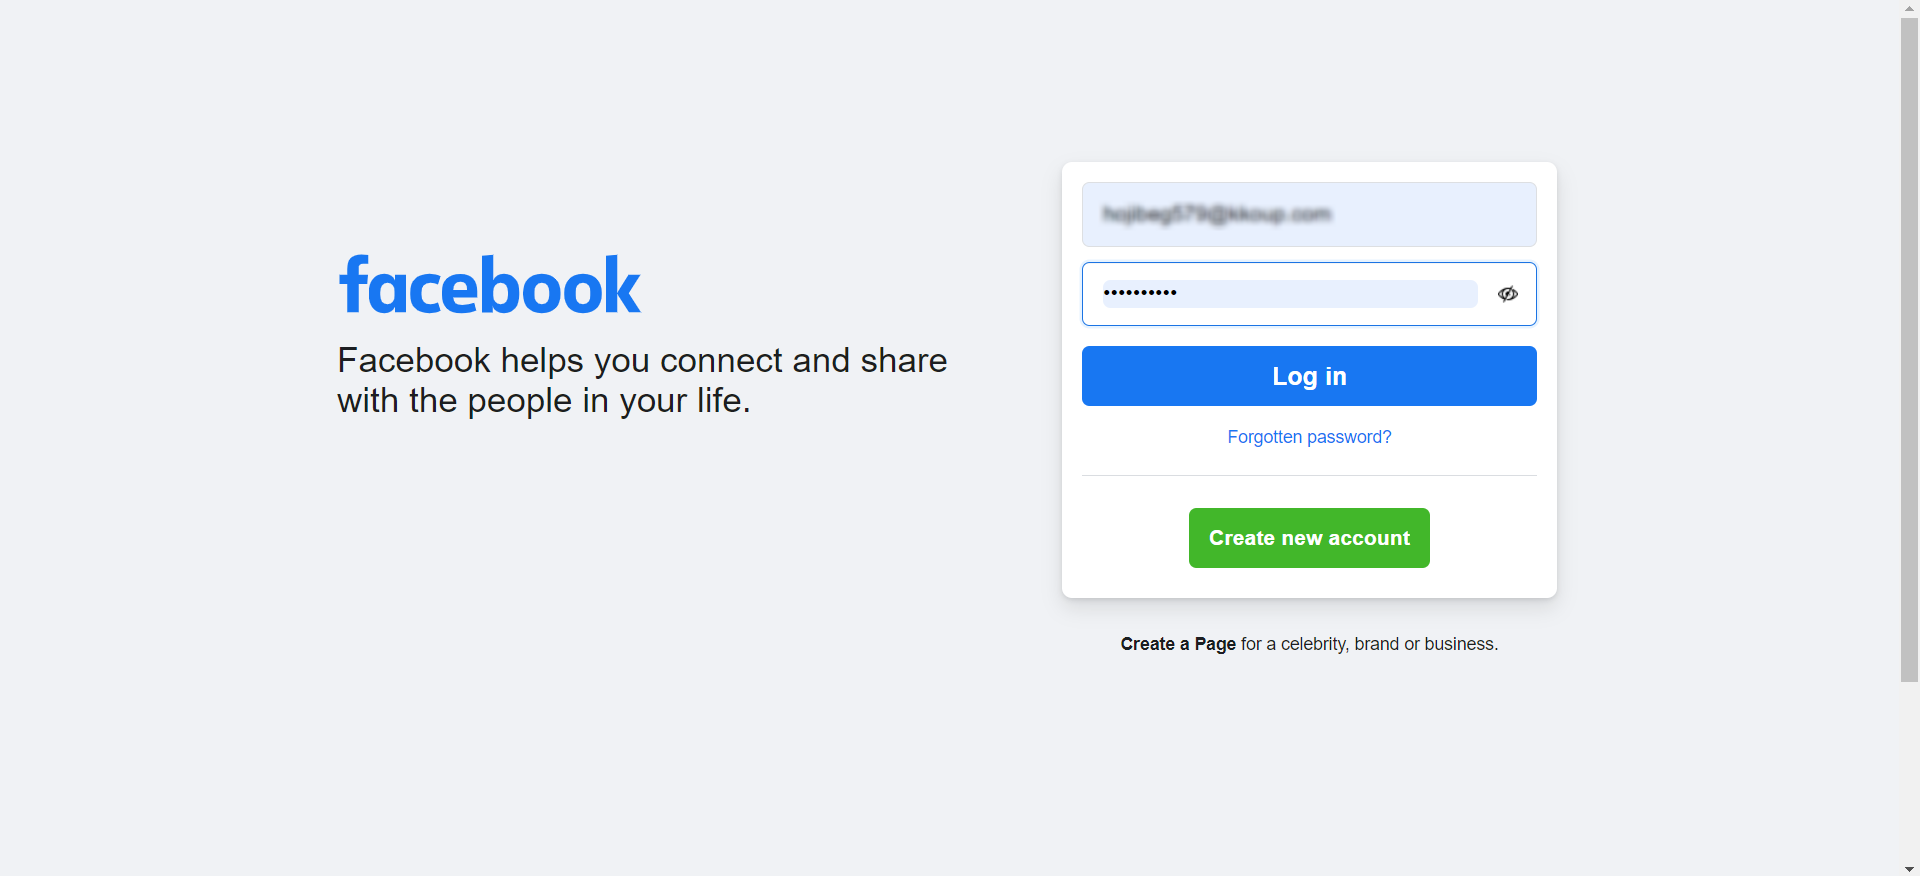
- You will be redirected to your Application's Login page. The miniOrange browser SSO extension will fill your login credentials and will log you in automatically.
5. Embed this application link in your website/user portal.
- Go to admin dashboard -> Apps -> search for your app.
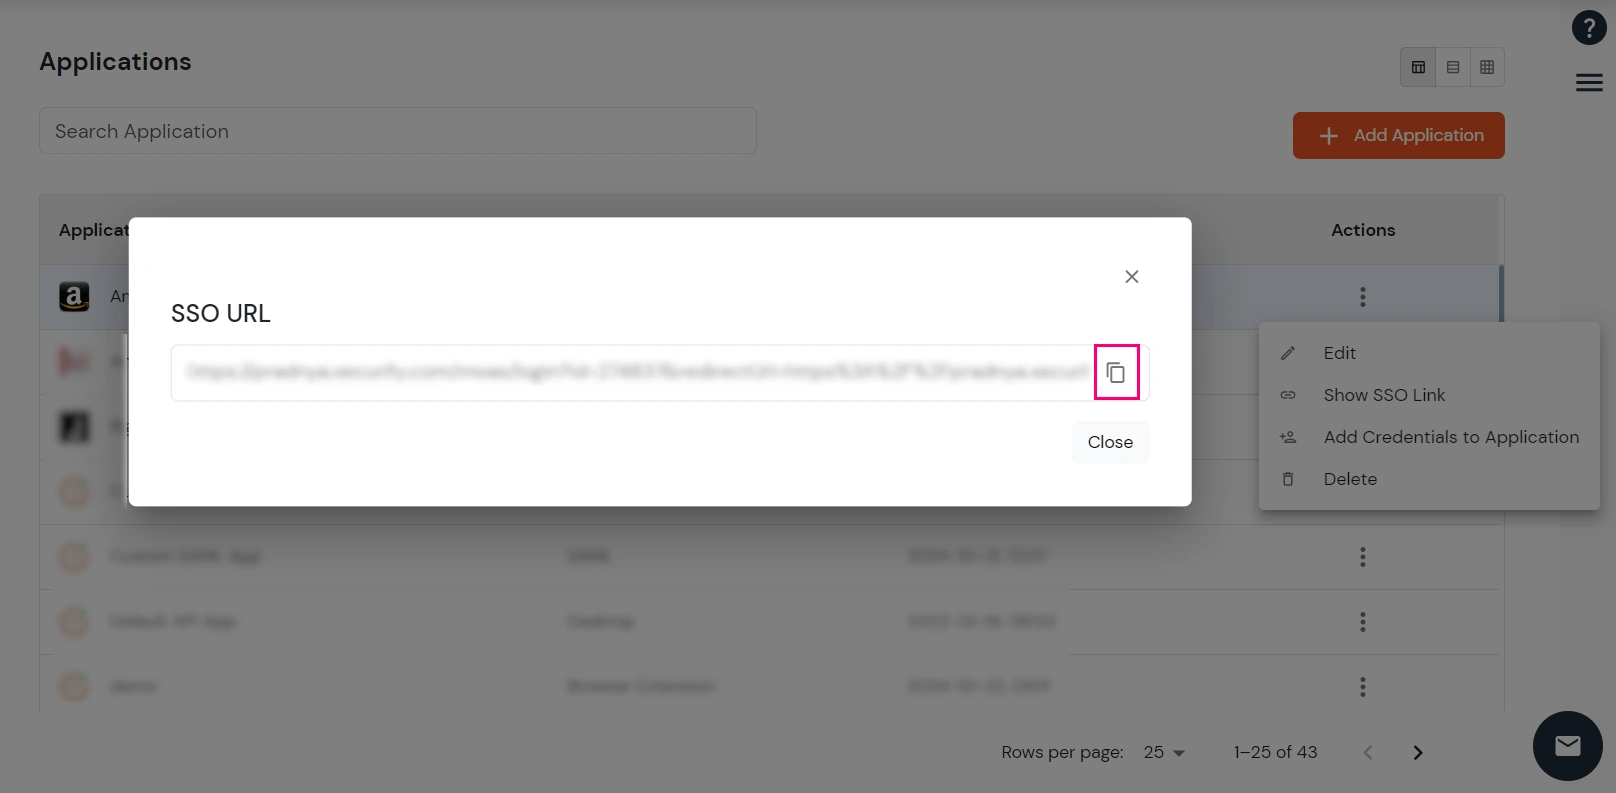
- Click on the icon ' ' > > Show SSO Link,in the Action menu against your app.
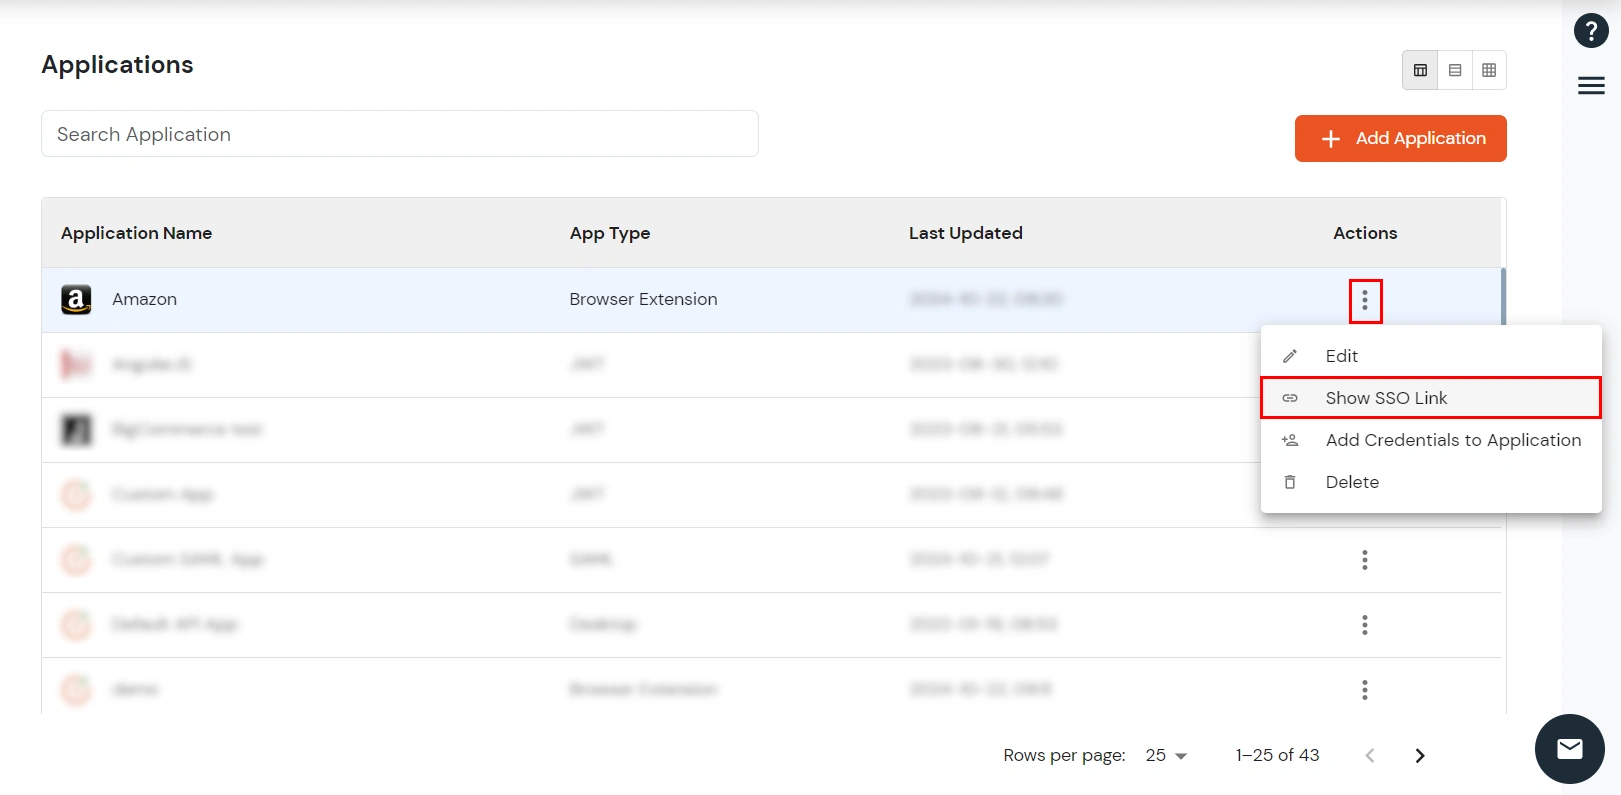
- Copy the SSO URL app link and paste it anywhere on your website - User portal/ Apps Dashboard /Menu, etc.