Hello there!
Need Help? We are right here!
Need Help? We are right here!
Search Results:
×This is a step by step guide to configure Radius MFA using MSCHAPv2 protocol.
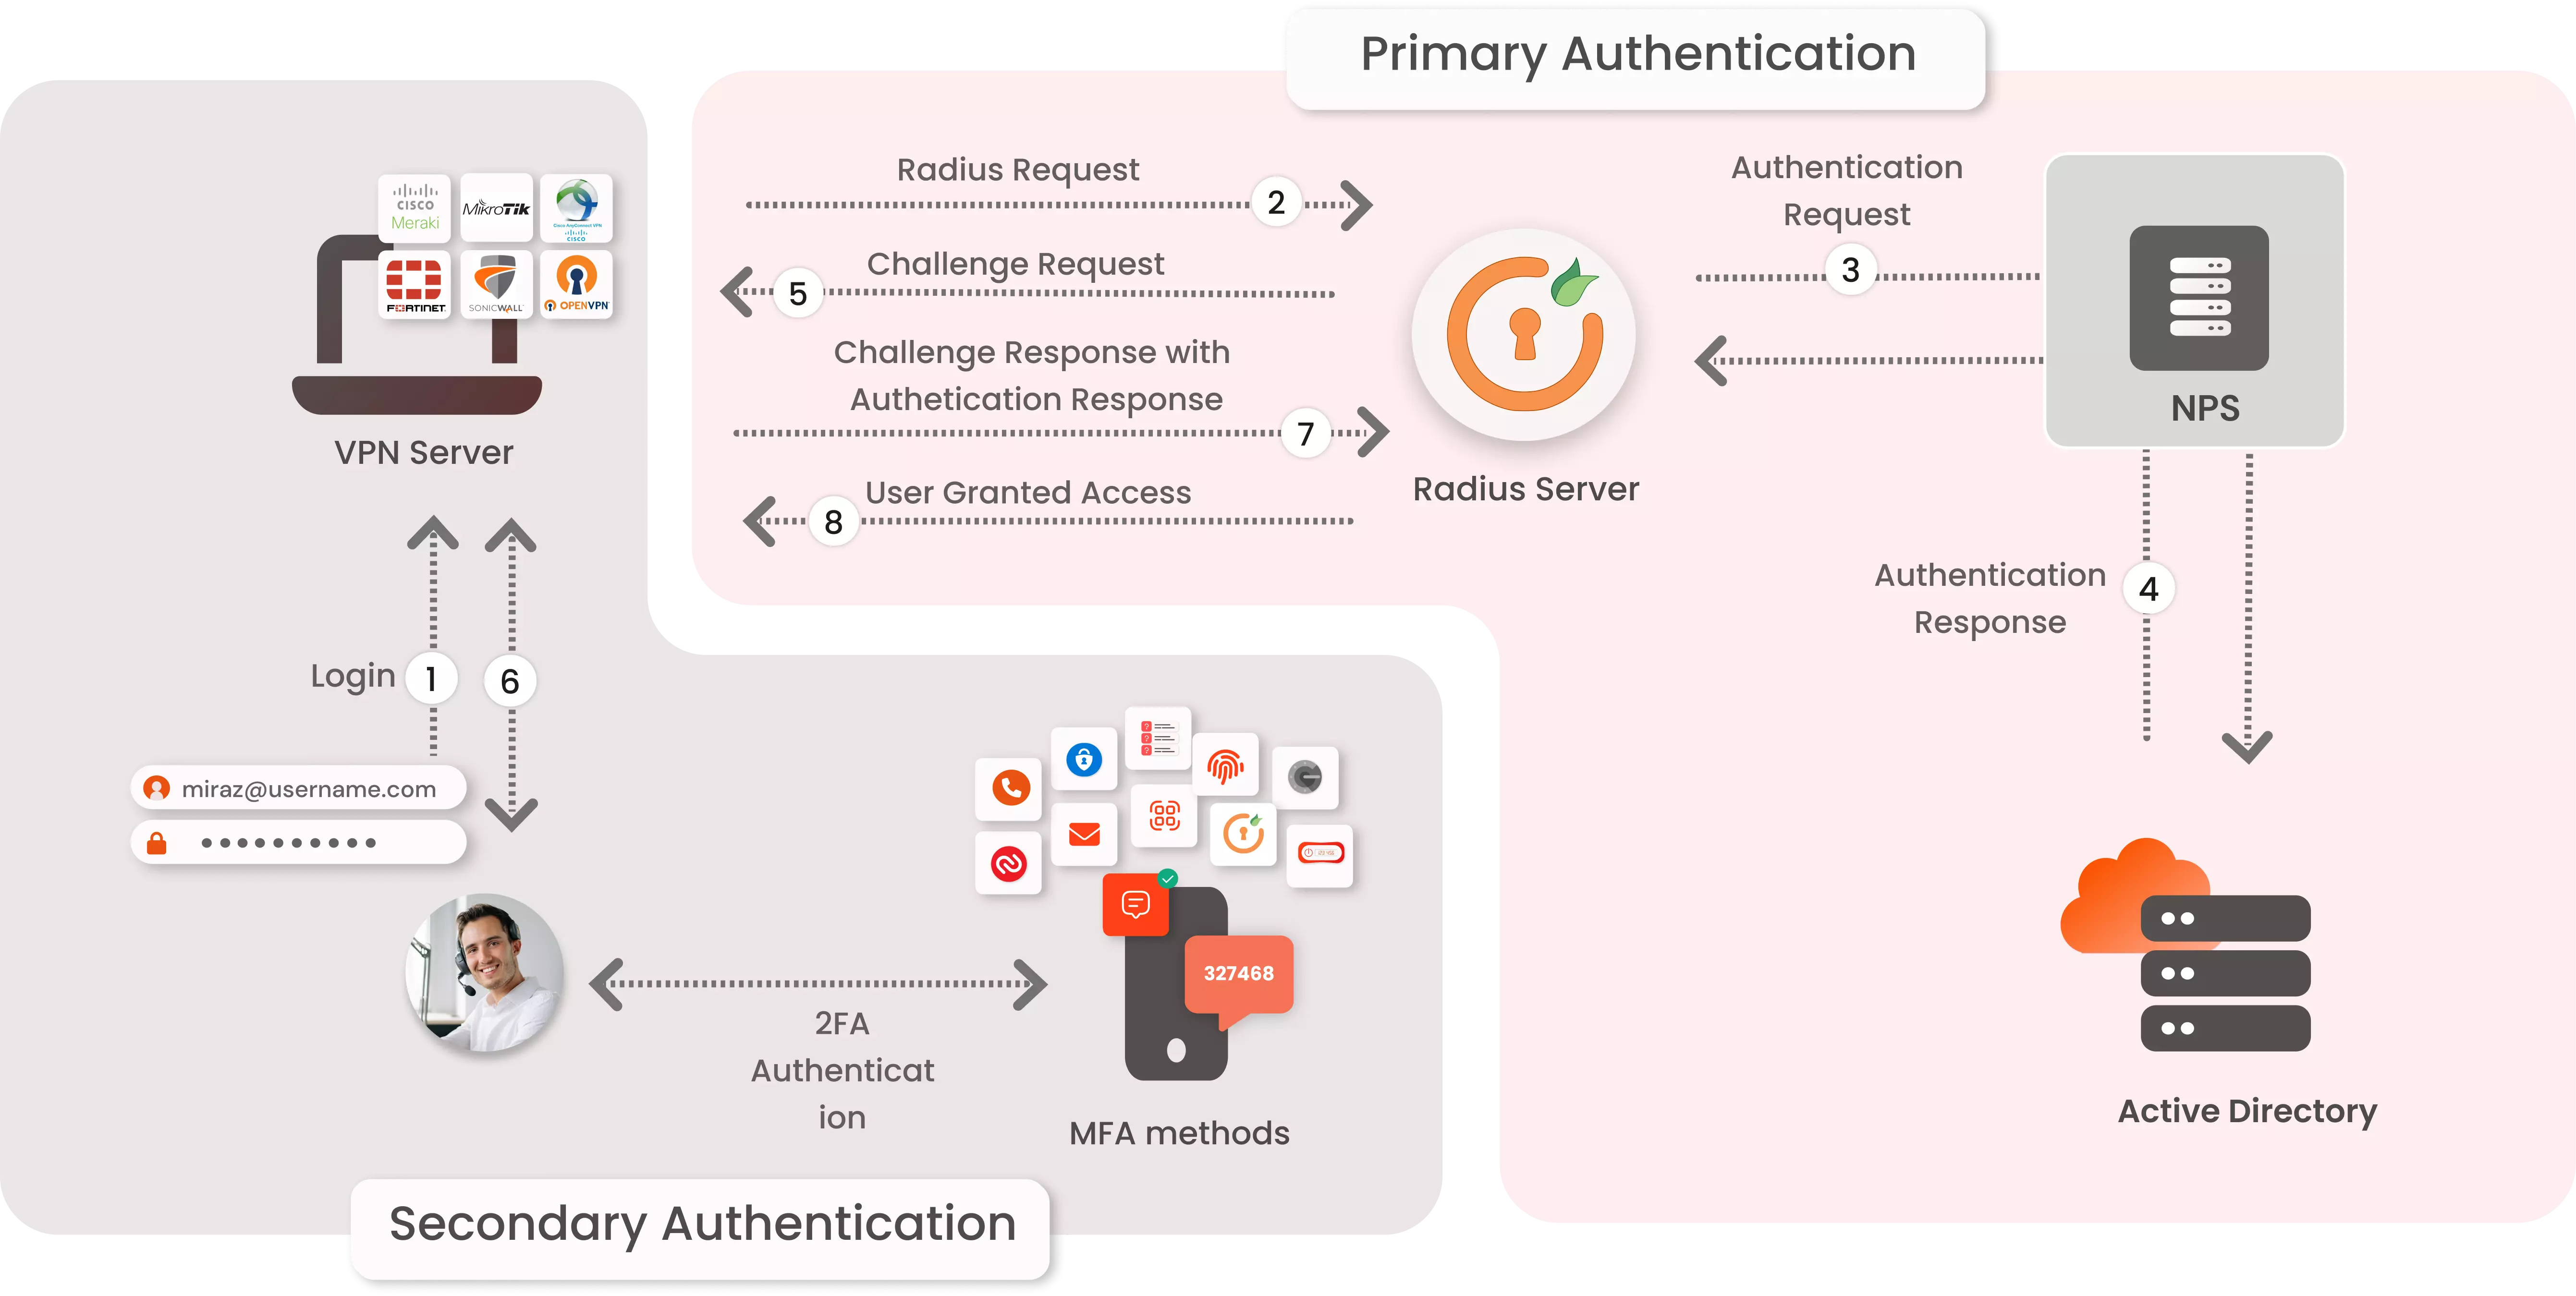
Radius Server Authentication Flow
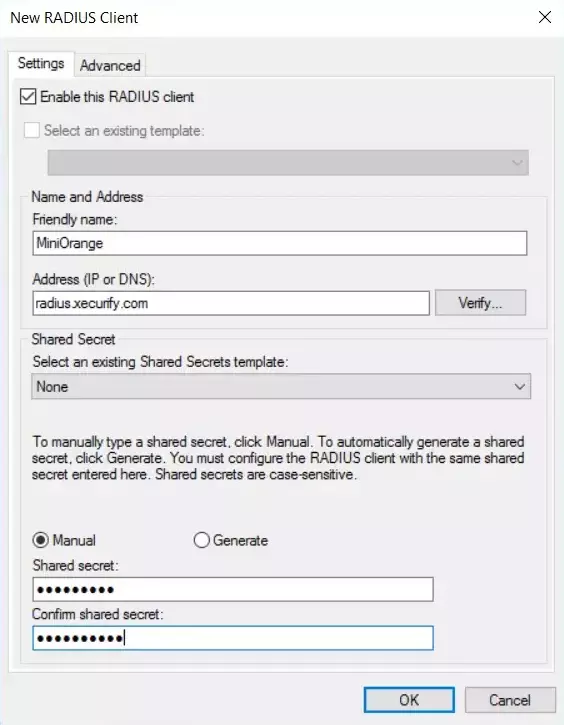
a. Configure New RADIUS Client
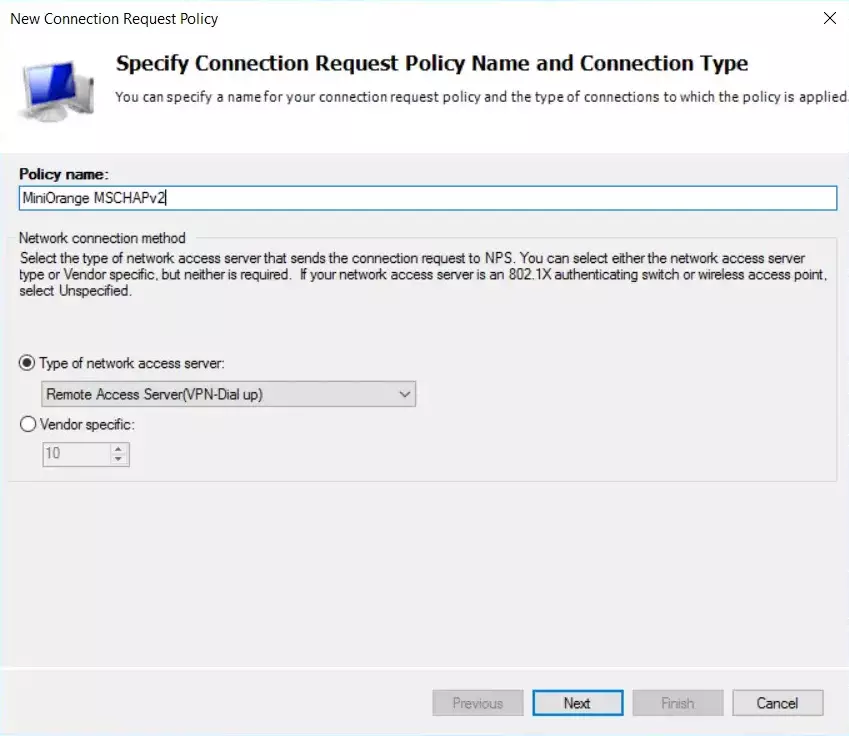
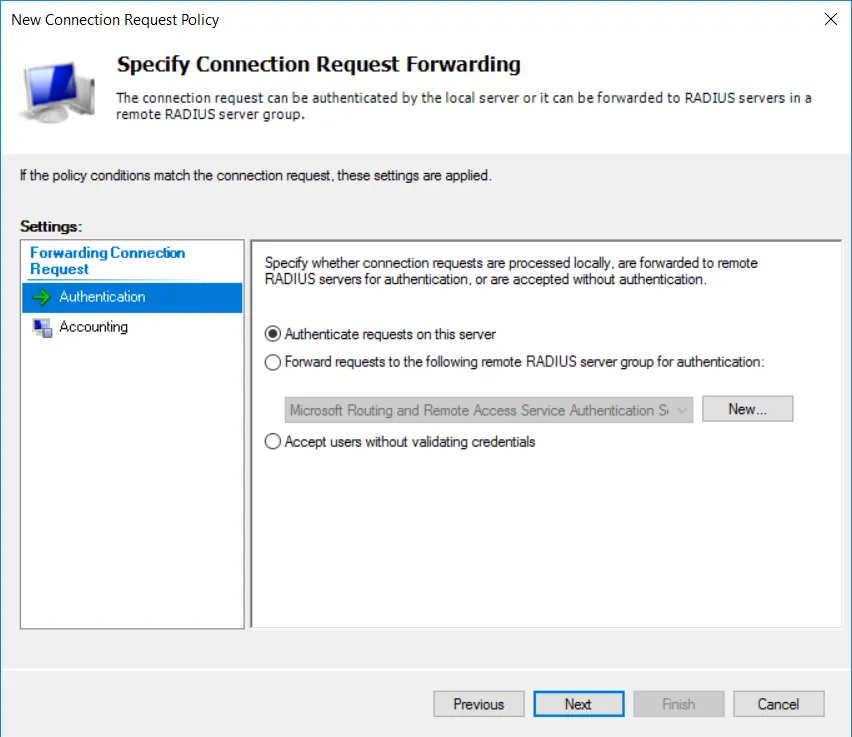
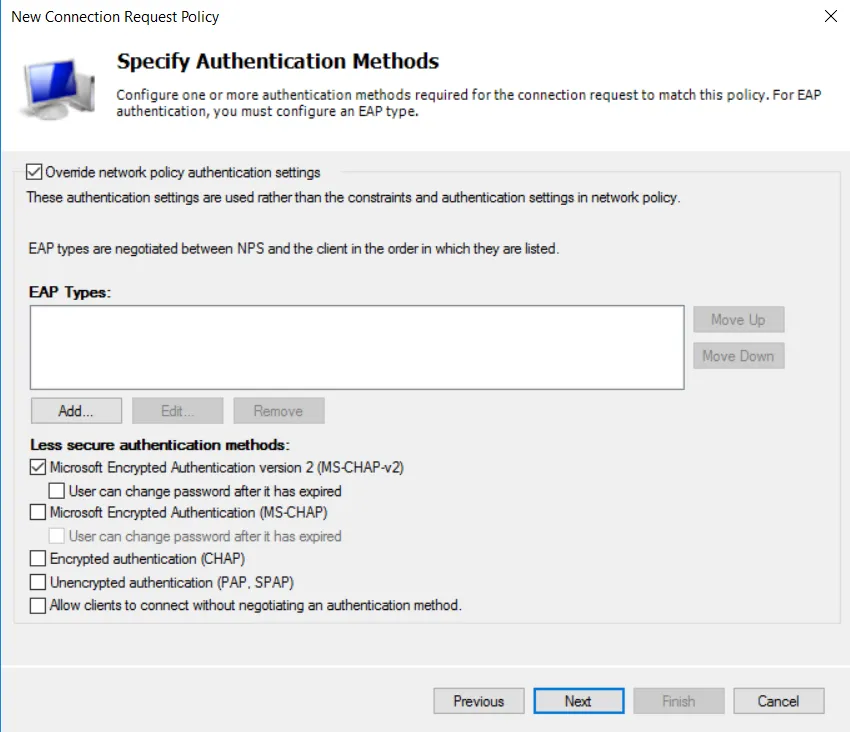
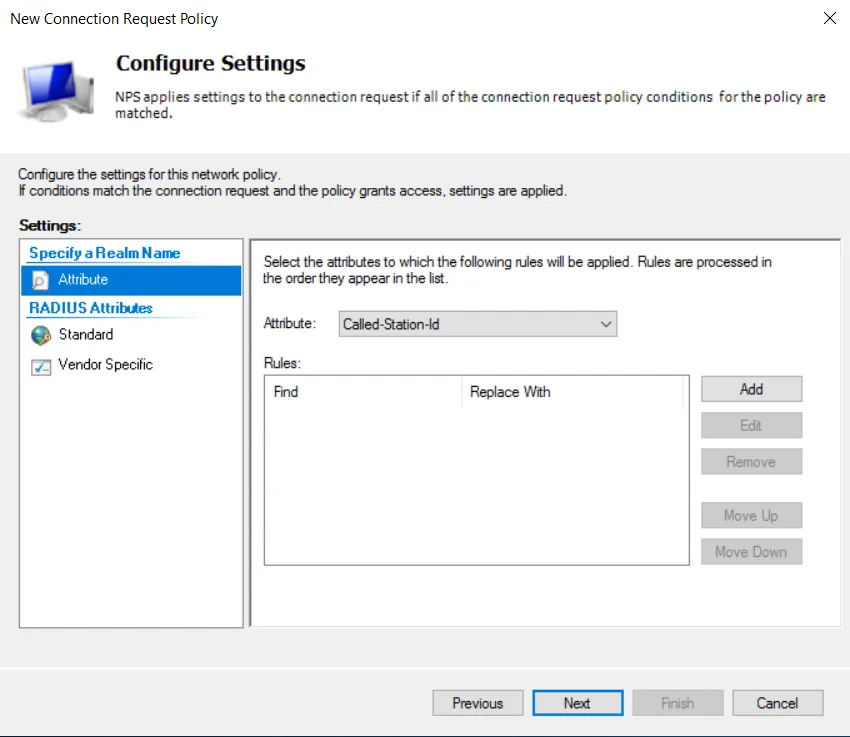
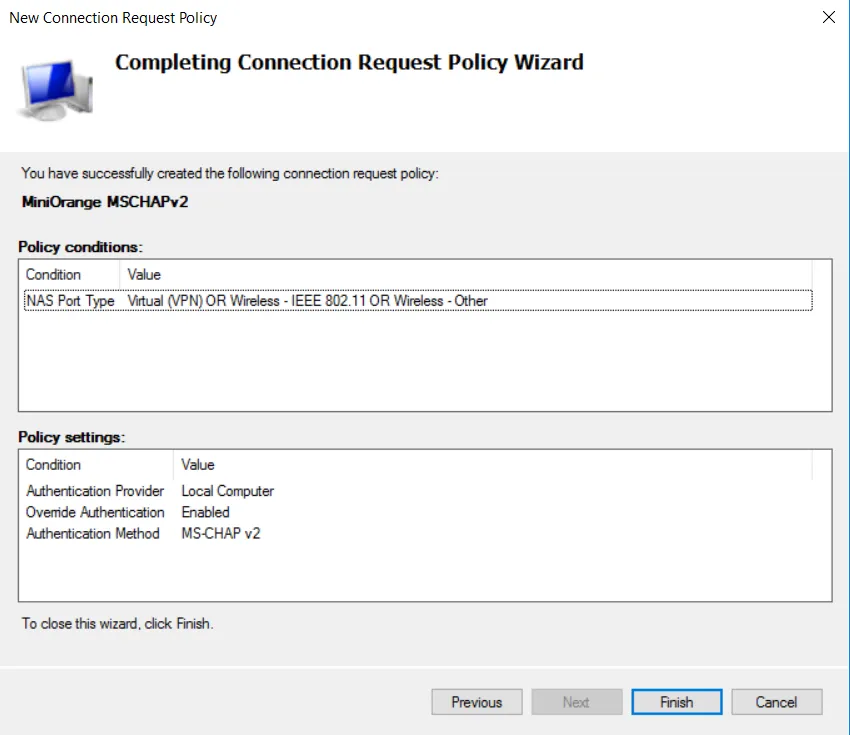
b. Configure a Connection Request Policy

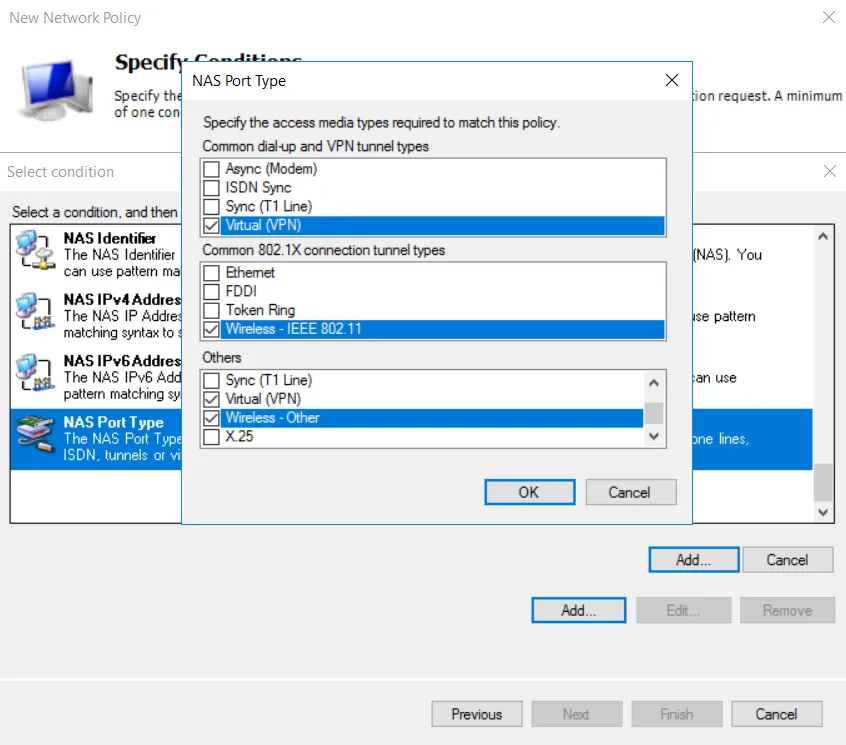
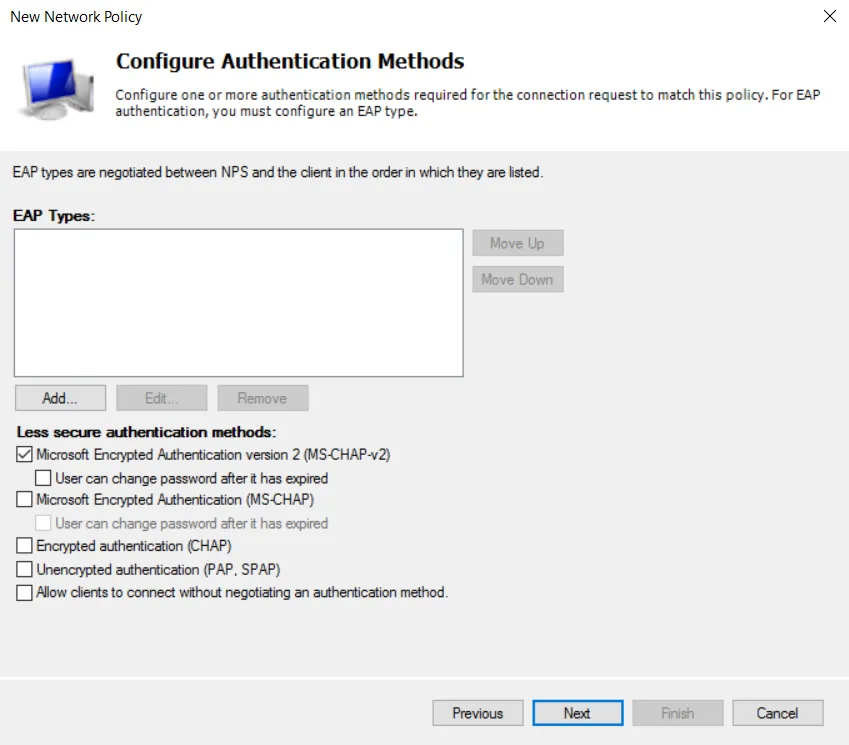
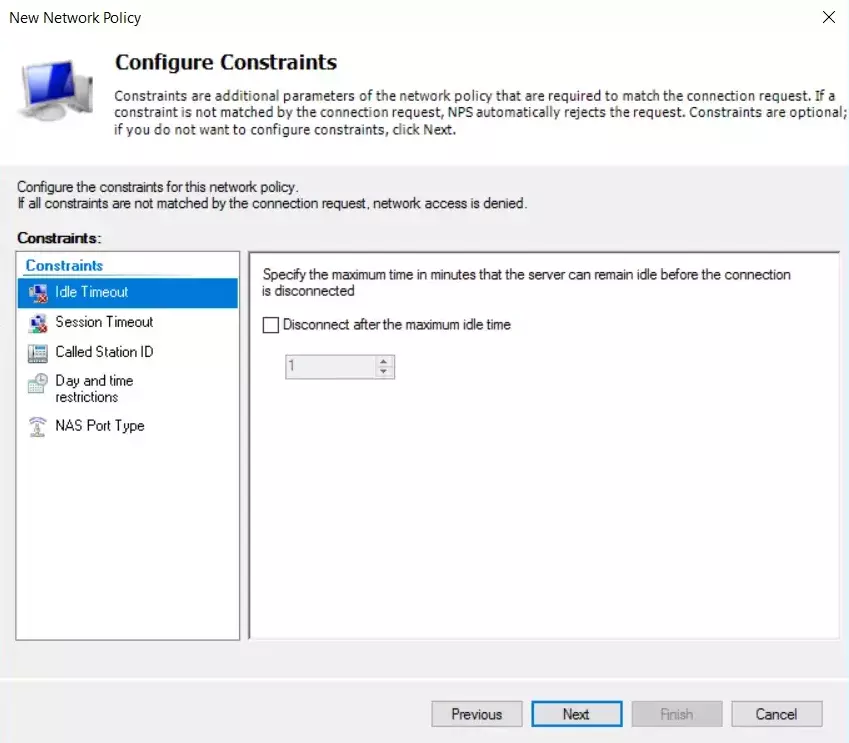
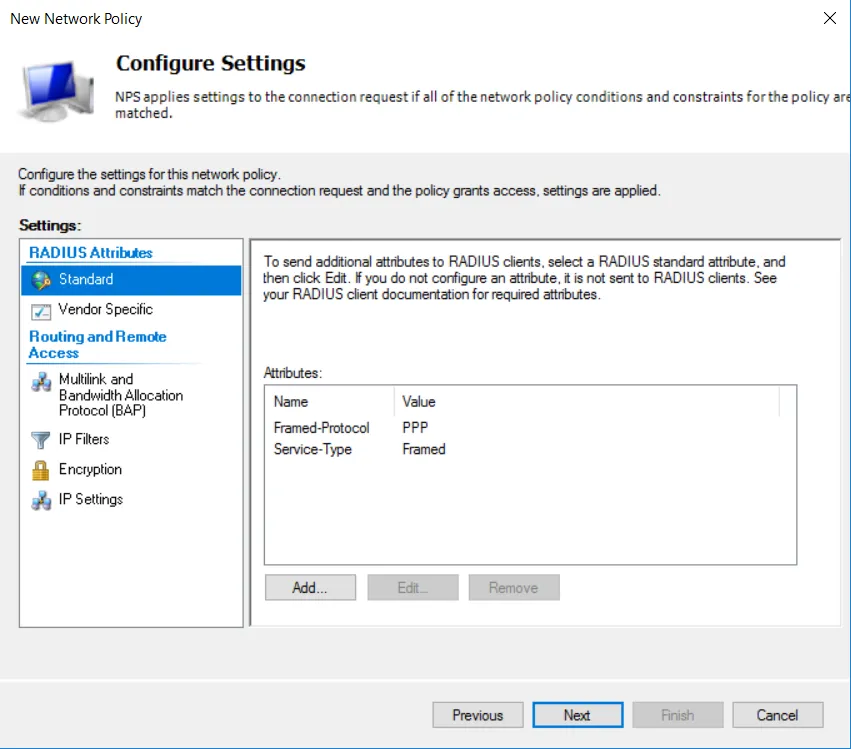
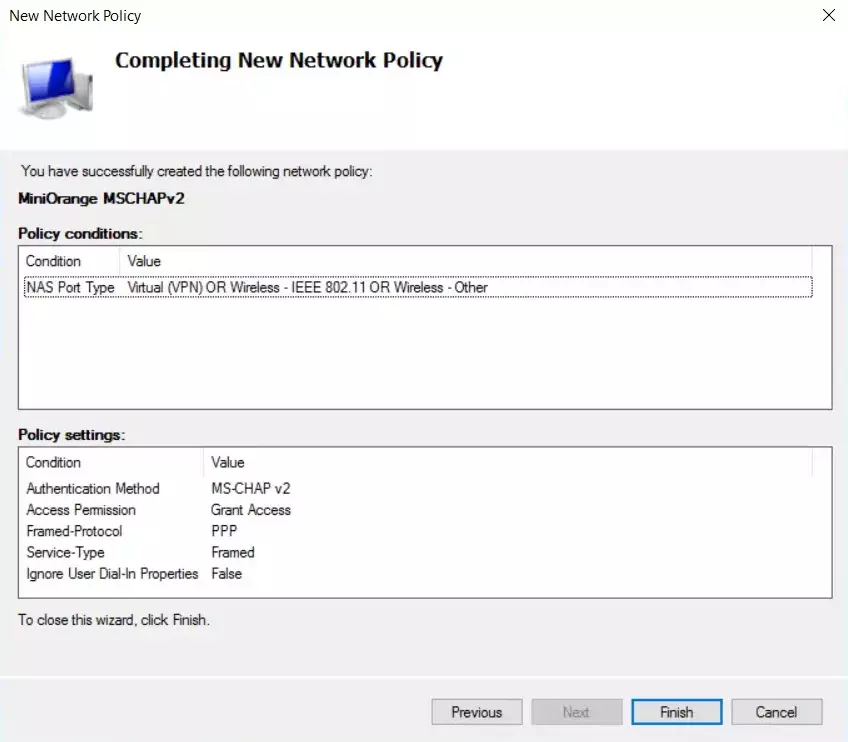
c. Configure Network Policy