MantisBT Single Sign-On (SSO)
miniOrange Single Sign-On (SSO) login for MantisBT [JWT] can be achieved by using our MantisBT JWT Single Sign On(SSO) plugin. Here we will go through a step-by-step guide to configure JWT SSO login between MantisBT and miniOrange by considering miniOrange as IdP (Identity Provider) and MantisBT as SP (Service Provider).
Prerequisites
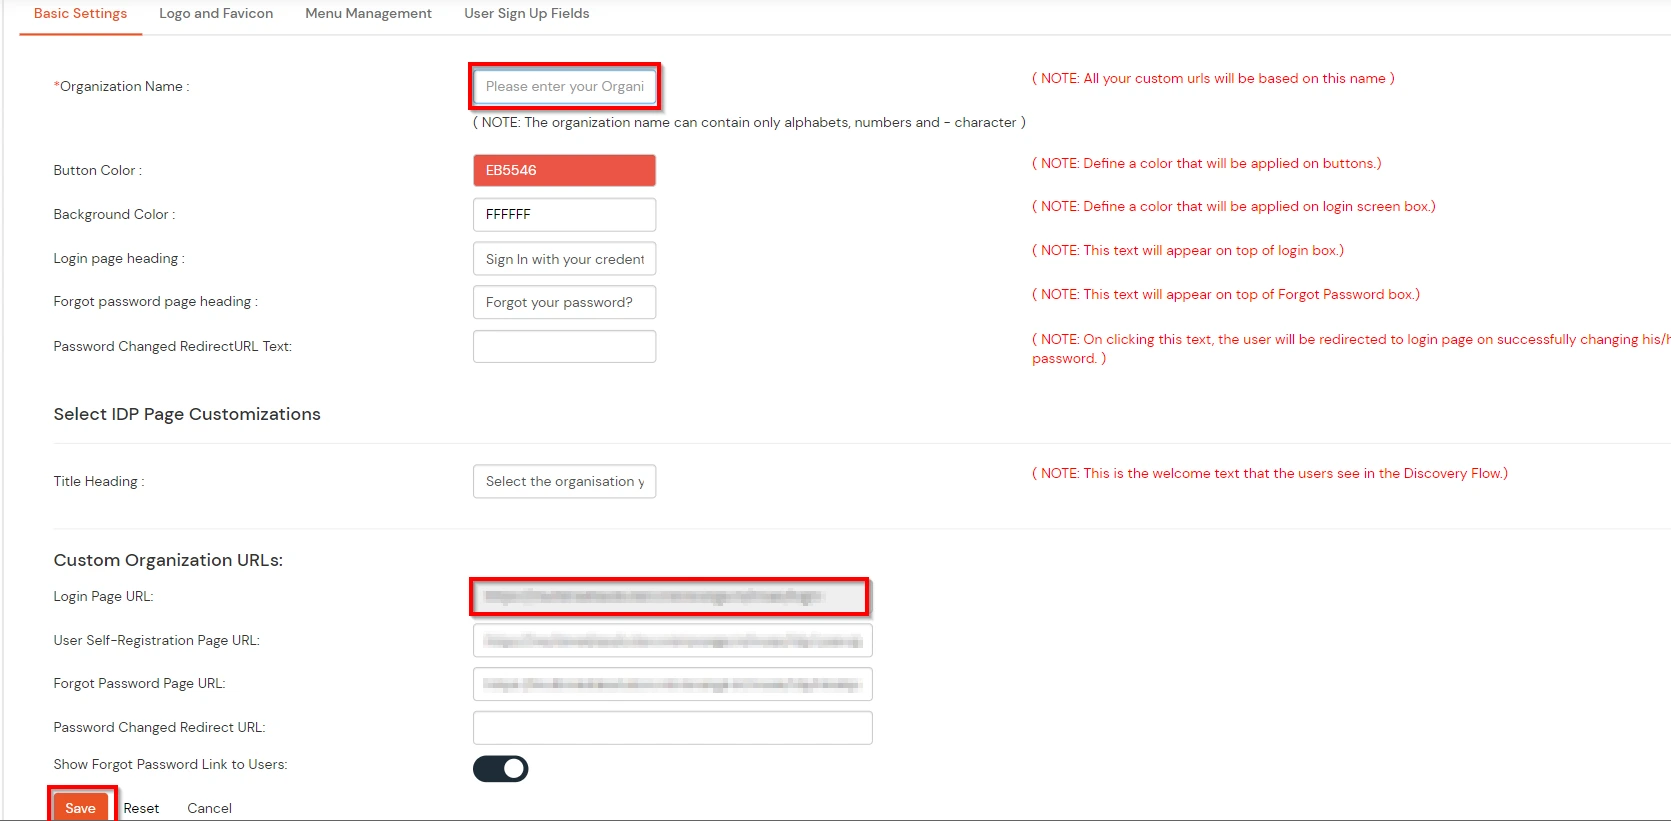
- Log into miniOrange Admin Console.
- Click on Customization in the left menu of the dashboard.
- In Basic Settings, set your company domain in Organization Name textfield.
- Click Save. Once that is set, the branded login URL would be of the format https://<company_domain>.xecurify.com/moas/login
- You require miniOrange JWT SSO plugin.
Connect with External Source of Users
miniOrange provides user authentication from various external sources, which can be Directories (like ADFS, Microsoft Active Directory, OpenLDAP, AWS etc), Identity Providers (like Microsoft Entra ID, Okta, AWS), and many more. You can configure your existing directory/user store or add users in miniOrange.
Follow the Step-by-Step Guide given below for MantisBT Single Sign-On (SSO)
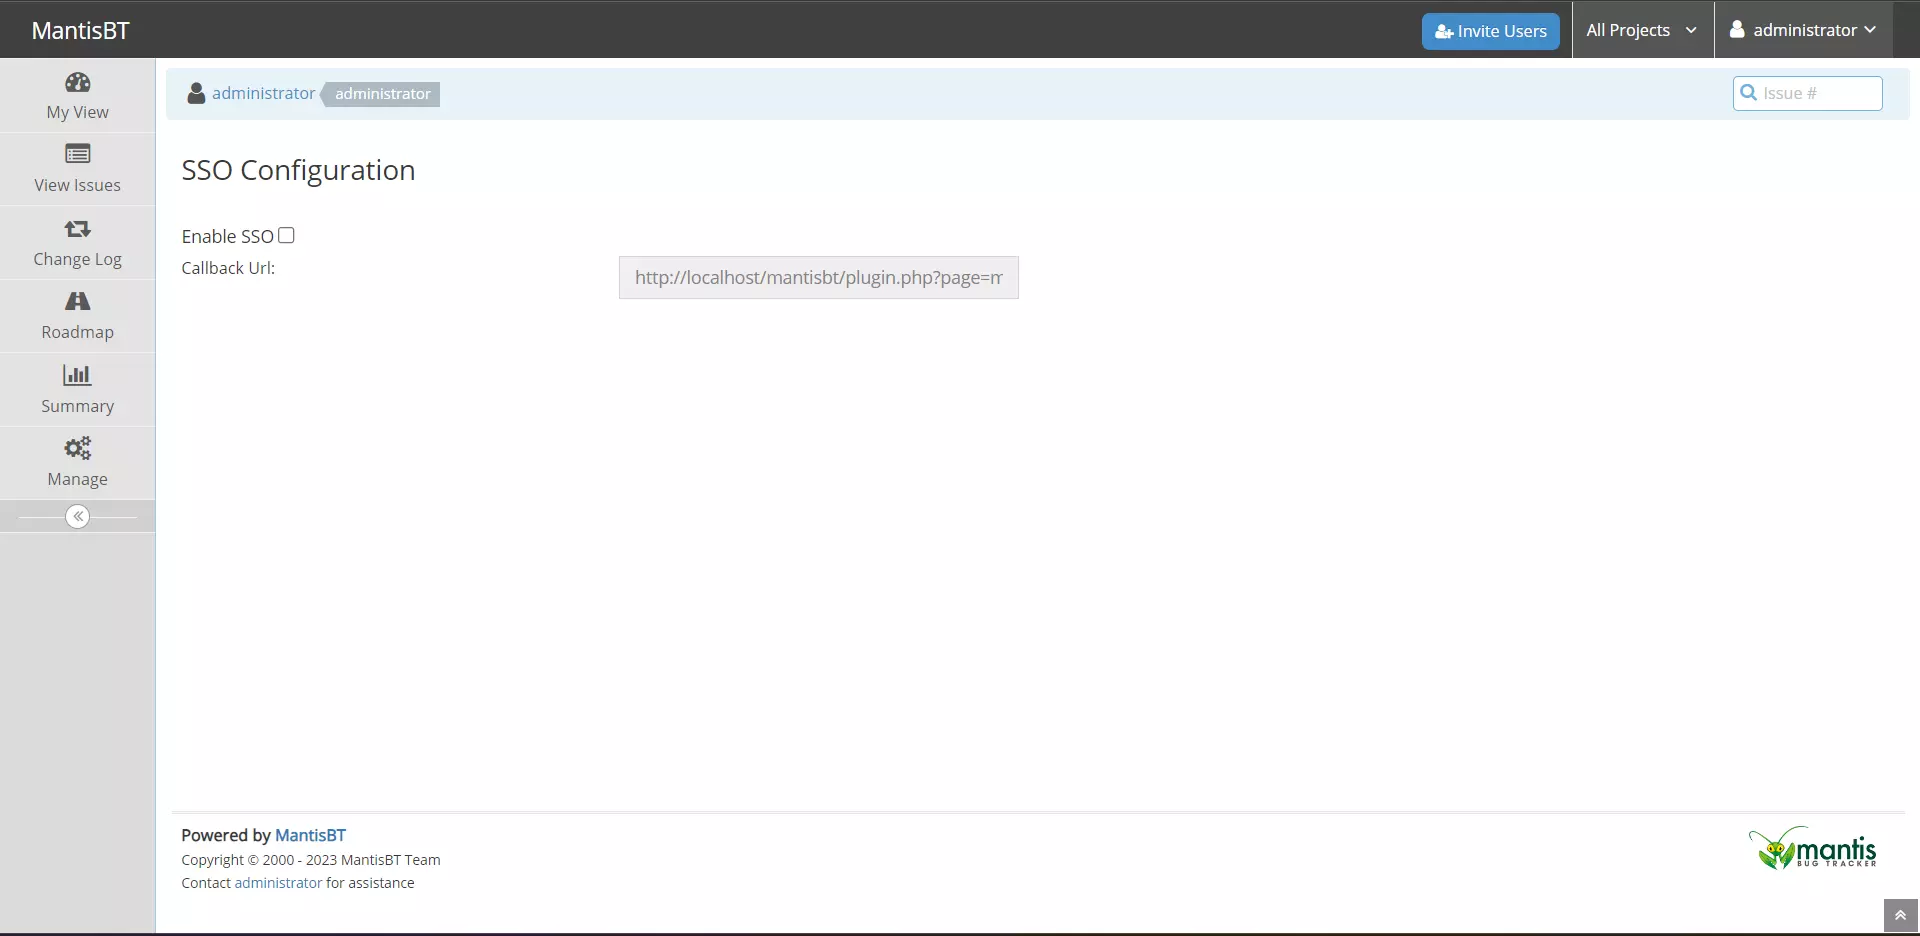
1. Setup miniOrange plugin into your MantisBT Site
- Download the MantisBT plugin using this link.
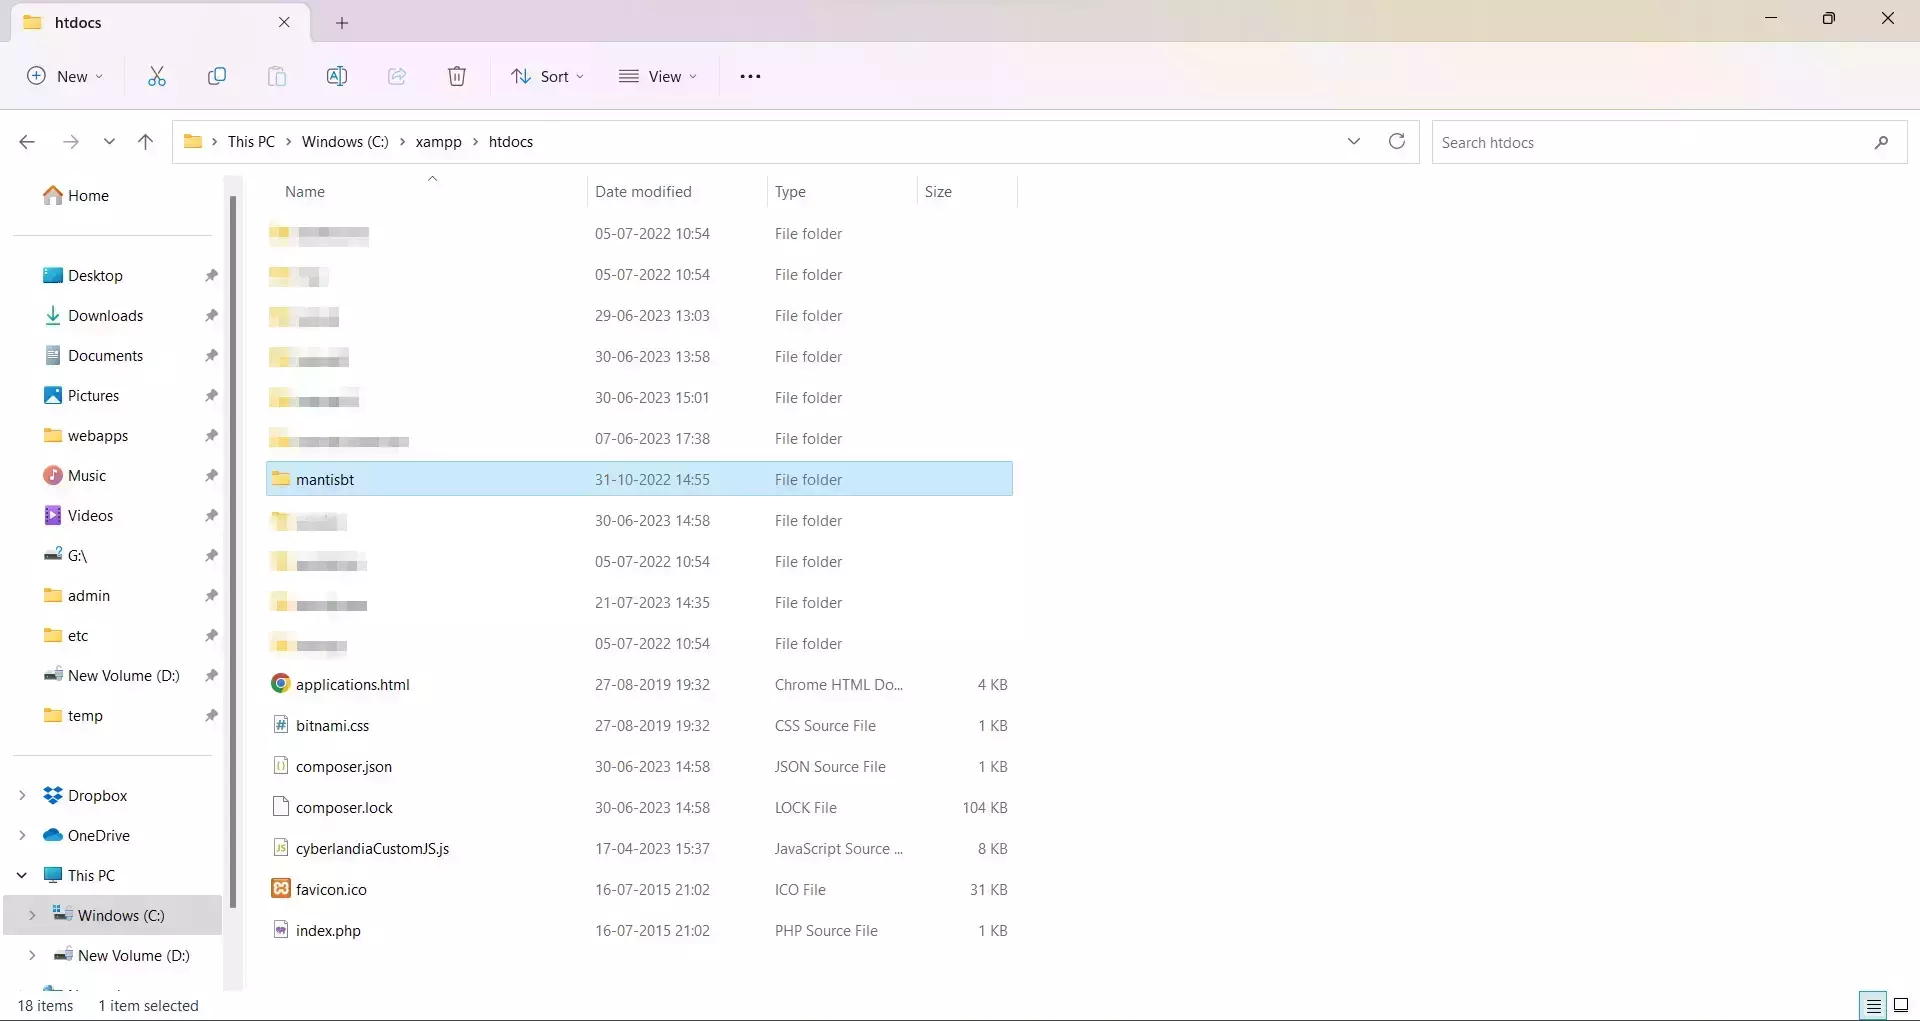
- Add the miniOrange plugin to your Mantis BT installation. To do that go to the server on which MantisBT is installed.
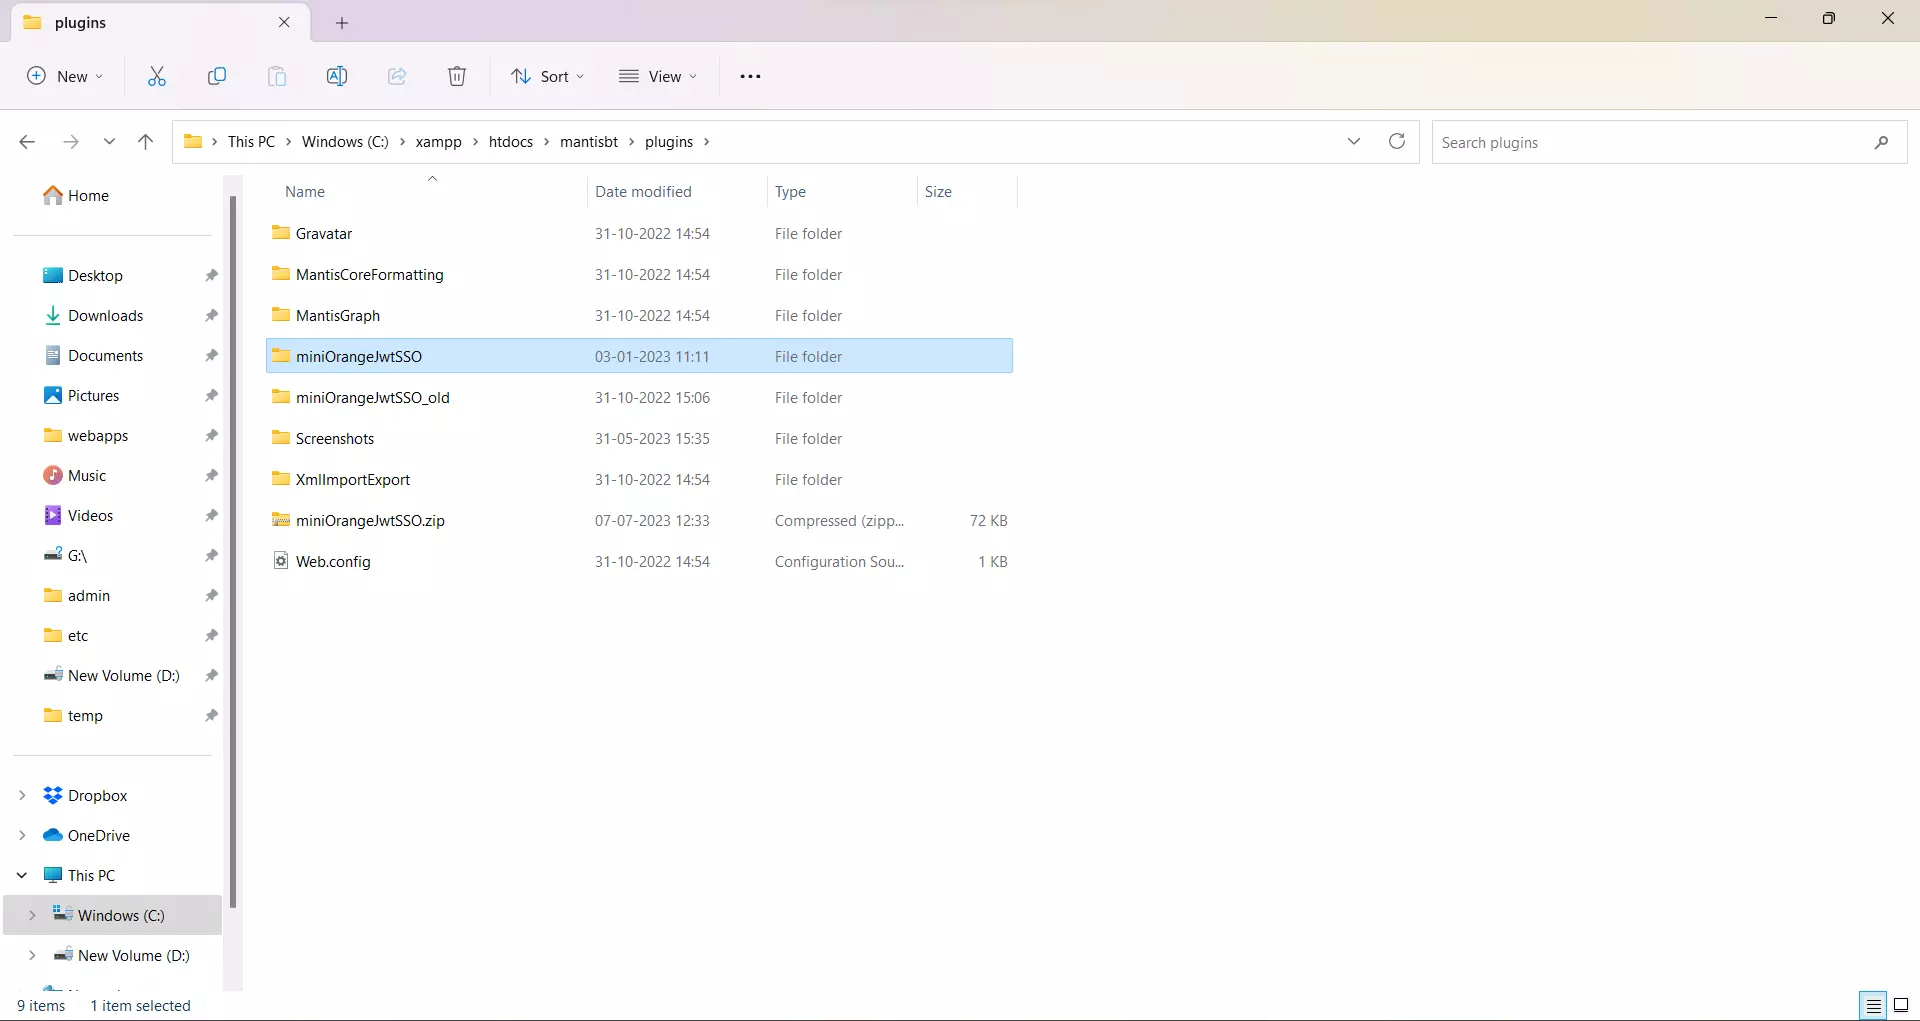
- Navigate to [mantisbt_root_folder] >> plugins folder on your server and upload the plugin there.
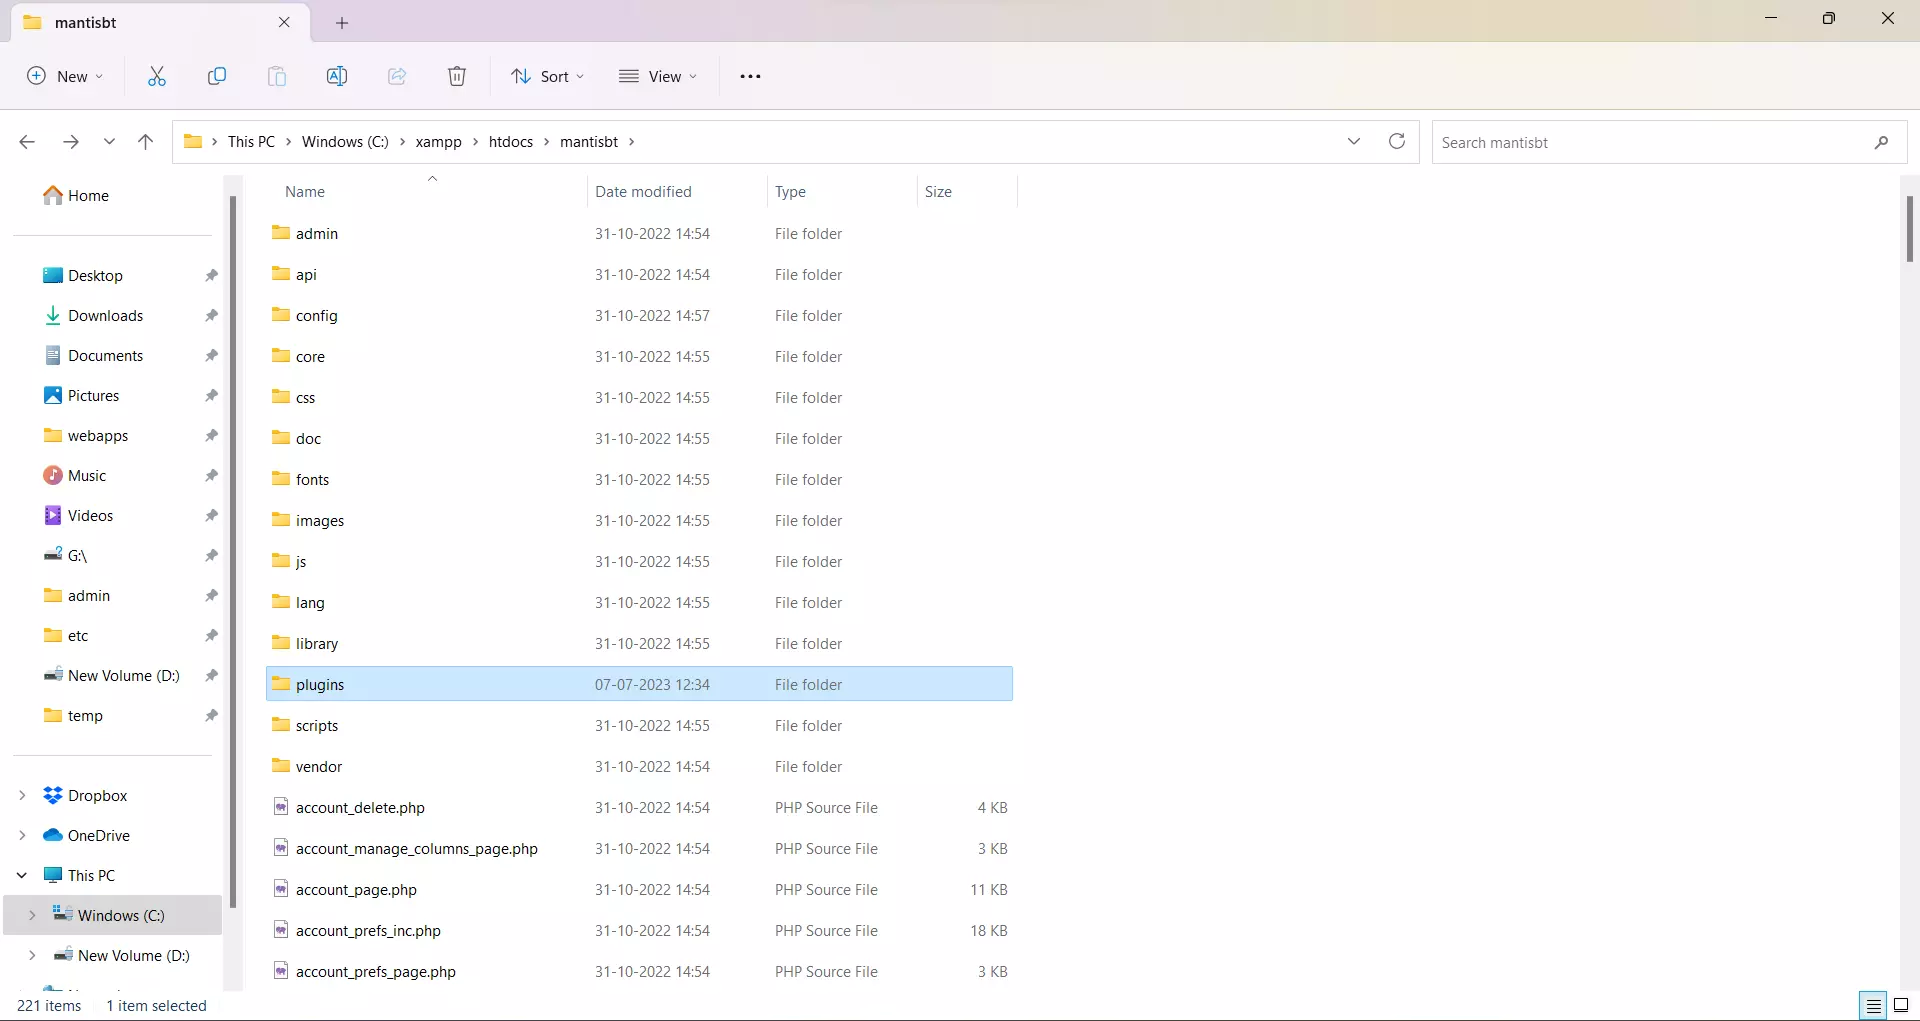
- Upload your plugin here.
- Now login to your MantisBT administrator account.
- Click on Manage in the left bar
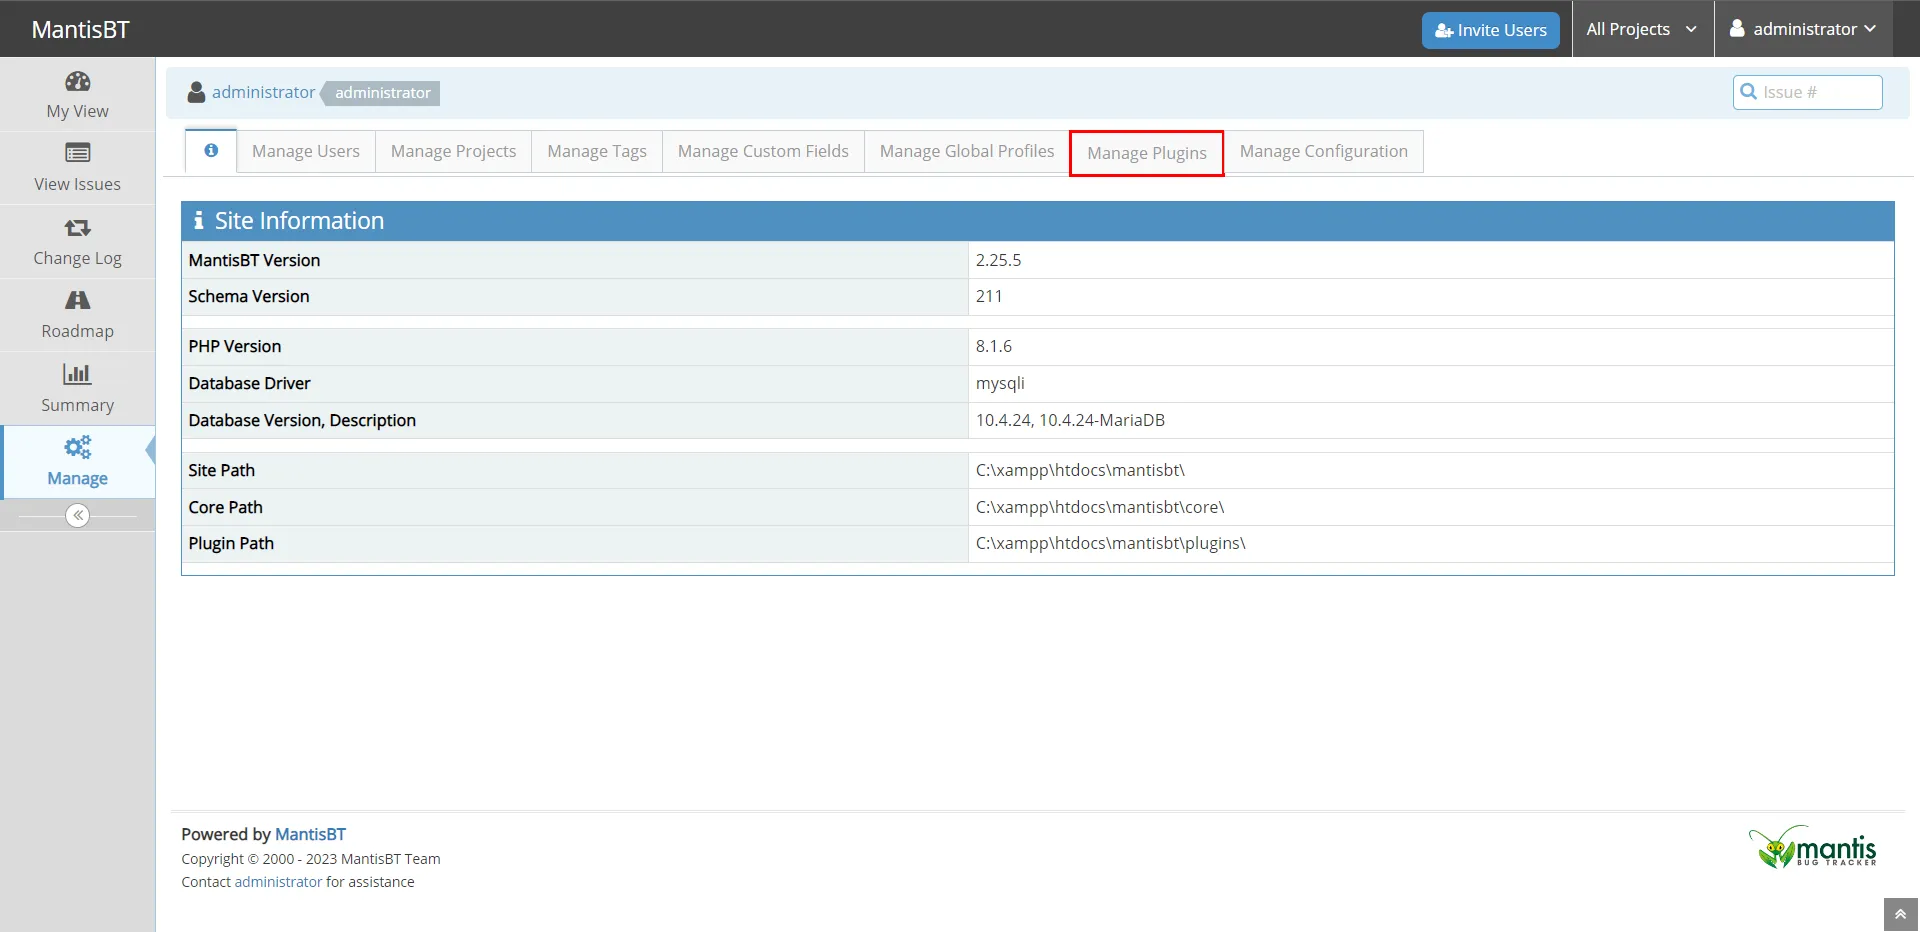
- Click on Manage Plugins.
- You can see your plugin in the Installed Plugins Section.
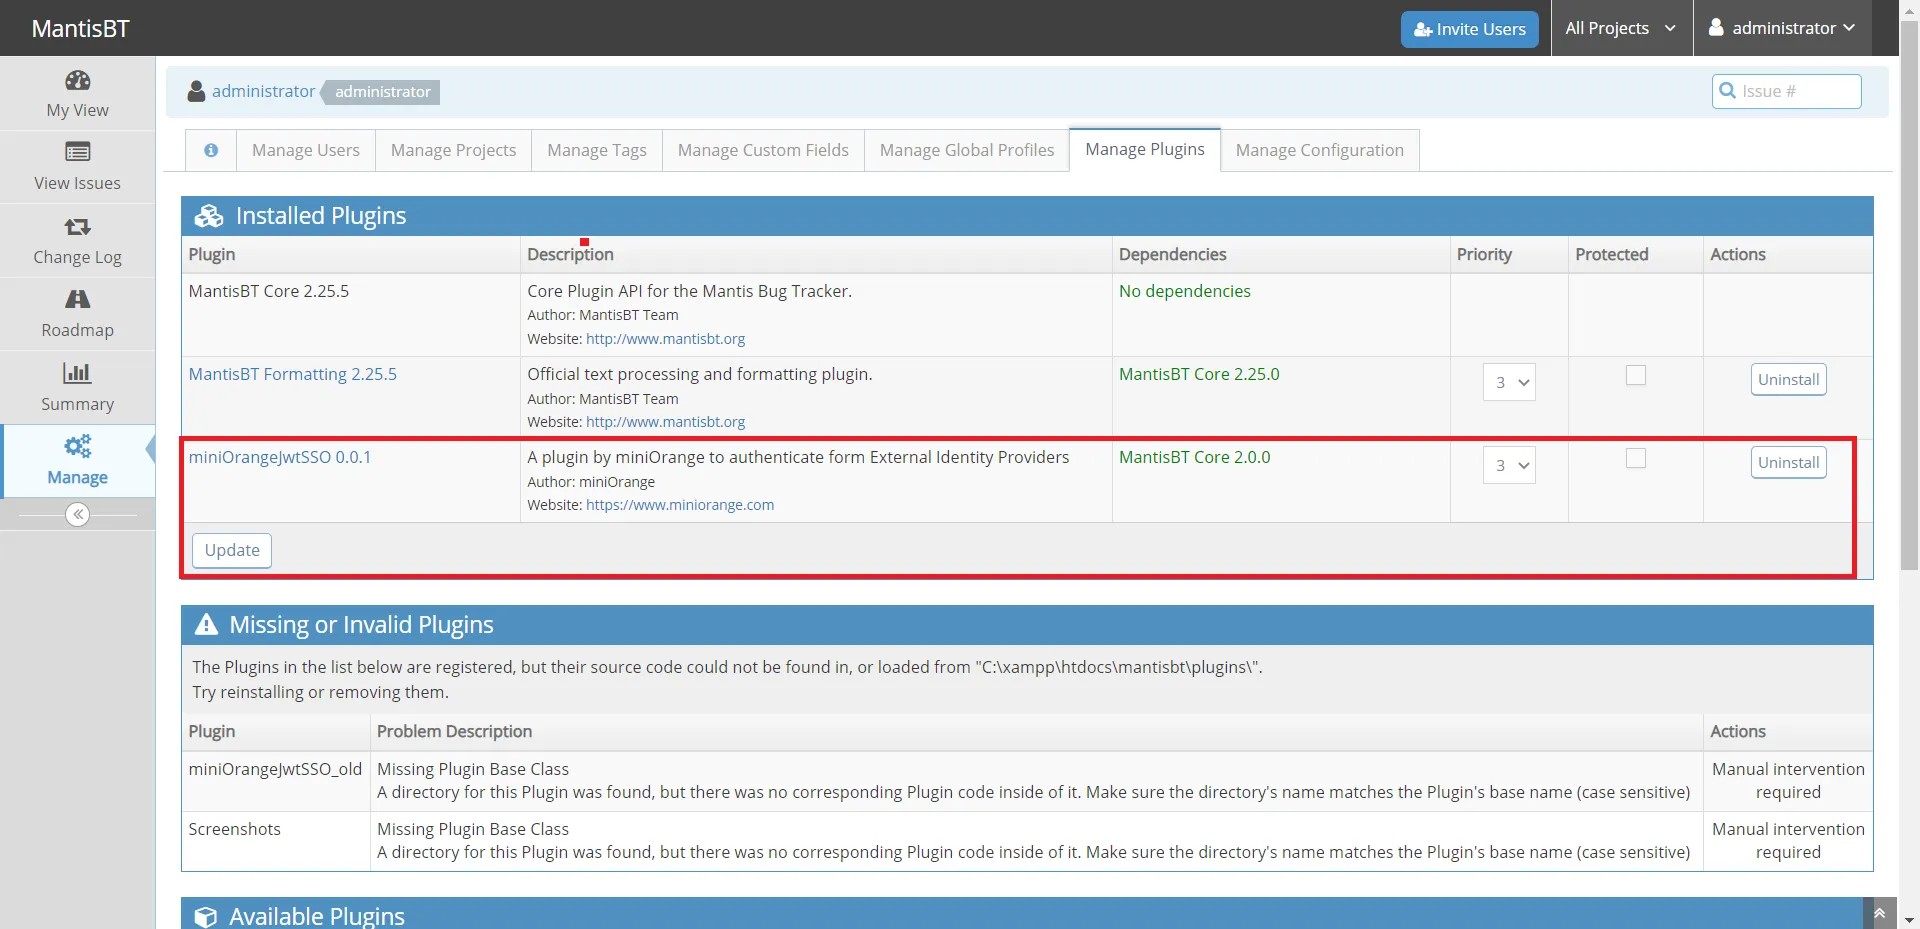
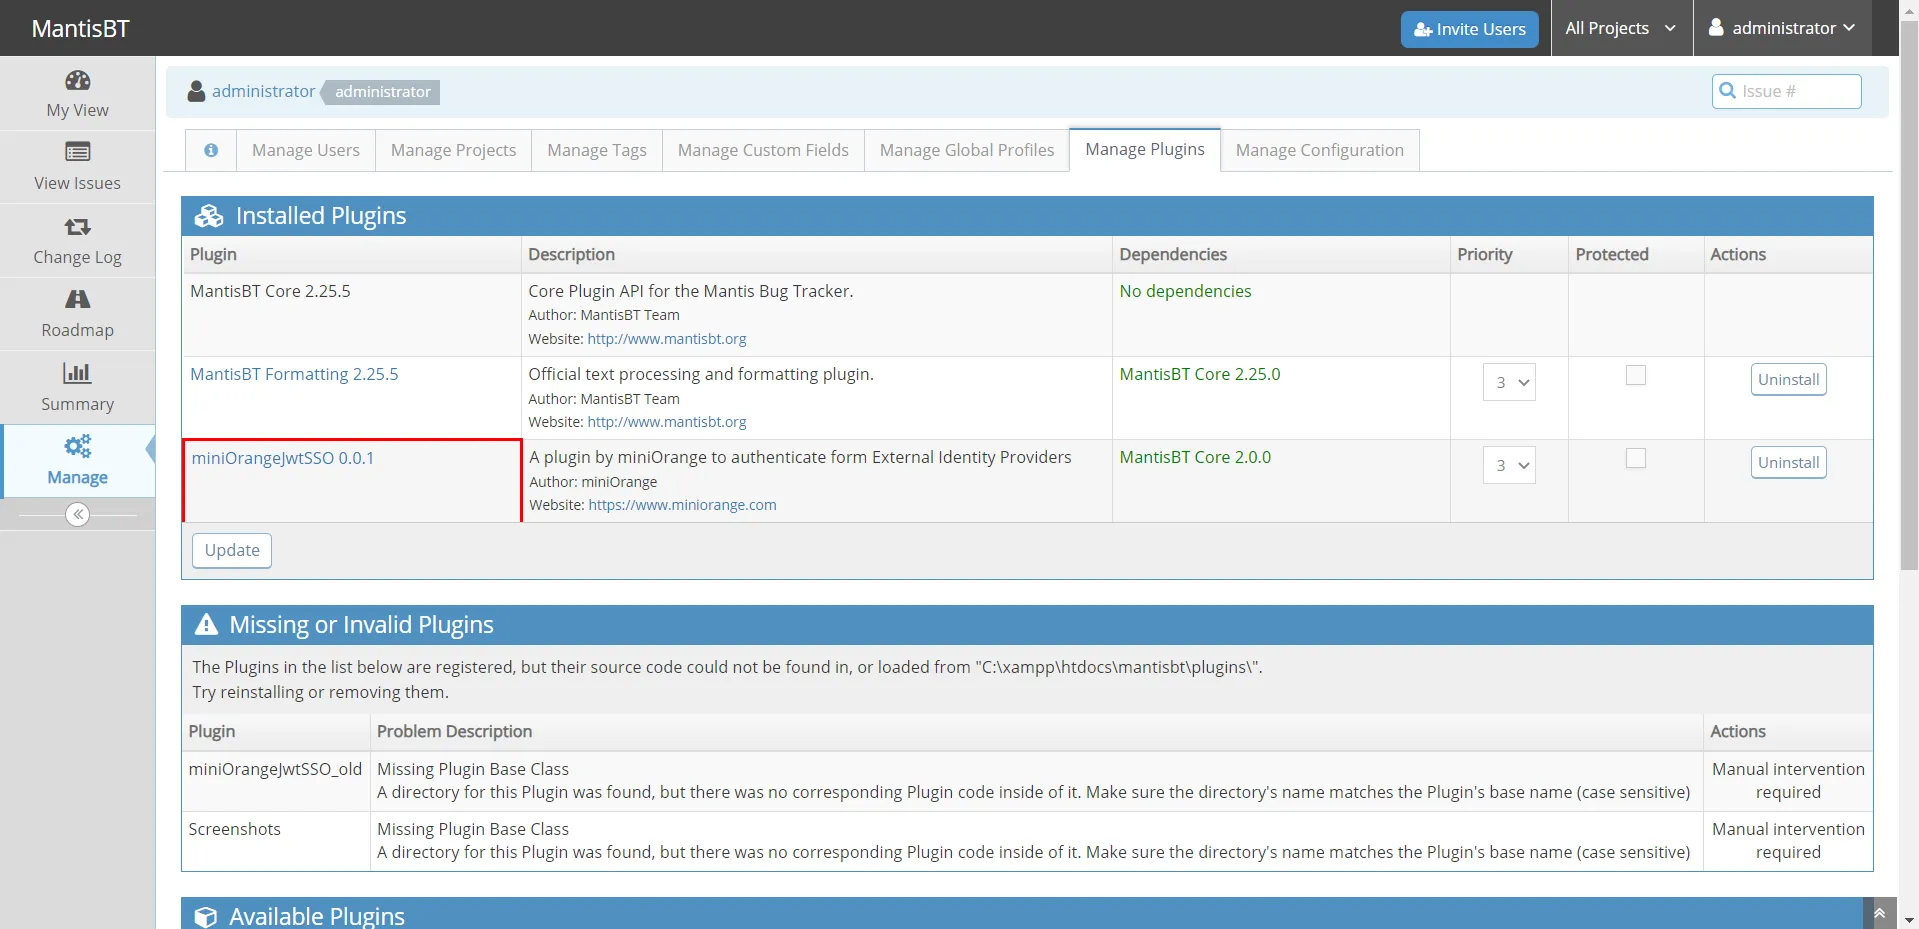
- Click on your plugin.
- Now, enter the values and click on Submit
2. Configure the MantisBT plugin in miniOrange
- Login to miniOrange Admin Console.
- Go to Apps Click on the Add Application button.

- Under the Choose Application Type, click on the JWT.
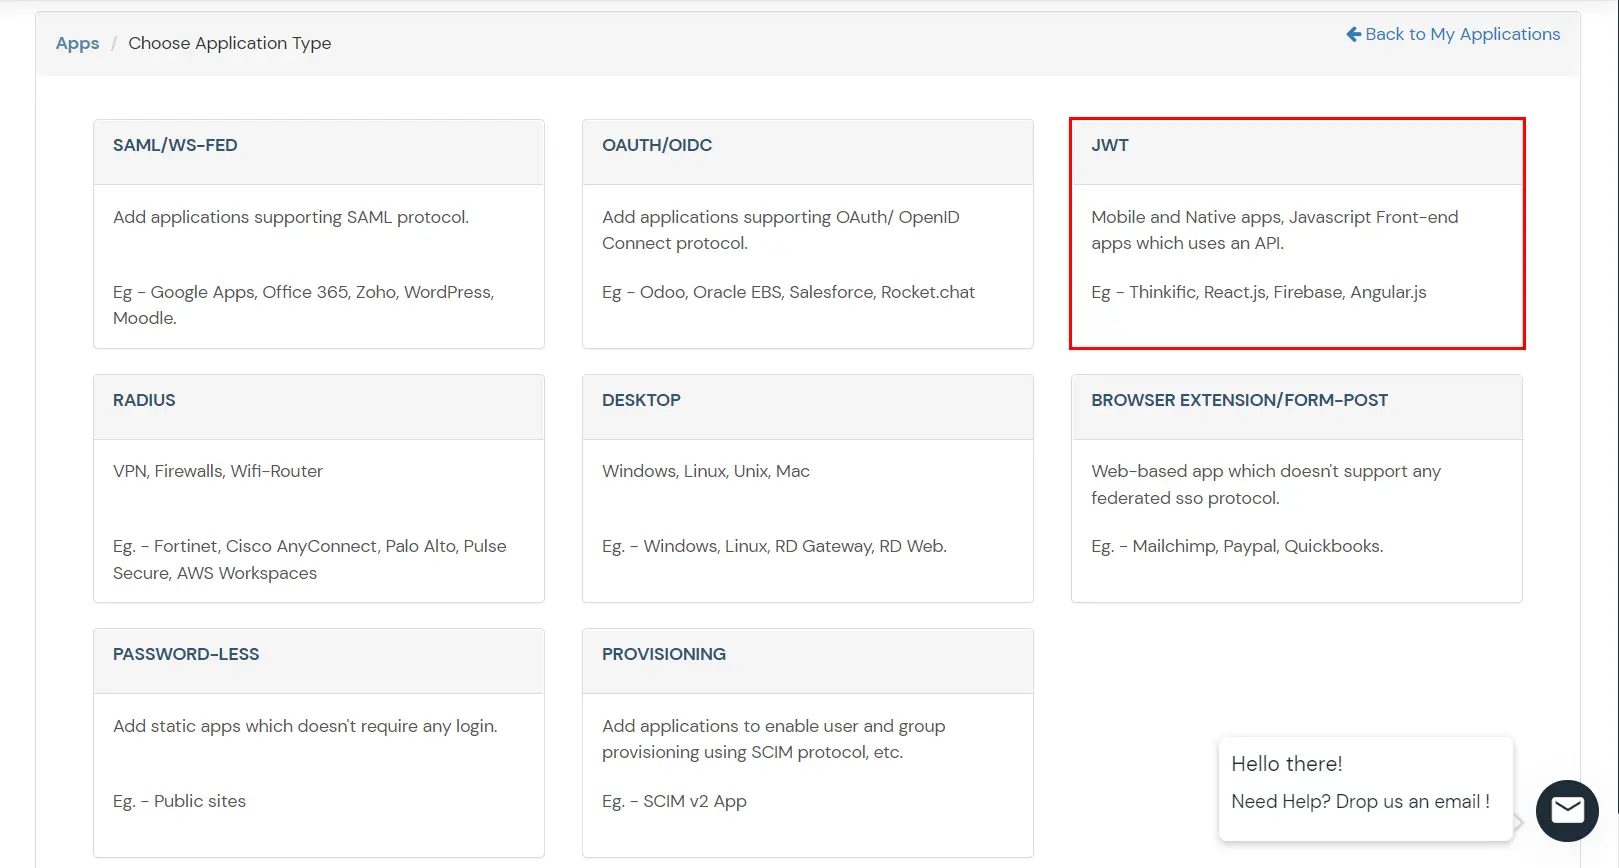
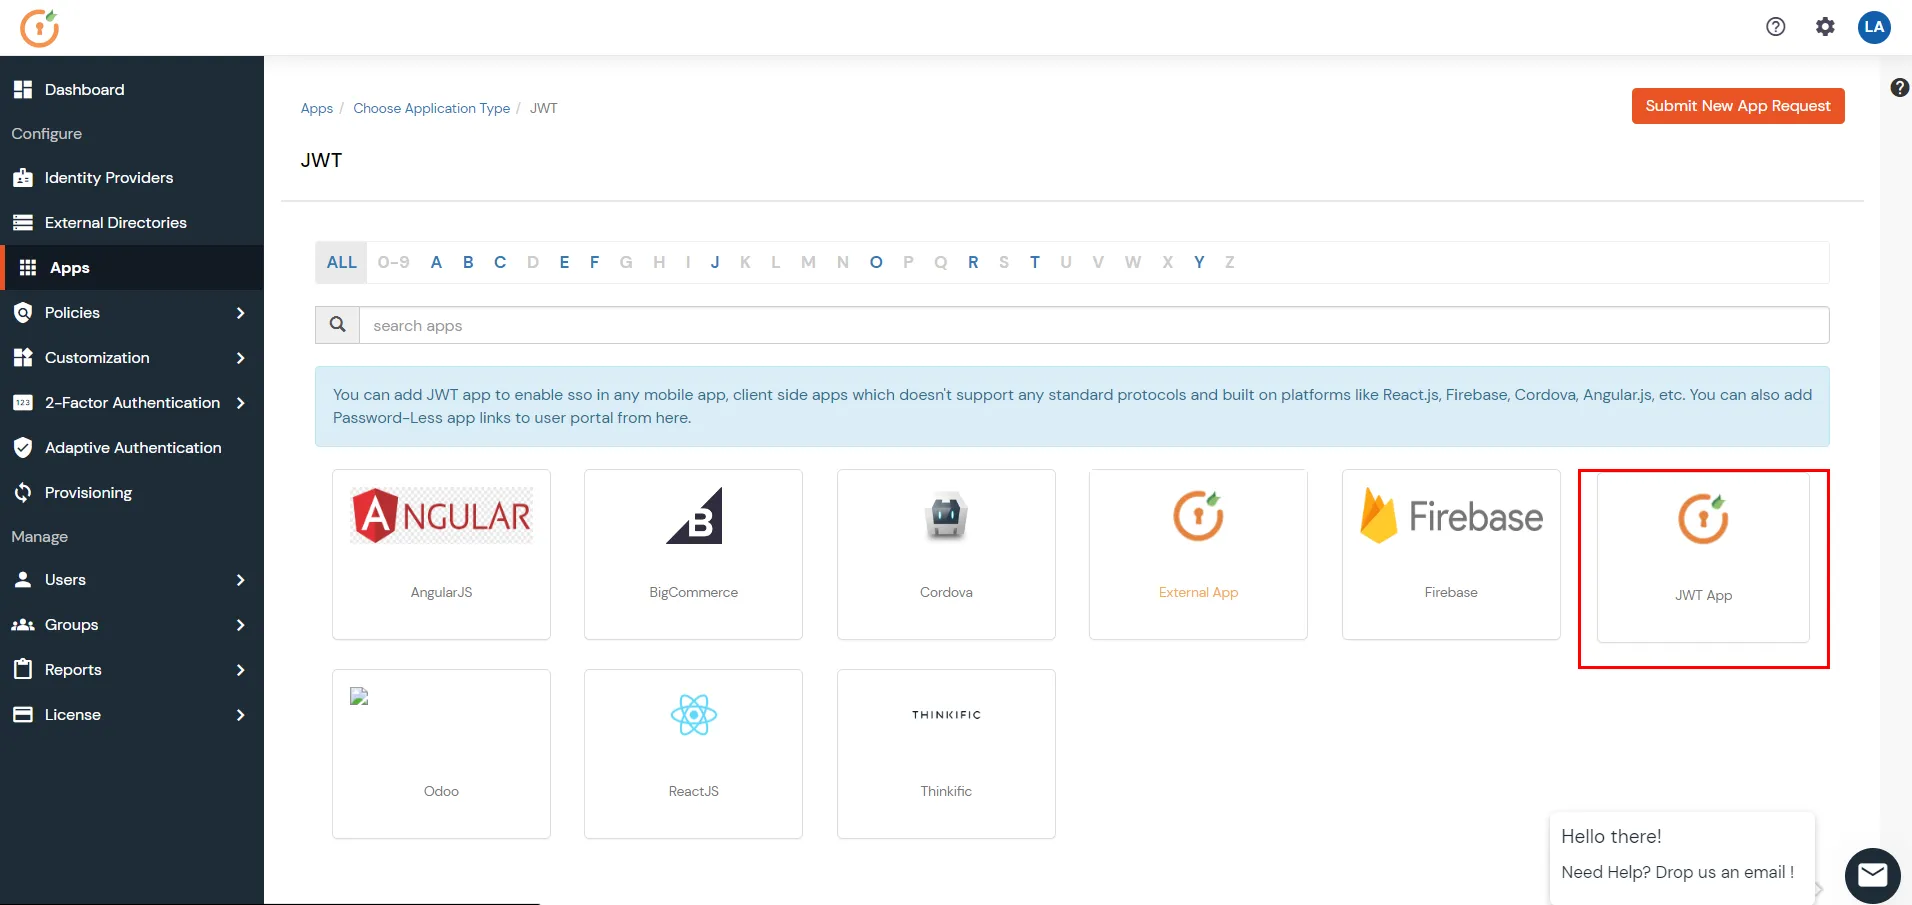
- Search for MantisBT in the list, if you don't find MantisBT in the list then, search for custom and you can set up your application via Custom JWT App.
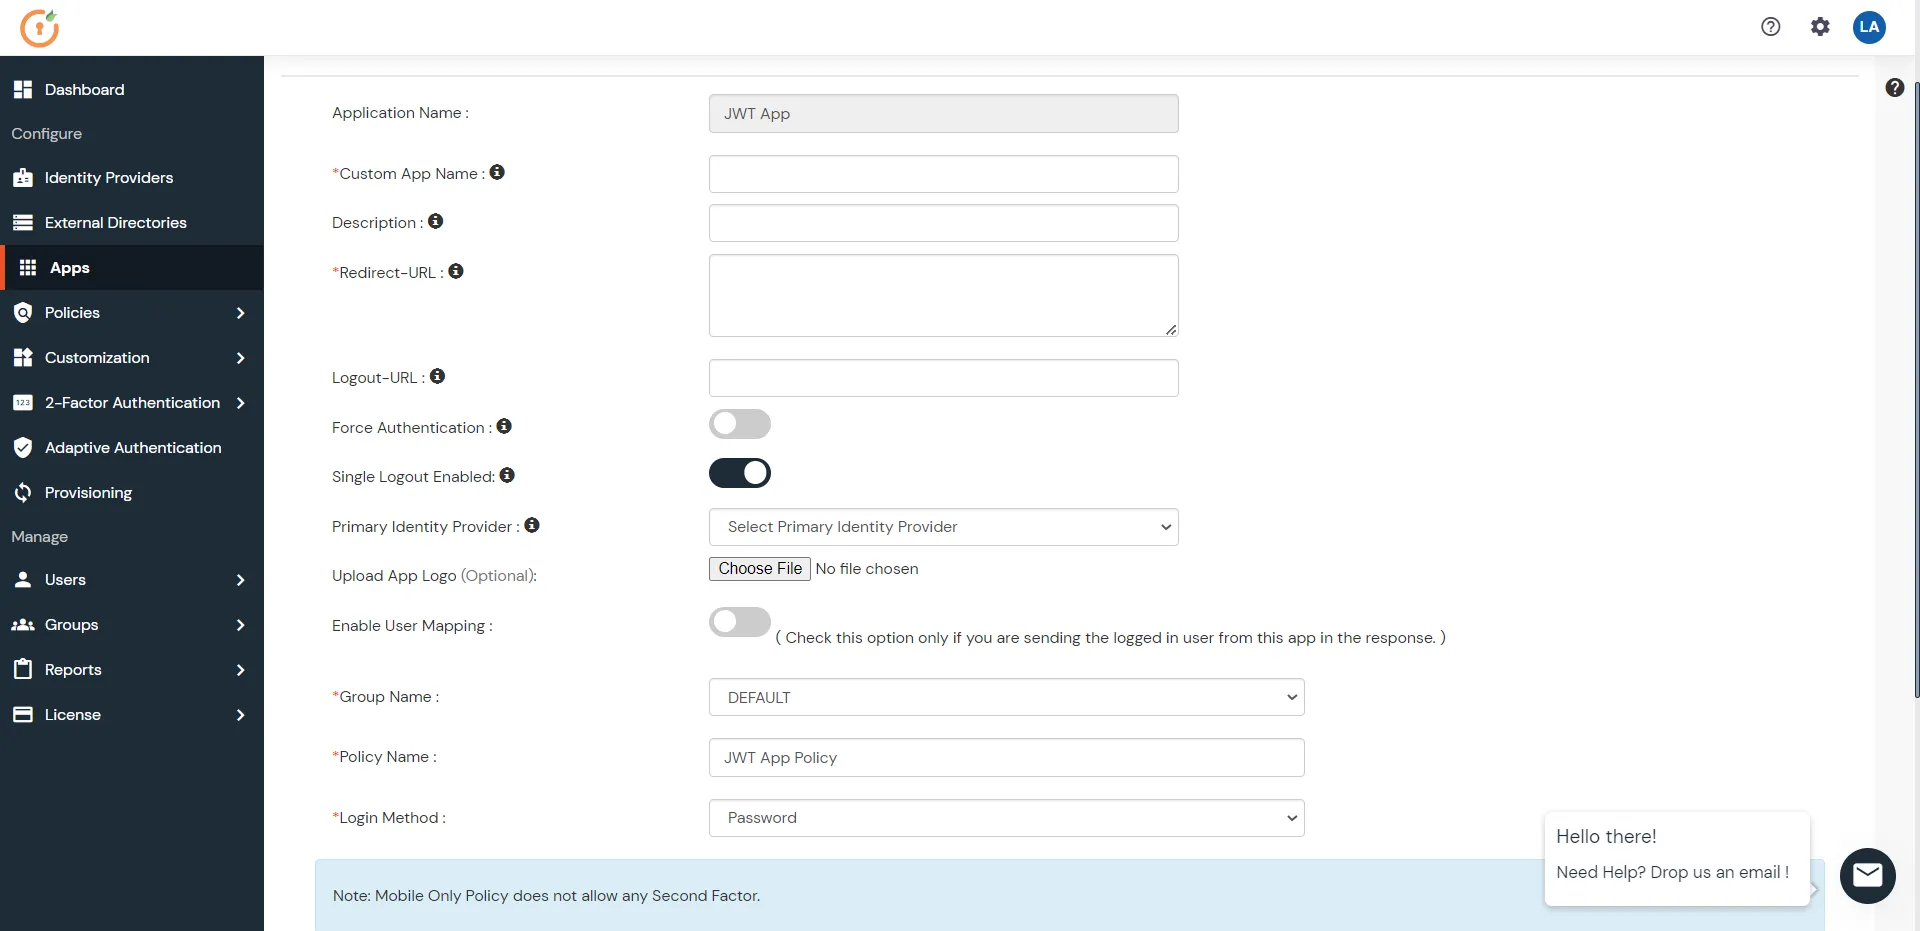
- In Add Apps tab enter the values and click Save.
| Custom Application Name |
Choose the appropriate name according to your choice |
| Description |
Add appropriate description according to your choice |
| Redirect-URL |
Enter the Redirect URL from the callback-URL tab from the plugin.
|
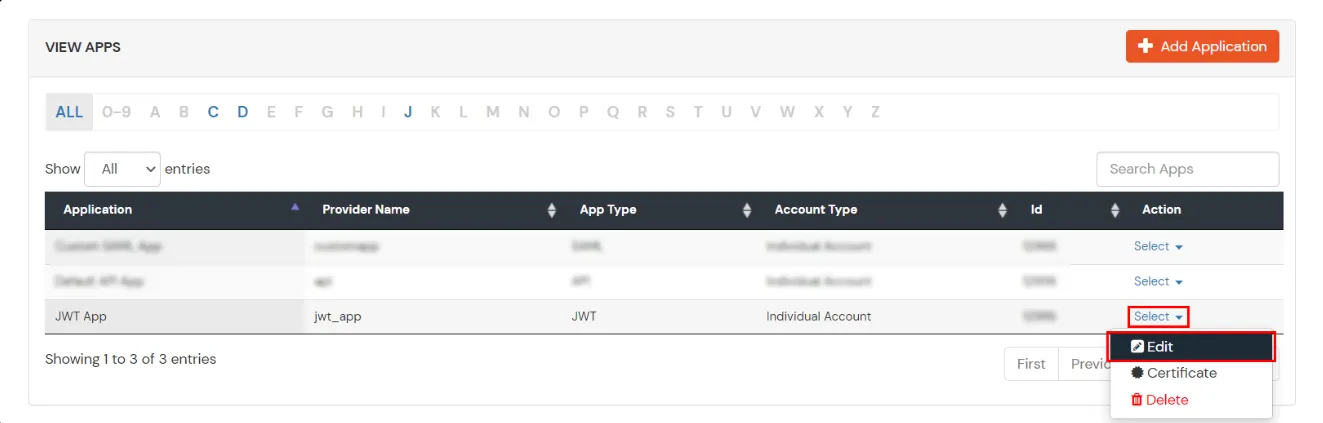
- Now go to Apps >> Select your app >> Edit.
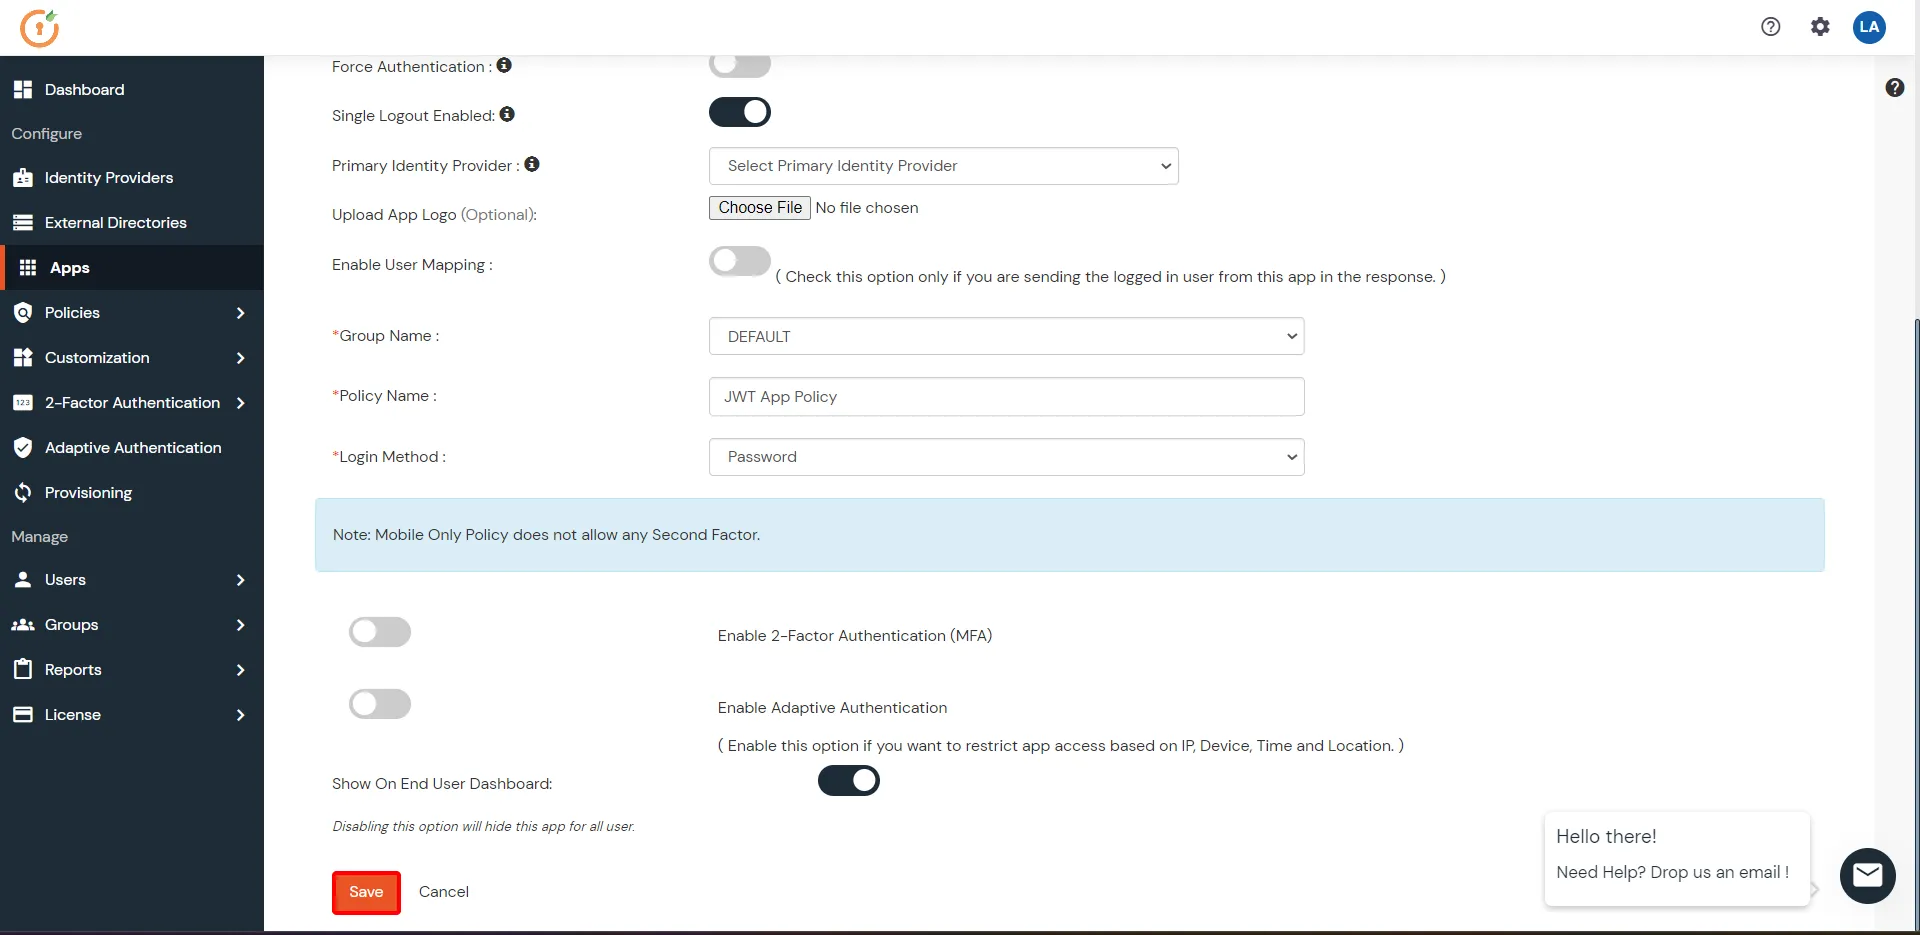
- For Signature Algorithm, choose RSA-SHA256 from the dropdown menu.
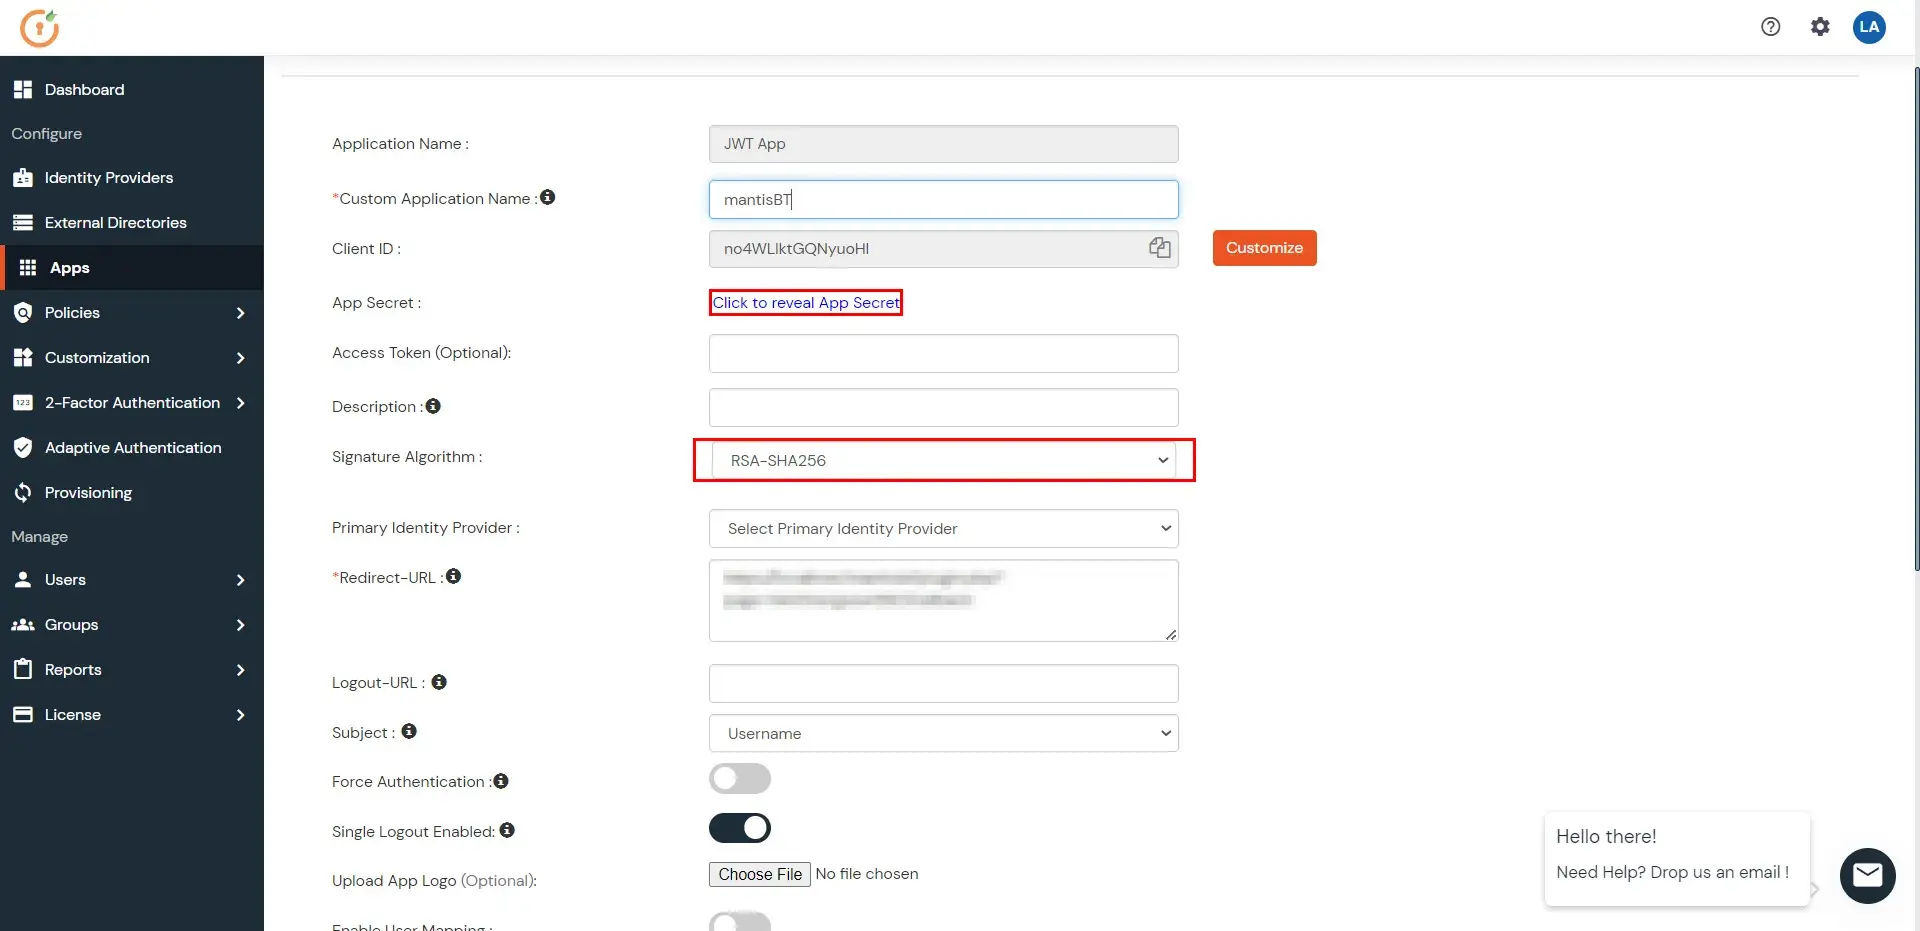
- Click on Save.
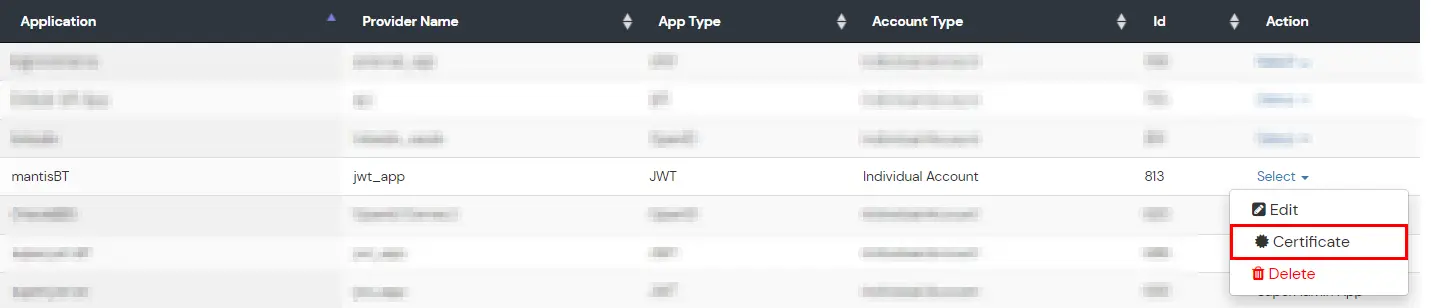
- Now go back to the Apps >> Select your app >> certificate.
- The certificate will get downloaded automatically.
- Now open your MantisBT plugin folder inserted on the [mantisbt_root_folder] on your machine, then navigate to pages >> callback(php source file).
- Add the data from the certificate file into the cert($cert) variable.

- Now, you can access MantisBT Account Using IDP credentials through the Single-sign-on URL as shown in the image below.

