Hello there!
Need Help? We are right here!
Need Help? We are right here!
Search Results:
×Tickets in the miniOrange PAM Dashboard act as digital gatekeepers that require users to submit requests specifying the resource they need access to, the purpose, and duration before gaining access to critical applications and assets.
With a few simple steps, you can create tickets in the PAM dashboard.
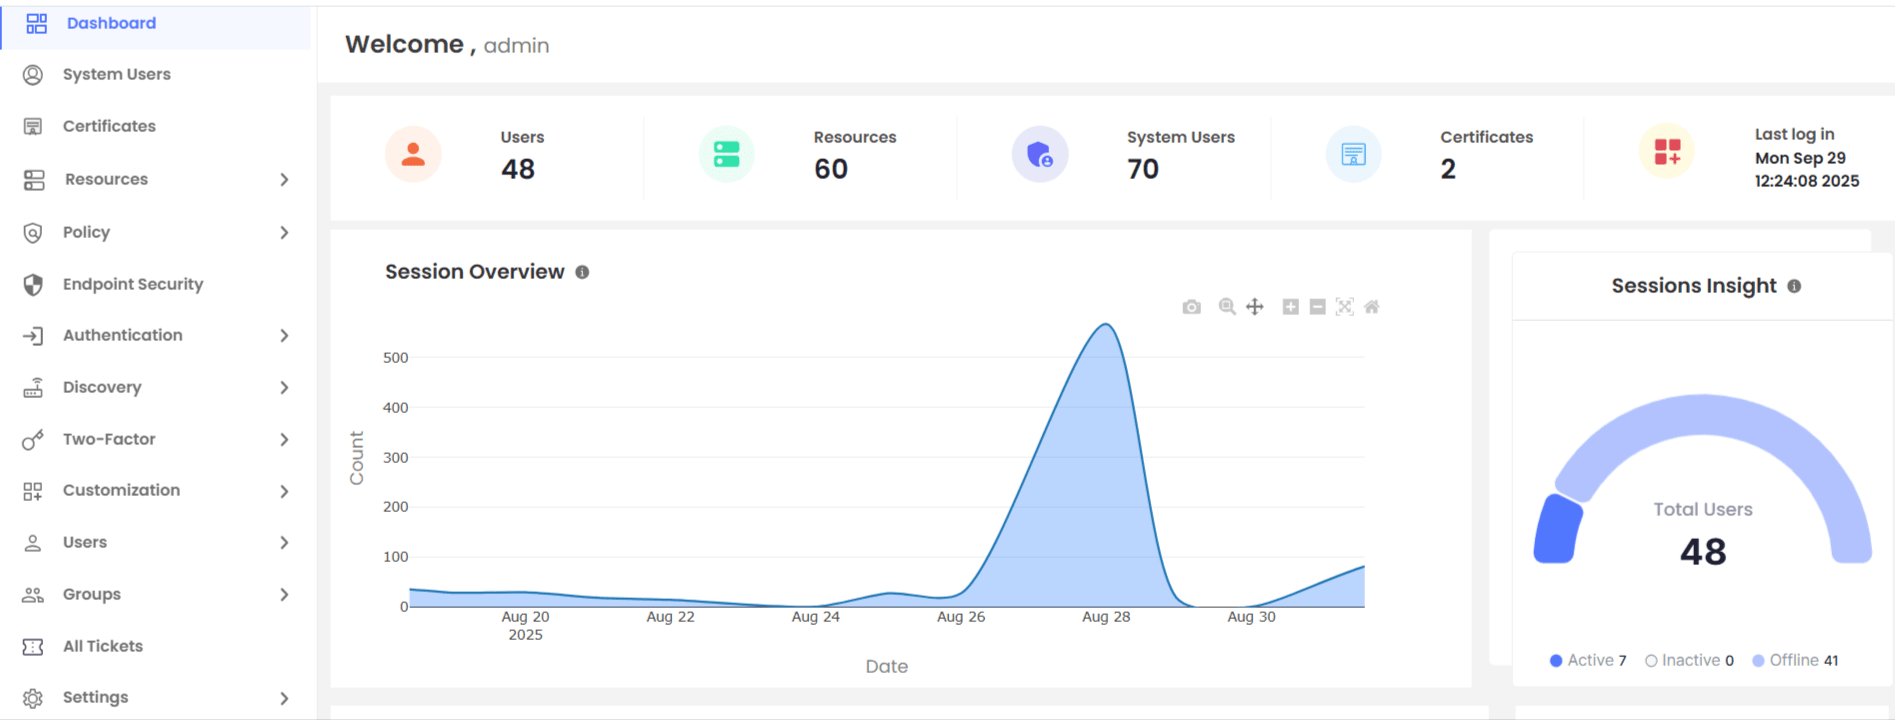
Step 1: Log in to the miniOrange PAM dashboard and locate All Tickets in the side bar.
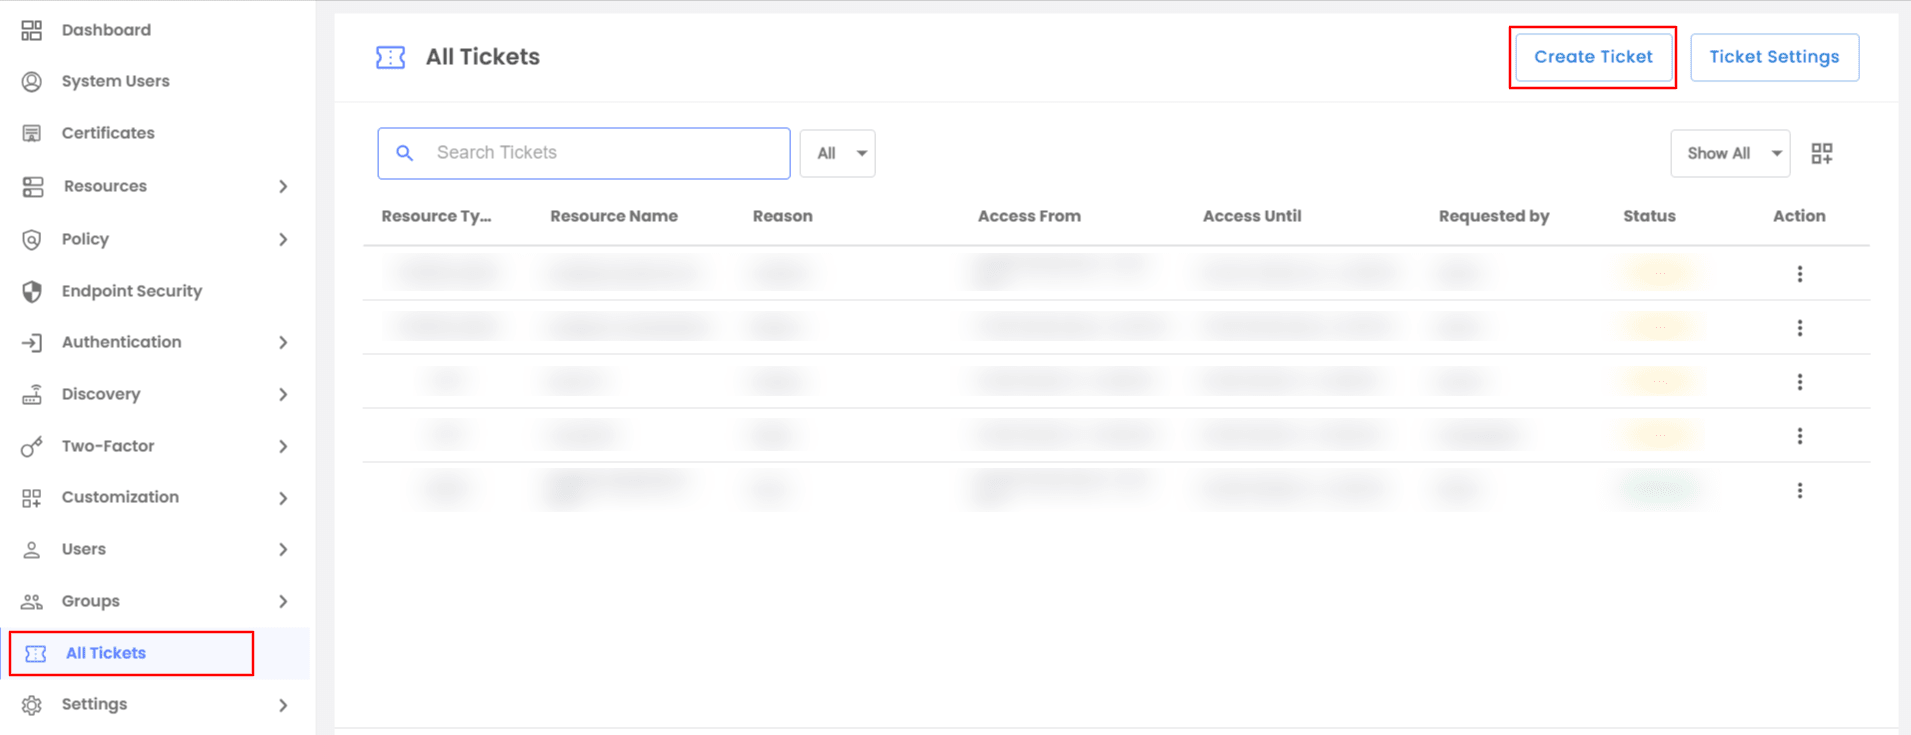
Step 2: Click on All Tickets and tap on Create Ticket on the top right.
Step 3: A modal will open, showcasing the fields that you will need to fill.
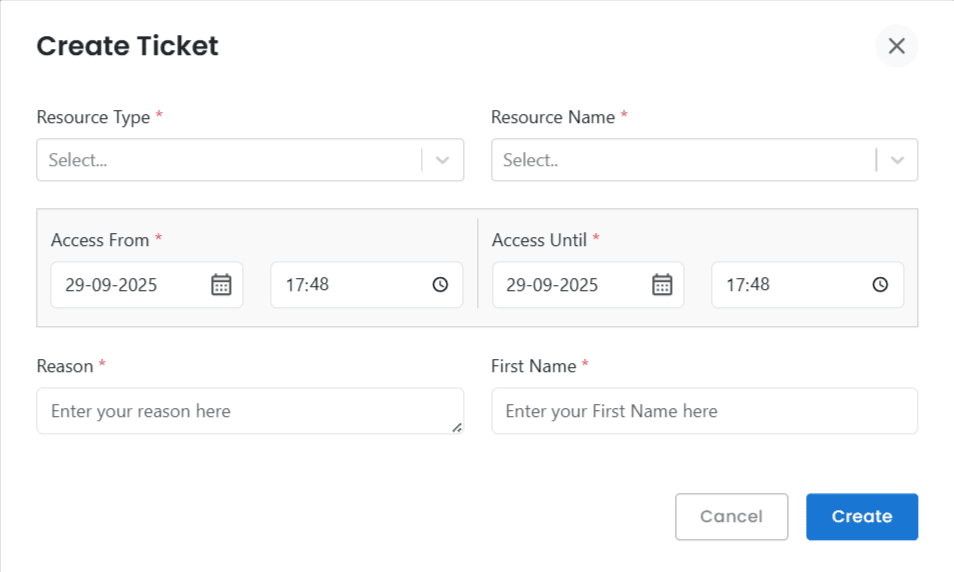
Step 4: Fill in all the required fields marked important in *
Select the resource type you want to access and choose the specific resource name among the integrated resources
Then enter the date and time you want to access the resource, along with the reason why you want to gain access.
Step 5: Once all the relevant details are filled, click on the create button to finish the process.
Once the ticket is created, the designated approver will receive a notification about the ticket via email. They can provide this approval through the PAM dashboard.
The admin can also modify the ticket’s from and until timing, if they think the time is short or long based on the reason provided.
The number of approvals depends on the ‘Approval Required’ setting. For example, if 2 approvals are needed and there are 3 approvers, the ticket is approved once any 2 approvers approve.
Once the approval is given, the user can grant access to the resources that are demanded, and for this, a detailed audit report is created. You can Switch to Audit Dashboard and enter reports.
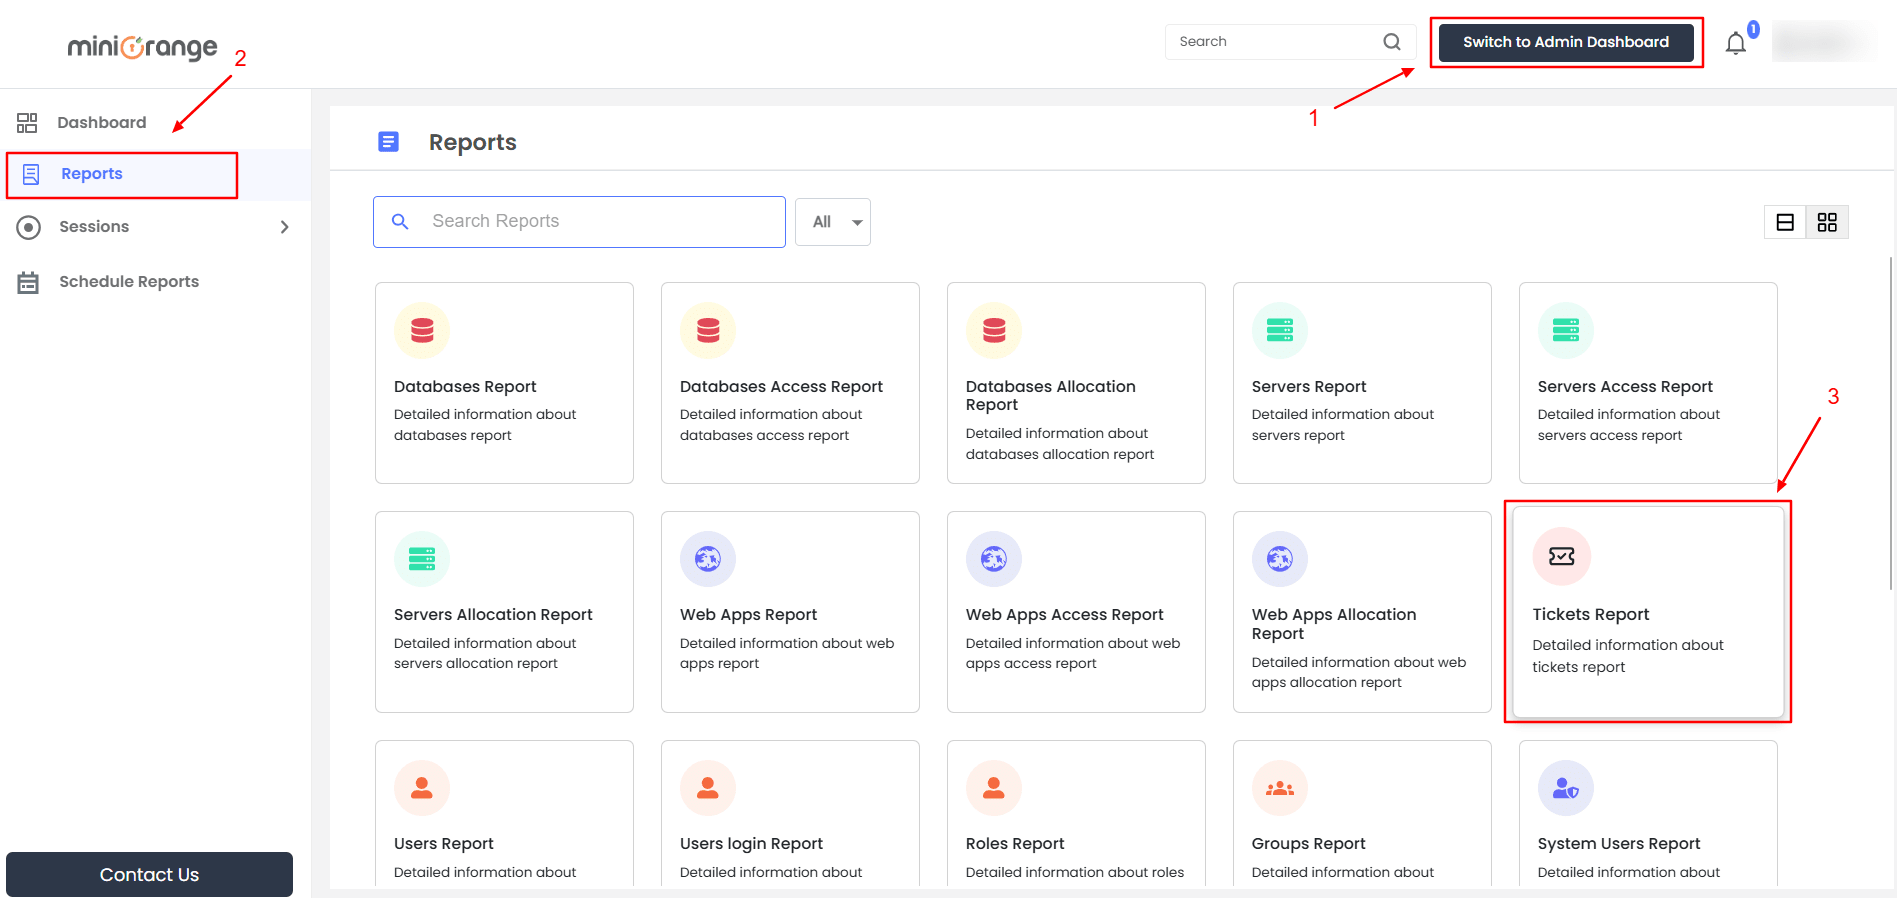
Click on the Tickets report to get the detailed overview.
To change or add additional columns/ fields or approval settings, click here to learn how to change settings in miniOrange PAM.