Hello there!
Need Help? We are right here!
Need Help? We are right here!
Search Results:
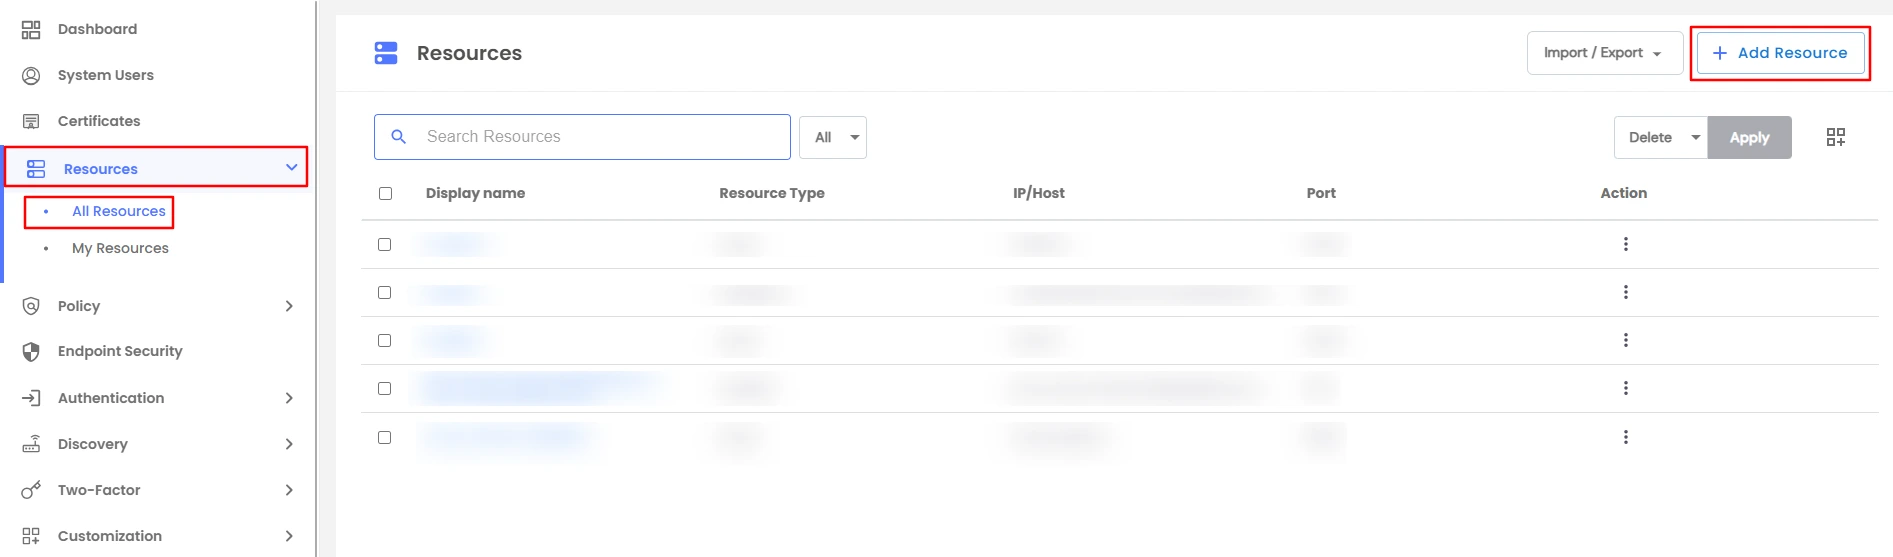
×Setting up a secure and reliable server environment is a foundational step in implementing an effective PAM strategy. A properly configured infrastructure ensures that privileged credentials, access policies, and audit mechanisms operate seamlessly. Set up the server with the following simple steps.
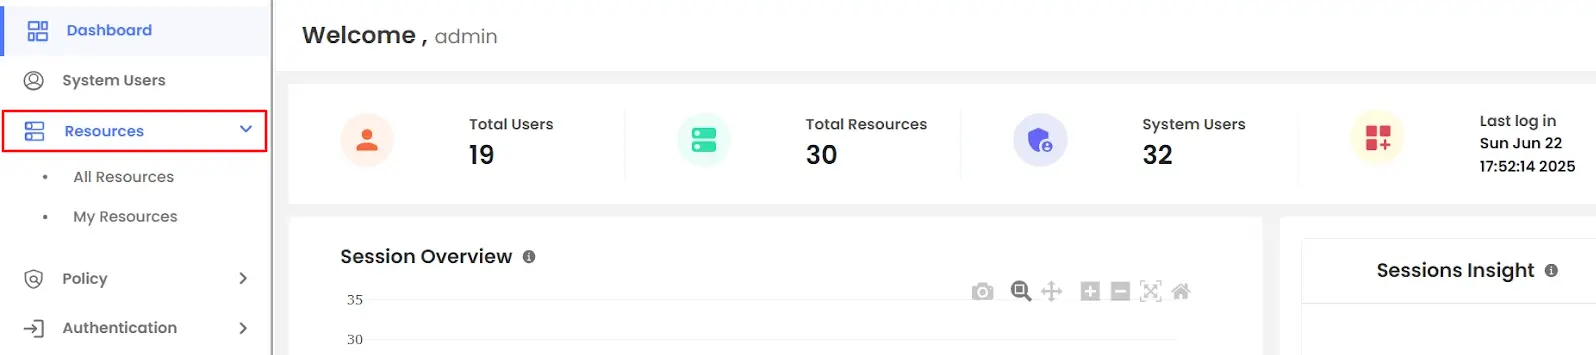
In this section, we will understand how to integrate a server into the PAM environment.

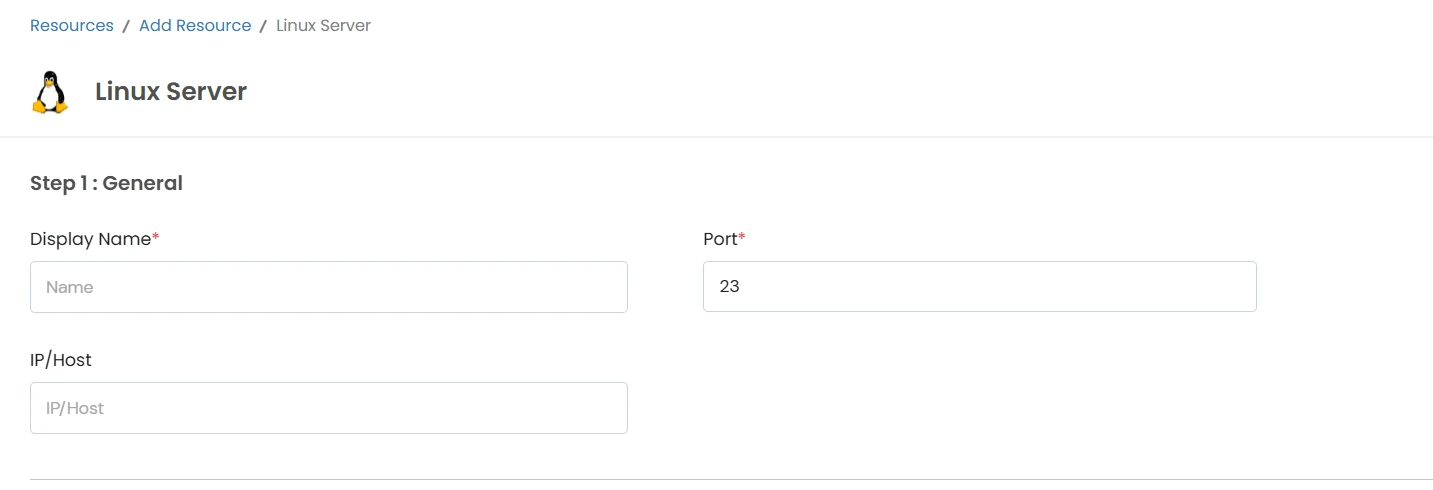
Note: In 3 simple steps, you can configure the Linux Server.
This will include the display name, Port, and IP address.
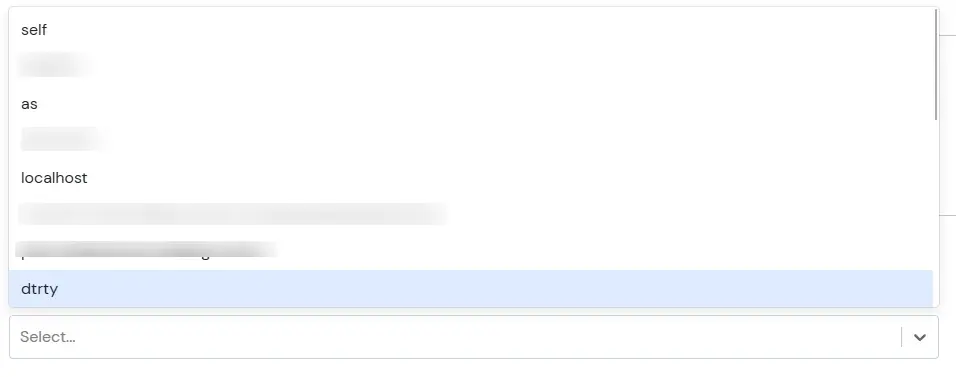
You will be required to include system users and new credentials details here.

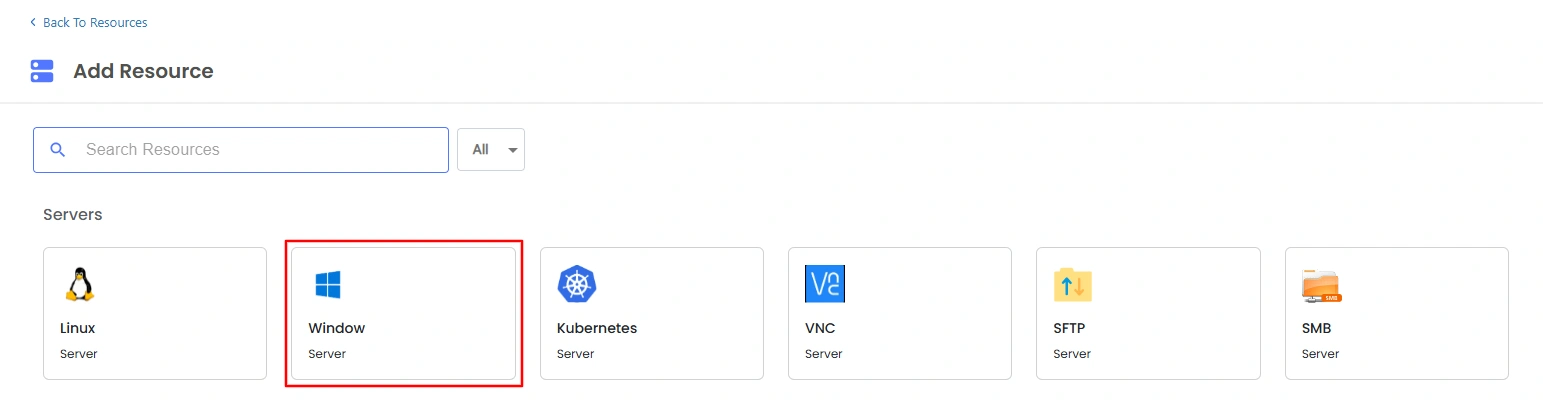
Note: In 3 simple steps, you can configure the Windows Server.
This will include the display name, Port, and IP address.
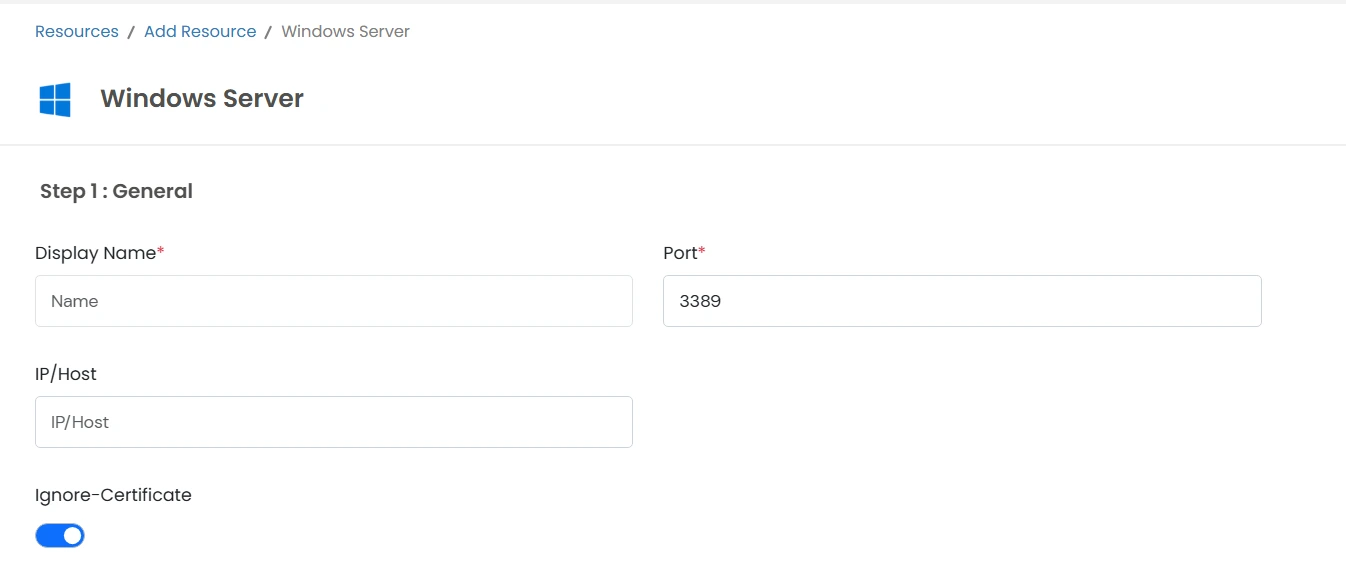
You will be required to include system users and new credentials details here.
| Setting Name | Meaning | How it Works |
|---|---|---|
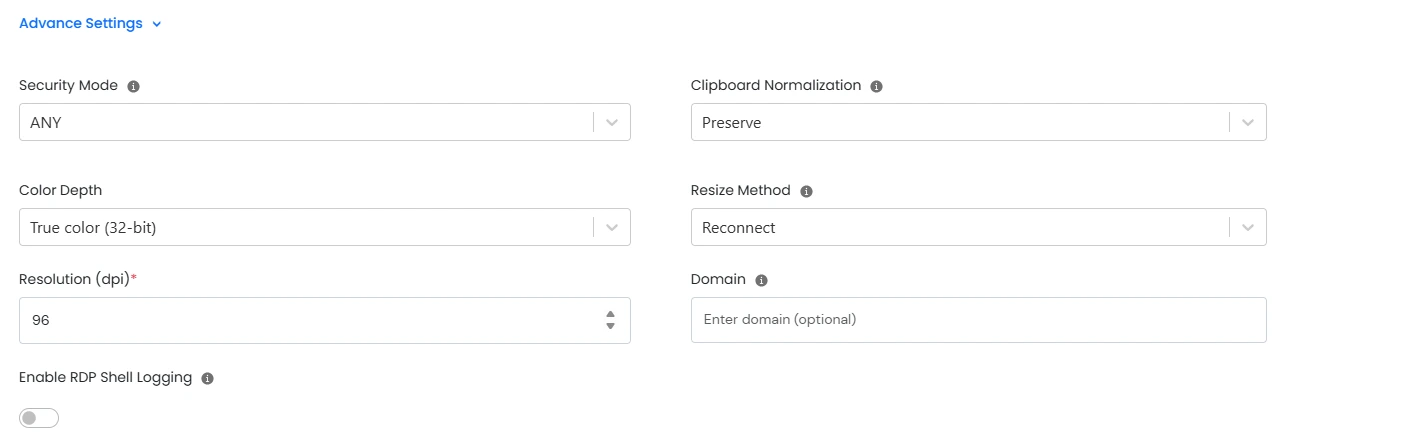
| Security Mode | Dictates how data will be encrypted and what type of authentication will be performed. | Select from RDP, NLA, TLP, or ANY |
| Clipboard Normalization | Controls how line endings in clipboard data are normalized between different operating systems. | Select from UNIX (LF), Preserve, or Windows (CRLF) |
| Color Depth | Defines the number of colors displayed in the RDP session. | Choose from Low Color (16-bit), True Color (24-bit), True Color (32-bit), or 256 Color |
| Resize Method | Selects the method used to update the RDP server when the client display size changes. | Select "Display Update" for RDP 8.1 or "Reconnect" for older servers |
| Resolution (dpi) | Sets the display resolution for the RDP session. | Add a user-defined DPI value |
| Domain | Required to enable logging for PowerShell and Command Prompt activity. | Add the domain name |
| Enable RDP Shell Logging | Logs all Command Prompt and PowerShell activity executed on the remote machine. | Enable the toggle |
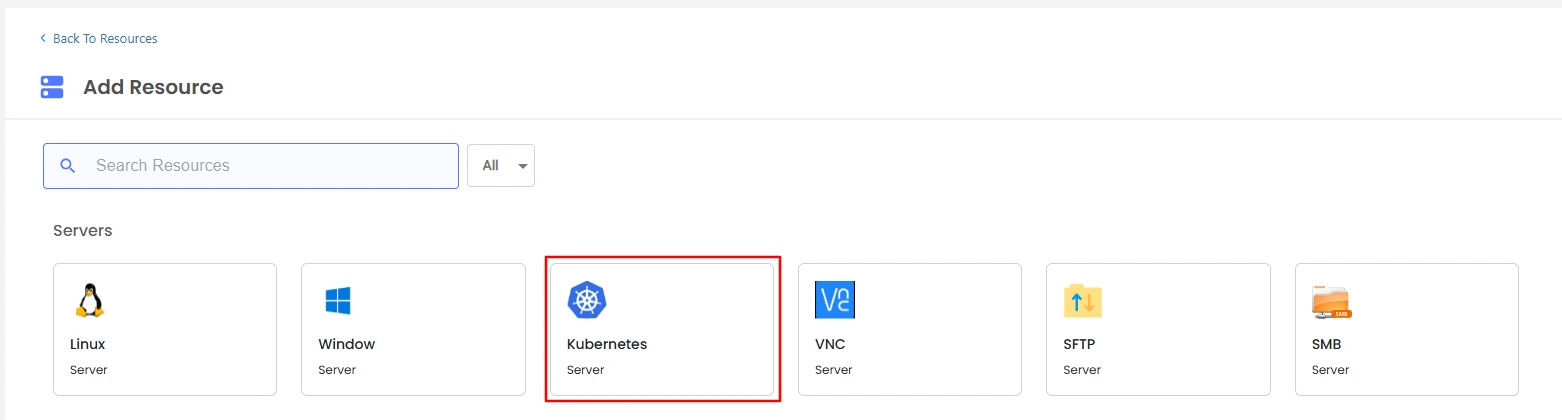
Note: In 3 simple steps, you can configure the Kubernetes Server.
This will include the display name, Port, endpoint and more.
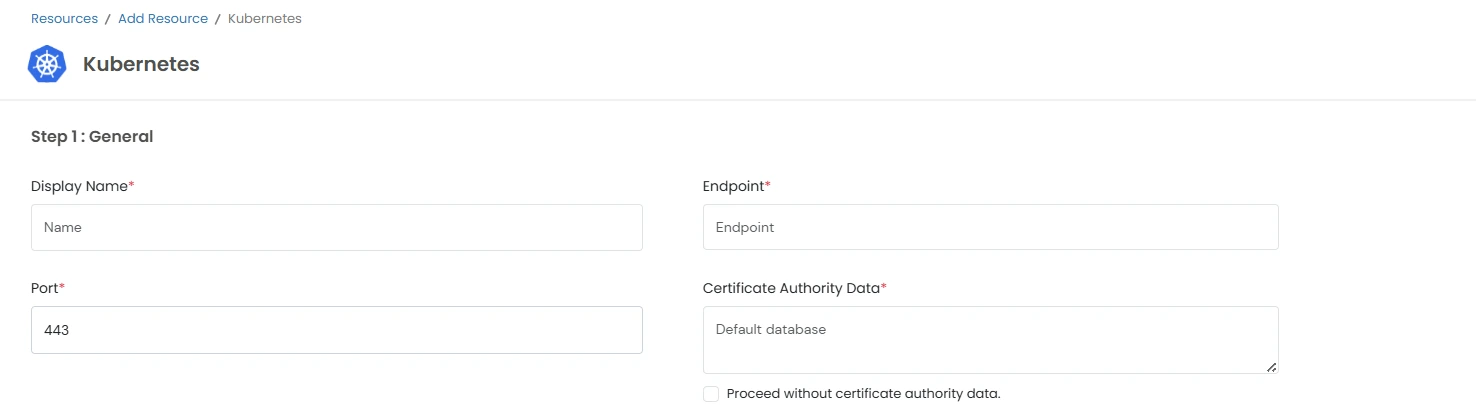
You will be required to include system users and new credentials details here.
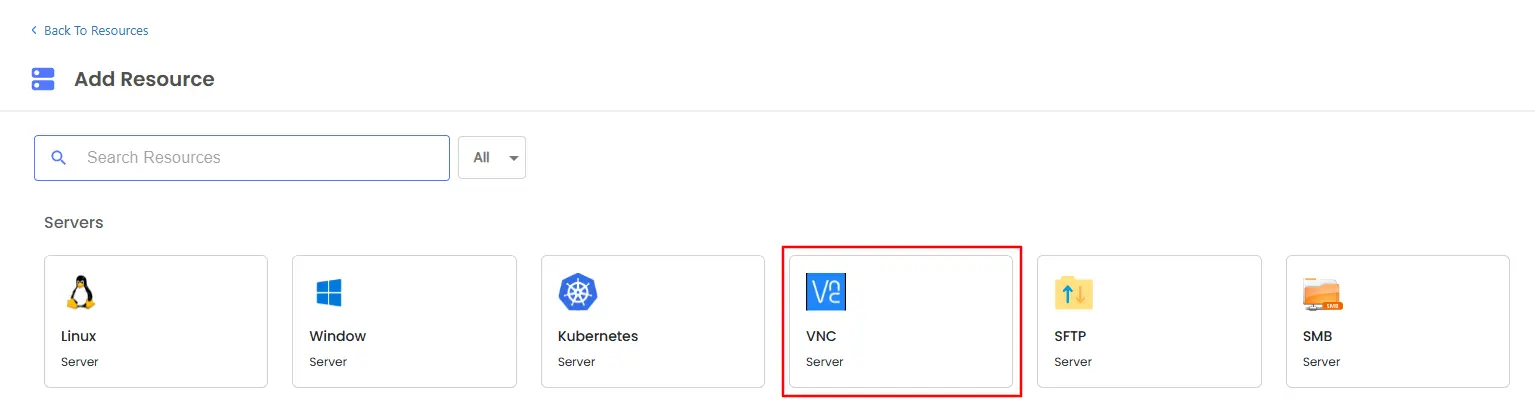
Note: In 3 simple steps, you can configure the VNC Server.
This will include the display name, Port, and IP address.
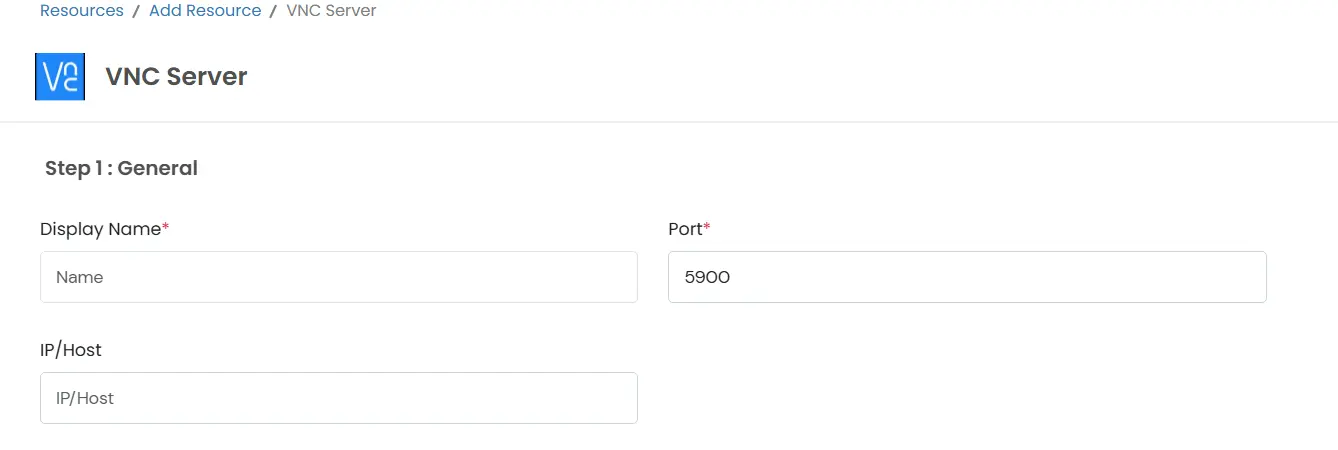
You will be required to include system users and new credentials details here.
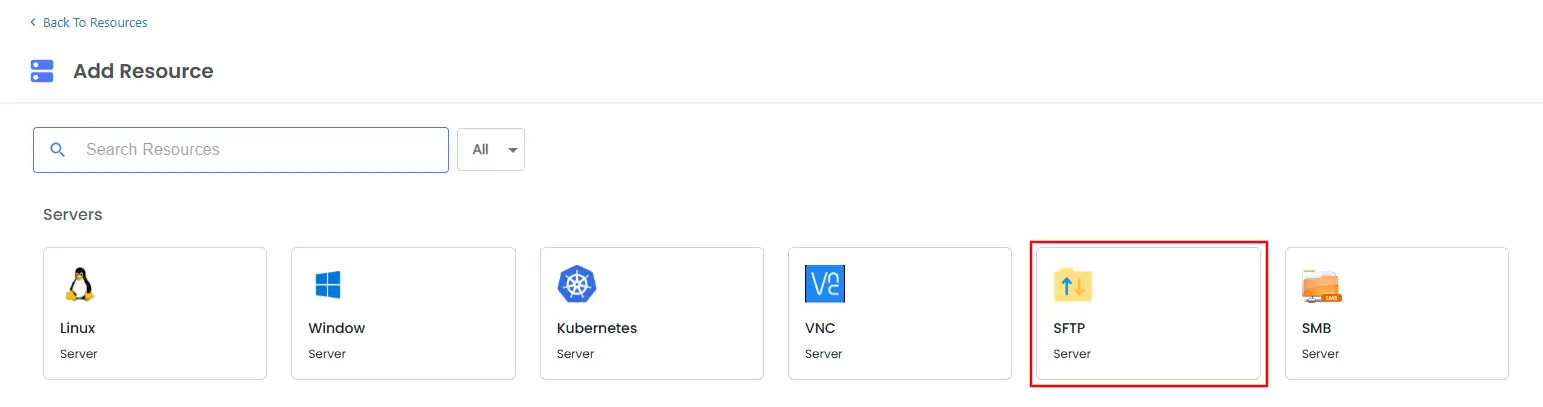
Note: In 3 simple steps, you can configure the SFTP Server.
This will include the display name, Port, and IP address.
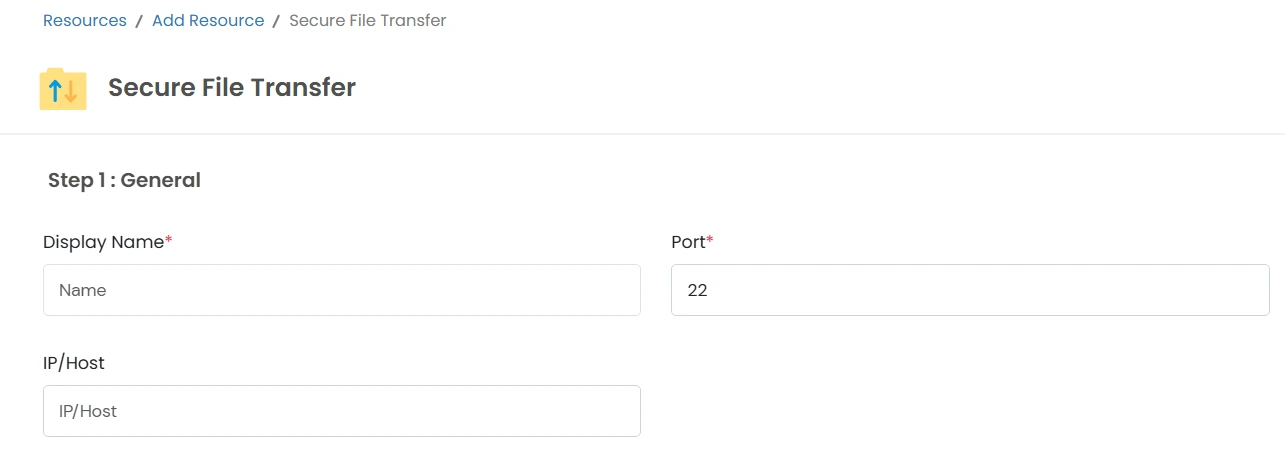
You will be required to include system users and new credentials details here.
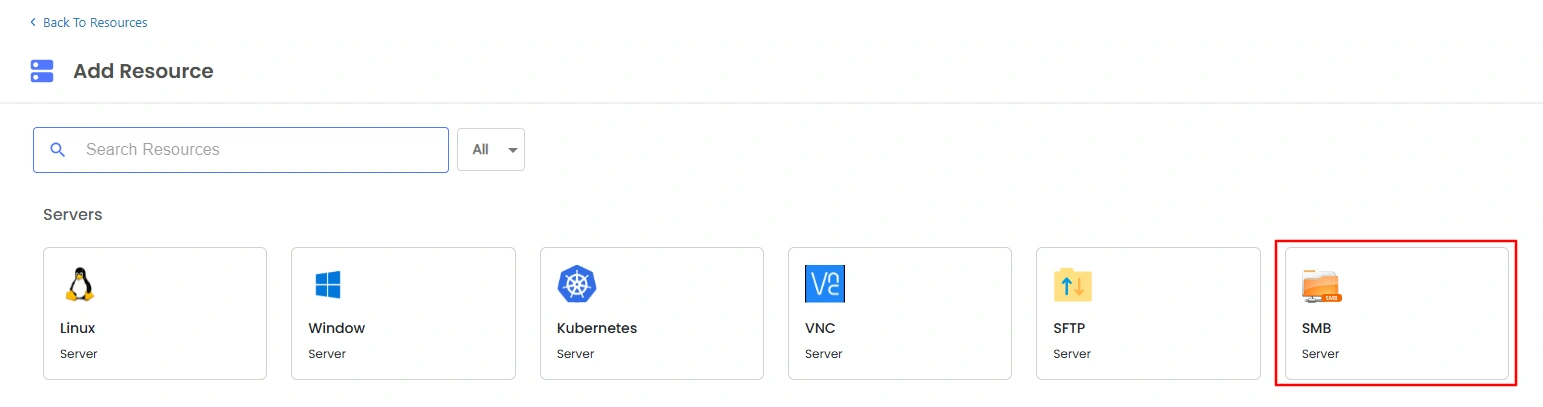
Note: In 3 simple steps, you can configure the SMB Server.
This will include the display name, Port, and IP address.
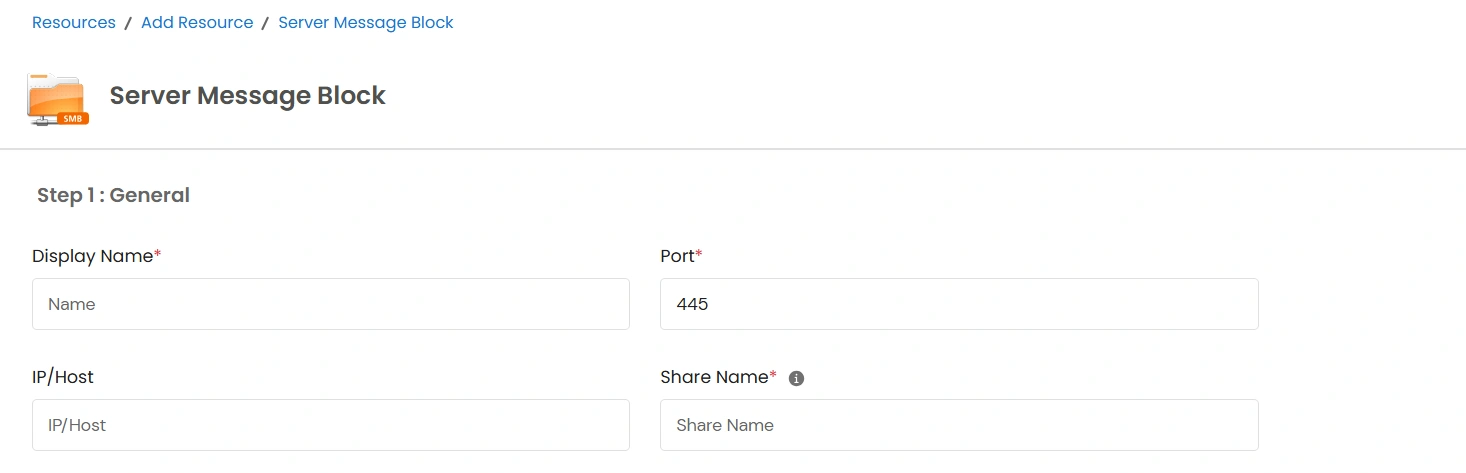
You will be required to include system users and new credentials details here.