Hello there!
Need Help? We are right here!
Need Help? We are right here!
Search Results:
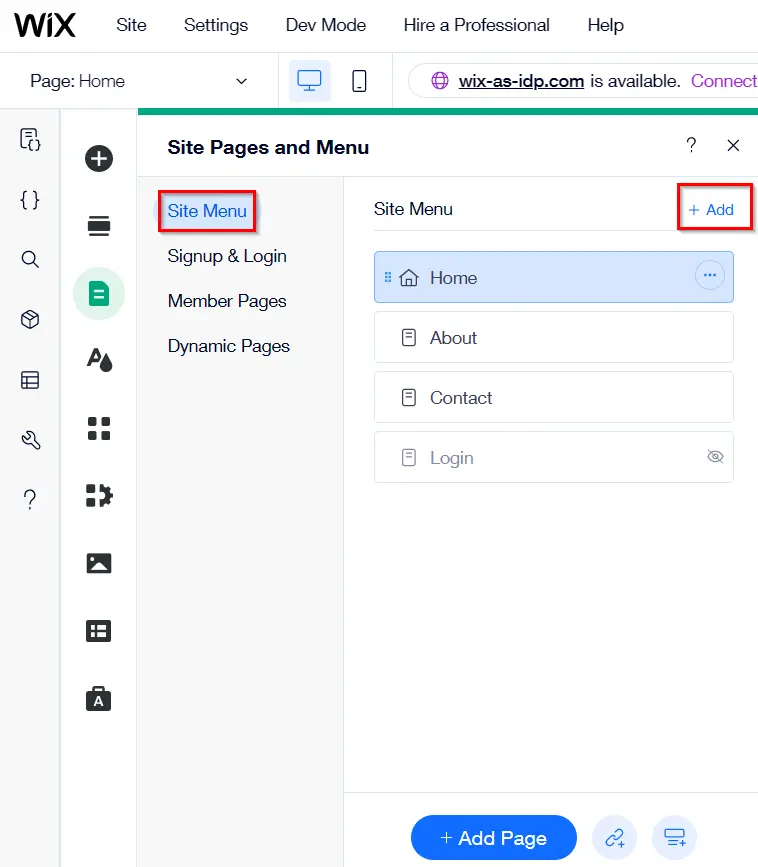
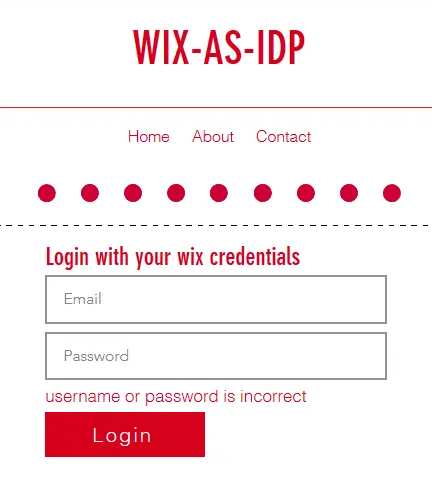
×Single Sign-On (SSO) login using Wix as an Identity Provider (IDP) means users can log into Wix or any external applications using their Wix account credentials. This reduces the number of login credentials the user needs to remember and makes the login process more convenient.
Benefits of using Wix as an Identity Provider (IDP) for SSO login to your application:
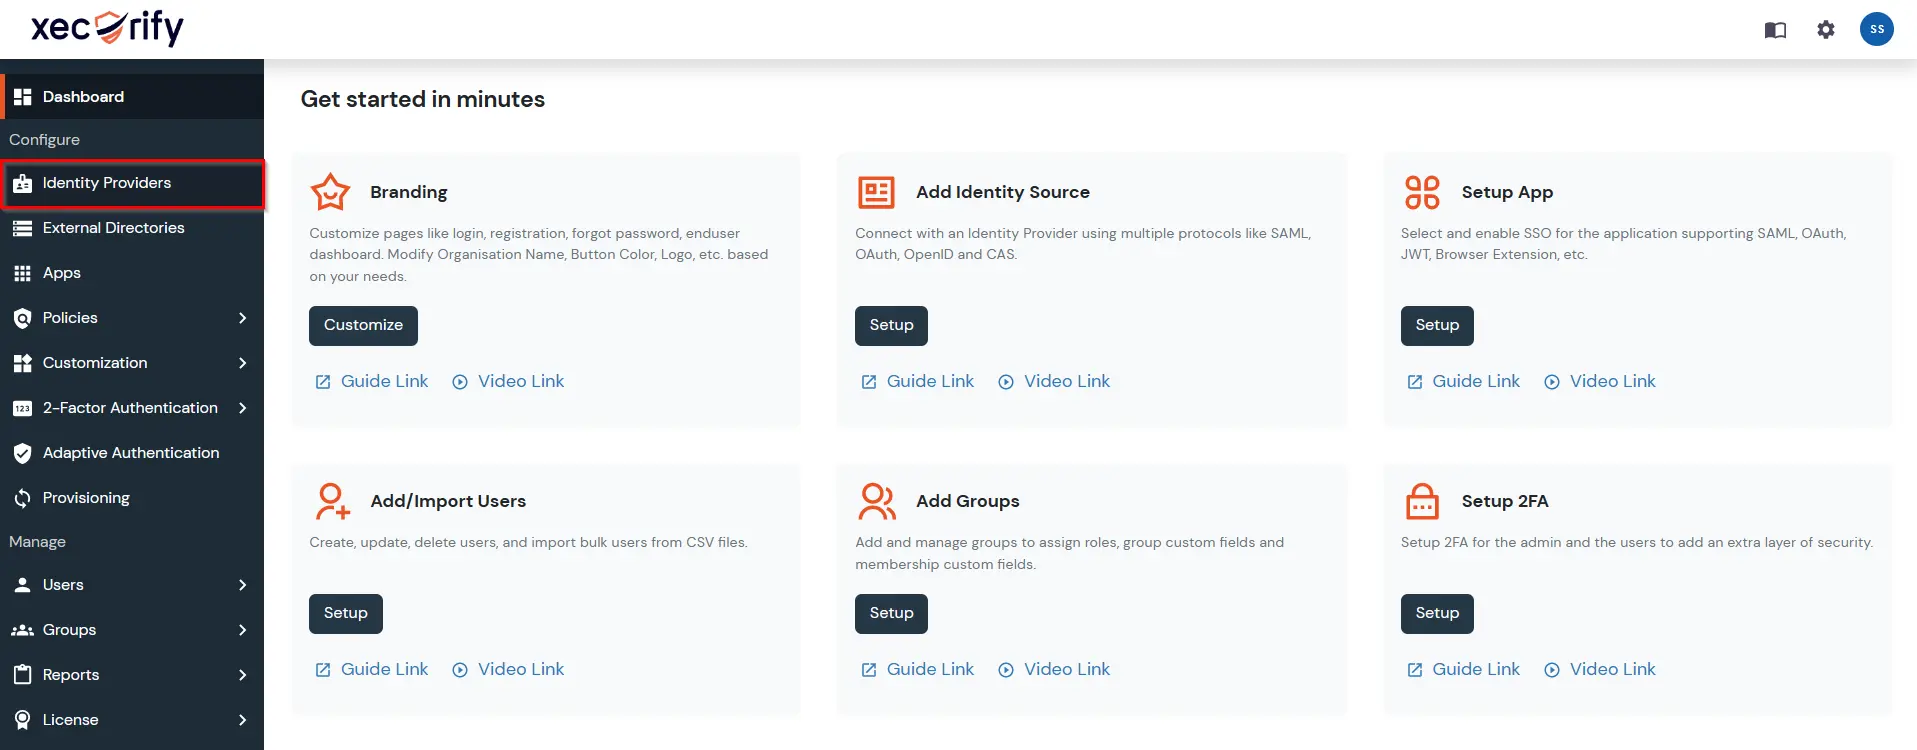
Please make sure your organisation branding is already set under Customization >> Login and Registration Branding in the left menu of the dashboard.


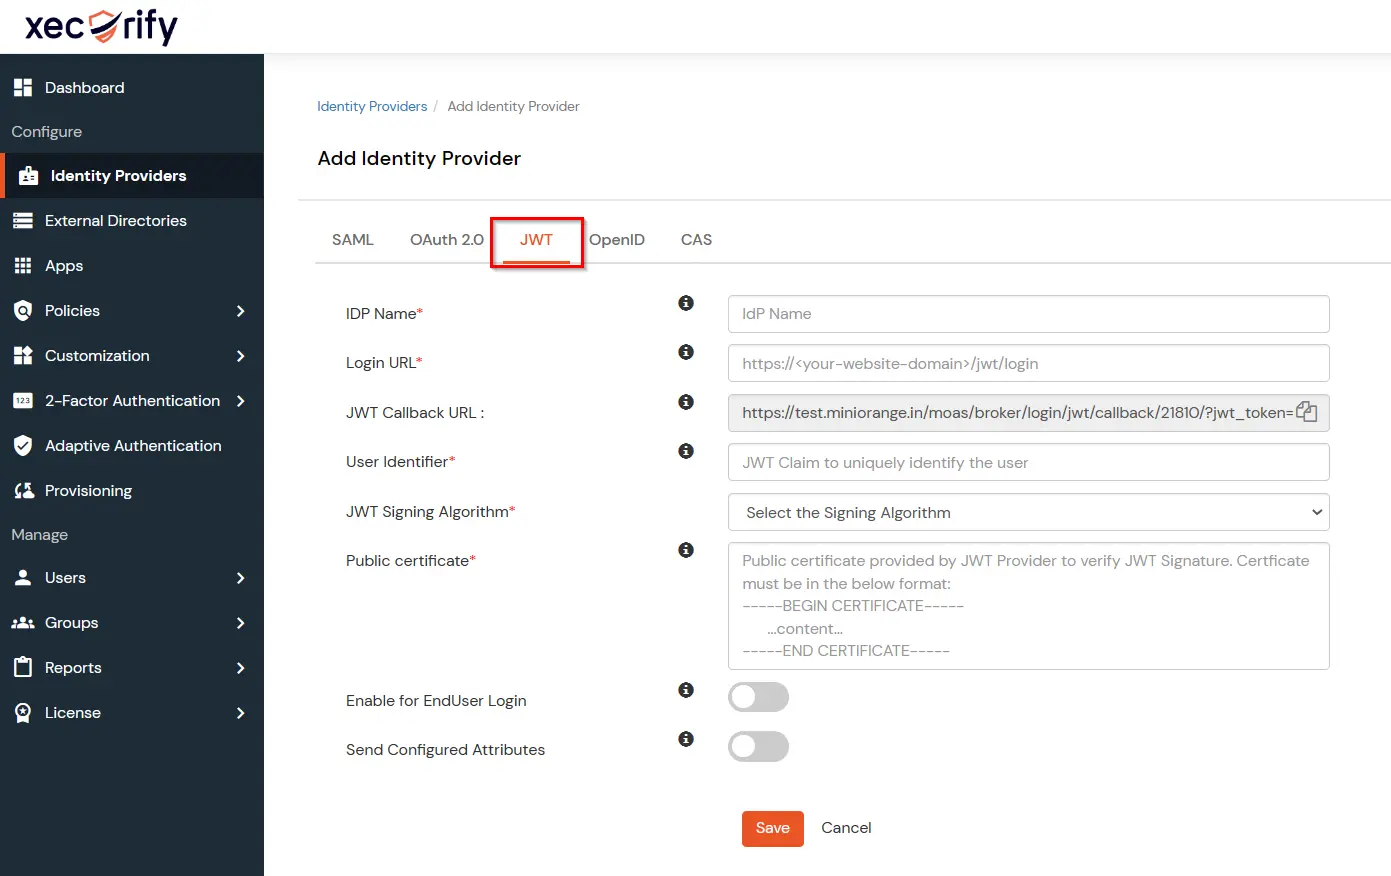
| IdP Name | Custom Provider |
| Login URL | Custom login page URL of your Wix site |
| User Identifier | Unique attribute of a user, eg - email | JWT Signing Algorithm | Select RS256 | Public Certificate | Paste the certificate saved earlier. |
