Java JWT Single Sign-On (SSO) solution by miniOrange provides secure Single Sign-On access into Java application using a single set of login credentials. This is done using JSON Web Token (JWT) tokens and it can be easily integrated with Java built in any framework or language. You can enable social login for your users to get secure access to applications using any of their existing social providers such as Facebook, Twitter, Google, or LinkedIn.
With miniOrange Java SSO, you get:
- Seamless user login experience.
- Endless customizations to your login forms and pages.
- Simplified customer or user on-boarding.
Connect with External Source of Users
miniOrange provides user authentication from various external sources, which can be Directories (like ADFS, Microsoft Active Directory, OpenLDAP, AWS etc), Identity Providers (like Microsoft Entra ID, Okta, AWS), and many more. You can configure your existing directory/user store or add users in miniOrange.
Follow the step-by-step guide given below for Java Single Sign-On (SSO):
1.Configure miniOrange JWT Connector
- Download miniOrange JWT Connector.
- Paste the downloaded sso.jar file in \src\main\webapp\WEB-INF\lib path in your java web application folder.
- Download miniOrange JWT Connector config.properties file.
- Paste the config.properties file in the \src\main\webapp\WEB-INF\classes path in your java web application folder.
- Open the config.properties file and provide Application URL ( start url of your application).
- Provide Redirect URL endpoint (User will be redirected to this endpoint after SSO).
- Copy the following code and paste it in web.xml file of your application.
<servlet>
<description></description>
<display-name>SSOServlet</display-name>
<servlet-name>SSOServlet</servlet-name>
<servlet-class>com.miniorange.app.servlets.SSOServlet</servlet-class>
</servlet>
<servlet-mapping>
<servlet-name>SSOServlet</servlet-name>
<url-pattern>/sso</url-pattern>
</servlet-mapping>
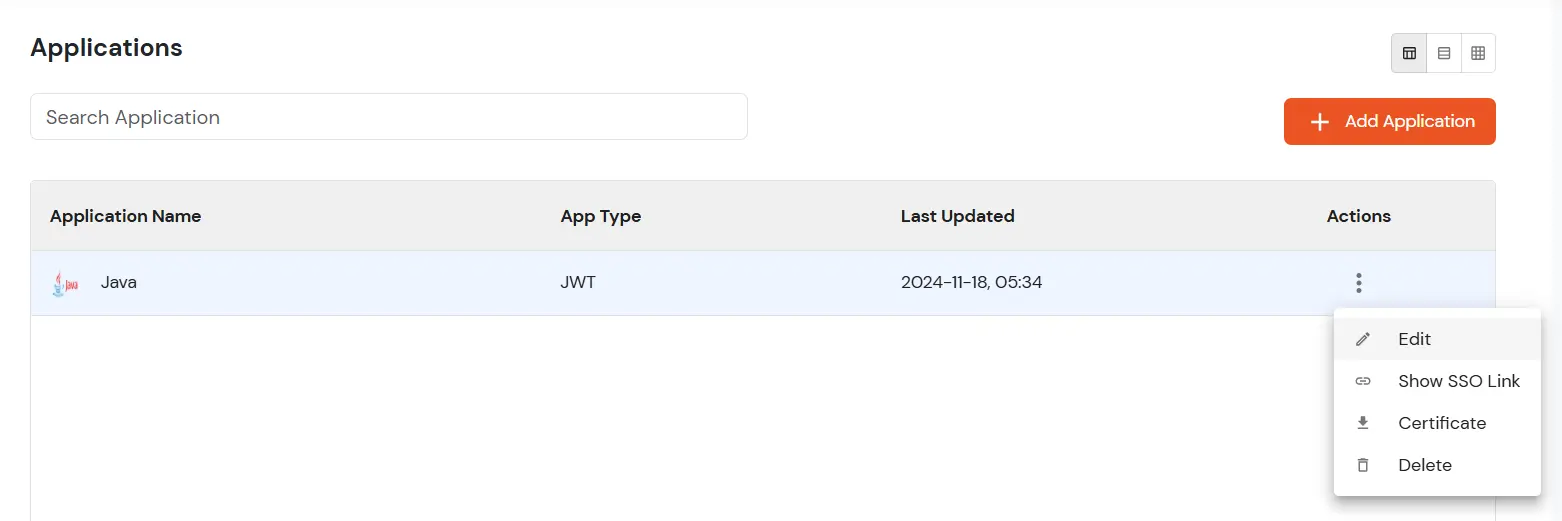
2. Configure Java Web Application in miniOrange
In miniOrange dashboard, you can add JWT application with steps below:
- Login into miniOrange Admin Console.
- Go to Apps >> Add Application.

- In Choose Application Type click on JWT application type.
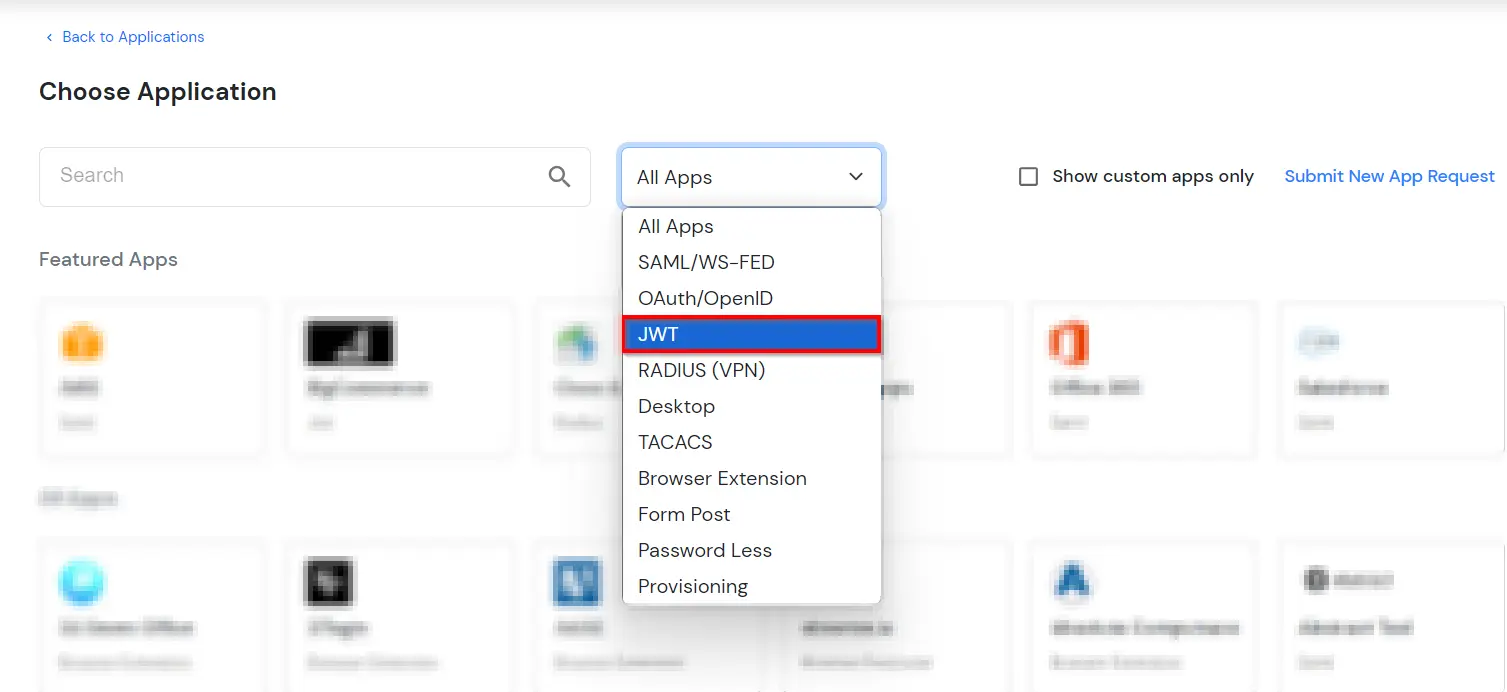
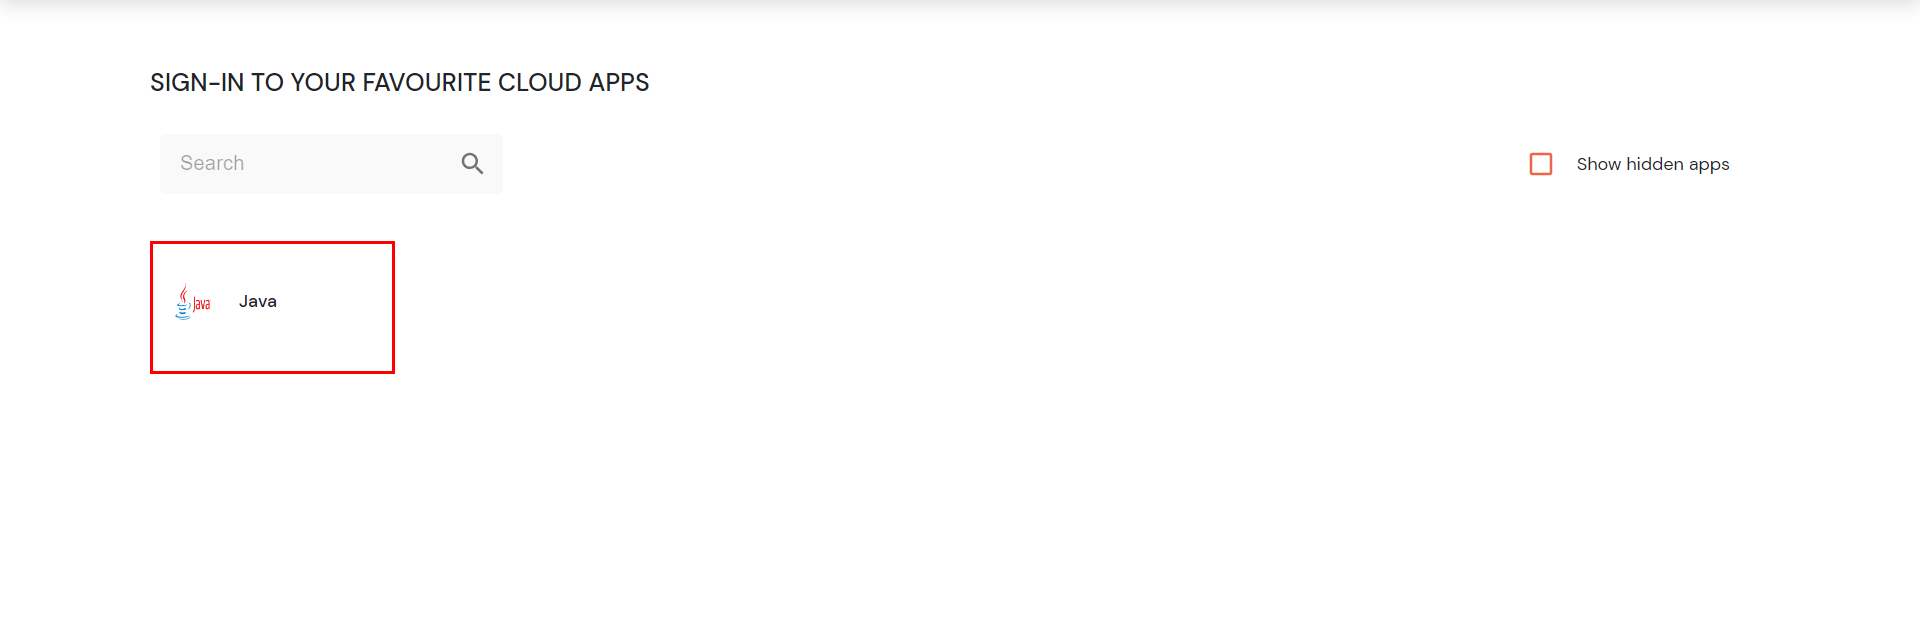
- In the next step, search for your application from the list, if your application is not found. Search for JWT App and you can set up your Application.

- Provide the Custom Application name of the JWT application.
- In Redirect-URL field set URL as application_url/sso?action=callback (For example if you’re application url is http://example.com then the Redirect-URL will be http://example.com/sso?action=callback).
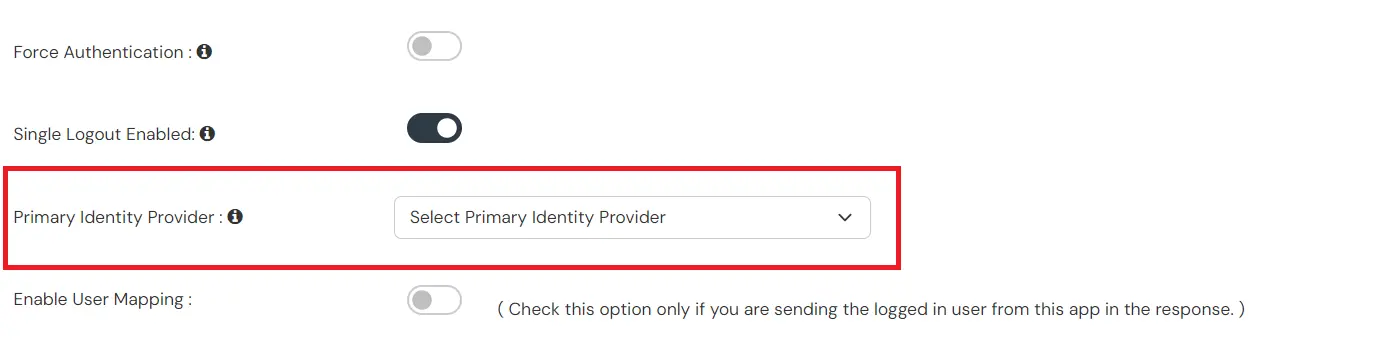
- In the Primary Identity Source section, select the Identity source from where you want the users to be authenticated.
- Now, click on edit option of the JWT application which we just created.
- Copy the Client ID and Paste in clientId field in the config.properties.
- Copy the App Secret and Paste in clientId secret in the config.properties.
- If you’re using miniOrange as Authentication source, then copy “SSO URL for using miniOrange as Authentication Source“ .

- Otherwise copy “SSO URL for using External Providers as Authentication Source” Url and Paste in the authorizationUrl section.

- Now to download the certificate, Go back to Apps and download the Certificate of the JWT application.
- Copy the certificate and paste it in \src\main\webapp\WEB-INF\lib path. Make sure to keep the name of the certificate as RSA256Cert.crt.
3. Retrieve the User Attributes
- You can use the following code snippet in your redirect endpoint to retrieve the attributes from the session variable.
HttpSession session = request.getSession();

Map<String, Object> valuesArray = (Map<String, Object>>) session.getAttribute("attributes");
4. SSO Endpoint Configuration
5. Test SSO Configuration
Test SSO login to your Java account with miniOrange IdP:
External References