Configure MAC Address Based Restriction
MAC address-based restriction offers a robust security layer by regulating access according to the distinctive MAC address of devices. This capability empowers you with genuine device-based restriction, ensuring a heightened level of control over authorized access.
Connect with External Source of Users
miniOrange provides user authentication from various external sources, which can be Directories (like ADFS, Microsoft Active Directory, OpenLDAP, AWS etc), Identity Providers (like Microsoft Entra ID, Okta, AWS), and many more. You can configure your existing directory/user store or add users in miniOrange.
Follow the step-by-step guide given below to Configure MAC Address Based Restriction
1. Enable MAC Address Restriction
- Login to your Admin Account and go to Adaptive Authentication.
- You can either create a new Adaptive Policy or you can edit an existing policy of your choice.
- Click on Add Policy. Scroll down to Device Configuration section and click on Edit.
- Enter the Number of Devices which are allowed to register in field Number of Device Registrations Allowed.

- Enable the Enable MAC Address Based Restriction. You will see details related to the option, once it's enabled.
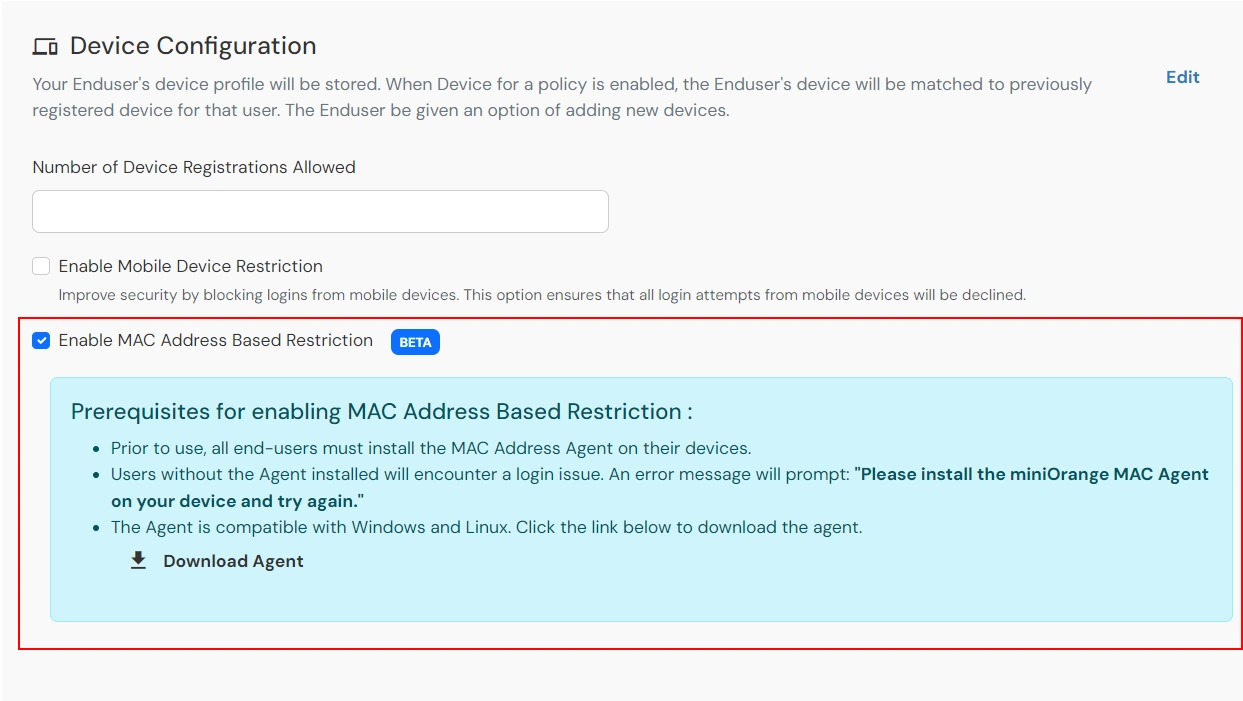
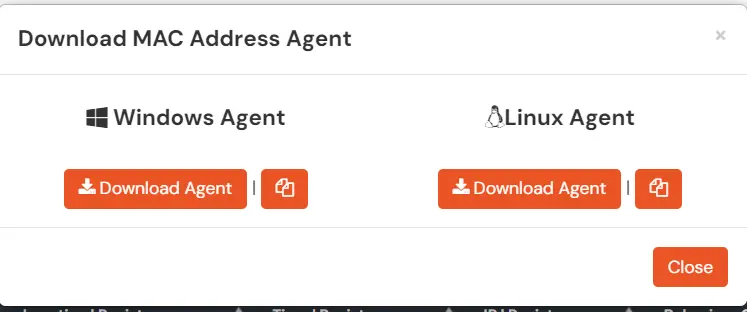
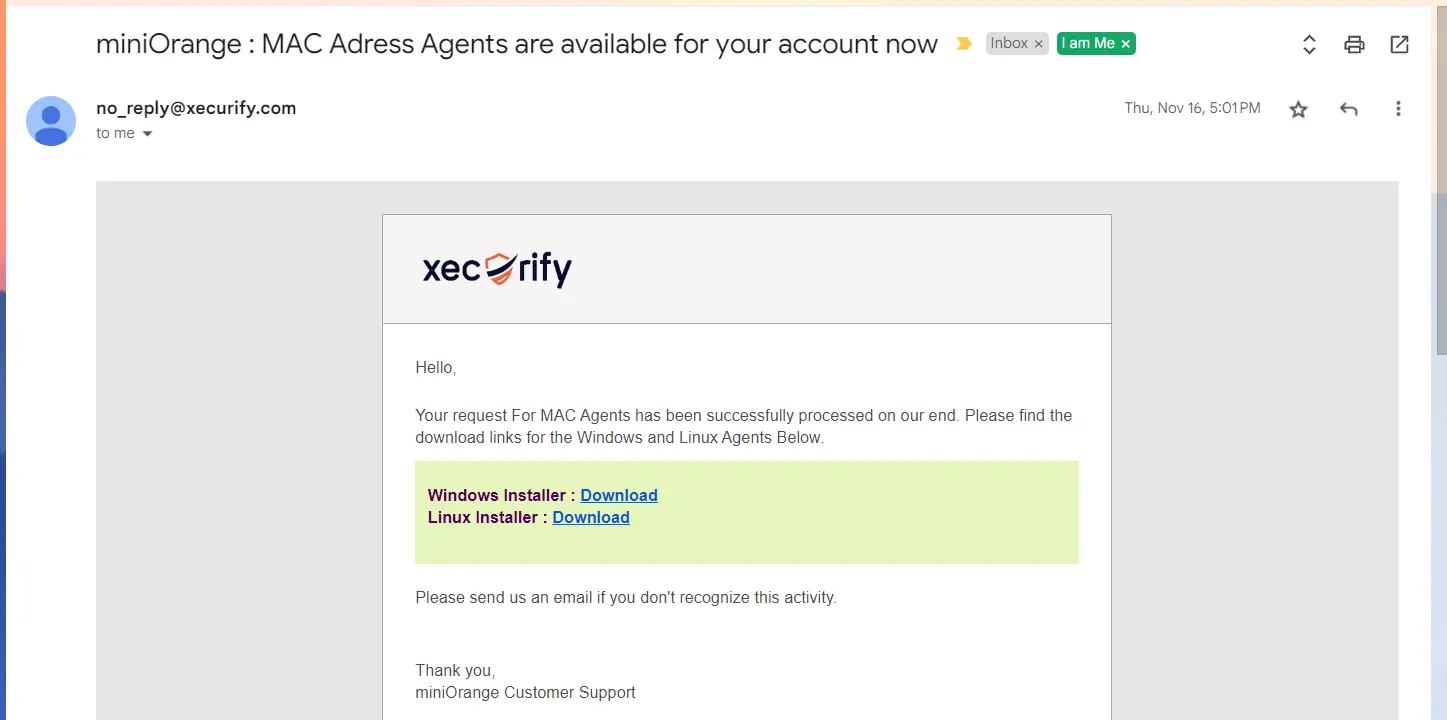
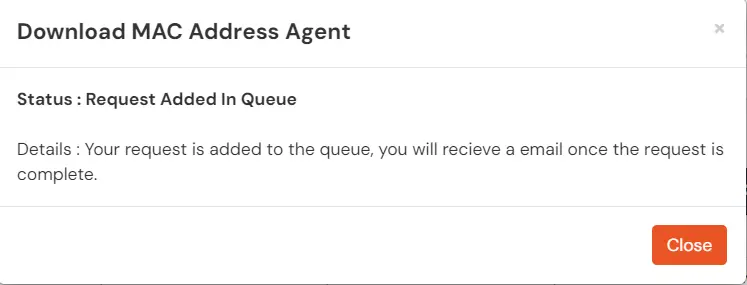
- You can download the Agent required for MAC Agent from the download link. When you click on the download link, a request will be raised against your account and will get added to the queue. You will receive an email on your admin email with the download links once the agents are generated for your account. Alternatively, you can also check this section again.
- Now, scroll down to the Action For Behaviour Change section and click on Edit. Select the action you want to perform if the IP address is out of the range. i.e. Allow, Challenge or Deny.
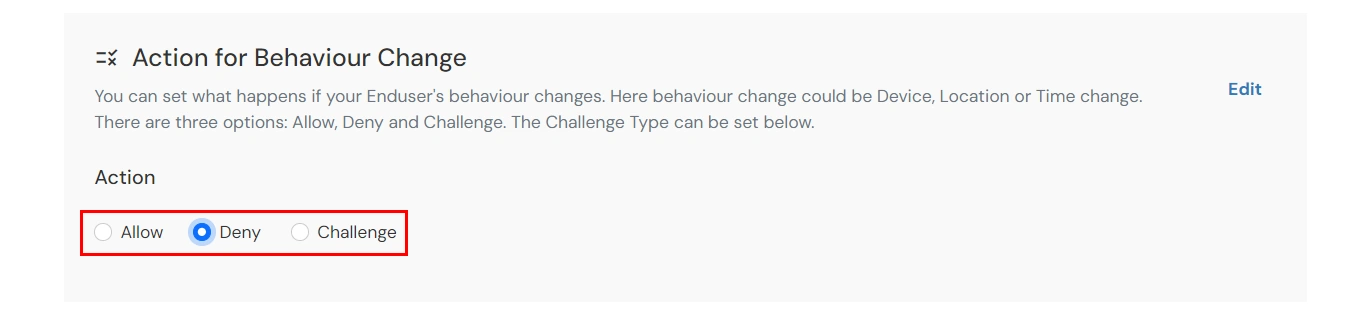
Action for behavior Change Options :
| Attribute |
Description |
| Allow |
Allow user to authenticate and use services if Adaptive authentication condition is true. |
| Challenge |
Challenge users with one of the three methods mentioned below for verifying user authenticity. |
| Deny |
Deny user authentications and access to services if Adaptive authentication condition is true. |
Challenge Type Options :
| Attribute |
Description |
| User second Factor |
The User needs to authenticate using the second factor he has opted or assigned for such as- OTP over SMS
- PUSH Notification
- OTP over Email
- And 12 more methods.
|
| KBA (Knowledge-based authentication) |
The System will ask user for 2 of 3 questions he has configured in his Self Service Console. Only after right answer to both questions user is allowed to proceed further. |
| OTP over Alternate Email |
User will receive a OTP on the alternate email he has configured threw Self Service Console. Once user provides the correct OTP he is allowed to proceed further. |
- Scroll to the end and click on save.
2. Get the download links from the Adaptive Policy list
- Go to the Adaptive Authentication section.
- Click on select >> Get MAC Agents option against your policy.
(This option is only available for policies where you have enabled MAC address based restriction).

- If your request was already added to the queue and completed, then you will receive the download links for the Windows and Linux systems.
- If your request was already added to the queue but is not completed yet, then you will see the appropriate message mentioning the same. You will receive an email on the admin’s email address once your request is processed.
- If your request was in the queue previously and is not processed yet, then you will see the appropriate message mentioning the same.
3. Install The Agent on Windows
- The Windows Installer For the Agent is a one click install. Run the installer with Admin privileges.
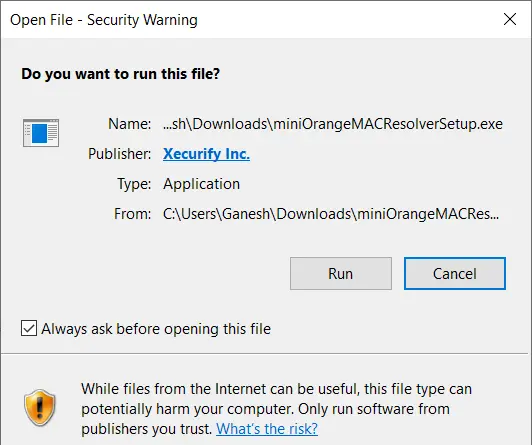
- If you get a security warning as shown below, click on Run to continue with the installation.
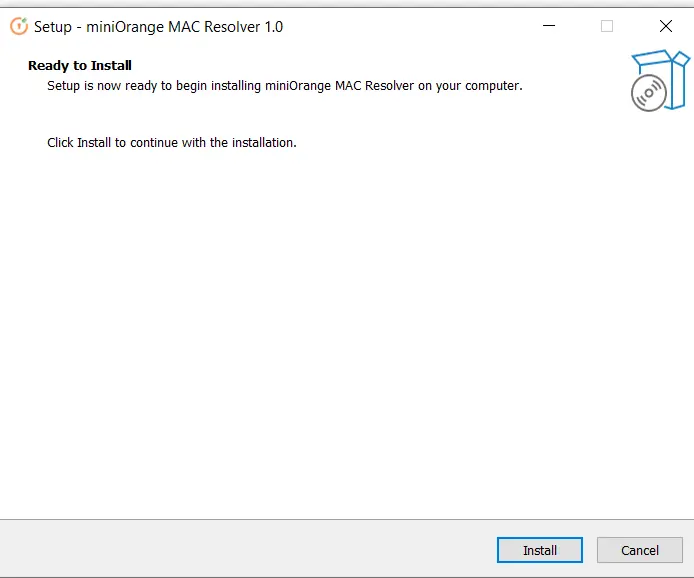
- Once the installation wizard is open, click on the install button to complete the installation.
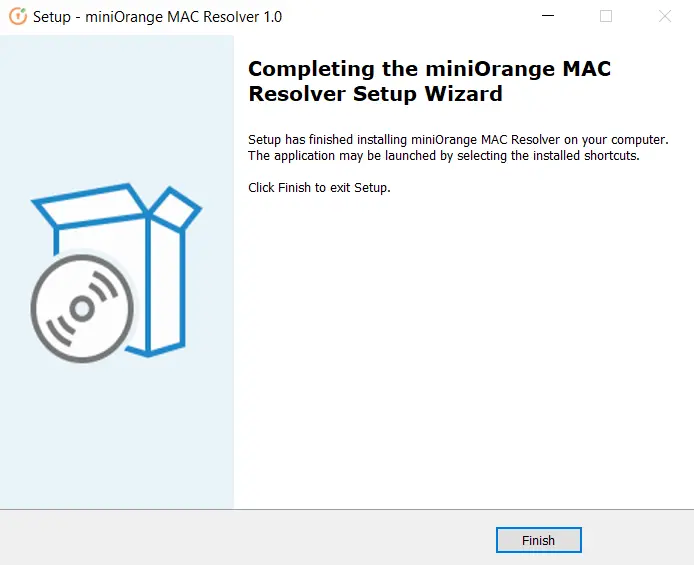
- Once the installation is complete, you will see the following screen.
4. Install the Agent in Linux Systems
- Make sure you are logged in to the Linux System as the SuperUser (root).
- Download the Zip file for the Agent on your Linux machine.
- Unzip the file and run the command:
sh installScript.sh
This will install the agent and create the required services for it.

- To view all available commands for the installation, run the command:
sh installScript.sh -h

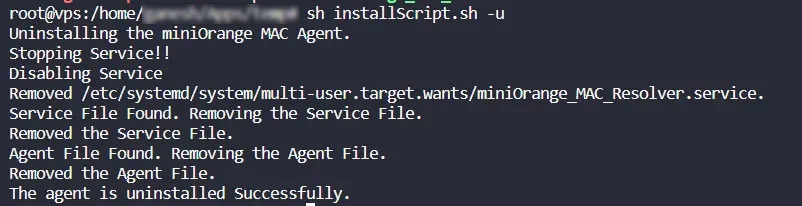
- To uninstall the Agent, run the command:
sh installScript.sh -u
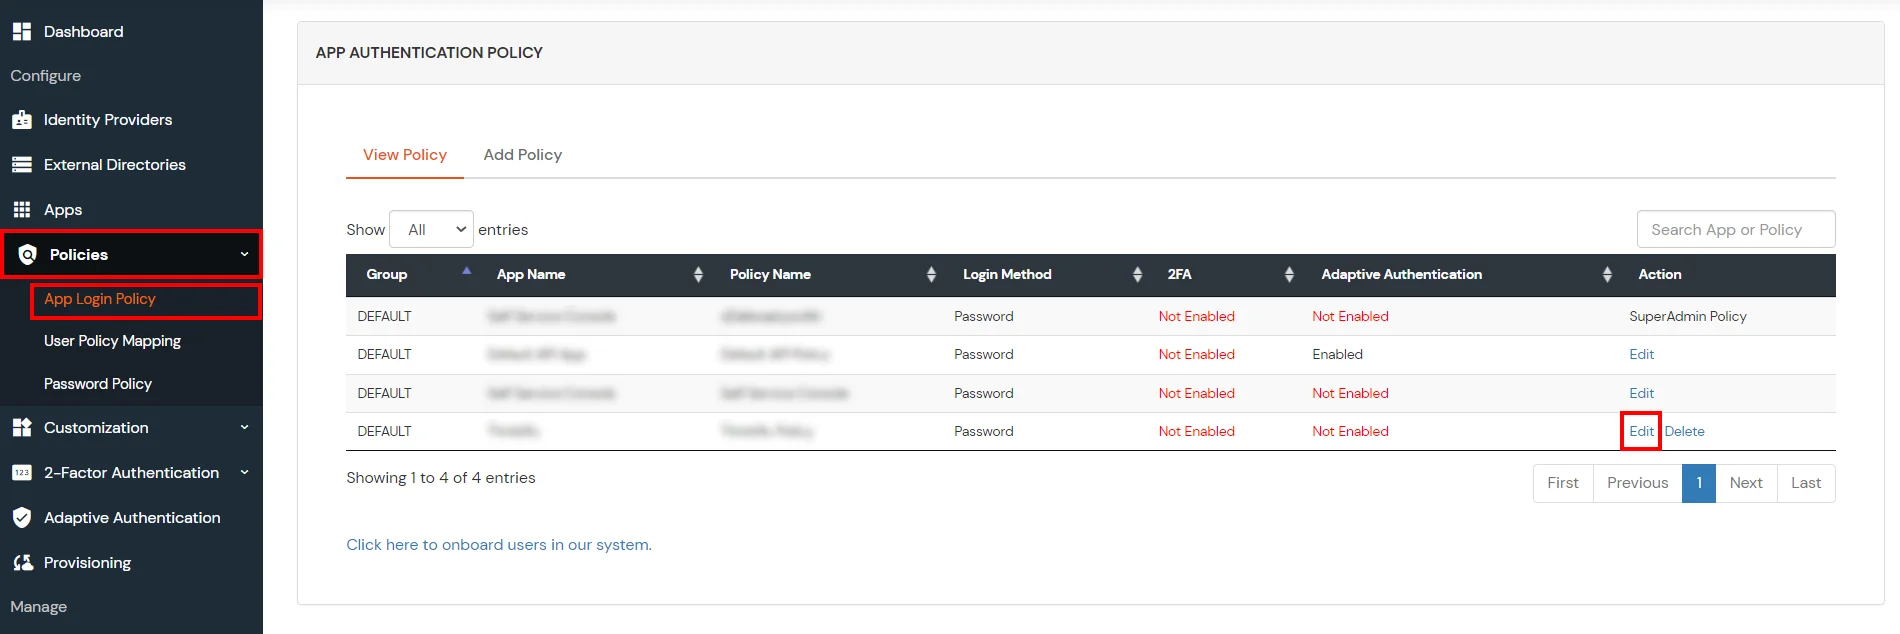
5. Enable Restriction for your applications
- Go to Policies >> App Login Policy from the left navigation bar.
- Click on Edit option against your selected app.
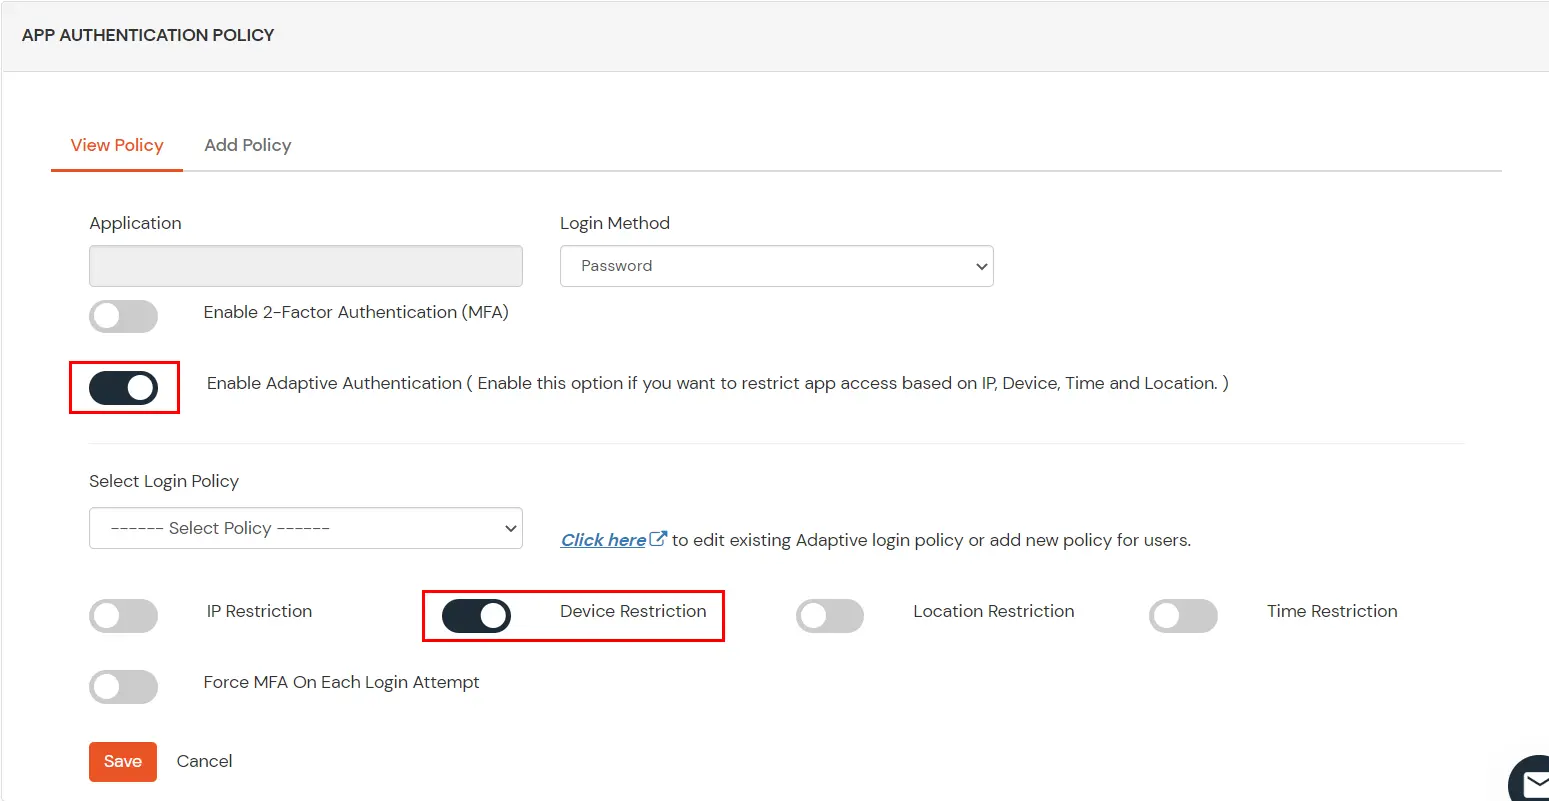
- Set your application name in the Application and select password as Login Method.
- Enable Adaptive Authentication.
- From the Select Login Policy dropdown, select the policy we created in the first step and select the required restriction method as an option.
- Click Save.
External References
