Hello there!
Need Help? We are right here!
Need Help? We are right here!
Search Results:
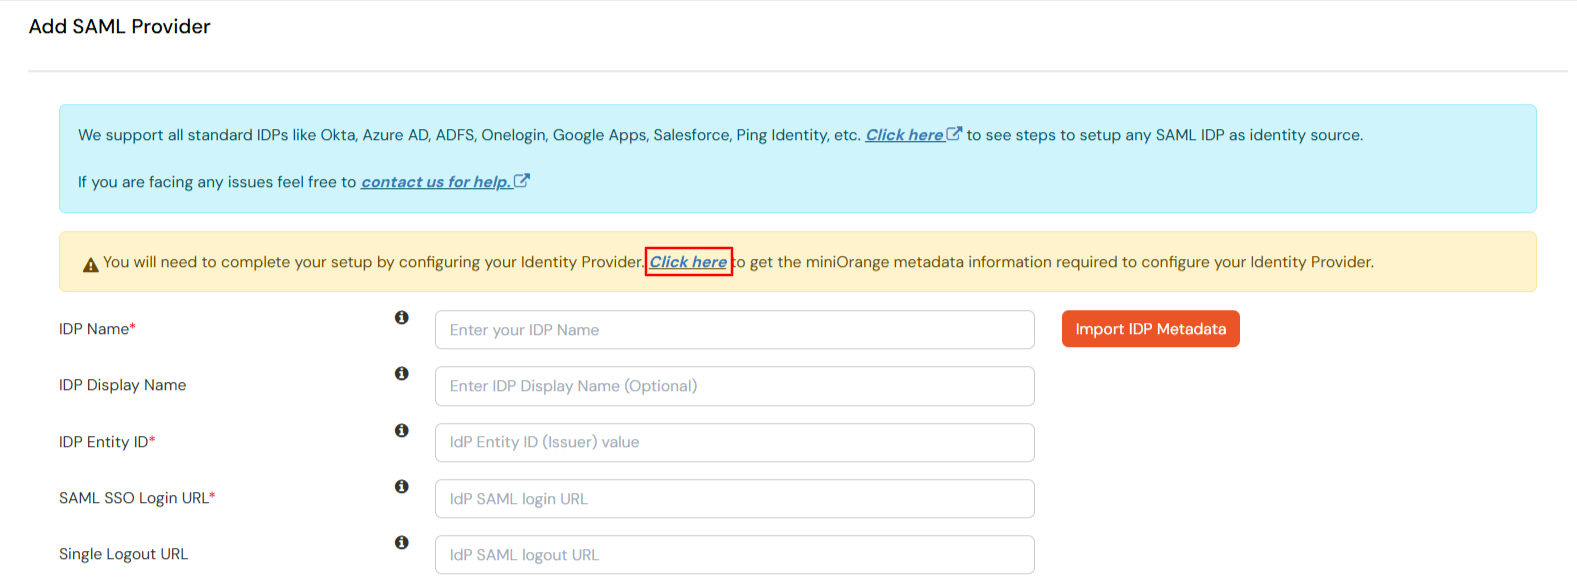
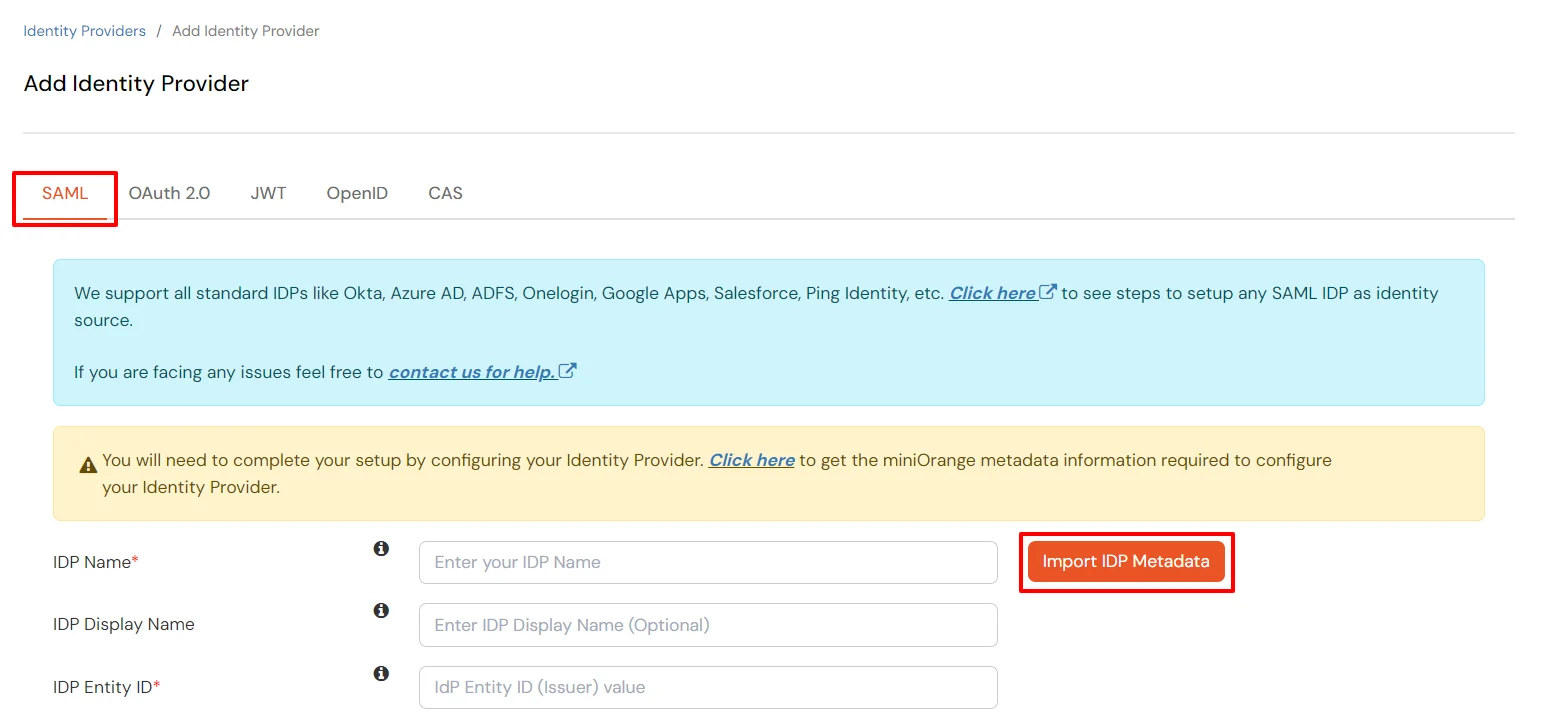
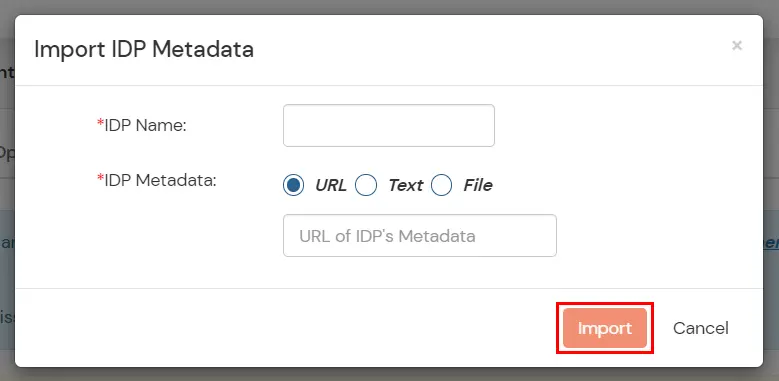
×miniOrange Identity Broker service solution enables cross protocol authentication. You can configure NetIQ as an IDP for Single Sign-On (SSO) into your applications/websites. Here, NetIQ will act as an Identity Provider (IDP) and miniOrange will act as a broker.
We offer a pre-built solution for integrating with NetIQ, making it easier and quick to implement. Our team can also help you set up NetIQ as SAML IDP to login into your applications.
miniOrange offers free help through a consultation call with our System Engineers to configure SSO for different apps using NetIQ as IDP in your environment with 30-day free trial.
For this, you need to just send us an email at idpsupport@xecurify.com to book a slot and we'll help you in no time.
miniOrange provides user authentication from various external sources, which can be Directories (like ADFS, Microsoft Active Directory, OpenLDAP, AWS etc), Identity Providers (like Microsoft Entra ID, Okta, AWS), and many more. You can configure your existing directory/user store or add users in miniOrange.
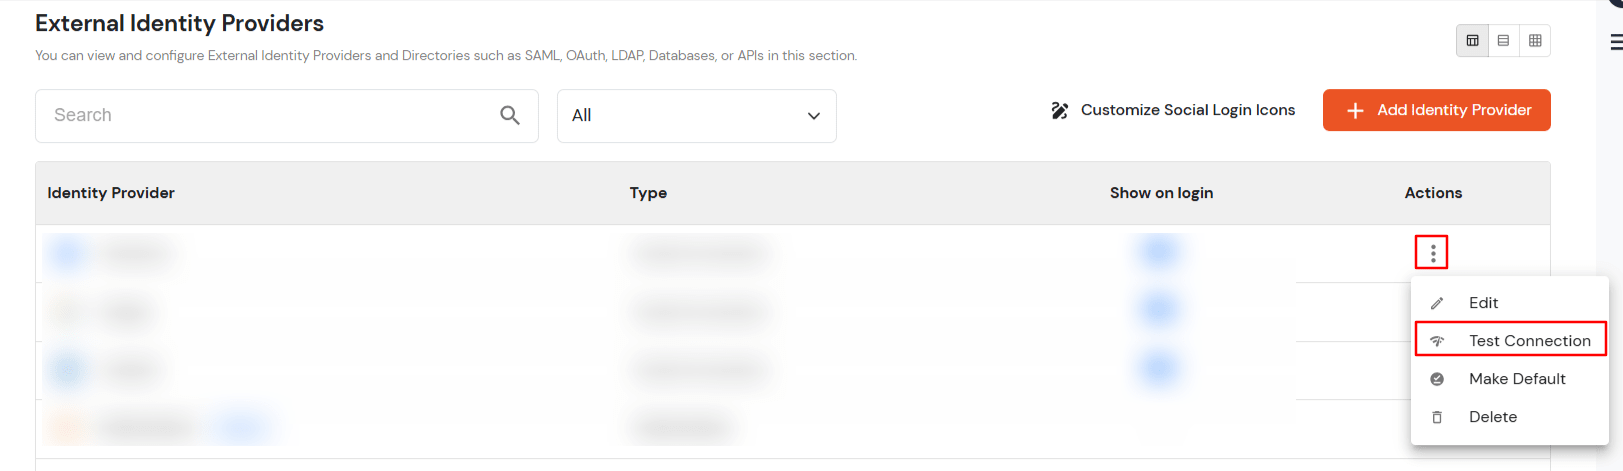
You have successfully configured NetIQ as SAML IdP (Identity Provider) for achieving NetIQ SSO login.

| Domain Mapping | Can be used to redirect specific domain user to specific IDP |
| Show IdP to Users | Enable this if you want to show this IDP to all users during Login |
| Send Configured Attributes | Enabling this would allow you to add attributes to be sent from IDP |

You can follow this guide, if you want to configure SAML/WS-FED, OAuth/OIDC, JWT, Radius etc
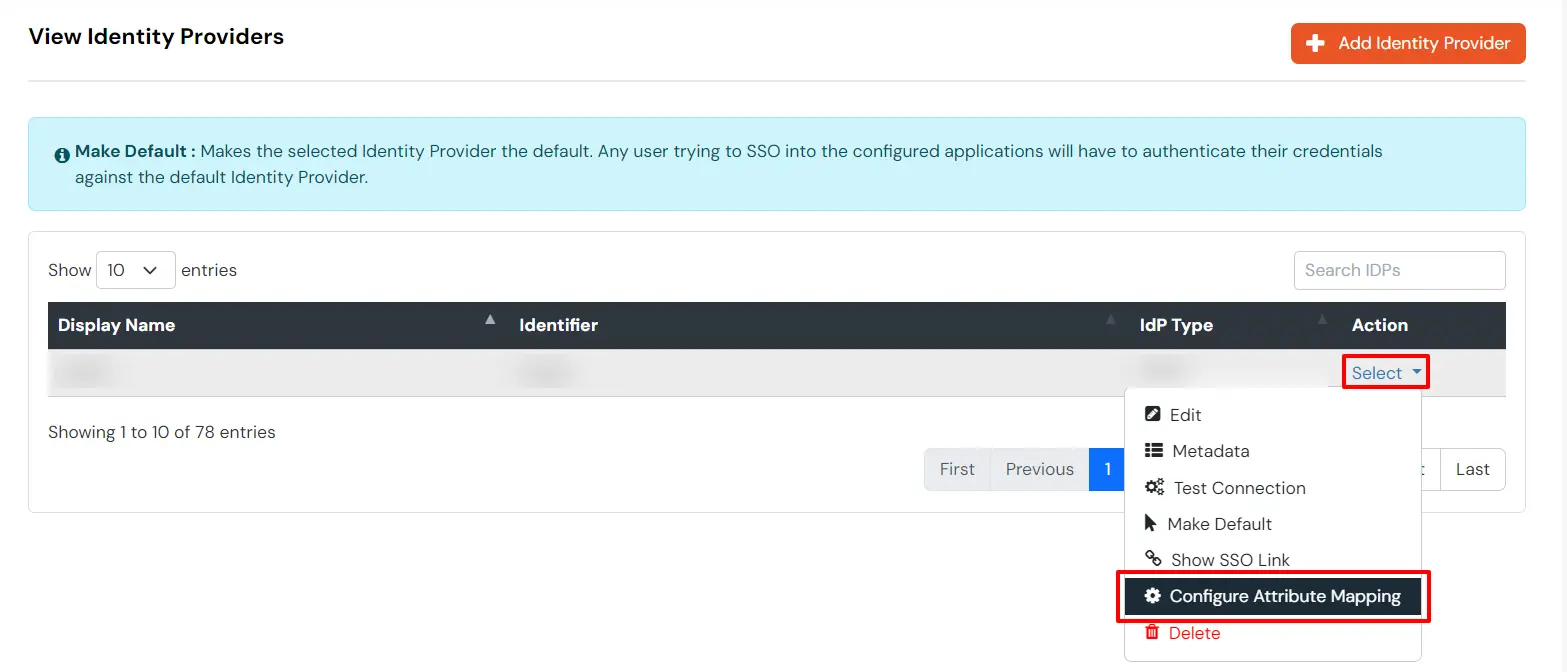
Maps information, such as email and username, during Just-In-Time (JIT) user creation. Email and Username attributes are necessary to create the user profile.

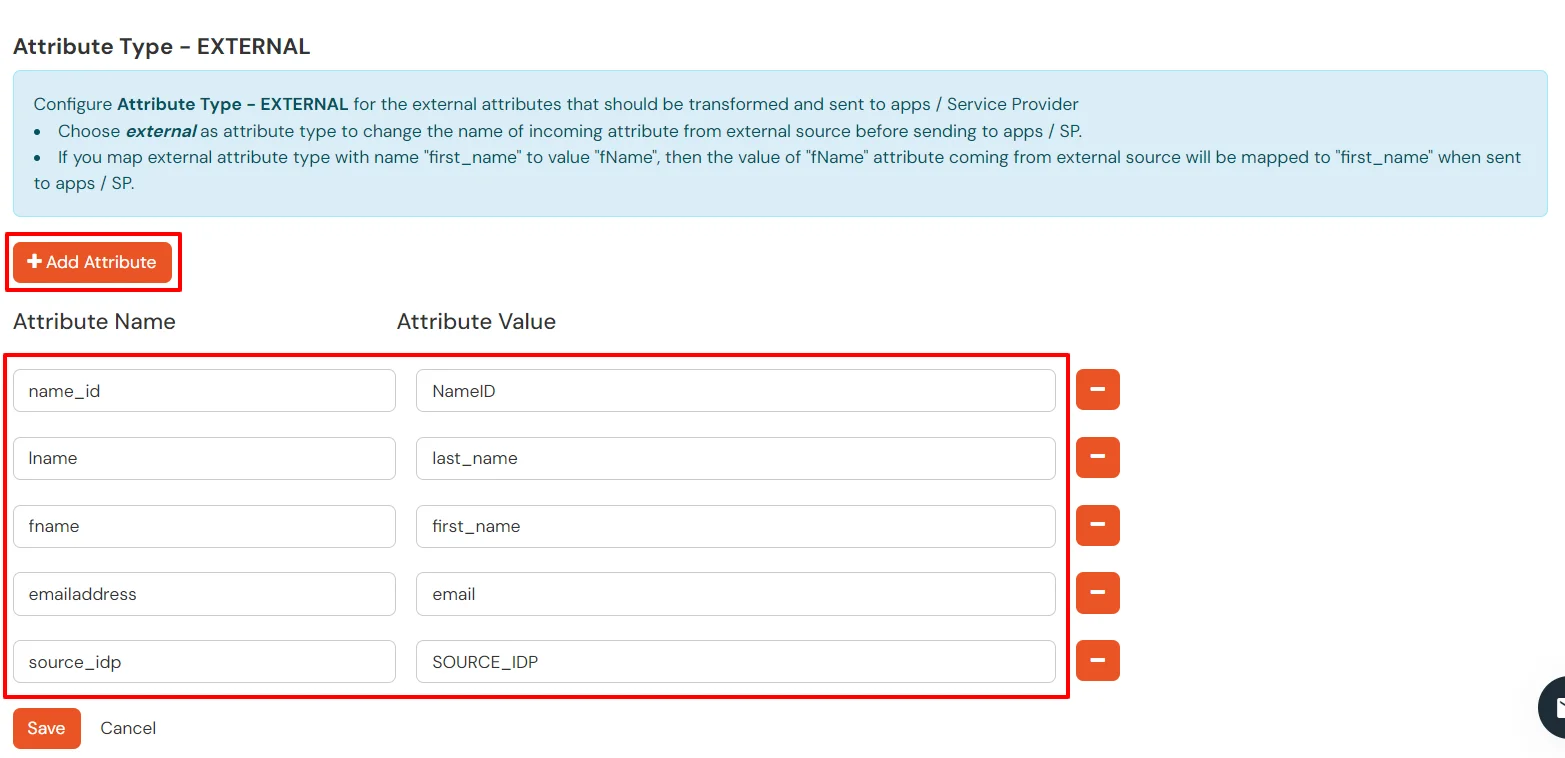
EXTERNAL mappings help alter incoming attribute names before sending them to apps, ensuring that the data is in the correct format.
You can follow this guide, if you want to configure multiple IDPs (Identity Providers) and give users the option to select the IDP of their choice to authenticate with.
