Hello there!
Need Help? We are right here!
Need Help? We are right here!
Search Results:
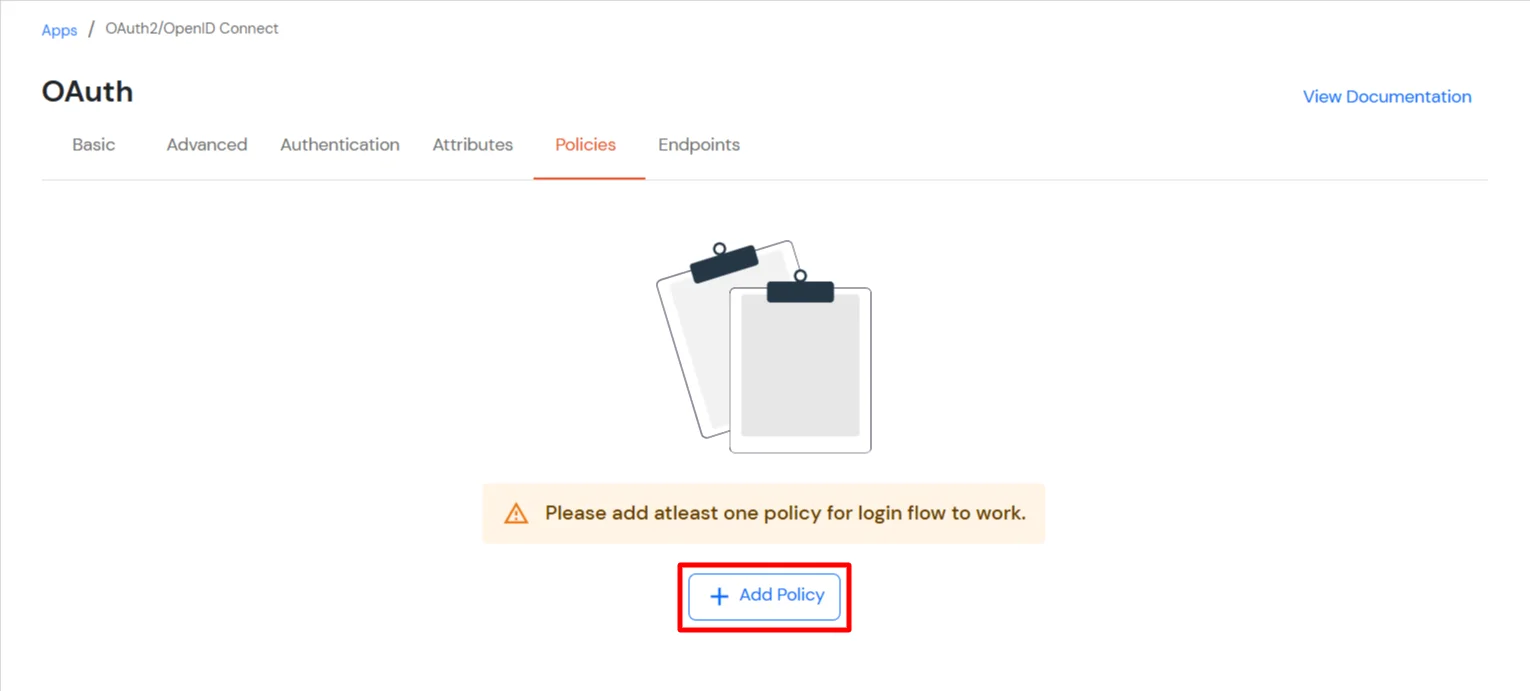
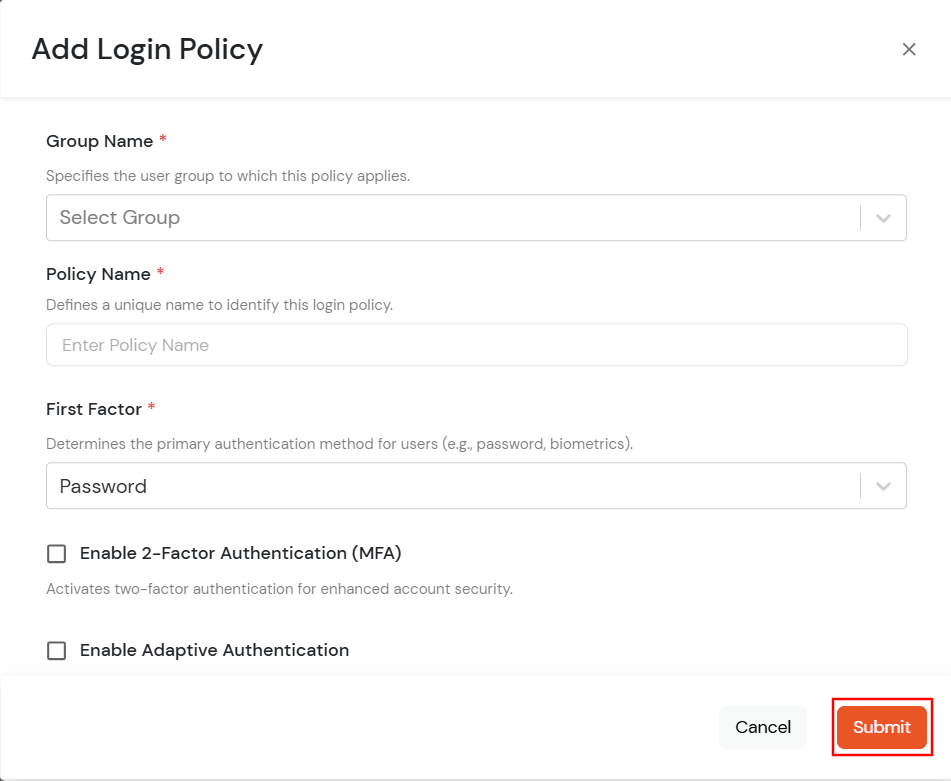
×Jamf Connect 2FA (Two-Factor Authentication) or Multi-Factor Authentication (MFA) is an additional layer of security in which a user or an organizational employee have to provide two factors to gain access to the Jamf Connect account. With Jamf Connect TFA being enabled, anyone trying to login to your Jamf Connect account from an unrecognized computer/device must provide additional authorization. Authentication starts with a user submitting his traditional username and password. Once the user successfully gets authenticated with the 1st step verification, configured 2FA (OTP over SMS, Push Notifications, YubiKey, TOTP, Google Authenticator etc) method prompts for 2nd-step verification. After successfully authenticating with both of the steps a user is granted with the access to the Jamf Connect account. This extra layer prevents the unauthorized person from accessing the resources even if cyber attackers get to know your credentials.
miniorange provides 15+ authentication methods and solutions for various use cases. It allows users and organizations to set up certain authentication and settings which includes password restrictions, restricting sign-in methods, as well as other security settings. miniorange also makes way for authentication apps that support Time-Based One-Time Password (TOTP) Google Authenticator, Microsoft Authenticator, Authy 2-Factor authentication app and our own miniorange Authenticator app.
miniOrange provides user authentication from various external sources, which can be Directories (like ADFS, Microsoft Active Directory, OpenLDAP, AWS etc), Identity Providers (like Microsoft Entra ID, Okta, AWS), and many more. You can configure your existing directory/user store or add users in miniOrange.

miniOrange
Authenticator App

Google
Authenticator App

Authy 2-Factor
Authentication App

Microsoft
Authenticator App

| Basic Tabs | Description |
|---|---|
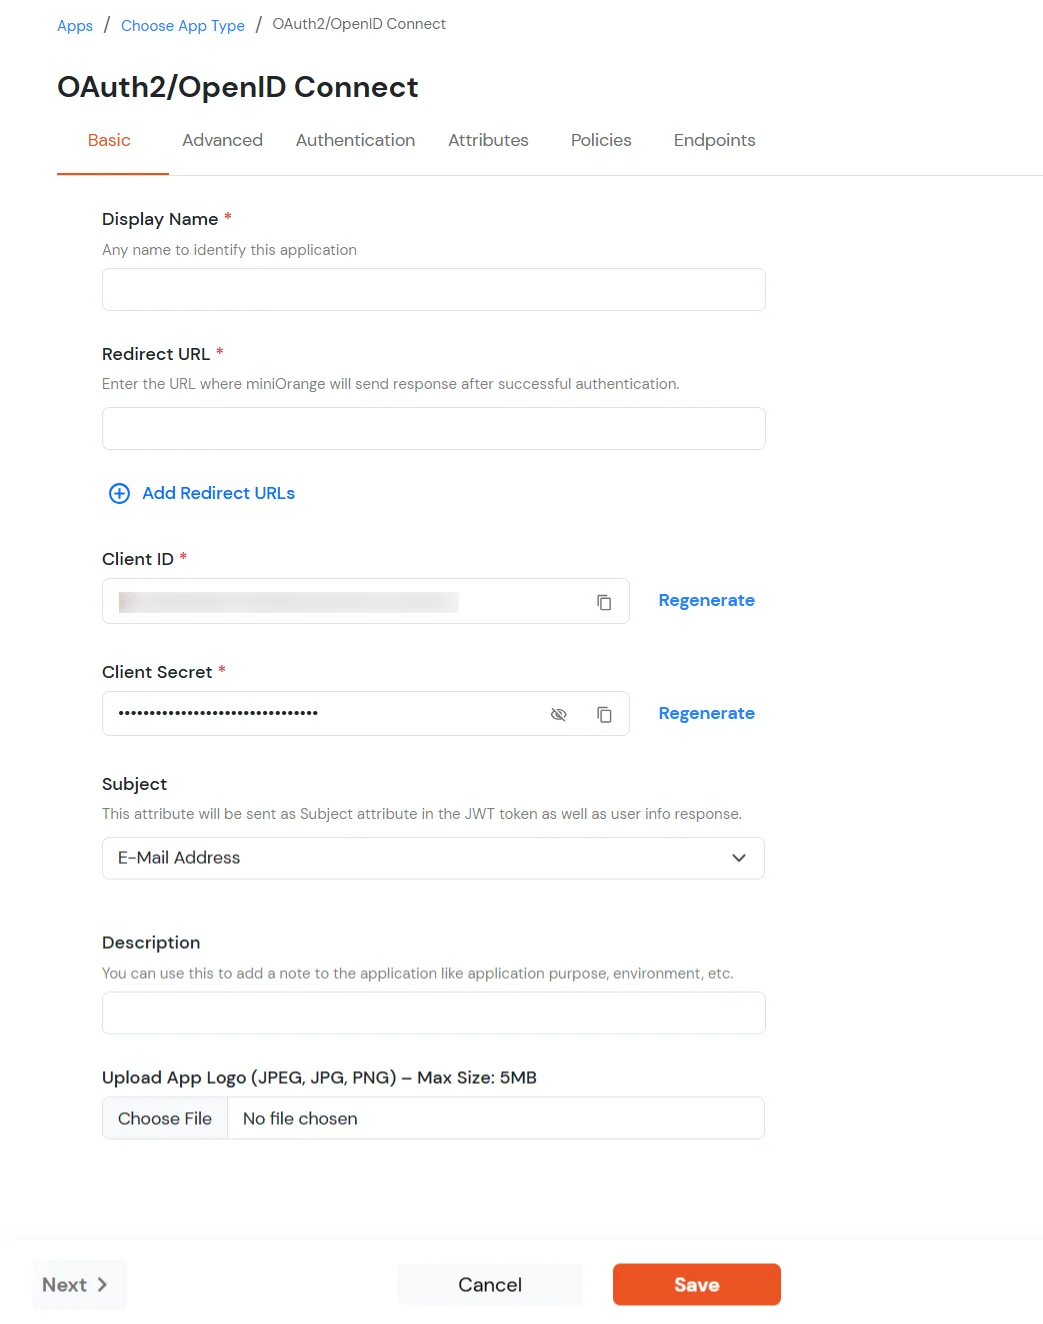
| Display Name | Enter the Display Name (i.e., the name for this application). |
| Redirect URL | Copy the Redirect-URL from Jamf Connect Application. You will get this URL when you create an application in the Jamf Connect admin console. |
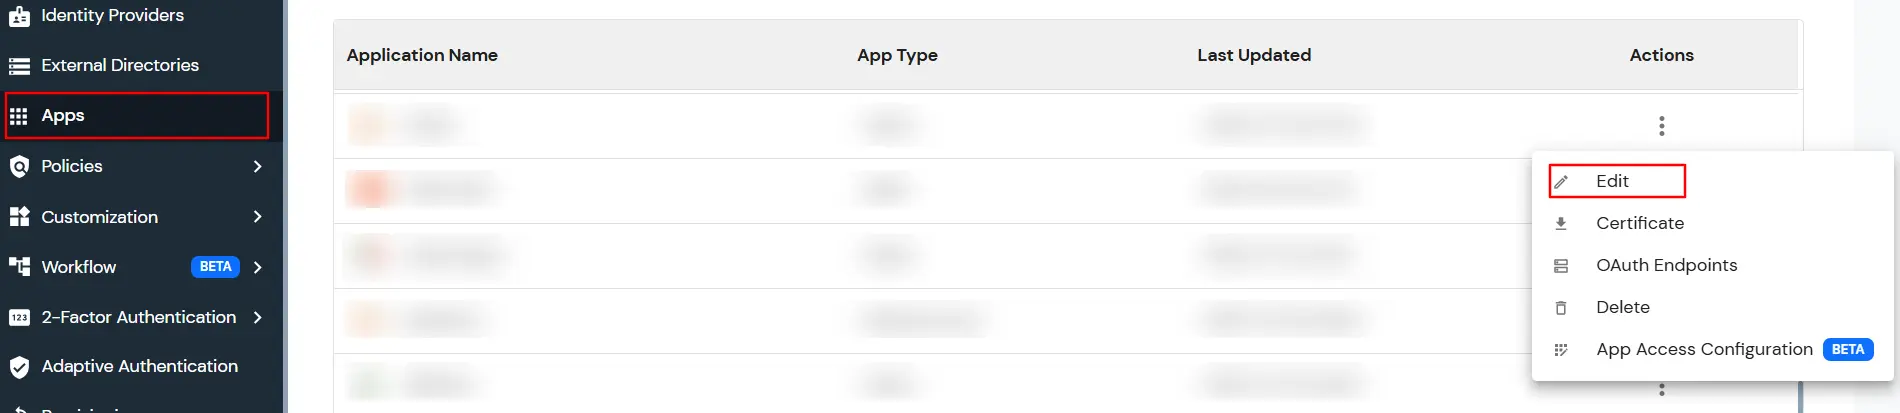
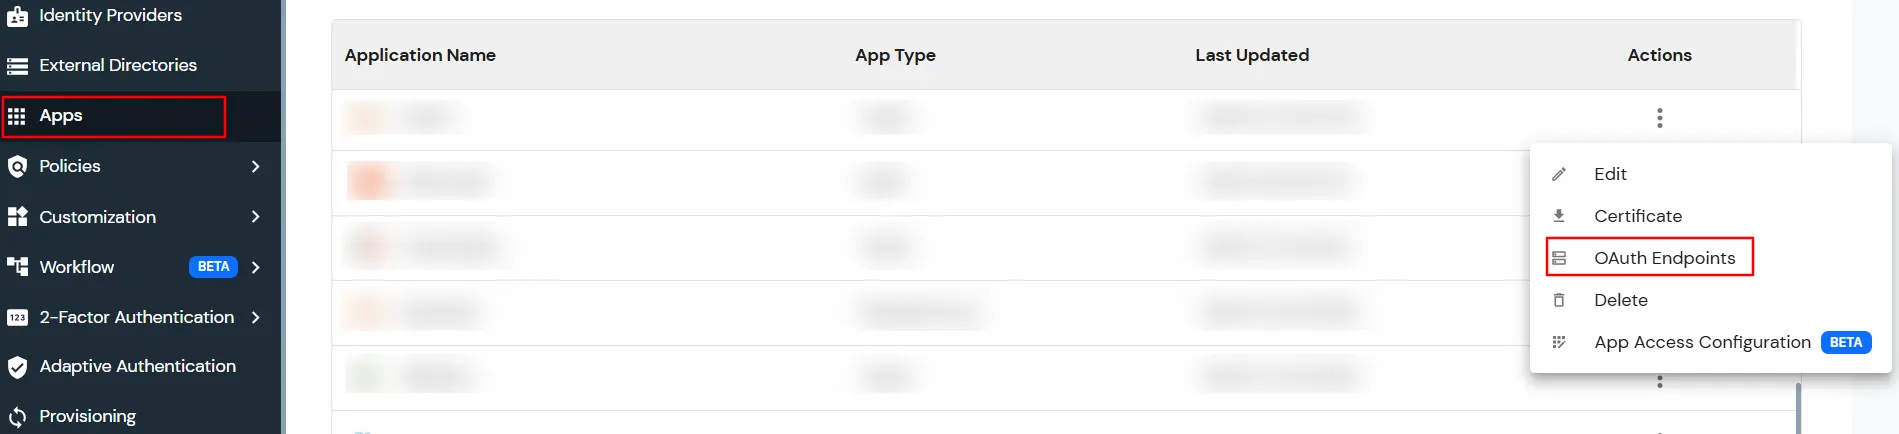
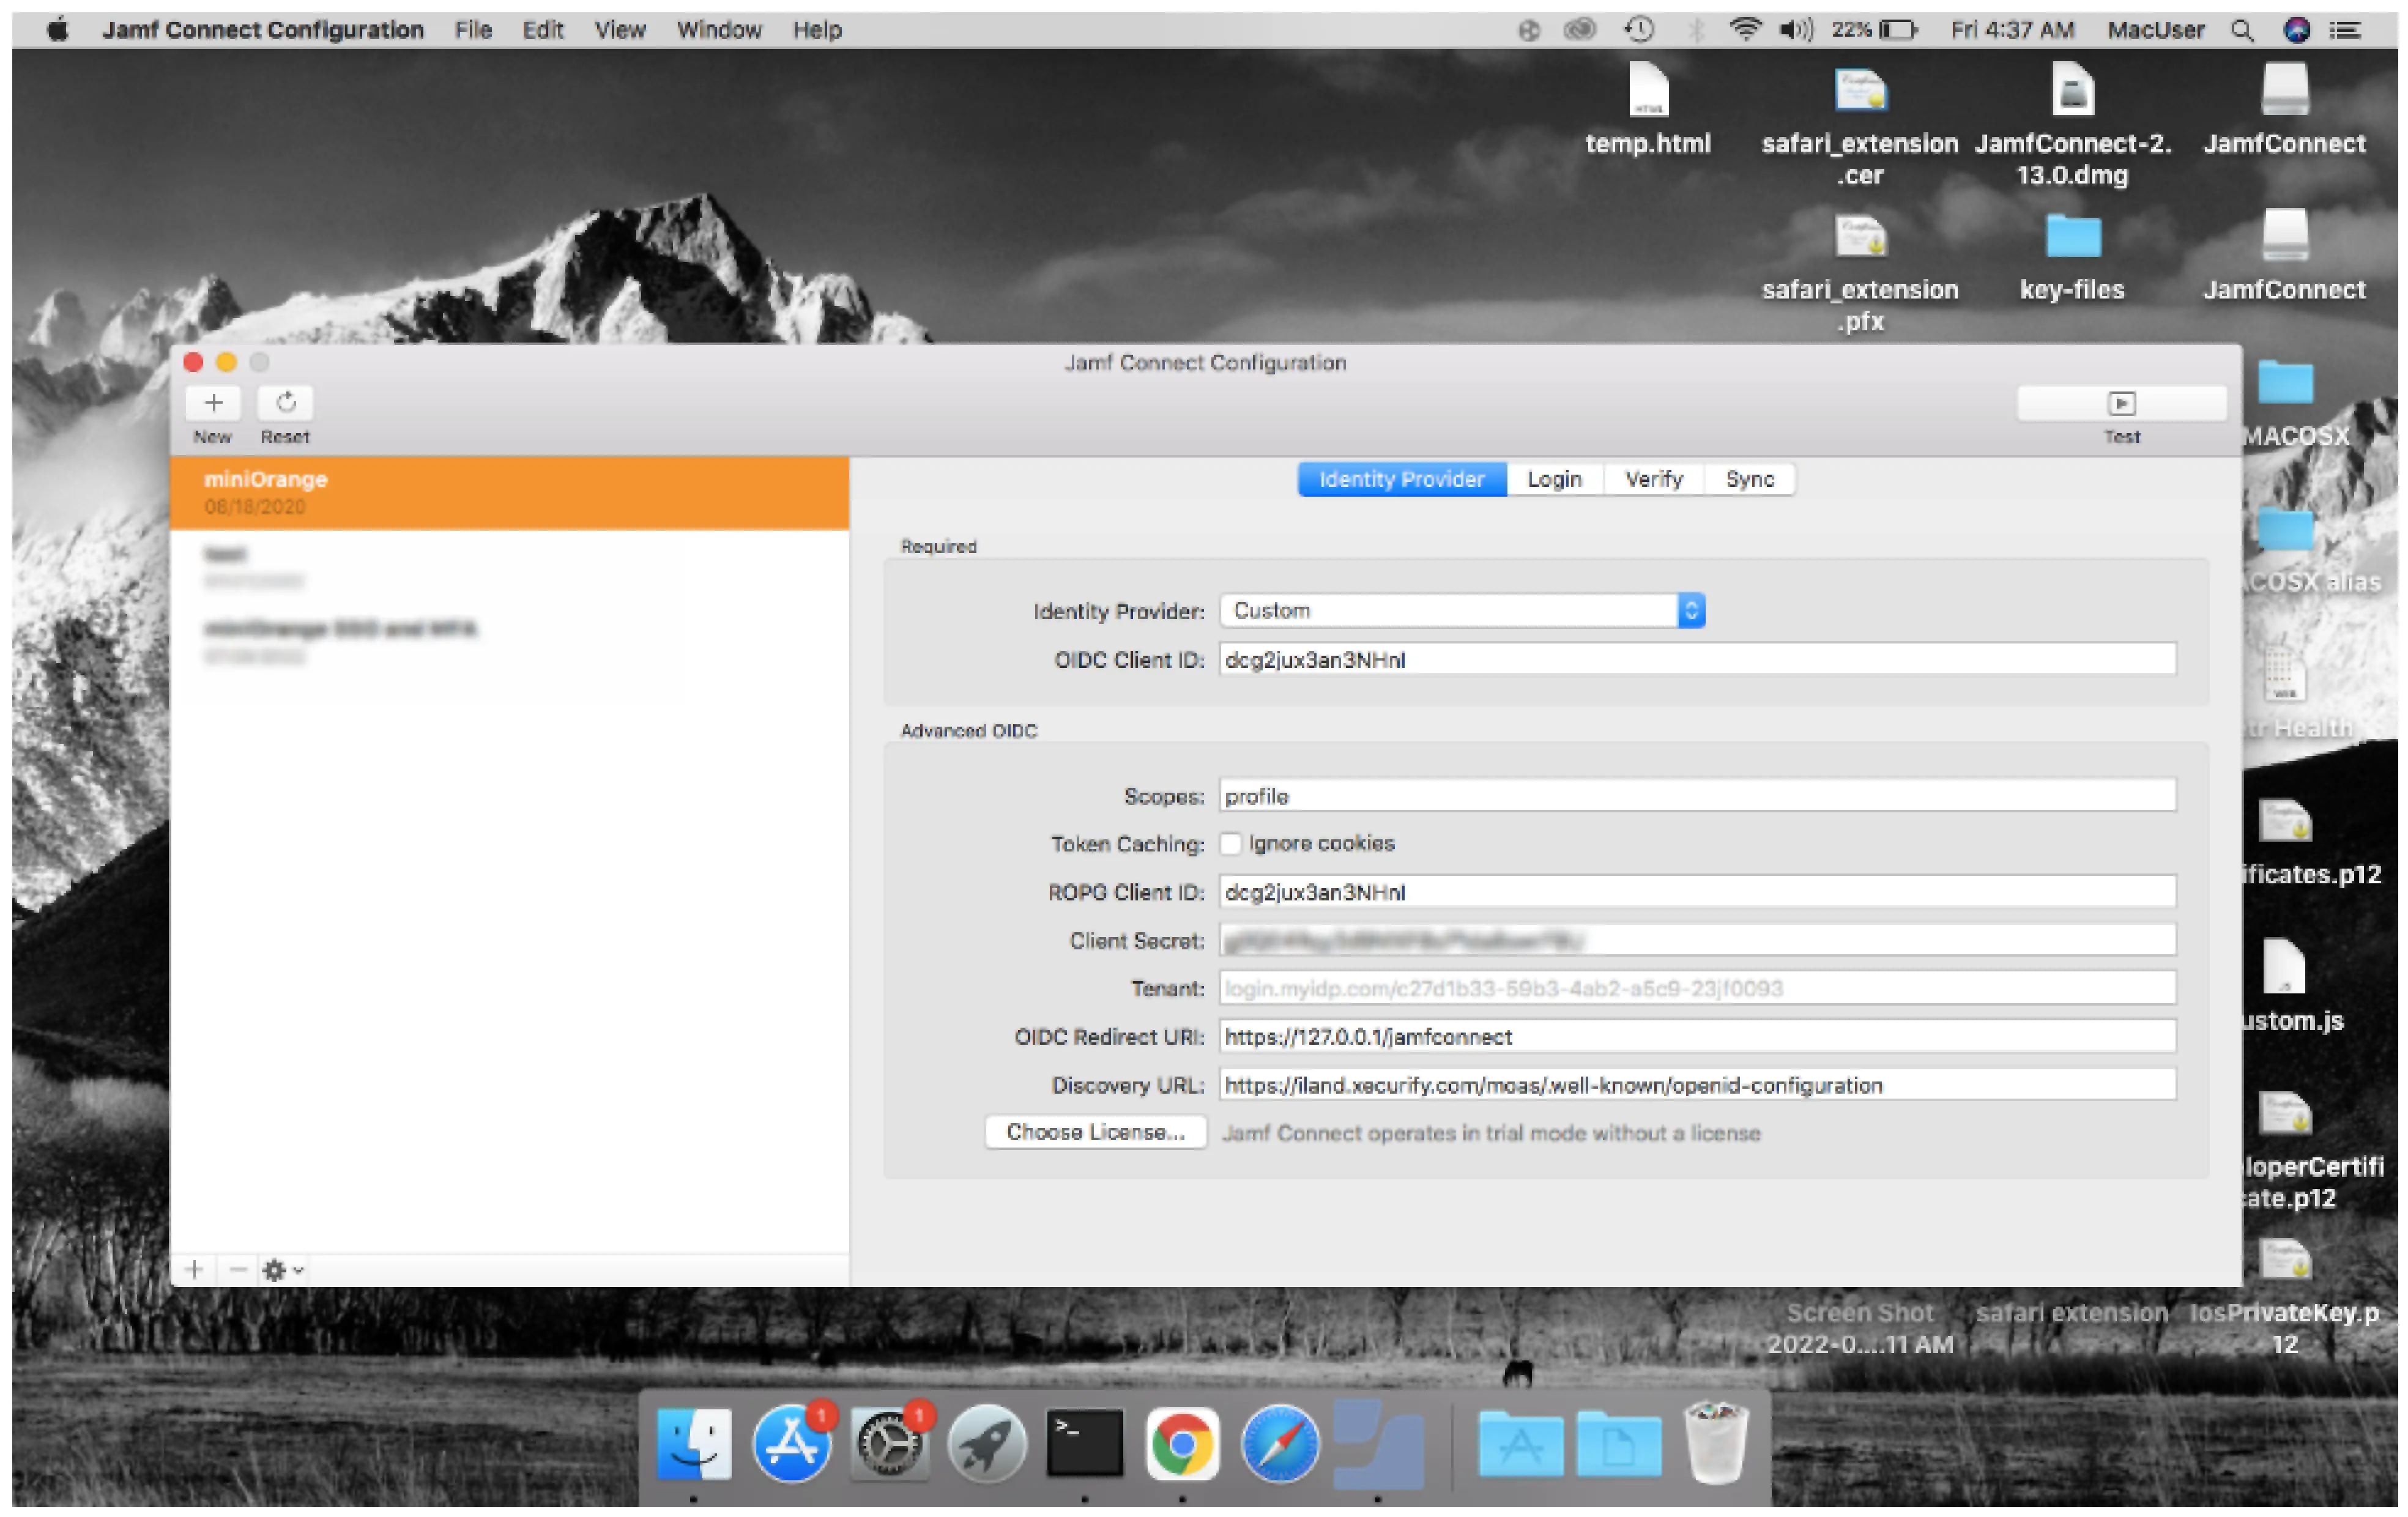
| Client ID | You can find Client ID by clicking the icon as shown below. |
| Client Secret | You can find Client Secret by clicking the icon as shown below. |
| Description (Optional) | Add a description if required. |
| Upload App Logo (Optional) | Upload an app logo (Optional). The app will be shown in the end-user dashboard with the logo that you configure here. |
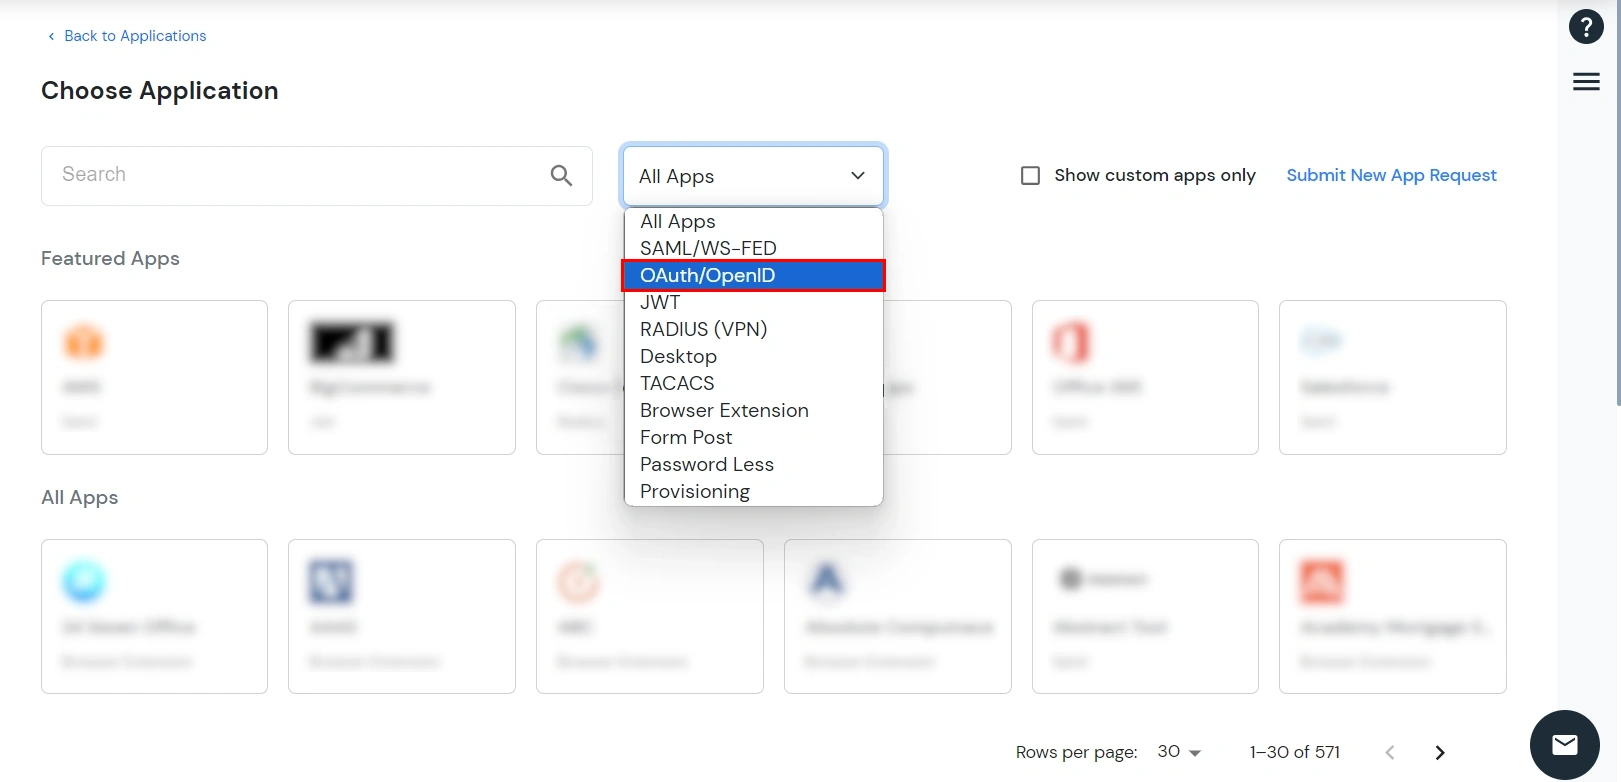
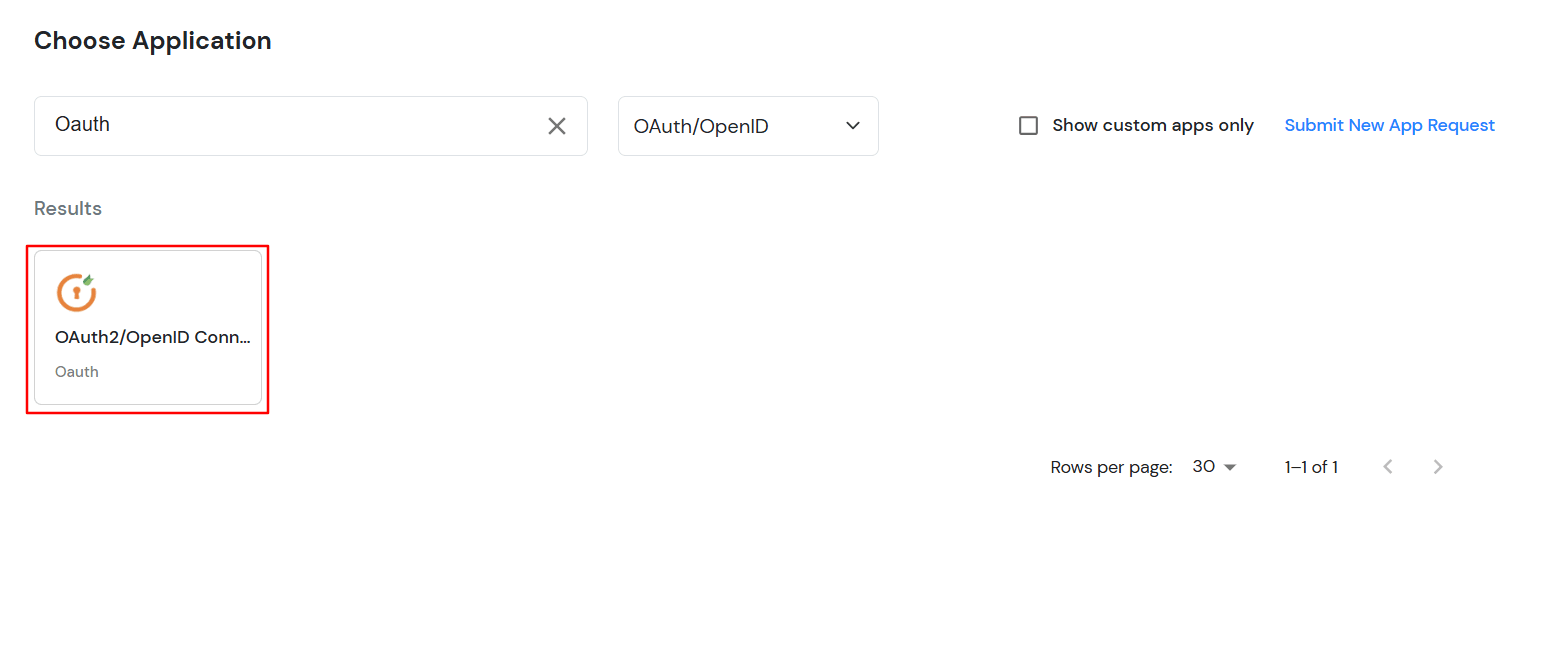
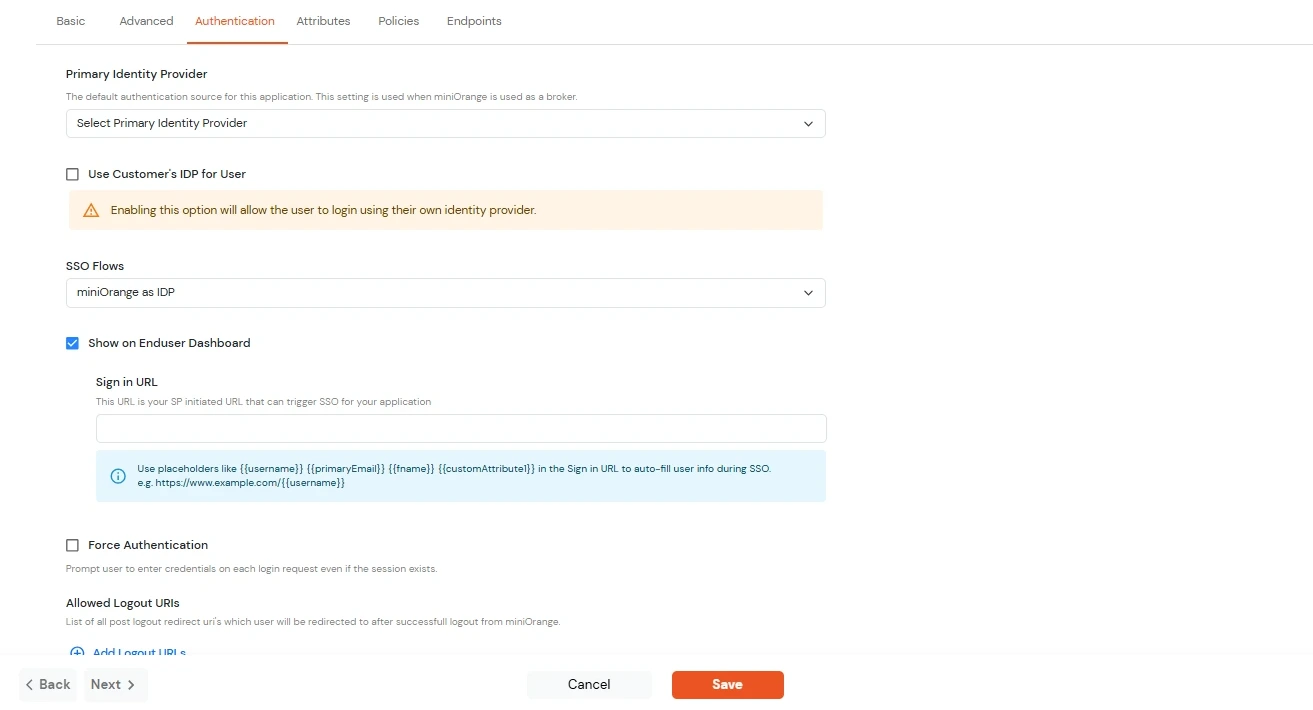
| Primary Identity Provider | Select the default ID source from the dropdown for the application. If not selected, users will see the default login screen and can choose their own IDP. [Choose miniOrange in this case.] |
| SSO FLows | Select the desired SSO flow from the dropdown, such as miniOrange as IDP, miniOrange as Broker, or miniOrange as Broker with Discovery Flow. |
| Show on Enduser Dashboard | Enable this option if you want to show this app in the end-user dashboard. |
| Force Authentication | If you enable this option, users will have to log in every time, even if their session already exists. |
| Allowed Logout URIs | Click the Allowed Logout URIs link to add a list of post-logout redirect URIs. Users will be redirected to one of these URIs after a successful logout from miniOrange. |
| Single Logout Enabled | Enable this option to send logout requests to other applications when logging out from this app. |
| Sign in URL | You can include user attributes in the sign-in URL using placeholders like {{username}}, {{primaryEmail}}, {{customAttribute1}}, etc. These placeholders will be dynamically replaced with the actual user values during the IdP-initiated SSO flow. You can generate url using following attributes: username, primaryEmail, alternateEmail, fname, lname, primaryPhone and customAttribute1. The url could be like this https://<sso-url>>?username={{username}}
https://<sso-url>>?username={{username}}&email={{primaryEmail}}https://<sso-url>>/{{customAttribute1}}/{{customAttribute2}}/?username={{username}} |
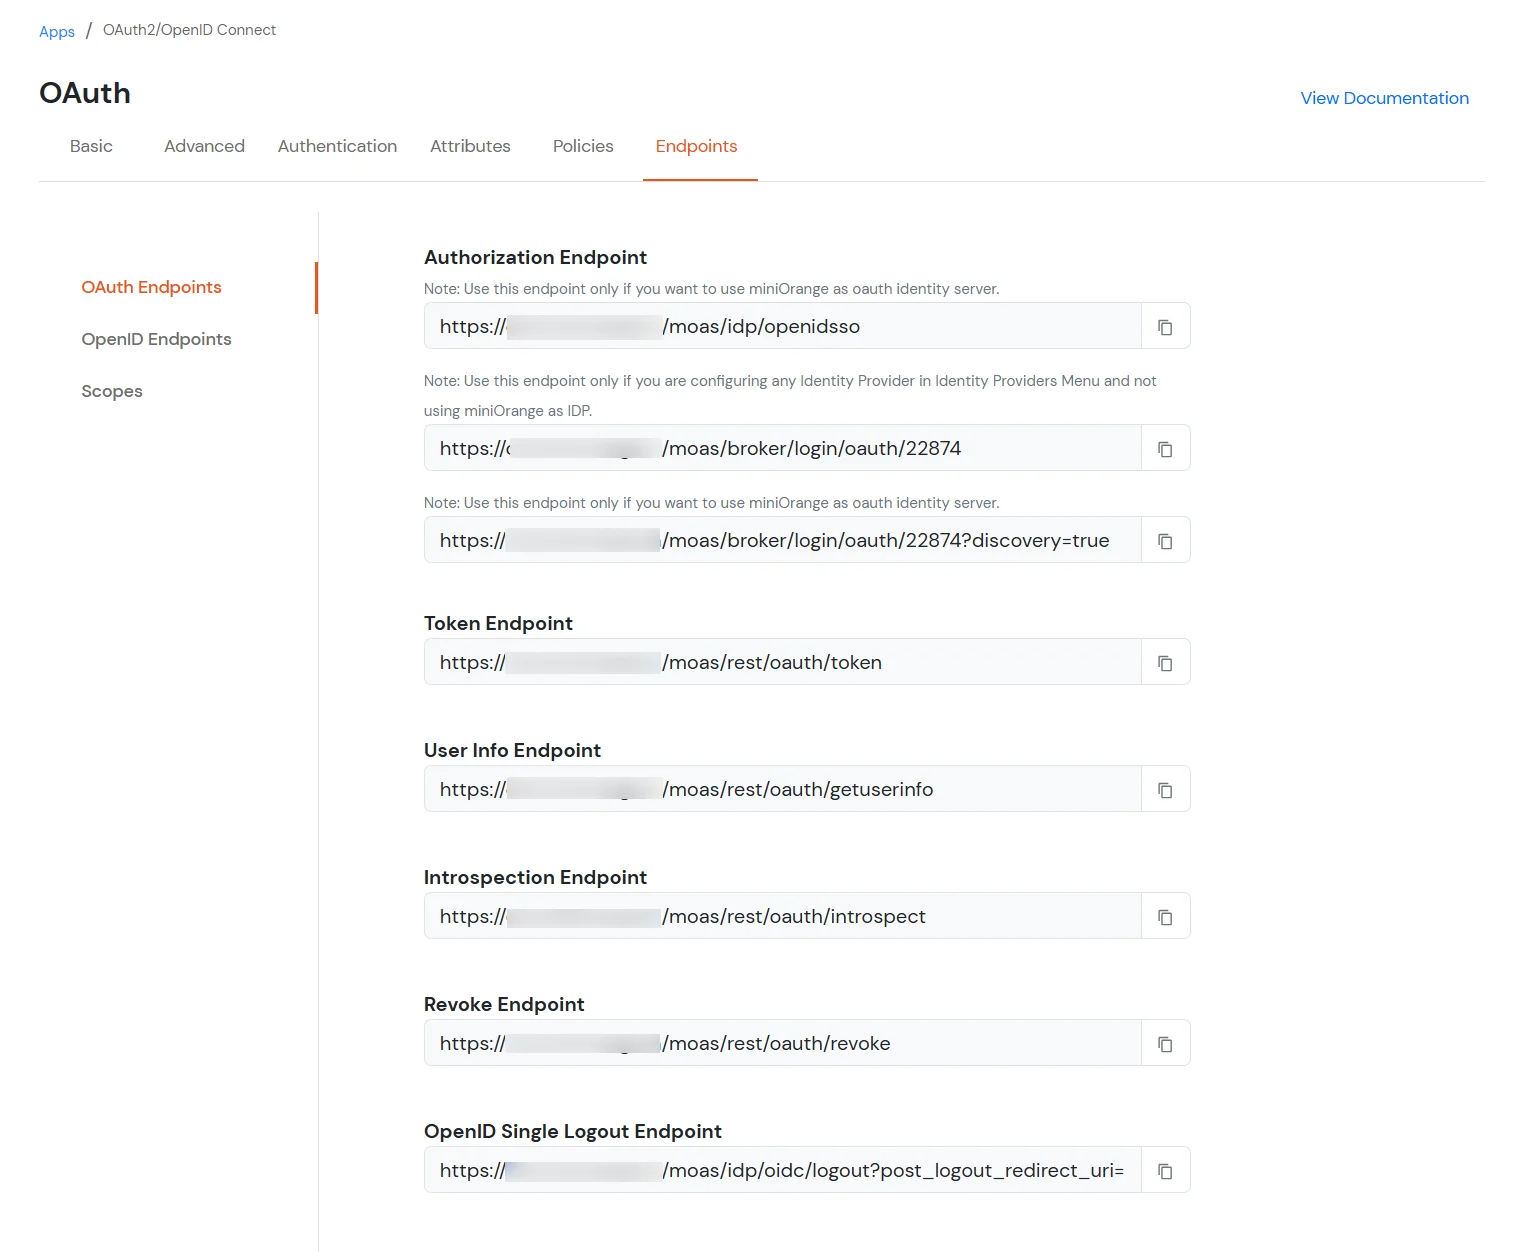
| Authorization Endpoint: | https://login.xecurify.com/moas/idp/openidsso
(Note: Use this endpoint only if you want to use miniorange as oauth identity server.) https://login.xecurify.com/moas/broker/login/oauth/260174 (Note: Use this endpoint only if you are configuring any Identity Provider in Identity Providers Menu and not using miniorange as IDP.) |
| Token Endpoint: | https://login.xecurify.com/moas/rest/oauth/token |
| User Info Endpoint: | https://login.xecurify.com/moas/rest/oauth/getuserinfo |
| Introspection Endpoint: | https://login.xecurify.com/moas/rest/oauth/introspect |
| Device Authorization Endpoint | https://<your-company-name>.xecurify.com/moas/rest/oauth/devicecode/authorize This endpoint is used to initiate the OAuth 2.0 Device Authorization Grant flow for devices or applications with limited input capabilities or no browser. This endpoint takes the following parameters : |
| Revoke Endpoint: | https://login.xecurify.com/moas/rest/oauth/revoke |
| OpenID Single Logout Endpoint: | https://login.xecurify.com/moas/idp/oidc/logout?post_logout_redirect_uri= |
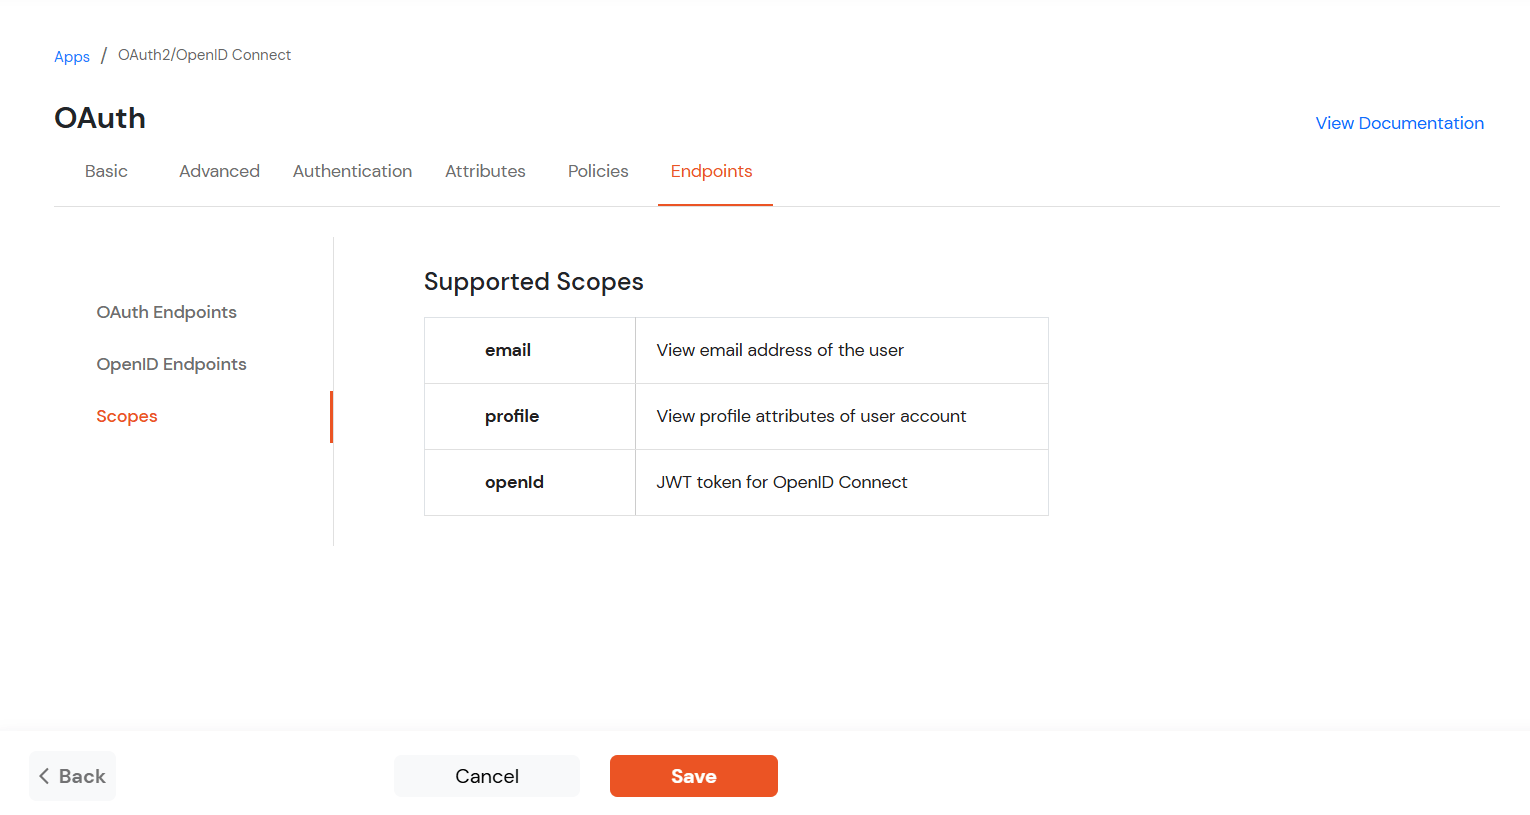
| email : | View email address of the user |
| profile : | View profile attributes of the user account |
| openid : | Retrieve JWT token for OpenID Connect |
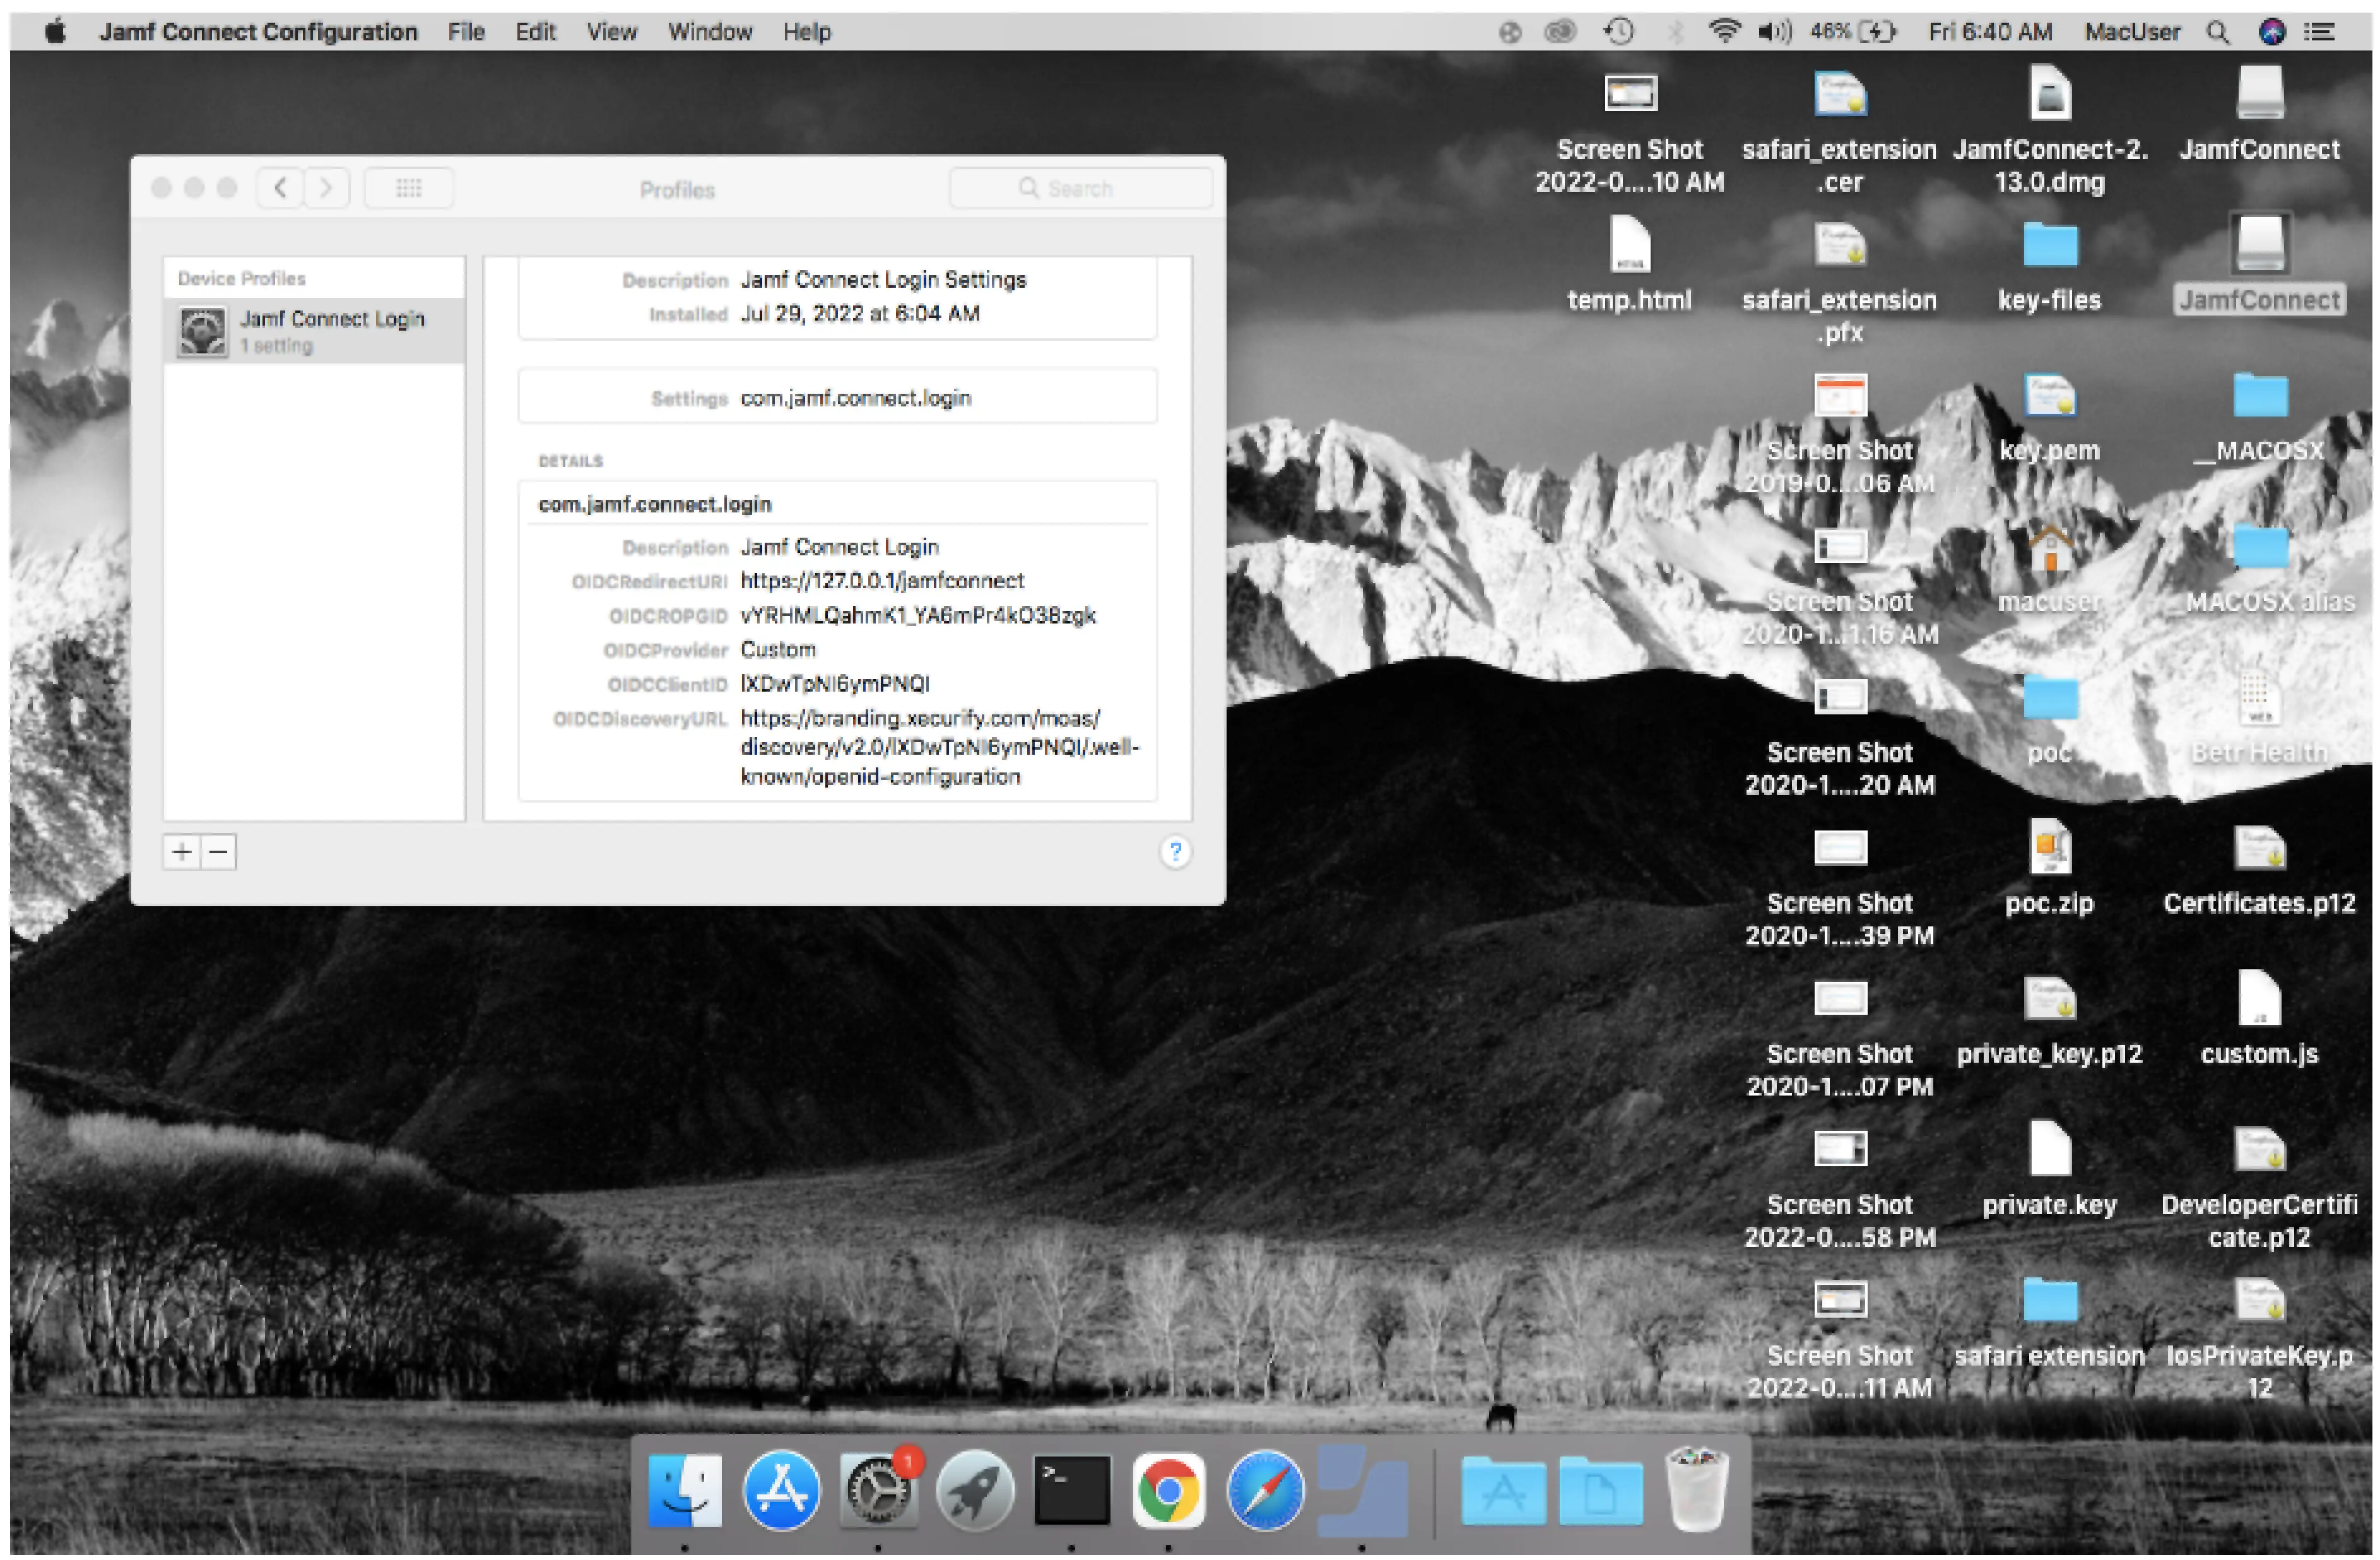
Test the configuration with the top right button if everything is working fine then save these configuration with mobileconfig extension. This configuration profile can be pushed in the machines in which you want to add the mfa/sso.