Hello there!
Need Help? We are right here!
Need Help? We are right here!
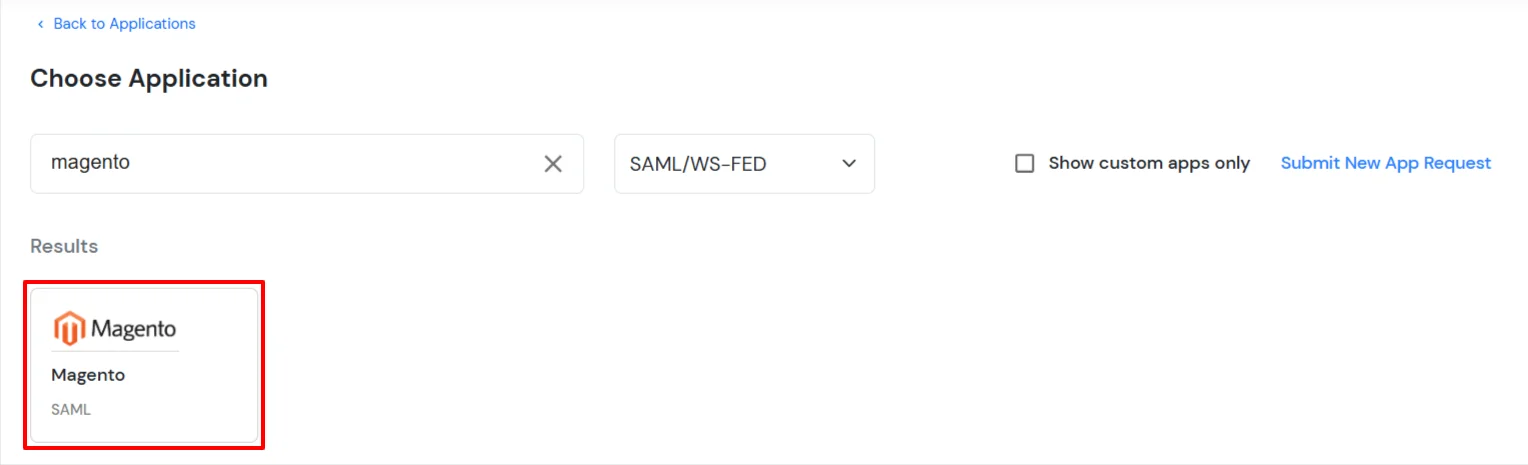
Search Results:
×Magento is the all-in-one community platform for creators and brands which brings together engaging discussions, members, live streams, chat, events, and memberships all in one place. Single Sign-On (SSO) solution by miniOrange provides secure Single Sign-On access into Magento using a single set of login credentials. You can log into Magento using miniOrange credentials or Azure AD credentials or any of your existing identity providers. With miniOrange SSO services, along with Magento you can also login into other On-Premise and Cloud Applications using your existing Identity Providers/User Store (Azure Active Directory, Okta, Ping) credentials. Follow the given setup guide to integrate SAML SSO for your Magento account.
Magento is mostly used as a Service Provider (SP), but we can also use Magento as Identity Source.It is a Learning Management System, so it has all the user credentials, who have registered with the Magento. People (Admin / Site administrator) now want to let these users log into another website/application using the Magento credentials. In simple words, Magento users should be able to Single Sign-On into another application using Magento credentials.

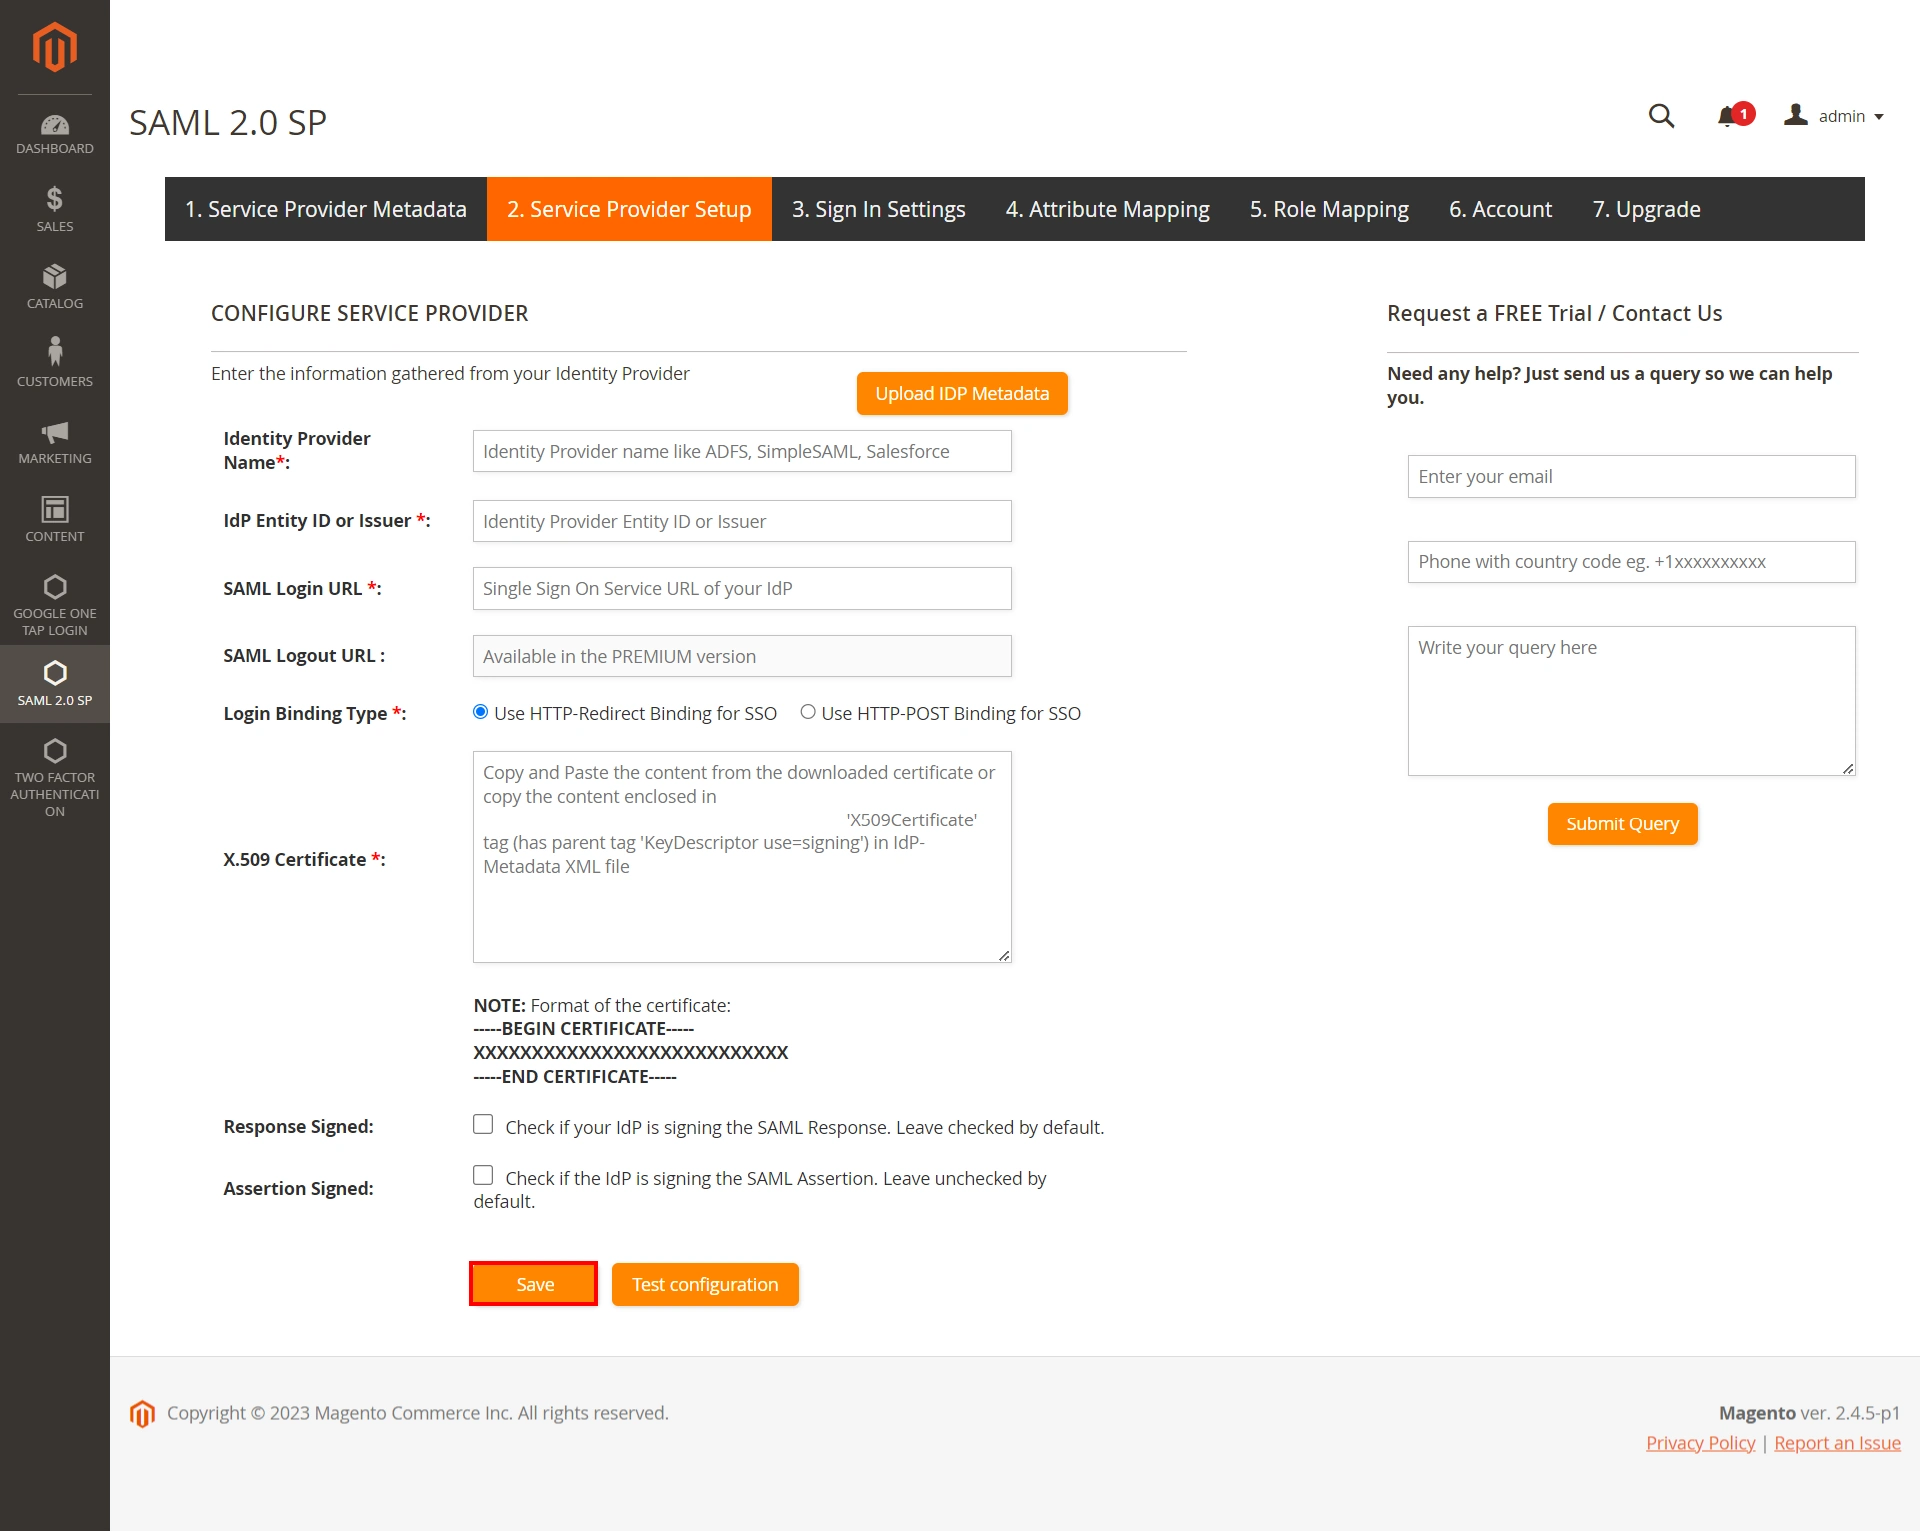
Magento is a Learning Management System. So, users usually login to the Magento site and do their work. But in some cases, they want to SSO into the Magento site. To perform Single Sign On (SSO), the Service Provider and the Identity Provider has to adhere to some kind of protocols like SAML, OAuth etc. In case of SAML, Service Provider is the site which user wants to access. Identity Provider is the site (kind of) where user's credentials are present. Here, the site which has user credentials is Identity Provider and the site where they want to login to is Service provider. In this case, we will configure our Magento site as Service Provider (SP) using miniOrange Plugin. We will use SAML protocol. Here, miniOrange will be the Identity Provider (IdP).

miniOrange provides user authentication from various external sources, which can be Directories (like ADFS, Microsoft Active Directory, OpenLDAP, AWS etc), Identity Providers (like Microsoft Entra ID, Okta, AWS), and many more. You can configure your existing directory/user store or add users in miniOrange.

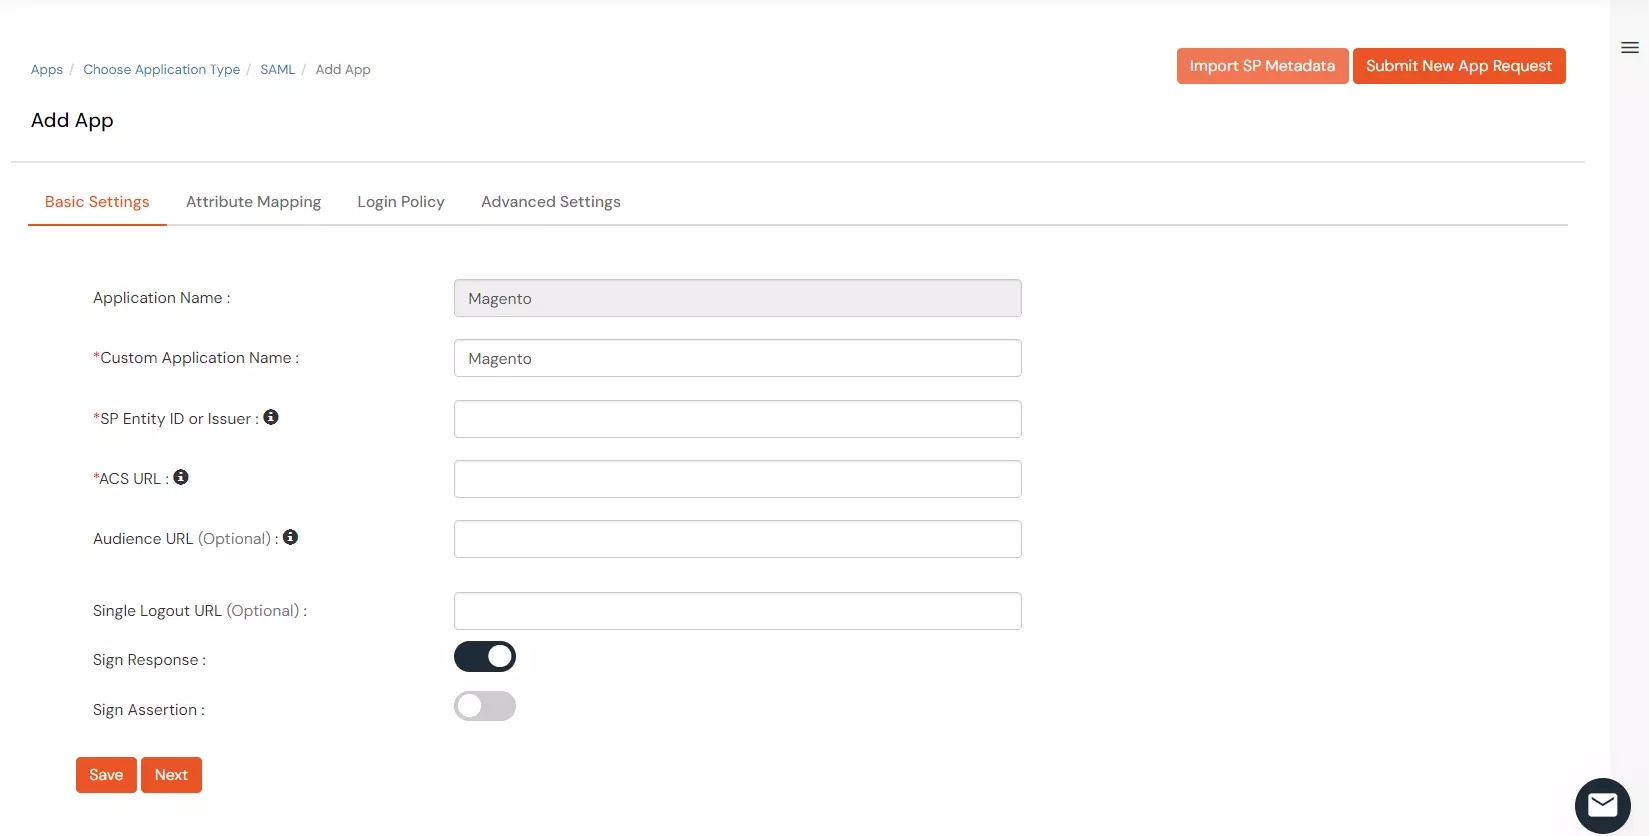
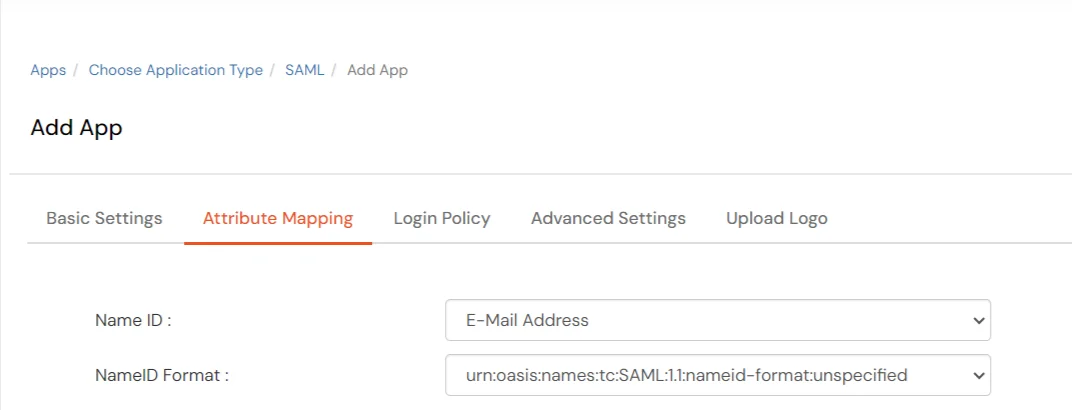
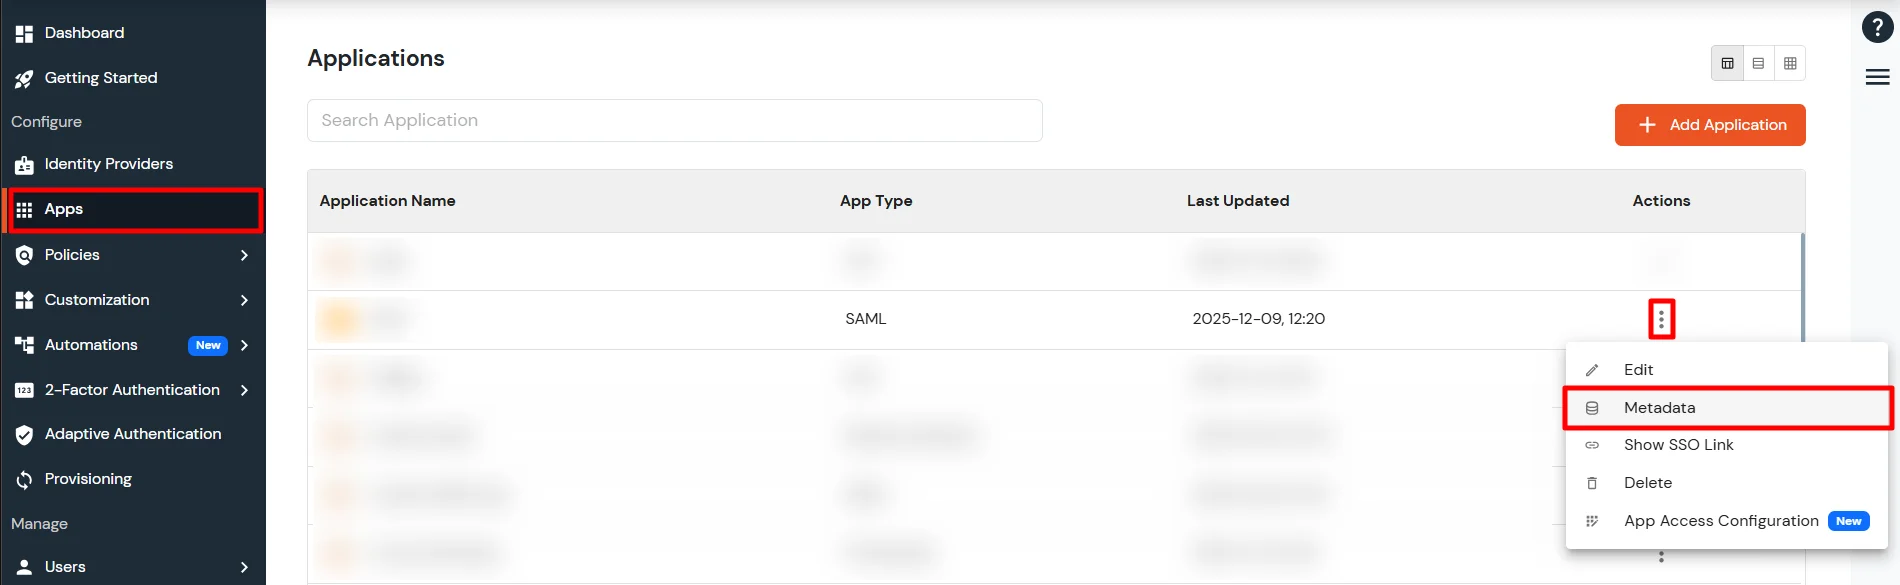
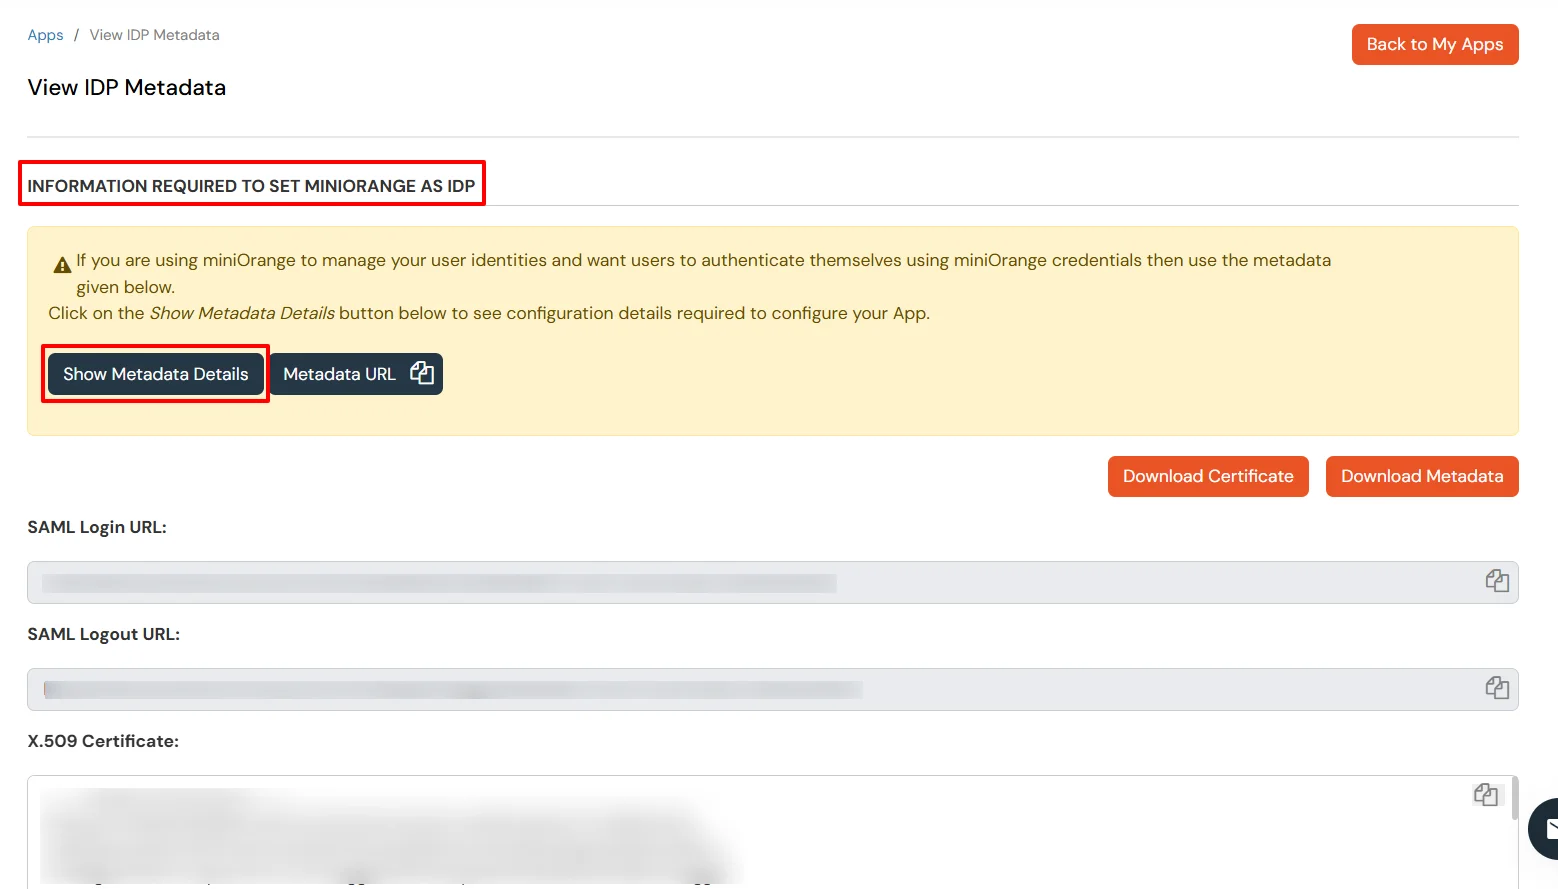
To get miniOrange metadata details in order to configure Magento :