Hello there!

Need Help? We are right here!

Support Icon
miniOrange Email Support
success

Thanks for your Enquiry. Our team will soon reach out to you.

If you don't hear from us within 24 hours, please feel free to send a follow-up email to info@xecurify.com

Search Results:

×

Oracle E-Business Suite Integrated Windows Authentication (IWA)


Oracle EBS Partner logo

Oracle E-Business Suite is a major product line of Oracle Corporation. Oracle EBS is a combined set of business applications for automating customer relationship management (CRM), Enterprise Resource Planning (ERP) and Supply Chain Management (SCM) processes within organizations. As we have officially been recognized as a Global Modernized Oracle Partner Network (OPN) Partner, you can rest assured that all of our integrations on the Oracle Stack fulfill the highest competencies set by Oracle for their trusted advisors like miniOrange.


"miniOrange Oracle EBS Integrated Windows Authentication (IWA) i.e IWA Authentication solution adds an extra layer of security and convenience for organizational users by allowing simple domain-joined SSO flow while accessing EBS resources. This seamless zero sign-on flow is a unique miniOrange offering optimized for your usability."


Authentication Flow for miniOrange Oracle EBS Integrated Windows Authentication Solution:


Oracle EBS (E-Business Suite) IWA SSO Authentication flow

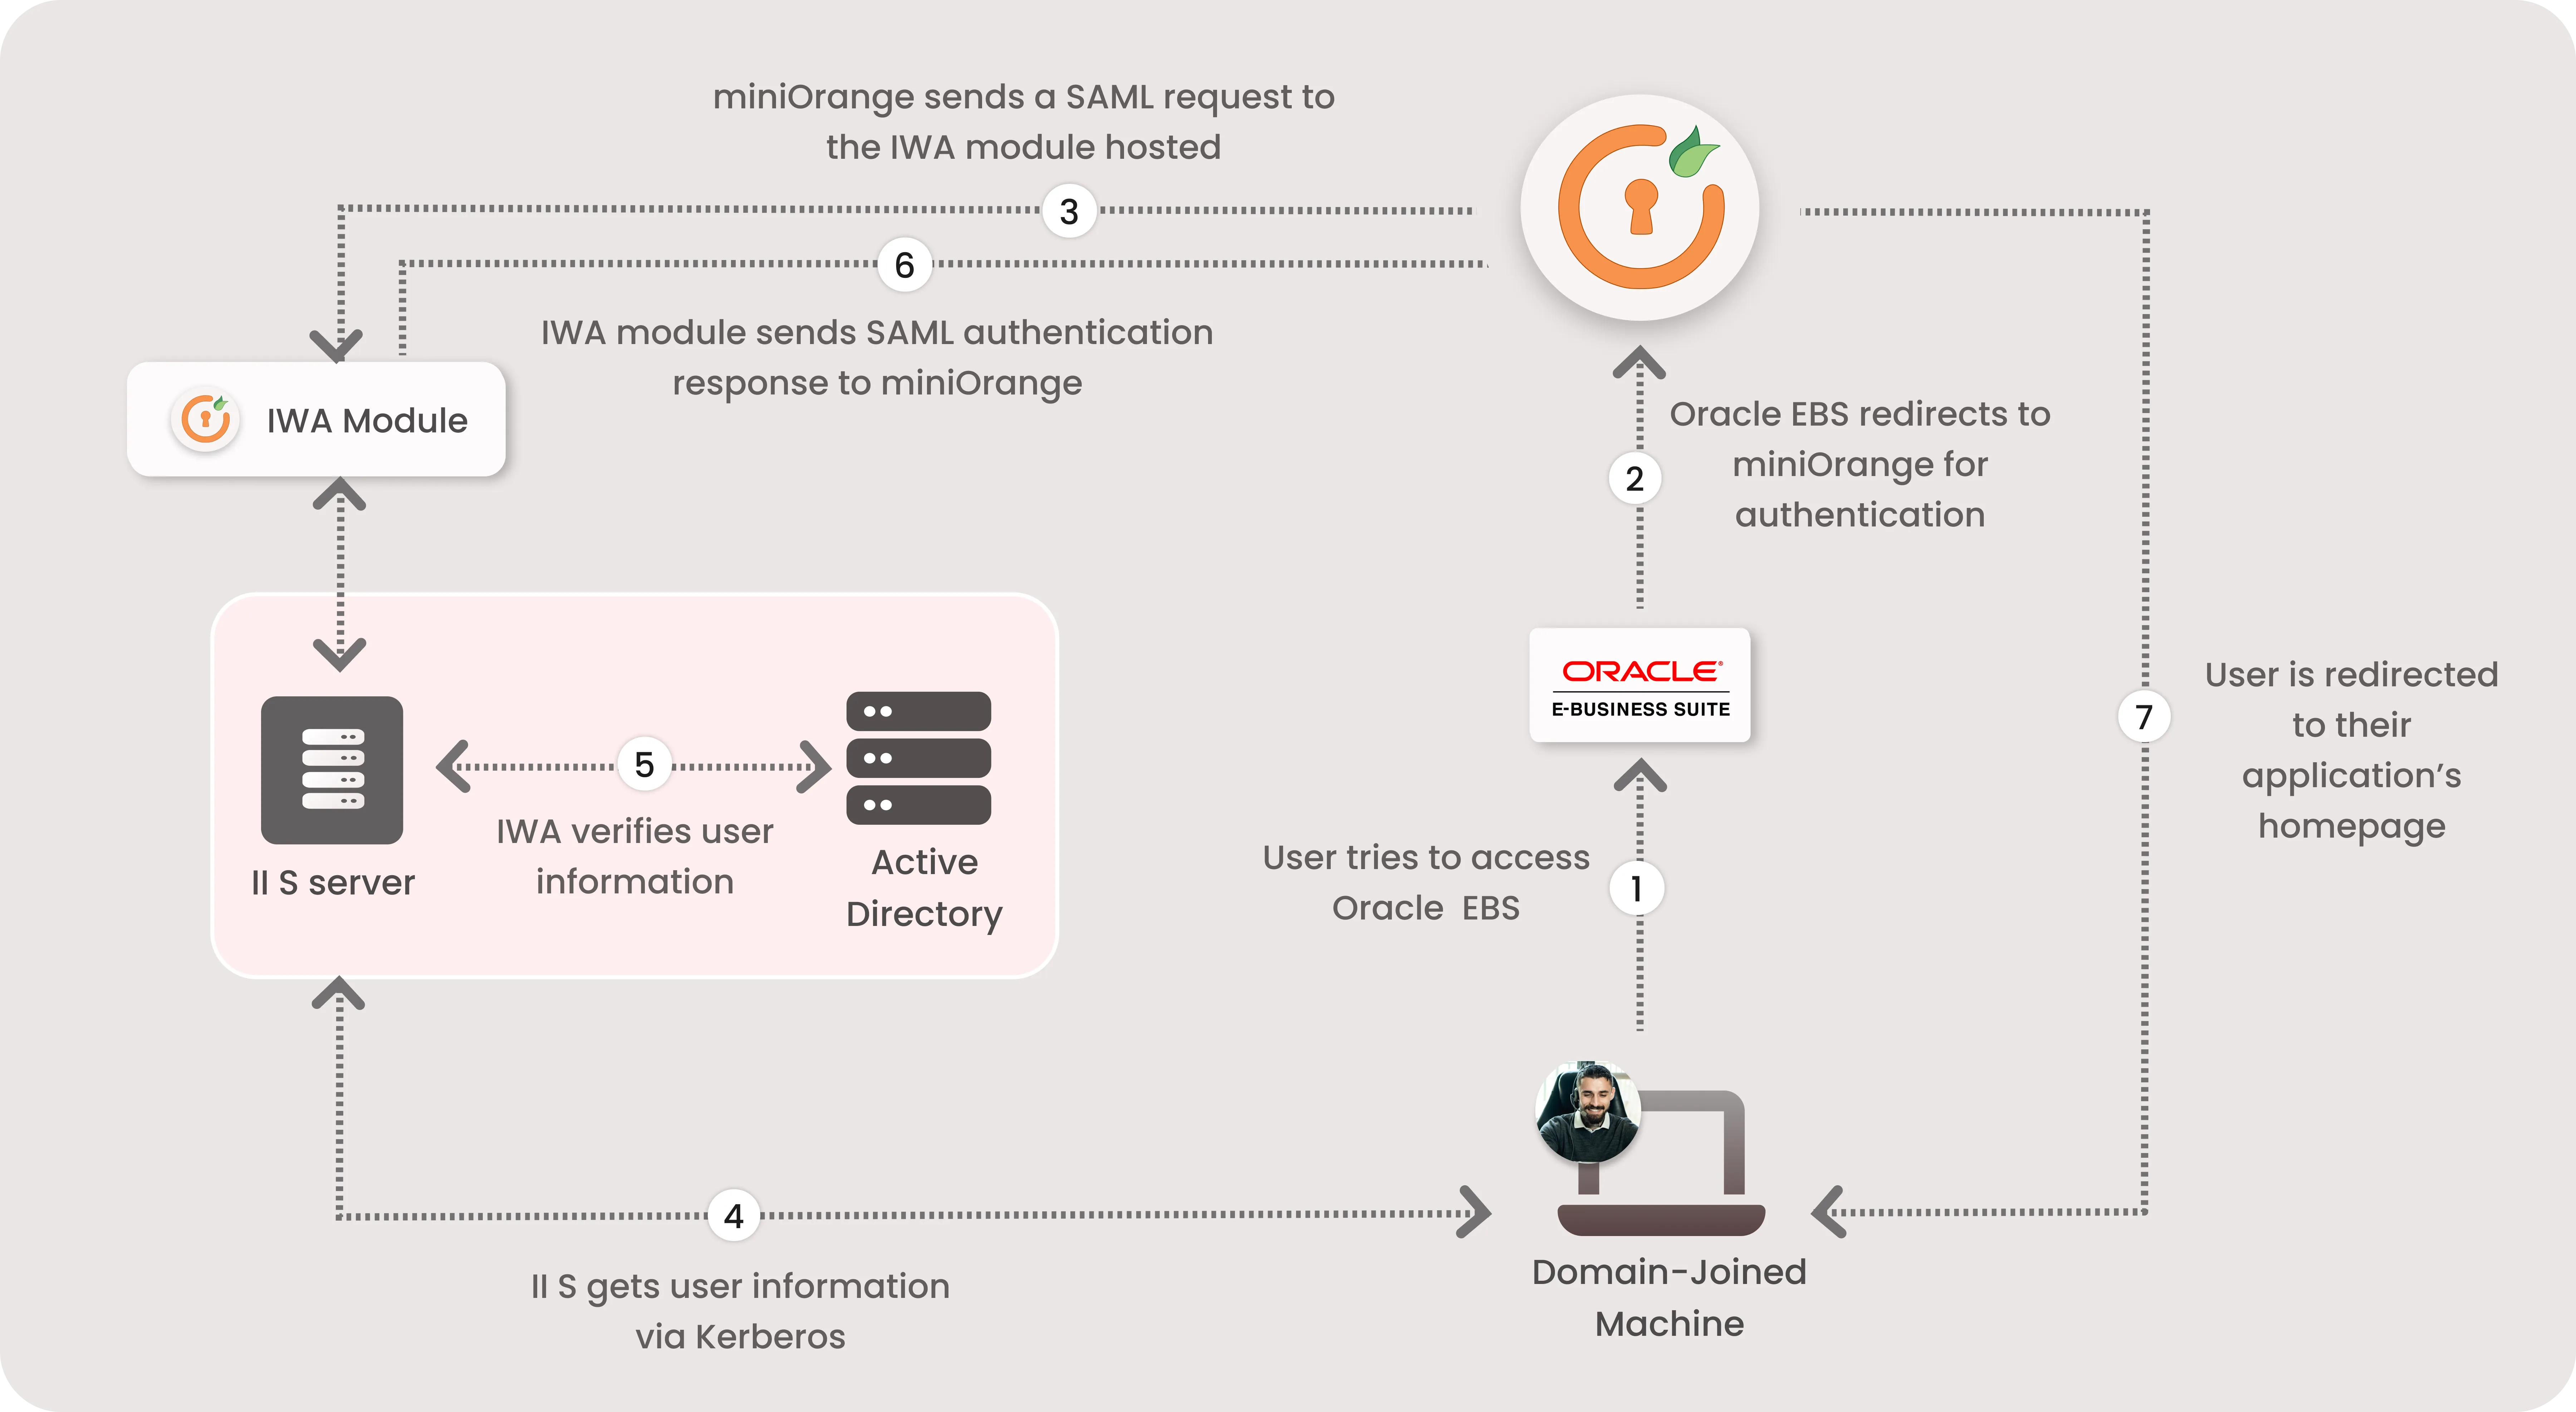
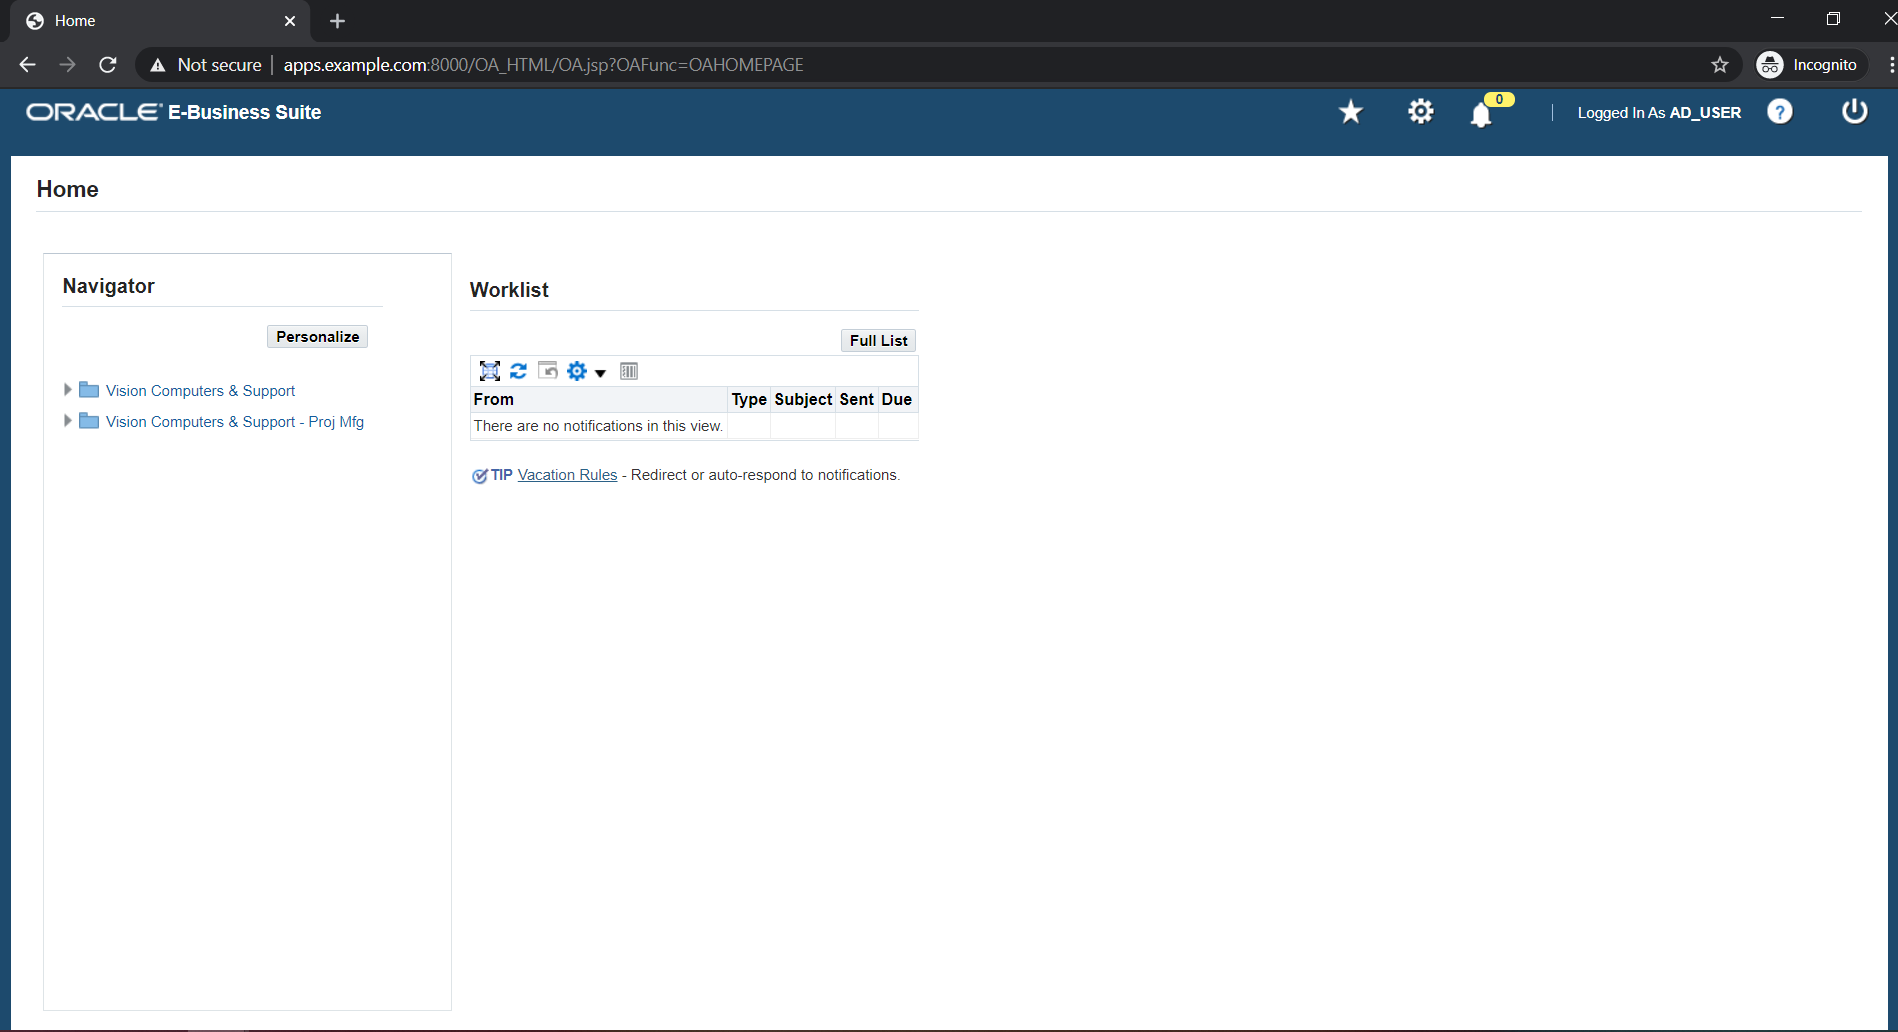
1. The User tries to access the Oracle E-Business Suite, through their domain-joined Windows machine.

2. Oracle EBS redirects the request to the miniOrange SSO Connector for authentication.

3. The Connector sends a SAML authentication request to the IWA Module.

4. The IWA Module, through the configured IIS Server, gets user information via Kerberos.

5.The IWA Module retrieves the user attributes required for authentication (if required) from the Active Directory, for the authenticated user.

6. The IWA Module further sends the SAML Authentication Response to the miniOrange connector.

7.The SSO Connector then verifies this user against the Oracle EBS database, and upon successful verification, access is granted.


Get Free Installation Help - Book a Slot


You can request a trial version of the connector and miniOrange offers 1 hour free help through a consultation call with our System Engineers to Install or Setup Oracle E-Business Integrated Windows Authentication SSO solution in your environment with 30 days trial. For this, you need to just send us an email at idpsupport@xecurify.com to book a slot and we'll help you setting it up in no time.


Follow the Step-by-Step Guide given below for Oracle E-Business Single Sign-On (SSO)

1. Download and Install miniOrange Connector

  • First you need to download and Install miniOrange Connector.
  • Click Here to get detailed steps for installing miniOrange Connector.

2. Configure the miniOrange IWA Module for Oracle E-Business Suite

  • Second, you need to set up the miniOrange IWA Module.
  • Click Here to get detailed steps for setting up Integrated Windows Authentication for your Applications.

3. Test Oracle E-Business Suite Integrated Windows Authentication

  • Thirdly, you can easily test the connection by referring to this video.
  • It has the end-user experience and login flow for your reference.

Not able to configure or test Integrated Windows Authentication?


Contact us or email us at idpsupport@xecurify.com and we'll help you setting it up in no time.


4. Oracle EBS Suite Login Flow

  • Access your Oracle EBS instance at the FQDN.
  • If the machine is Domain Joined and Integrated Windows Authentication is set up, the SSO will go through and the user will be authenticated without having to enter their credentials.
  • Oracle E-Business Integrated Windows Authentication SSO login successful

5. Run miniOrange SSO Connector over SSL (optional)

Before moving forward, you need to make two changes related to samesite cookie. Starting with version 80, Google Chrome will change the default value for the SameSite cookie parameter to Lax. Therefore, changes are required and SameSite parameter has to be set to NONE.

To do changes, follow the path: mo-ebs-sso-connector >> moas >> WEB-INF >> classes. In this folder search for the file spring-context-onpemise and open it in editor. Search for bean id="customCookie". you will see a bean with name,samesite and secure properties. Update value of samesite from LAX to NONE and of secure to true.


  • This document provides the steps to setup EBS SSO Connector over SSL . It contains 2 sections A and B.
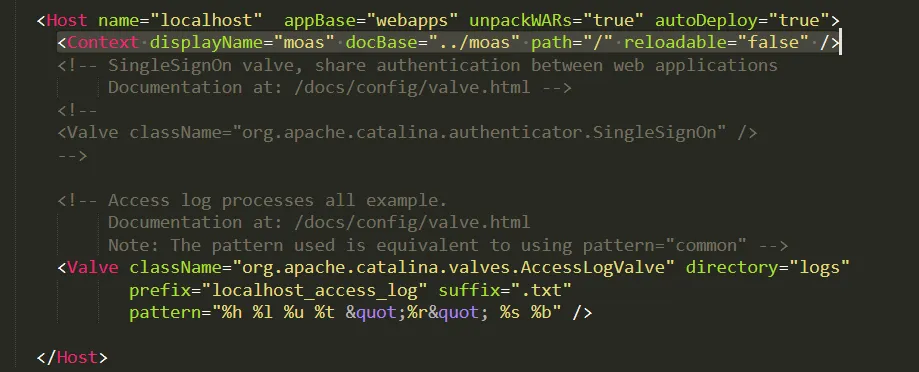
  • Section A: This section provides the steps to setup EBS SSO Connector over self signed SSL certificate.

    • 5.1. Generate a Keystore

      • Open a command prompt or terminal. And go to <Path to JAVA_HOME/bin> path and enter the command given below.
        keytool -genkey -alias ebssoconnector -keyalg RSA -keystore ebssoconnector.jks
      • If you get a permission error (mostly on a windows machine) in this step.Then change the location in command prompt or terminal to Desktop or any other location of your choice. See image in Step 2.
      • Enter your convenient password and remember it.(If the password you entered didn’t work then keep the password as “changeit” ).

      5.2. Generate SSL Certificate

      • After Pressing the Return key it will prompt for a password for . Hit Return to continue.
        (Note: firstname and lastname needs to be the server DNS name/hostname of the server)
      • Oracle EBS IWA: Generate SSL Certificate

      • SSL self-signed certificate is generated at the given location.

      5.3. Configure Tomcat with above-generated Keystore

      Refer this page for the above step

      .

      5.4: Modify the Server Base URL in General Product Settings in the EBS SSO Connector

      • You should now be able to access the deployed EBS SSO Connector over HTTPS.
      • From miniOrange admin dashboard, go to Settings>>product settings (present on right top).
      • Enter the Server base URL as shown in the image below.
      • Oracle EBS IWA: Server file

    6. Run Tomcat as a Service for EBS SSO Connector(optional)

    • For Windows:
      • Install Tomcat as Windows Service using a Windows Installer.
      • Navigate to Tomcat Package that was provided by us and copy over the moas folder to the newly installed Tomcat as a service directory root.
      • Navigate to Tomcat As a Service Directory Root\conf and edit the server.xml file.
      • Search for <Host name="localhost" appBase="webapps" unpackWARs="true" autoDeploy="true"> in the file.
      • Oracle EBS IWA: Tomcat as a service

      • Add this line: <Context displayName="moas" docBase="../moas" path="/" reloadable="false" /> just below the line you searched for
      • Now you can navigate to the windows services panel and start the Tomcat service.

    External References

    Note: Oracle and Java are registered trademarks of Oracle and/or its affiliates. miniOrange is a separate entity.

Want To Schedule A Demo?

Request a Demo


Our Other Identity & Access Management Products