Hello there!
Need Help? We are right here!
Need Help? We are right here!
Search Results:
×With the pace of password-based security breaches, simply using usernames and passwords to secure a MacOS is no longer an option. That’s why it has become necessary to add an additional layer of two-factor authentication security to filter out unauthorized users.
miniOrange's MacOS MFA prevents these sorts of Password-Based breaches and adds an additional layer of security.
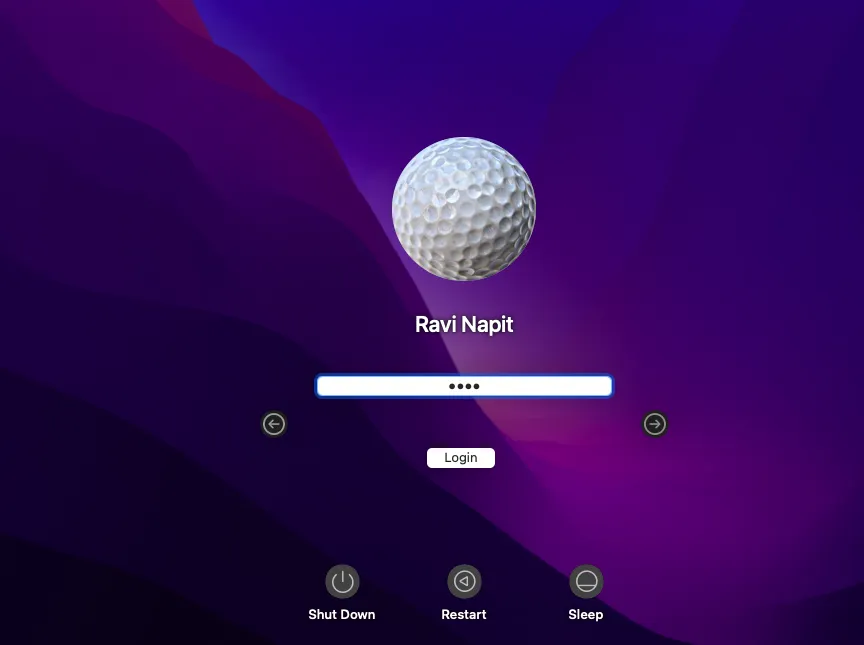
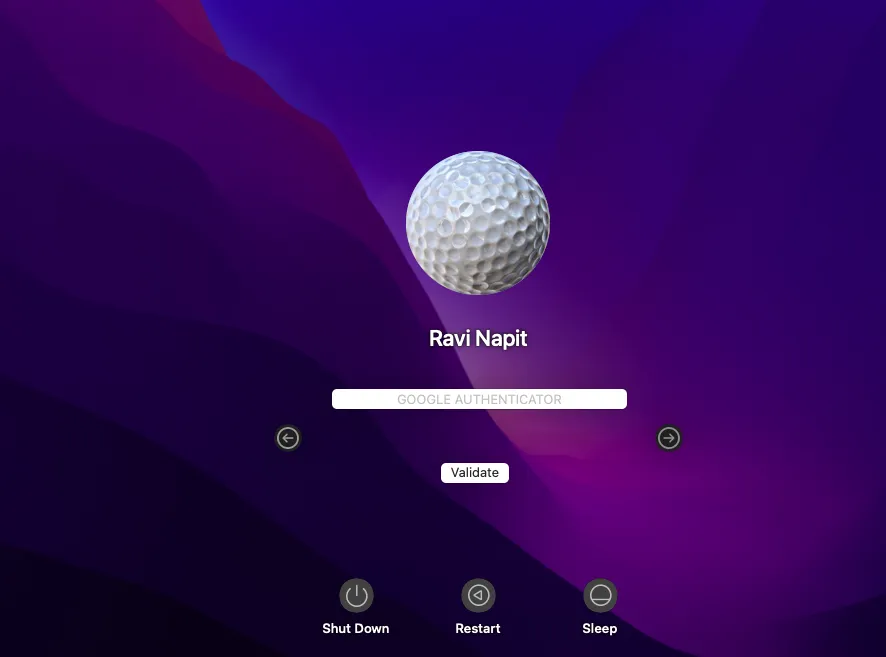
As the MacOS 2FA / MFA feature is enabled, users have to authenticate themselves in two successive stages to access their Mac machines. The first level of authentication happens using their usual Mac credentials. For the second level of authentication, admins can choose from the wide range of 15+ MFA authentication methods that miniOrange offers.
miniOrange 2FA Credential Provider for MacOS access supports following Multi-Factor Authentication (2FA/MFA) Methods:-
| Authentication Type | Method | Supported |
|---|---|---|
| miniOrange Authenticator | Soft Token | |
| miniOrange Push Notification | ||
| Mobile Token | Google Authenticator | |
| Microsoft Authenticator | ||
| Authy Authenticator | ||
| SMS | OTP Over SMS | |
| SMS with Link | ||
| OTP Over Email | ||
| Email with Link | ||
| Call Verification | OTP Over Call | |
| Hardware Token | YubiKey Hardware Token | |
| Display Hardware Token |
miniOrange offers free help through a consultation call with our System Engineers to Install or Setup Multi-Factor Authentication (2FA) for MacOS Logon in your environment with 30 days trial.
For this, you need to just send us an email at idpsupport@xecurify.com to book a slot and we'll help you setting it up in no time.
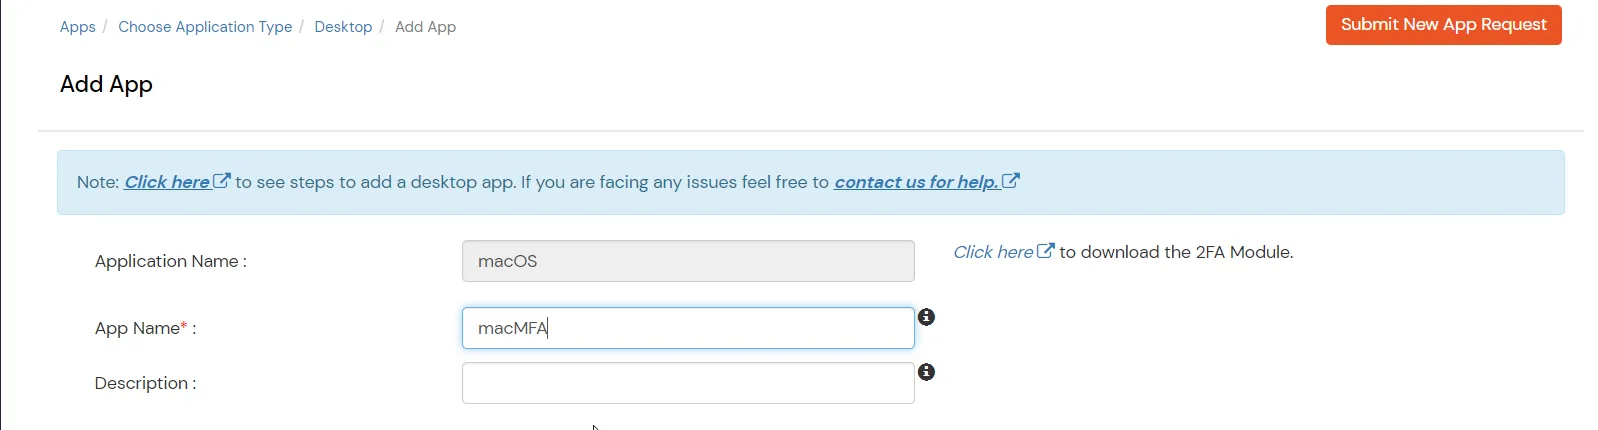
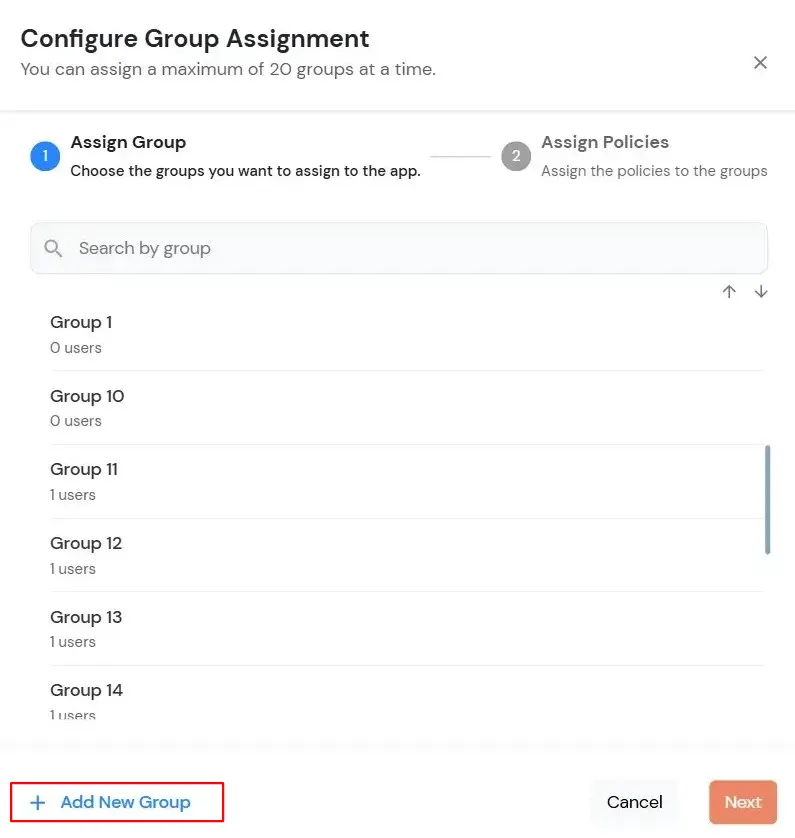
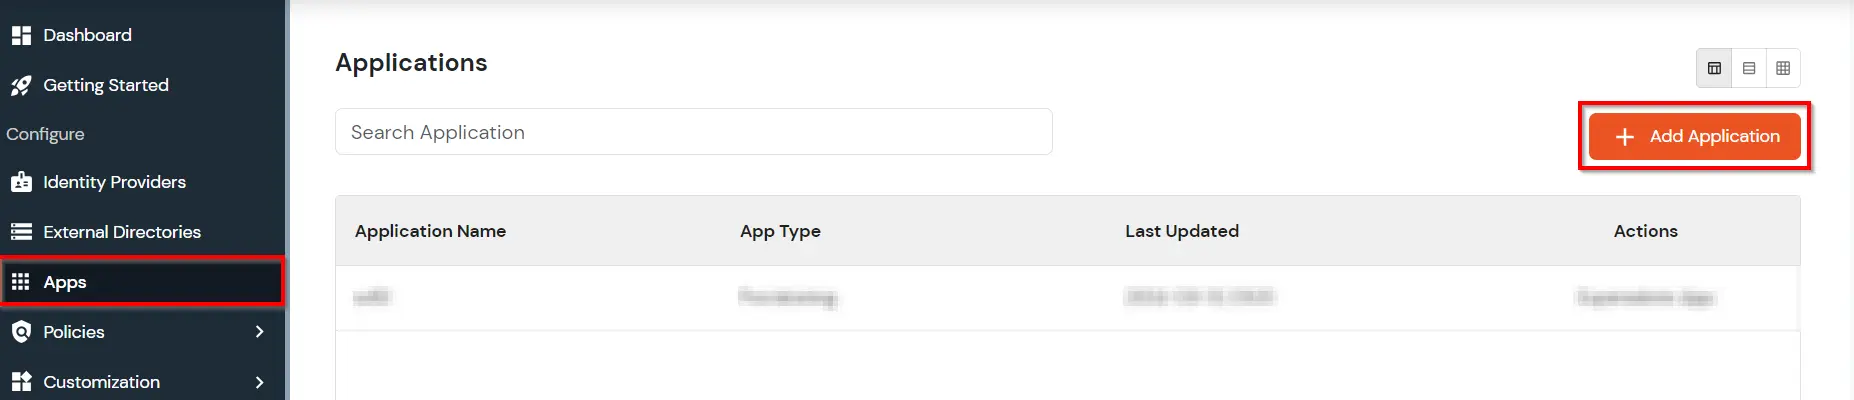
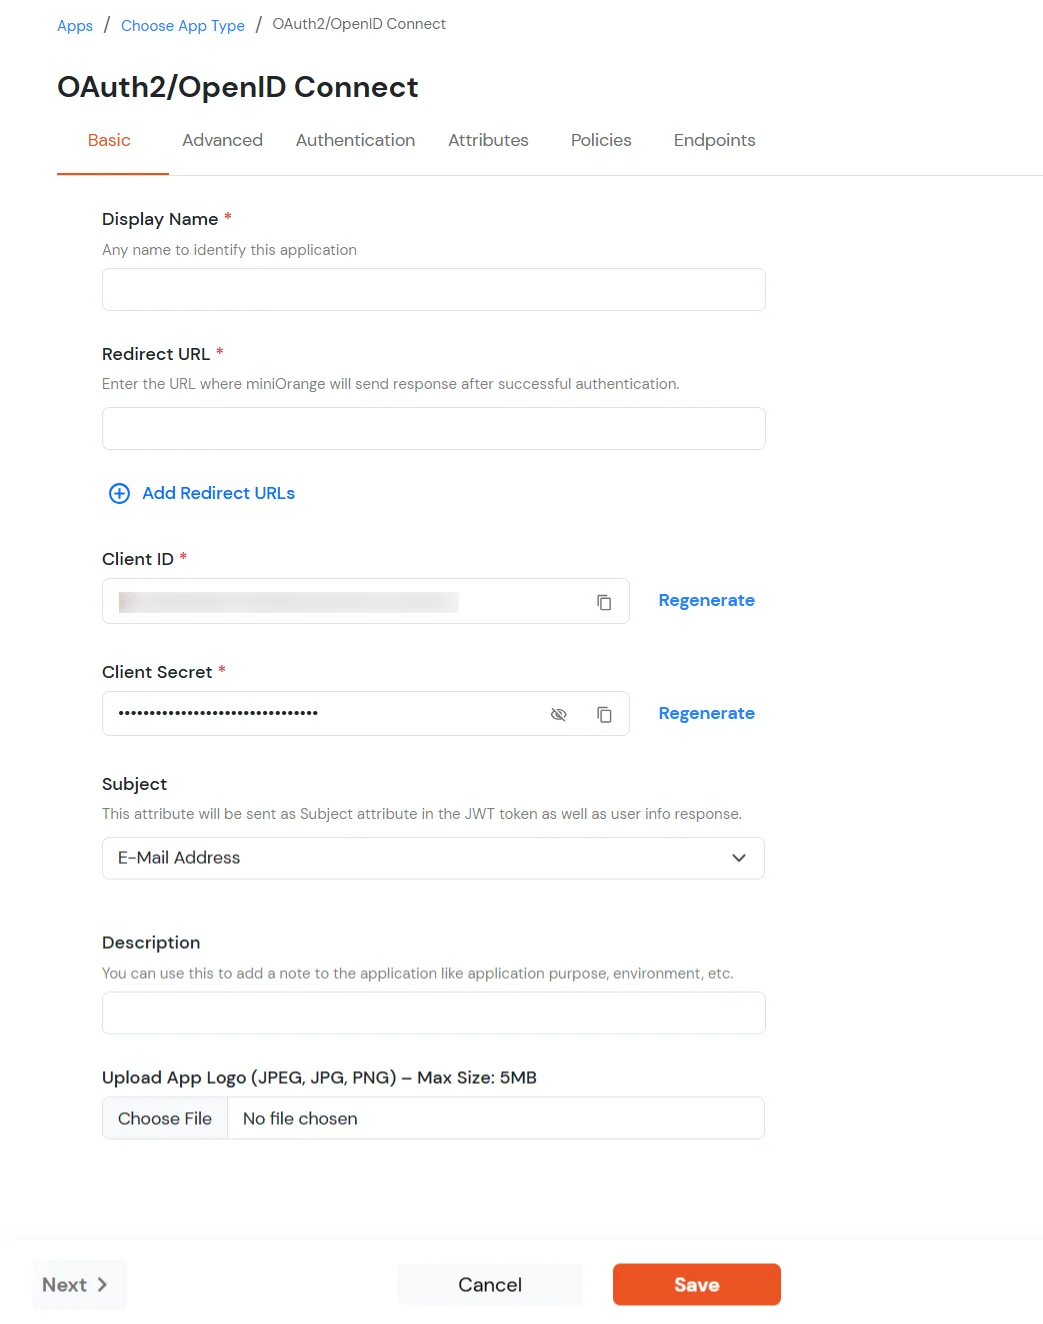
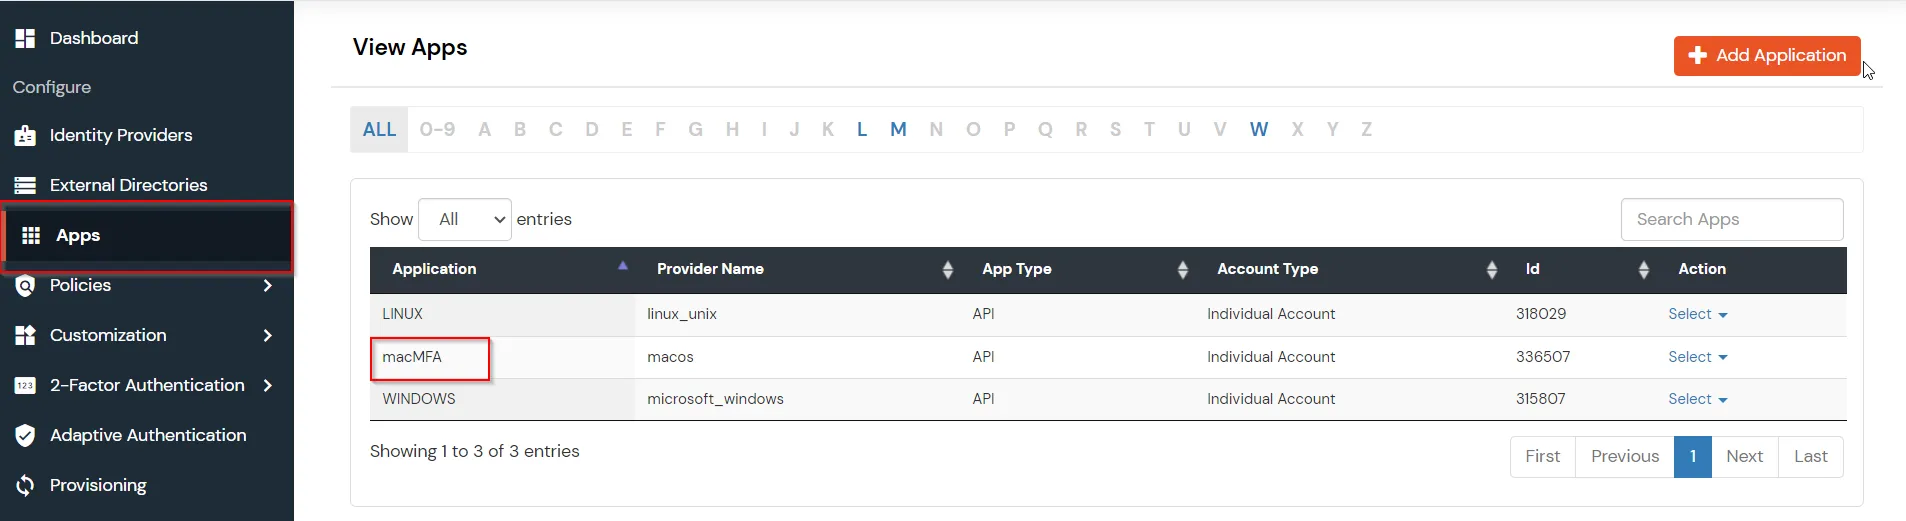
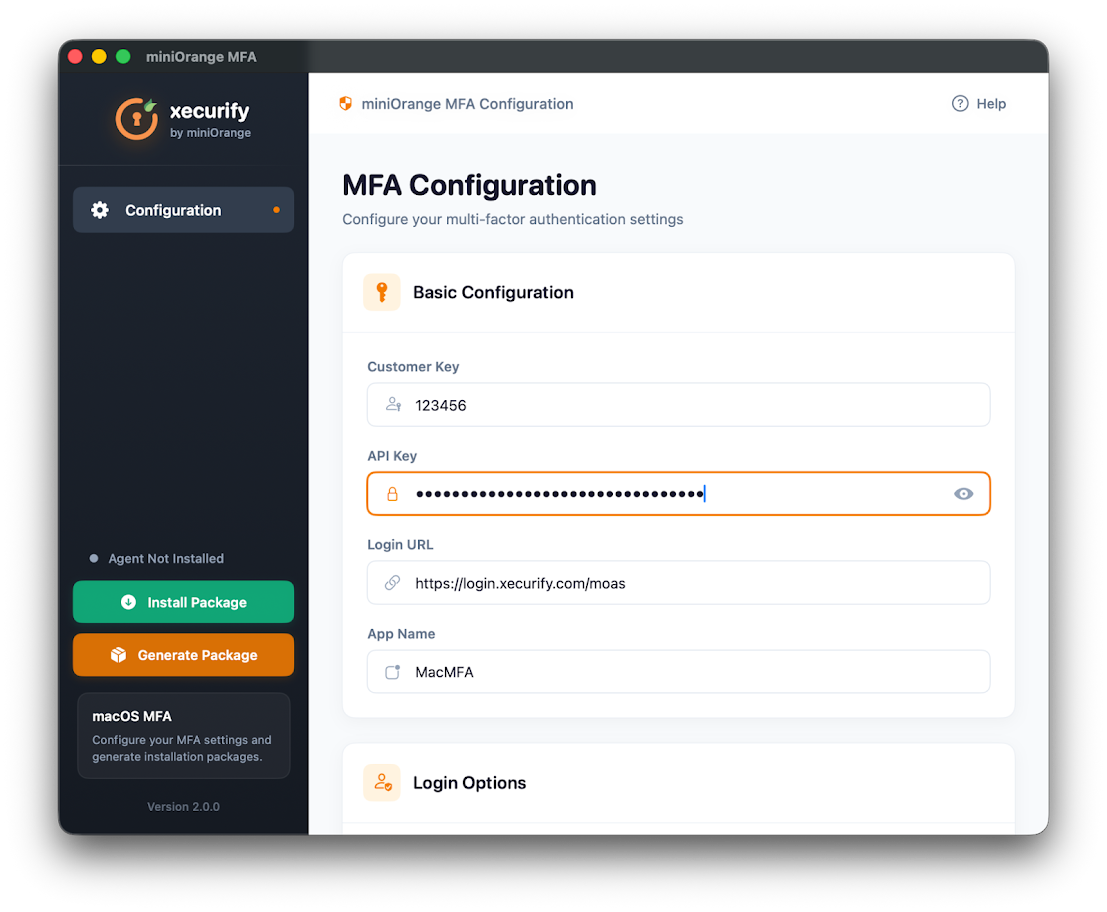
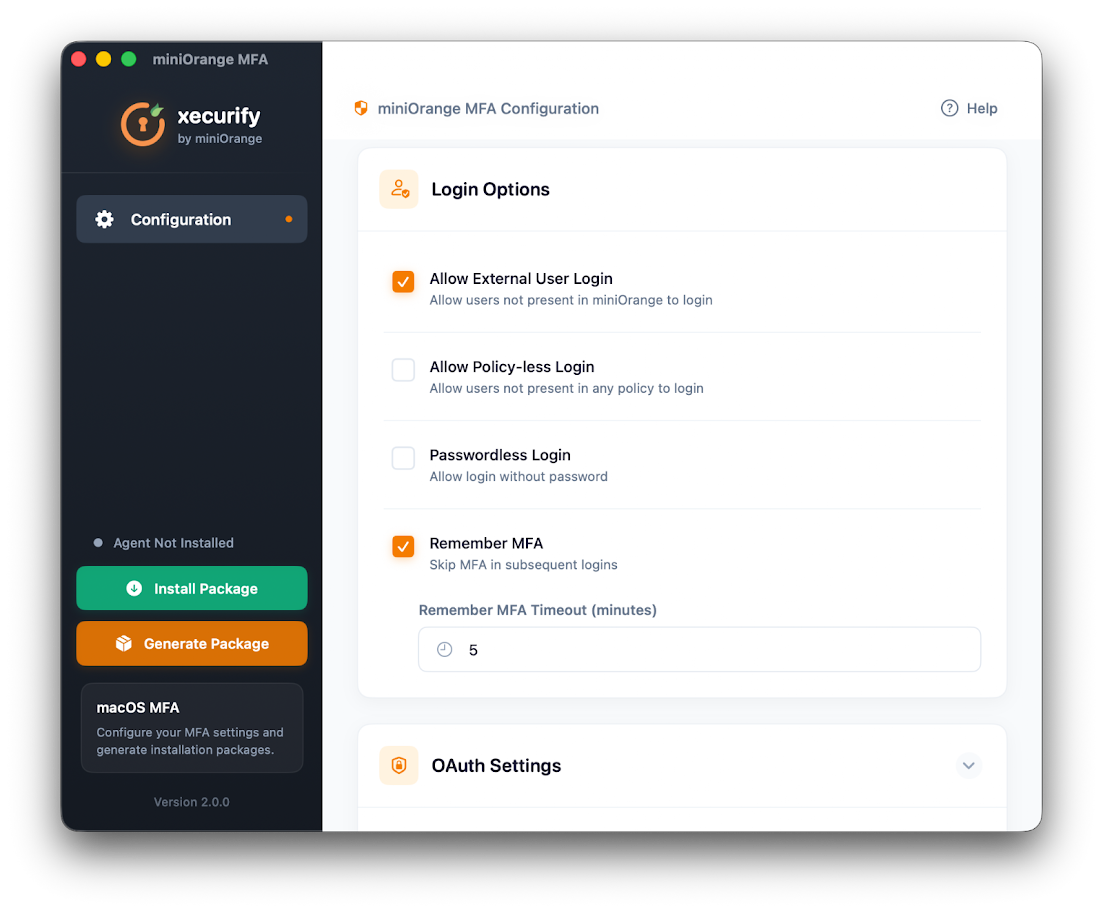
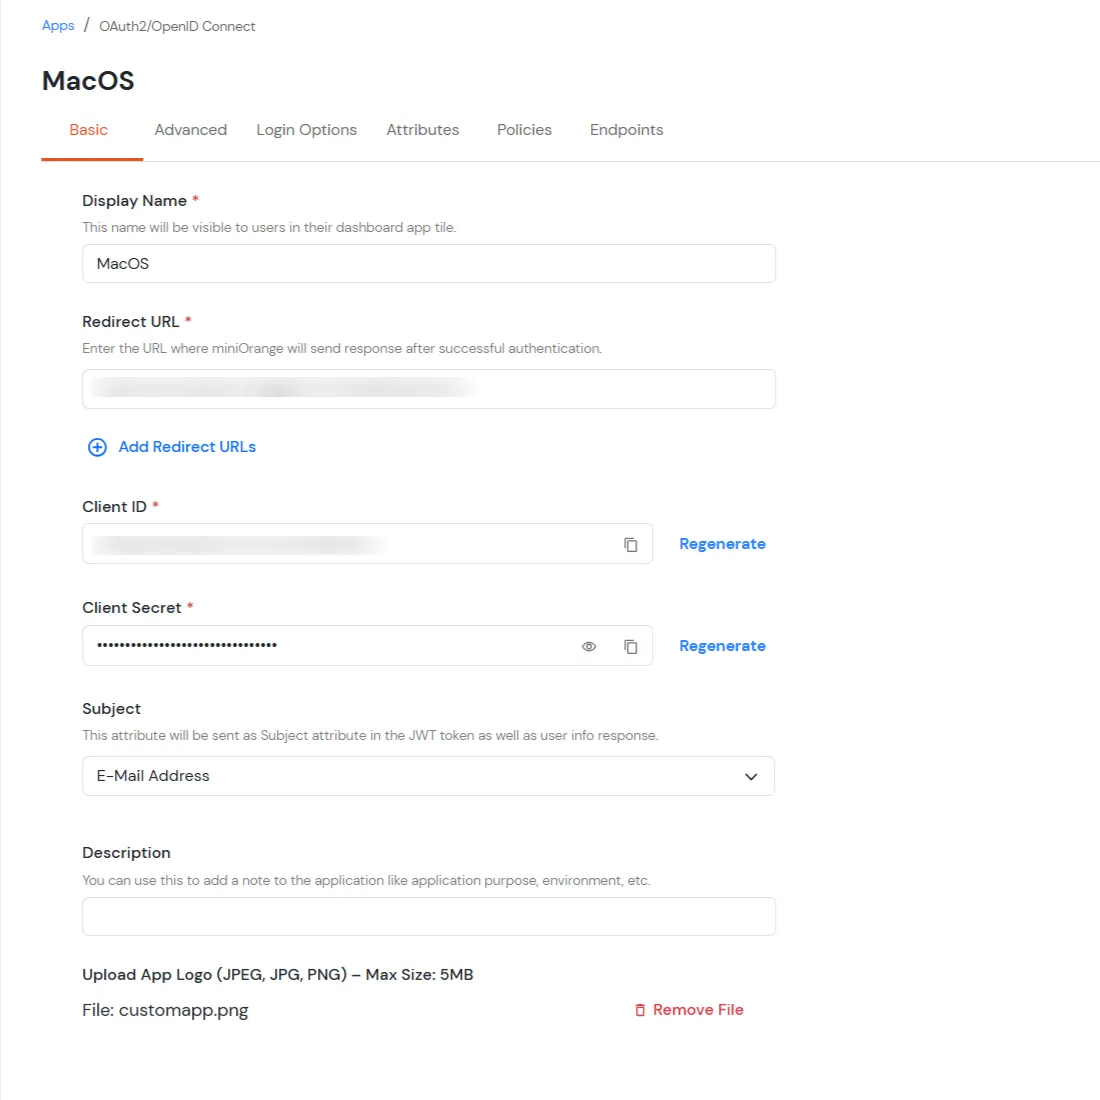
In this step, we are going to setup your Two-Factor Authentication (2FA) preferences, such as:

| Basic Tabs | Description |
|---|---|
| Display Name | Enter the Display Name (i.e., the name for this application). |
| Description (Optional) | Add a description if required. |
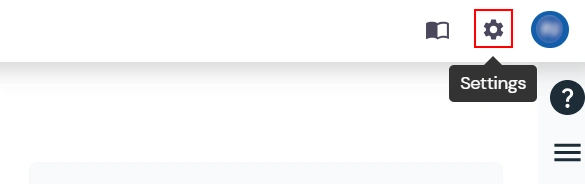
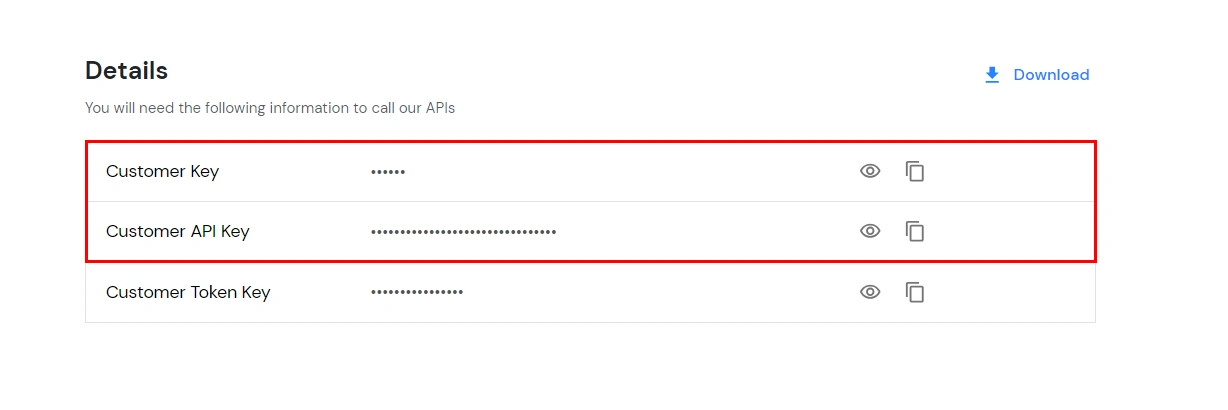
| App Secret | You can find App Secret by clicking the icon as shown below. |
| Display Name | Enter the Display Name (i.e., the name for this application). |
| Redirect URL | Enter the Redirect URL: com.miniorange.mfa://oauth/callback |
| Client ID | Auto-generated. Click the copy icon to use it in your application. |
| Client Secret | Client Secret is hidden by default. Click the eye icon to reveal it and use the clipboard icon to copy it. |
| Description (Optional) | Add a description if required. |
| Upload App Logo (Optional) | Upload an app logo (Optional). The app will be shown in the end-user dashboard with the logo that you configure here. |
| Condition | Value | Description |
|---|---|---|
| Allow user to login if user is not present in miniOrange | true | If user is not present in miniOrange he/she can login without MFA |
| false | If user is not present in miniOrange, he/she can’t login | |
| Allow user to login if Policy is not configured for User | true | If user is not present in Policy group he/she can login without MFA |
| false | If user is not present in Policy group he/she can’t login | |
| Use Custom First Factor | true | If true, custom login mechanism (e.g. XCreds, NoMAD, MacOS Default Login UI, etc) is used for first factor authentication instead of miniOrange Mac login UI |
| false | If false, miniOrange Mac login UI is used for first factor authentication | |
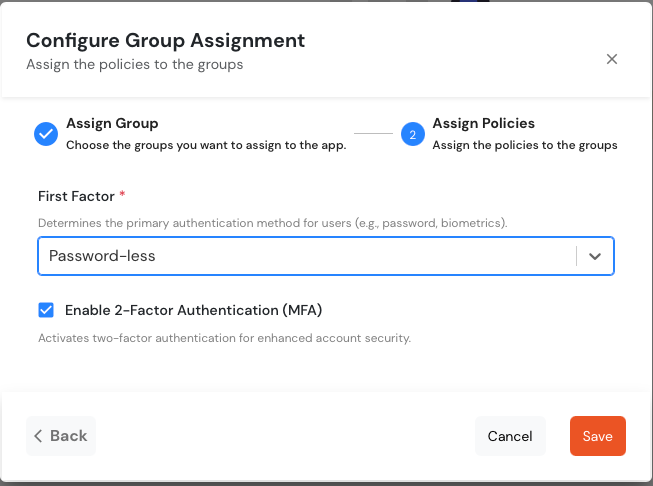
| Allow user to login without password | true | If true, users can log in using only MFA. No password will be required. |
| false | if set to false, users must enter both password and MFA. | |
| Remember User's login and skip MFA in subsequent logins | true | If true, users can skip MFA on the same device within the set time window. |
| false | If set to false, users will be required to enter MFA on every login. | |
| Remember MFA Timeout (in minutes) | 5 or 10 or any | Duration for which MFA is skipped after a successful verification, if "Remember login" is enabled. |
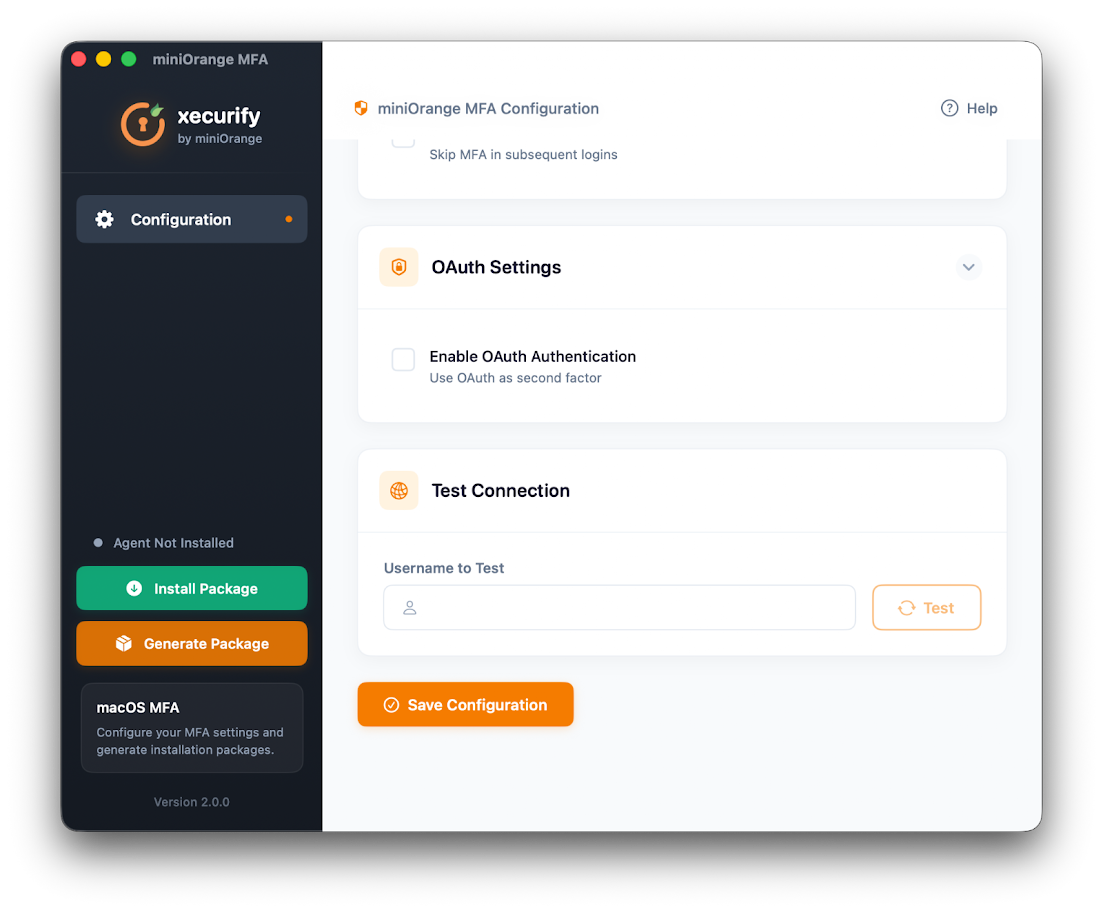
| Enter OAuth Authentication as secound factor | true | If set to true, OAuth authentication is enabled as a second factor. |
| false | If left blank or set to false, OAuth will not be used as a second factor. | |
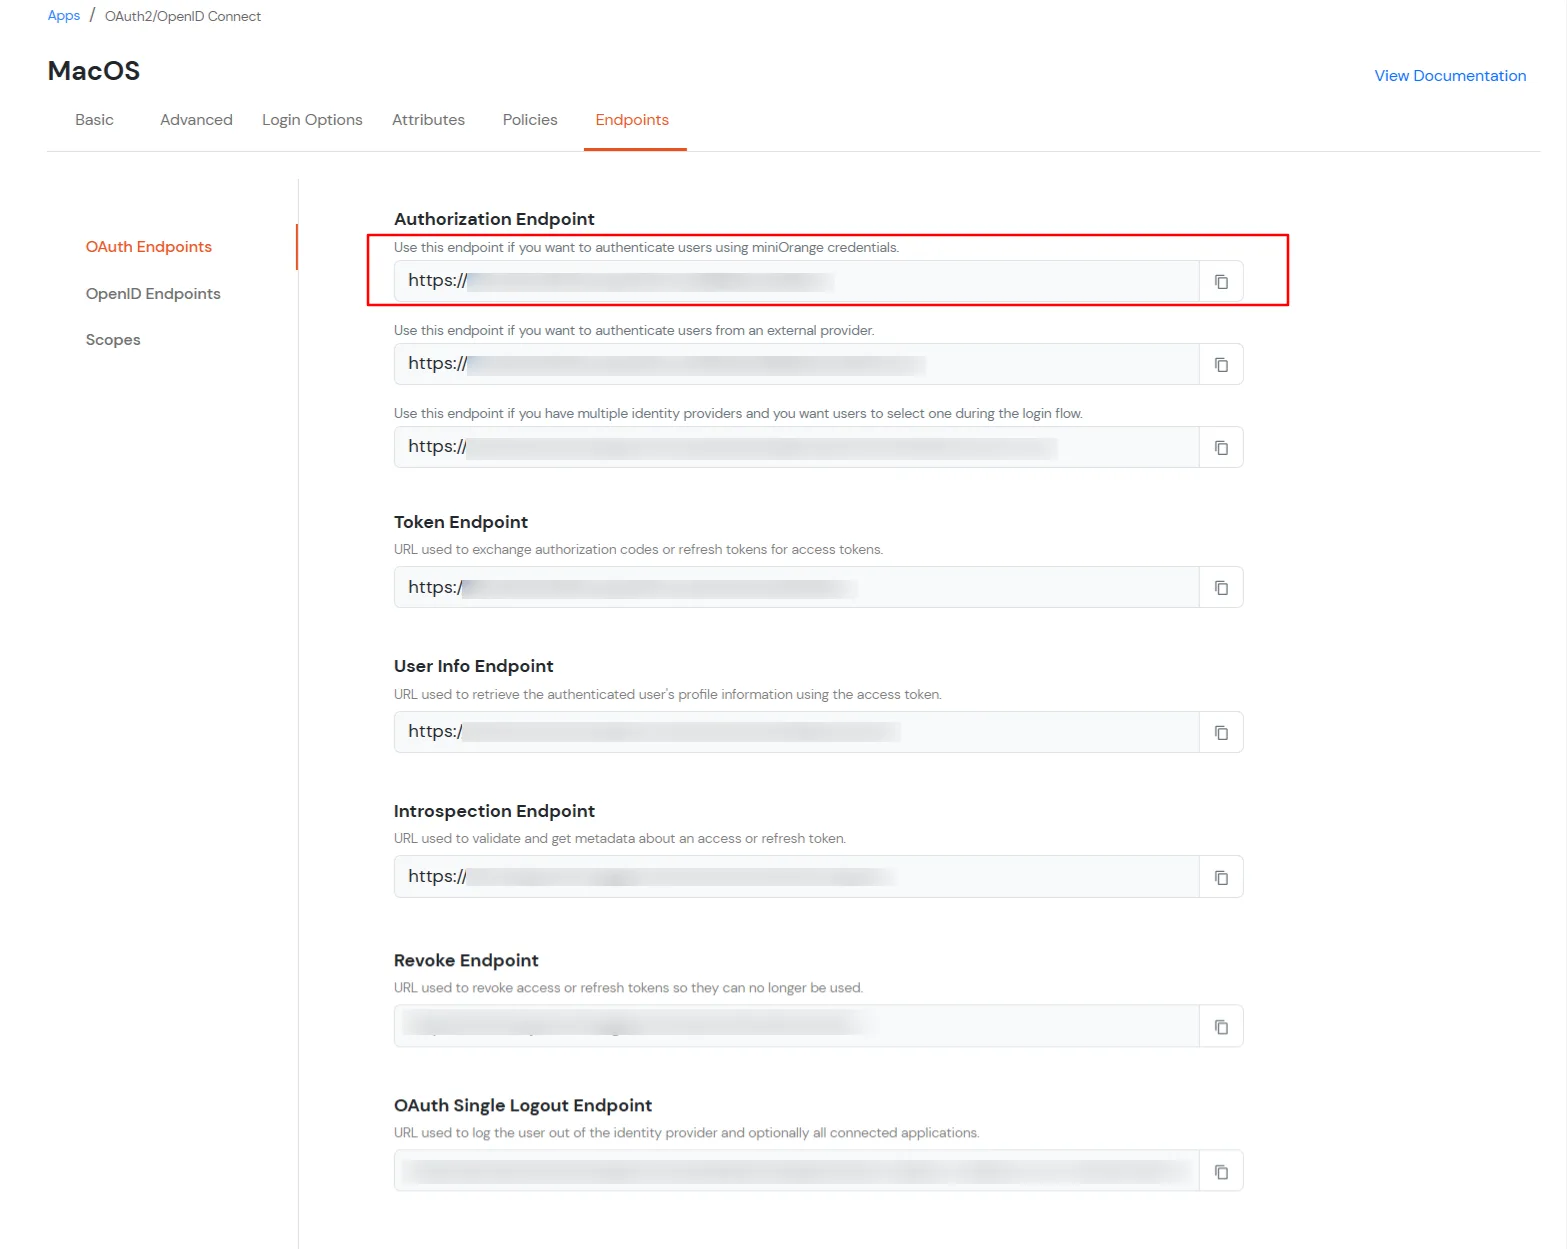
| Enter OAuth Authentication URL | URL | The authorization endpoint URL of the OAuth Identity Provider used for authentication. |
| Enter OAuth Client ID | Client Id | The unique Client ID issued by the OAuth provider to identify the application. |
| Enter OAuth Client Secret | Client Secret | The secret key associated with the OAuth Client ID, used to authenticate the application securely. |
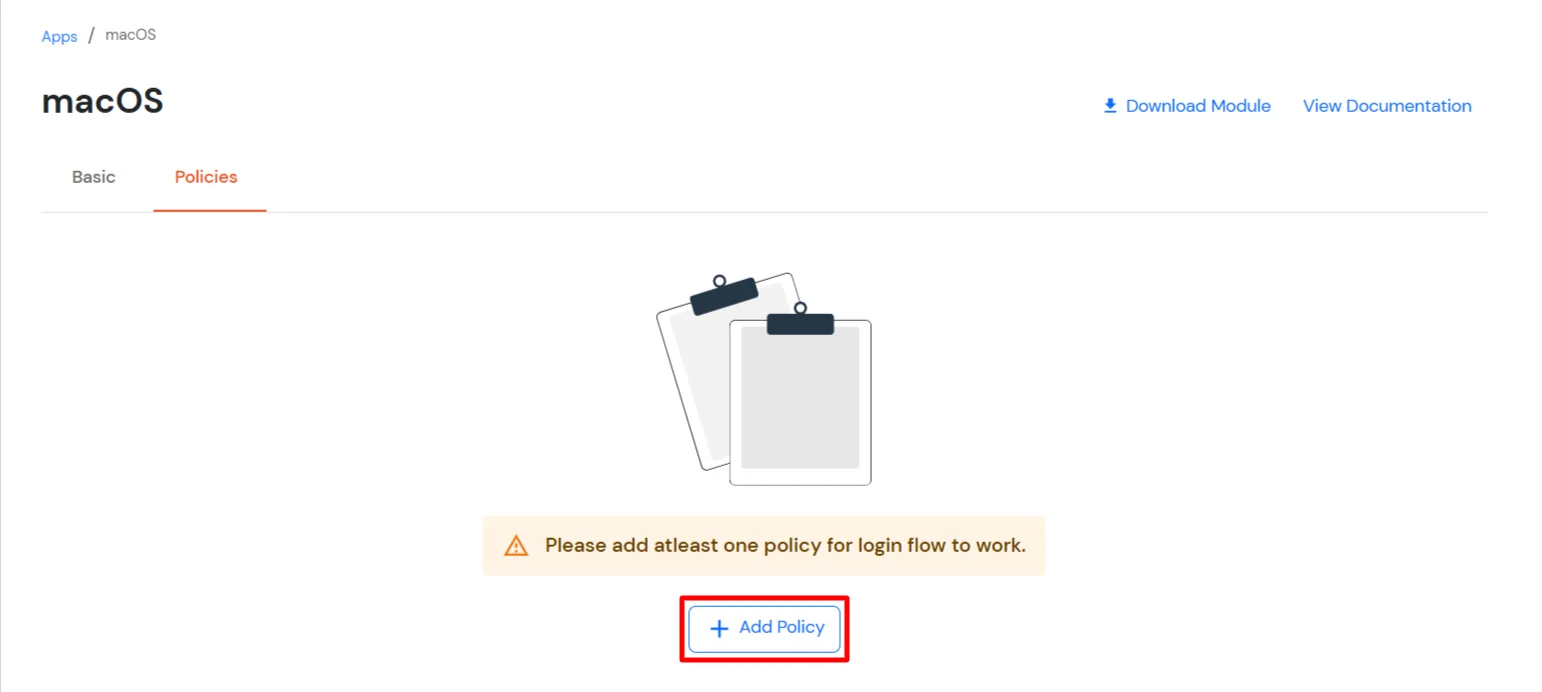
Initially, make the values of Allow user to login if user is not present in miniOrange and Allow user to login if Policy is not configured for User as true so that you don't get locked out of the Mac machine during the testing.
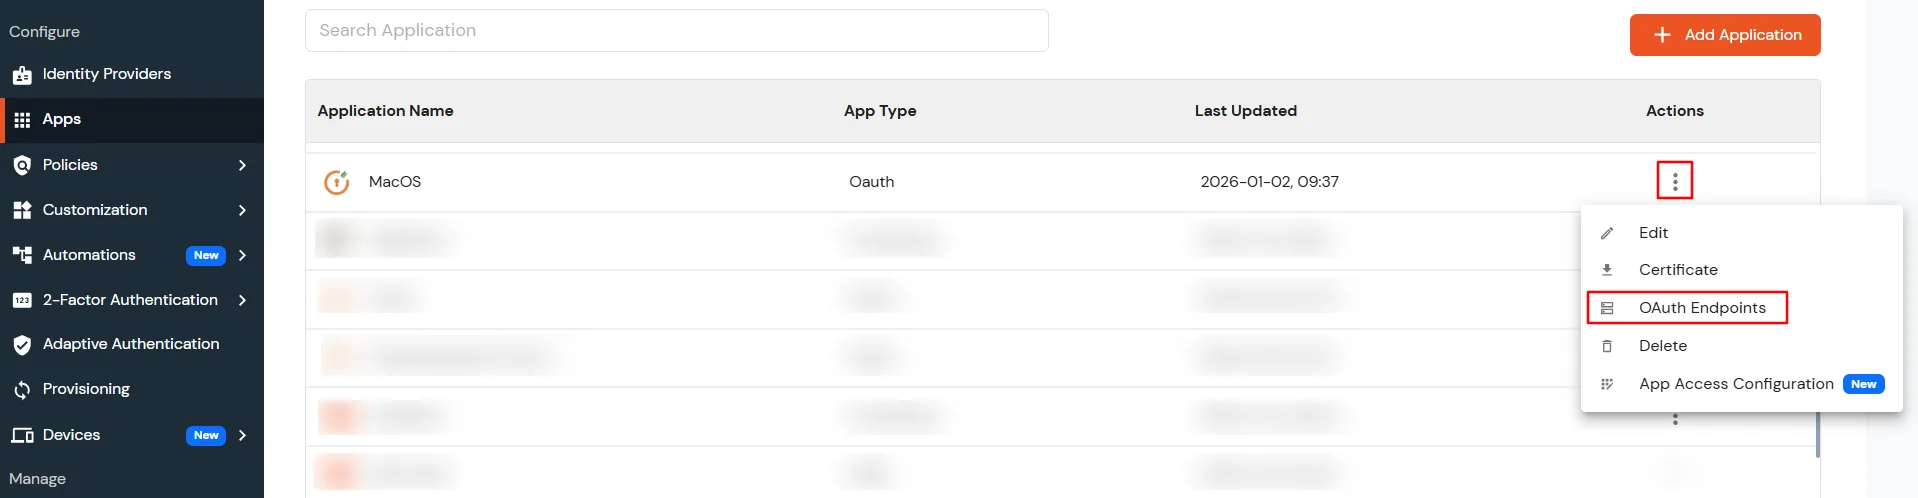
For OAuth Configuration Values:
xattr -dr com.apple.quarantine /path/to/macOSMFAConfigured.pkg
This error is usually caused by a time mismatch between the miniOrange server and your mobile device (or a mismatch between your machine time and mobile device time in the case of Offline Authentication for Windows/Linux/Mac).
Security tokens generated by Authenticator apps are "Time-based" (TOTP). They are valid only for a specific 30–60 second window. If the system time on your phone running the Authenticator or your machine(in case of offline authentication) is fast or slow by even 2 minutes, the code will be considered expired by the server/machine.
