Zoho SCIM Provisioning Setup Guide
Configuration steps for connecting Zoho Directory to the miniOrange SCIM Server application.
| Integration |
Protocol |
| Zoho Directory |
SCIM 2.0 |
What is SCIM for?
System for Cross-domain Identity Management (SCIM) is an open standard to automate user provisioning. SCIM standard is a communication medium between an Identity Provider (IDP) and a Service Provider (SP) that requires user identity information.
SCIM provides a defined schema for representing users and groups, and a RESTful API to run CRUD operations on those user and group resources.
With the SCIM protocol, user data is stored in a consistent way and can be shared with different applications. Since data is transferred automatically, complex exchanges are simplified and the risk of error is reduced.
Follow the step-by-step guide below to set up Zoho Directory SCIM Provisioning with miniOrange
1. Configure Zoho Directory
- Sign in to Zoho Directory.
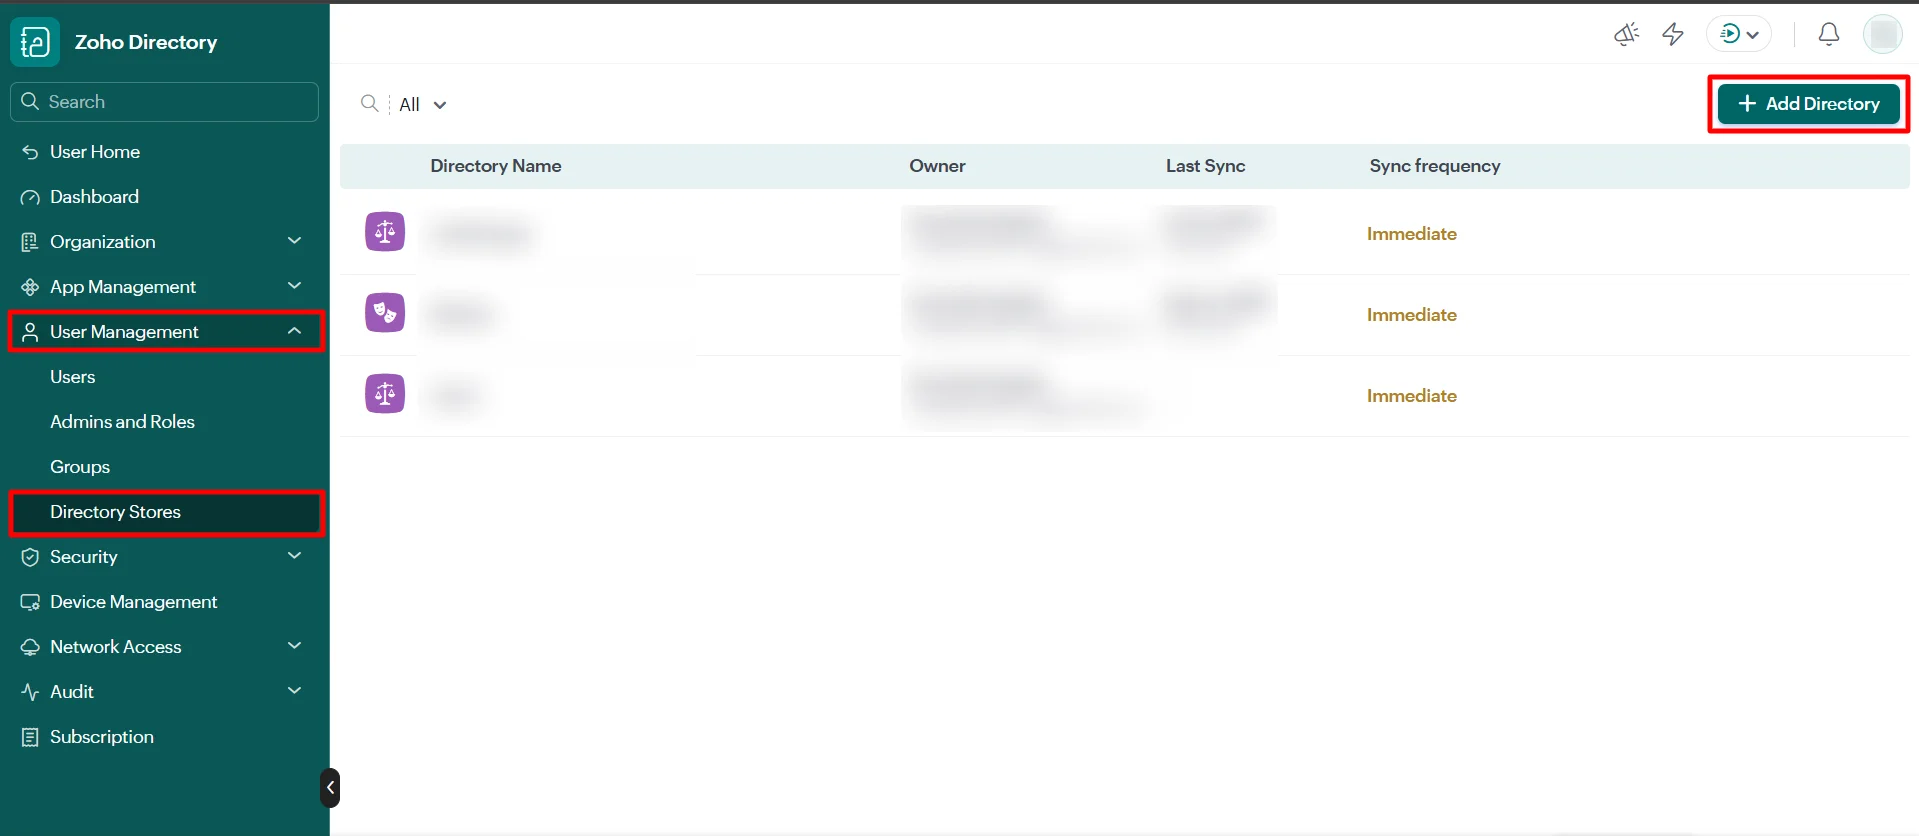
- Navigate to the User Management and select Directory Stores from the left navigation panel.
- Click Add Directory in the upper-right corner.
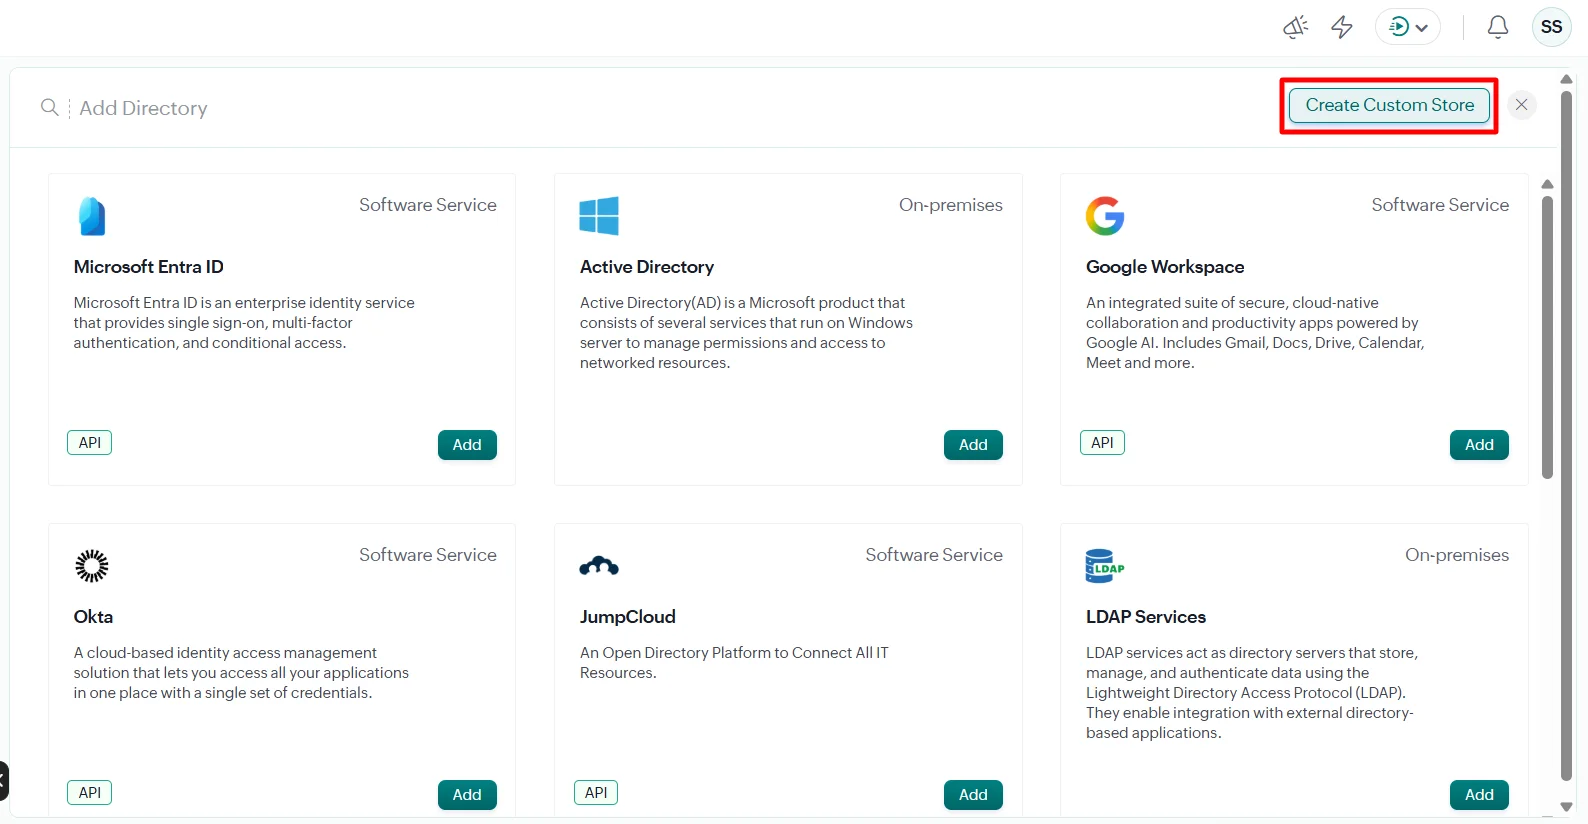
- Check whether Create Custom Store is available in the upper-right corner. If available, click it.
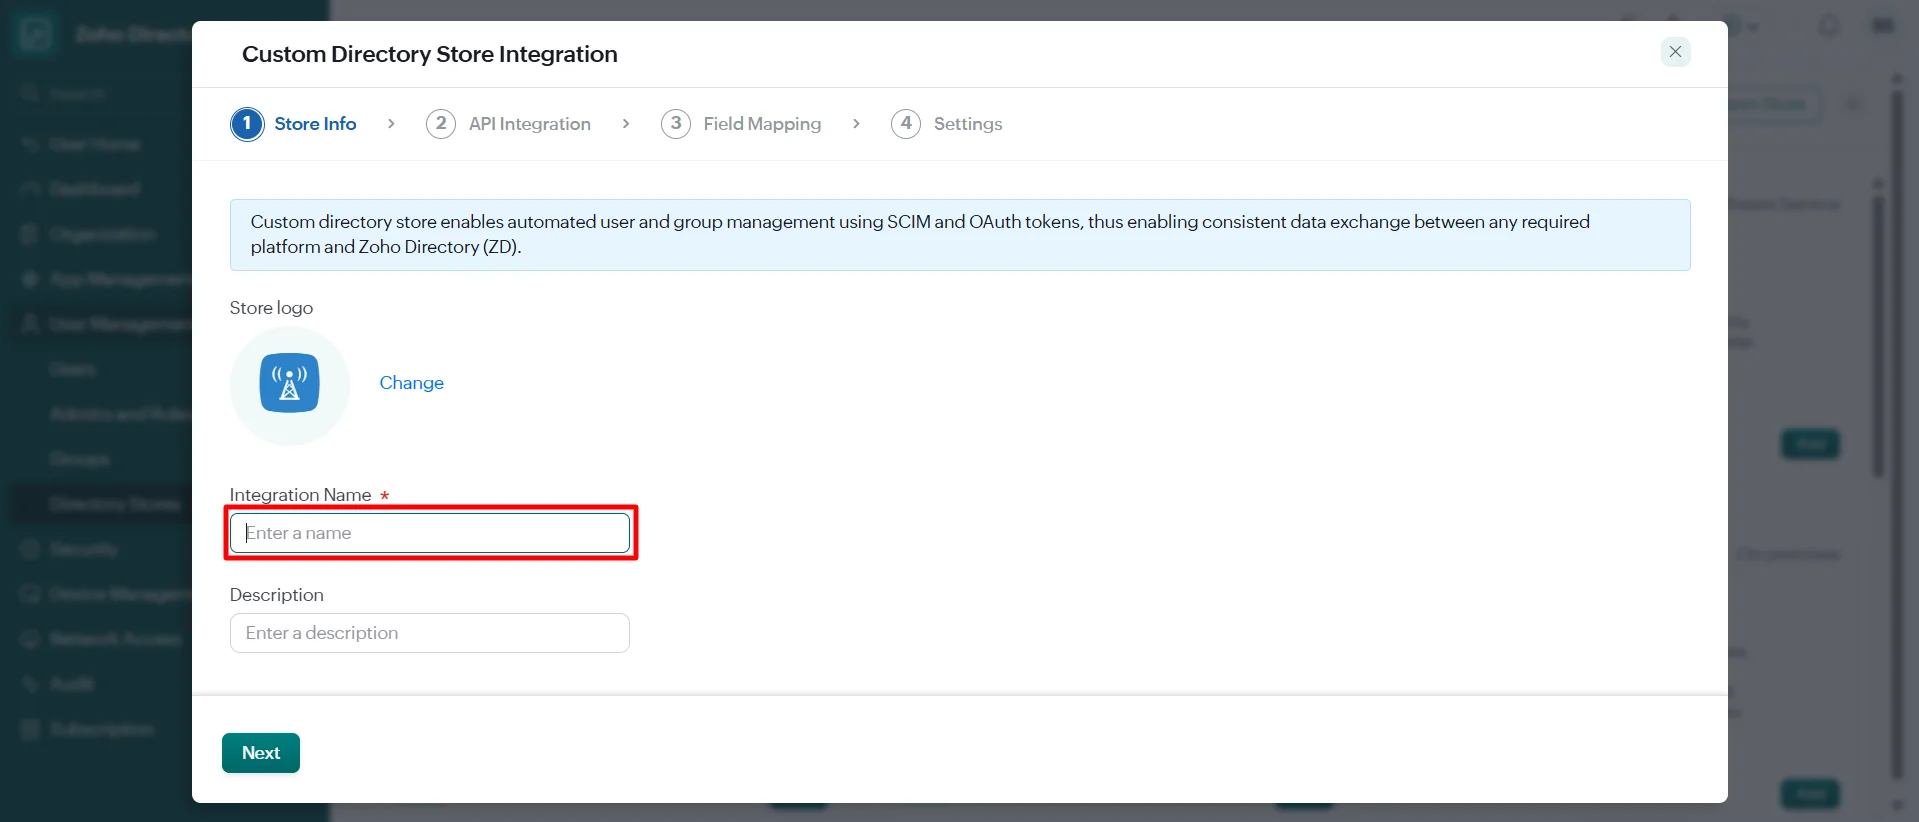
- Enter a suitable Integration Name.
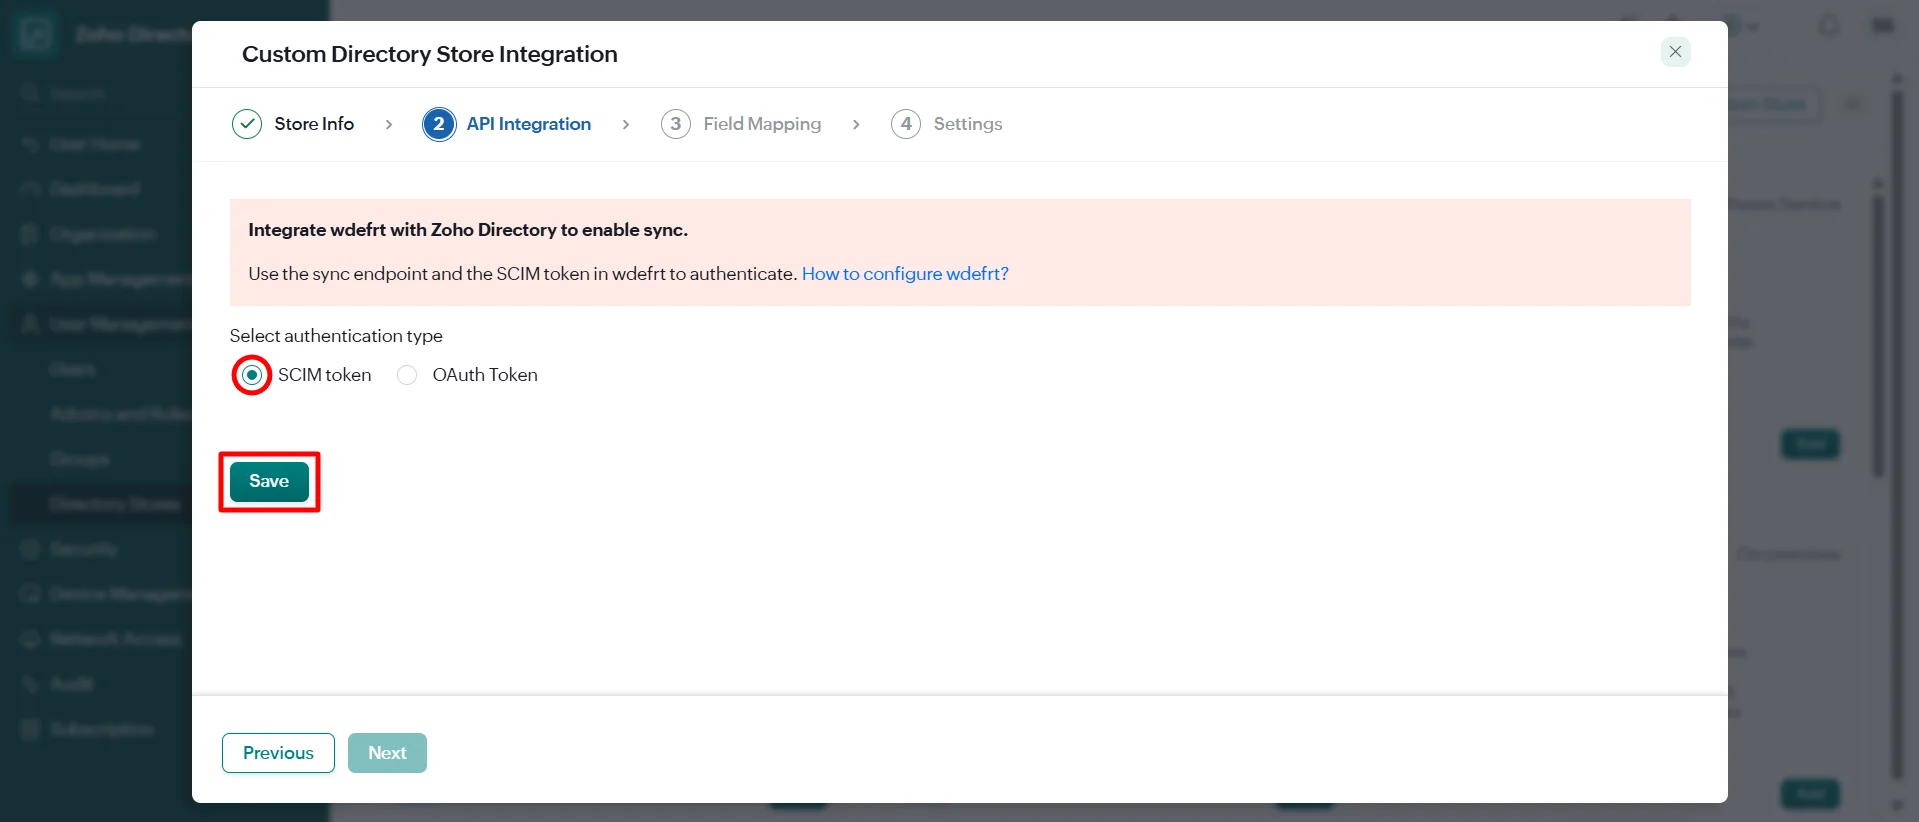
- On the API Integration tab, confirm that SCIM is selected, then click Save.
- Copy and securely store the generated Sync Endpoint and SCIM Token. These values will be required in miniOrange.
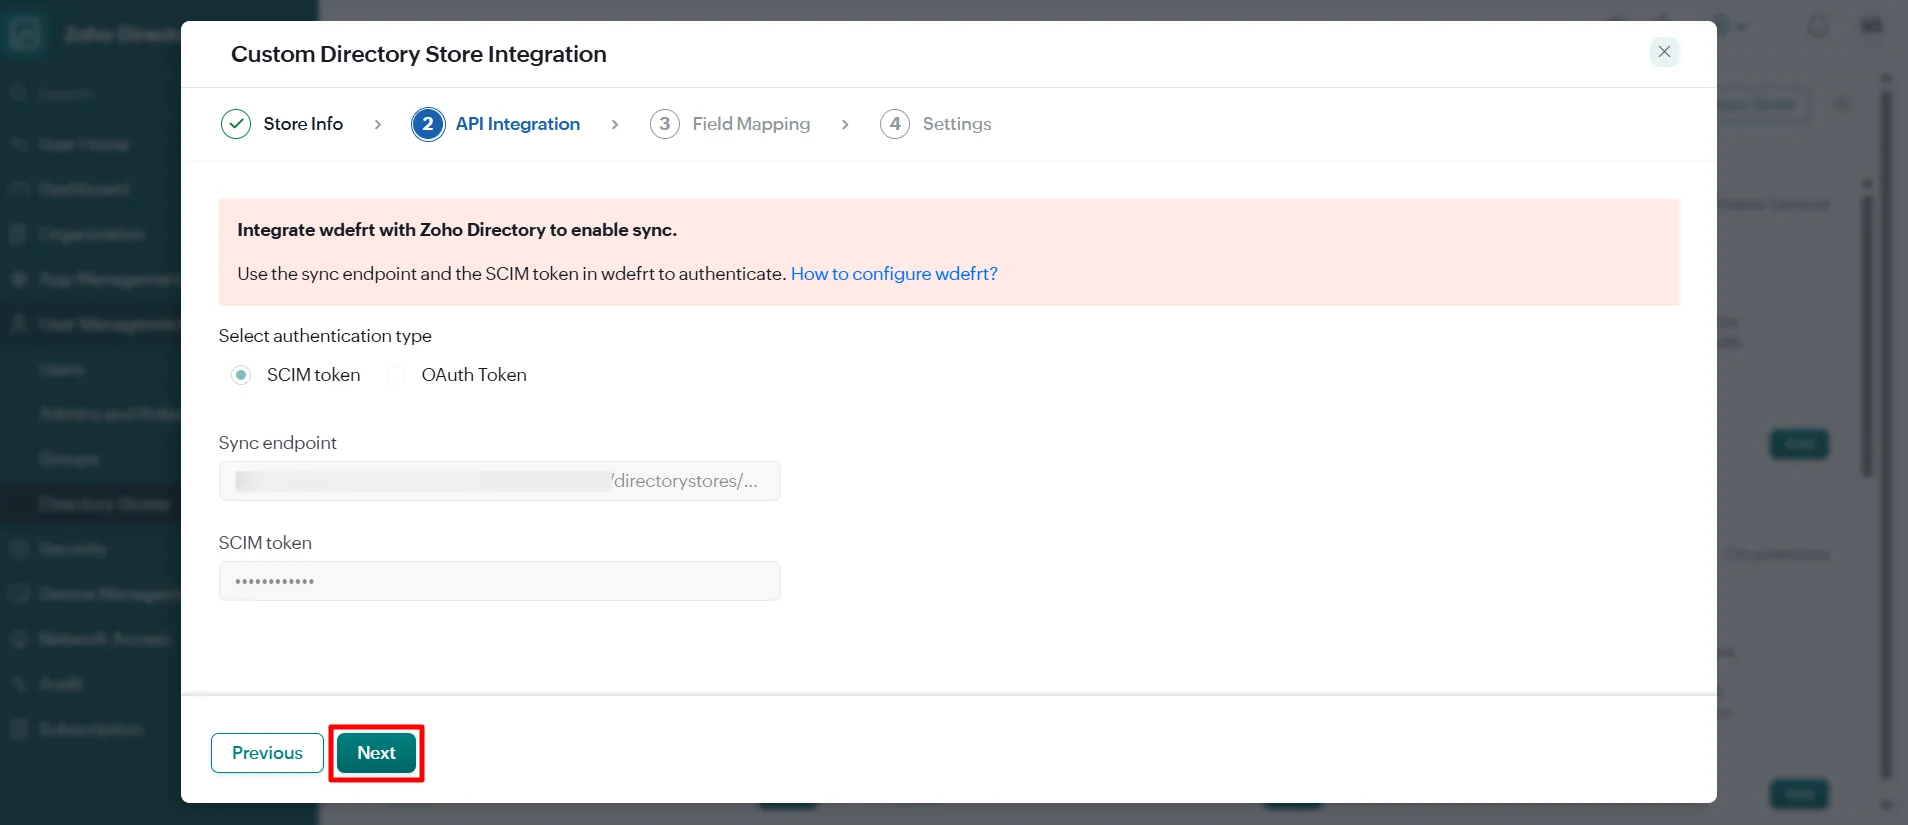
- Click Next.
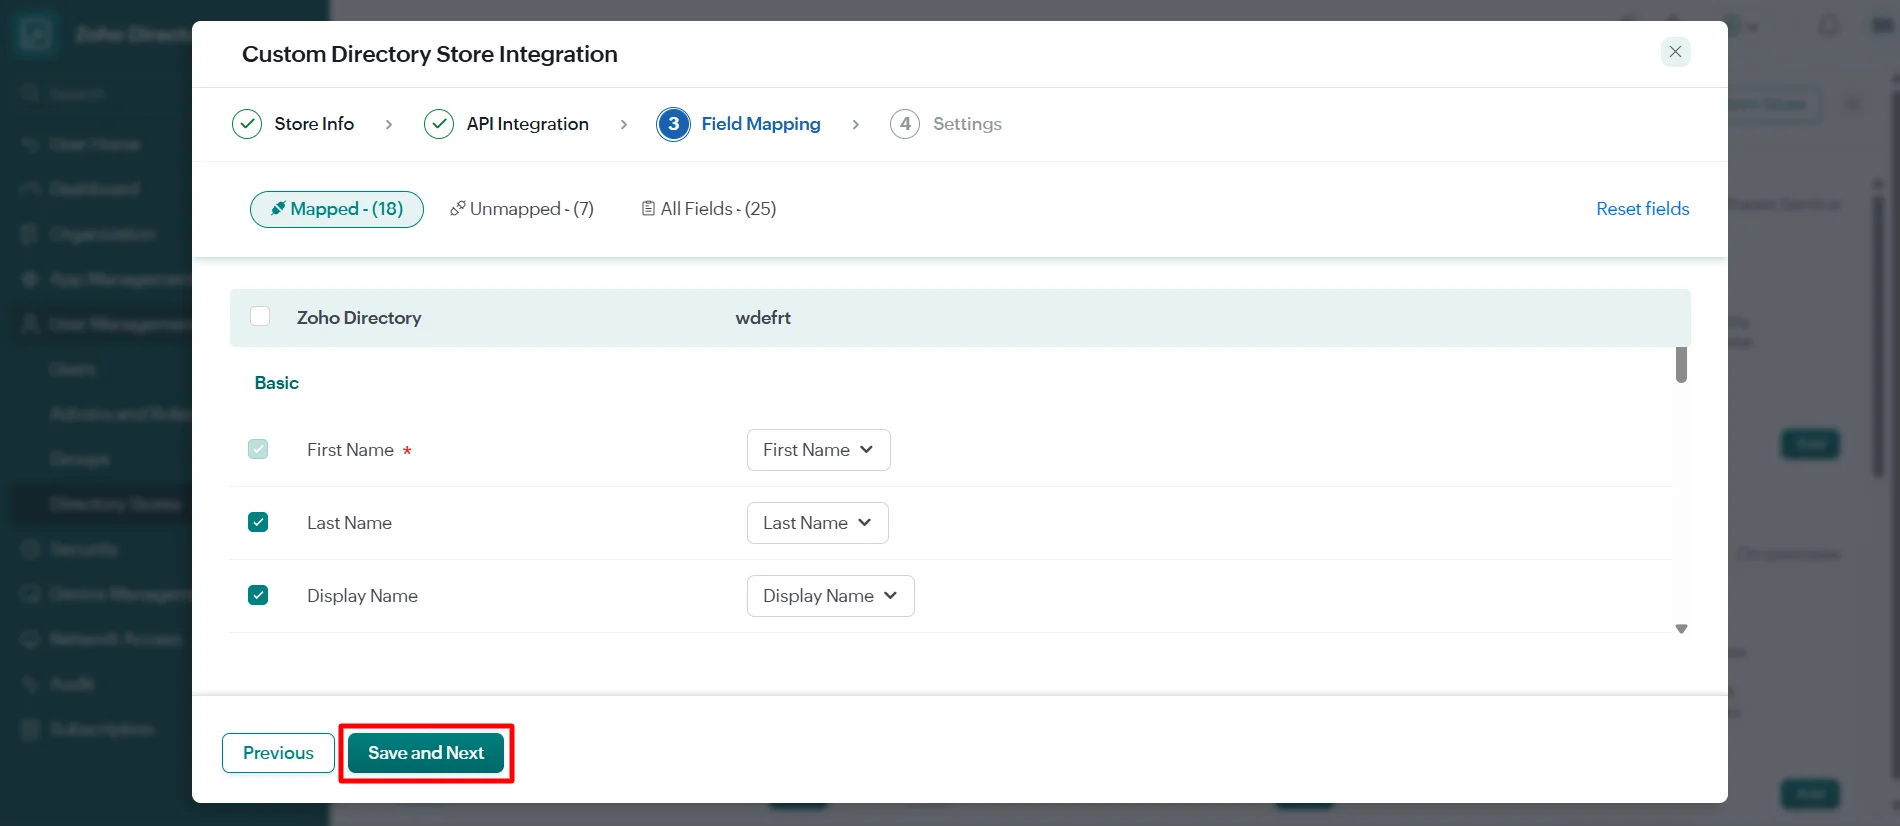
- On the Field Mapping page, retain the default mappings and click Save and Next.
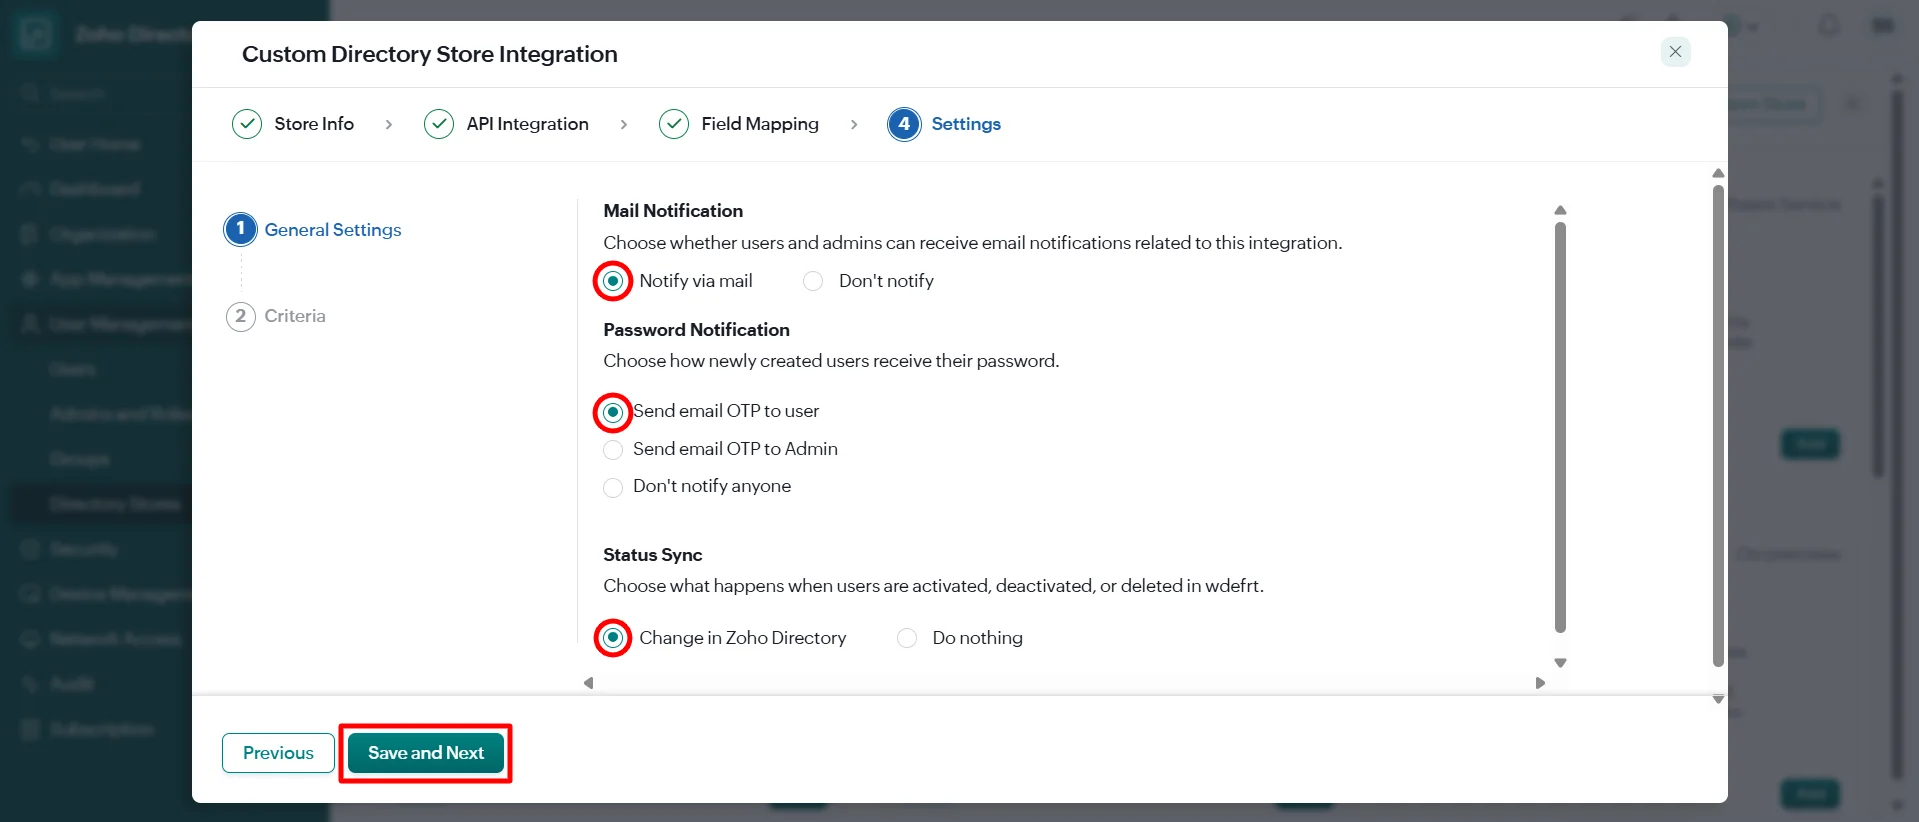
- On the Settings tab, configure the available options according to your requirements and complete the setup.
2. Configure miniOrange SCIM Server
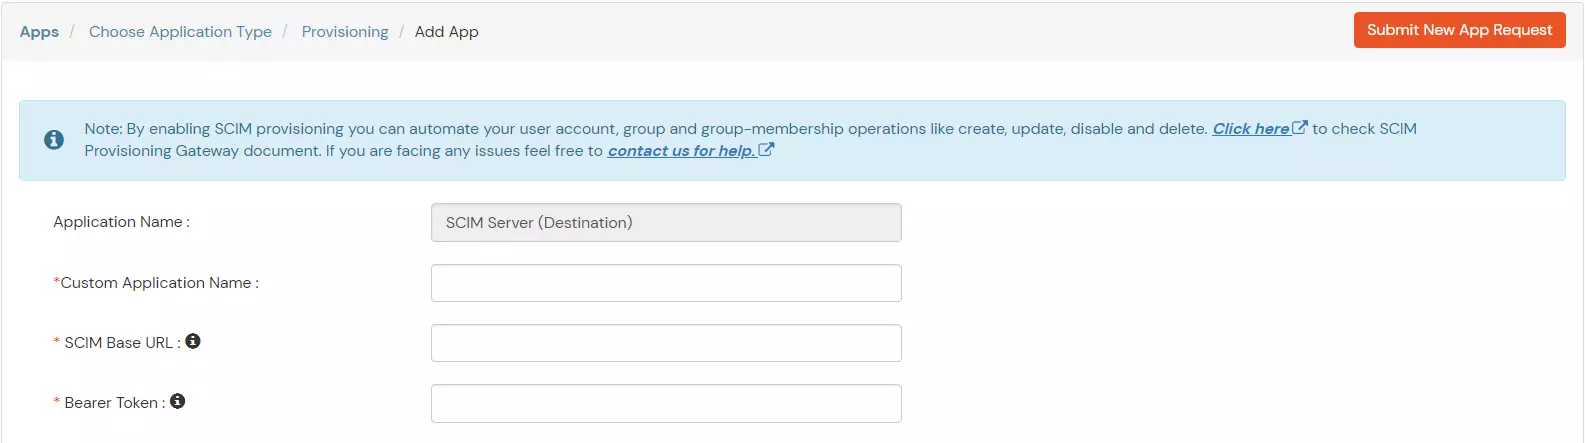
Use the Sync Endpoint and SCIM Token generated in Zoho Directory to authorize the miniOrange SCIM Server application.
- Sign in to the miniOrange Admin Dashboard.
- Go to Apps and click Add Application.
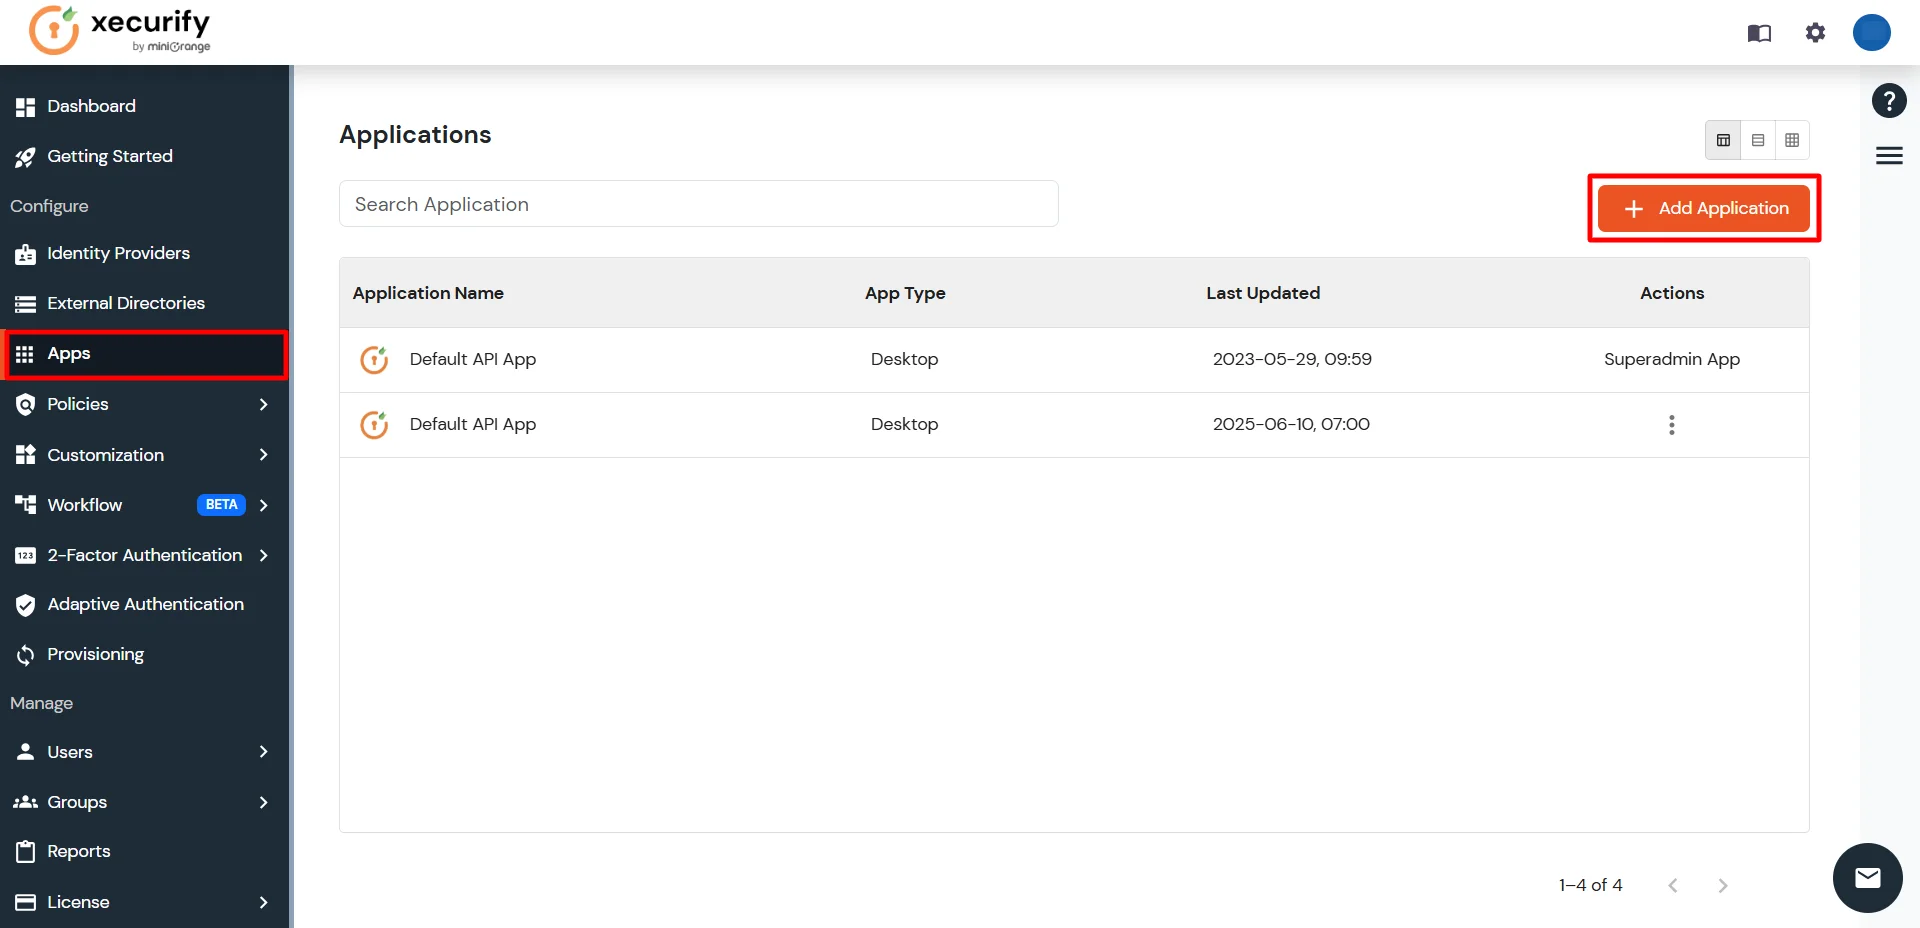
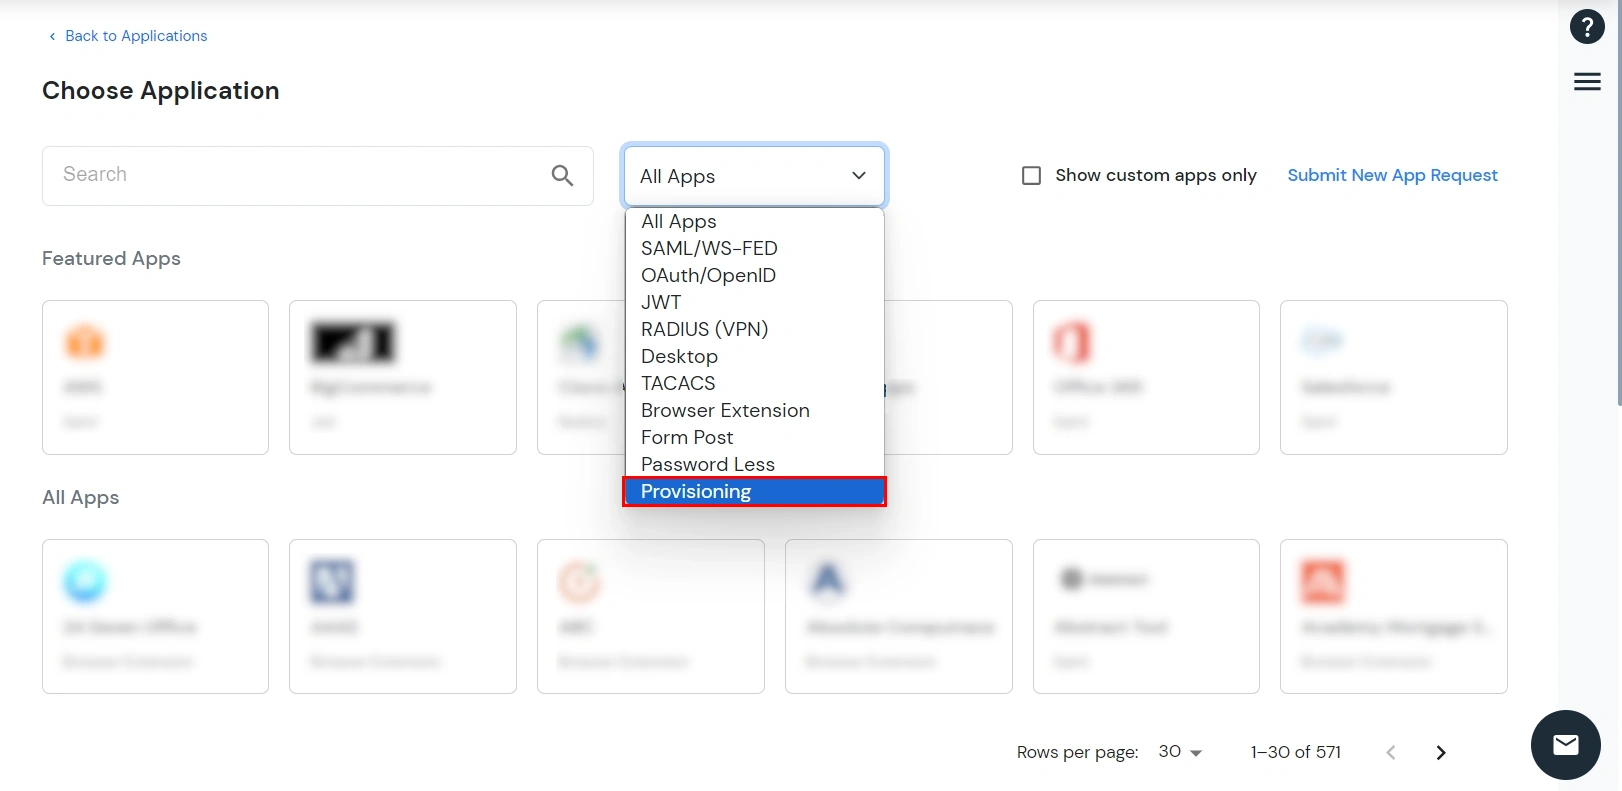
- Select Provisioning from the application type dropdown and search for SCIM Server.
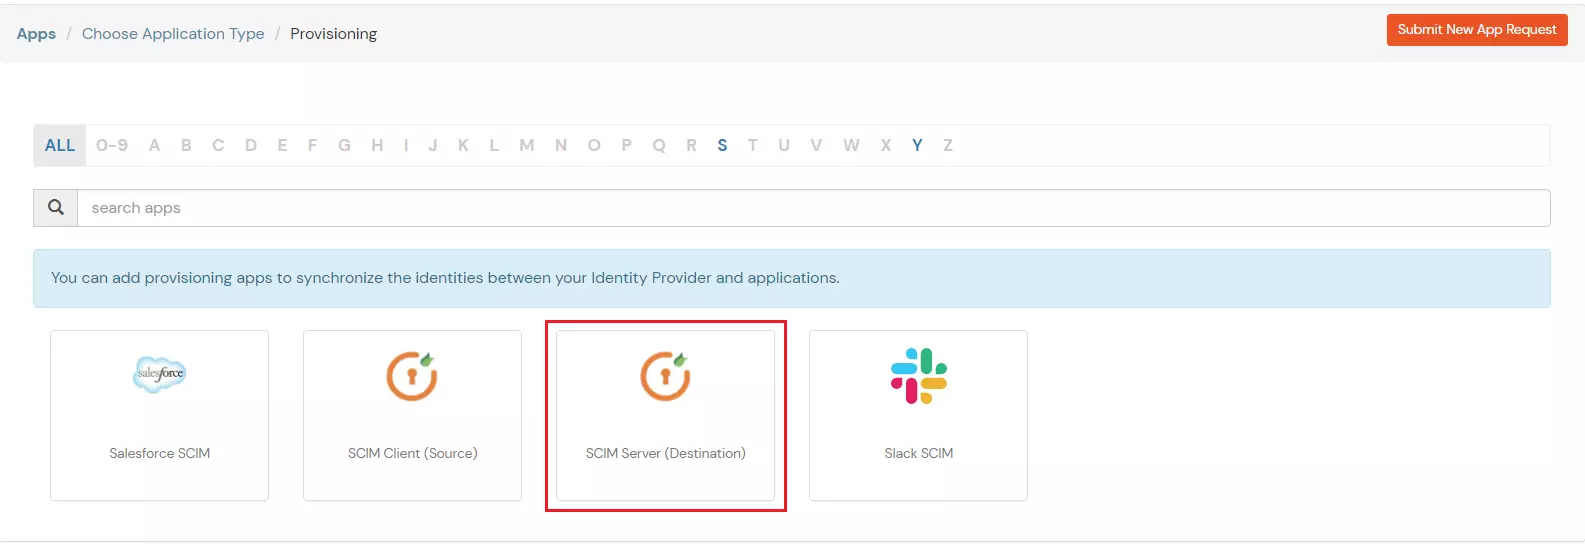
- Select the SCIM Server application, enter an application name, and continue.
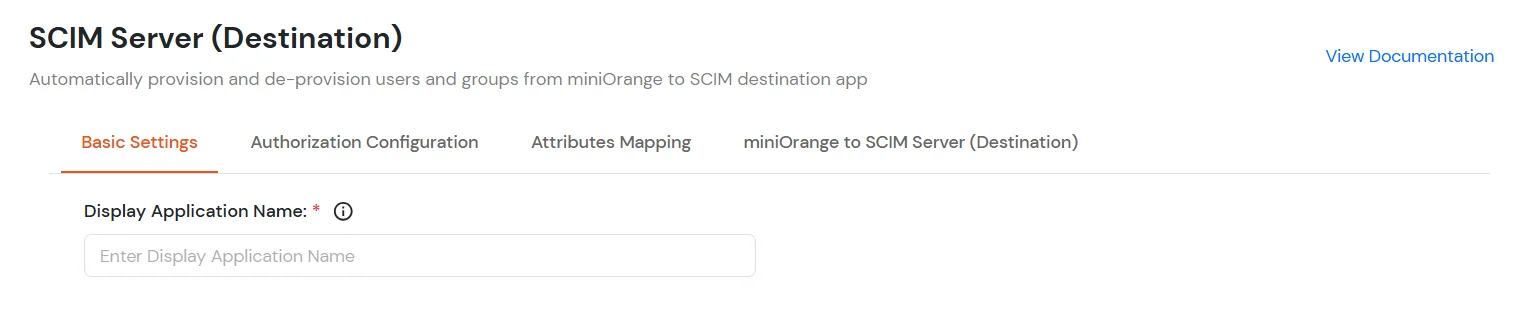
- On the Authorization tab, configure the following:
- Paste the Zoho Sync Endpoint into the miniOrange SCIM Base URL field.
- Paste the Zoho SCIM Token into the miniOrange Bearer Token field.
- Click Test Connection. If the connection is successful, click Save and Next.
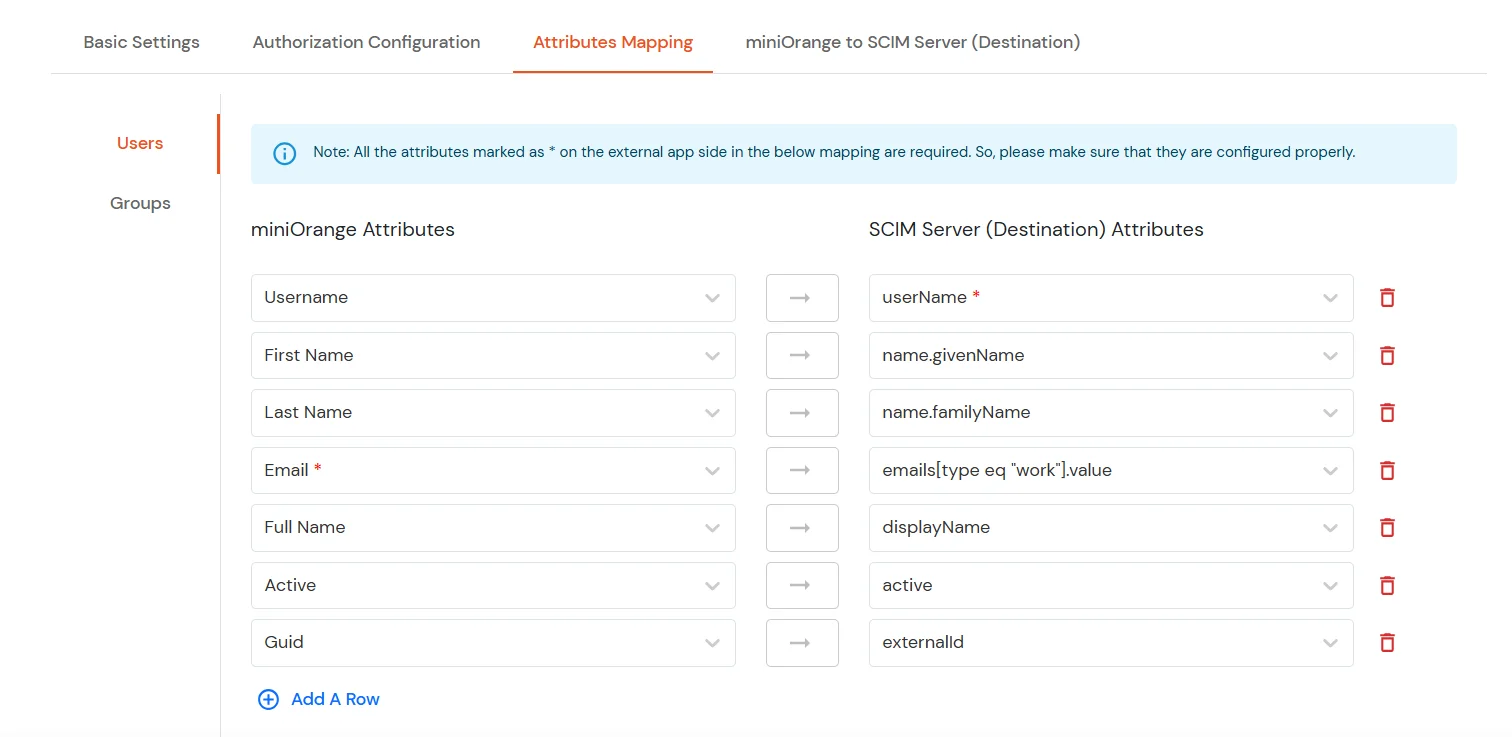
- On the Attributes tab, retain the default mappings and click Save and Next.
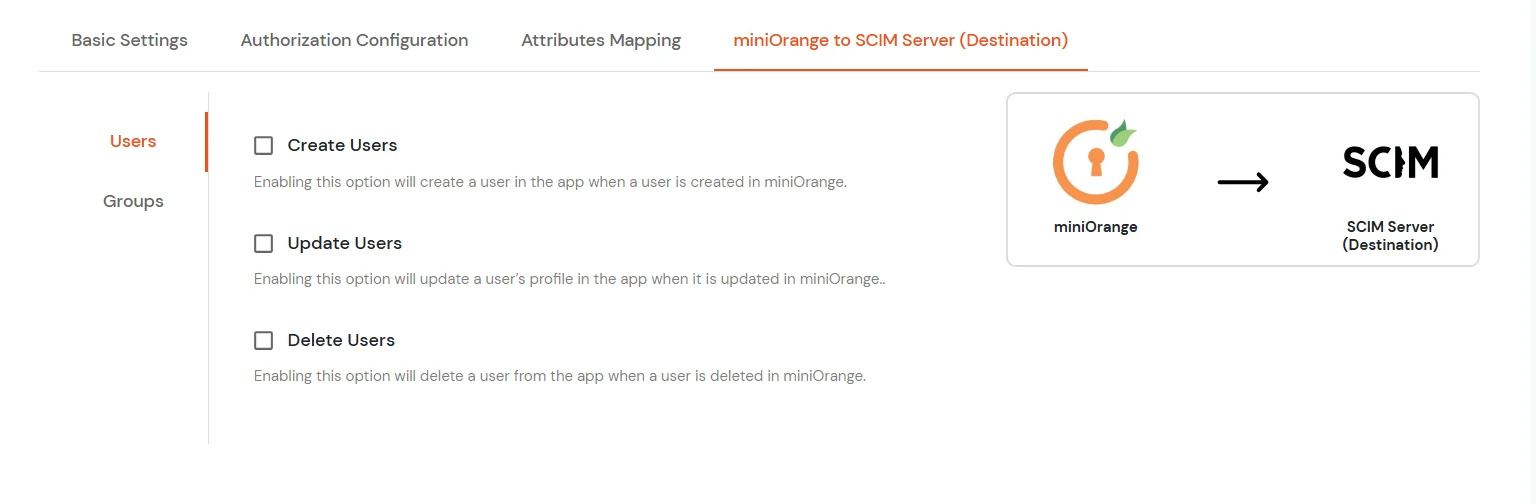
- On the miniOrange to SCIM Server(Destination) tab, enable the required user operations and save the configuration.
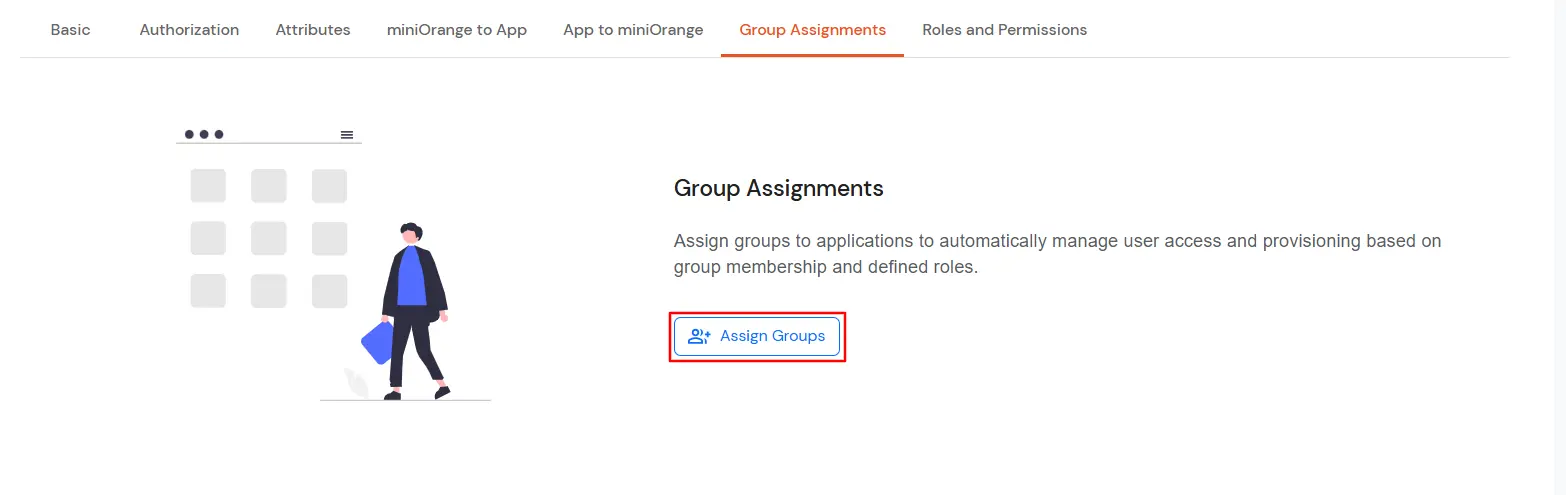
- Open the Group Assignment tab and assign the required group to the application.
- Add the users you want to provision to the assigned group.
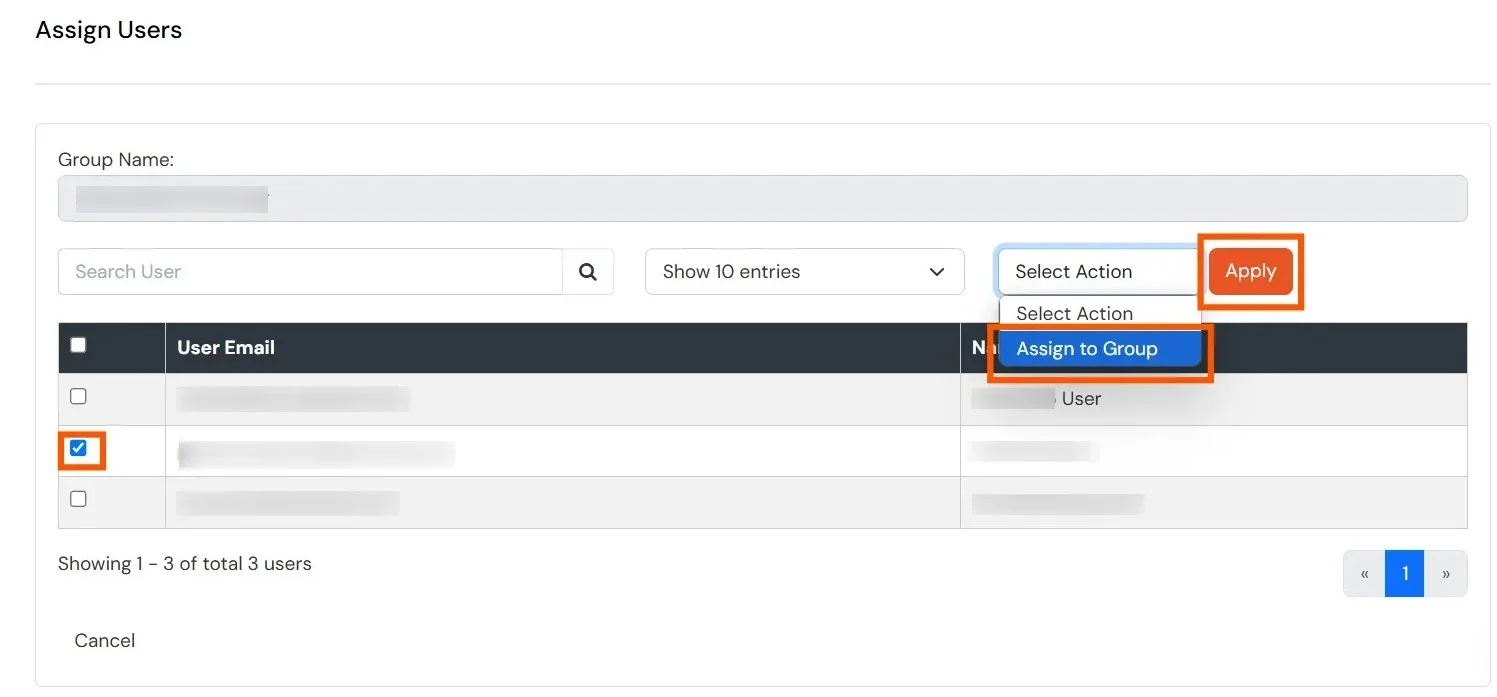
- Check Provisioning Reports to confirm whether the users were successfully provisioned to Zoho.
View Provisioning Reports
How to access Provisioning Reports?
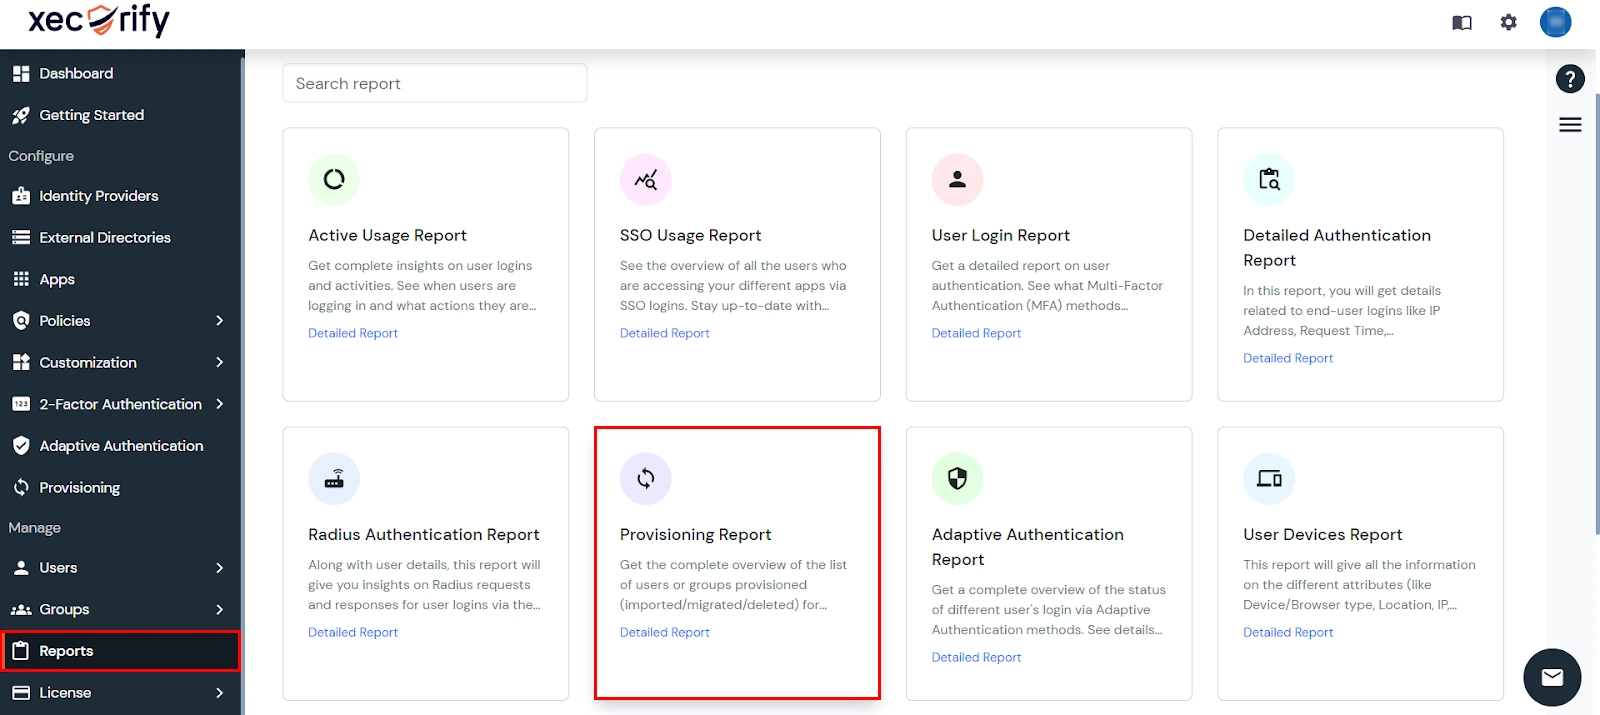
- Navigate to Reports in the left-hand navigation pane, search for Provisioning, and select Provisioning Report.
- Filter the reports by specifying Enduser Identifier and Application Name criteria. Additionally, choose the desired timespan for the reports. Once done, click on the Search.
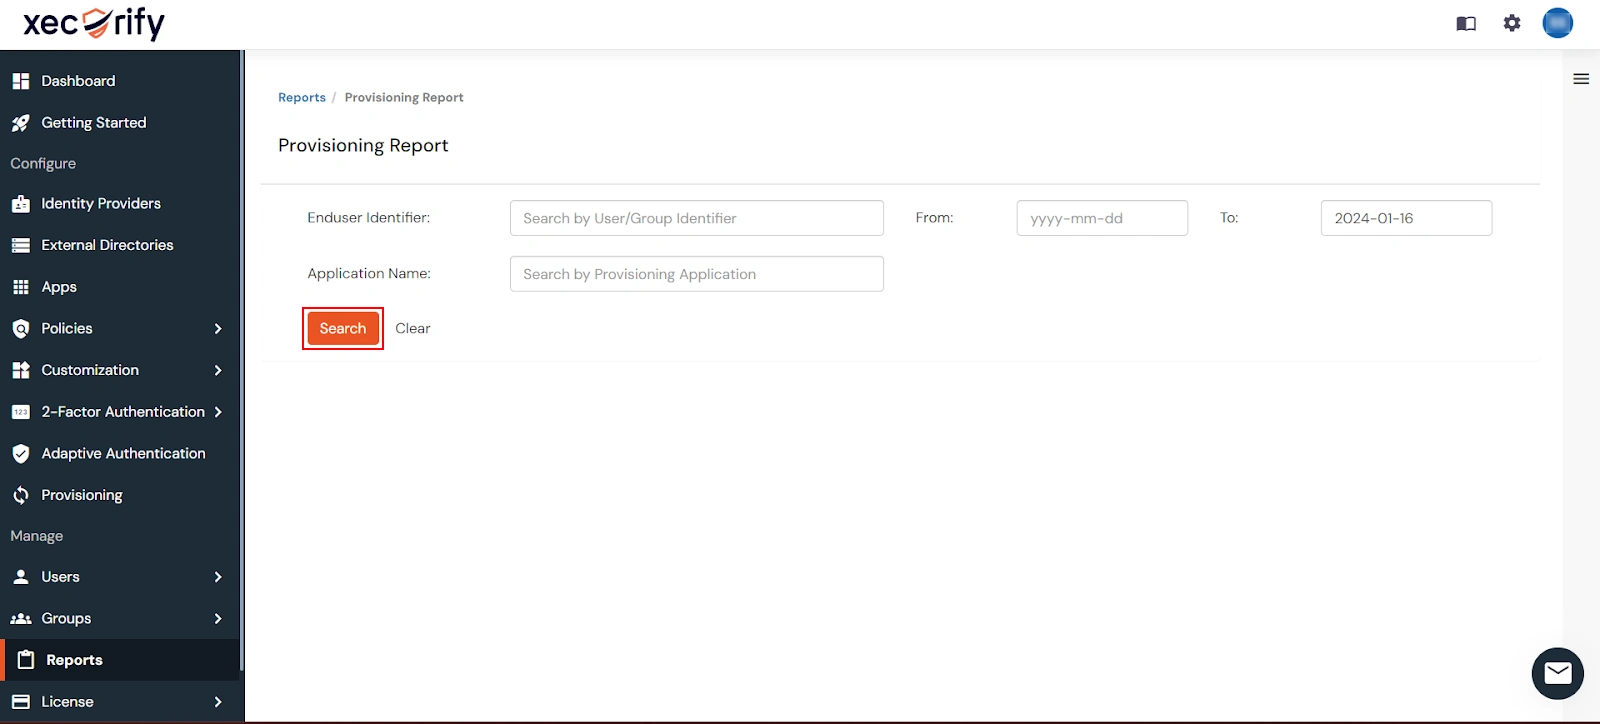
- Alternatively, you can directly click on Search to retrieve all provisioning reports based on time without applying any specific filters.
External References