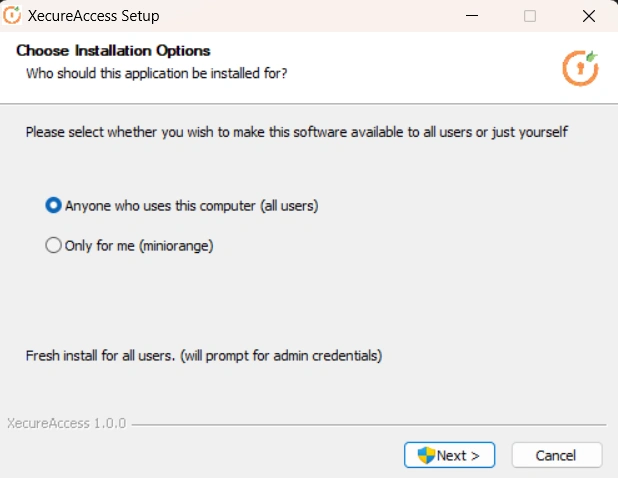
Step 1: Download the Installation File
- Log in to the PAM Dashboard.
- Navigate to Resources >> My Resources.
- Locate the download icon and click to download the .zip file.
- Save the file to your preferred location.
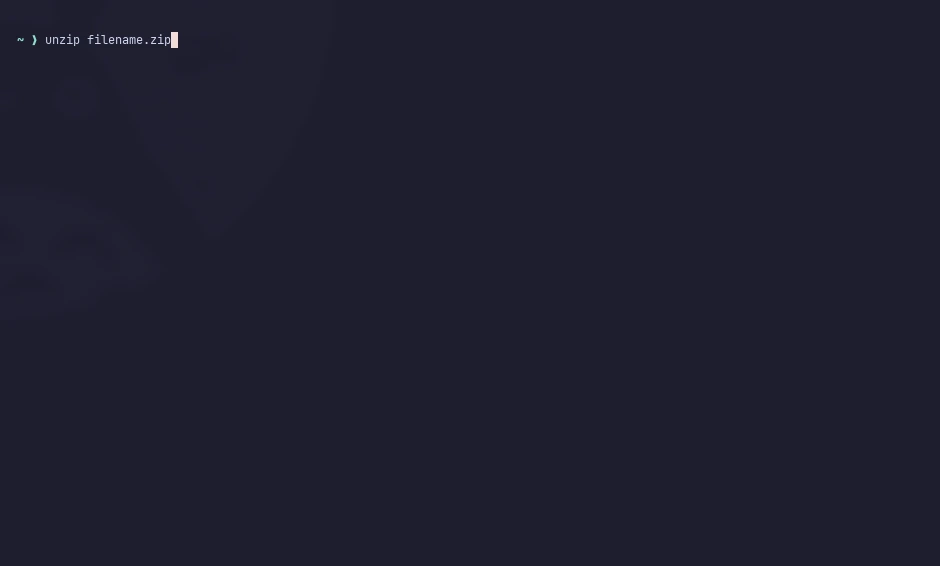
Step 2: Extract the Archive
- Navigate to the download location.
- Right-click on the .zip file and select Extract Here.
- Alternatively, use terminal: unzip filename.zip
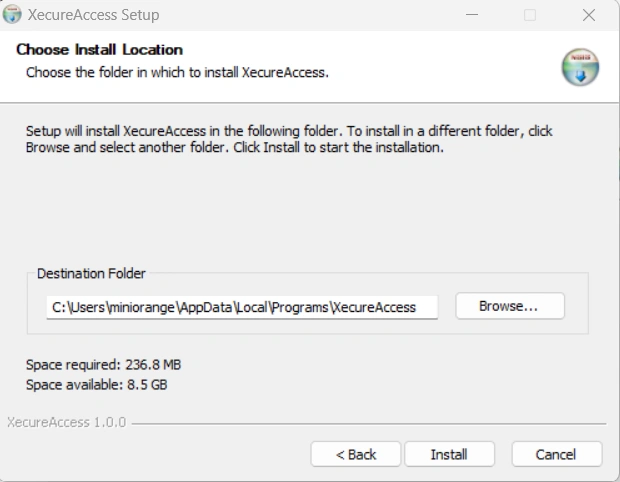
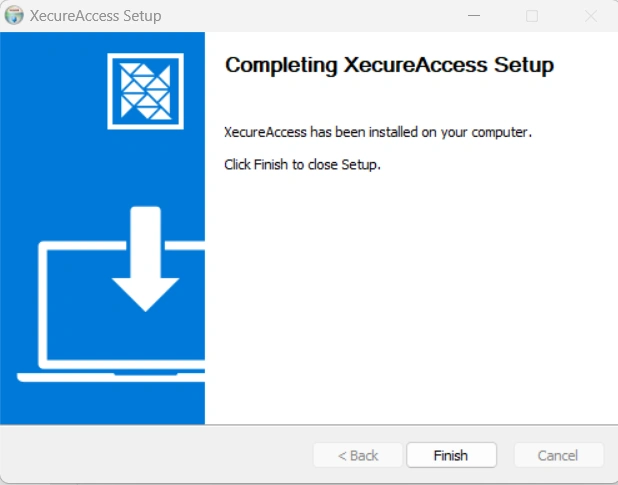
Step 3: Install the Application
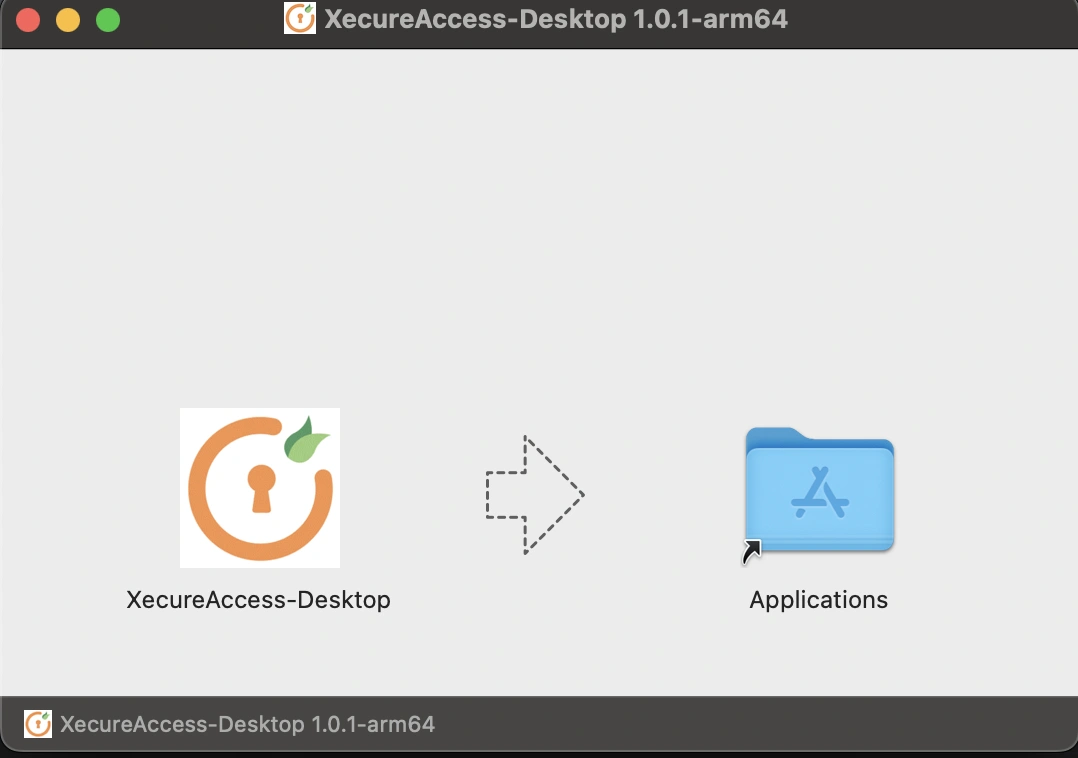
- Open the extracted folder.
- Locate XecureAccess-Desktop.app.
- Drag and drop it into the Applications folder.
Step 4: Run Installer Script
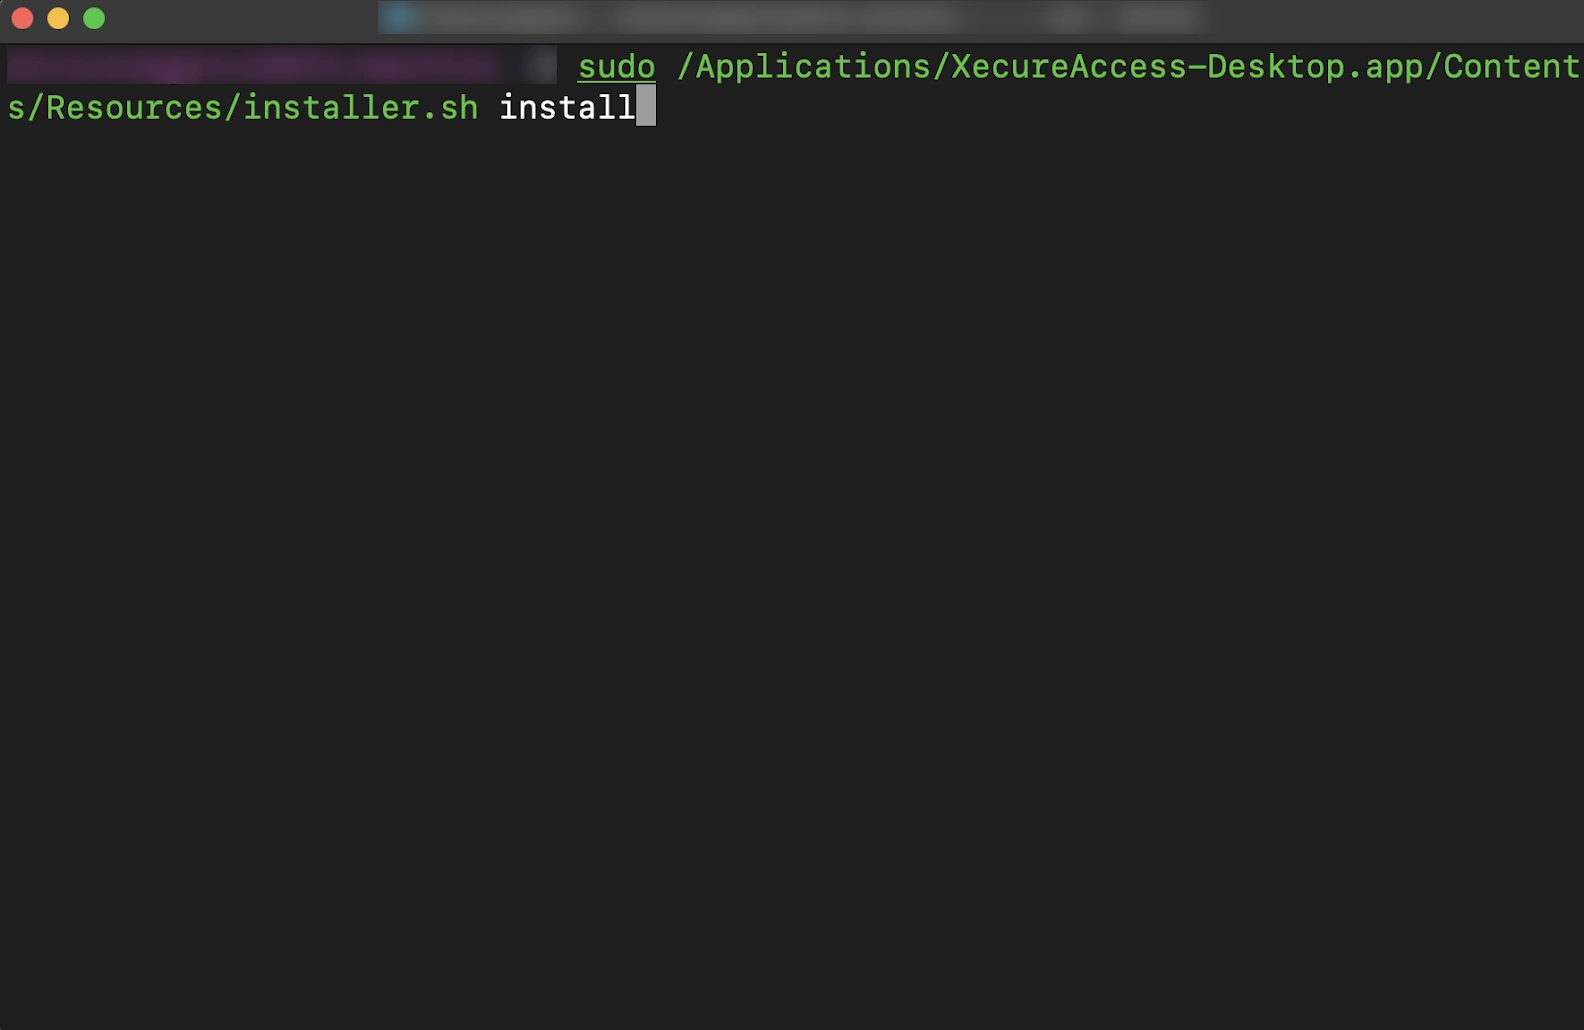
- Now open Terminal and run:
sudo /Applications/XecureAccess-Desktop.app/Contents/Resources/installer.sh install- Enter your Mac password when prompted.
Step 5: Configure XecureAccess
- Go to the PAM dashboard, navigate to the resource you added, and try to access the resource.
Note:
While accessing the resource, if the screen shown below appears, complete the XecureAccess configuration from this section.
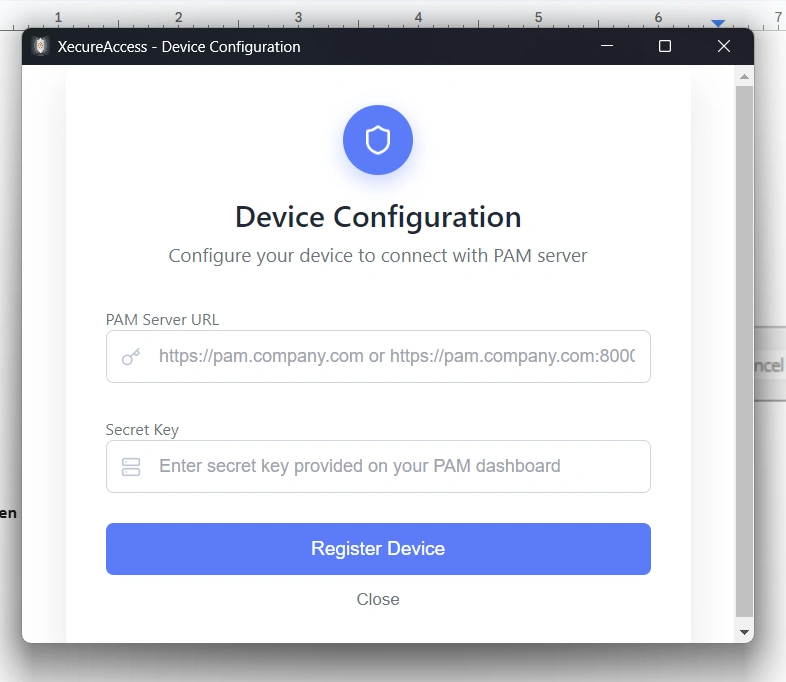
The configuration screen has the following fields:
- PAM Server URL: Enter your organization's PAM server URL.
- Secret Key: Secret key for the XecureAccess web app agent.
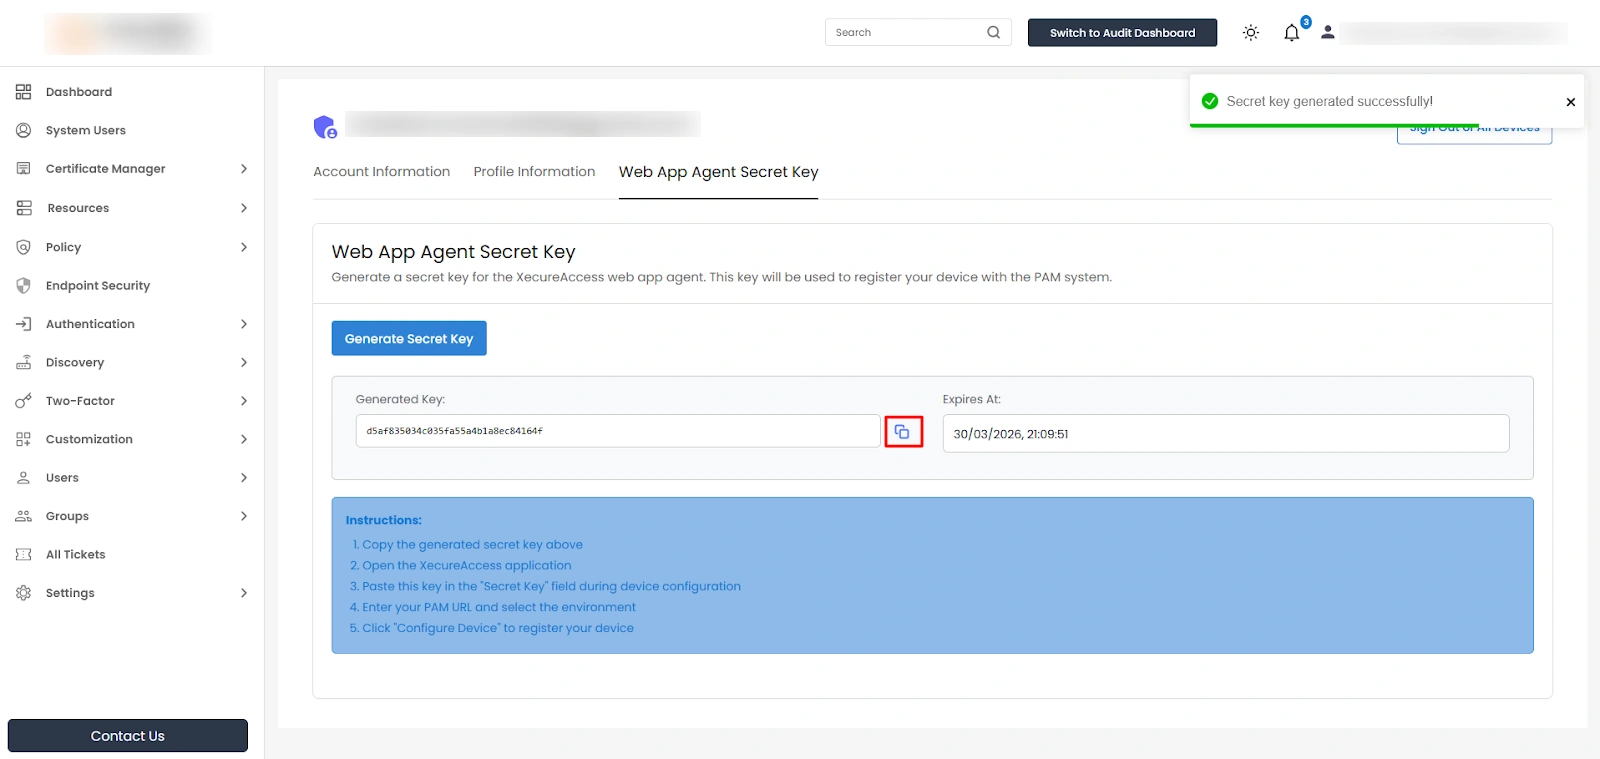
Obtaining Your Secret Key:
- Return to the PAM Dashboard
- Click on your Personal Profile
- Look for the Generate Secret Key option
- Click to generate a new secret key
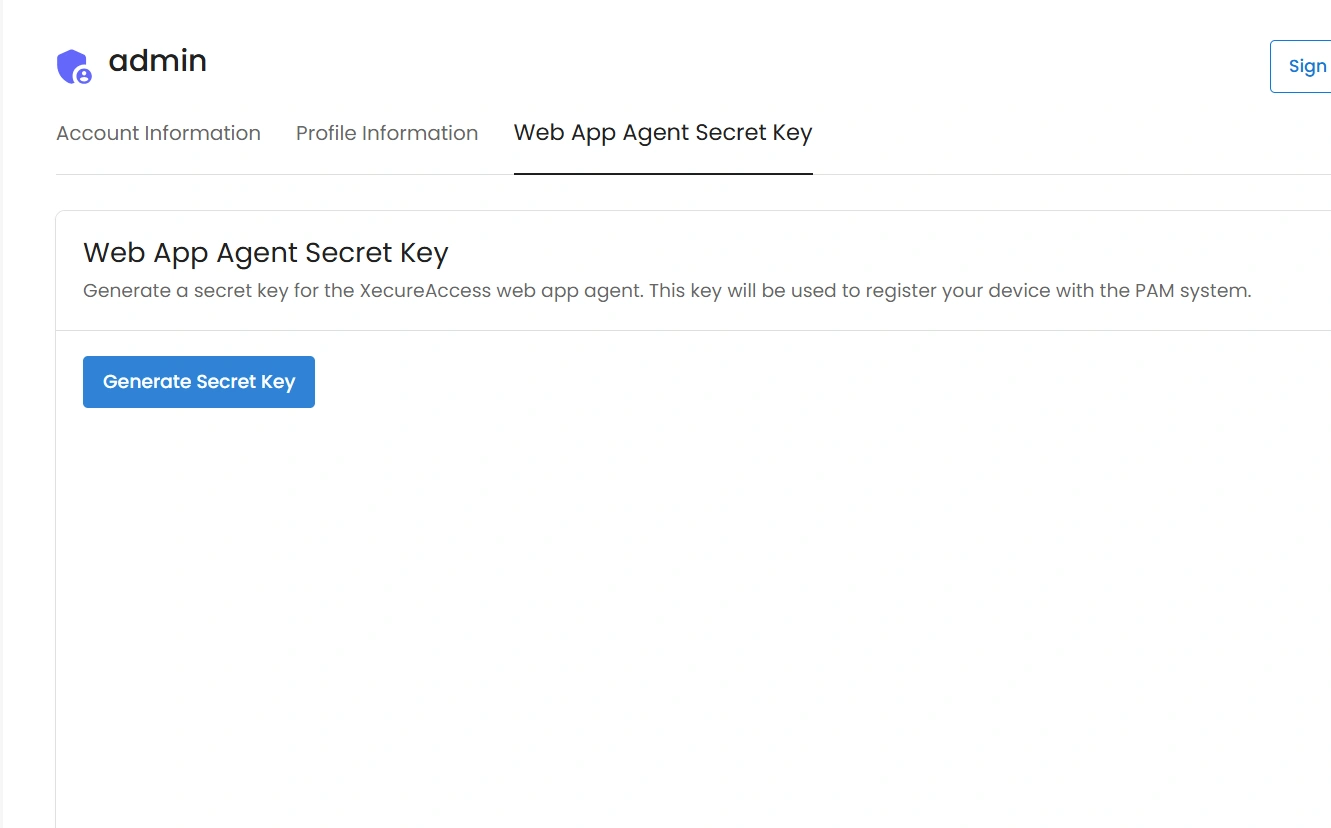
- Copy the generated key
Complete the Configuration:
- Paste the domain name in the Domain Name field
- Paste the copied secret key in the Secret Key field
- Click Submit
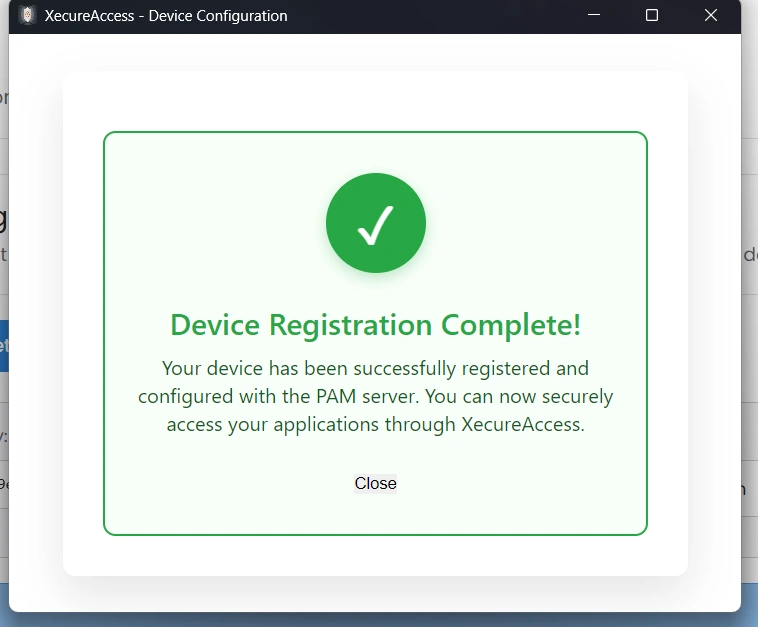
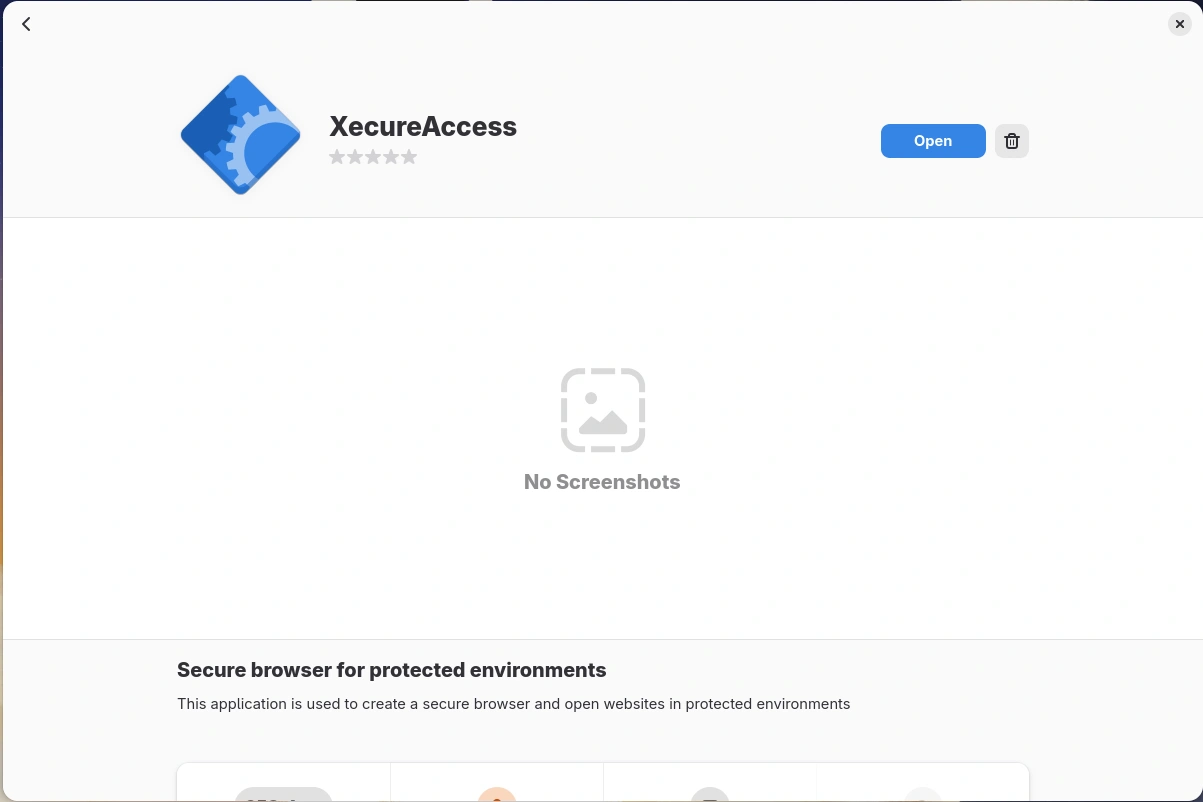
Step 6: Access Your Application
- Once the configuration is submitted successfully, you can now access your web application through PAM via XecureAccess.
Step 1: Download the Installation File
- Log in to the PAM Dashboard.
- Navigate to Resources >> My Resources.
- Locate the download icon and click to download the .zip file.
- Save the file to your preferred location.
Step 2: Extract the Archive
- Navigate to the download location.
- Right-click on the .zip file and select Extract Here.
- Alternatively, use terminal: unzip filename.zip
Step 3: Install the .deb Package
Option A: Terminal Installation
- Open Terminal.
- Navigate to the extracted file location:
cd /path/to/extracted/files
- Run the installation command:
sudo dpkg -i filename.deb
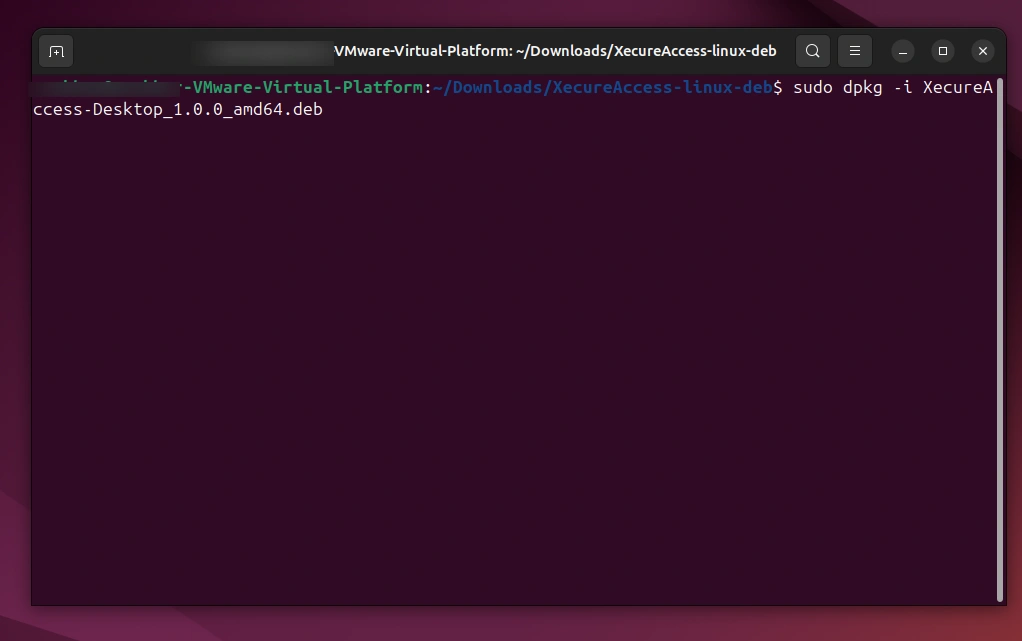
- Enter your password when prompted.
- Wait for the installation to complete.
Option B: GUI Installation
- Open your file manager.
- Navigate to the location of the .deb file.
- Right-click on the .deb file.
- Select Open with AppCenter (or Software Install).
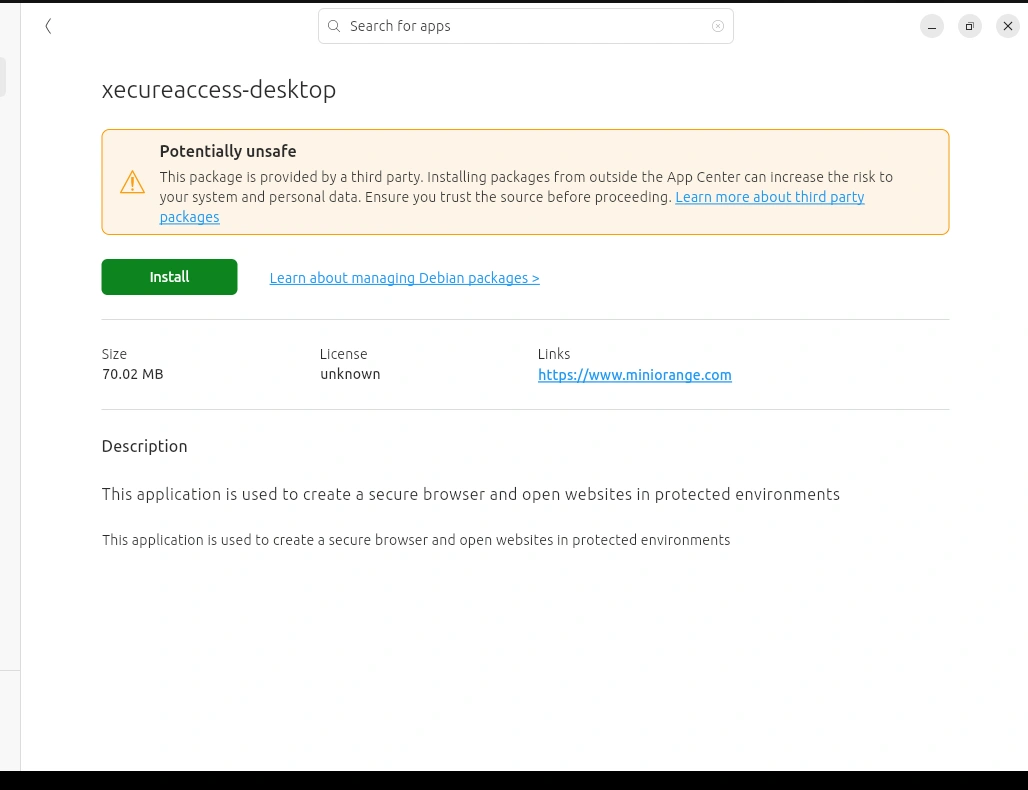
- Click Install and enter your password when prompted.
Step 4: Configure XecureAccess
- Go to the PAM dashboard, navigate to the resource you added, and try to access the resource.
Note:
While accessing the resource, if the screen shown below appears, complete the XecureAccess configuration from this section.
The configuration screen has the following fields:
- PAM Server URL: Enter your organization's PAM server URL.
- Secret Key: Secret key for the XecureAccess web app agent.
Obtaining Your Secret Key:
- Return to the PAM Dashboard
- Click on your Personal Profile
- Look for the Generate Secret Key option
- Click to generate a new secret key
- Copy the generated key
Complete the Configuration:
- Paste the domain name in the Domain Name field
- Paste the copied secret key in the Secret Key field
- Click Submit
Step 5: Access Your Application
- Once the configuration is submitted successfully, you can now access your web application through PAM via XecureAccess.
Uninstallation Steps
Run these commands on the terminal:
sudo apt purge filename
sudo rm -rf ~/.config/Xecureaccess
sudo rm -rf /opt/XecureAccess
Verification:
dpkg -l | grep -i xecure
Step 1: Download the Installation File
- Log in to the PAM Dashboard.
- Navigate to Resources >> My Resources.
- Locate the download icon and click to download the .zip file.
- Save the file to your preferred location.
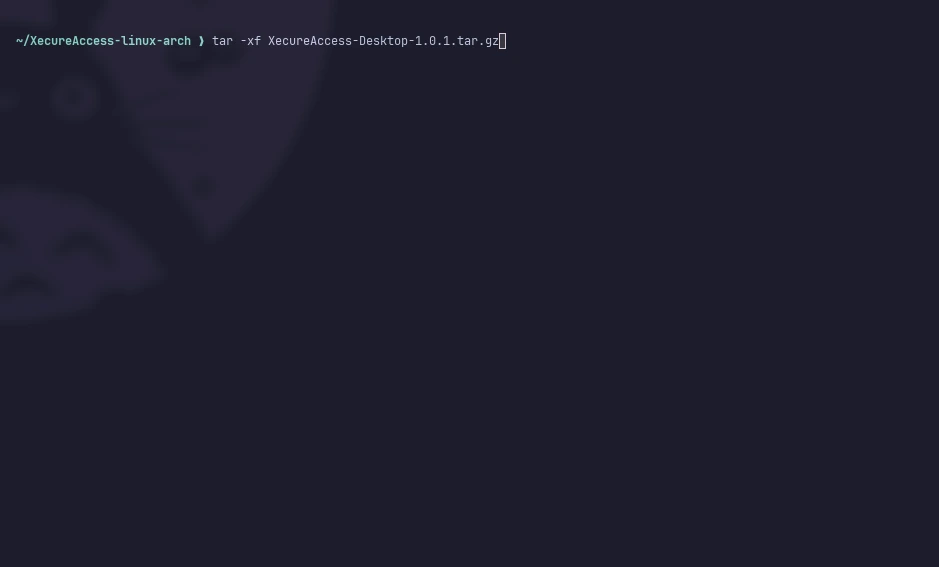
Step 2: Extract the Archive
- Navigate to the download location.
- Right-click on the .zip file and select Extract Here.
- Alternatively, use terminal: unzip filename.zip
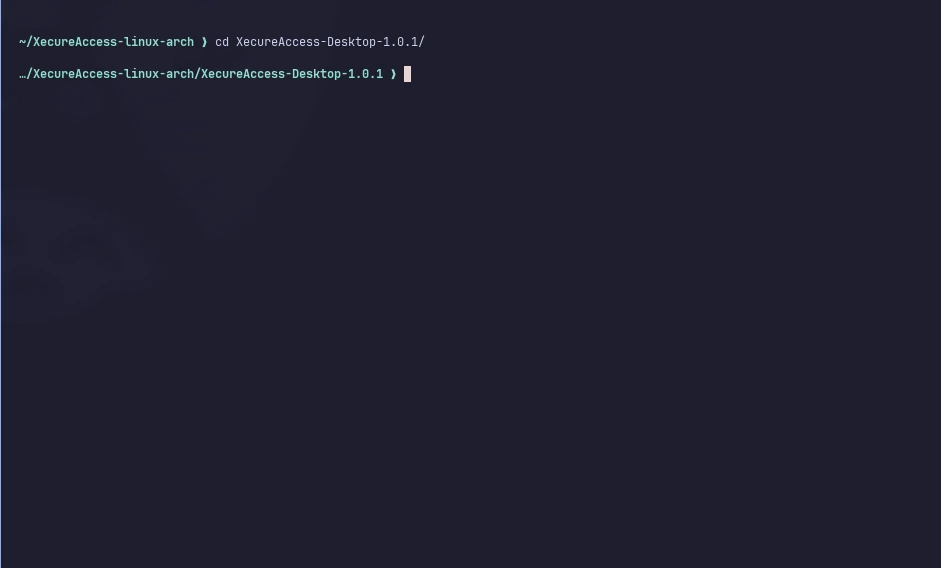
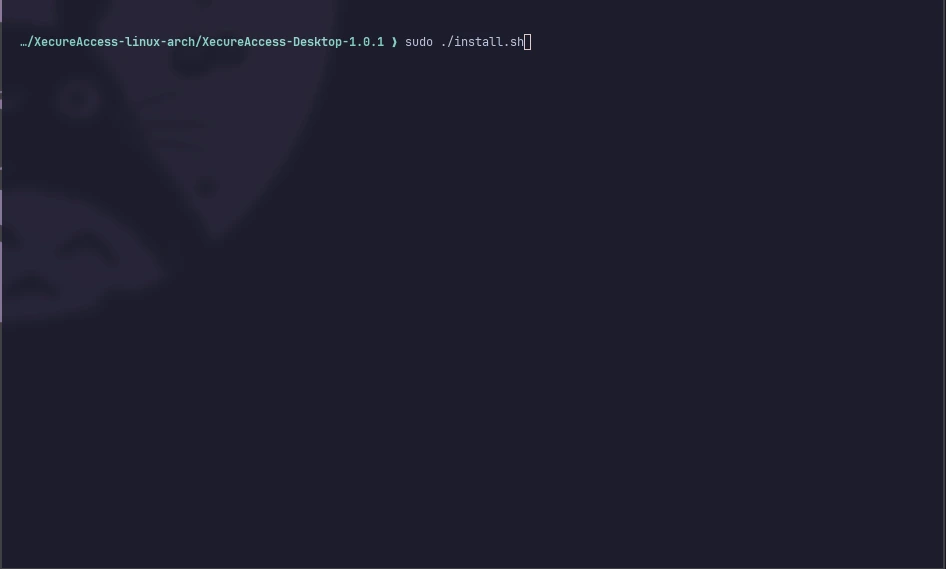
Step 3: Install the .rpm Package
Option A: Terminal Installation
- Open Terminal
- Navigate to the extracted file location:
cd/path/to/extracted/files
- Run the installation command:
sudo dnf install filename.rpm
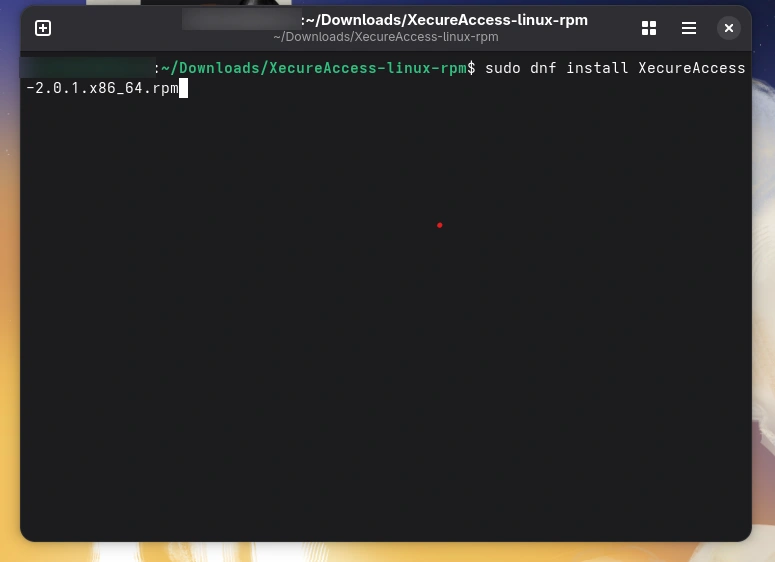
- Enter your password when prompted
- Wait for the installation to complete
Option B: GUI Installation
- Open your file manager
- Navigate to the location of the .deb file
- Right-click on the .deb file
- Select Open with AppCenter (or Software Install)
- Click Install and enter your password when prompted.
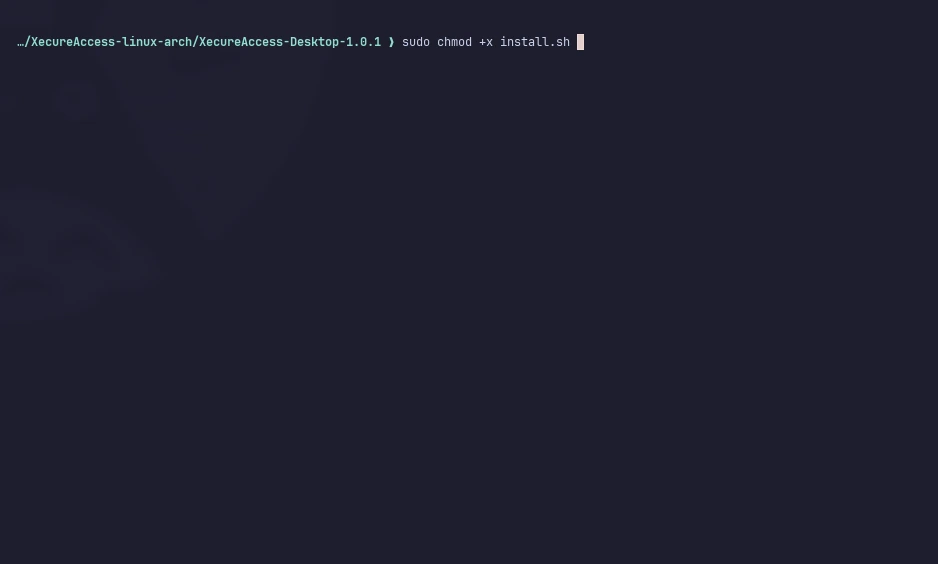
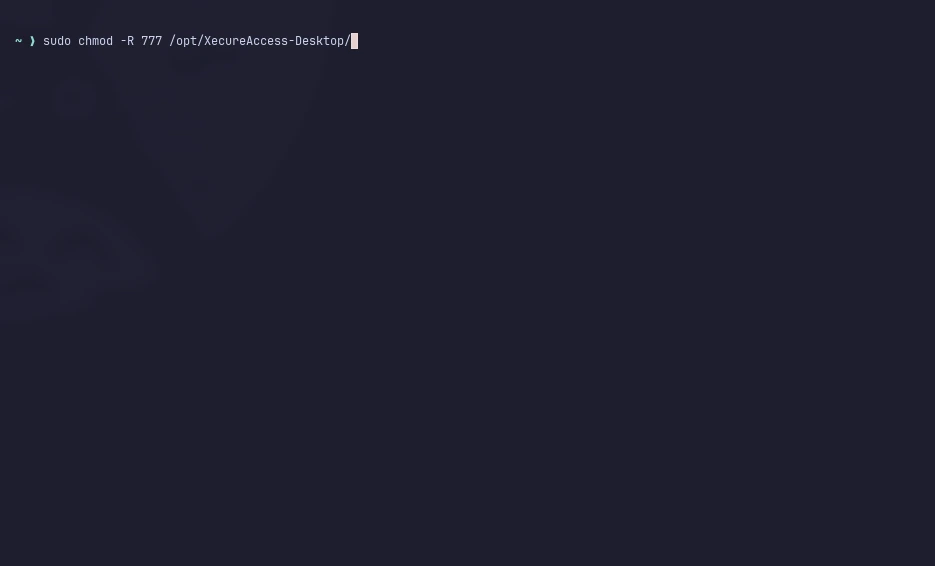
Step 4: Give Permission
Step 5: Configure XecureAccess
- Go to the PAM dashboard, navigate to the resource you added, and try to access the resource.
Note:
While accessing the resource, if the screen shown below appears, complete the XecureAccess configuration from this section.
The configuration screen has the following fields:
- PAM Server URL: Enter your organization's PAM server URL.
- Secret Key: Secret key for the XecureAccess web app agent.
Obtaining Your Secret Key:
- Return to the PAM Dashboard
- Click on your Personal Profile
- Look for the Generate Secret Key option
- Click to generate a new secret key
- Copy the generated key
Complete the Configuration:
- Paste the domain name in the Domain Name field
- Paste the copied secret key in the Secret Key field
- Click Submit
Step 6: Access Your Application
- Once the configuration is submitted successfully, you can now access your web application through PAM via XecureAccess.
Uninstallation Steps
Run these commands on the terminal:
sudo dnf remove filename
sudo rm -rf ~/.config/Xecureaccess
sudo rm -rf /opt/XecureAccess
Verification: rpm -qa | grep -i xecure