Configure Scim Provisioning for Salesforce Apps
SCIM provisioning with Salesforce via miniOrange enables you to manage access privileges through Salesforce SCIM provisioning via miniOrange allows you to set up new users/groups and helps to manage access through the user lifecycle management. miniOrange can create and update user accounts for new or existing users, remove accounts for deactivated users, and synchronize attributes across Salesforce and linked Identity sources.
To configure Salesforce SCIM provisioning and initiate Salesforce user sync with miniOrange, follow the provided step-by-step instructions. This process ensures a streamlined and automated user synchronization between Salesforce and other connected applications.
Connect with External Source of Users
miniOrange provides user authentication from various external sources, which can be Directories (like ADFS, Microsoft Active Directory, OpenLDAP, AWS etc), Identity Providers (like Microsoft Entra ID, Okta, AWS), and many more. You can configure your existing directory/user store or add users in miniOrange.
Follow the step-by-step guide given below for User Sync Salesforce SCIM Provisioning
1. Setup Salesforce Provisioning in miniOrange
- Login to miniOrange dashboard.
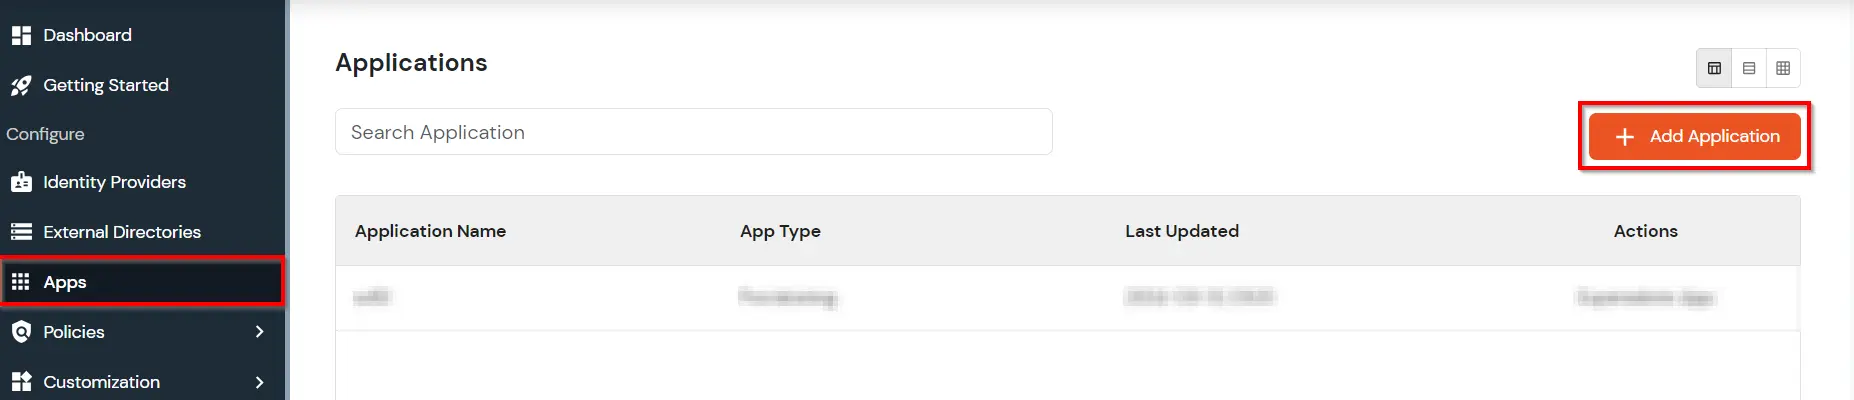
- Click on Apps. It shows a list of all configured applications and option to modify them. Click on Add Application.
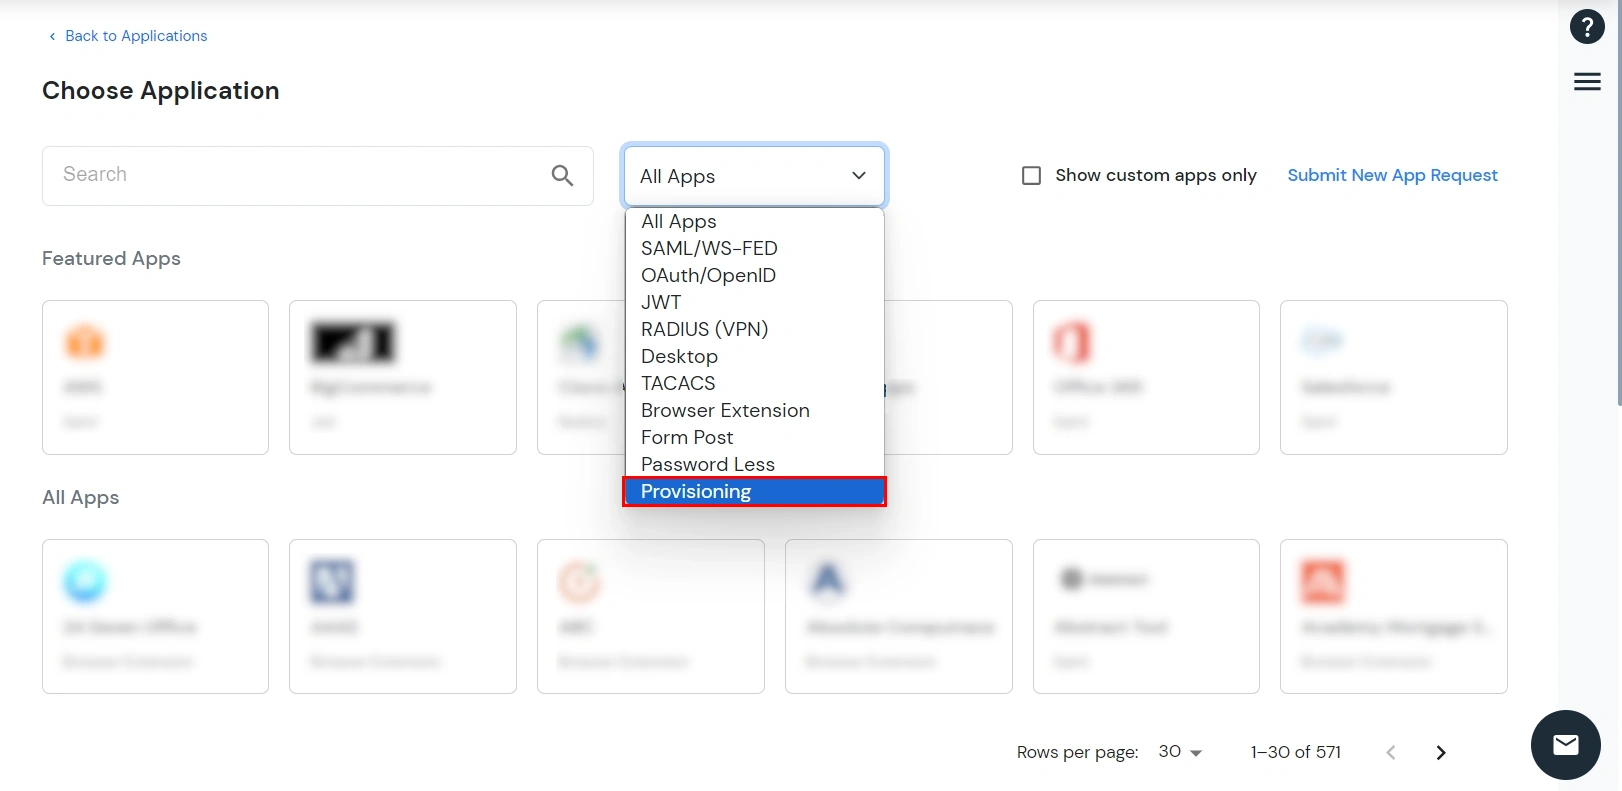
- Under Choose Application, select Provisioning from the All Apps dropdown.
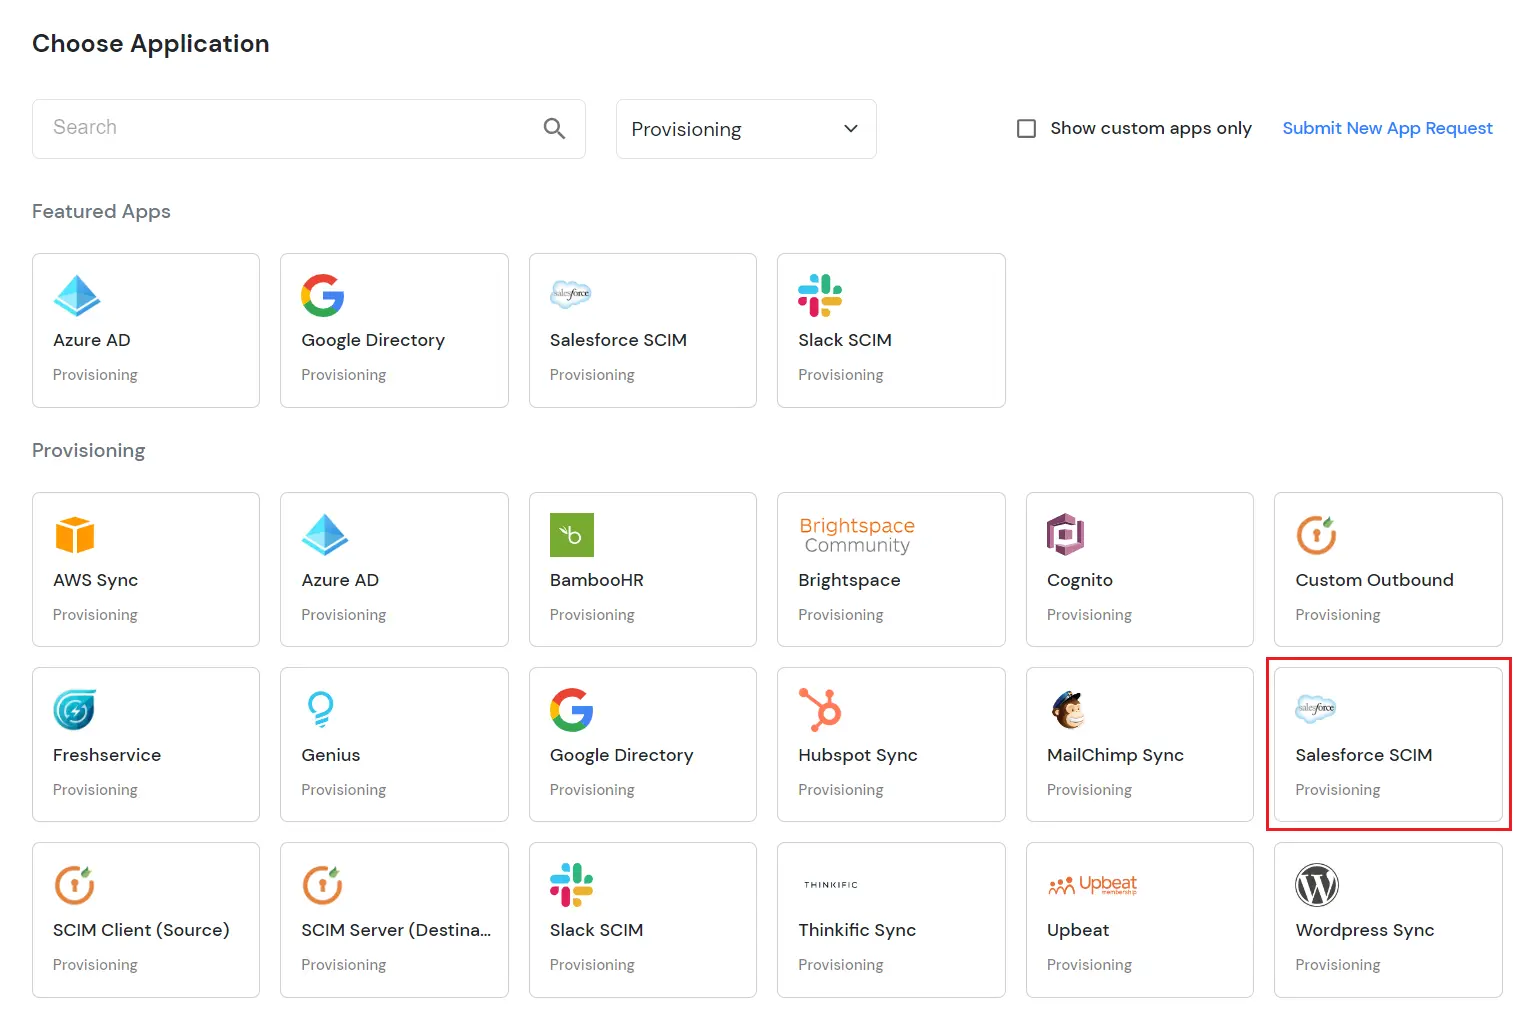
- Click on Salesforce SCIM app.
- Enter the SCIM base URL which will be in the following format: https://<your-company-domain>.my.salesforce.com/services/scim/v2
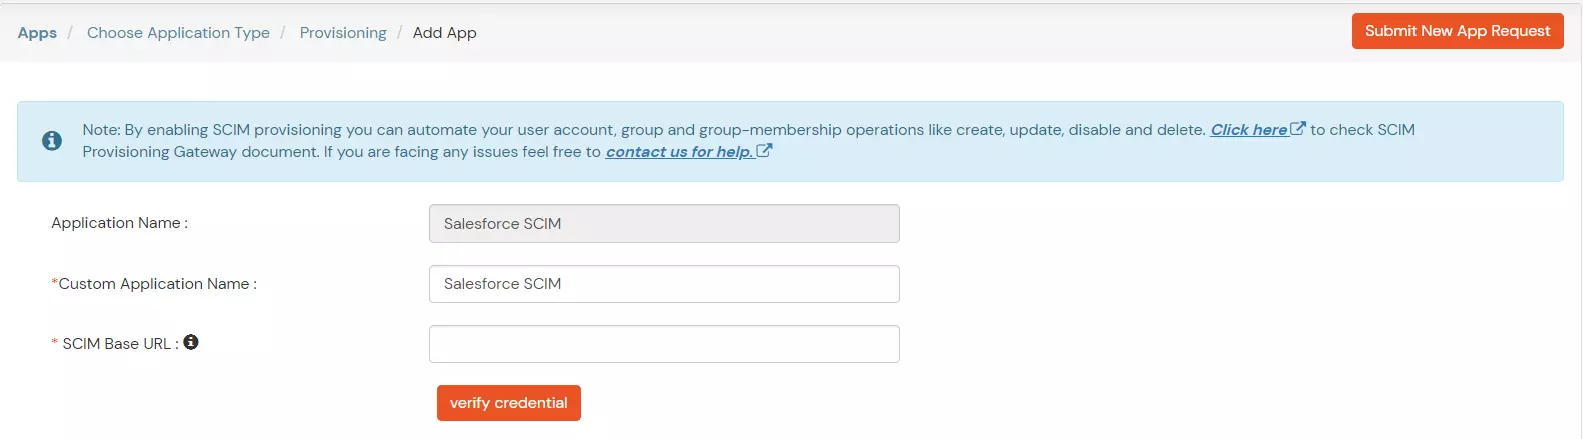
- Click on Verify credentials button. A new window will open which will ask you to login to Salesforce. Log in as an admin and allow the application.
- After verification is successful, close the new window.
- Configure Attribute Mapping in the following manner:
| Target Attributes |
miniOrange Attribute |
|
| userName |
DEFAULT USER PROFILE ATTRIBUTE |
Username |
| name.givenName |
DEFAULT USER PROFILE ATTRIBUTE |
First Name |
| name.familyName |
DEFAULT USER PROFILE ATTRIBUTE |
Last Name |
| emails[type eq\"work\"].value |
DEFAULT USER PROFILE ATTRIBUTE |
E-Mail Address |
| displayName |
DEFAULT USER PROFILE ATTRIBUTE |
Full Name |
| externalID |
DEFAULT USER PROFILE ATTRIBUTE |
GUID |
| entitlements[primary eq \"True\"].display |
CUSTOM USER PROFILE ATTRIBUTE |
entitlement Attribute 1 (will be created in Step 2) |

- Enable the required provisioning options and click on Save .
2. Add Custom Profile Attribute to Users
- We need to add the Salesforce Profile ID (bases on if you want to create a standard or a chatter free user) as a custom attribute to users in miniOrange.
- You can follow this link to find the profile IDs : help.salesforce.com
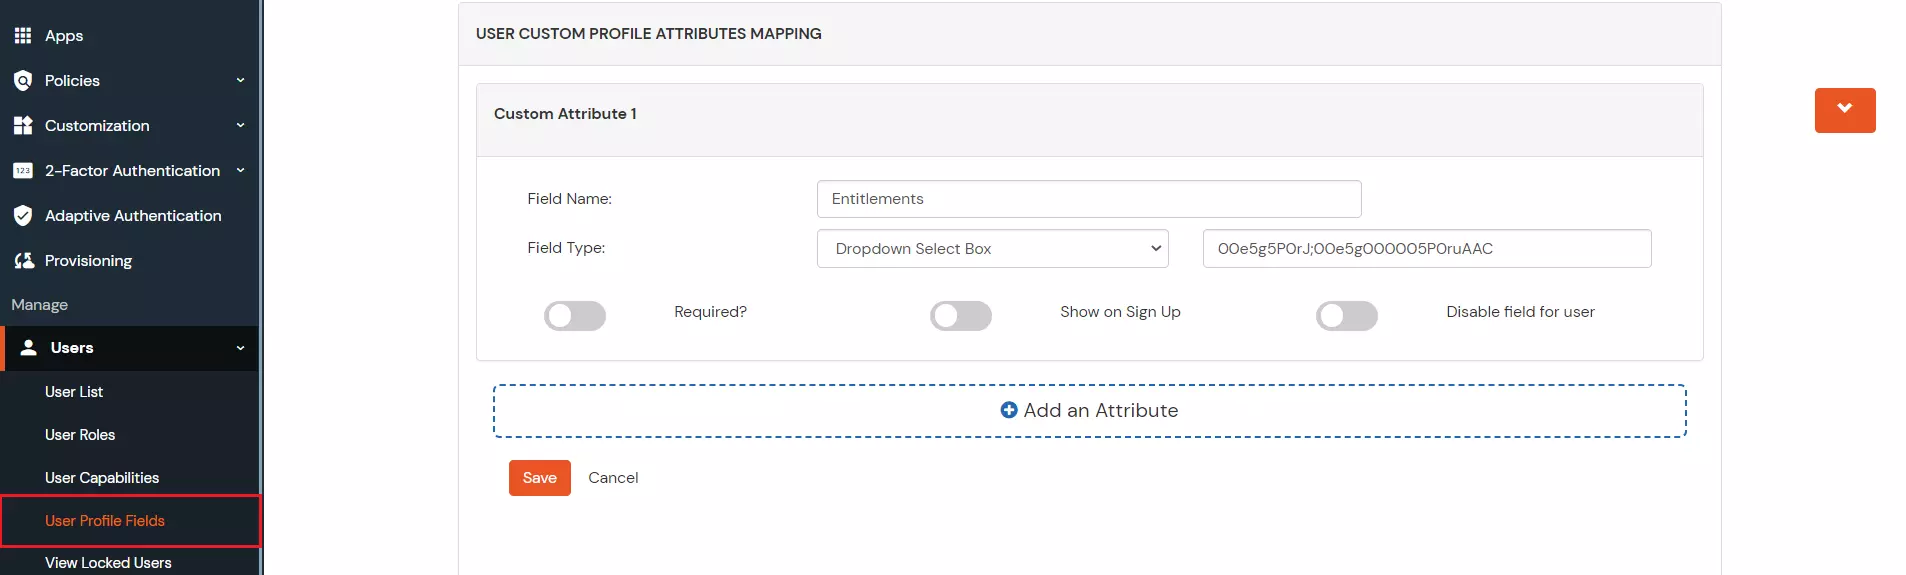
- Click on Users >> User Profile Fields.
- Add a custom attribute like the below:
3. Create User
- Go to Users >> Users List and add a new test user. Entitlement should be same as the profile field you want in miniorange.
4. Create Group
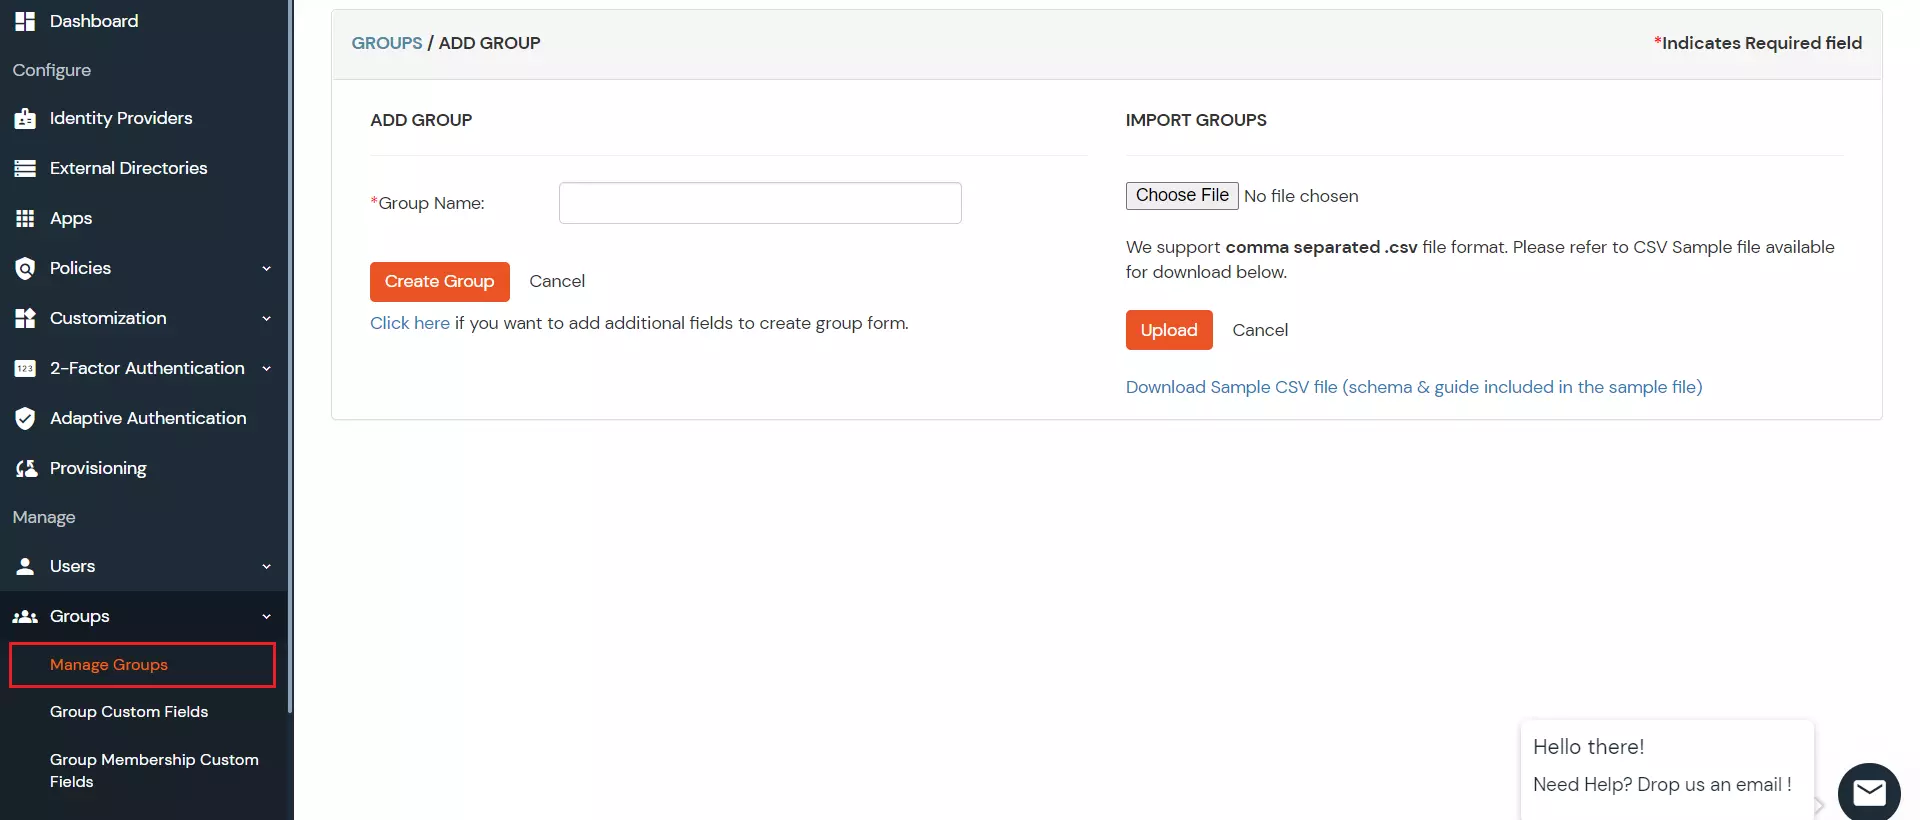
- Go to Groups >> Manage Group. Enter the Group Name and click on Create Group button and the group will be created.
5. Create Policy
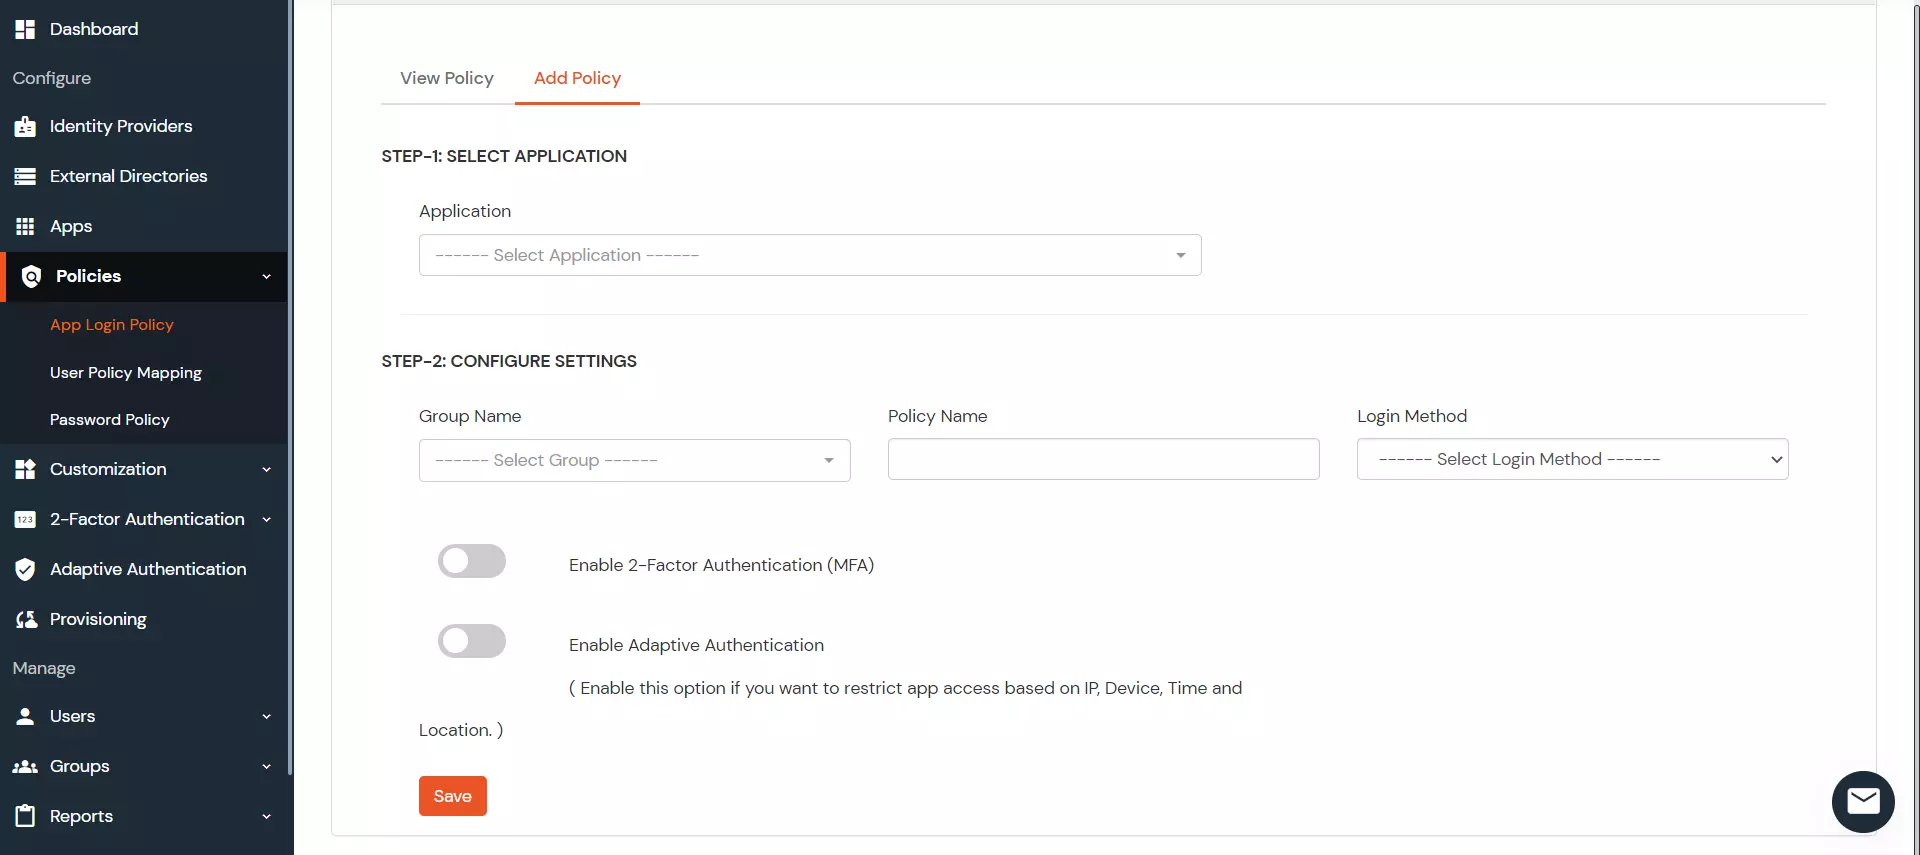
- In the Policies section, navigate to the Add Policy tab.
- In Select Application section, select Salesforce.
- In Configure Settings section, select the group you have created in step4 and enter the policy name.
- Choose password as login method and click on Save .
6. Test Provisioning
- For provisioning users in Salesforce, you’ll have to assign users to the requisite group. Go to groups >> Assign users and assign the test user to the salesforce specific group
- This should create the user and group in salesforce in the correct profile.
Note
- Deleting a user in miniorange will only deactivate the user in salesforce. Salesforce doesn’t allow user deletion.
- Salesforce supports username in the format of email only.
- Usernames in Salesforce must be unique across all tenants.
External References
