


Hello there!
Need Help? We are right here!
Need Help? We are right here!
Search Results:
× Shopify
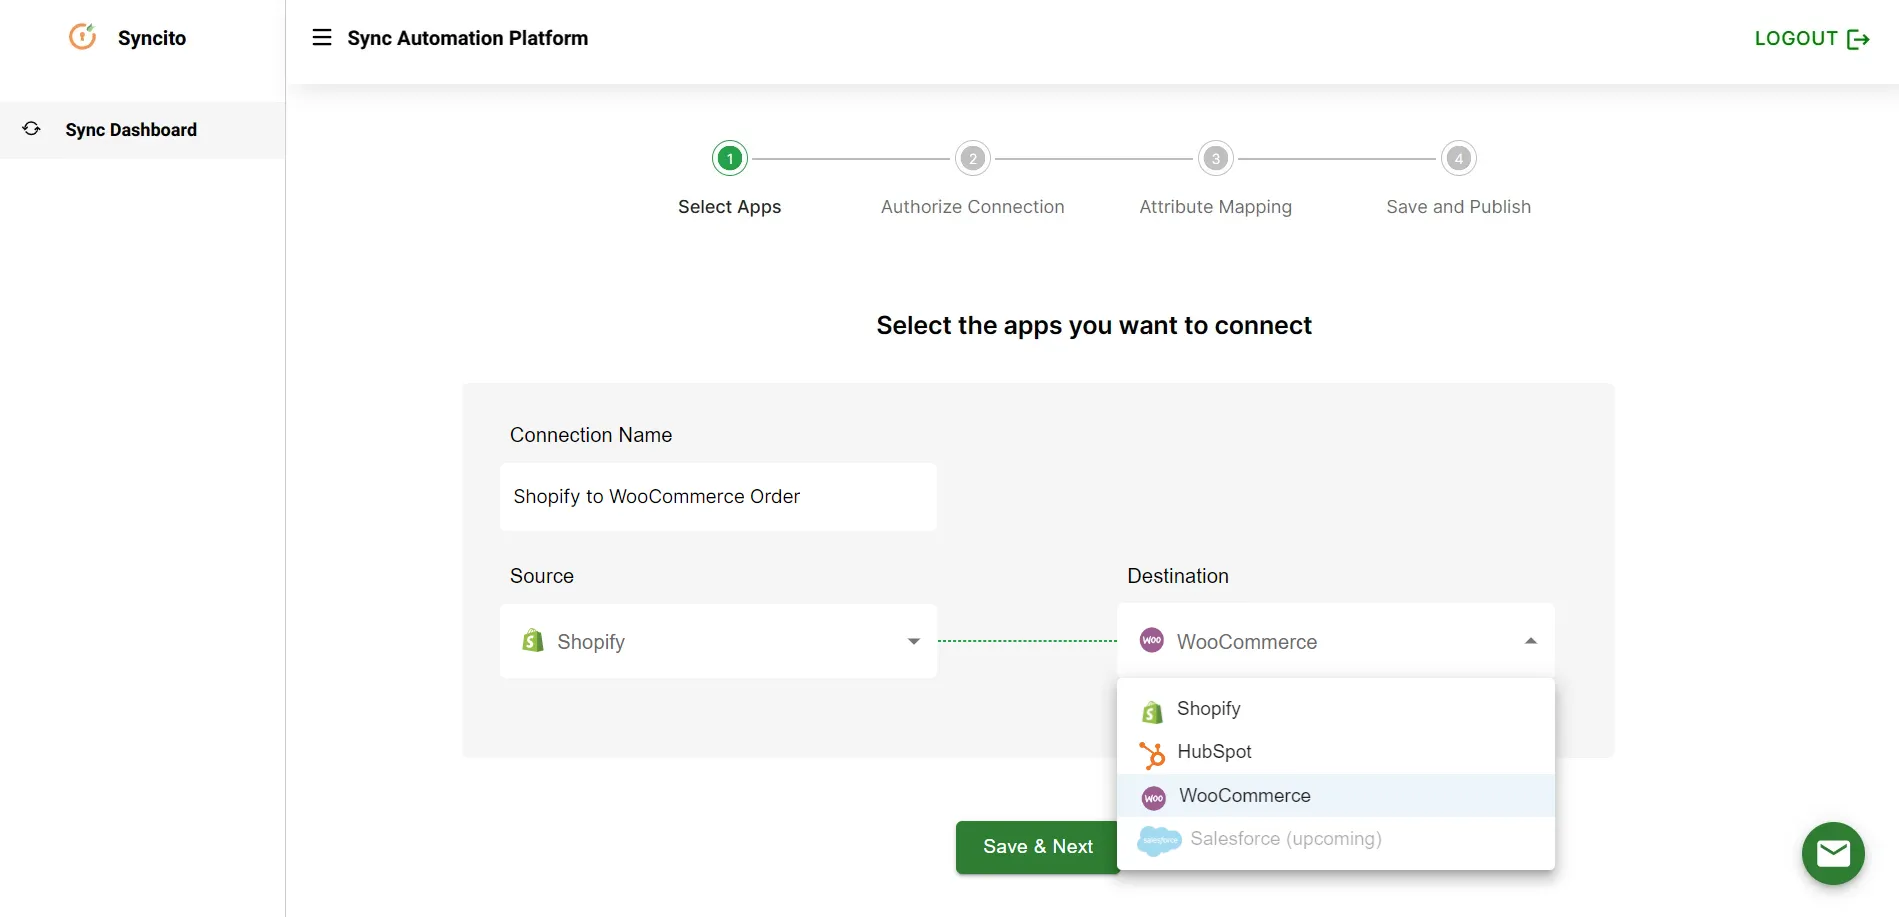
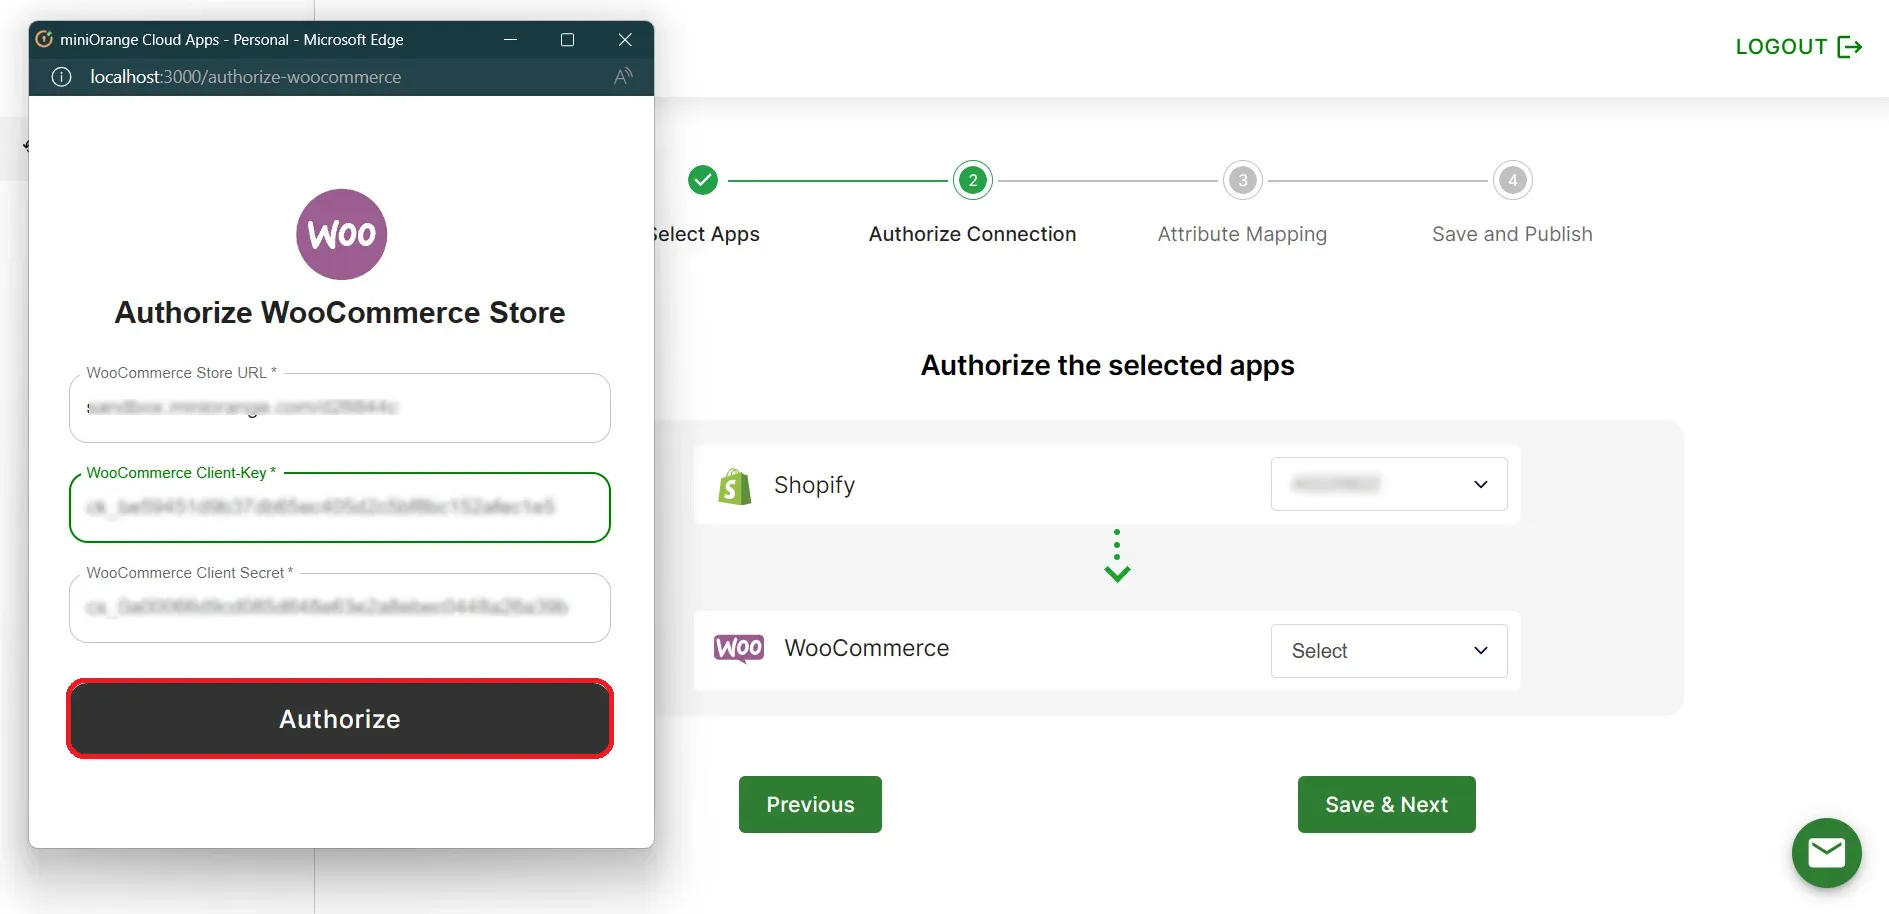
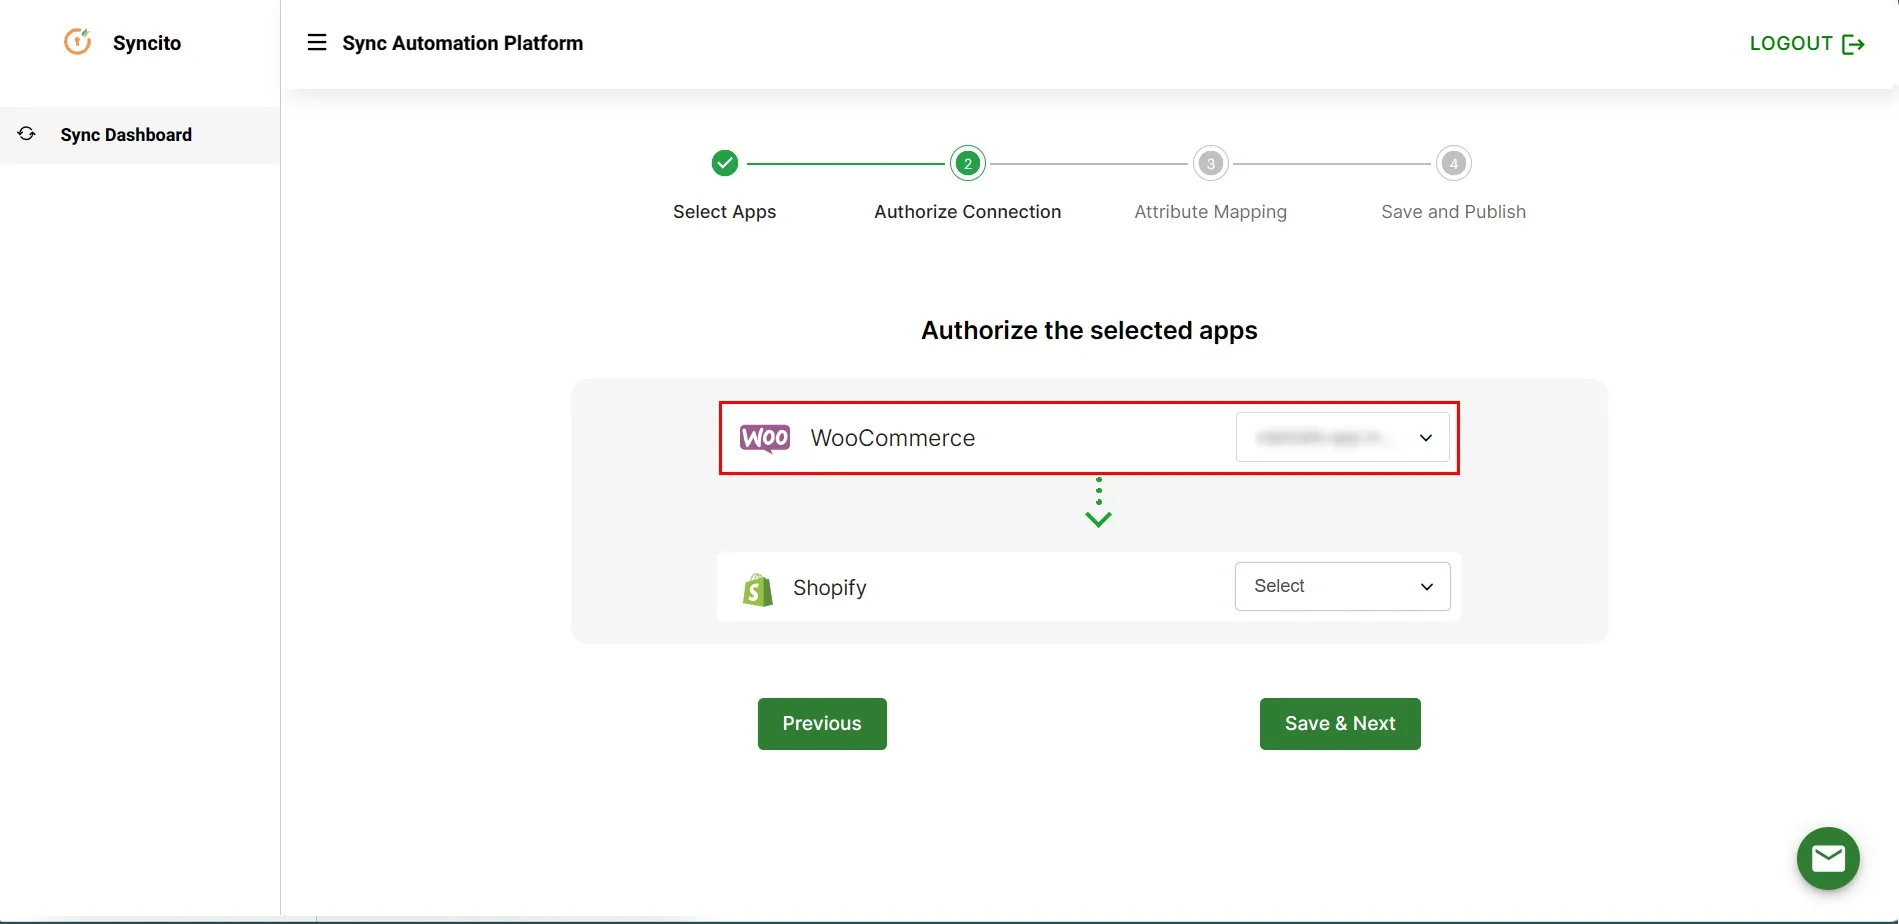

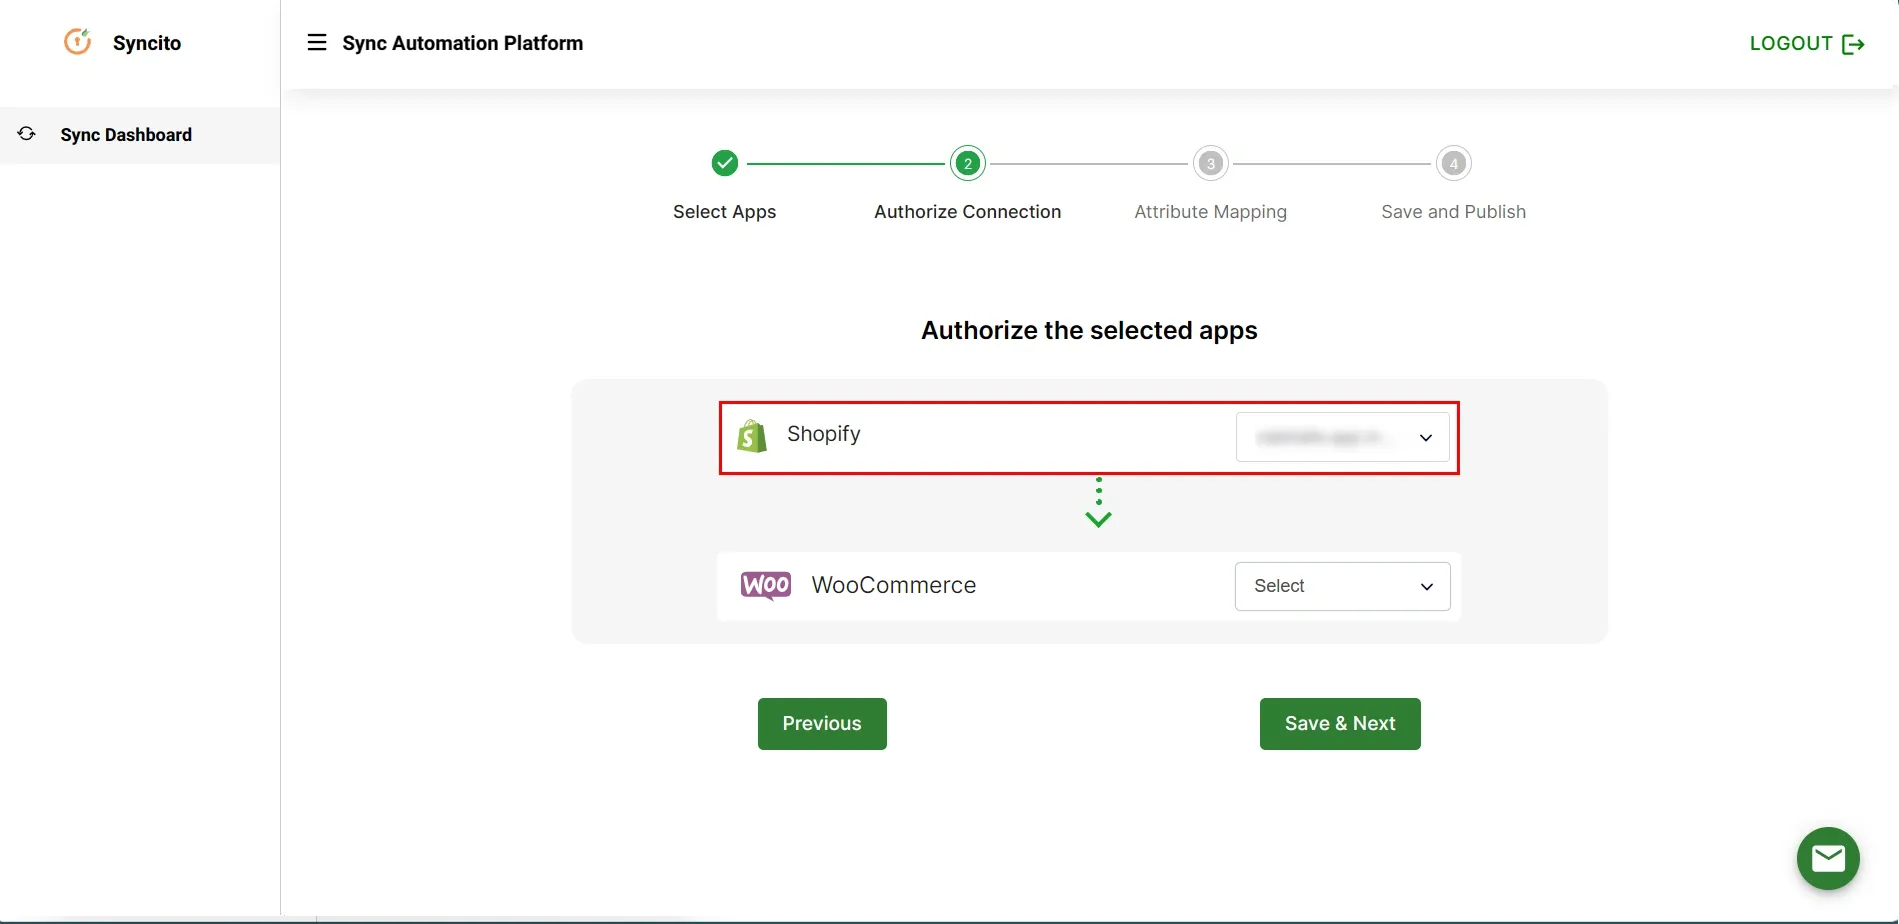
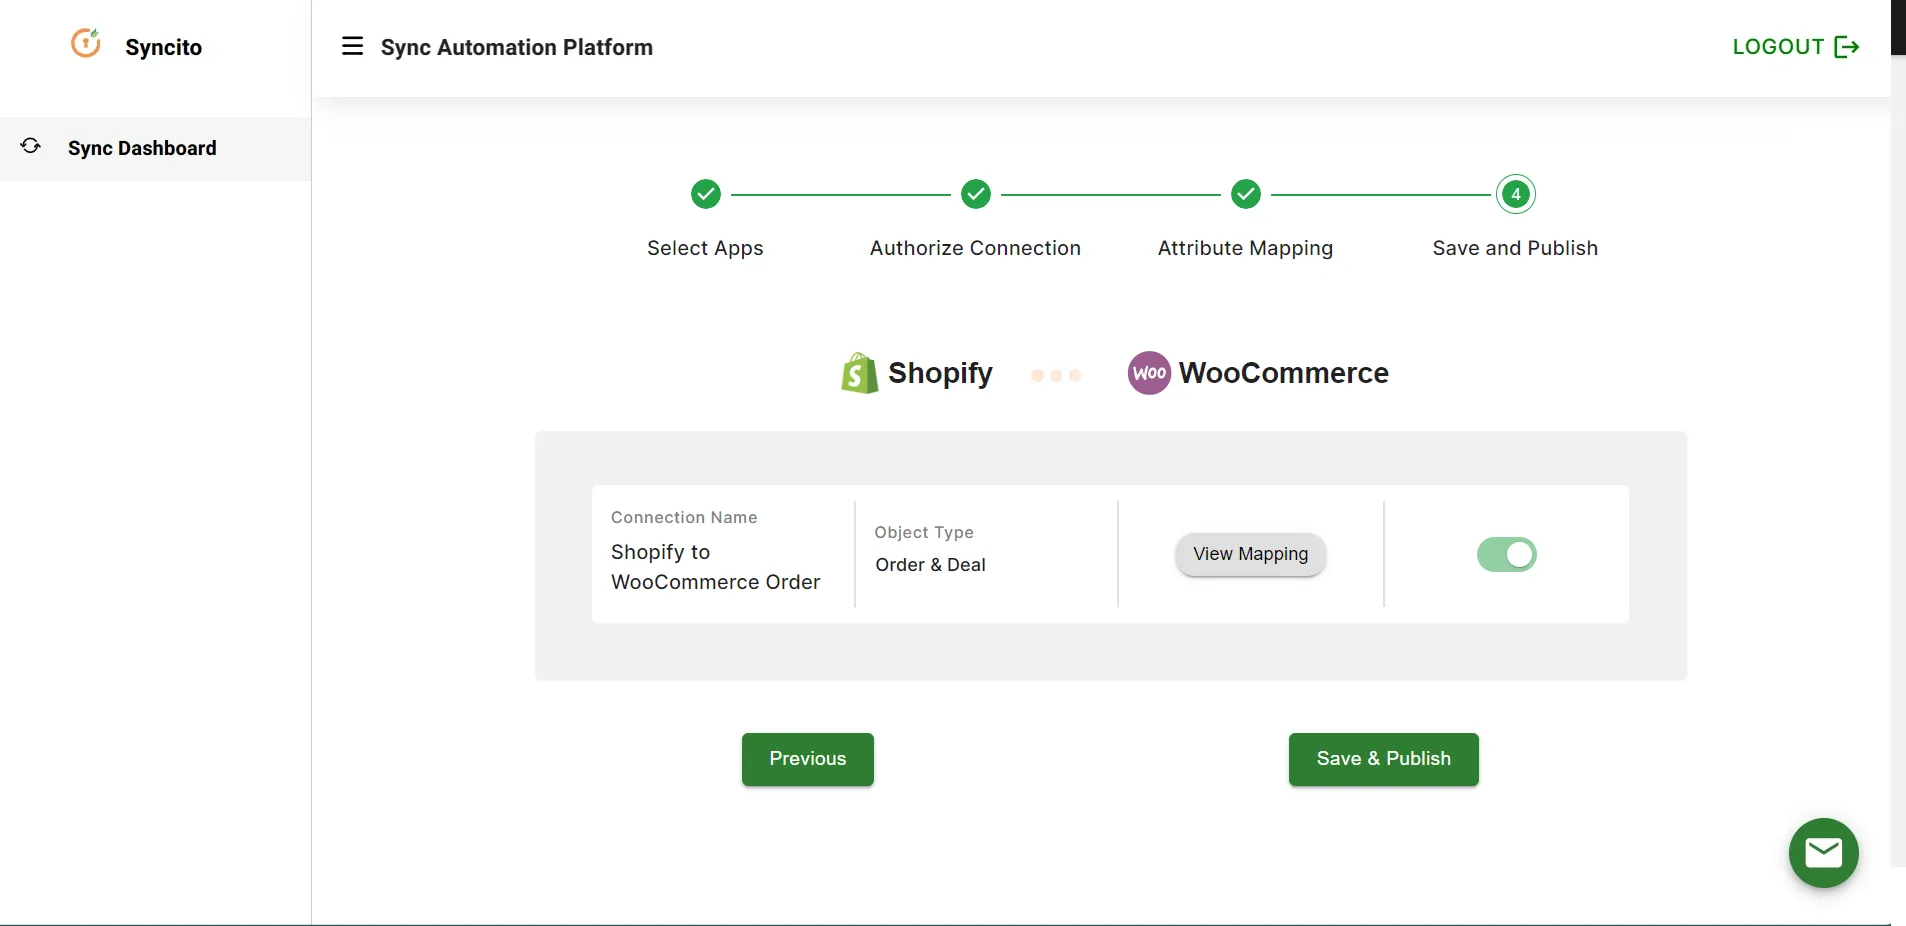
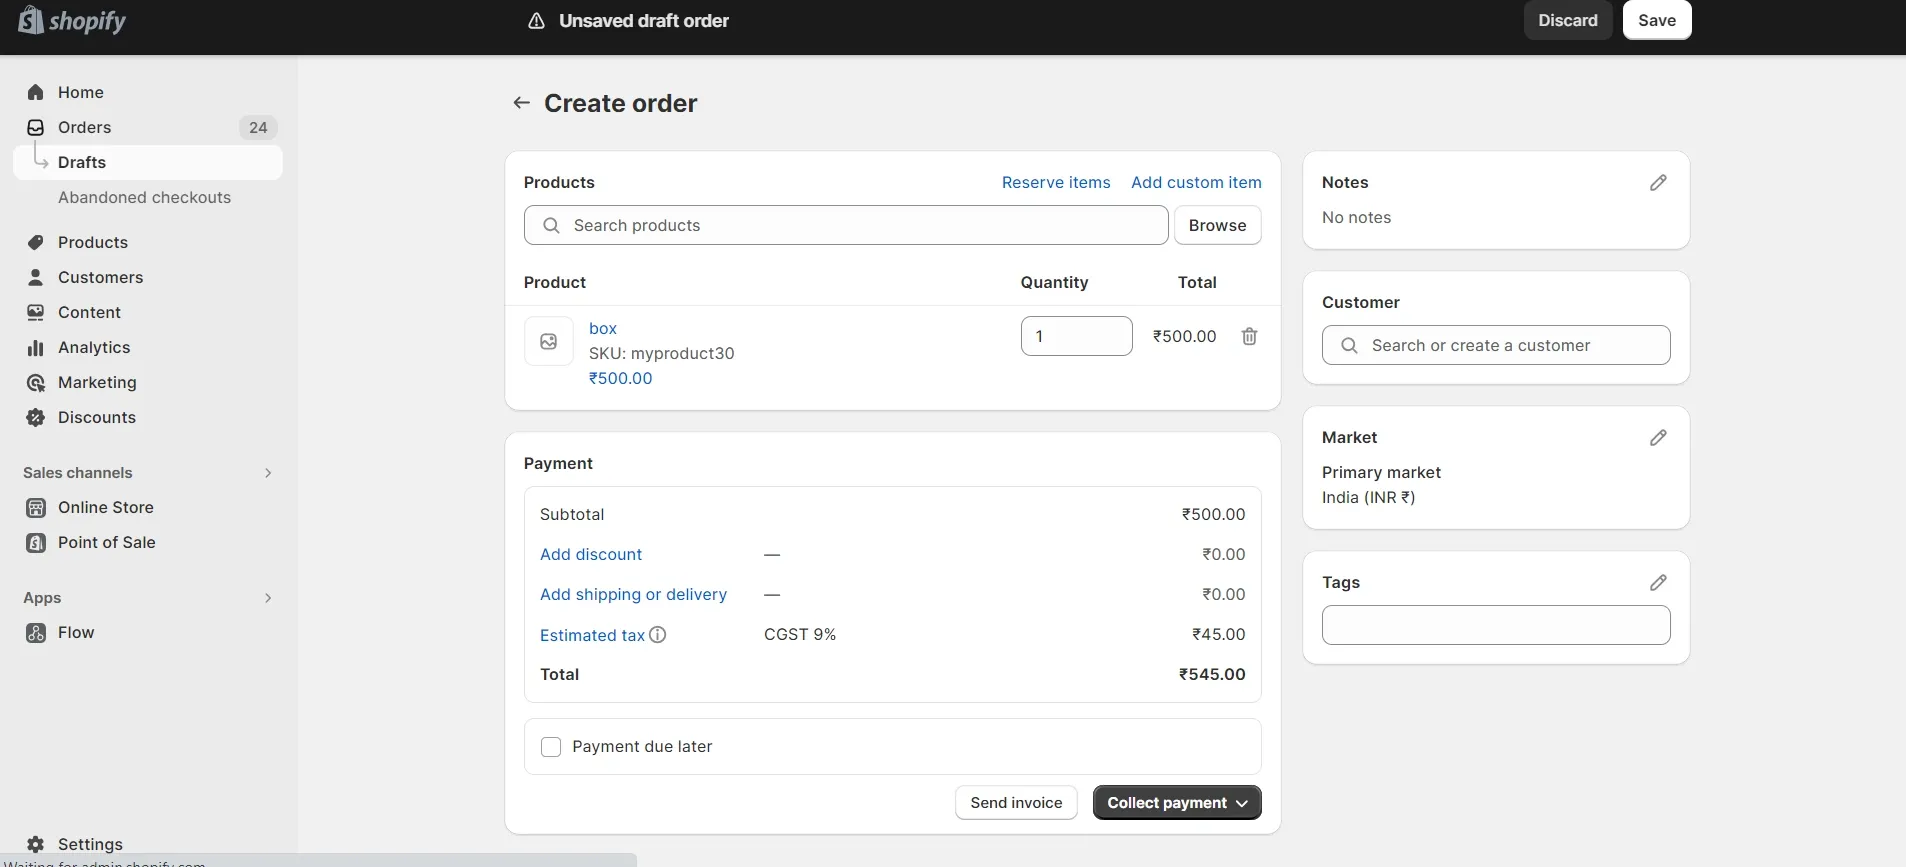
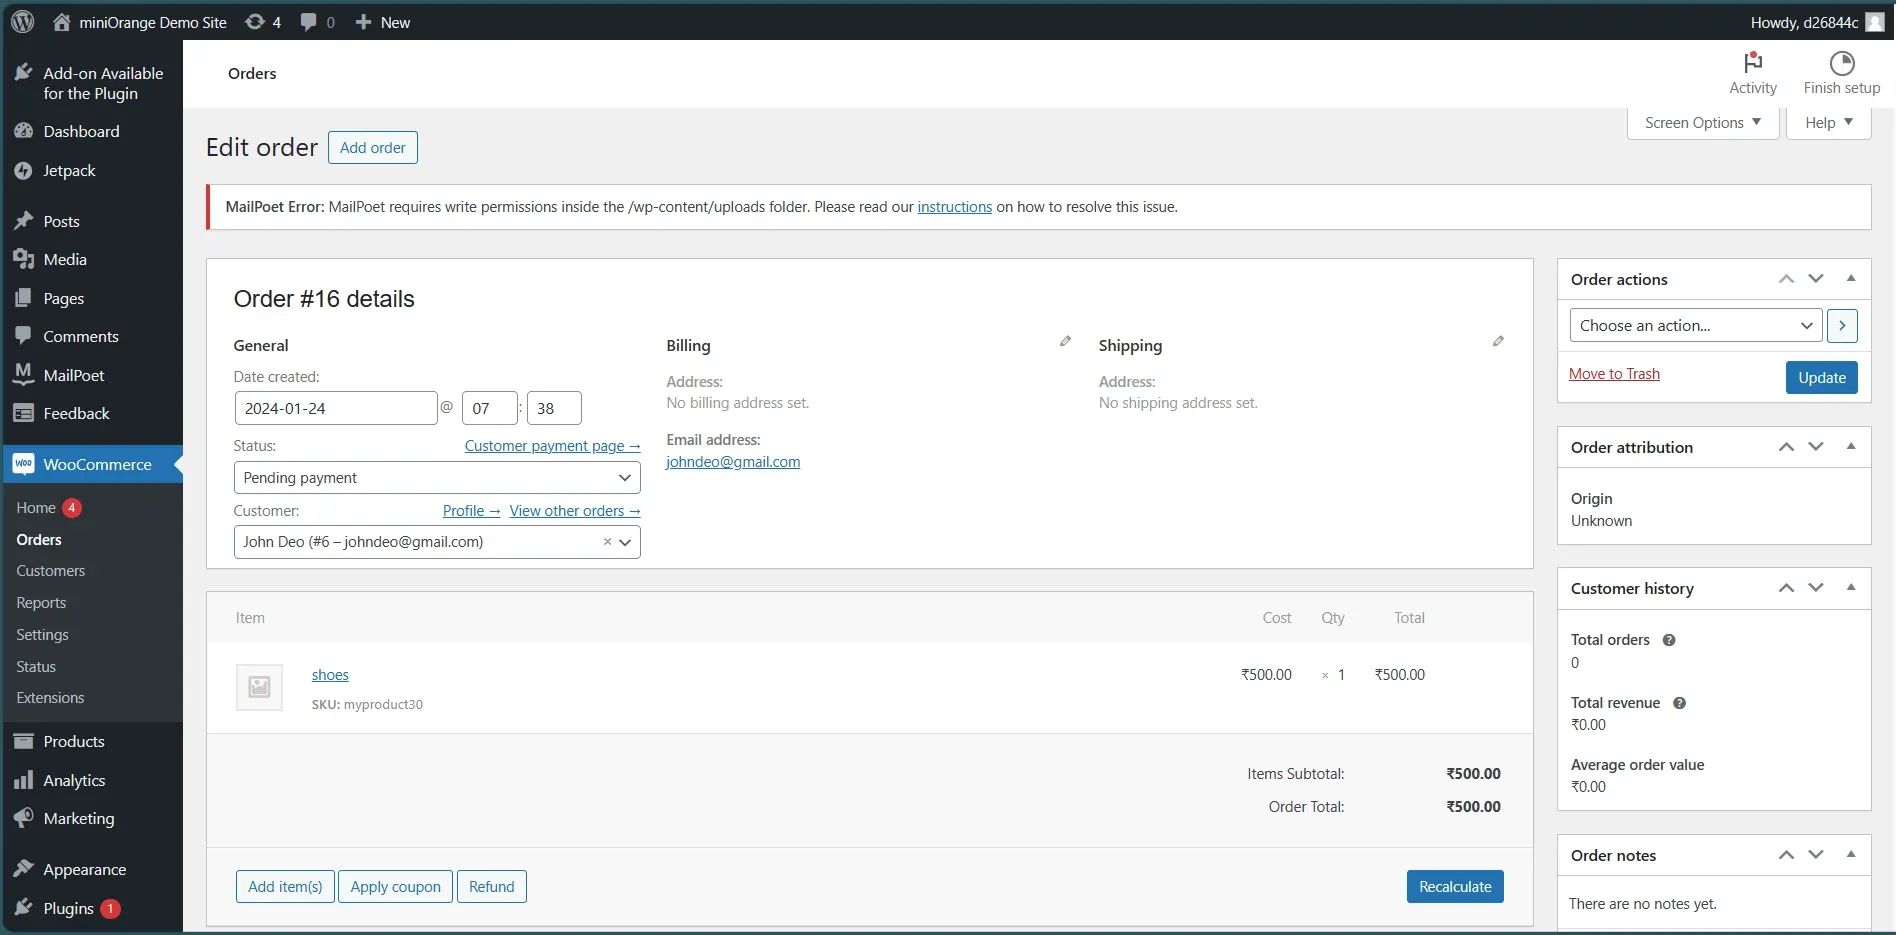
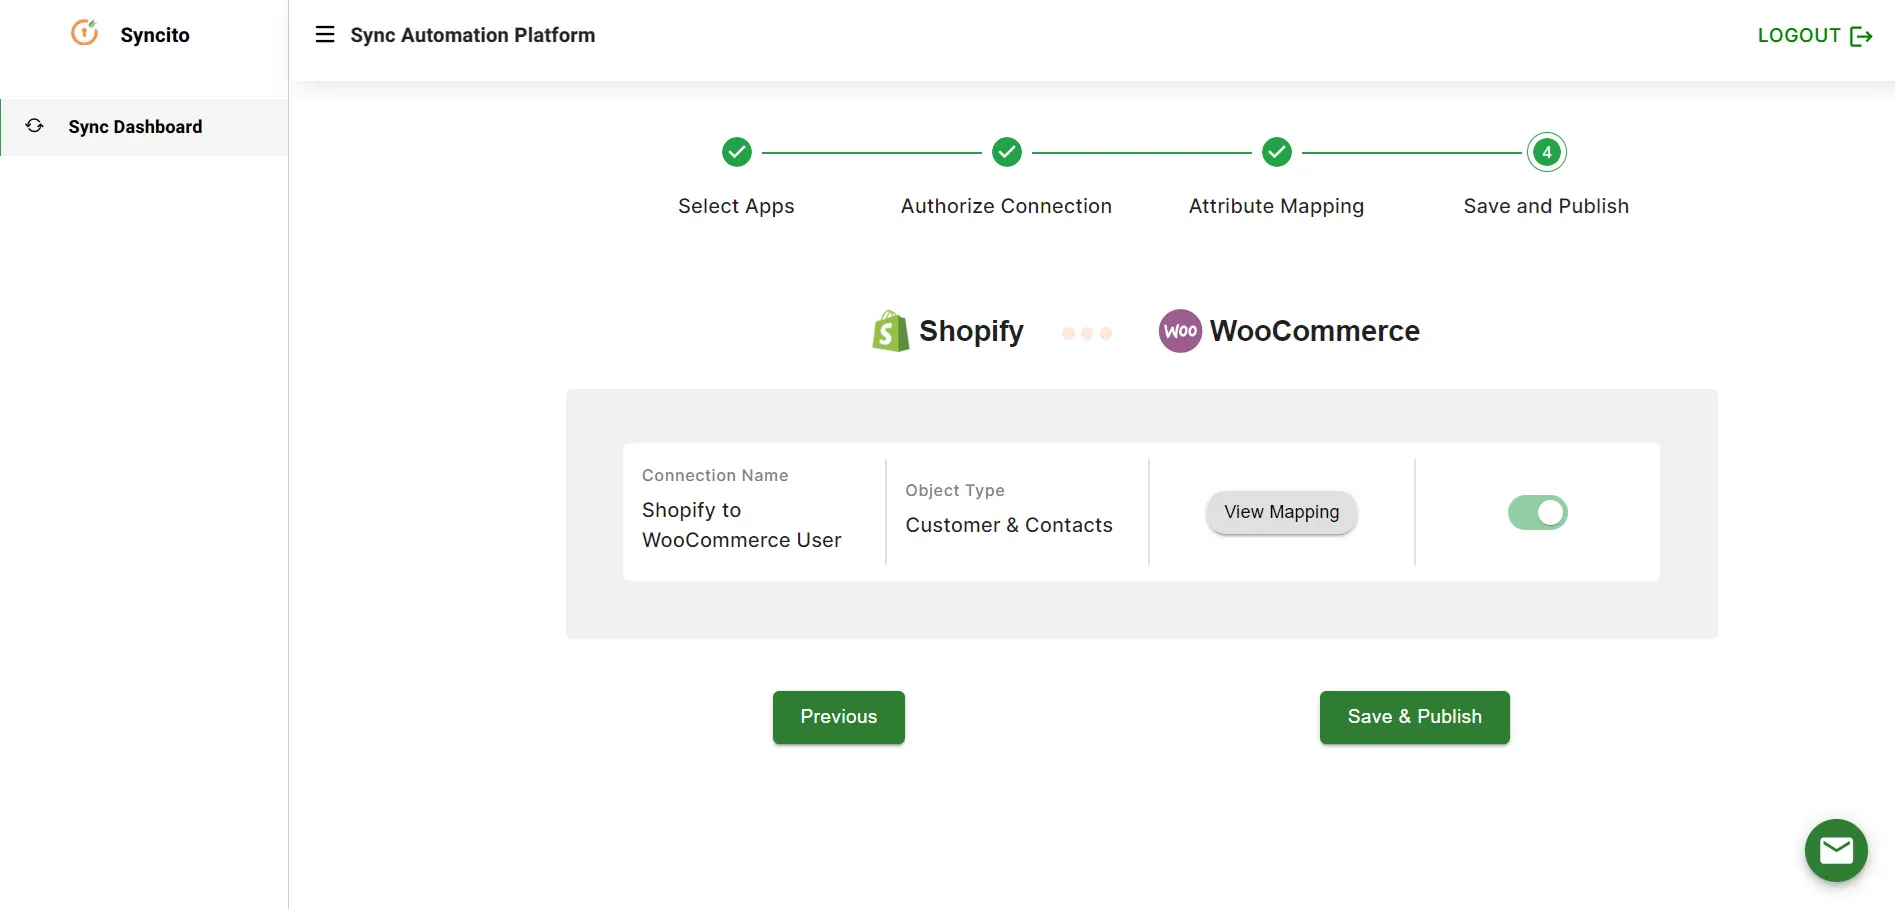
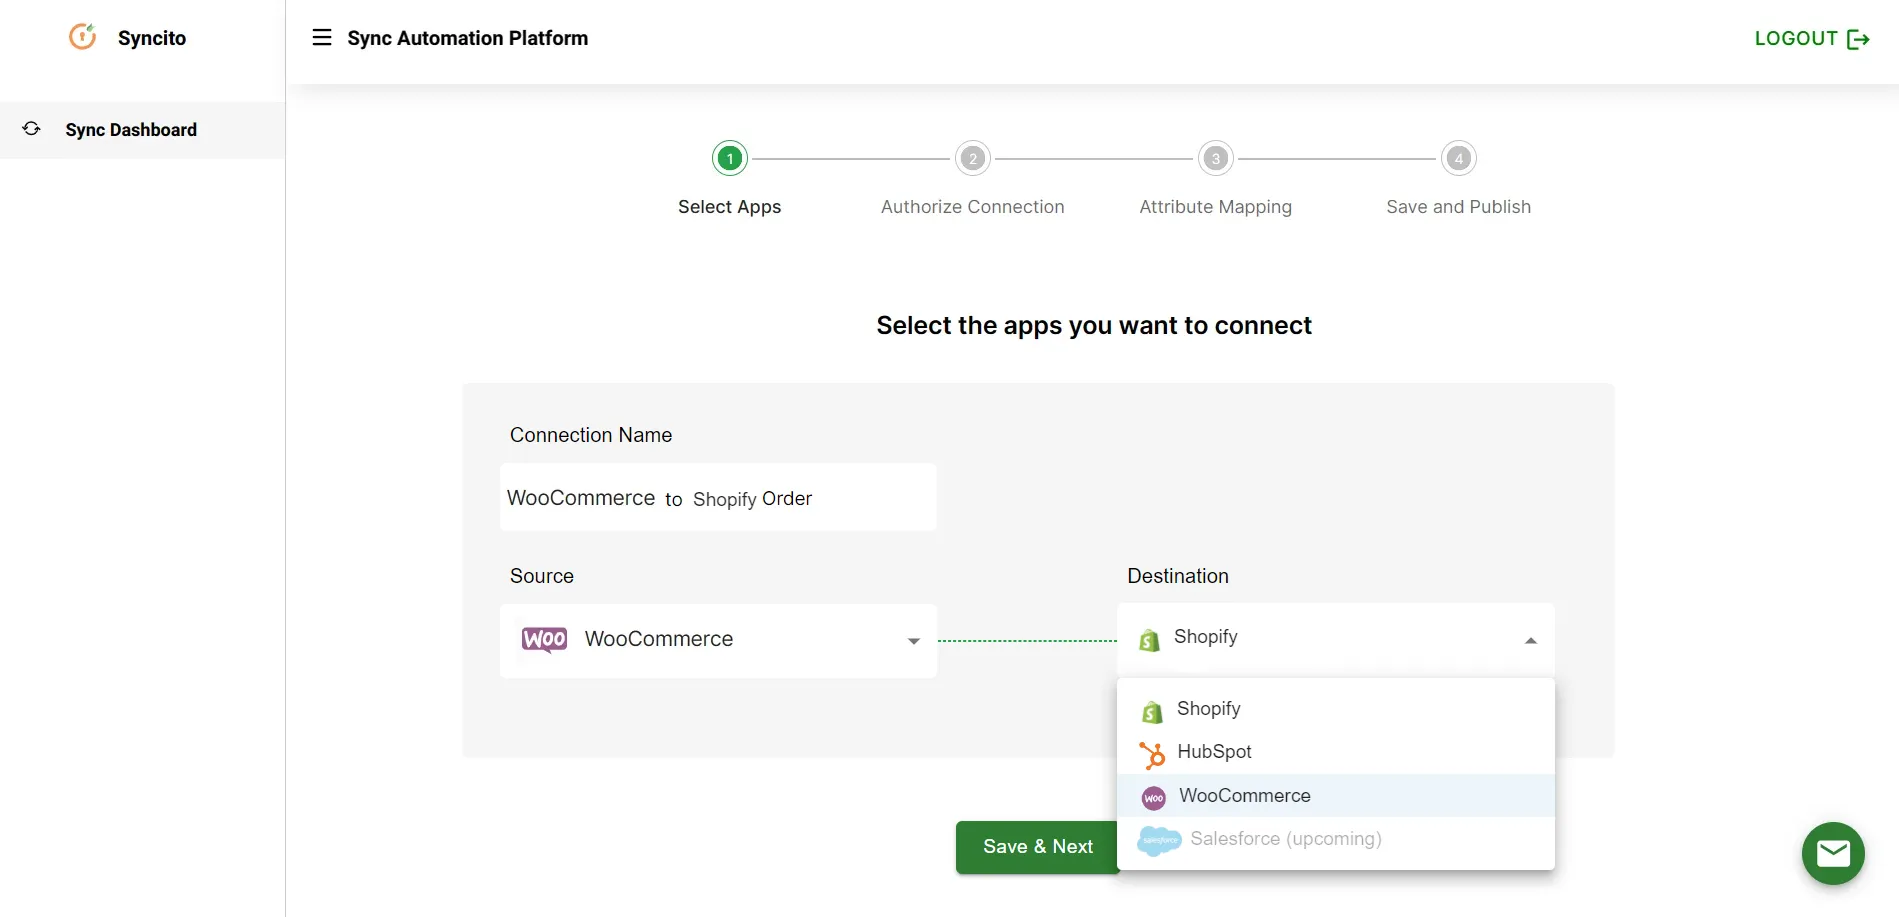
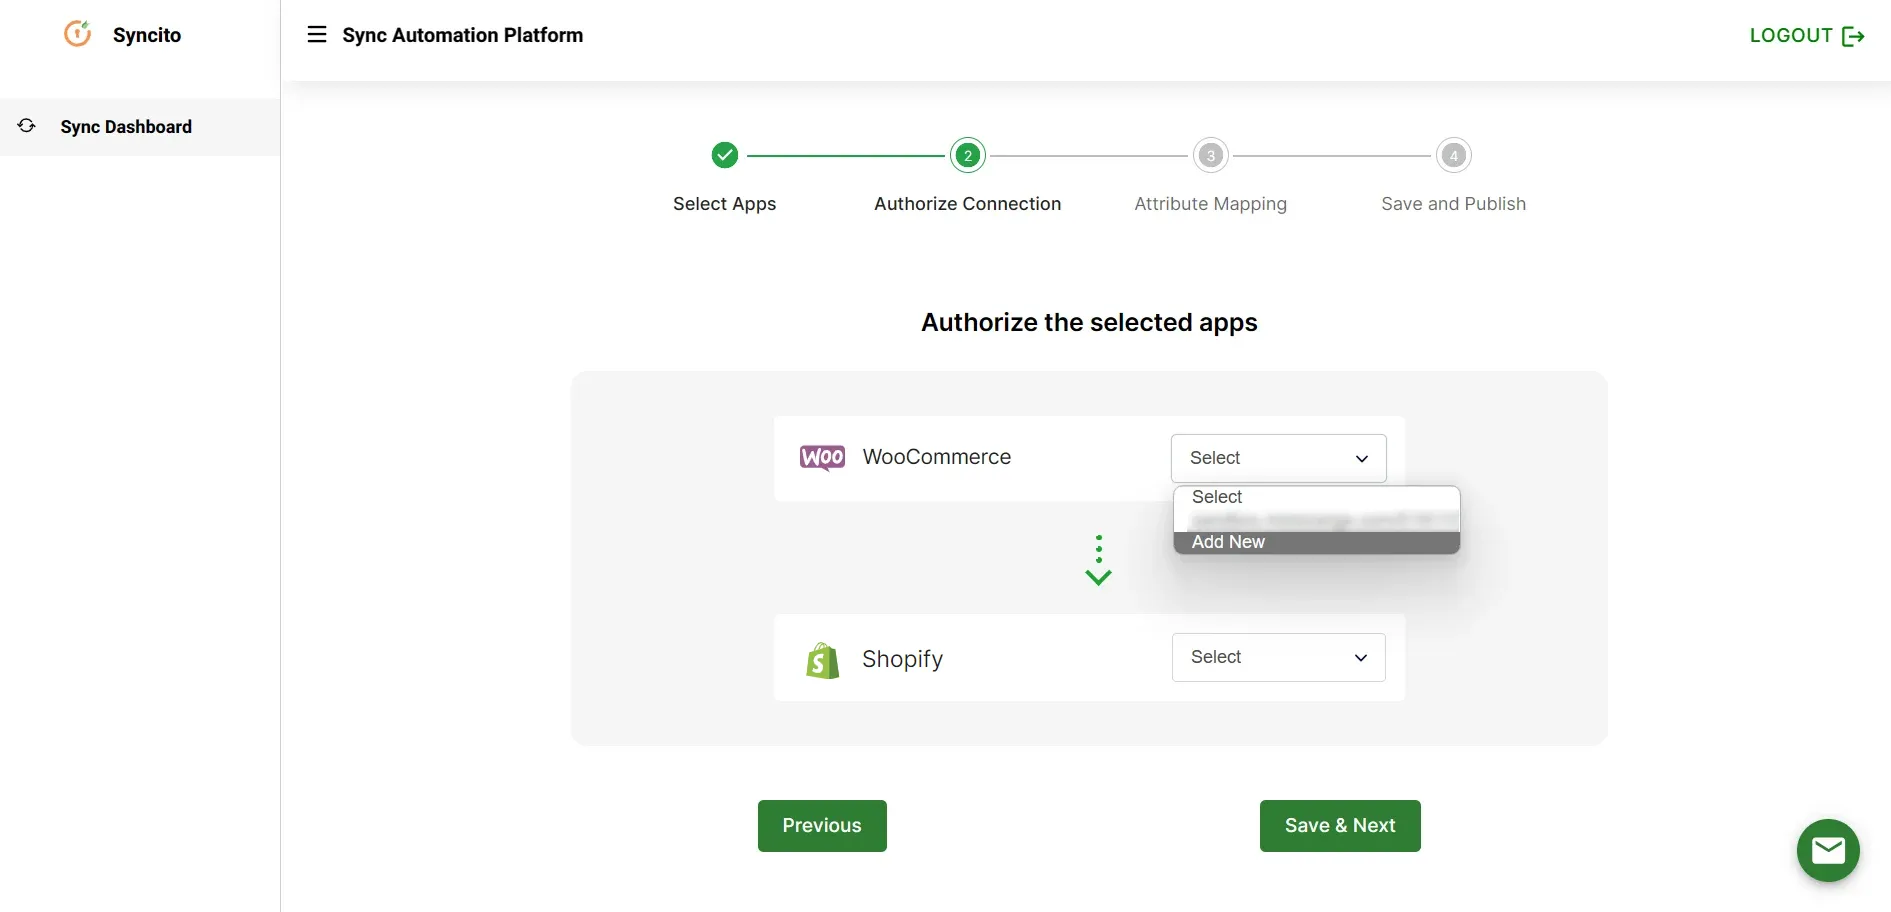
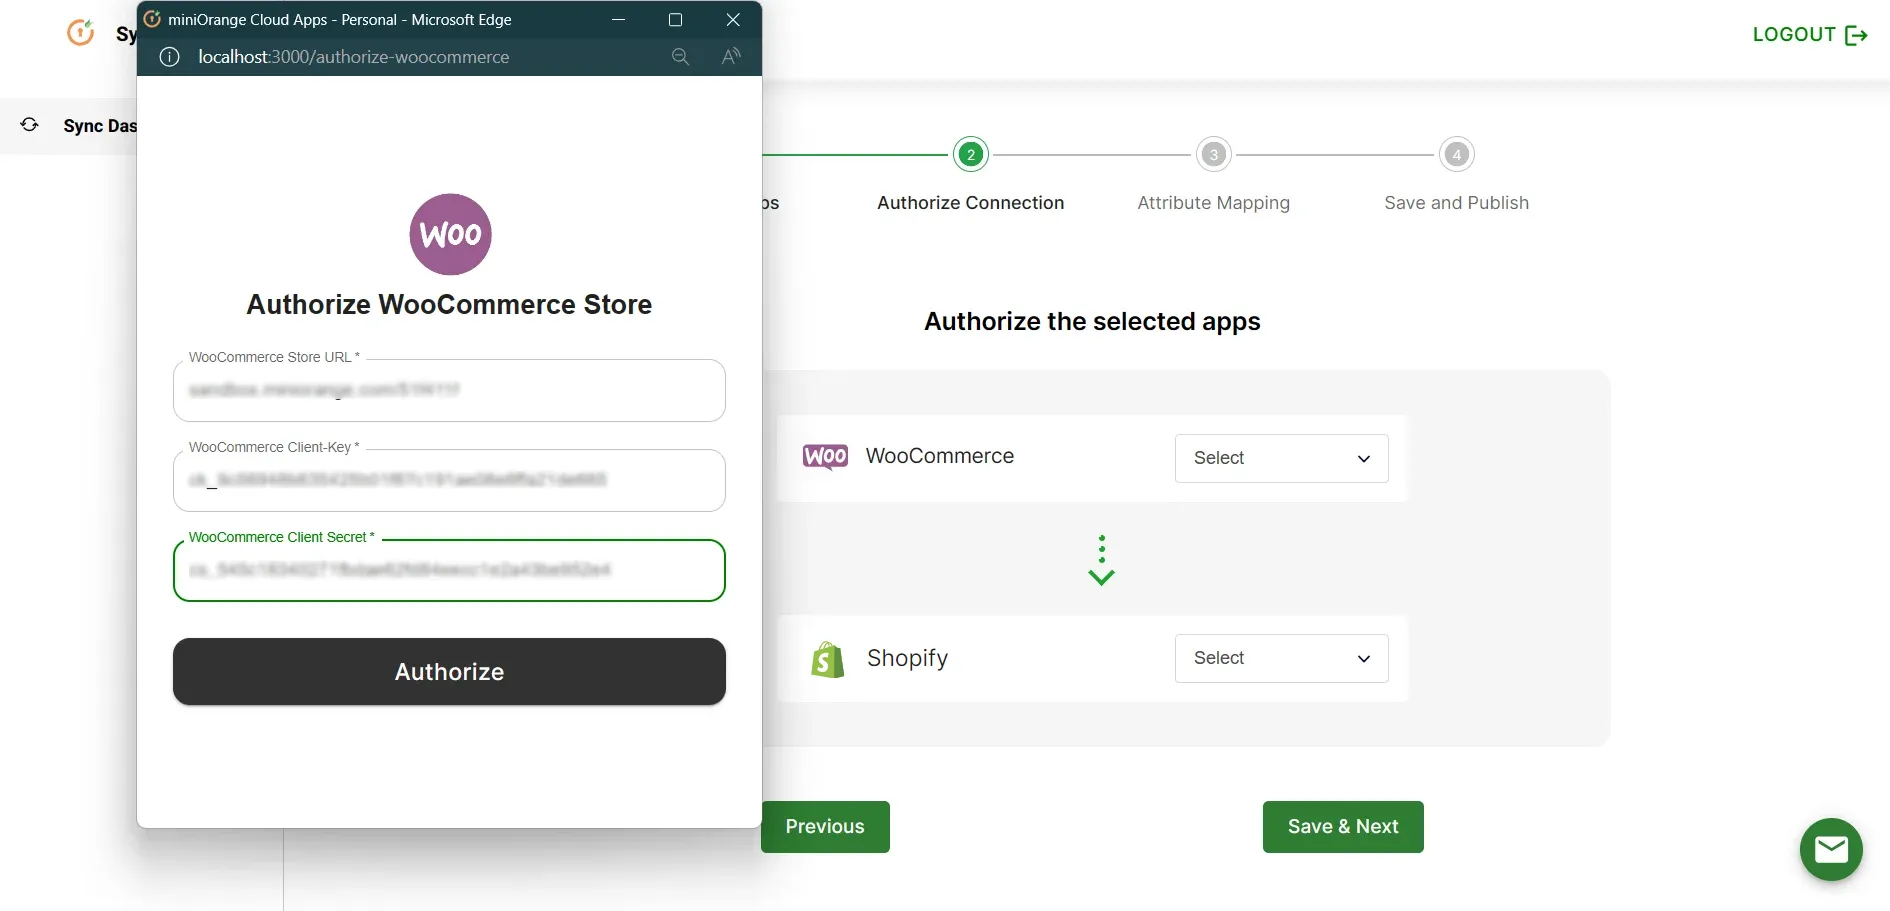
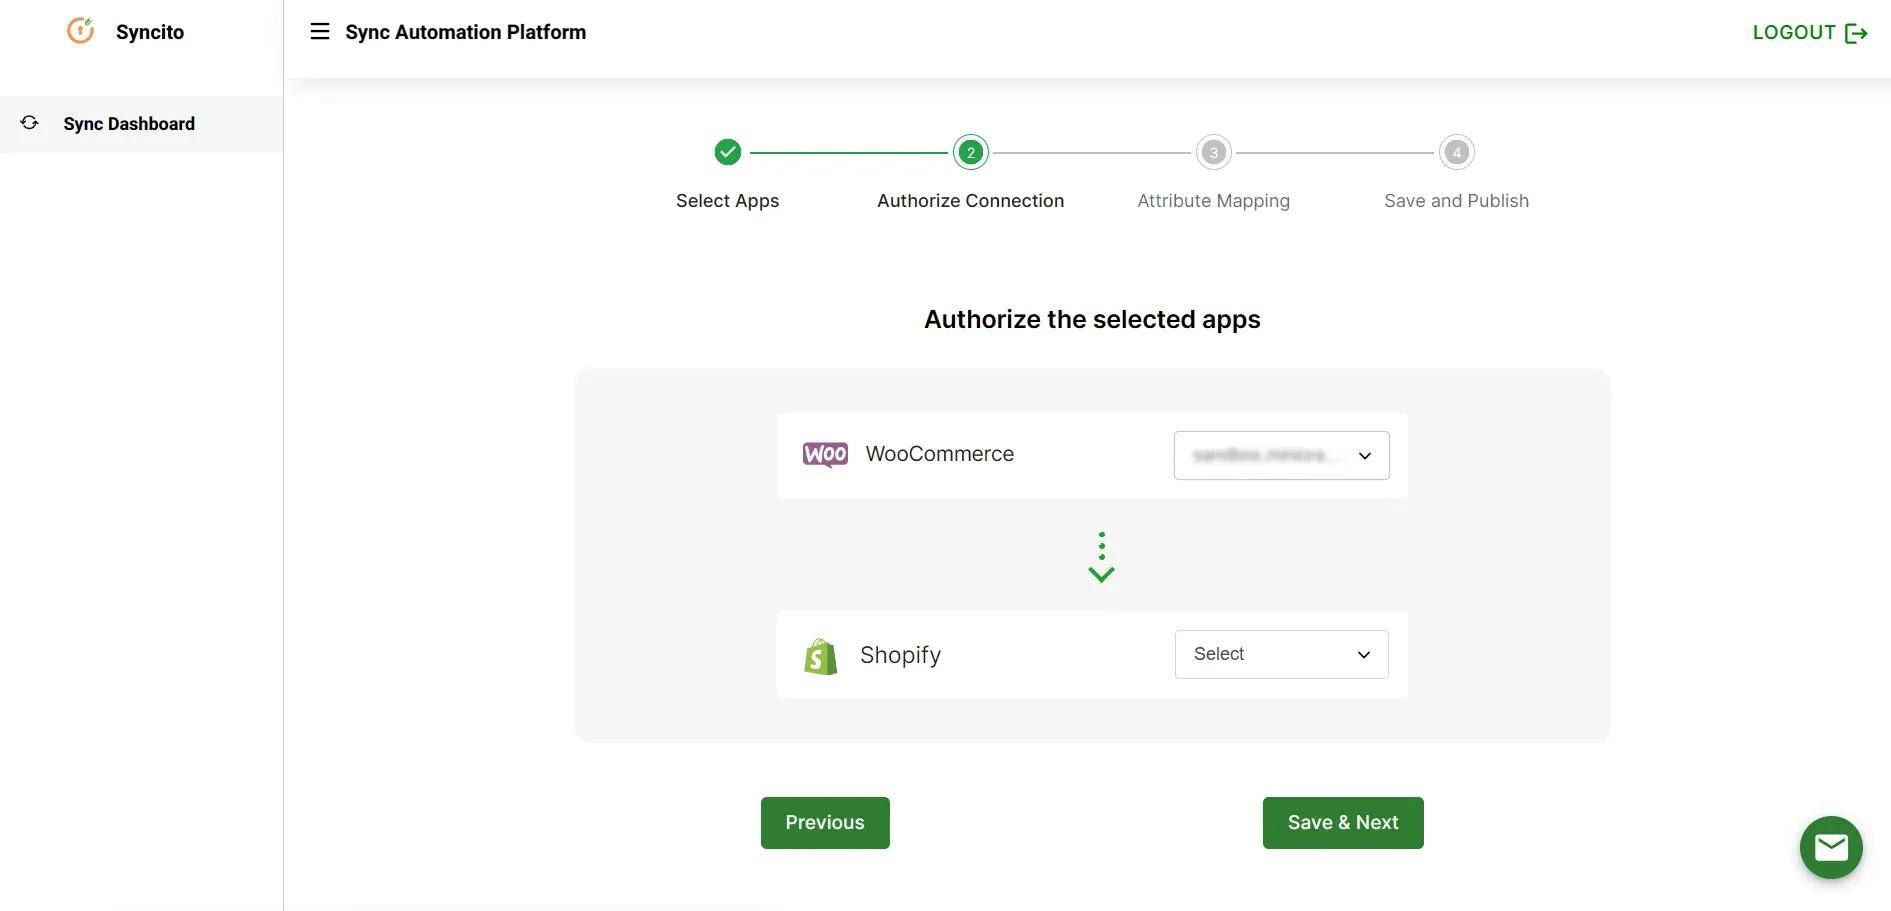
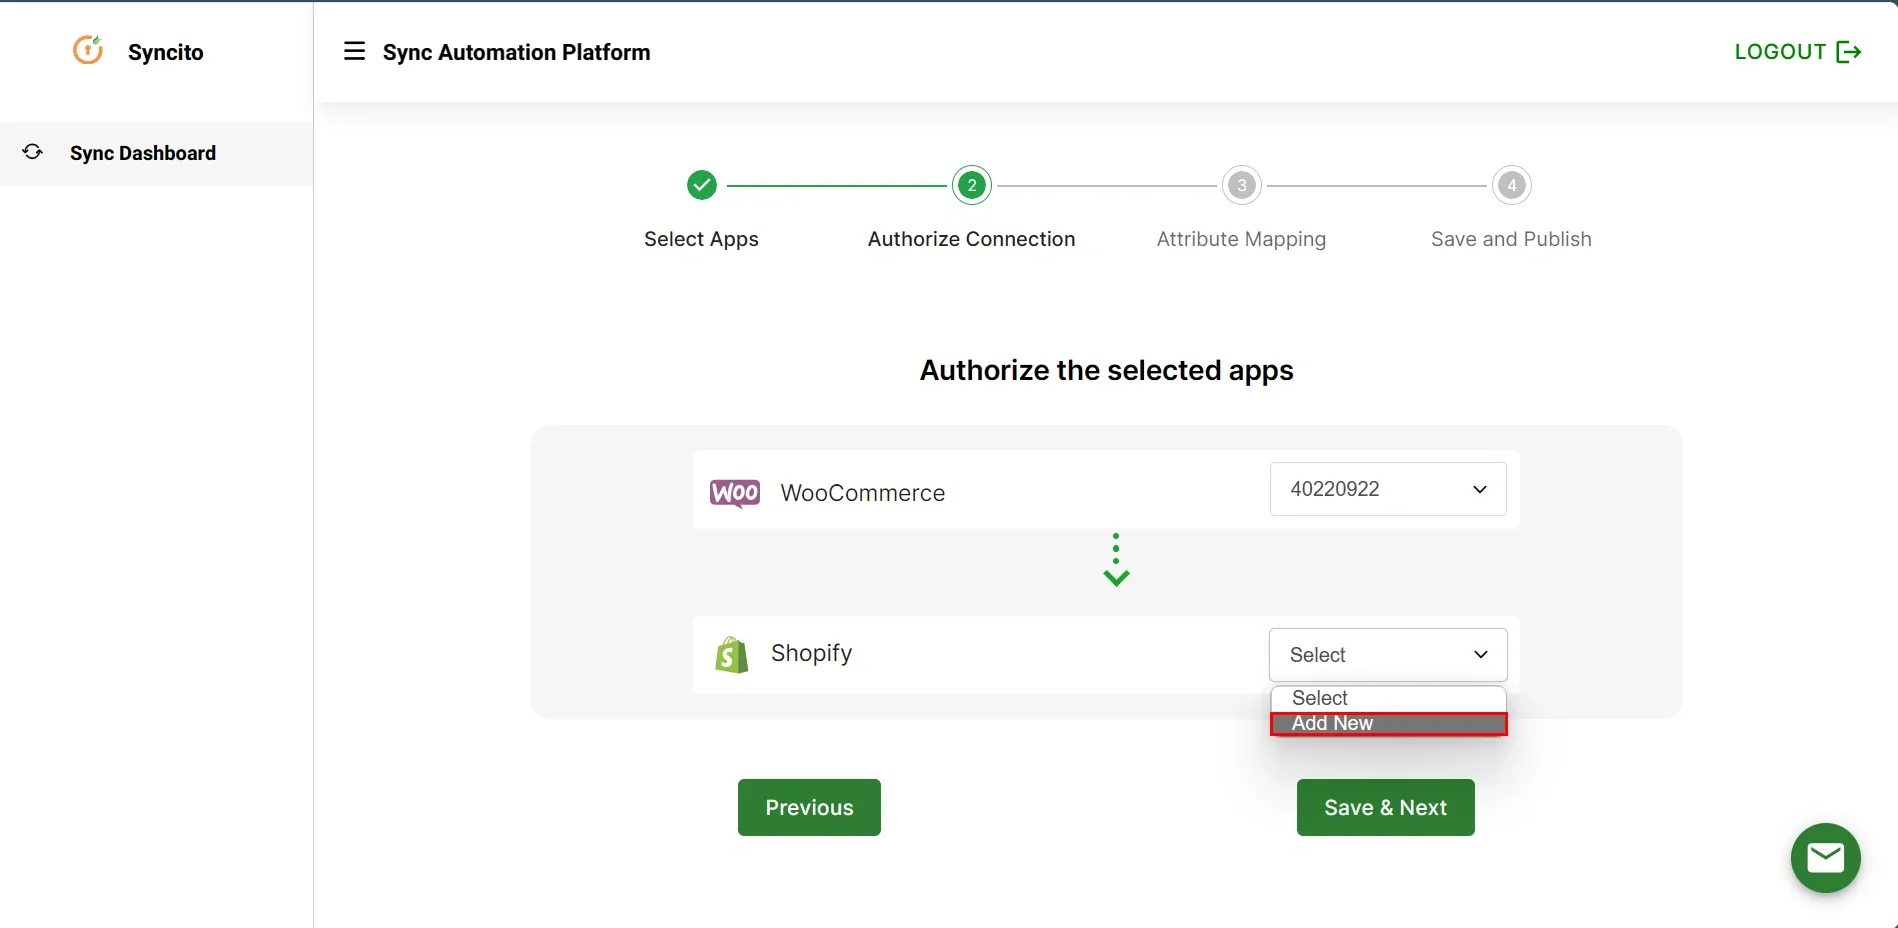
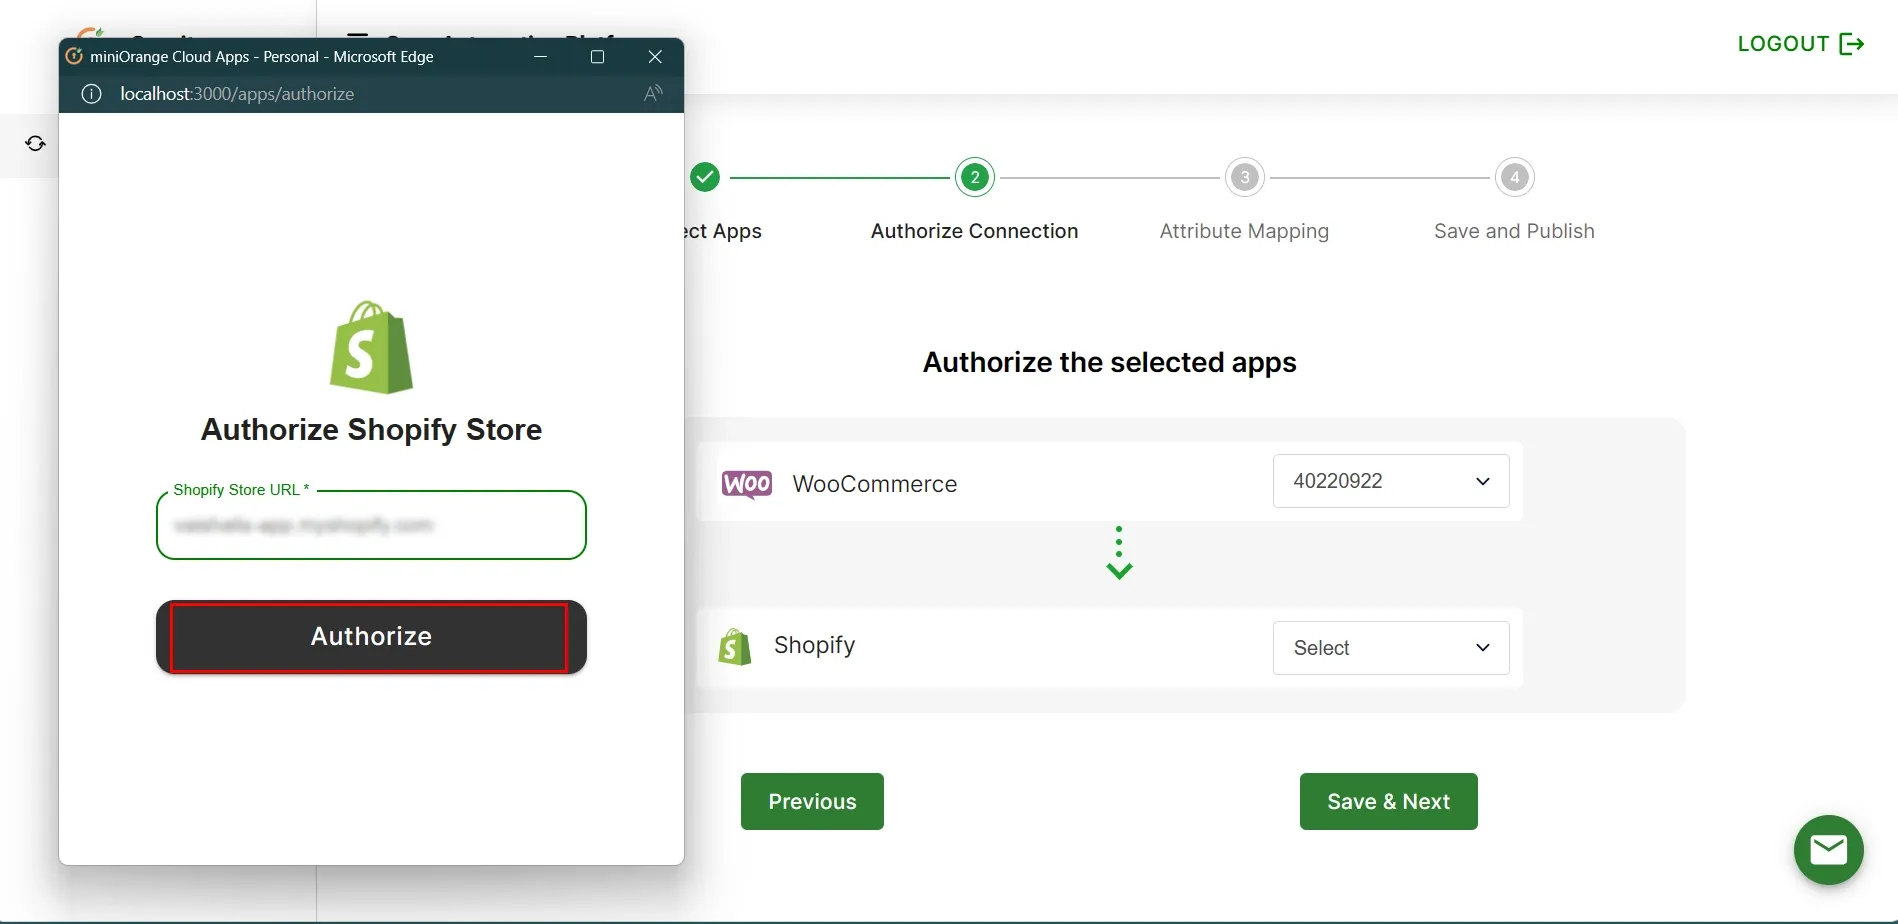
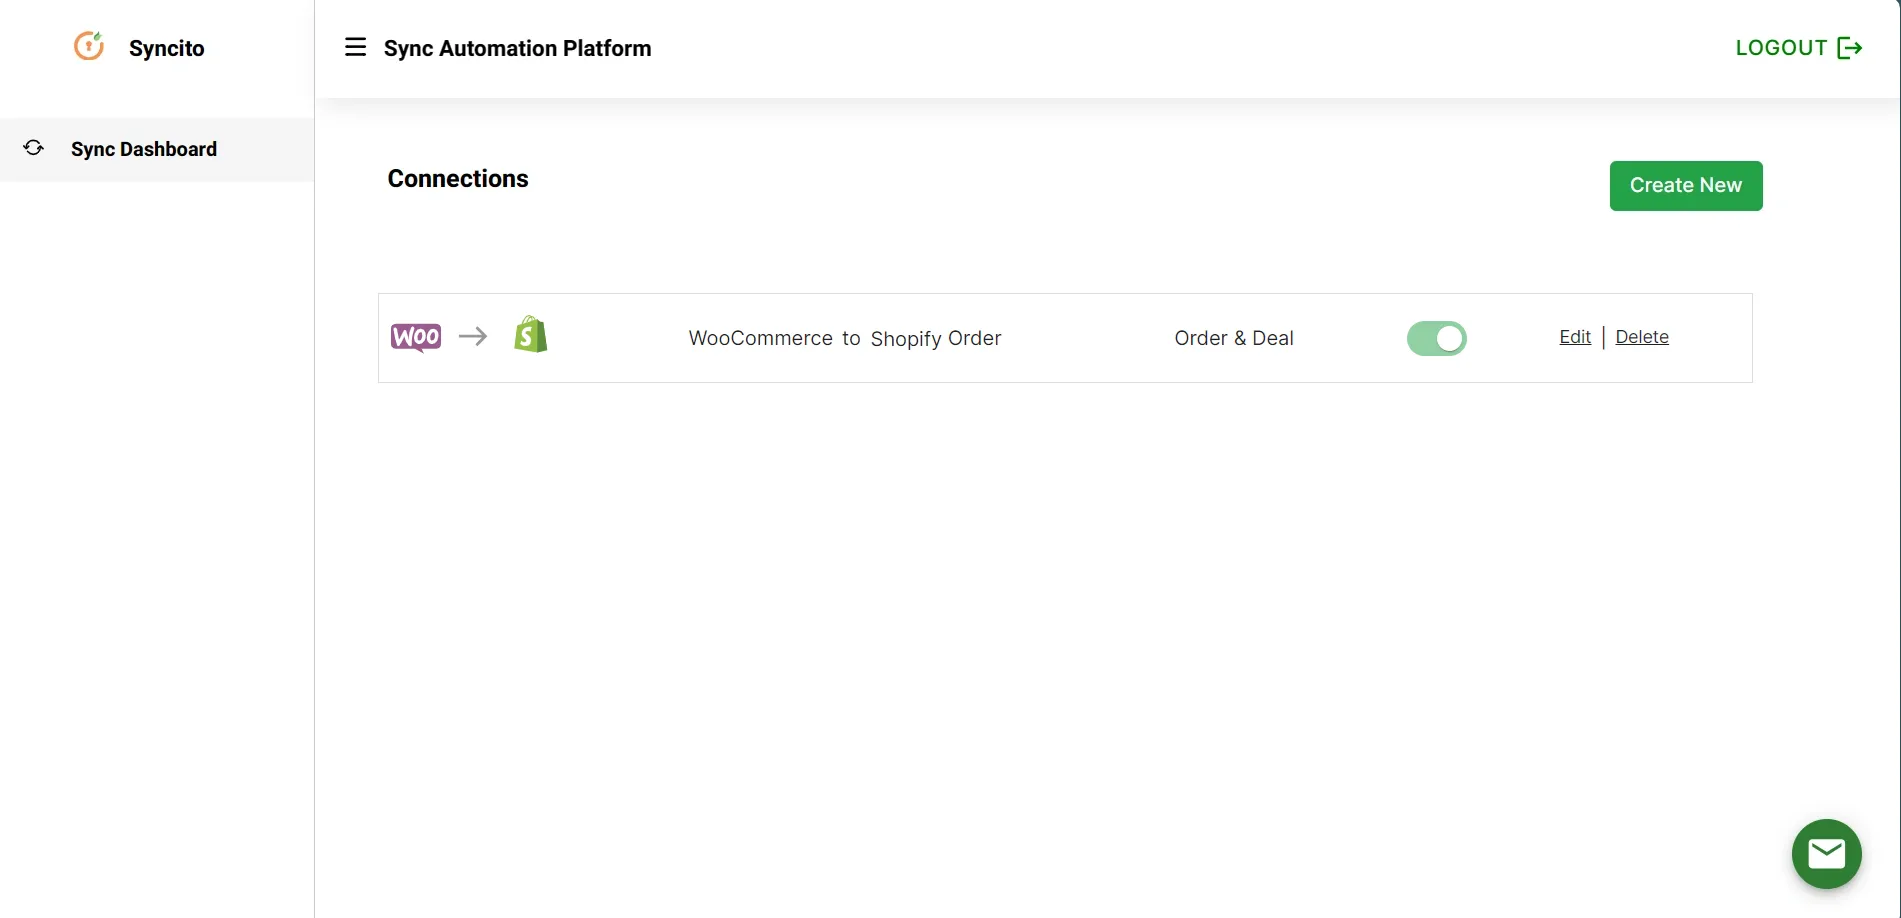
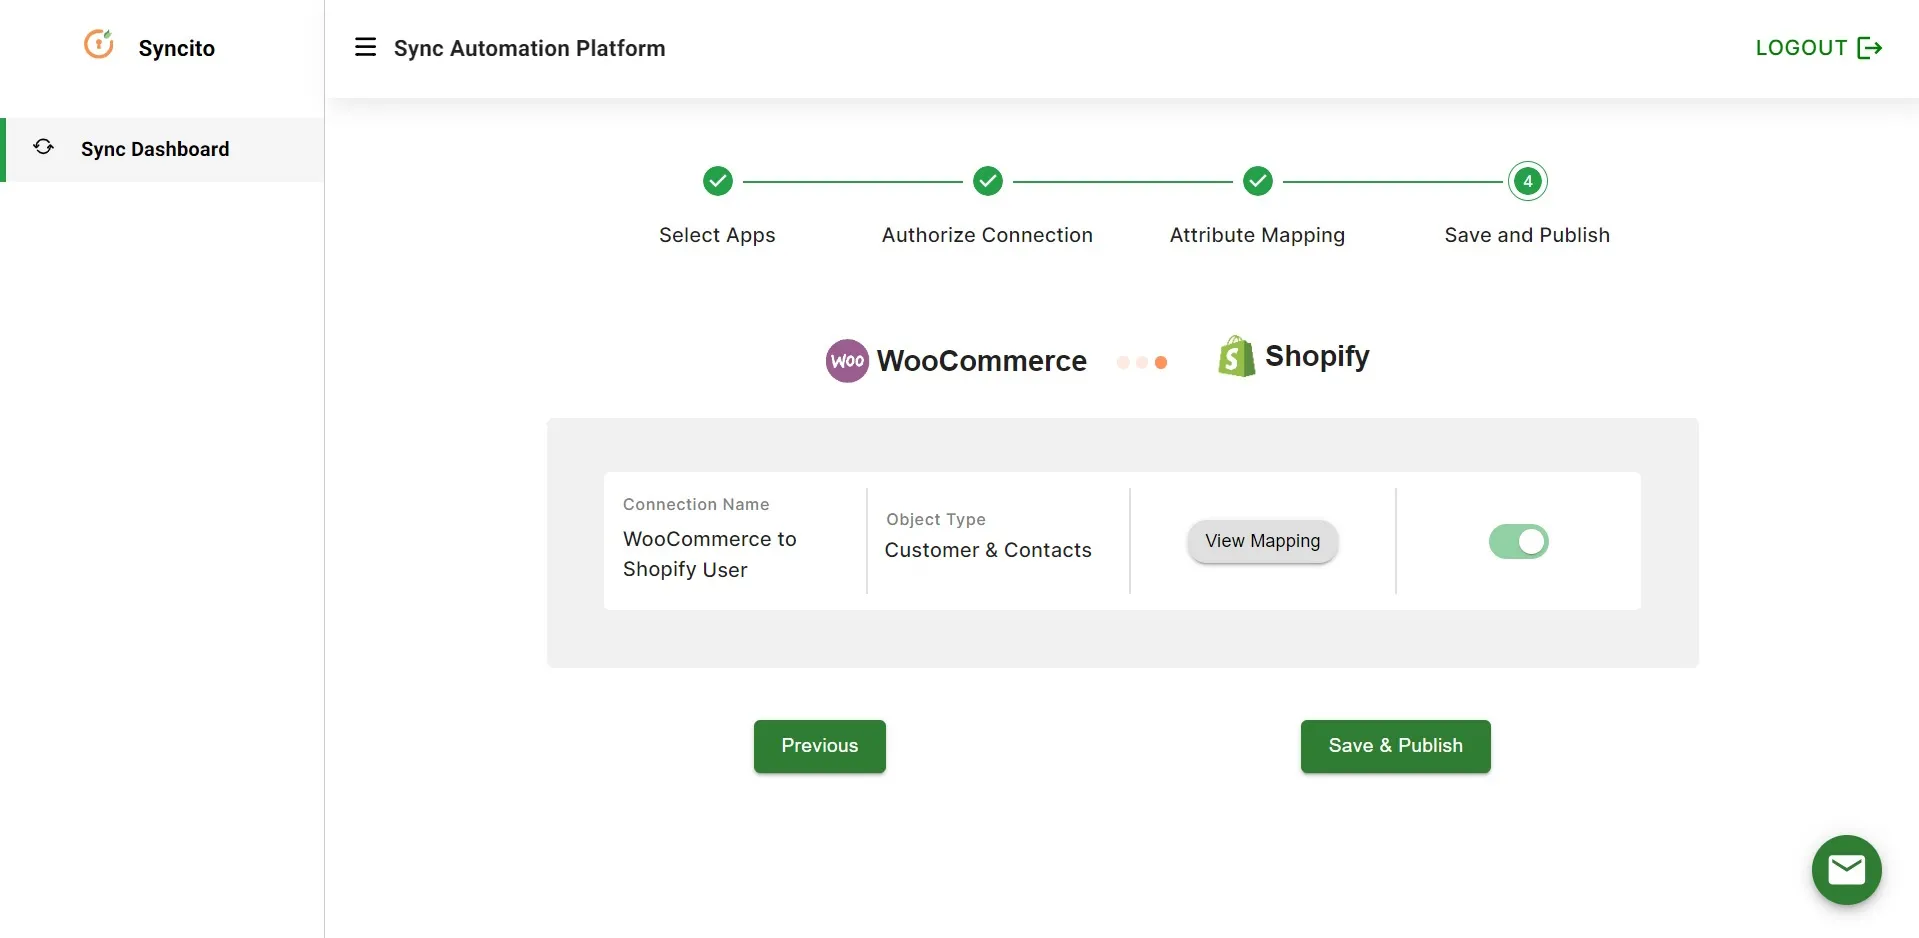
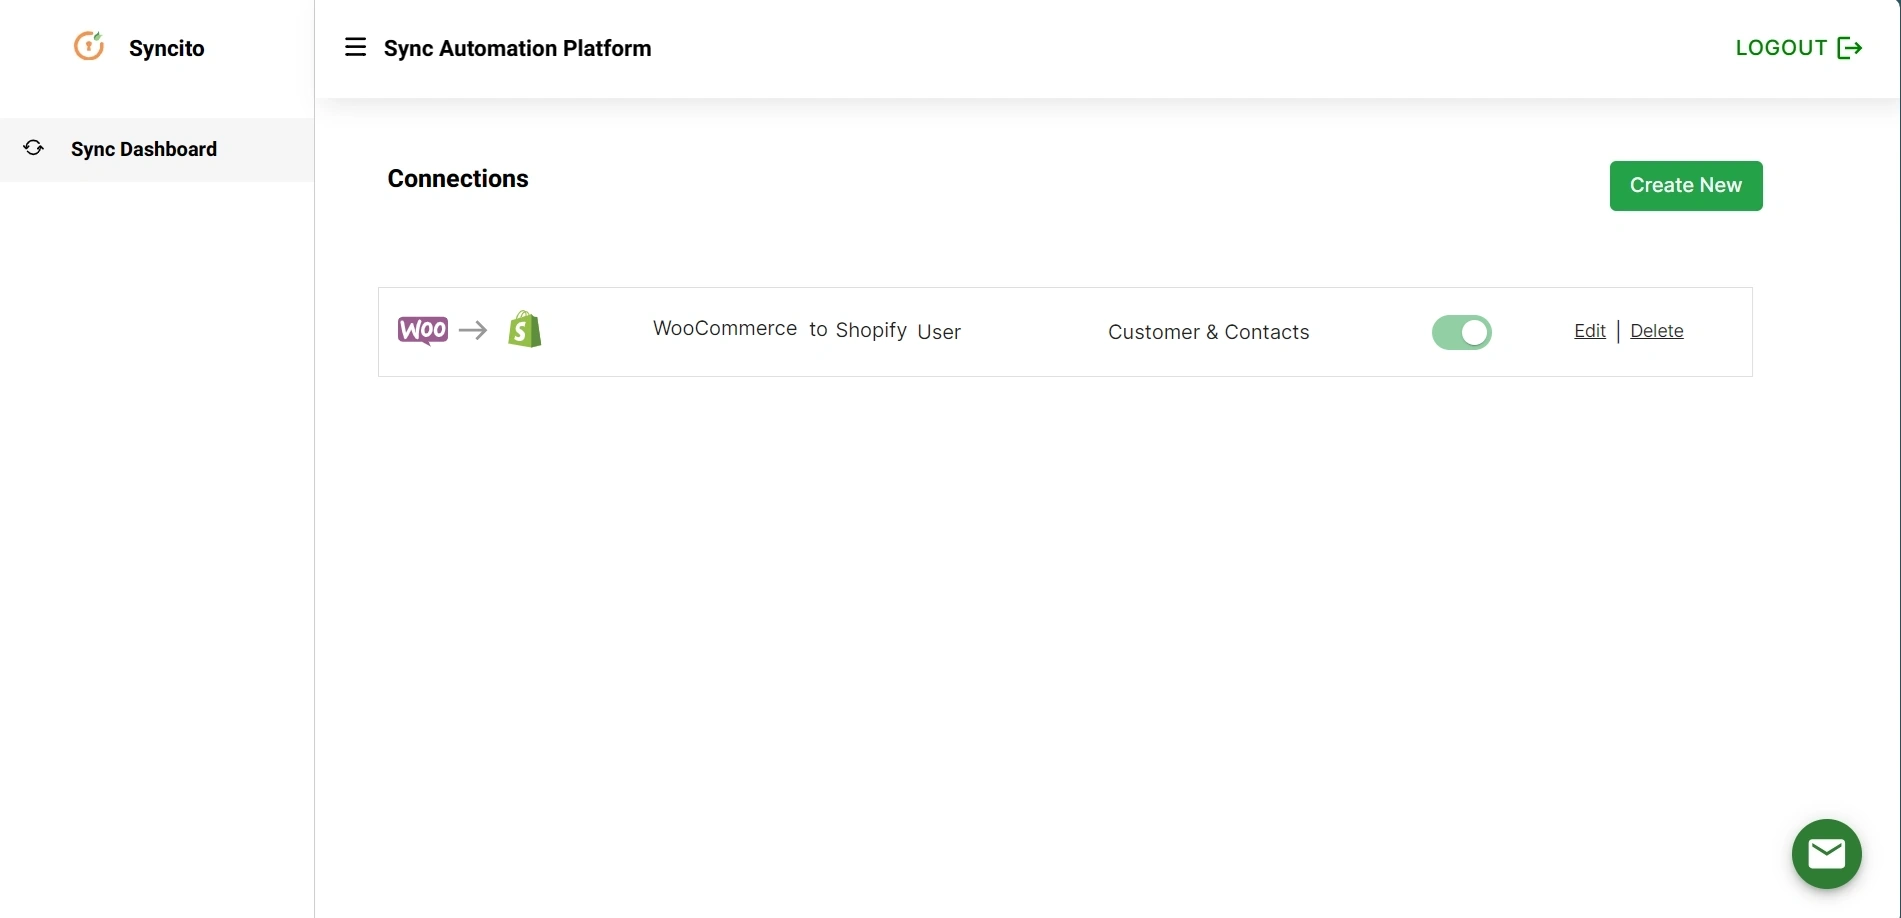
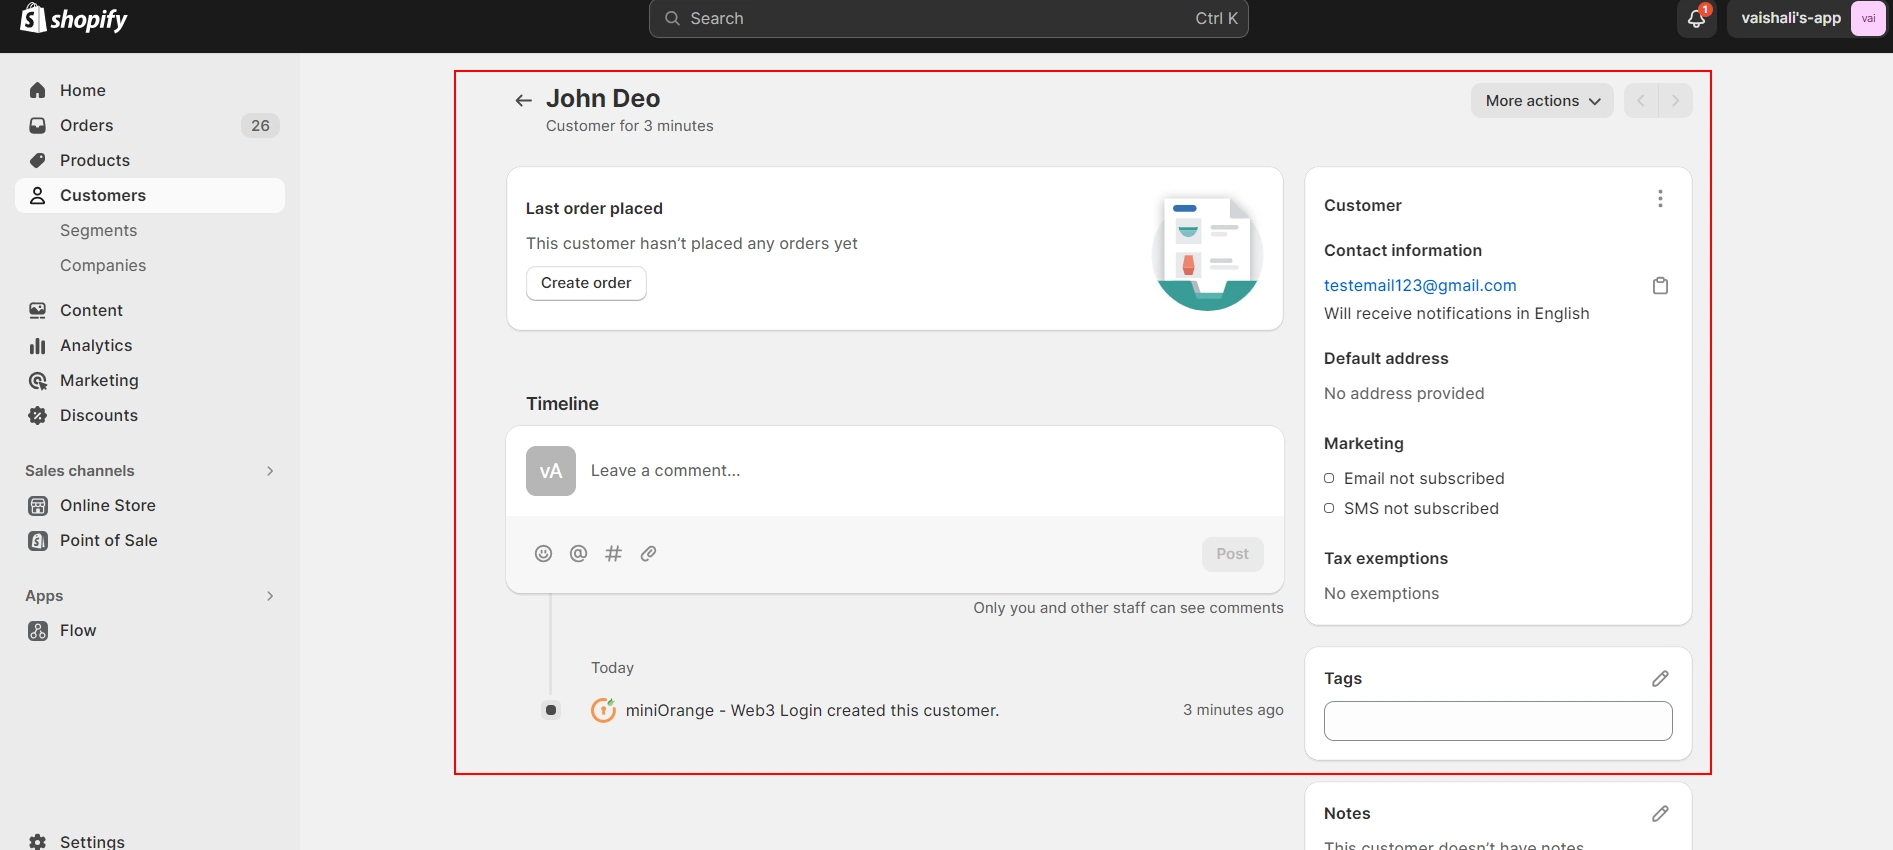
Yes, our Shopify WooCommerce integration supports bi-directional sync in real-time between your Shopify store and WooCommer Store.
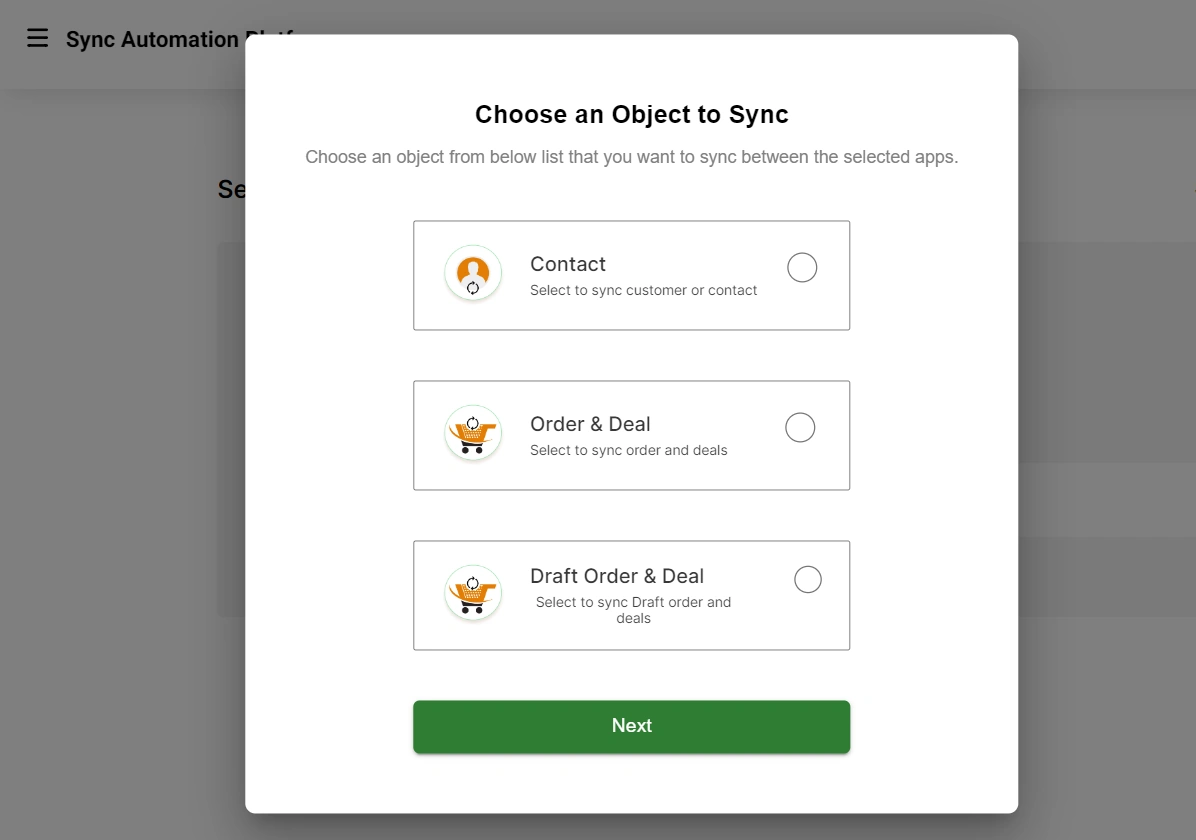
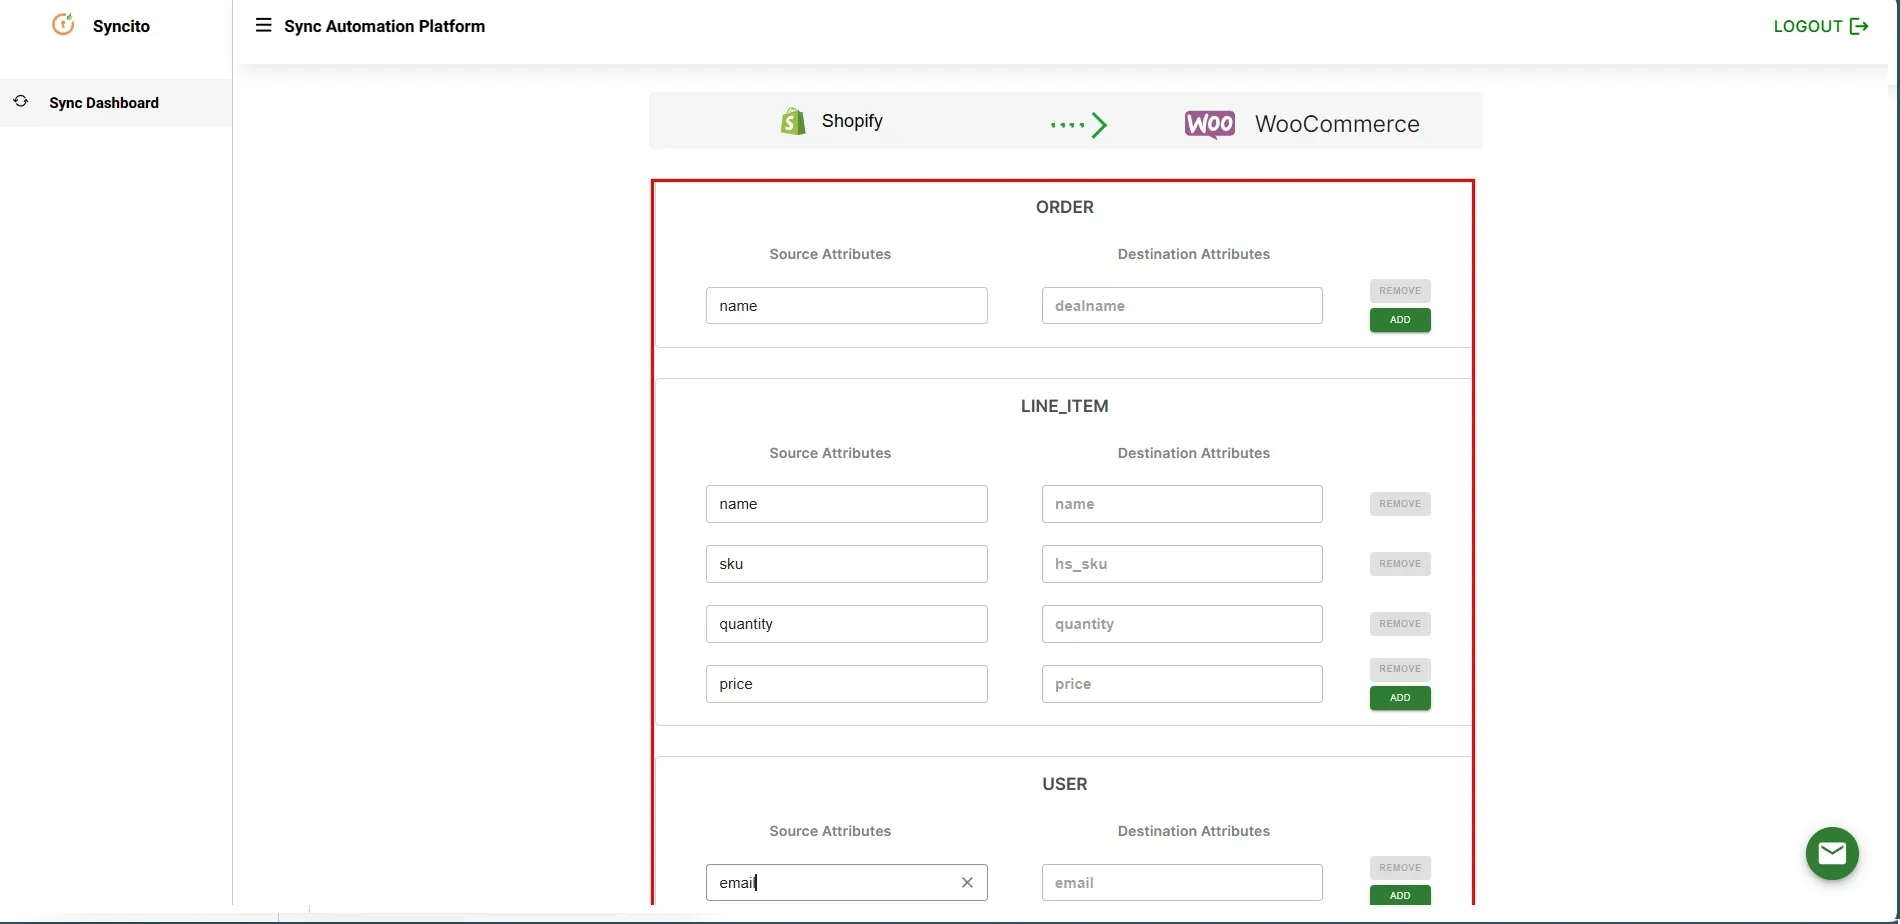
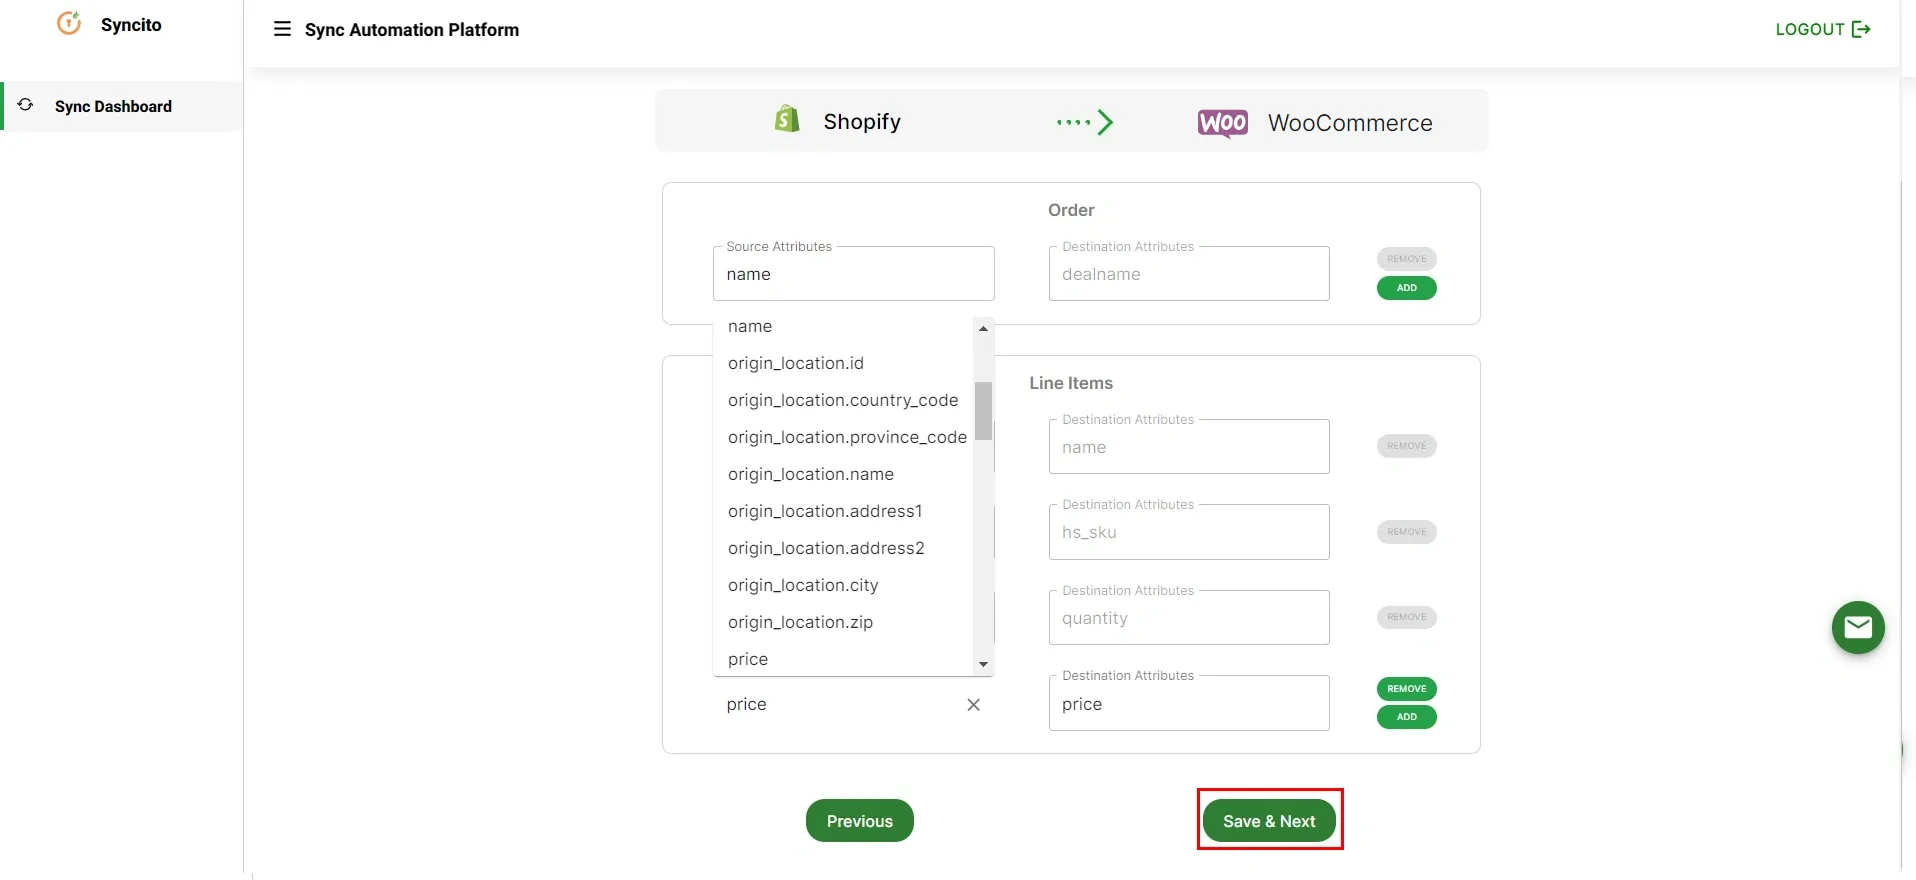
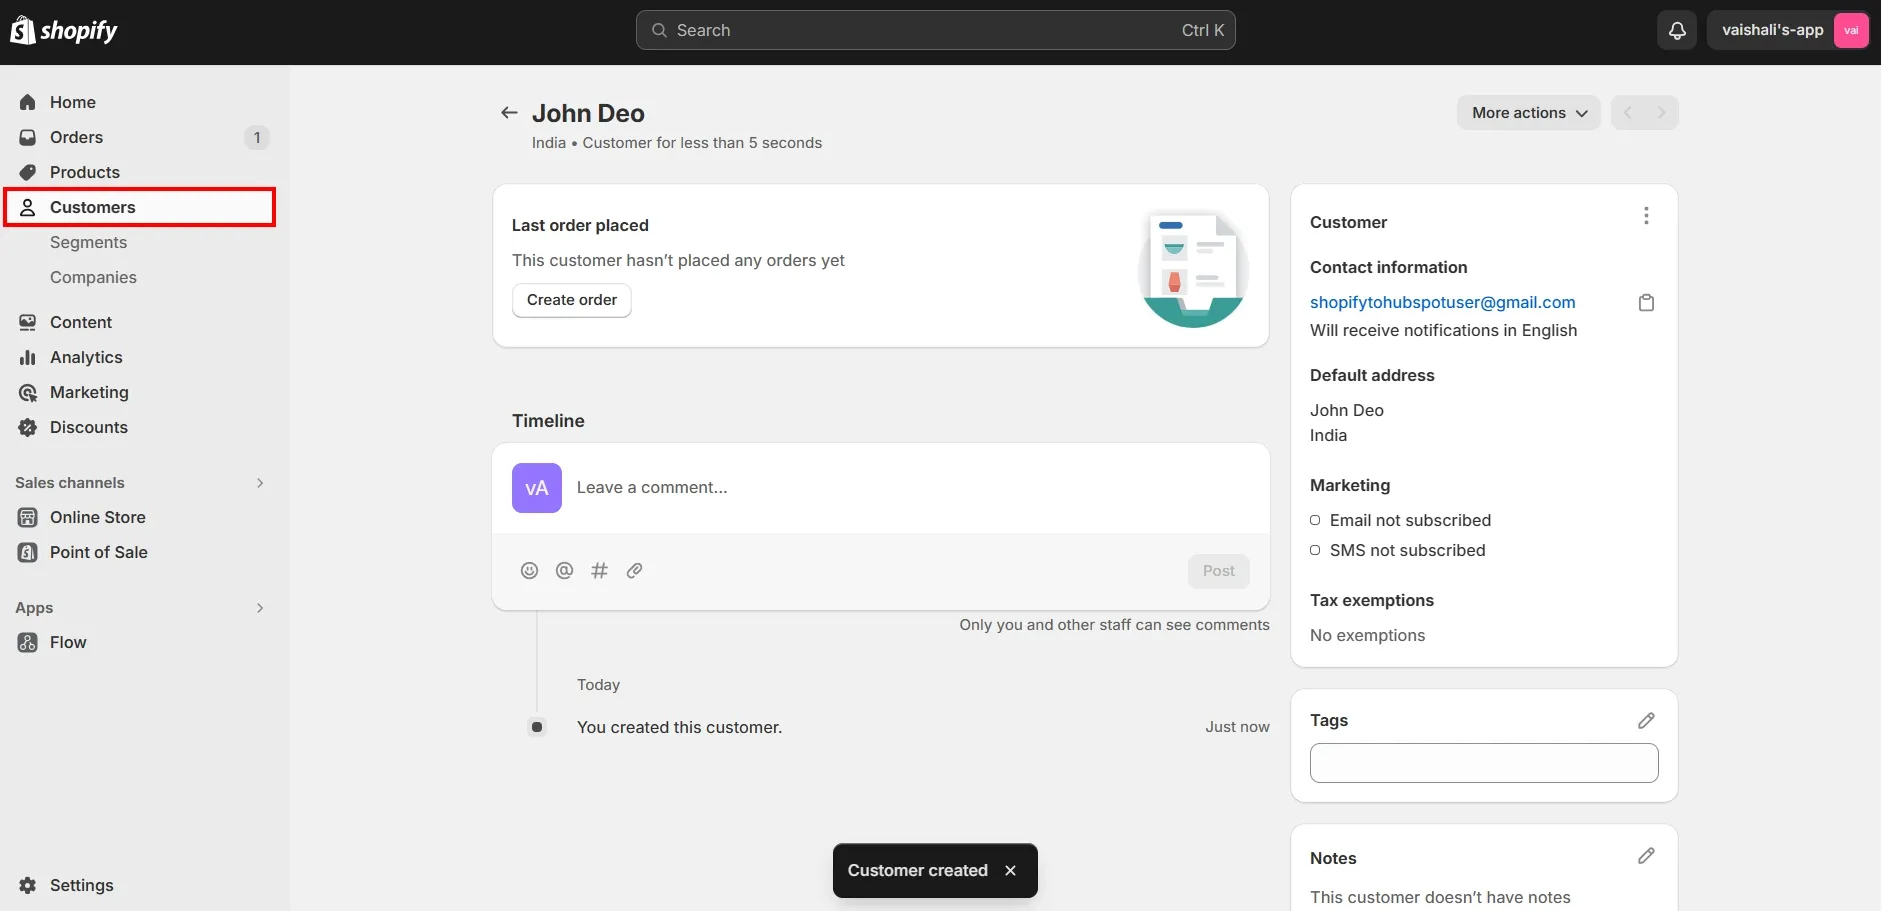
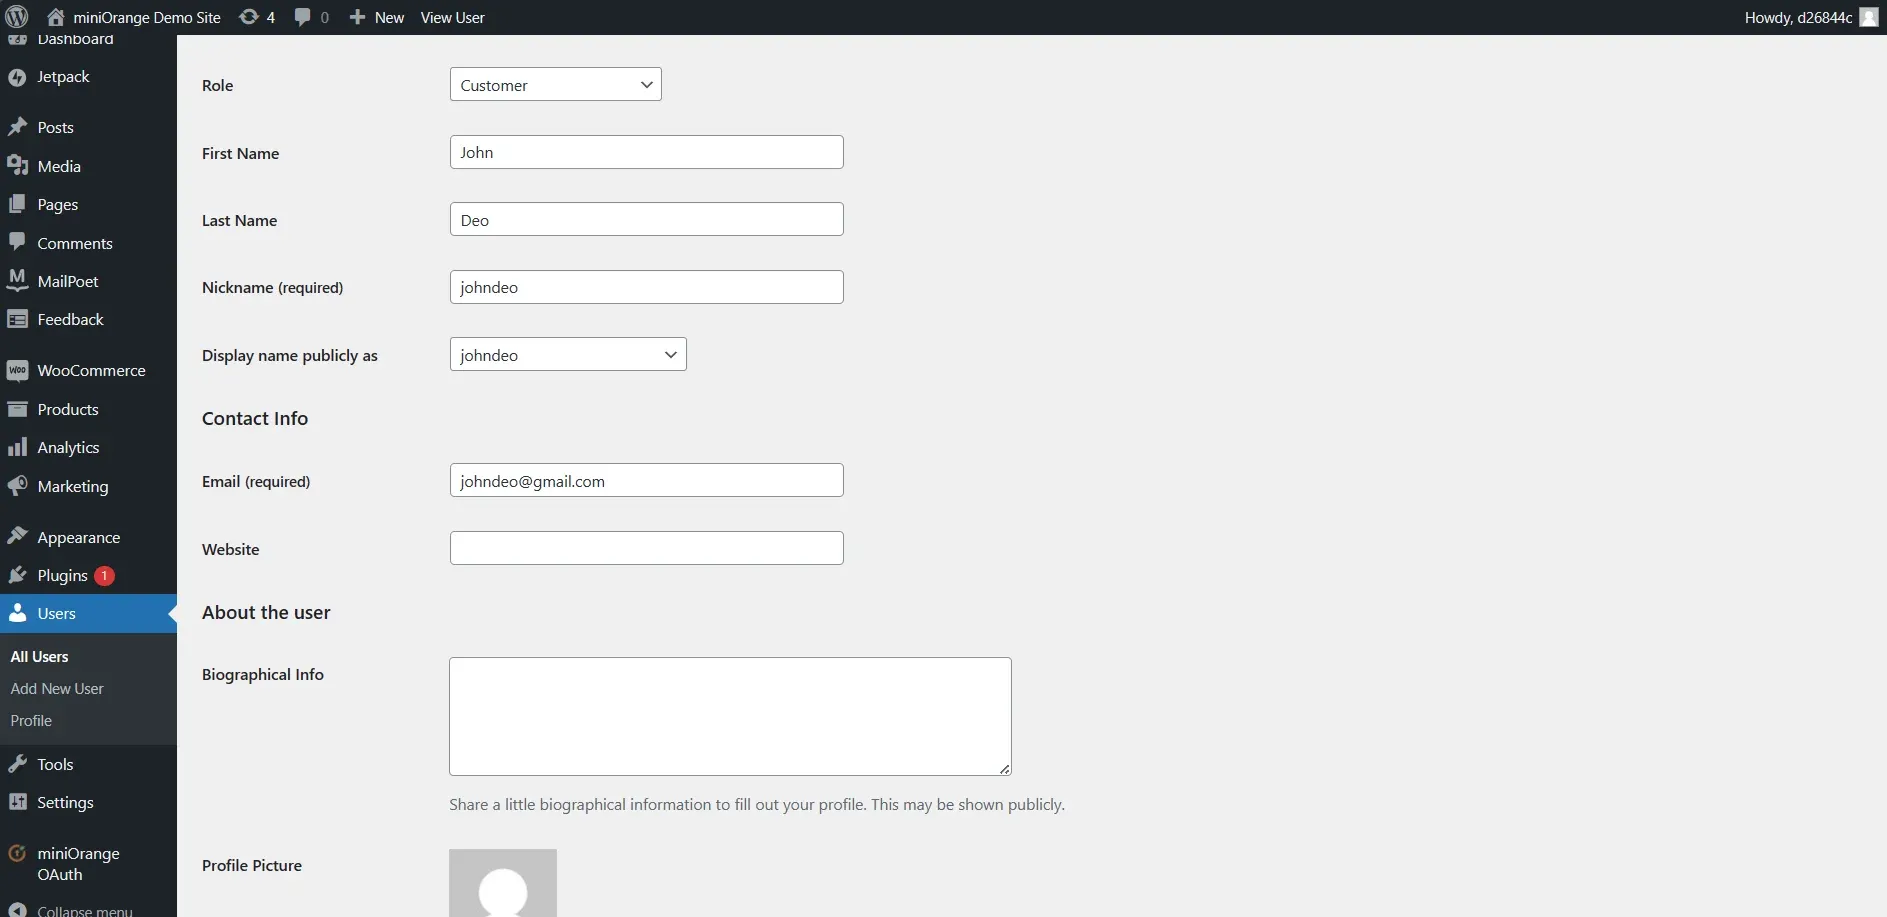
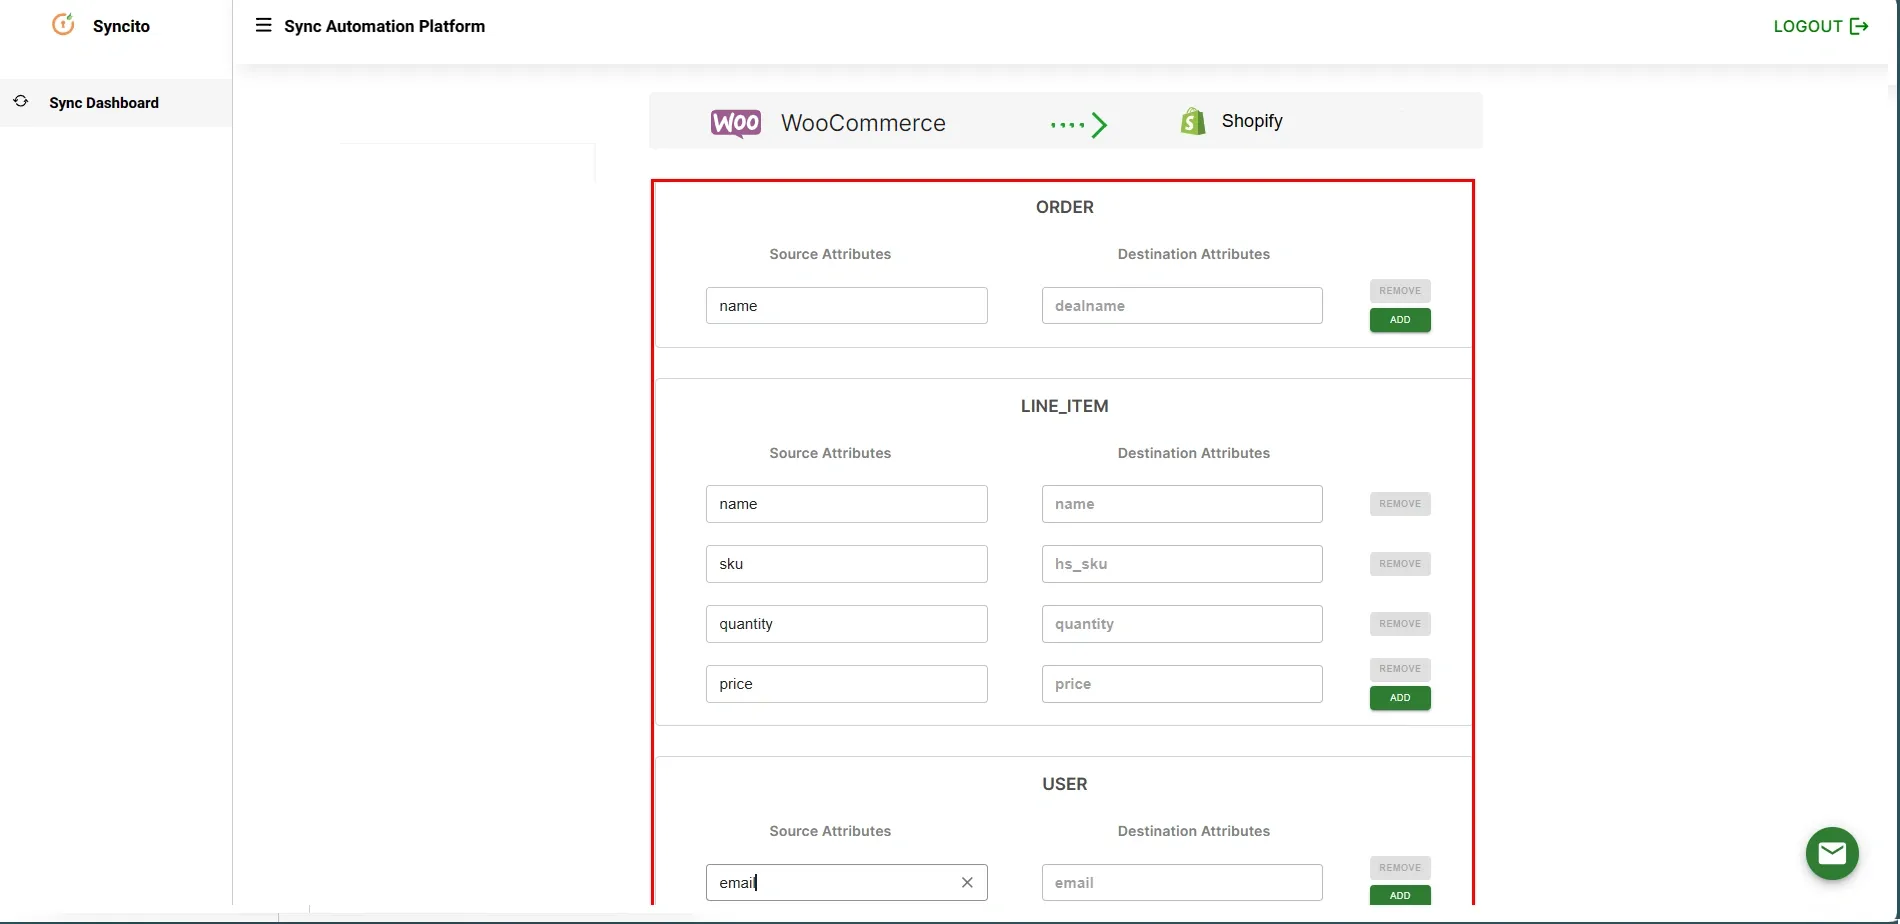
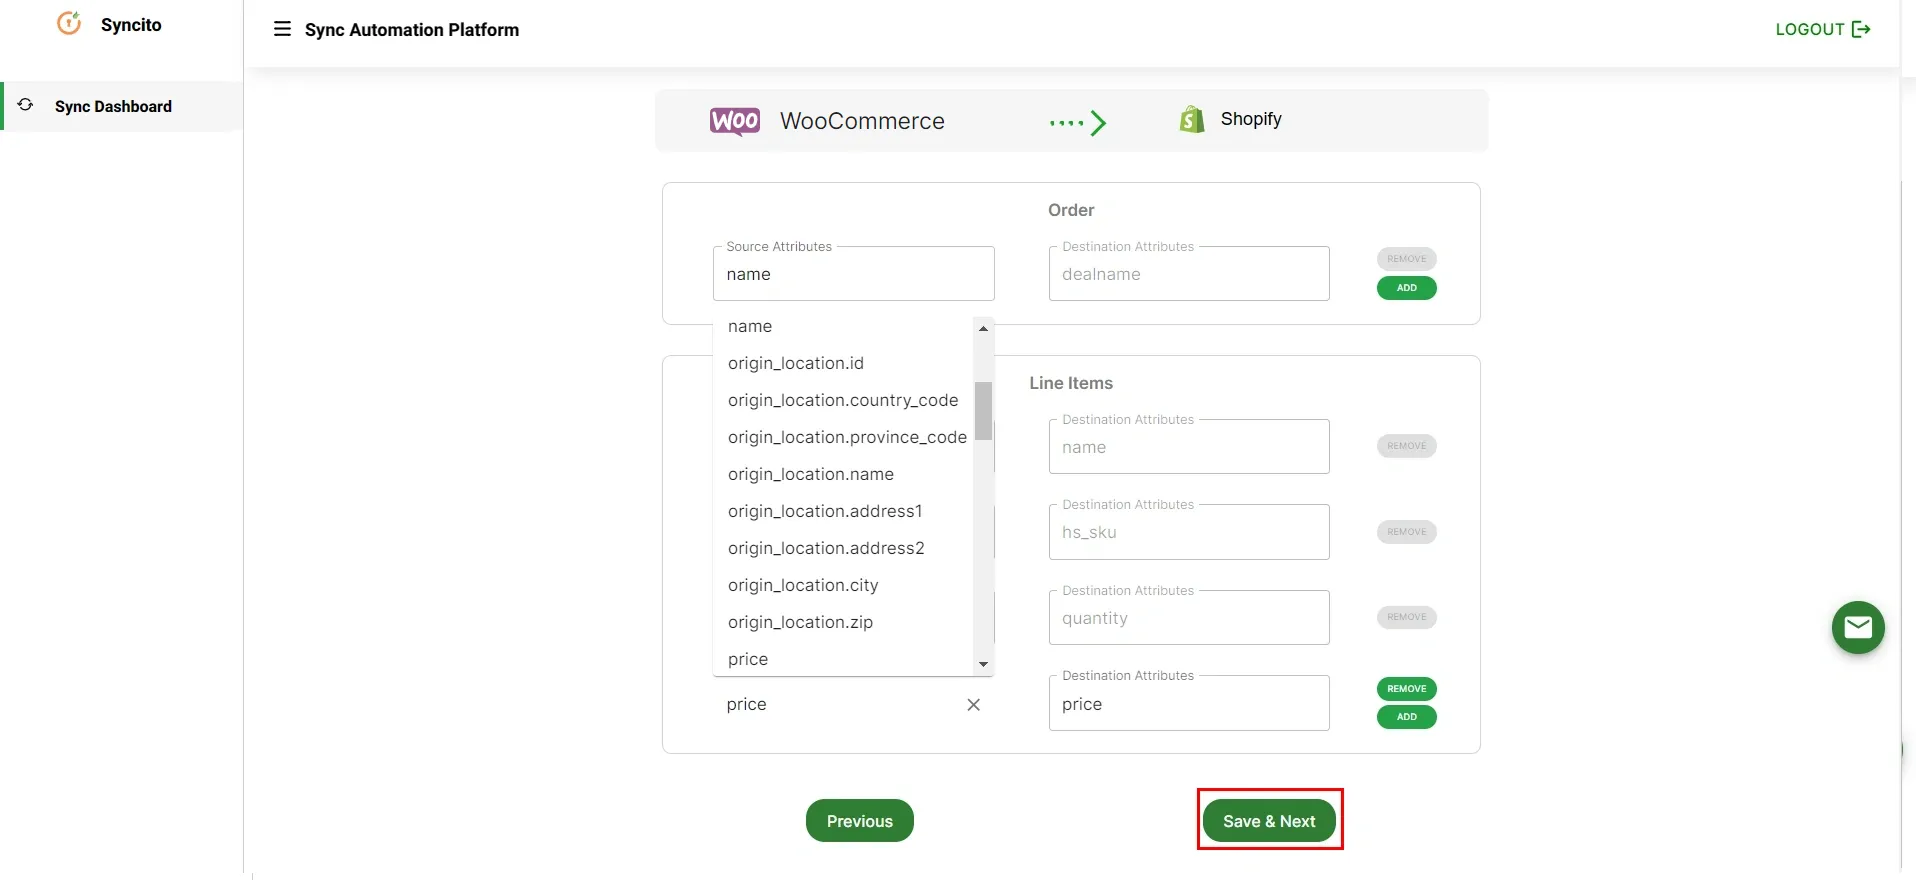
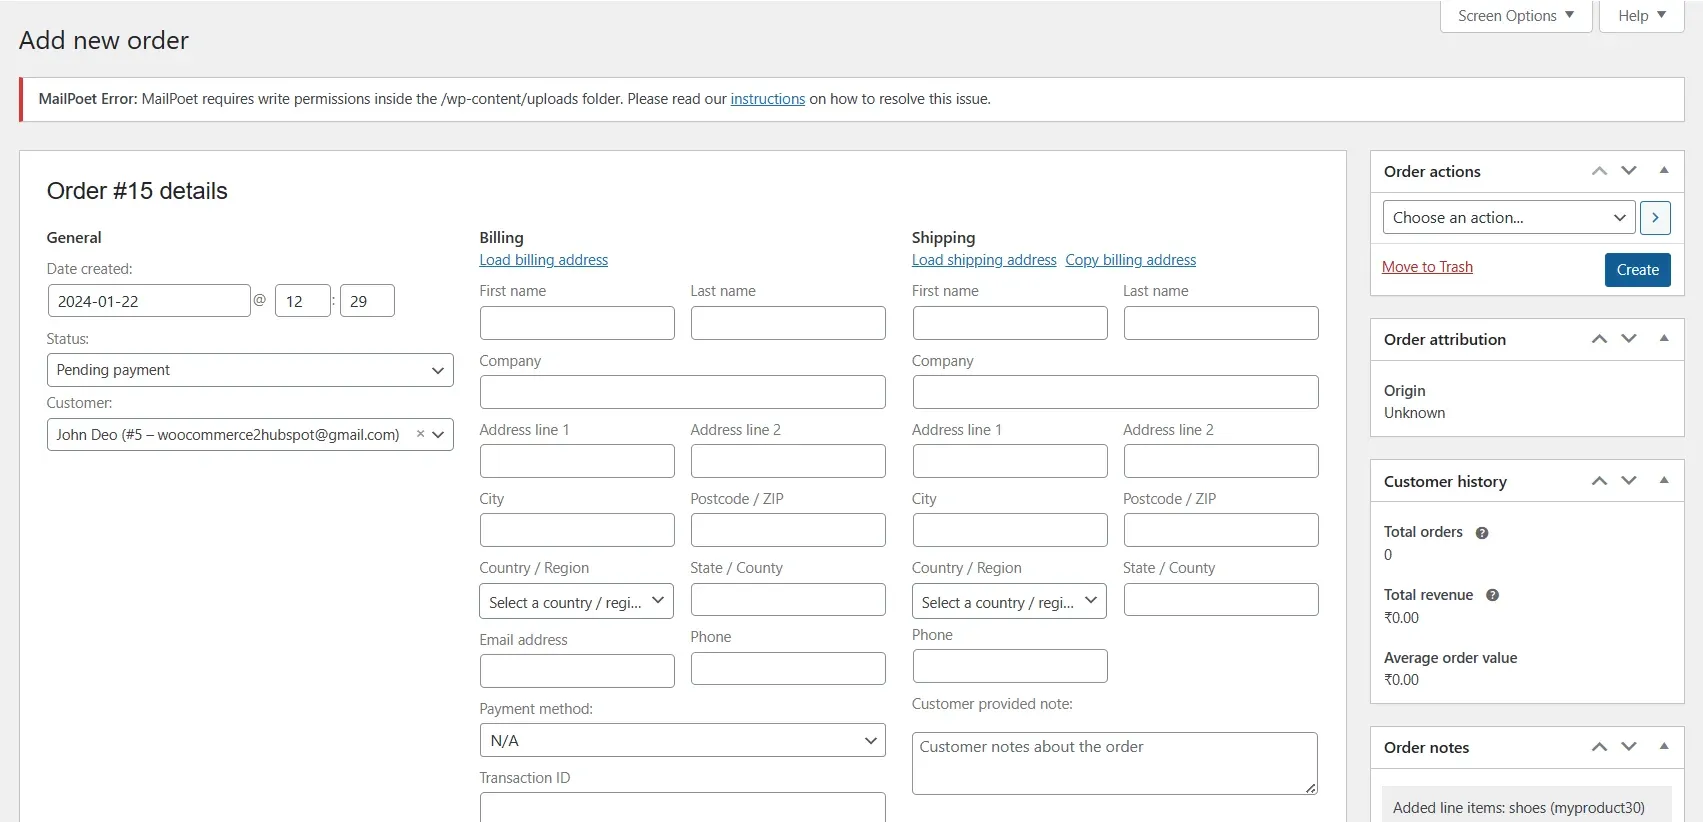
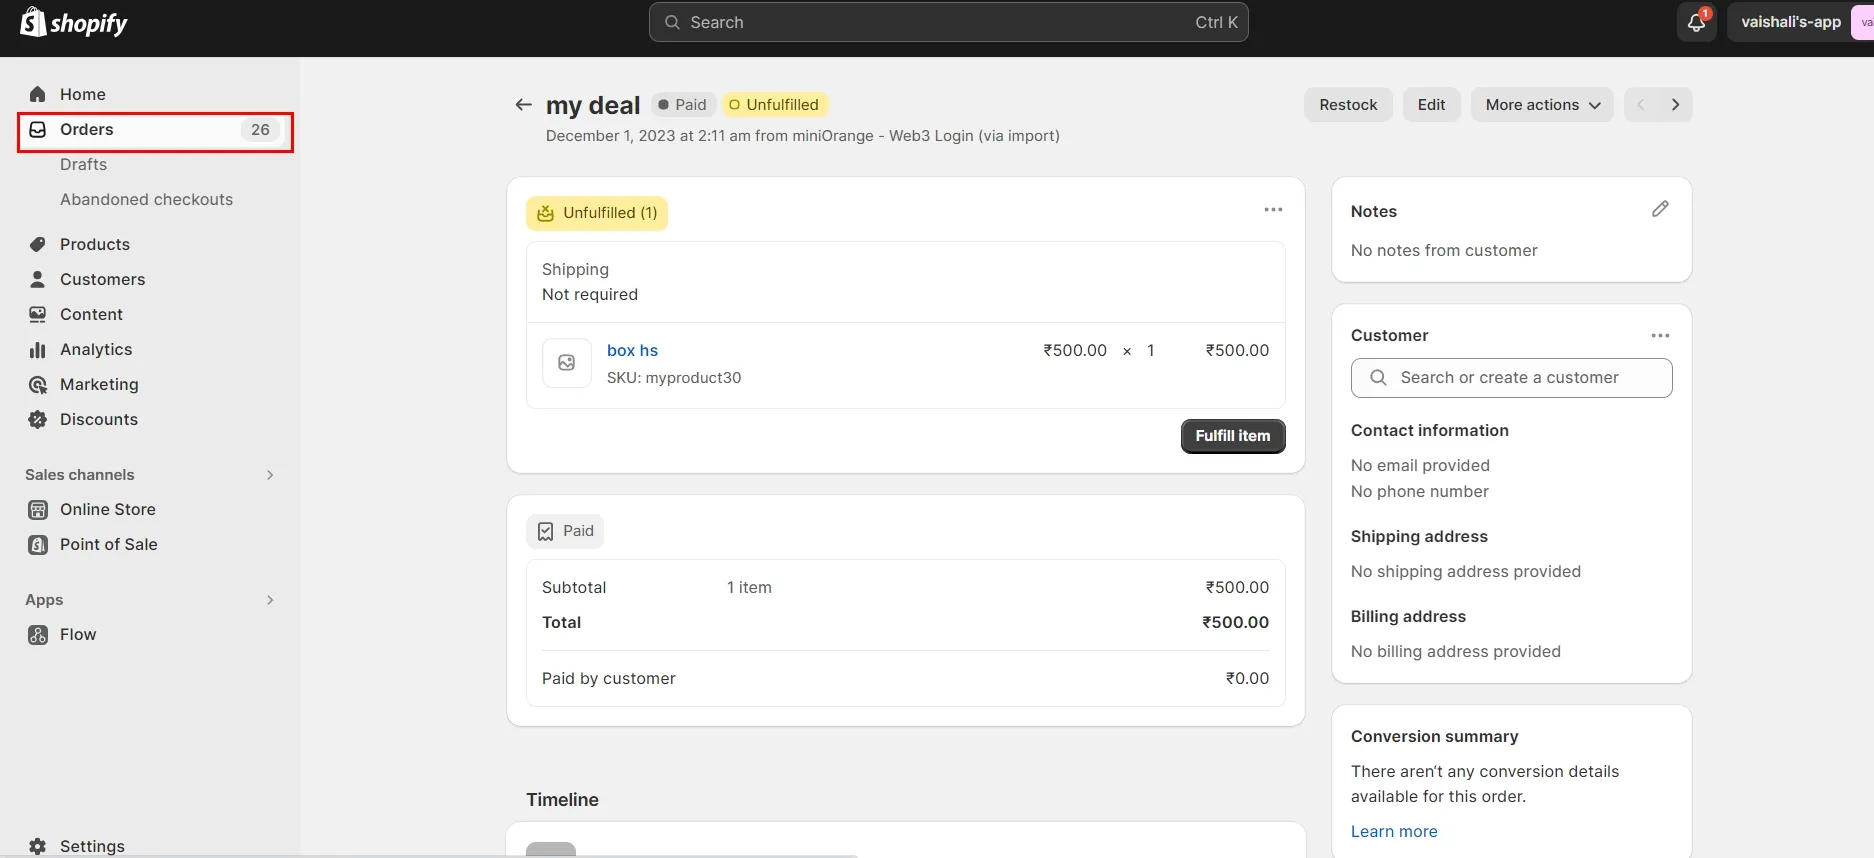
The Shopify WooCommerce integration can sync customer and contact data, draft orders and deals, orders and deals, line items, company data, and much more, all in real-time.
Yes, our integration ensures real-time synchronization. Any updates or additions made on one platform will instantly reflect on the other, keeping your data perfectly aligned.
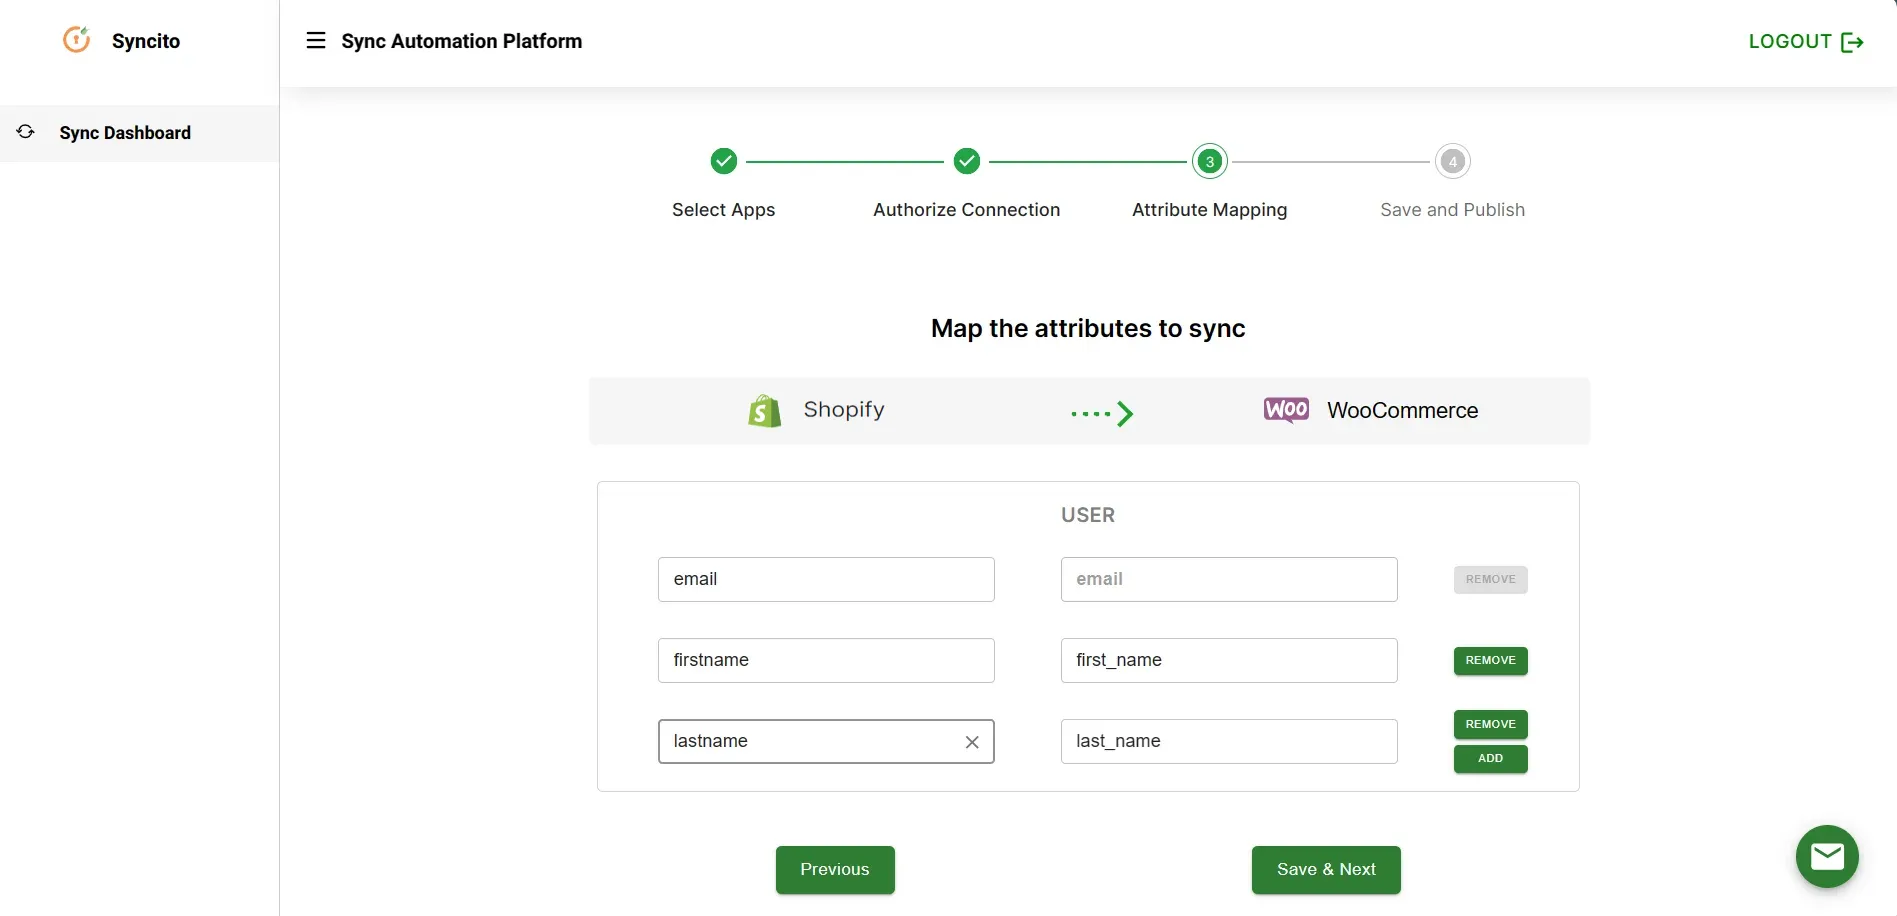
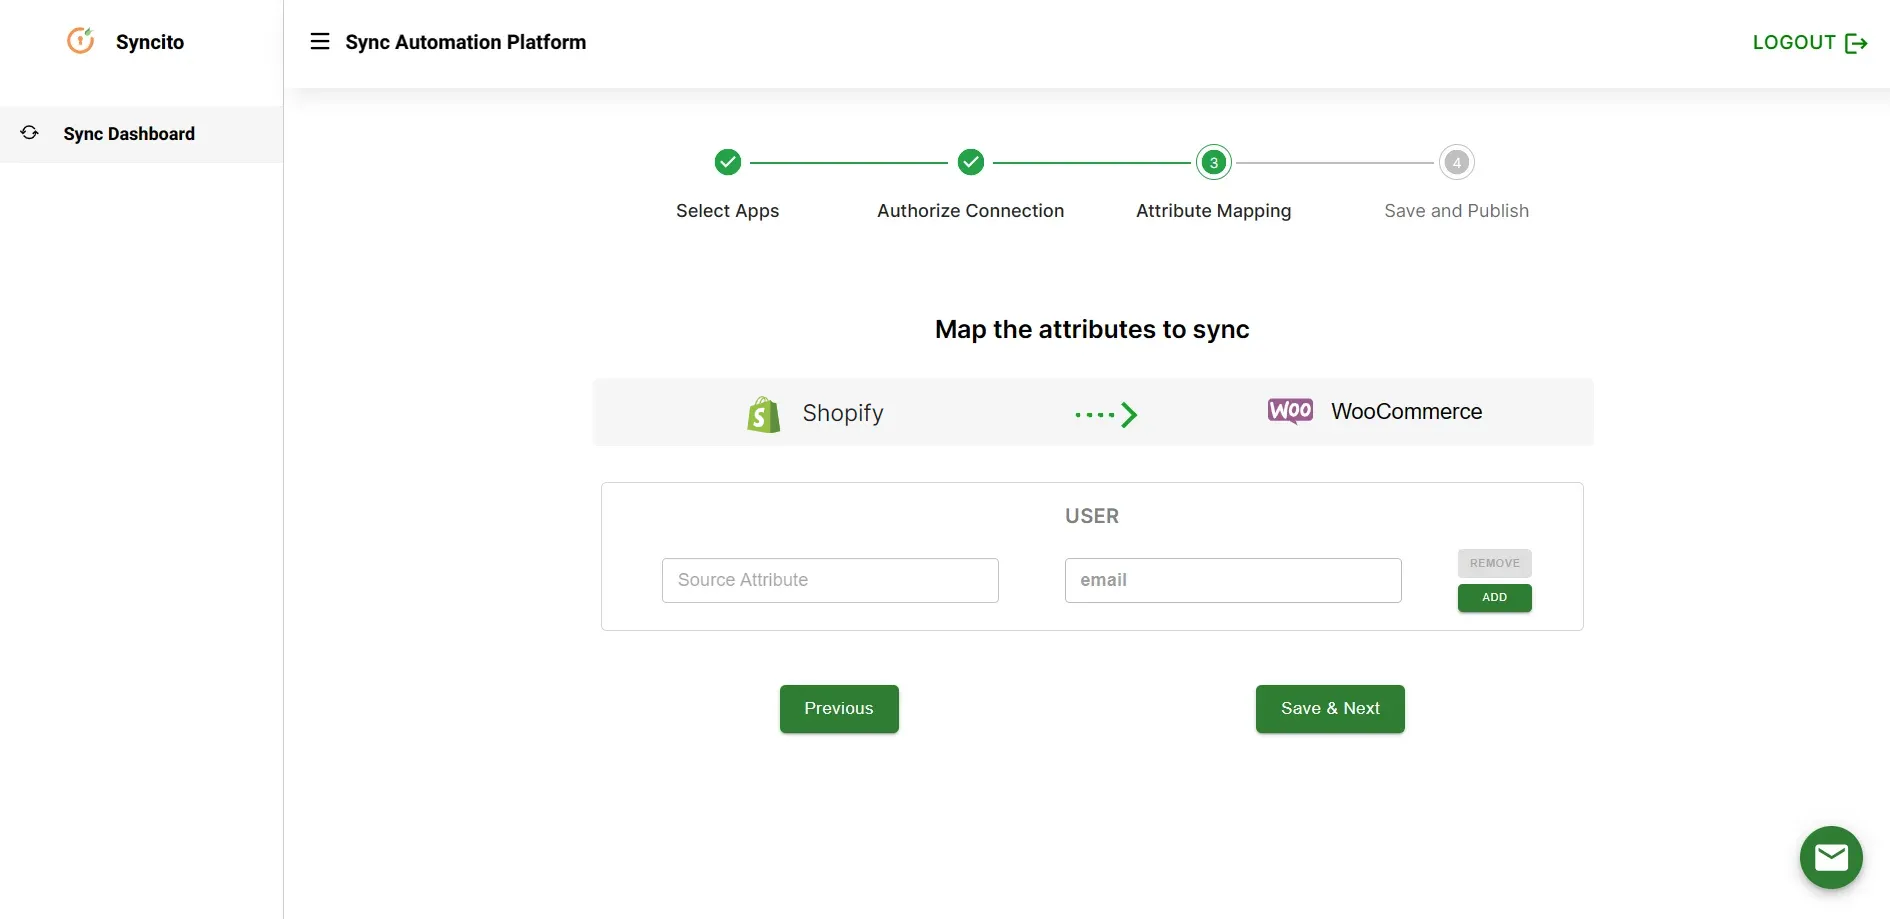
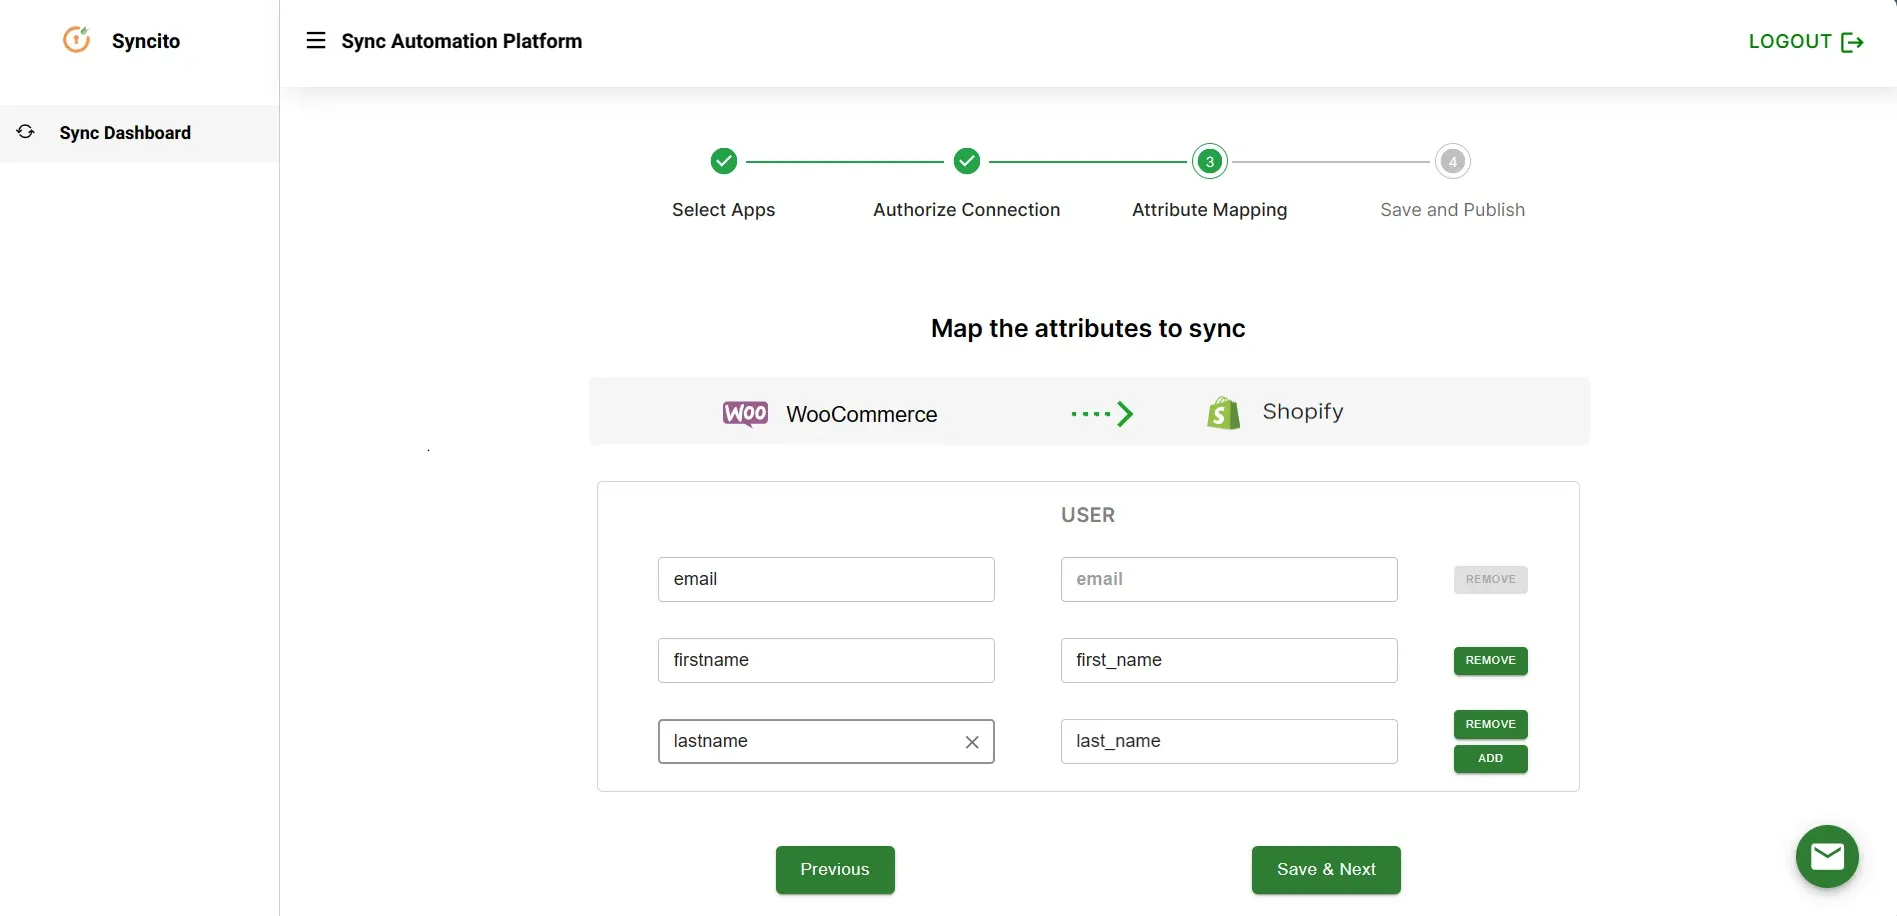
Yes, you can sync meta fields from Shopify to WooCommerce and vice versa. Additionally, WooCommerce custom properties can be synced to Shopify, ensuring your data stays consistent across both platforms.
Thank you for your response. We will get back to you soon.
Please enter your enterprise email-id.