BlueJeans Network is the company which provides cloud-based video conferencing service, it helps to connect participants across a wide range of devices and conferencing platforms. This software supports text chat, share and adds multiple participants. Also, it keeps a meeting recording. BlueJeans Rooms module helps to have a one-touch video conference room from any premise. With miniOrange Single Sign On (SSO), you can quickly increase your security of information and resources for your BlueJeans app without worrying about time for initial set up or future upgrades.
Follow the step by step guide to setup SSO with Bluejeans
Step 1: Configure miniOrange Settings for BlueJeans
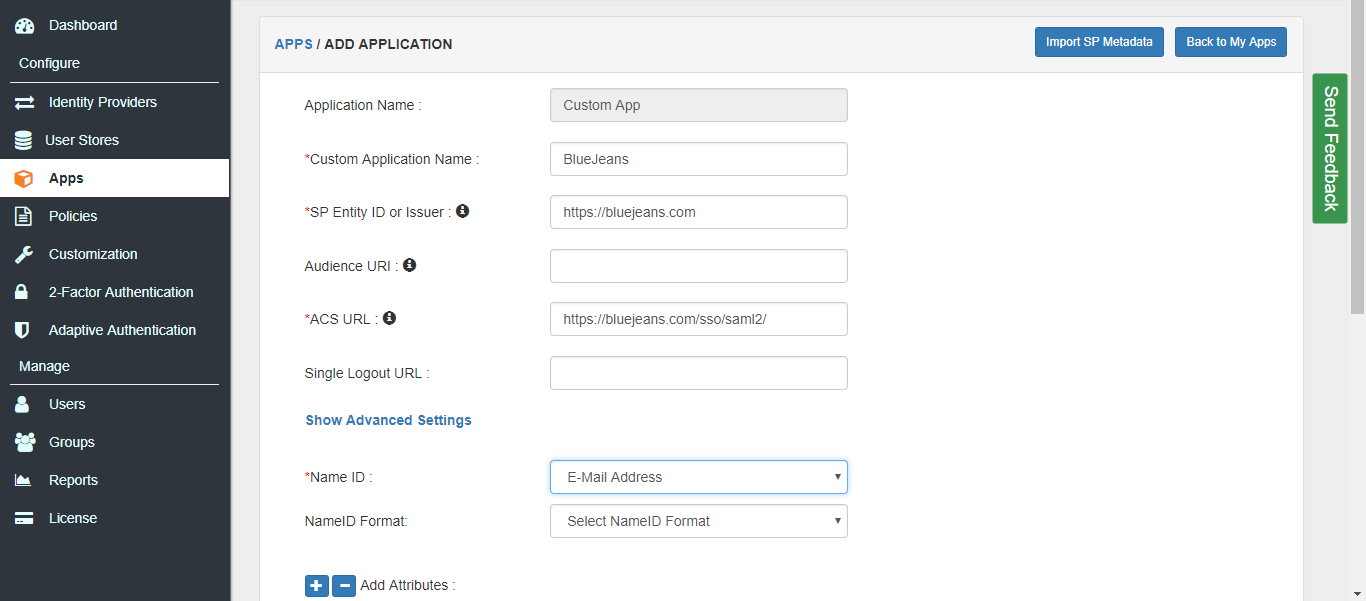
- Login as a customer from Admin Console.
- Go to Apps >> Manage Apps. Click Configure Apps button.
- Click on SAML tab. Select Custom App. Put the name BlueJeans.
- Enter the SP Entity ID as https://bluejeans.com
- Enter the ACS URL as https://bluejeans.com/sso/saml2/
- Select the Email ID from the Name ID dropdown.
- Go to the Add Policy and select DEFAULT from the Group Name dropdown.
- Now enter the BlueJeans in the Policy Name field.
- Select PASSWORD from the First Factor Type dropdown.
- Click on Save to configure BlueJeans.
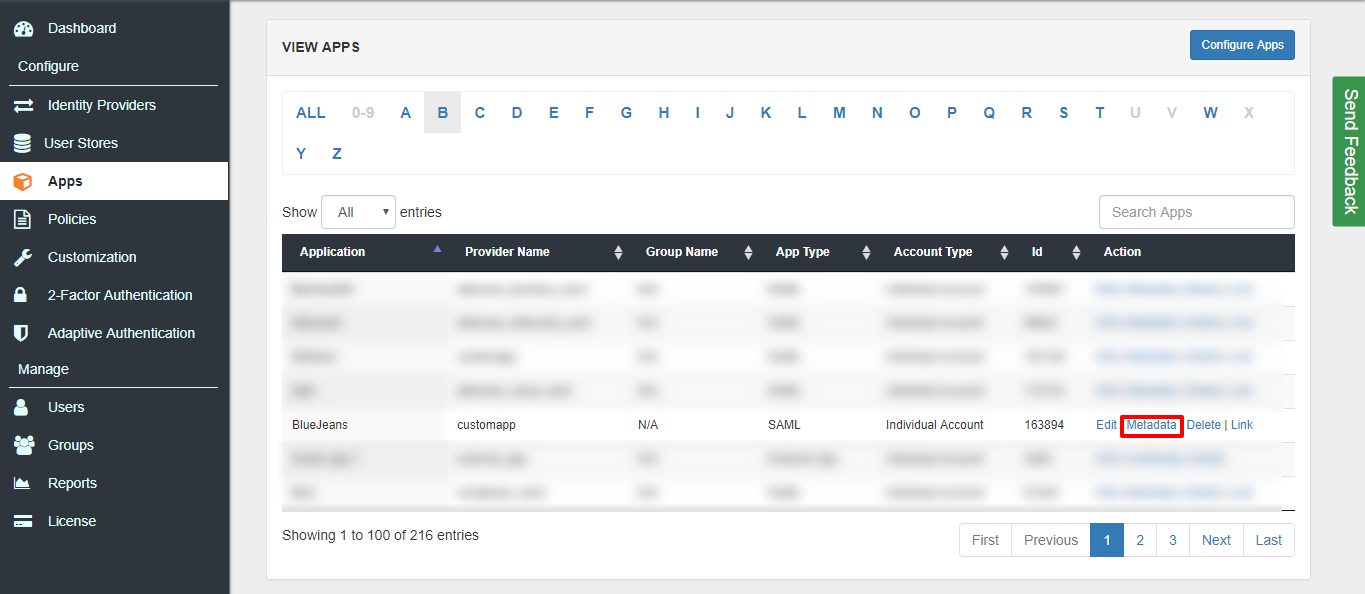
- Click on Metadata link to download the metadata which will be required later. Click on Link to see the IDP initiated SSO link for BlueJeans.
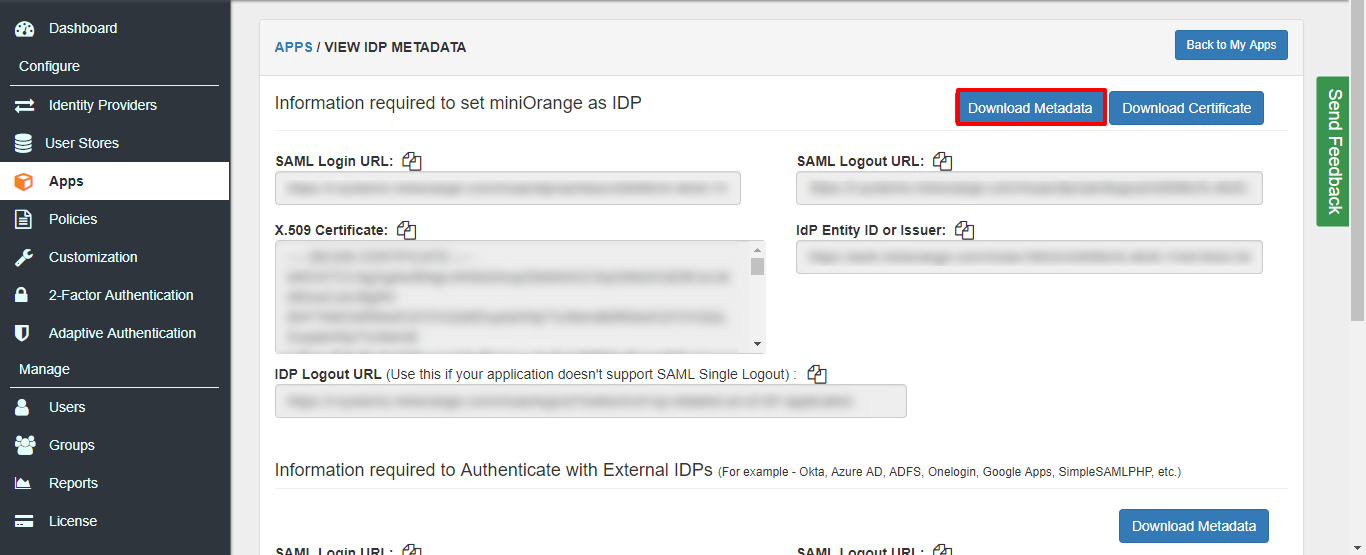
- Hit on the Download Metadata XML button to download the metadata.xml file.
Step 2: Configure BlueJeans setting for miniOrange
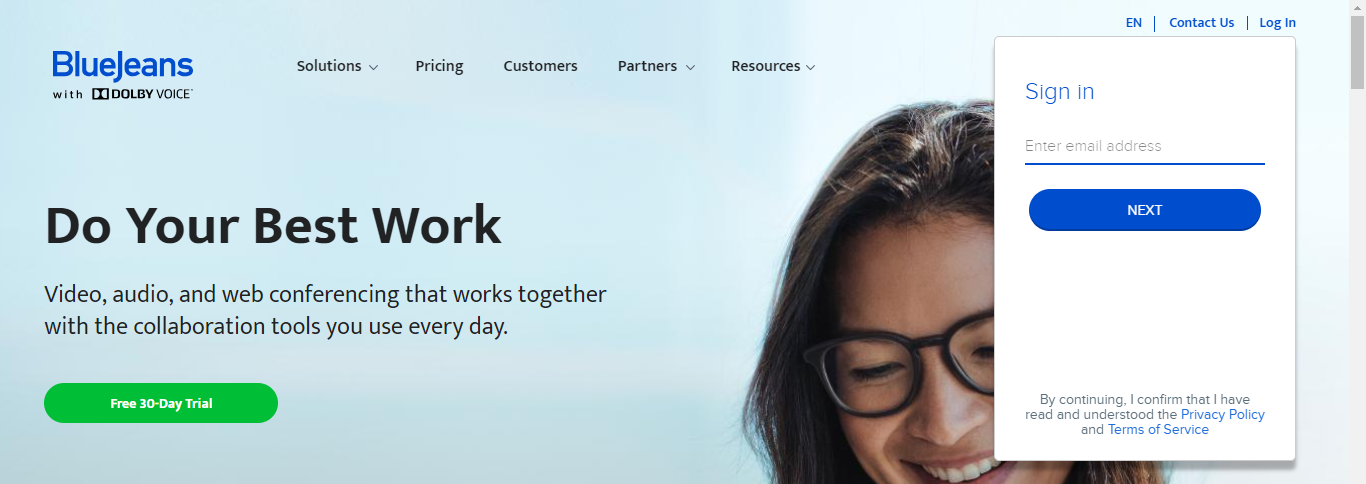
- Login into BlueJeans account using Admin login credentials.
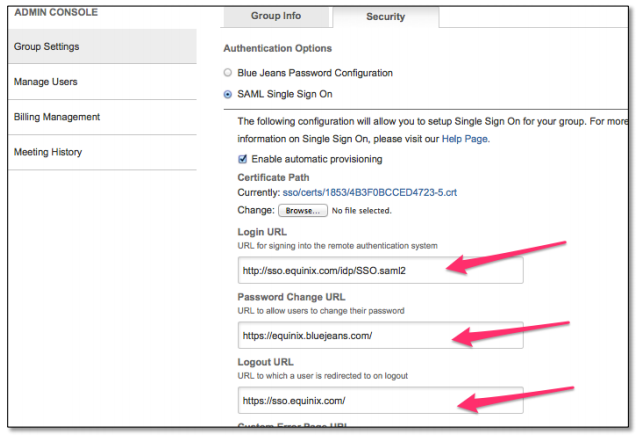
- Click on ADMIN -> SECURITY -> SAML Single Sign On.
- Tick on Enable automatic provisioning.
- Download the following certificate, then click CHOOSE FILE to locate it and upload it.
- Copy and paste the link in Login URL.: https://sso.equinix.com/idp/SSO.saml2
- Password Change URL: Copy and paste the following: https://equinix.bluejeans.com/
- Logout URL: Copy and paste the same value : https://sso.equinix.com/
- Enter the details of User ID and Email fields.
Note: In case, User ID field is not visible then uncheck Pick User ID from element. This box is checked in the screenshot below.
- Save RelayState value it will needed in further steps.
- Click on Save Changes.
Step 3: Onboard users into our system.
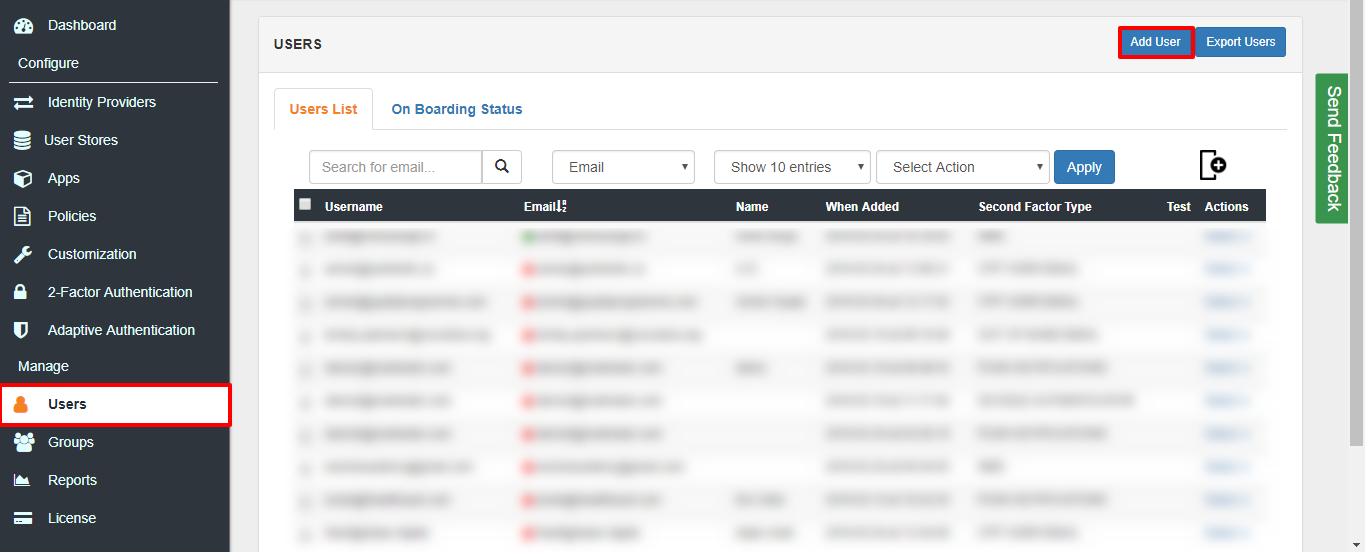
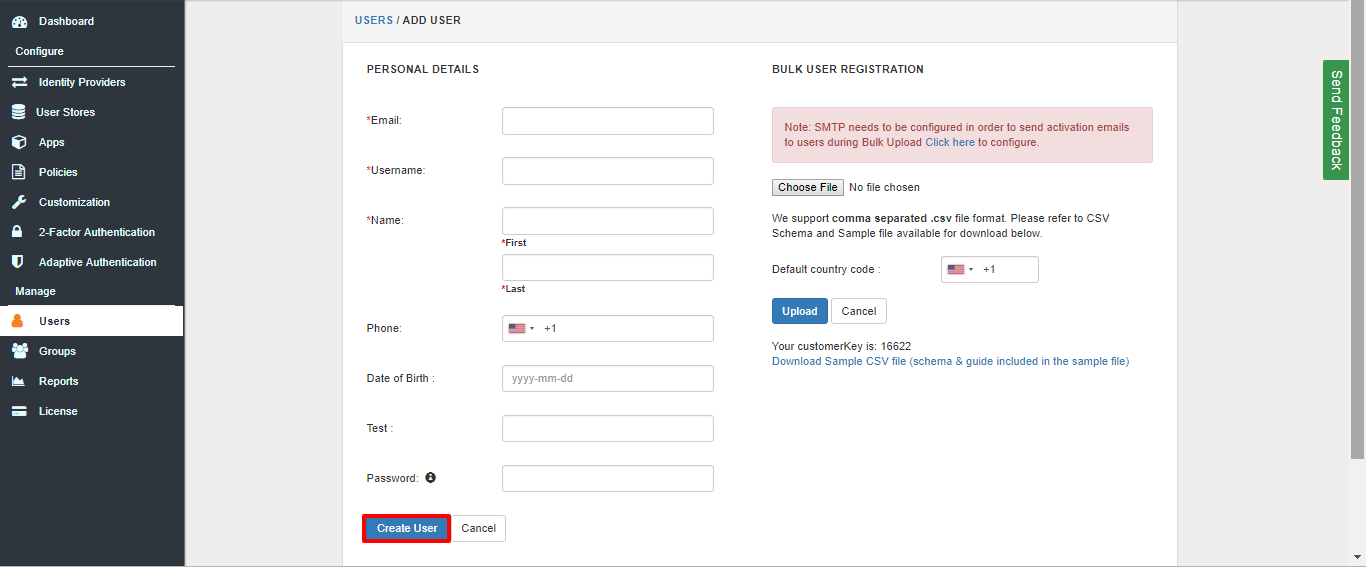
- Click on Users >> Add User.
- Here, fill the user details without the password and then click on the Create User button.
- Click on Onboarding Status tab. Check the email, with the registered e-mail id and select
action Send Activation Mail with Password Reset Link from Select Action dropdown list and then click on Apply button.
- Now, Open your email id. Open the mail you get from miniOrange and then click on the link to set your account password.
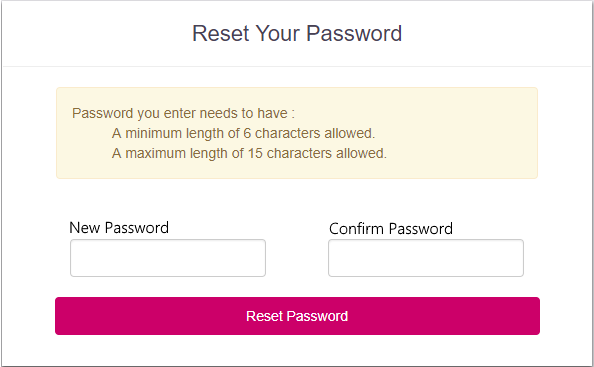
- On the next screen, enter the password and confirm password and then click on the Reset Password button.
- Now, you can login into miniOrange account by entering your credentials.
Step 4: Login to miniOrange Account.