Hello there!
Need Help? We are right here!
Need Help? We are right here!
Search Results:
×"Oracle EBS SSO solution by miniOrange allows enabling the Single Sign-On between Oracle EBS - 11i, 12.1, and 12.2.x and Active Directory, IDPs and directories without having to buy and install Oracle Access Manager (OAM) and Oracle Internet Directory (OID) license."
Oracle EBS SSO is an authentication solution that allows users to log in via LDAP authentication, AD passwords, or existing Identity Providers, instead of the Oracle E-Business Suite local password authentication. Oracle EBS SSO integration can be done with IDPs (Identity Providers) like miniOrange, Active Directory, Azure AD, Google, Okta, OneLogin, Ping Identity, Centrify, and many more. Here, the Oracle EBS SSO connector delegates the authentication to the SSO Server, which performs the authentication on behalf of Oracle EBS. EBS SSO connector gives you the flexibility of extending your existing SAML SSO integration to Oracle E-Business Suite as well. Oracle EBS SSO is strongly advised for better user experience and improved Security. Single Sign-On (SSO) is additionally a prerequisite for Oracle E-Business Suite IT Security Audits.
Can't find your IDP ? Contact us on idpsupport@xecurify.com. We'll help you set up Oracle EBS SSO in no time.
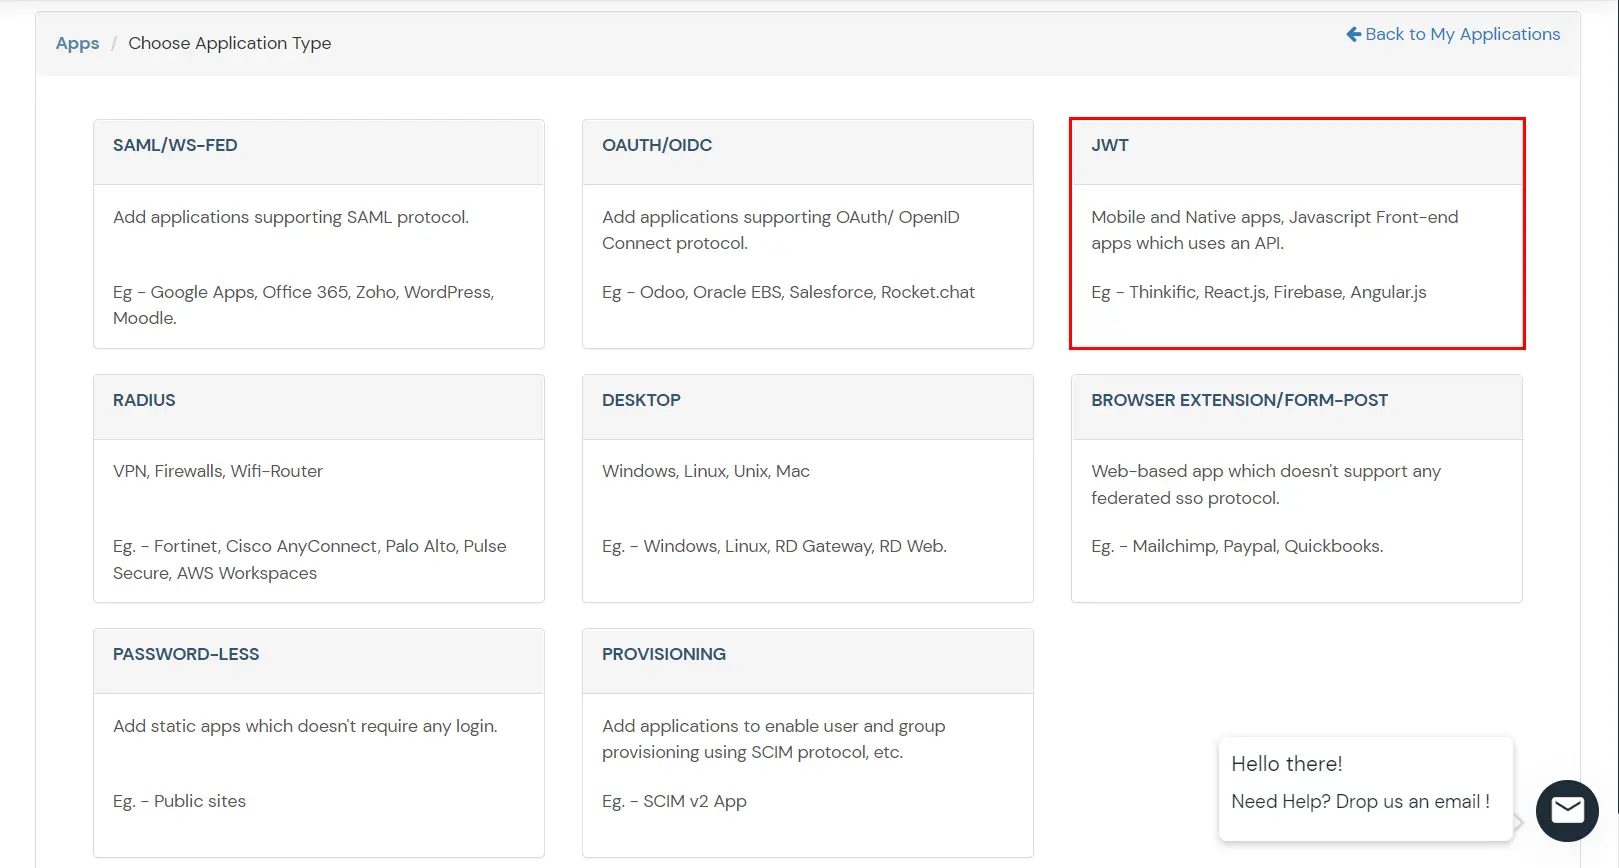
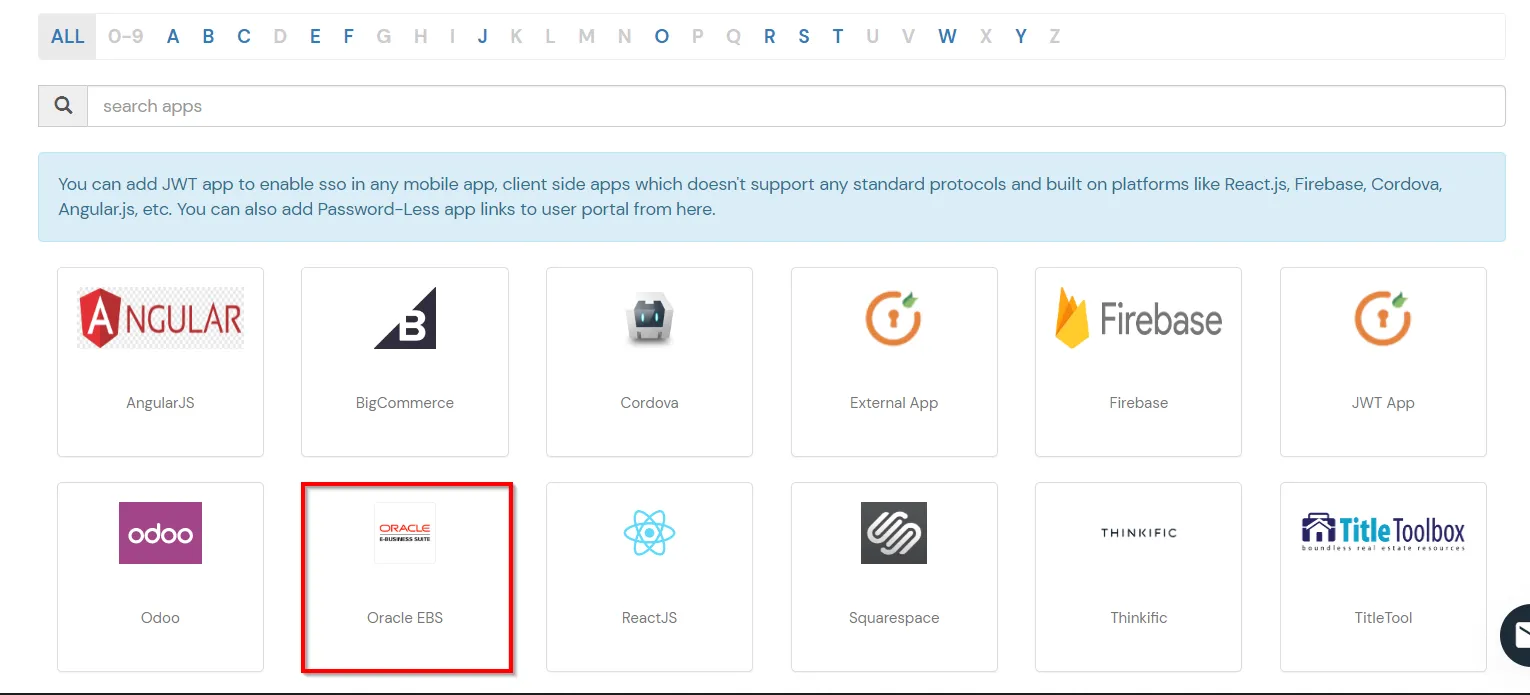
Step-by-Step Tutorial to Configure SSO for Oracle E-Business Suite
Oracle EBS Single Sign-On (SSO) Authentication Demo
miniOrange offers 1 hour free help through a consultation call with our System Engineers to Install or Setup Oracle EBS SSO solution in your environment with 30 days free trial. For this, you need to just send us an email at idpsupport@xecurify.com to book a slot and we'll help you setting it up in no time.
<CookieProcessor className="org.apache.tomcat.util.http.LegacyCookieProcessor" />
java oracle.apps.fnd.security.AdminDesktop <apps-username>/<apps-password>
CREATE NODE_NAME=<miniorange-sso-connector-fqdn> DBC=<path-to-existing-dbc-file>
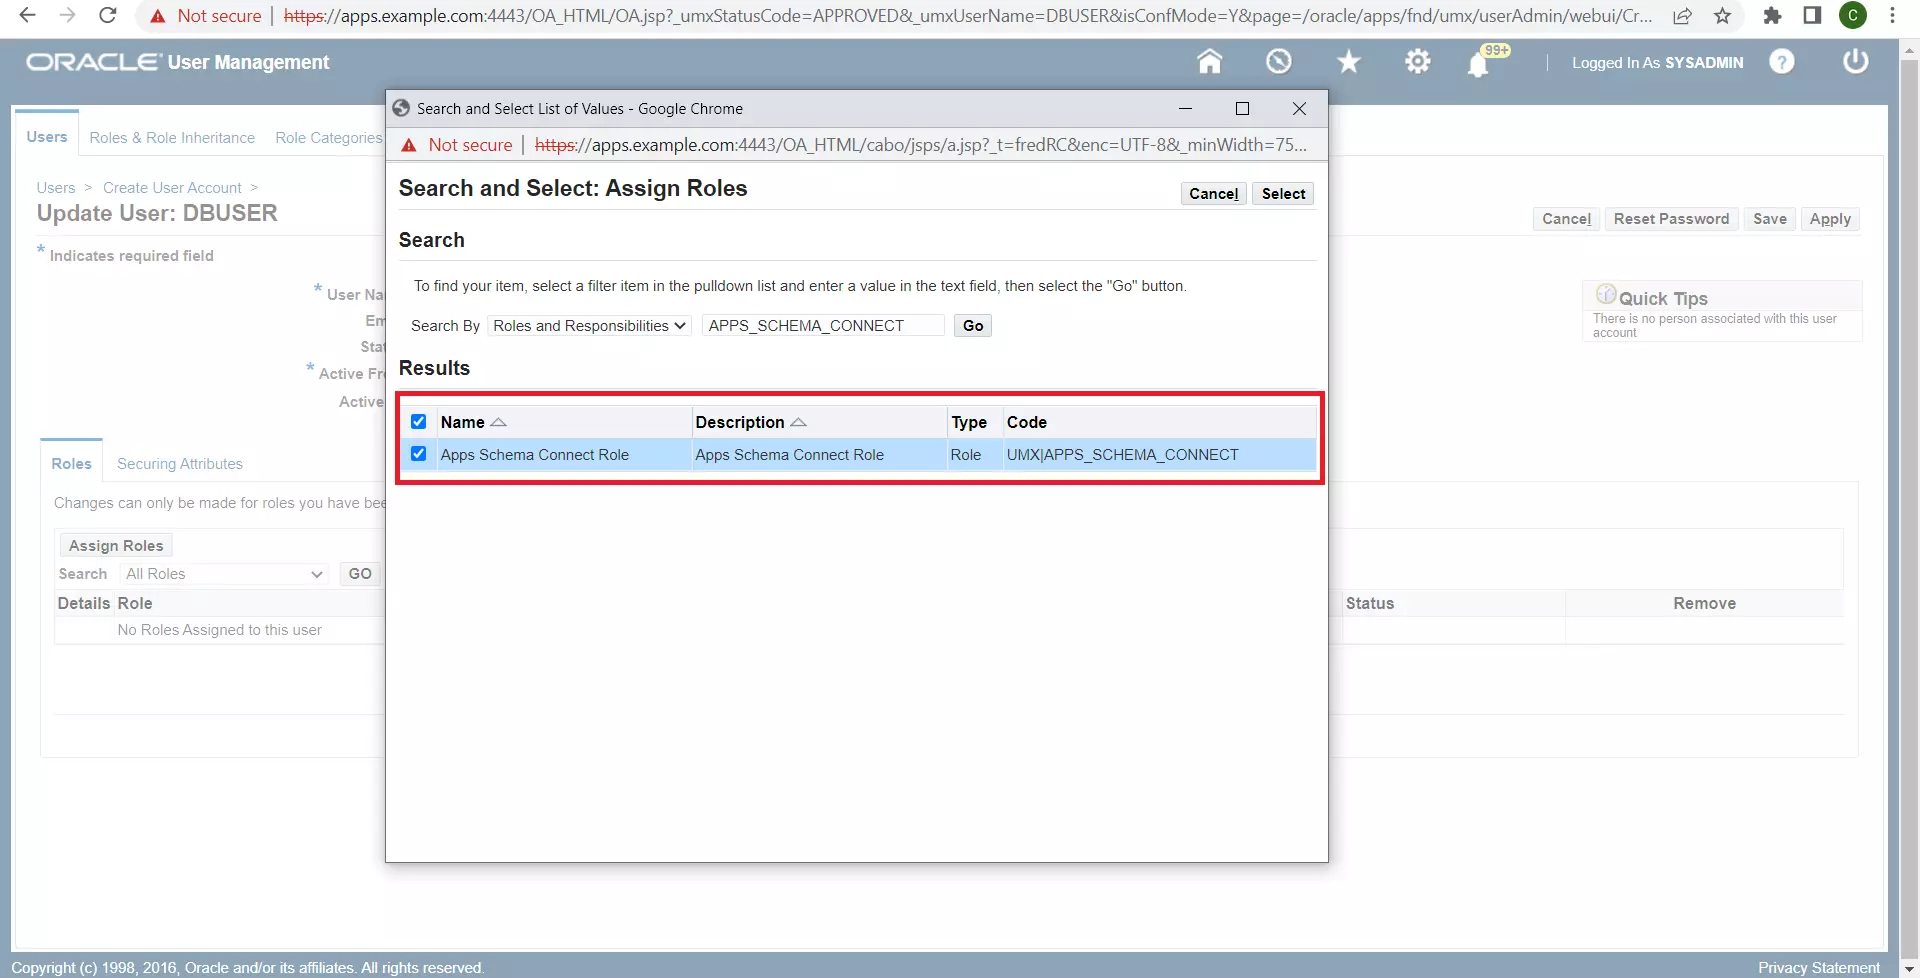
Any identifier for your Oracle EBS InstanceThe username of the user created in Step 1 The password of the user created in Step 1 The absolute path (on the miniOrange SSO Connector Server) to the DBC fileThe APPL_SERVER_ID of the Desktop Node created in Step 1.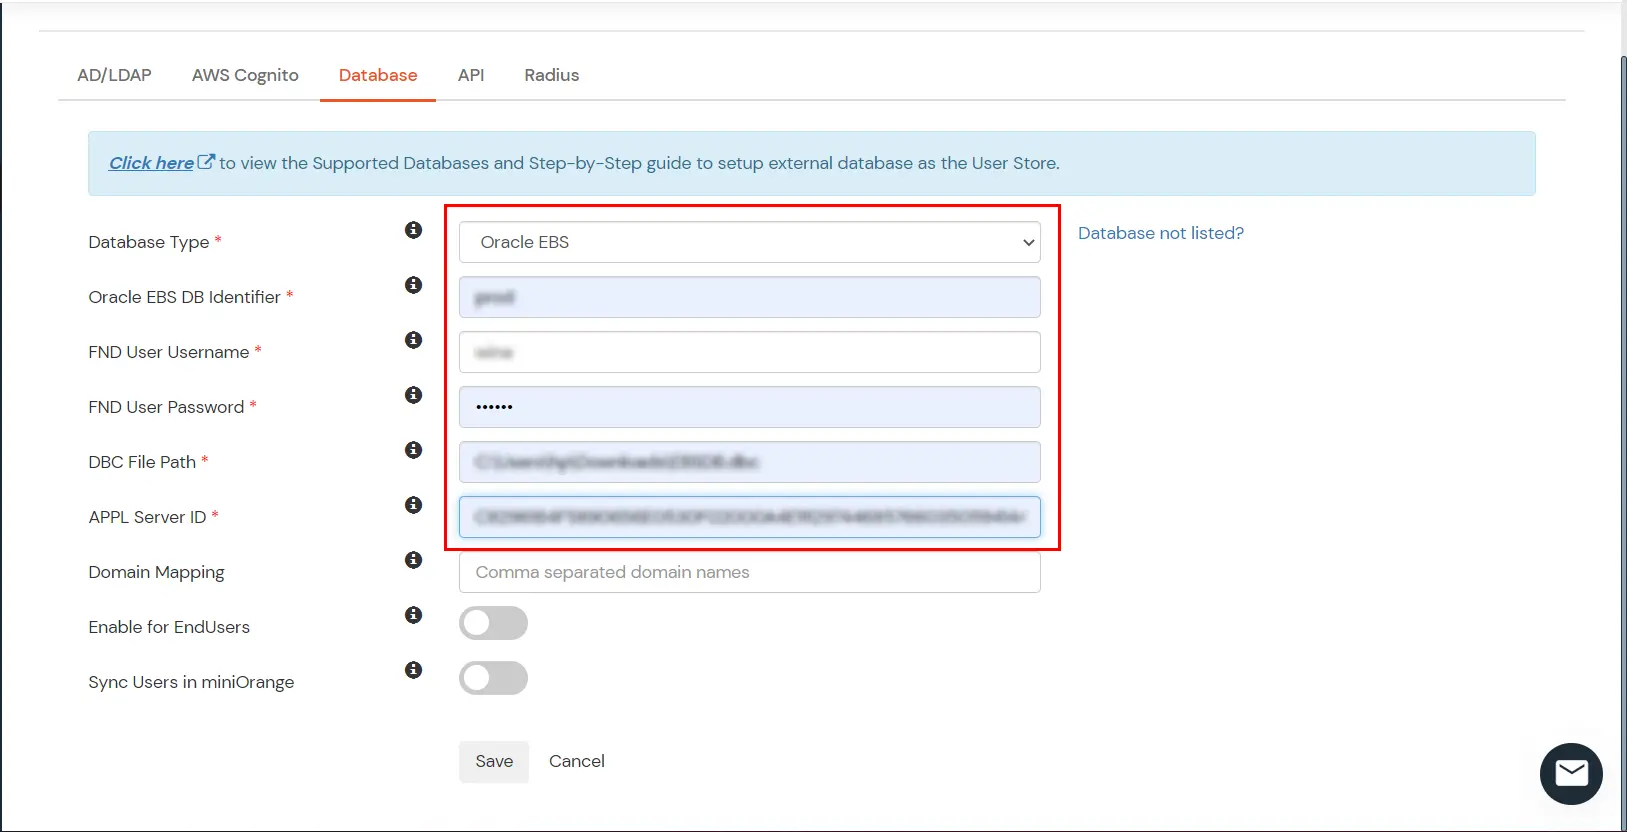

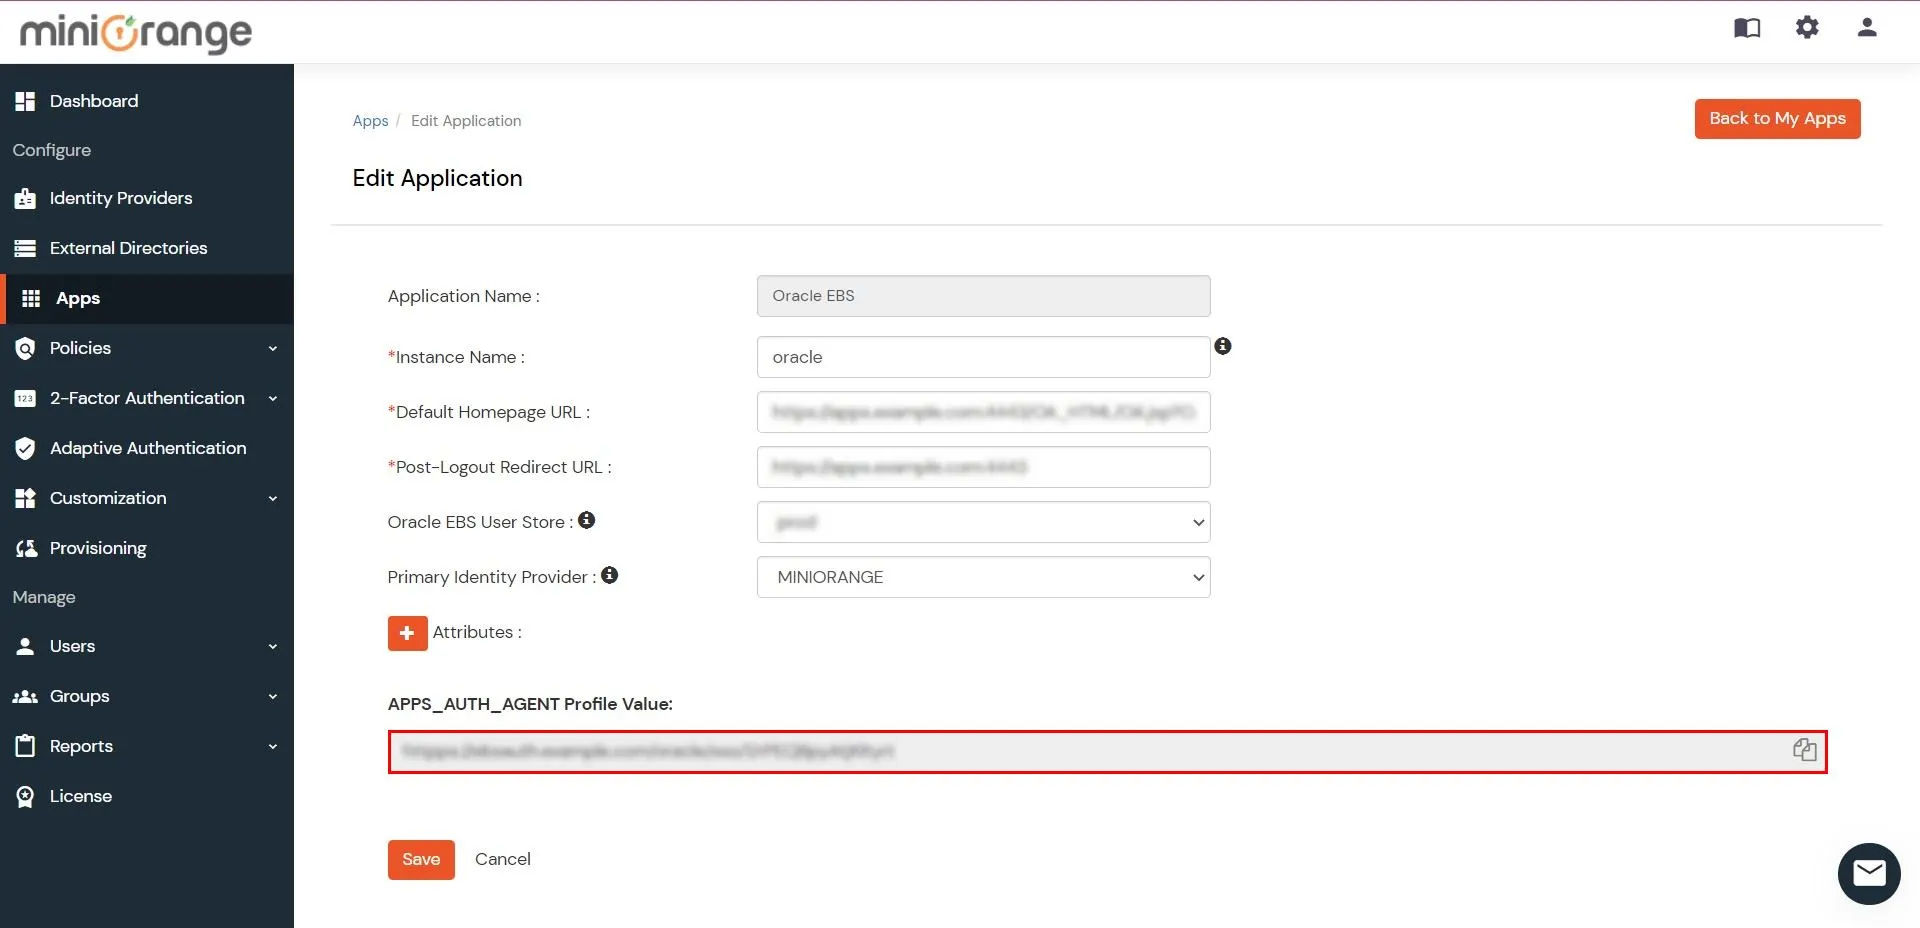
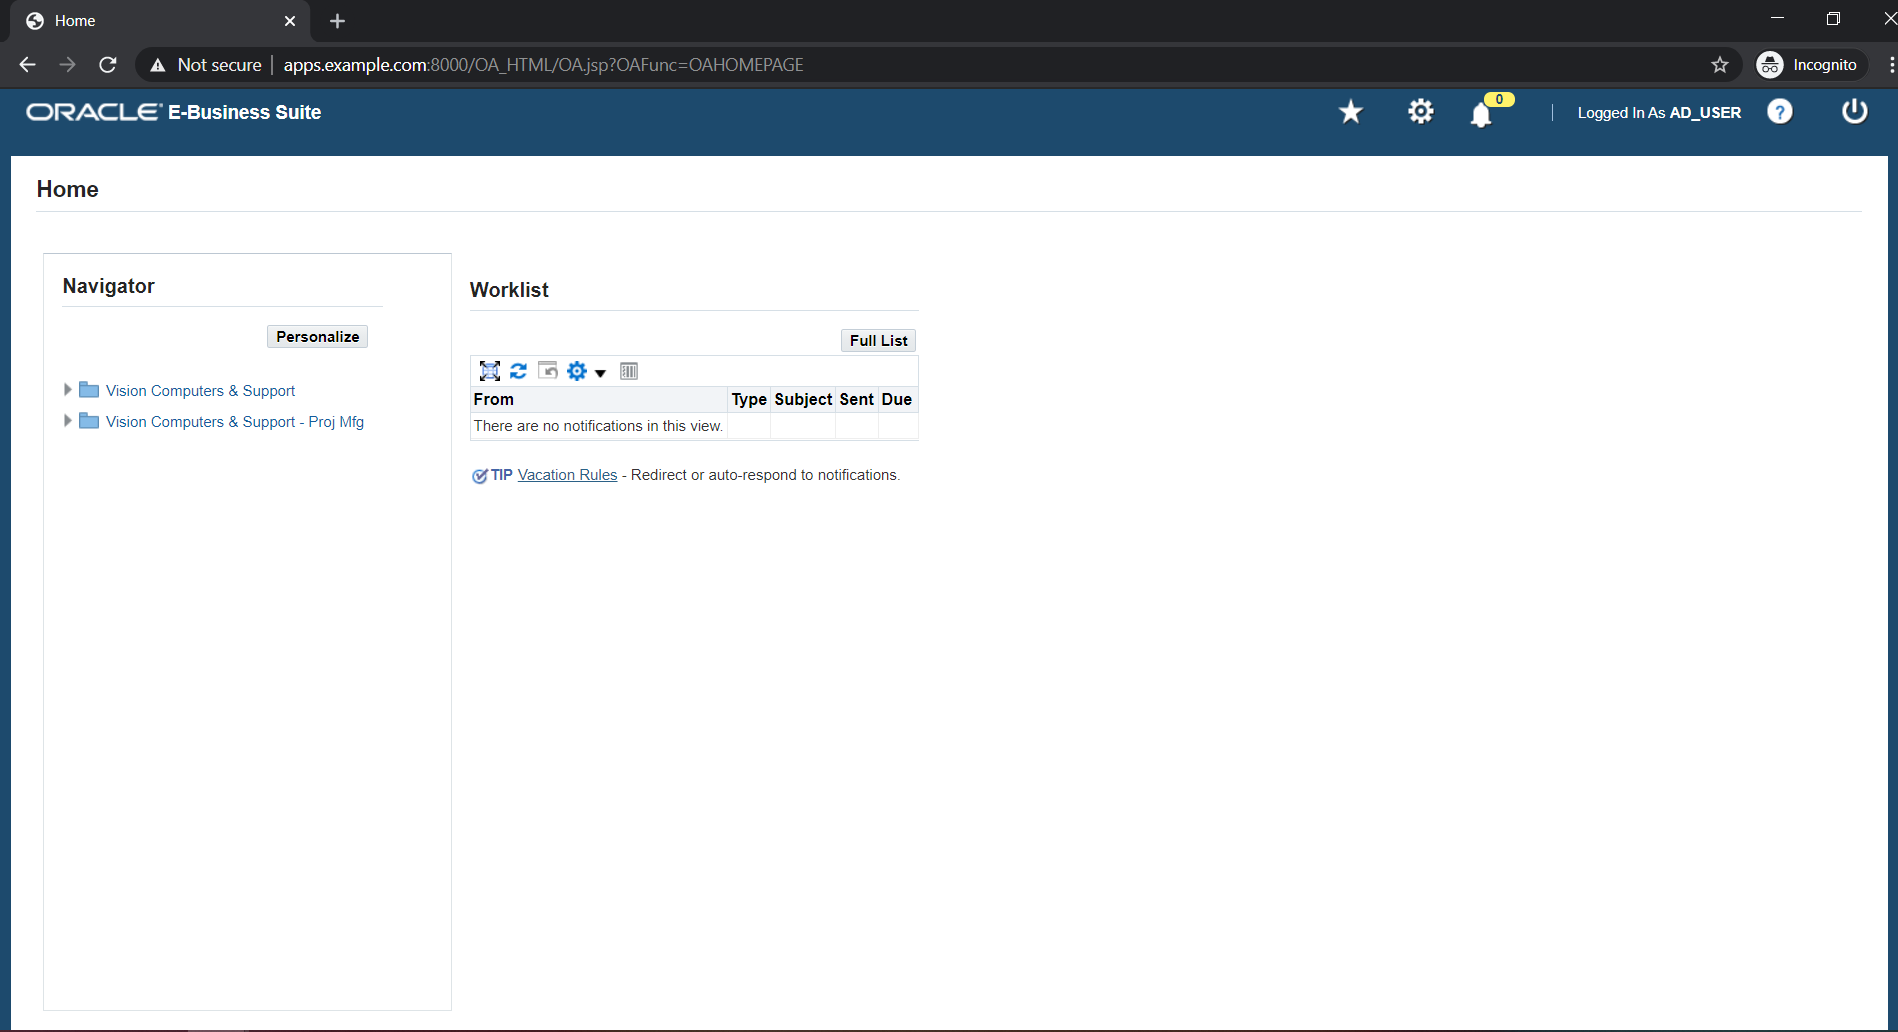
Oracle e.g. https://apps.example.com:4443/OA_HTML/OA.jsp?OAFunc=OAHomepagee.g. https://apps.example.com:4443Select Oracle EBS DB Identifier from dropdownminiOrange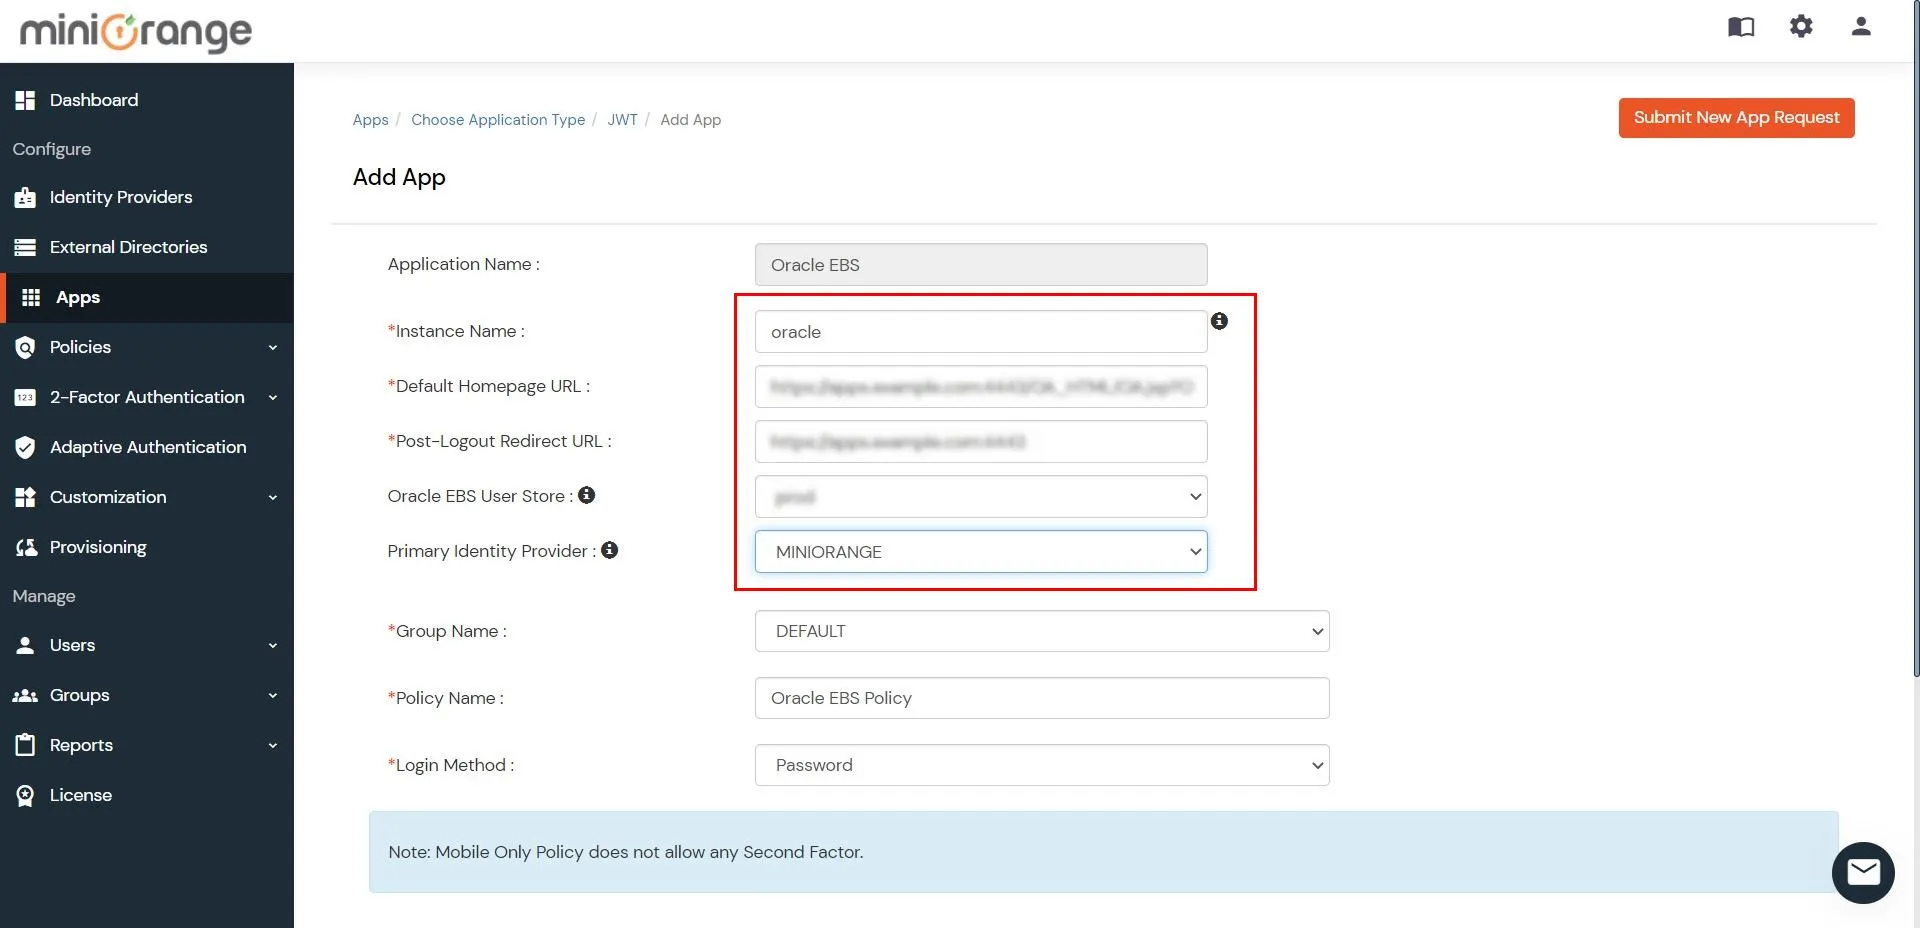
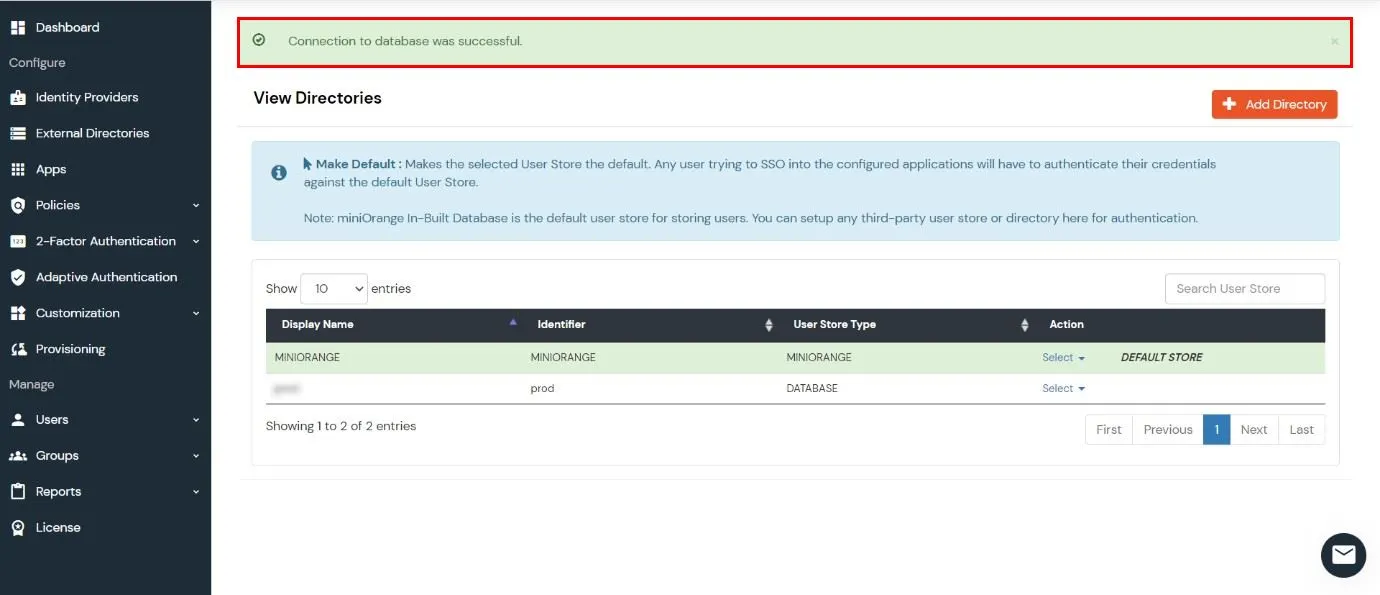
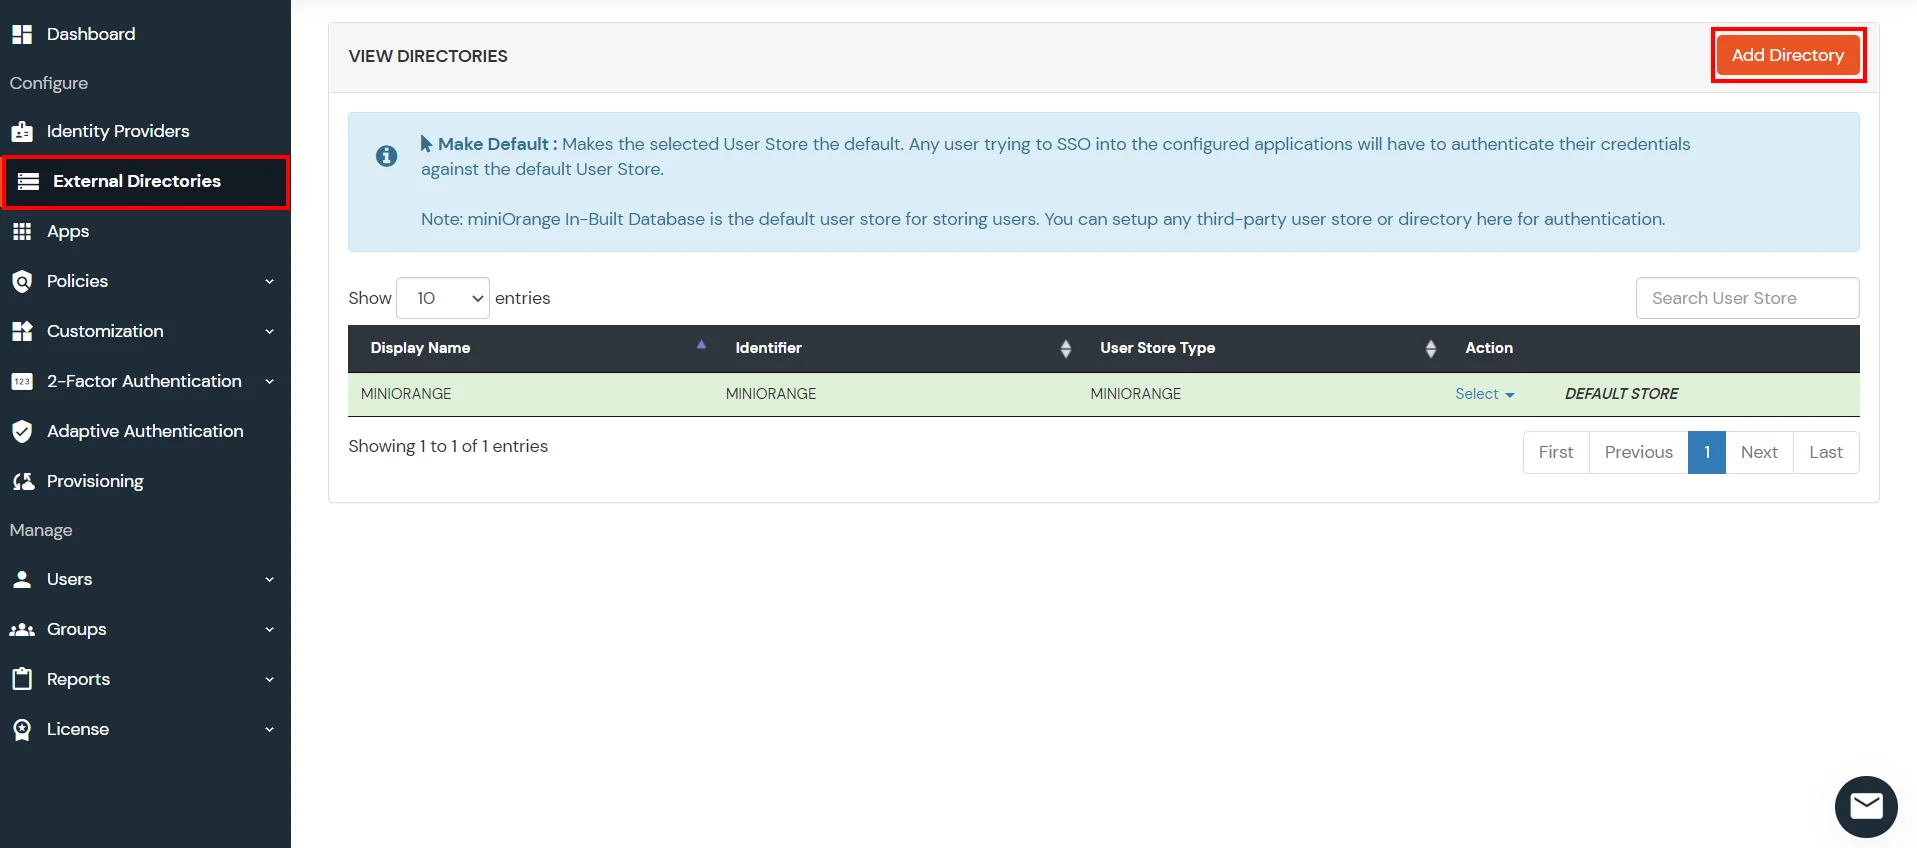
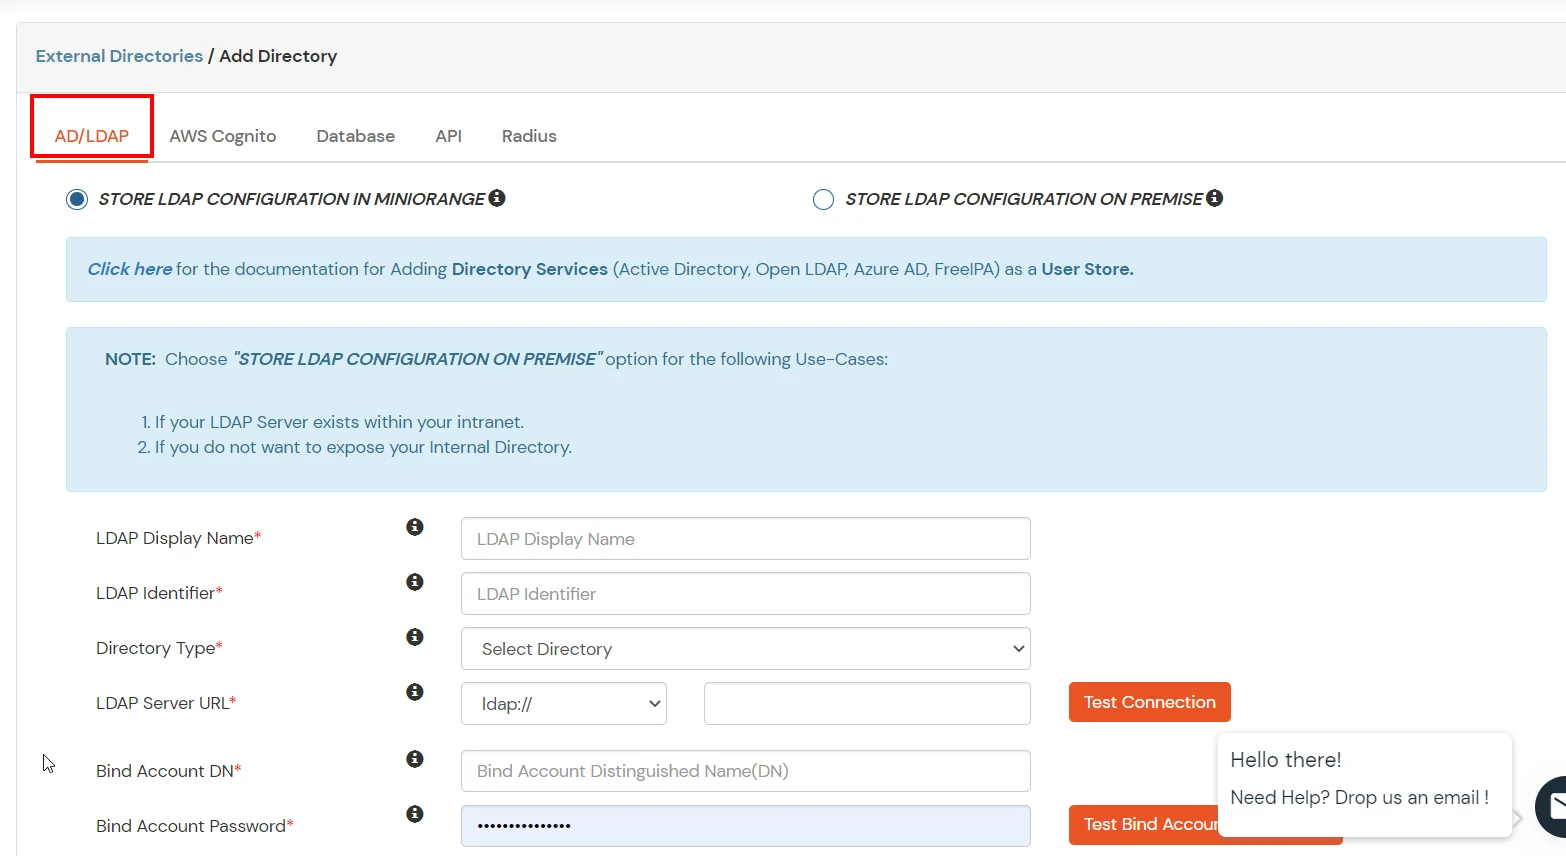
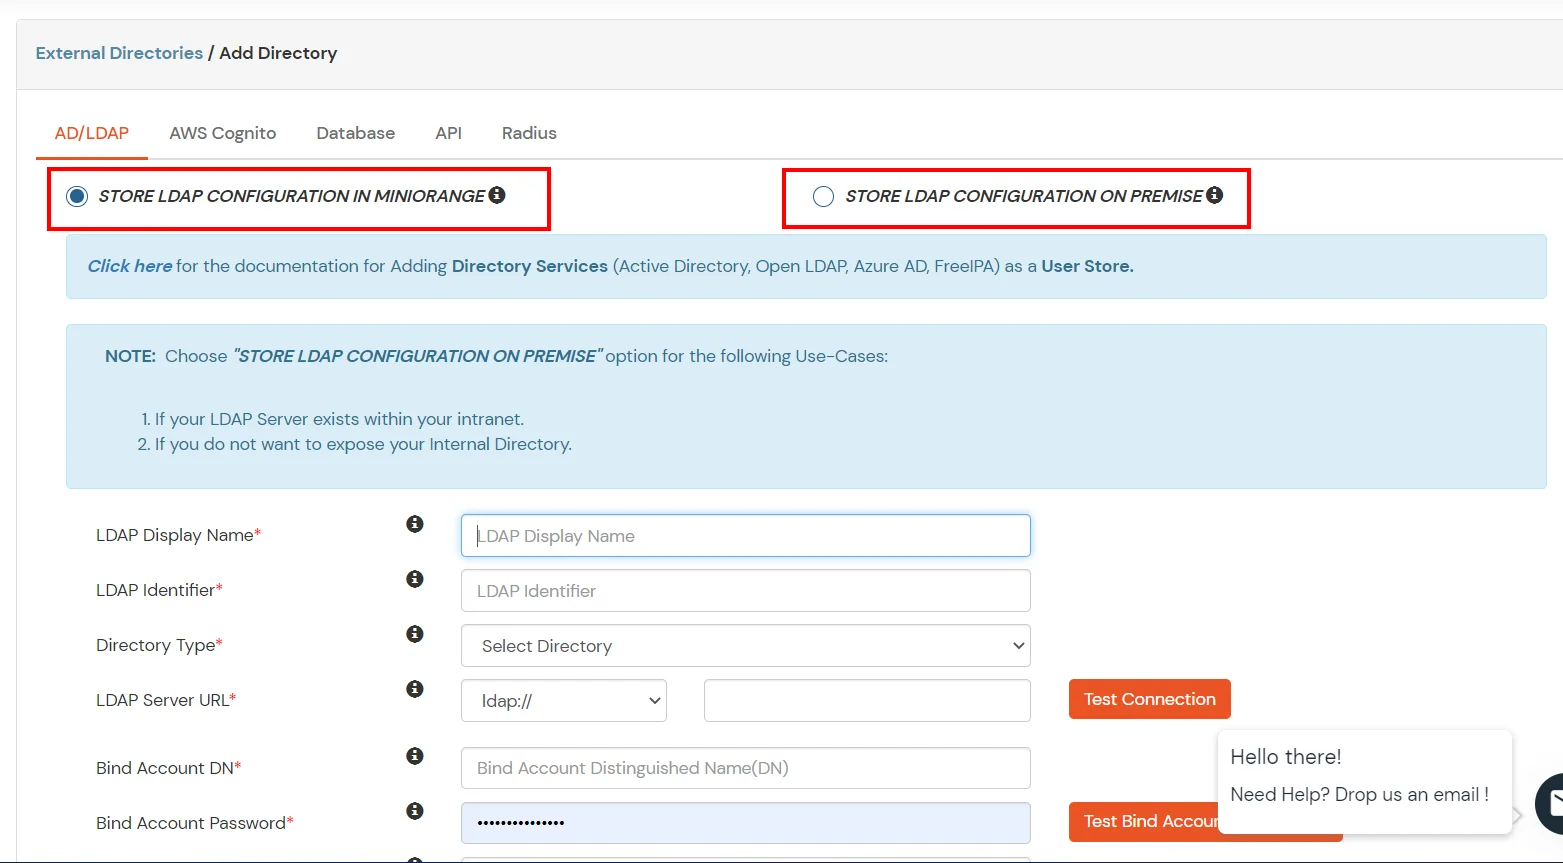
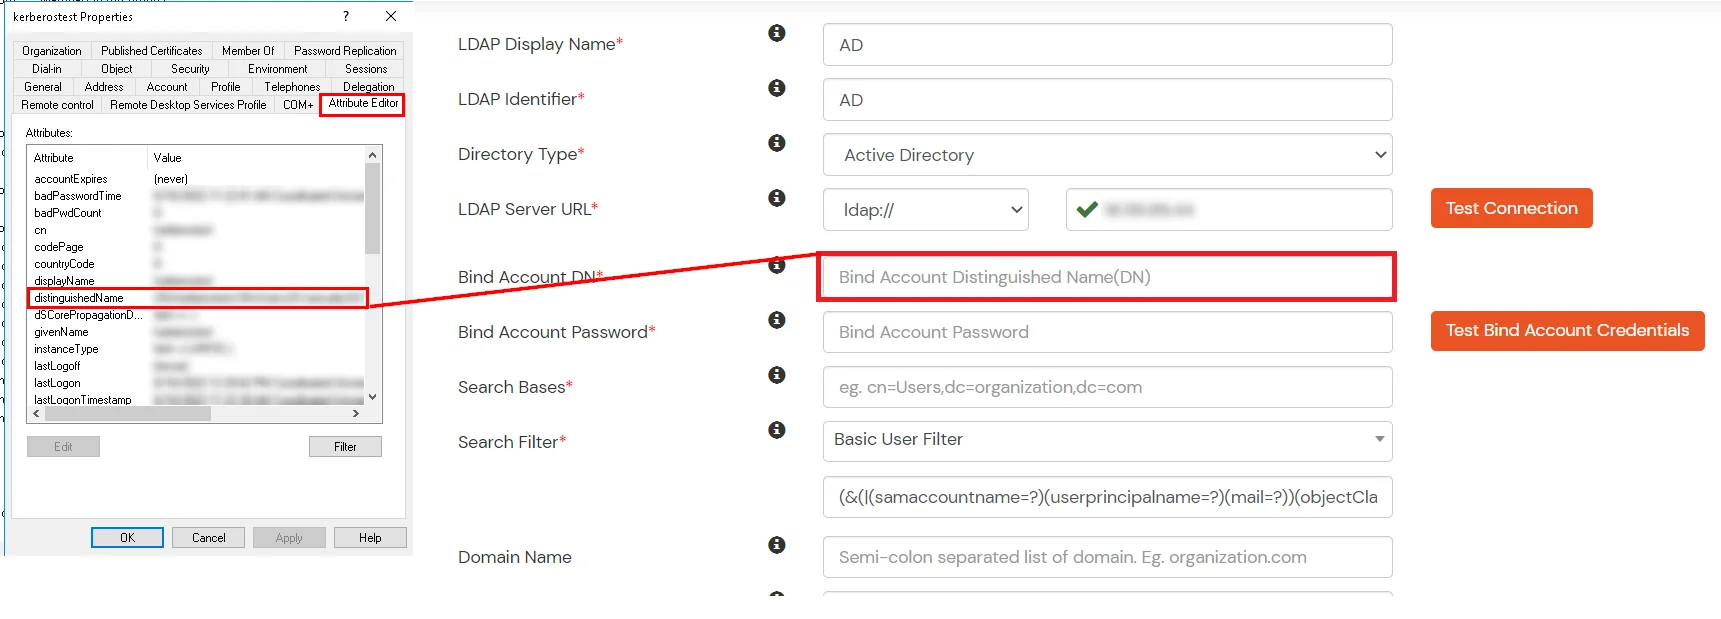
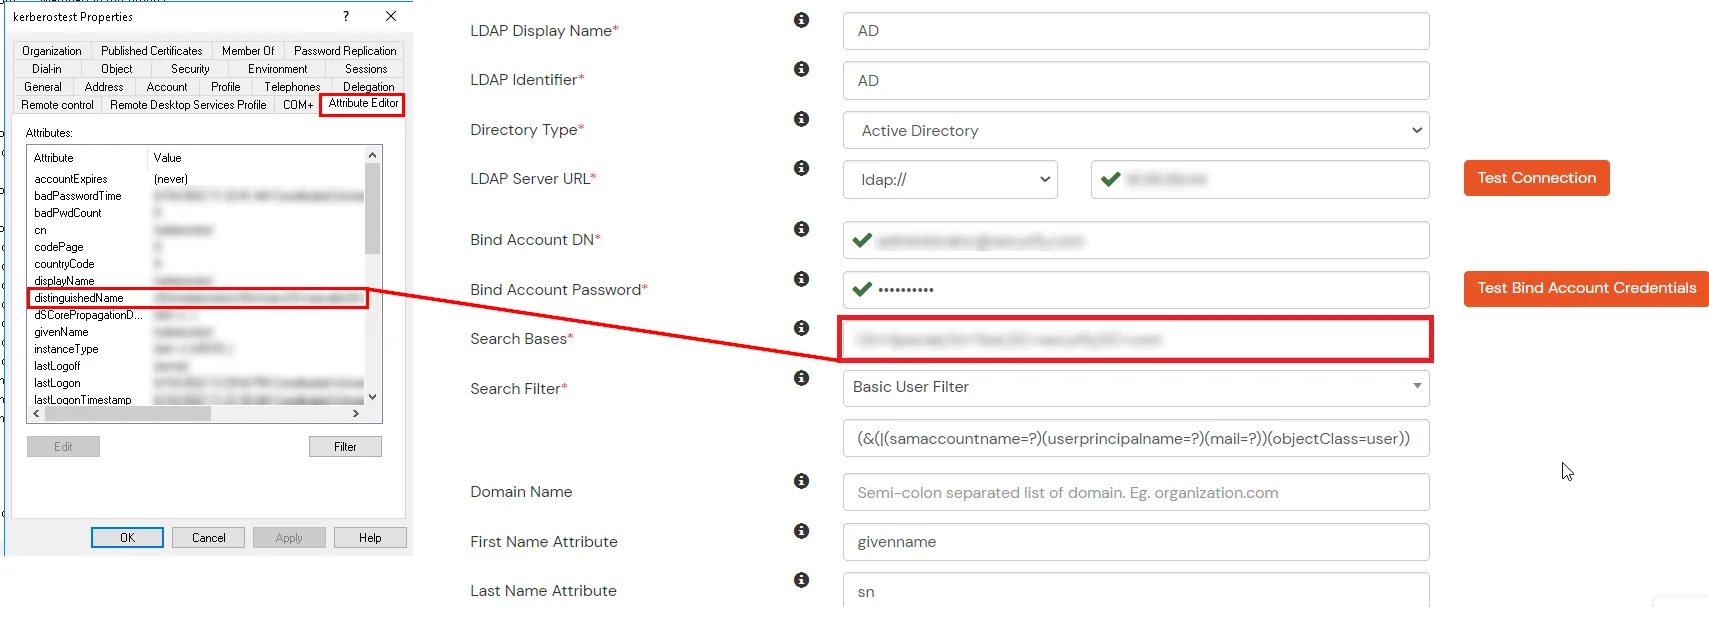
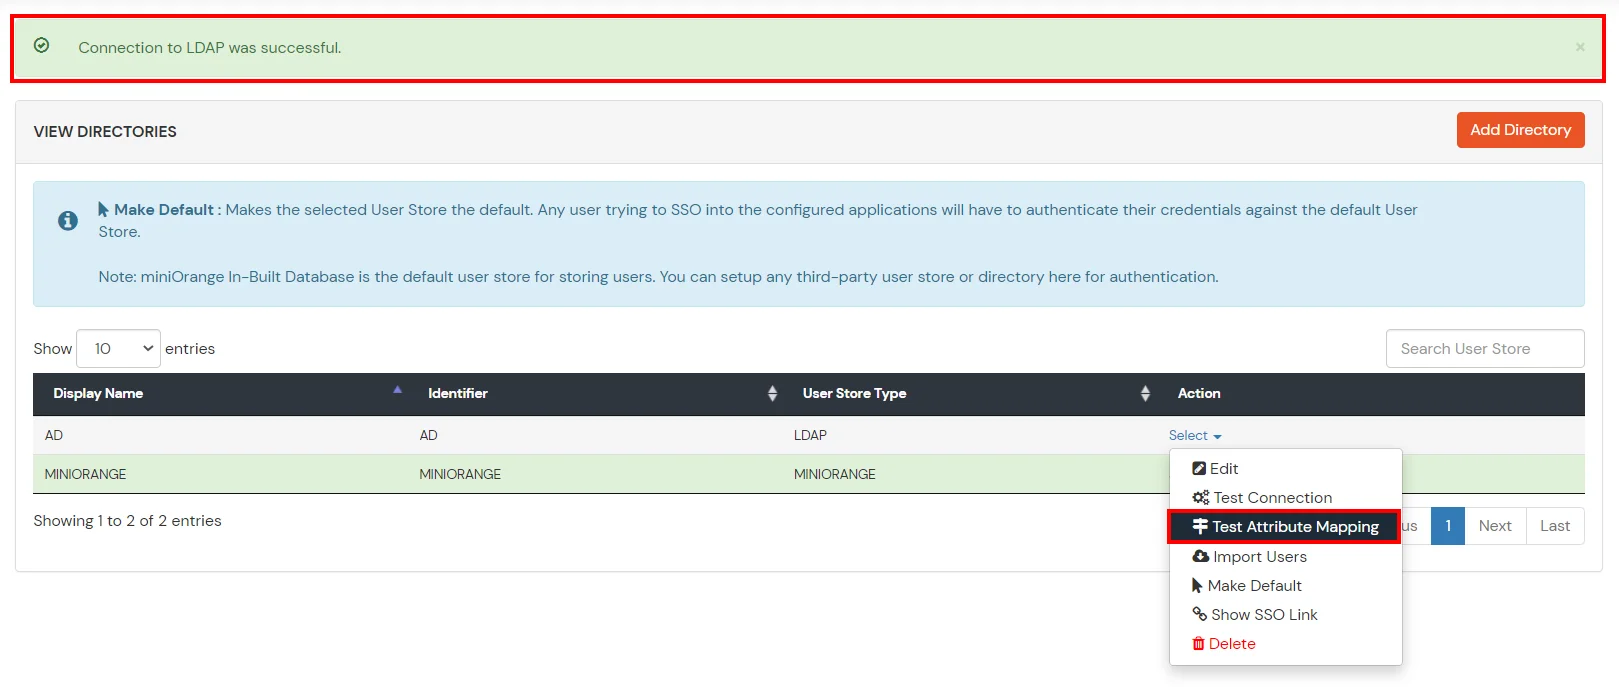
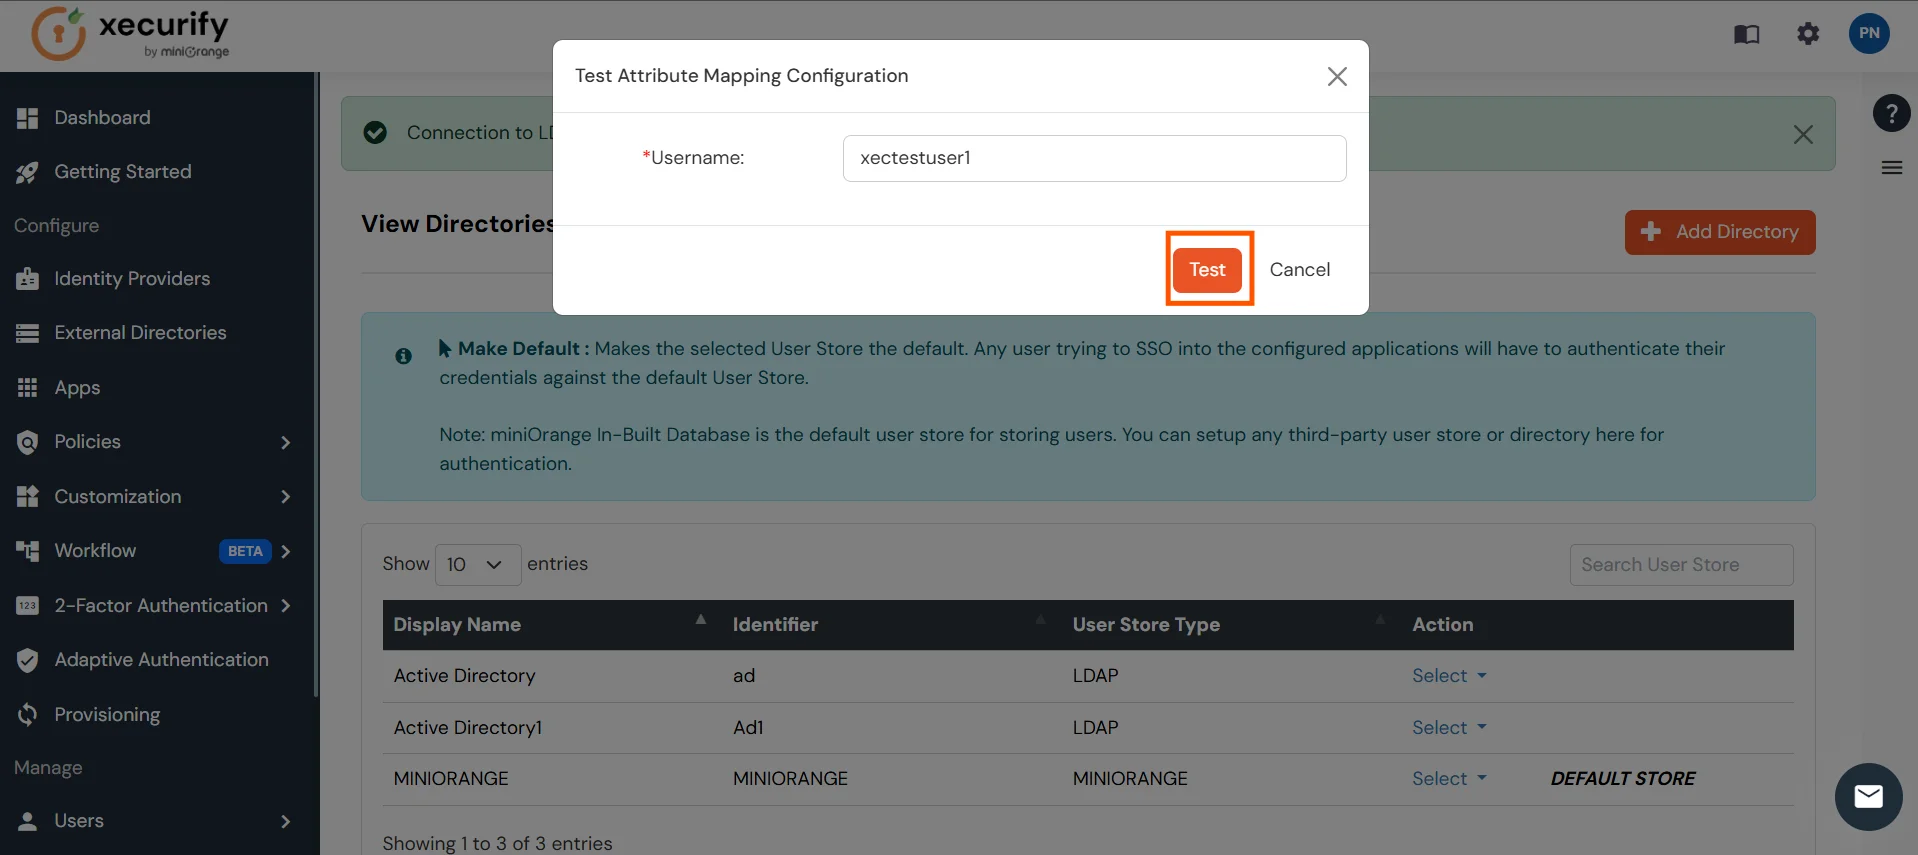
miniOrange provides user authentication from various external sources, which can be Directories (like ADFS, Microsoft Active Directory, Microsoft Entra ID, OpenLDAP, Google, AWS Cognito etc), Identity Providers (like Okta, Shibboleth, Ping, OneLogin, KeyCloak), Databases (like MySQL, Maria DB, PostgreSQL) and many more. You can configure your existing directory/user store or add users in miniOrange.
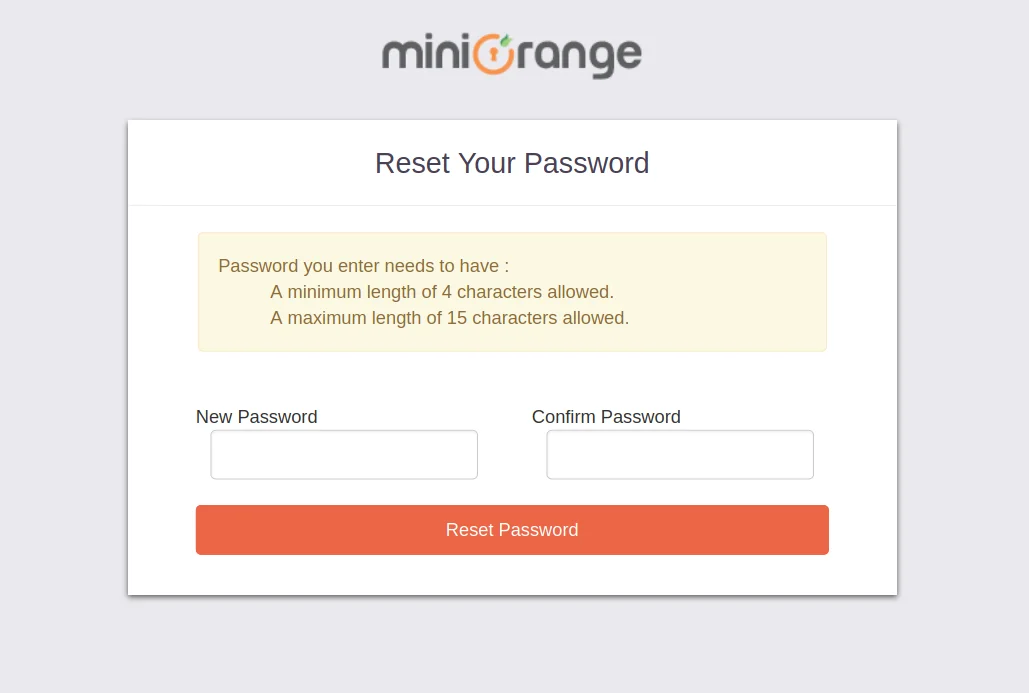
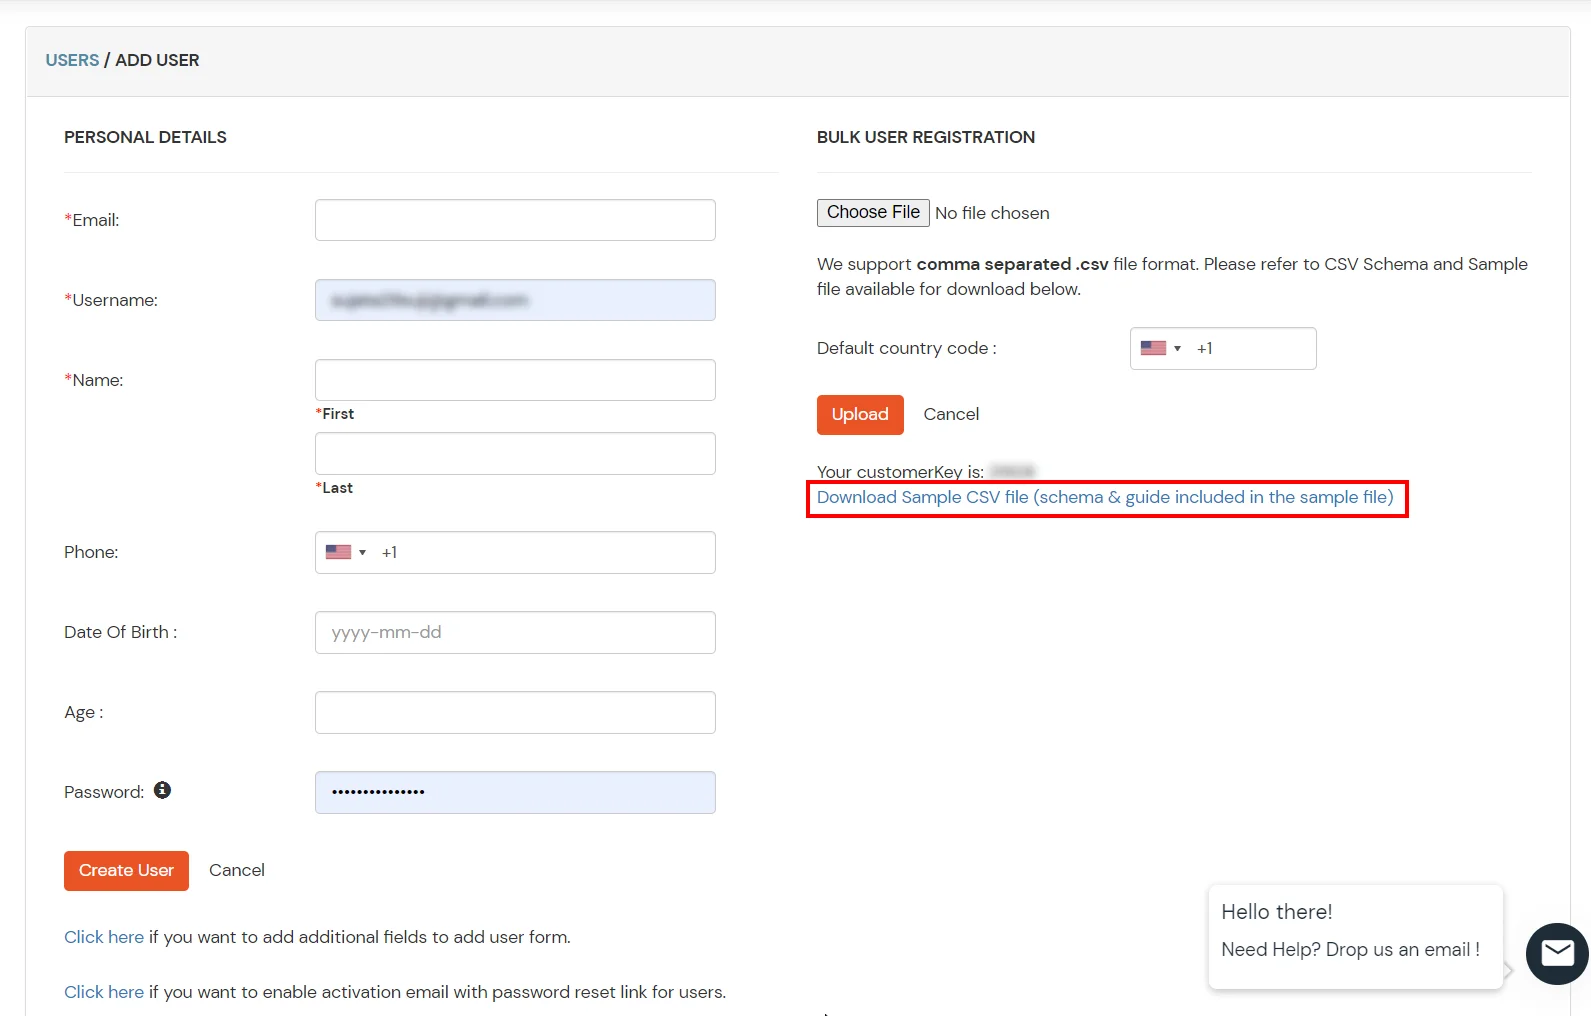
1. Create User in miniOrange
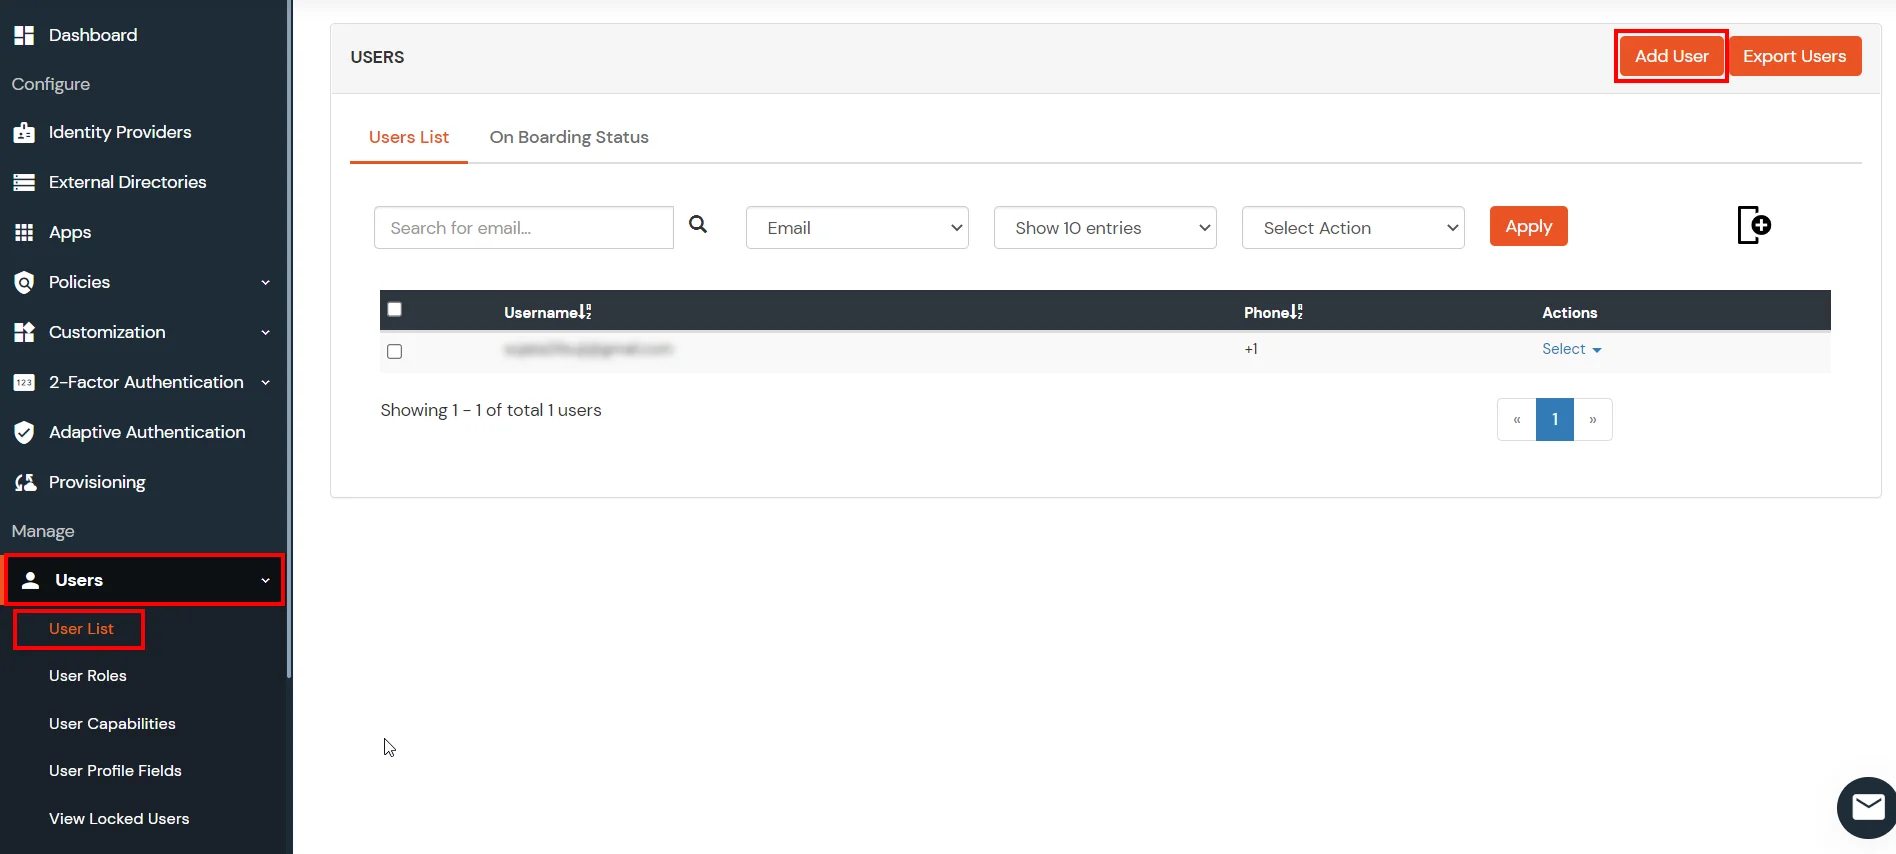
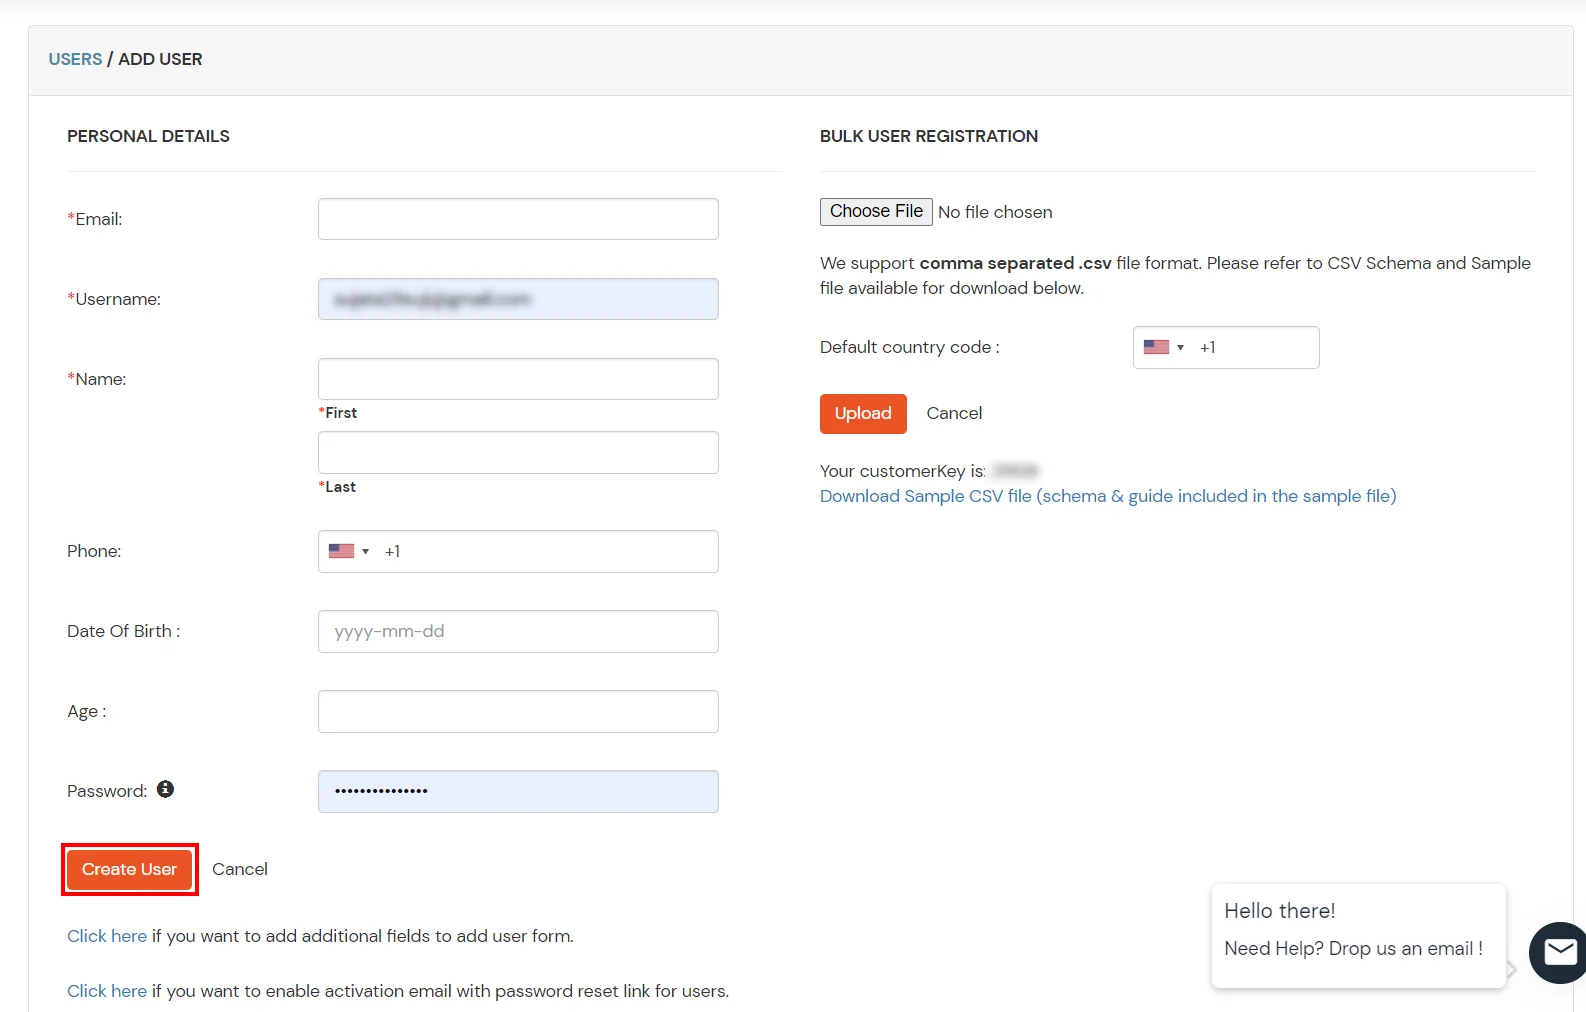
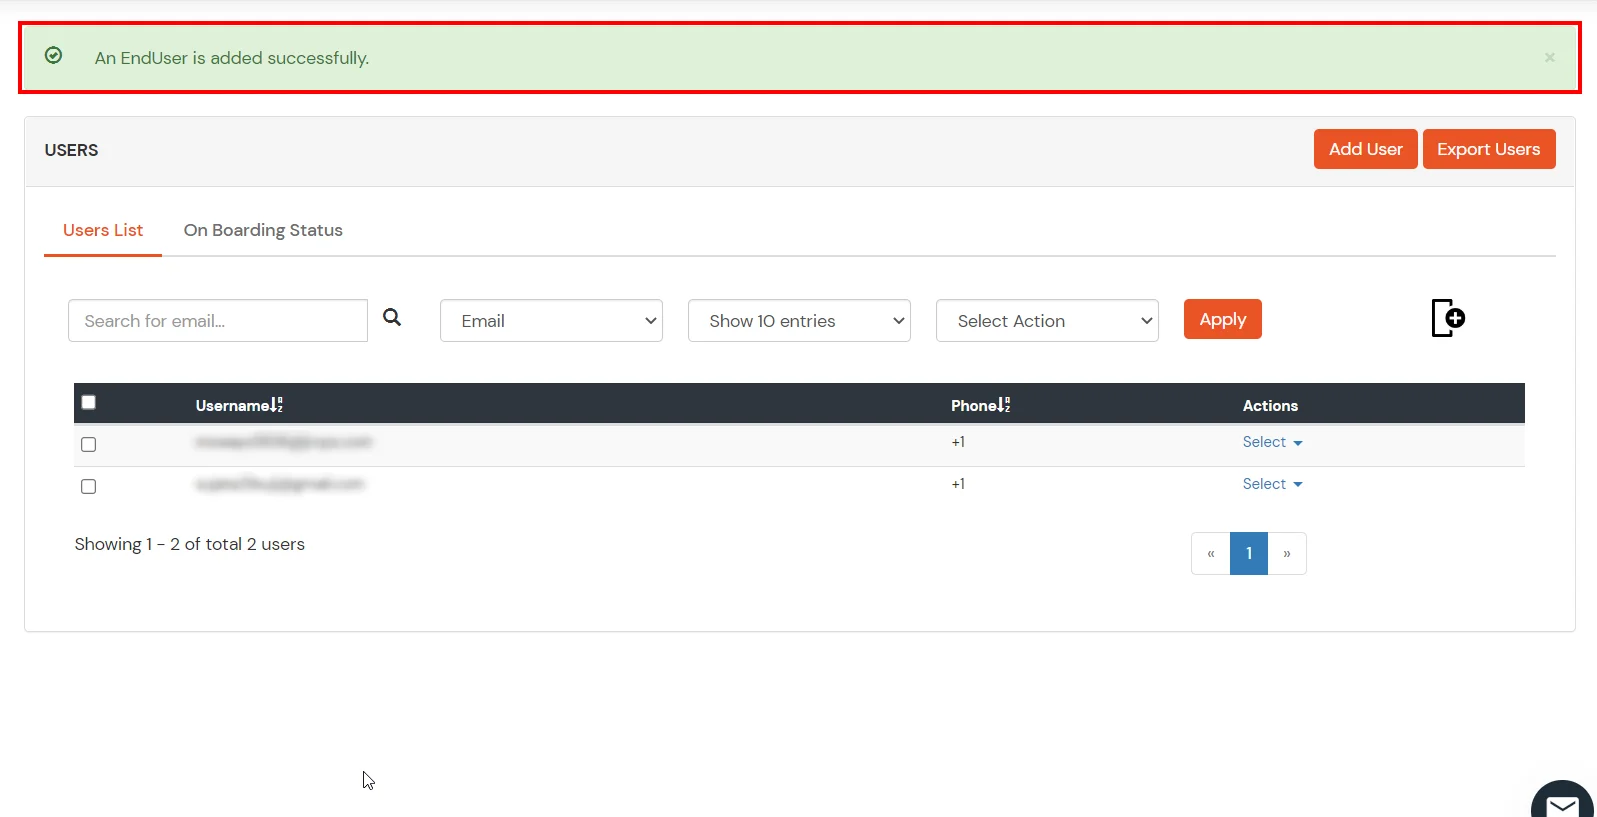
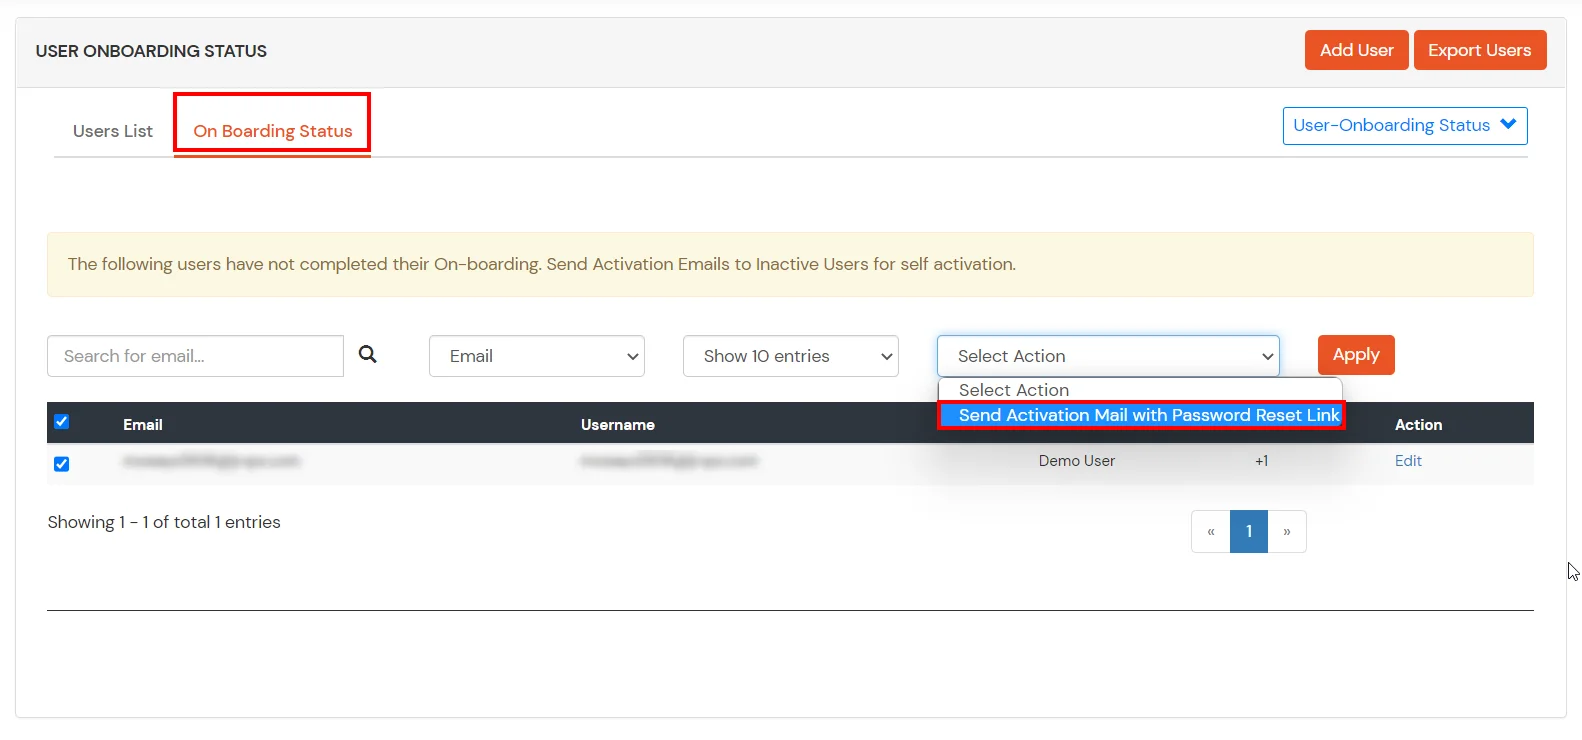
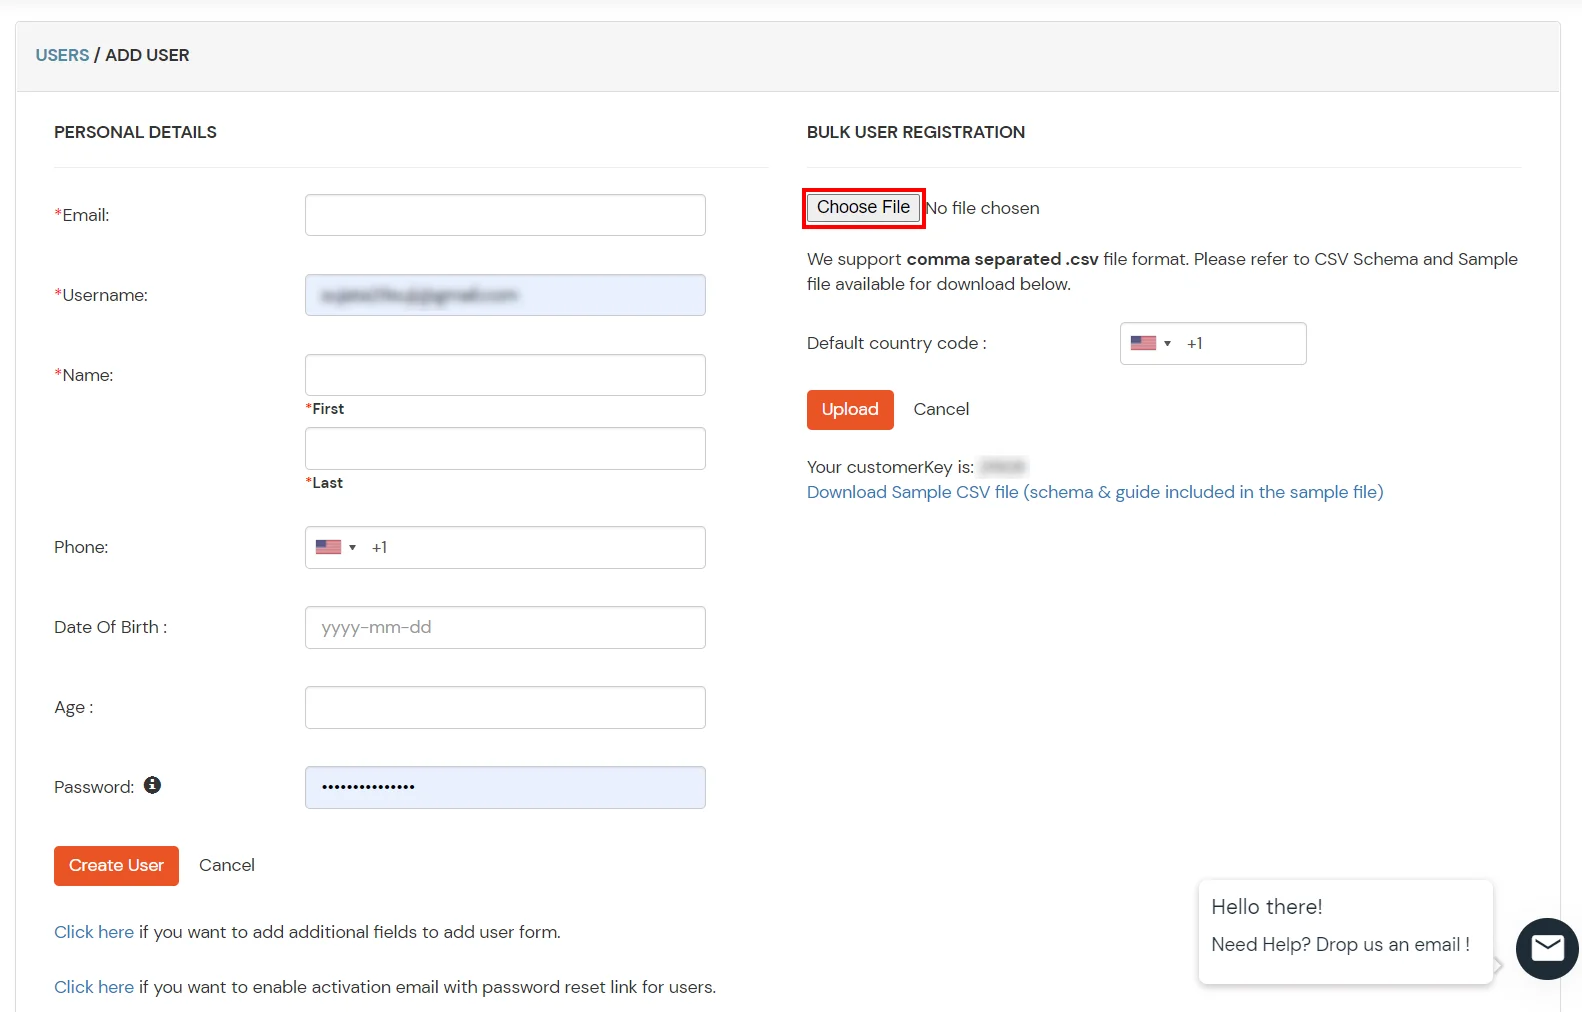
2. Bulk Upload Users in miniOrange via Uploading CSV File.

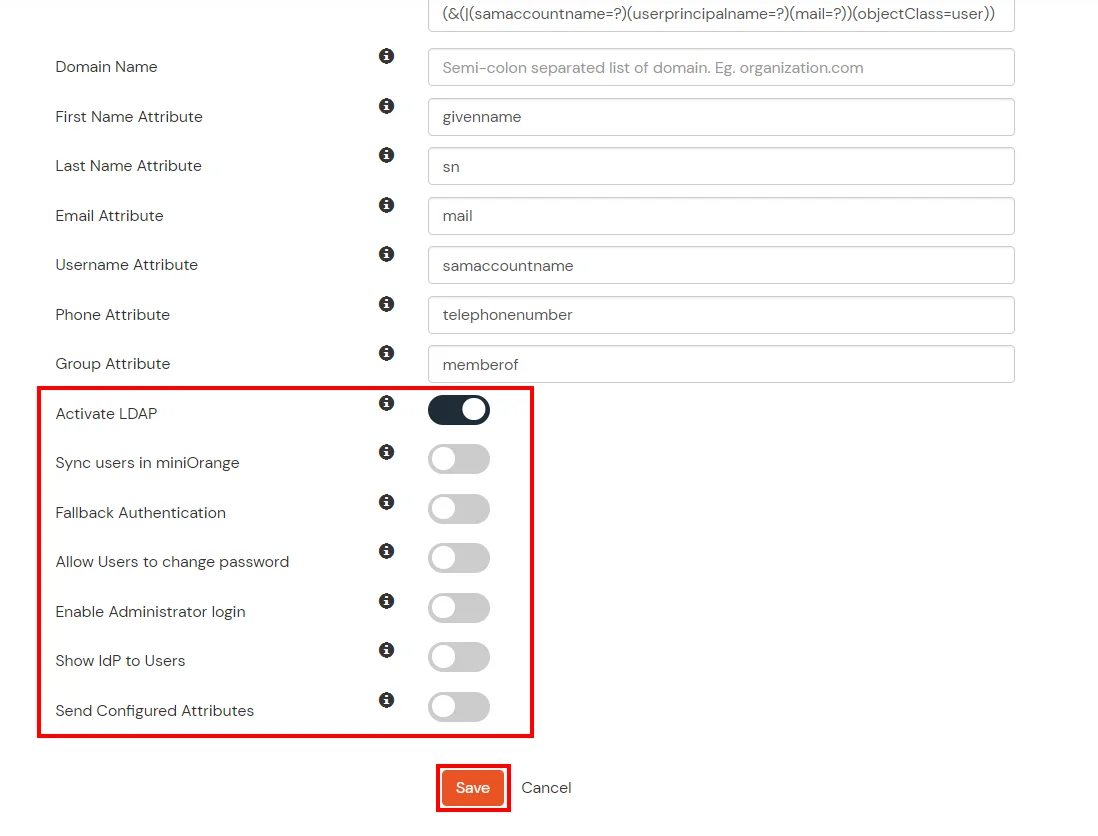
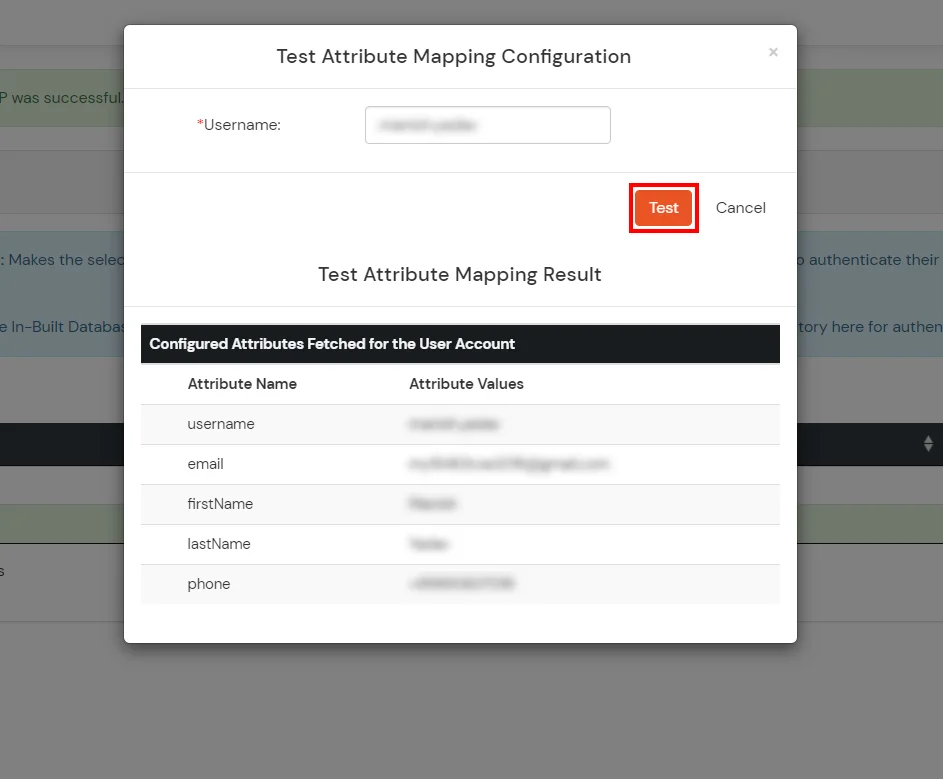
Here's the list of the attributes and what it does when we enable it. You can enable/disable accordingly.
| Attribute | Description |
|---|---|
| Activate LDAP | All user authentications will be done with LDAP credentials if you Activate it |
| Fallback Authentication | If LDAP credentials fail then user will be authenticated through miniOrange |
| Enable administrator login | On enabling this, your miniOrange Administrator login authenticates using your LDAP server |
| Show IdP to users | If you enable this option, this IdP will be visible to users |
| Sync users in miniOrange | Users will be created in miniOrange after authentication with LDAP |
Attribute Name sent to SP = organization
Attribute Name from IDP = company
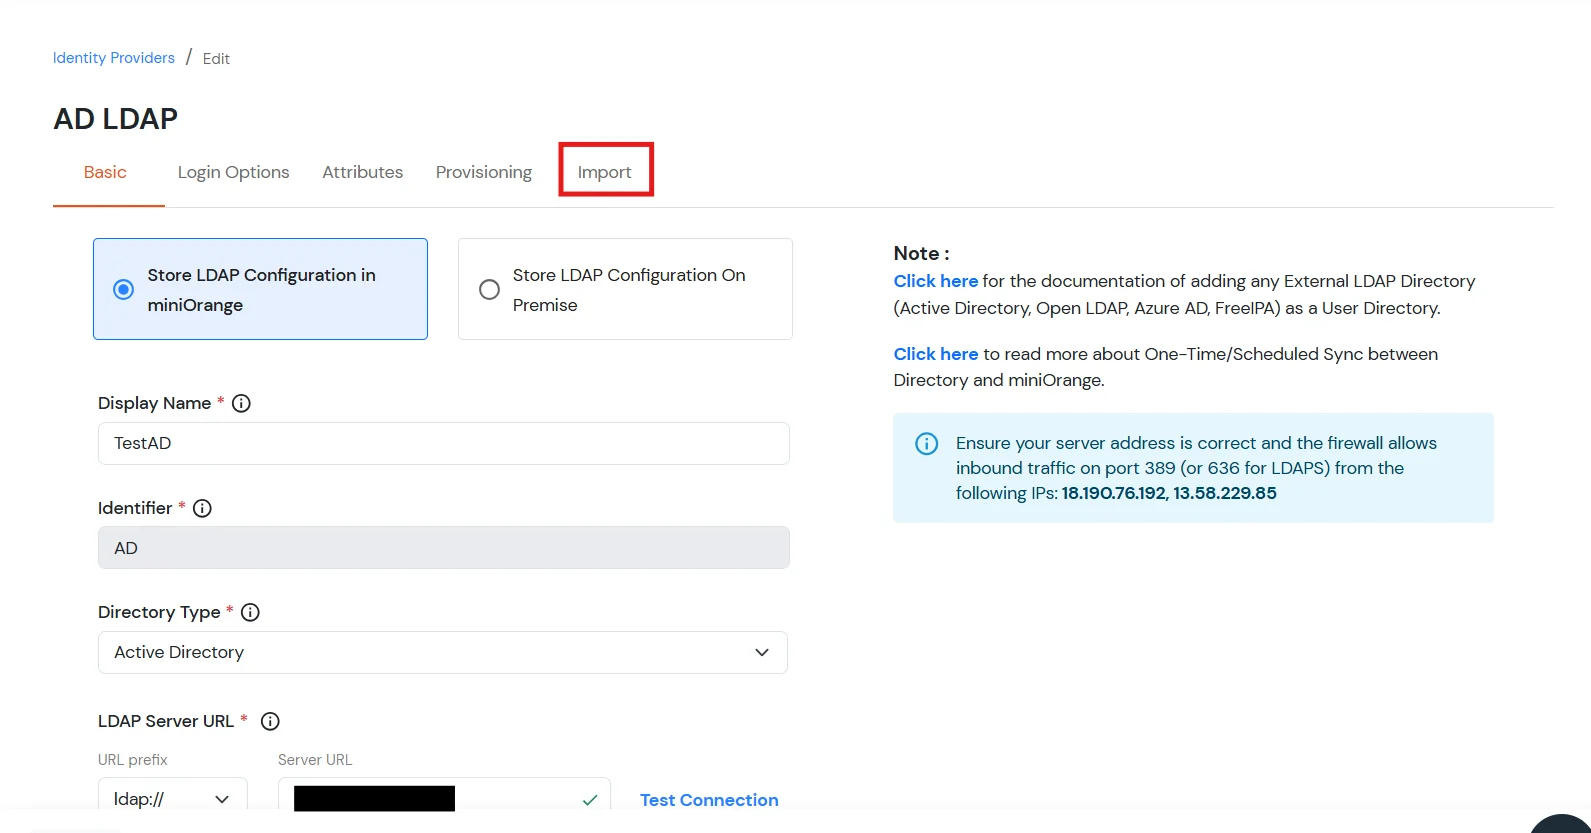
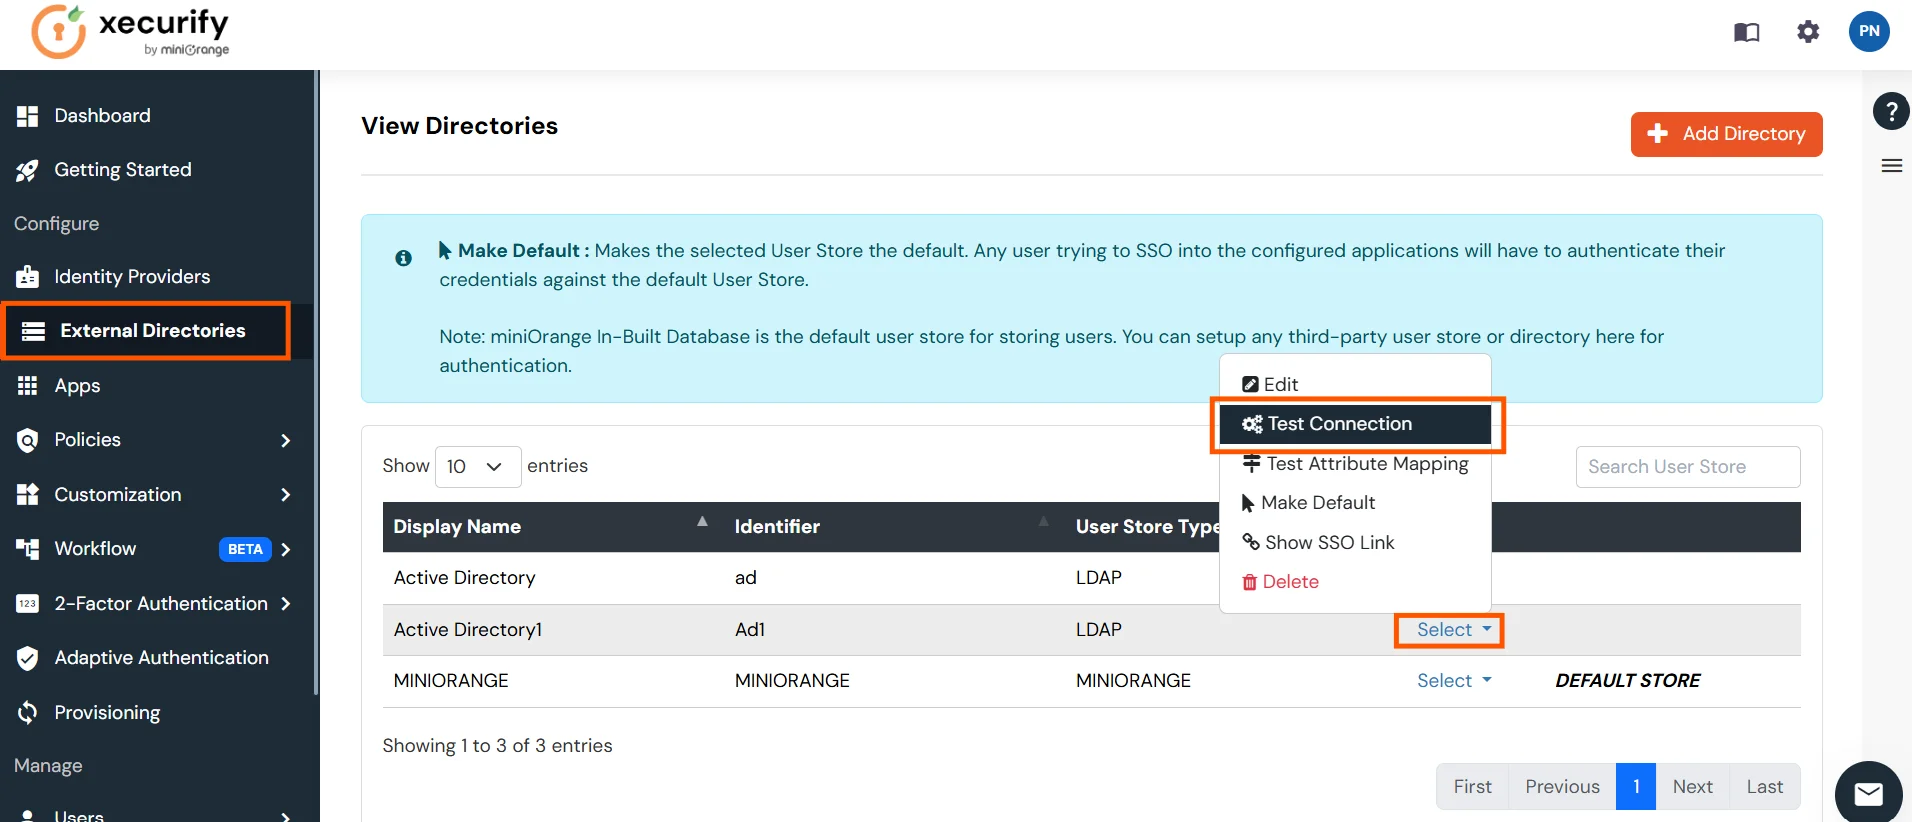
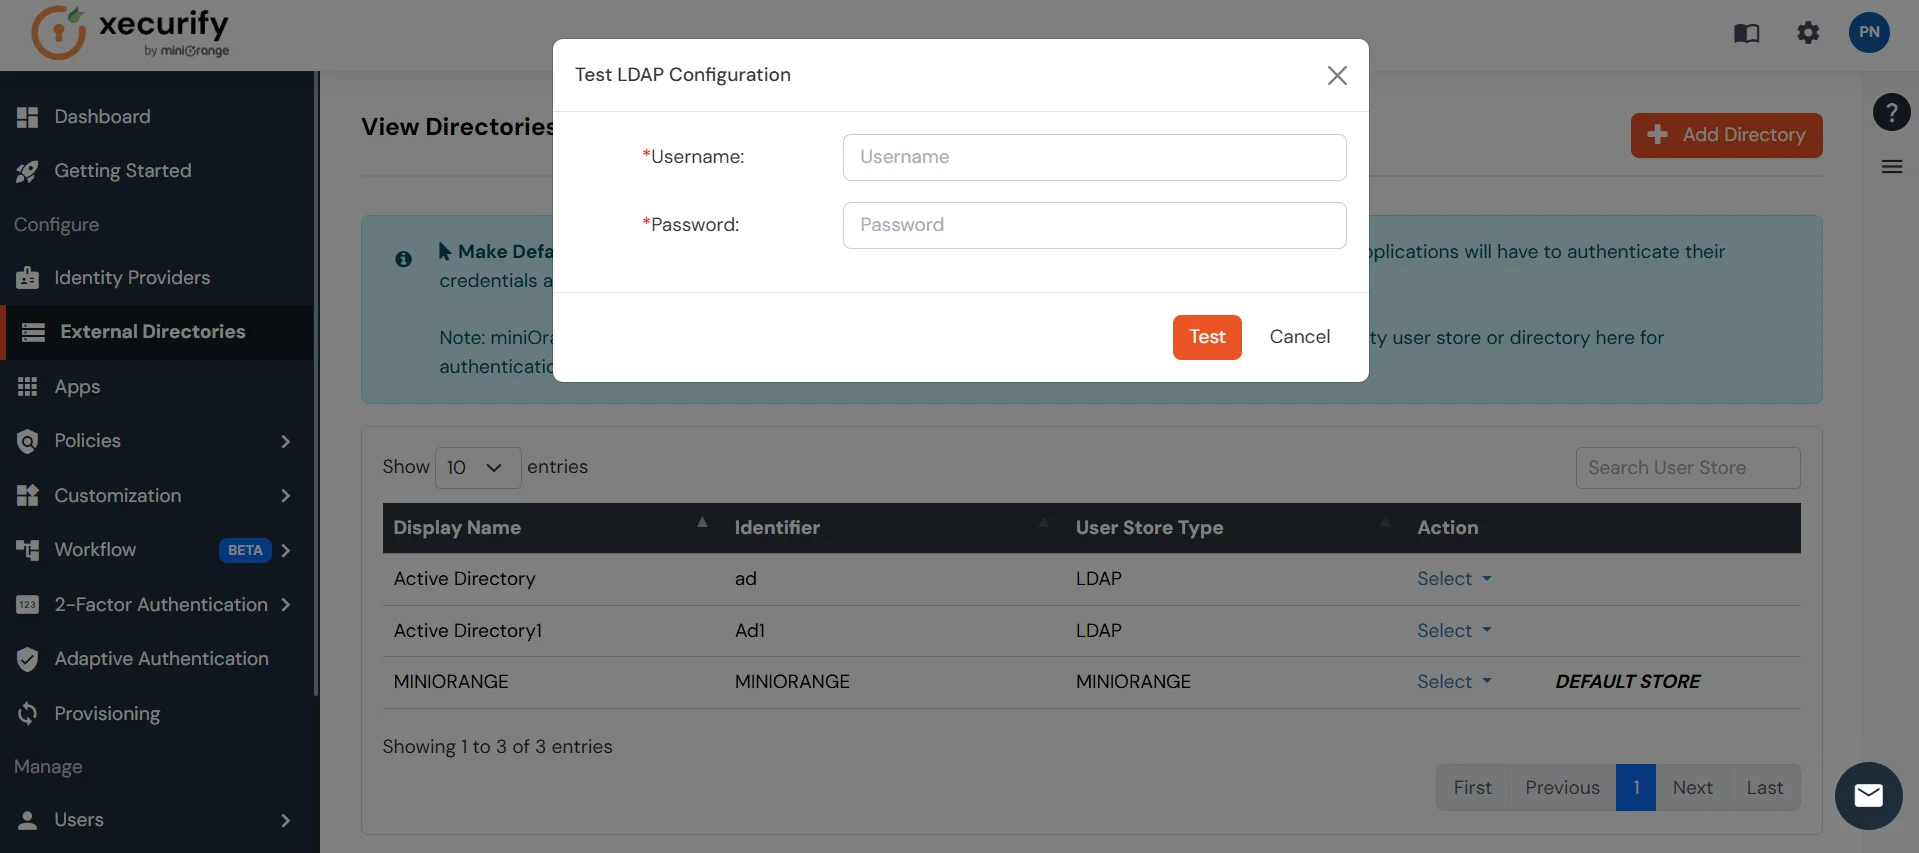
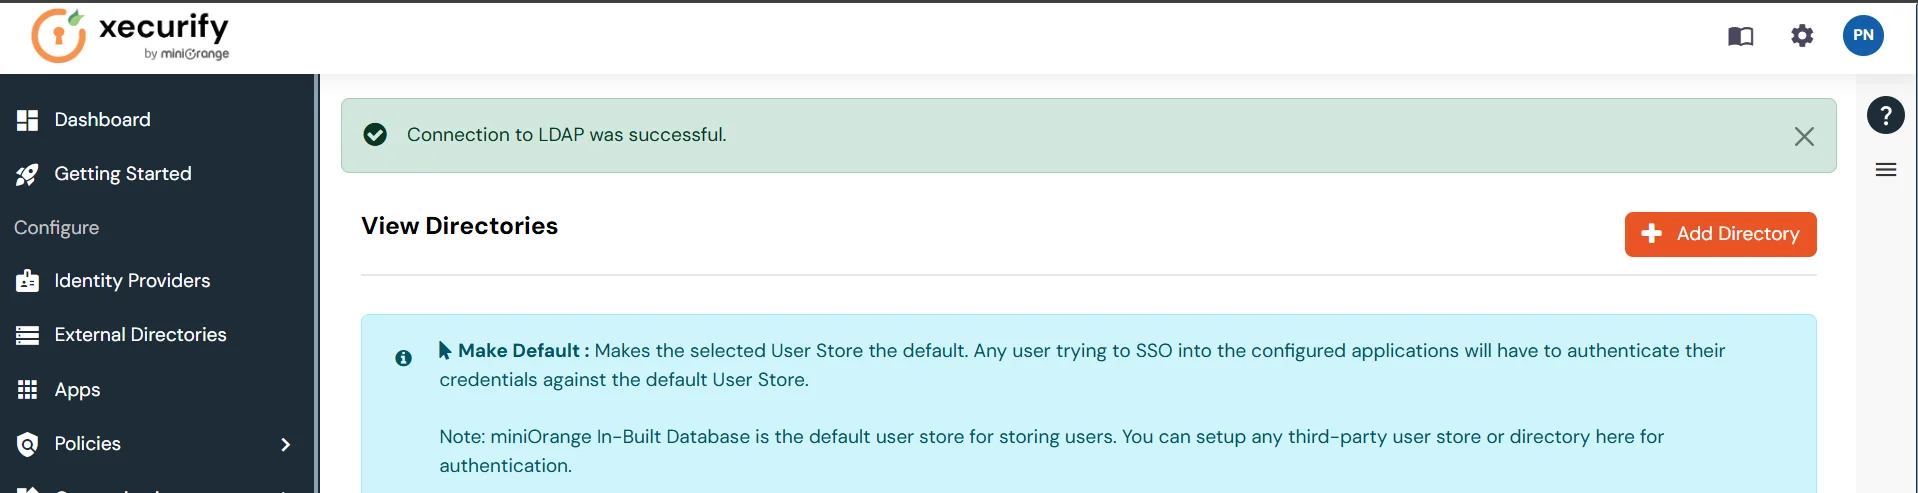
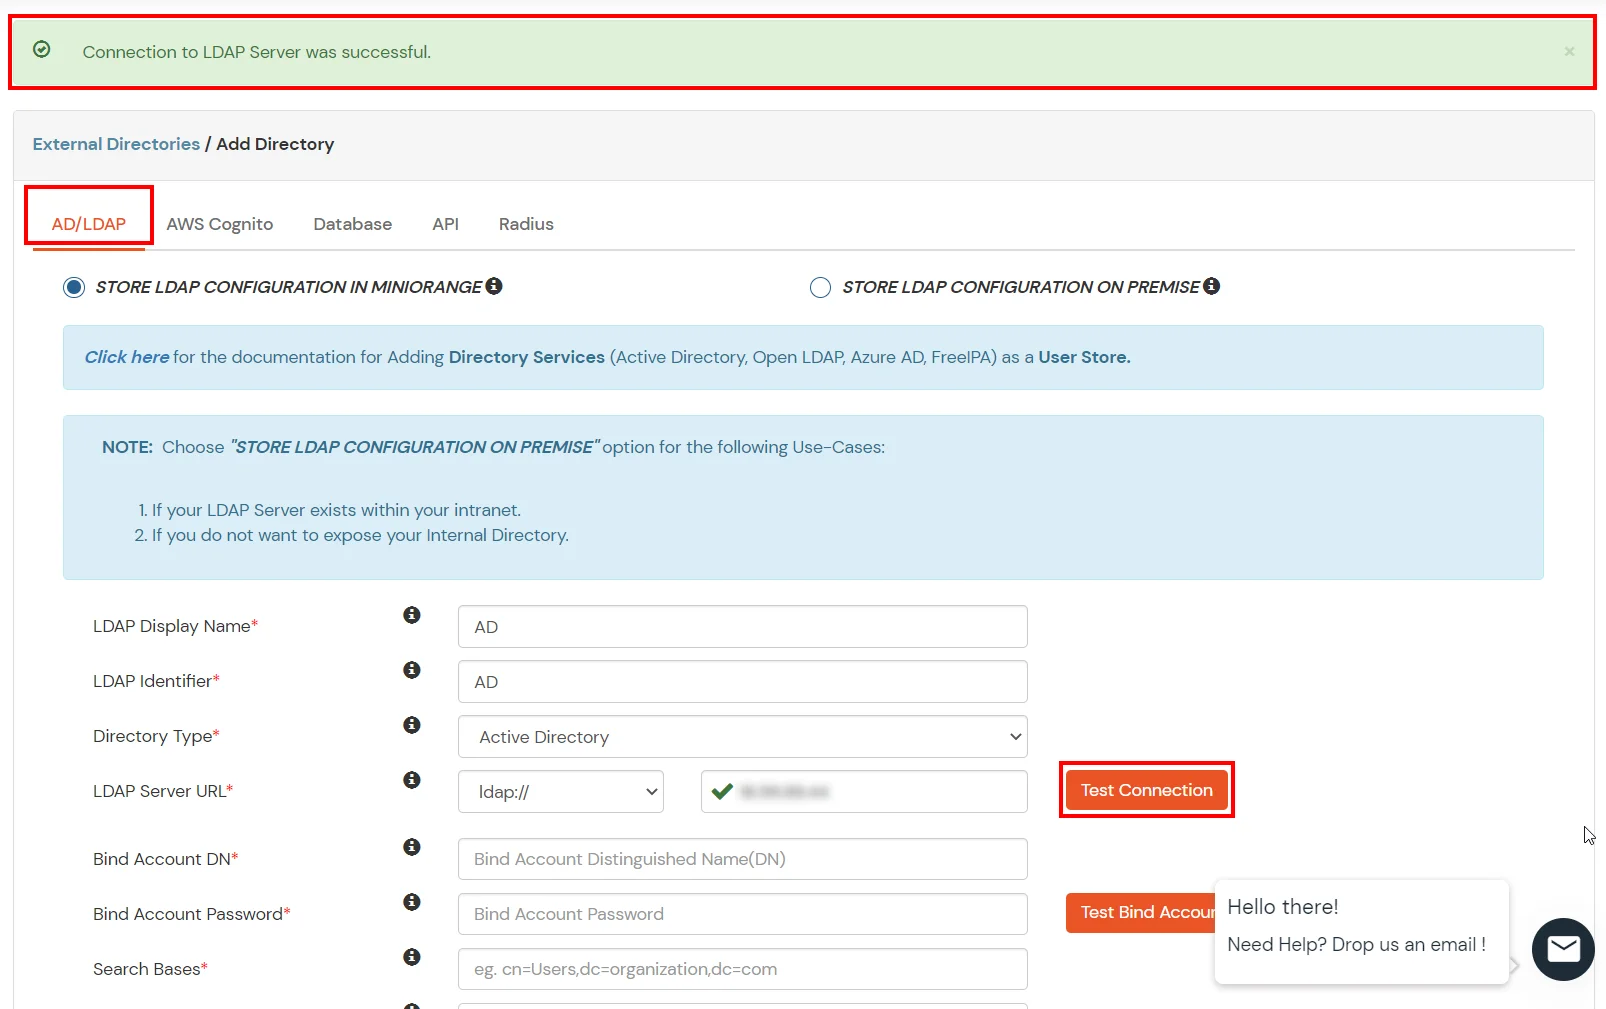
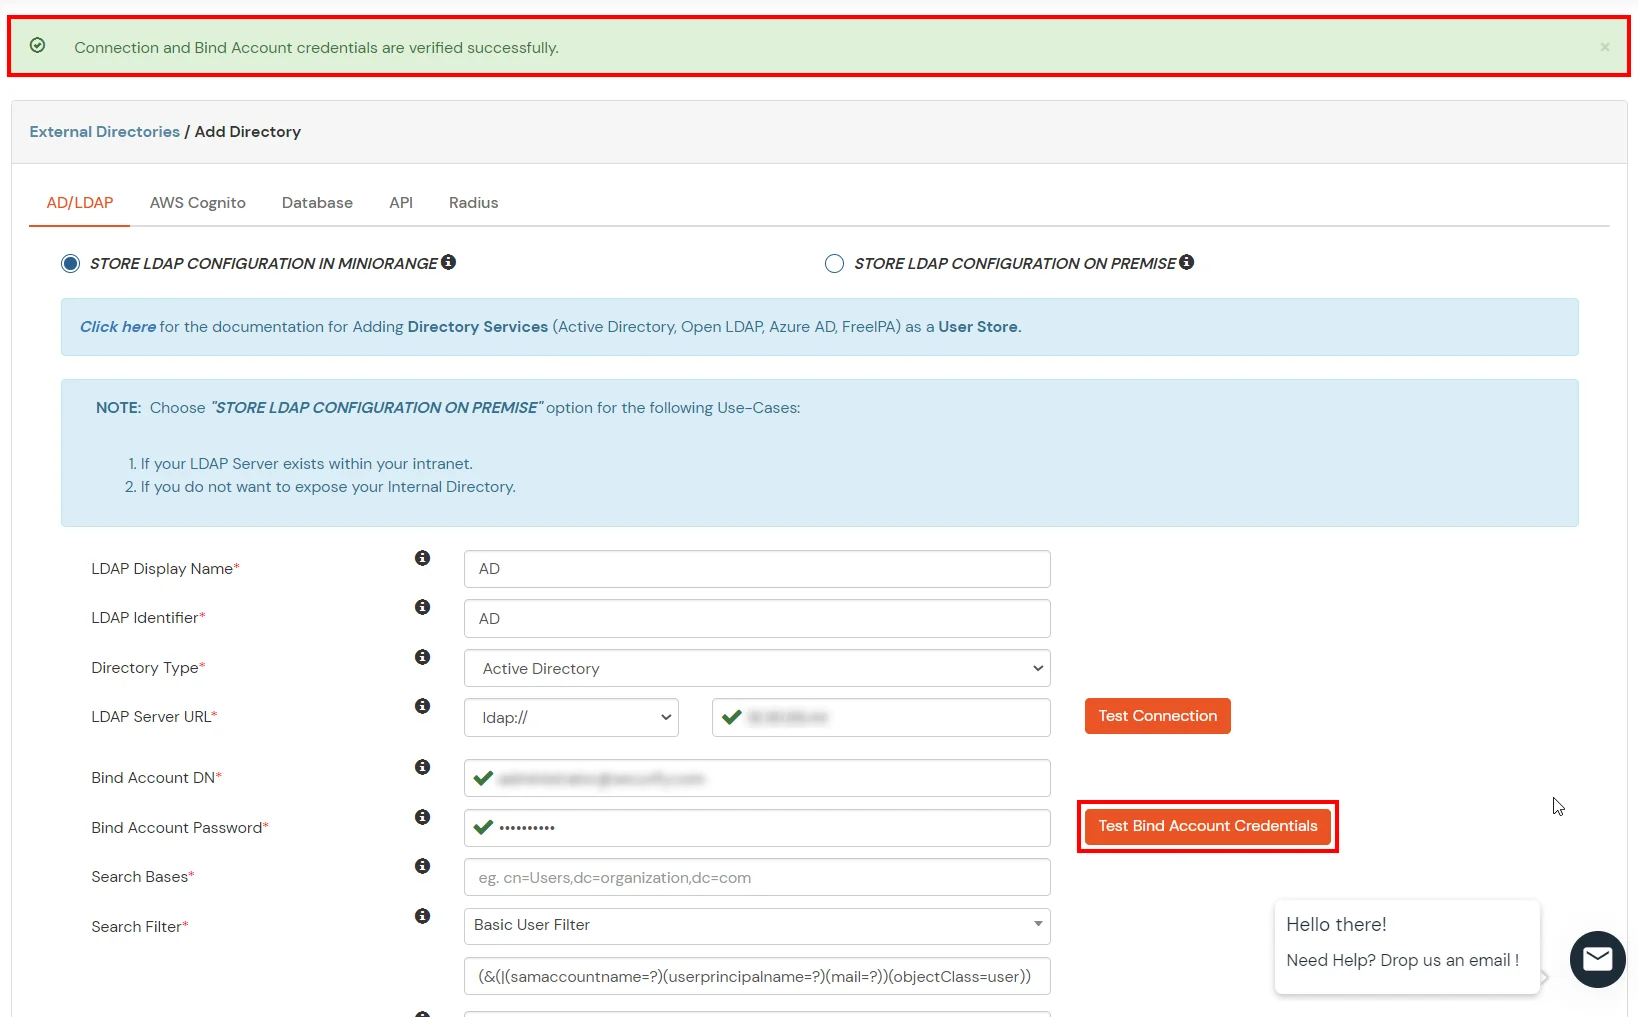
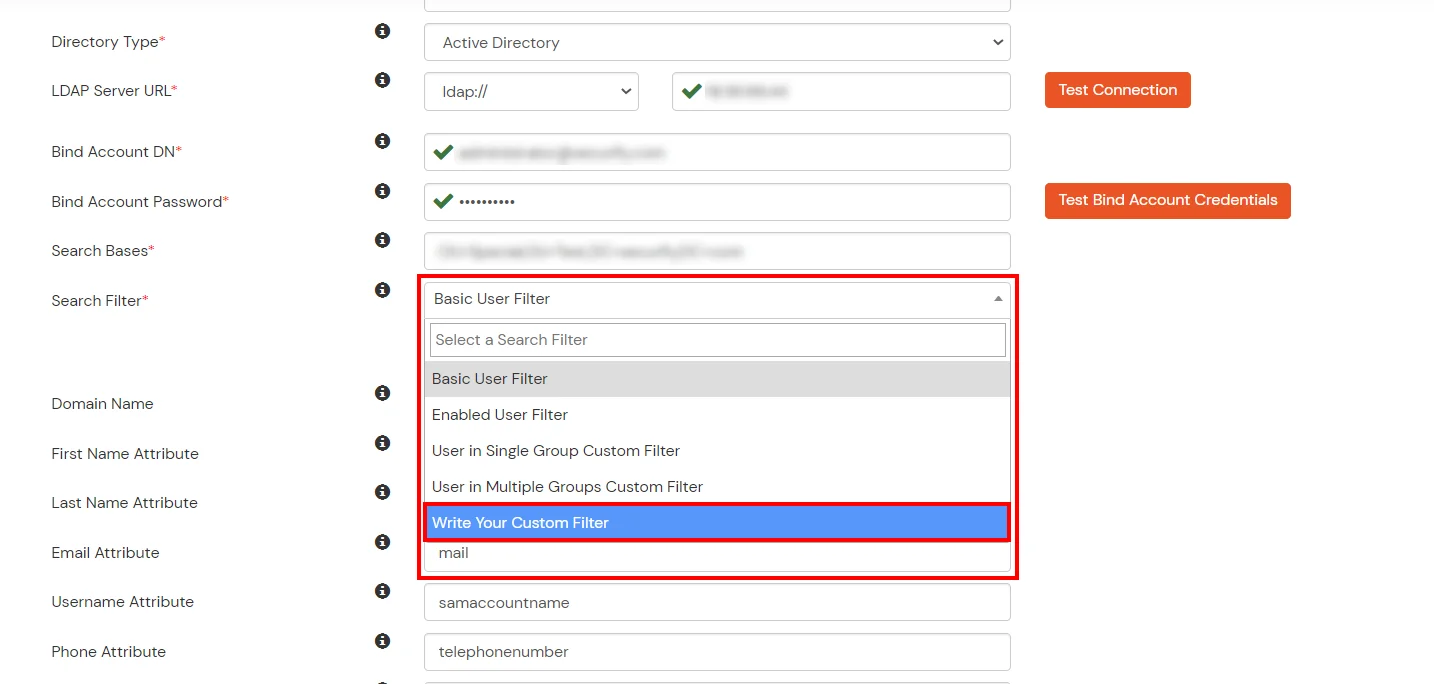
Set up AD as External Directory configuration is complete.
Note: Refer our guide to setup LDAP on windows server.
miniOrange integrates with various external user sources such as directories, identity providers, and etc.
Contact us or email us at idpsupport@xecurify.com and we'll help you setting it up in no time.
Oracle EBS SSO is an authentication solution that allows users to log in to Oracle EBS account with existing AD or IDP credentials, instead of the EBS local password authentication.
1. By default, Oracle E-business Suite (EBS) authenticates users with the FND_USER table internally, and this native authentication is known as EBS Local Authentication.
2. As Single Sign-On (SSO) became popular, the majority of businesses chose to configure SSO for Oracle EBS and enable SSO logins rather than local EBS passwords.
3. SSO is also required for the IT Security Audits for Oracle e-Business Suite.
4. Earlier to Oracle Access Manager (OAM), Oracle 10g SSO (OSSO 10g) had been the conventional SSO option for Oracle EBS versions from 11i to R1.1.
5. But, Oracle EBS 12.2 does not support OSSO 10g anymore, and it needs either an OAM license or modern SSO solutions such as Oracle Identity Cloud Services or miniOrange.
7. Oracle EBS SSO integration is strongly advised for better user experience and improved Oracle EBS security.
Our EBS SSO solution easily configures with Oracle EBS 11i, 12.1, and 12.2.x versions. If you have any other version please mail us at idpsupport@xecurify.com and we will be happy to help.
No,you do not need to make any additional purchases and install OAM or OIM to use the miniOrange Oracle EBS SSO solution.
The authentication flow is as follows:
1. The User tries to access the Oracle E-Business Suite, either directly at the AppsLogin endpoint or via a bookmarked URL.
2. Oracle EBS redirects the request to the miniOrange SSO Connector for authentication.
3. The Oracle EBS SSO Connector sends a SAML authentication request to configured IDP.
4. The User is prompted to enter their SSO (IDP / AD) credentials.
5. Configured IDP sends SAML response to miniOrange SSO Connector.
6. The Connector checks the value of the username/email attribute fetched from the IDP against the FND_USER table in the Oracle EBS Database.
7. After successful authentication, a session is created for the user in Oracle EBS - and Oracle EBS SSO successfully executes.
8. The User is redirected to Oracle EBS as a logged-in user.
Yes, Oracle EBS SSO solution works seamlessly with any of your Identity Source, user store or any directory such as Active Directory, ADFS, Okta, etc.
Yes, we have officially been recognized as a Global Modernized Oracle Partner Network (OPN)on the Oracle Cloud marketplace.
Yes, we do provide SSO solutions for other Oracle applications such as Oracle Peoplesoft, Oracle JD Edwards, Oracle Siebel CRM, etc
Note: Oracle and Java are registered trademarks of Oracle and/or its affiliates. miniOrange is a separate entity.